coreFORCE Advanced - Memberships: Reporting on Subscriptions and Renewals
This guide explains how to run subscription and renewal reports from the Admin Panel in coreFORCE. These reports are highly beneficial for tracking new signups, recurring revenue, and identifying any billing issues related to membership renewals.
1. Shift + Shift
To quickly access the Subscription Report, press Shift + Shift on your keyboard to open the Page Selector on your coreFORCE Admin Page.
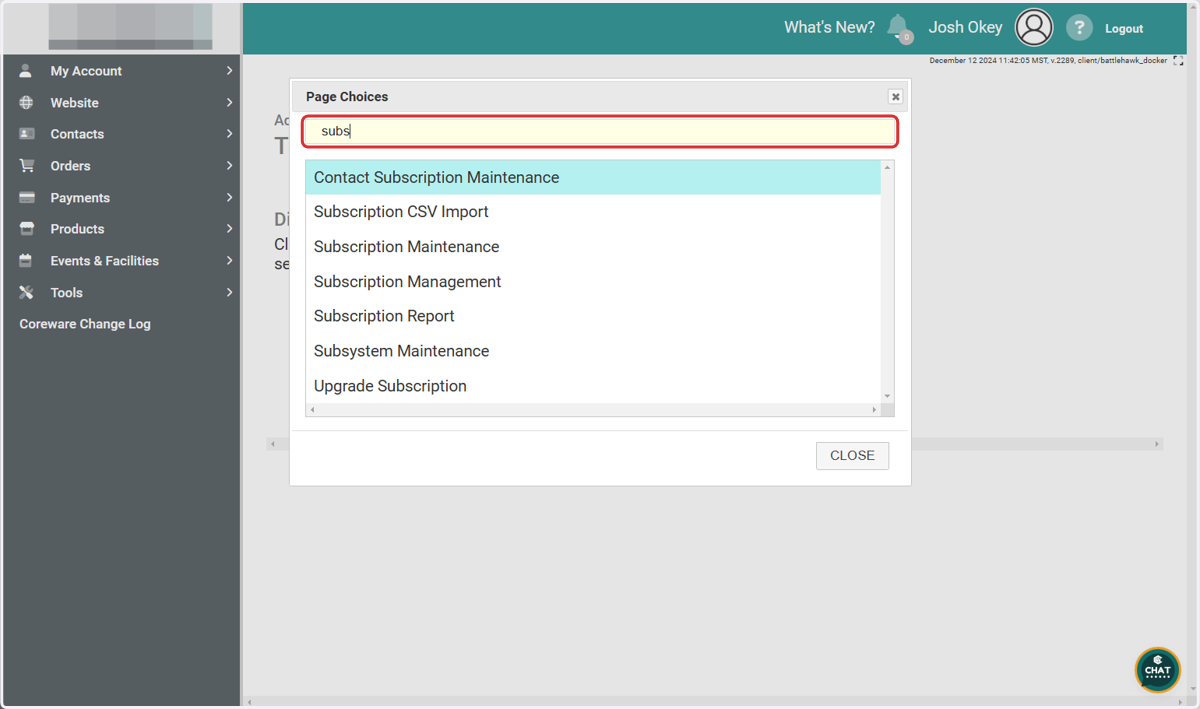
2. Filter Option
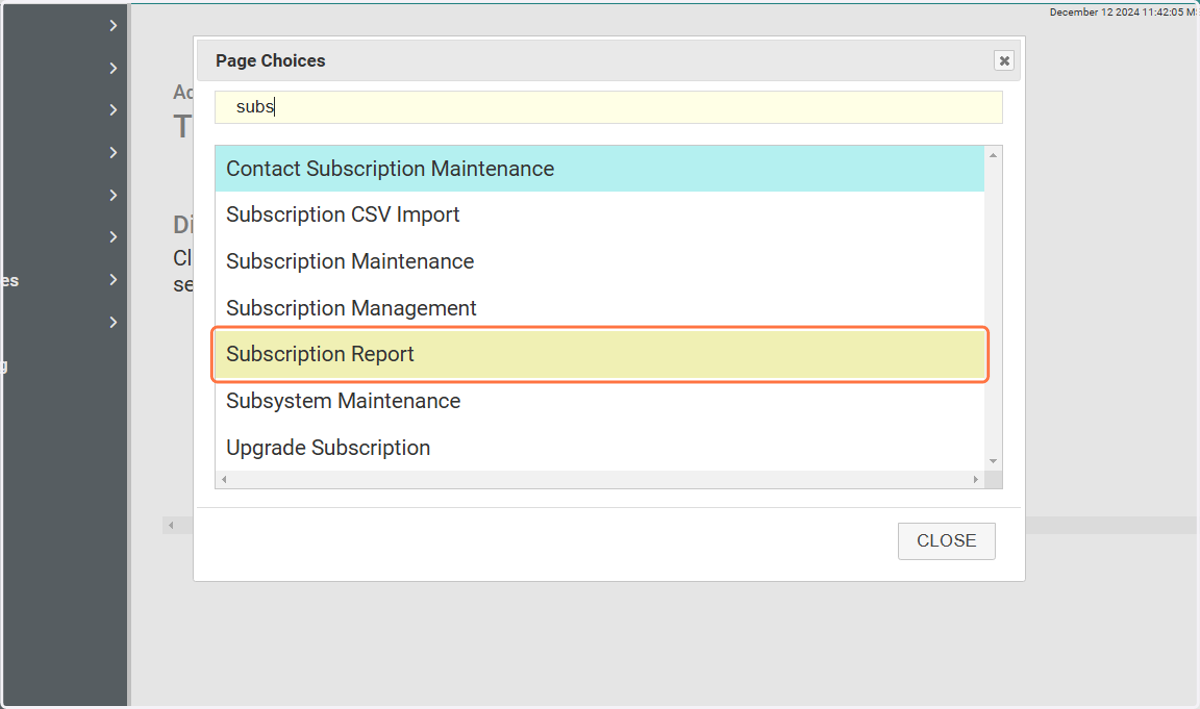
In the Page Selector search bar, type Subscription Report and select it from the options.
3. Subscription Report
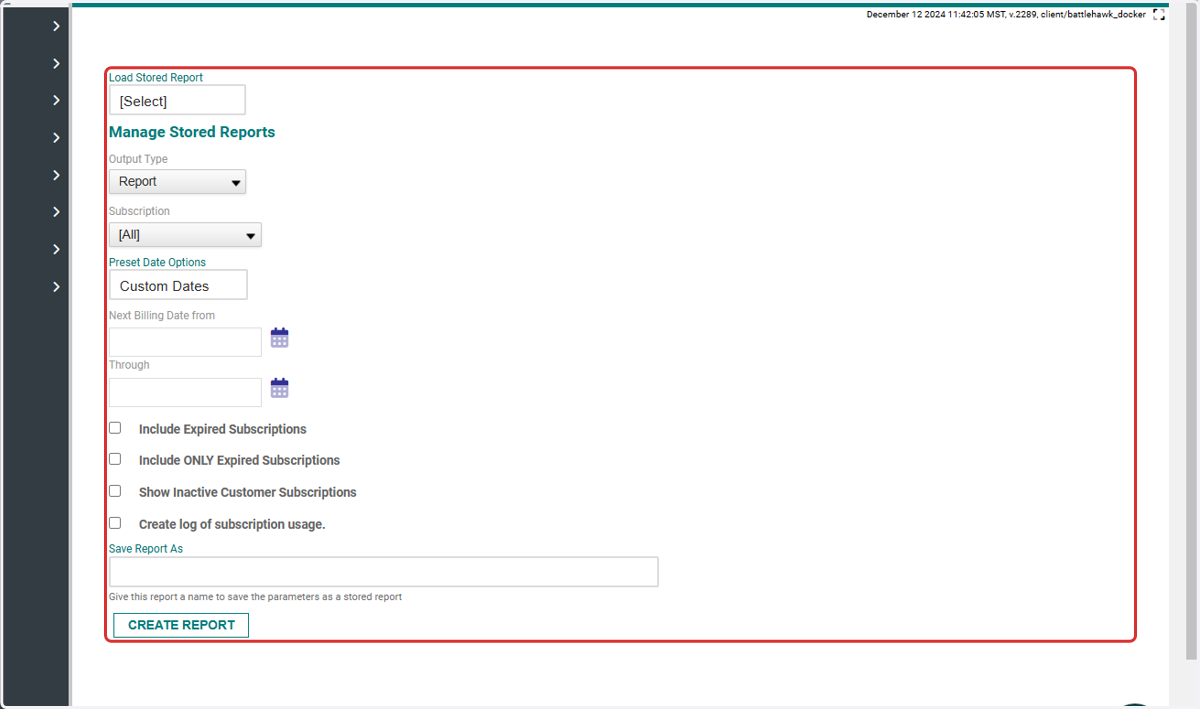
On the Subscription Report page, you'll notice various filters to customize your reporting options. While these filters are optional, here are some important details to keep in mind:
By default, Expired Subscriptions are not selected. You can choose to include or exclusively run a report for Expired Subscriptions.
If no date range is specified, the report will run for all time.
You can also click Create Report without adjusting any filters to view the default report.
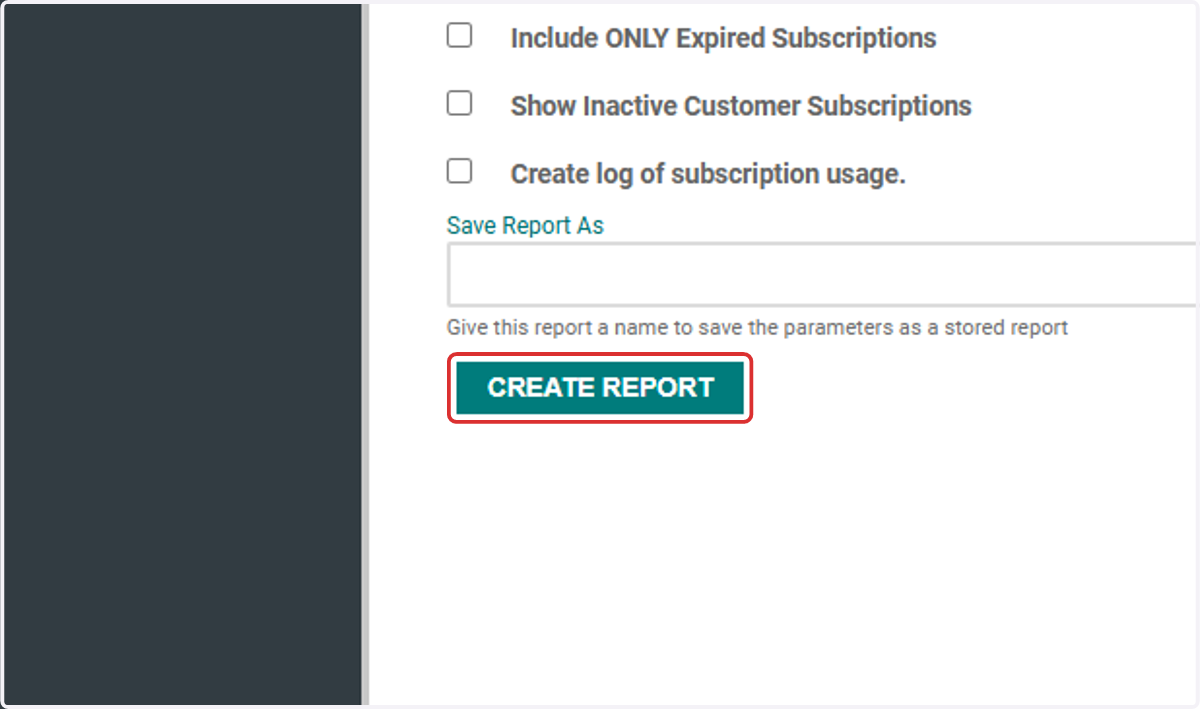
4. Click on CREATE REPORT
Click Create Report to generate the report using your specified filters.
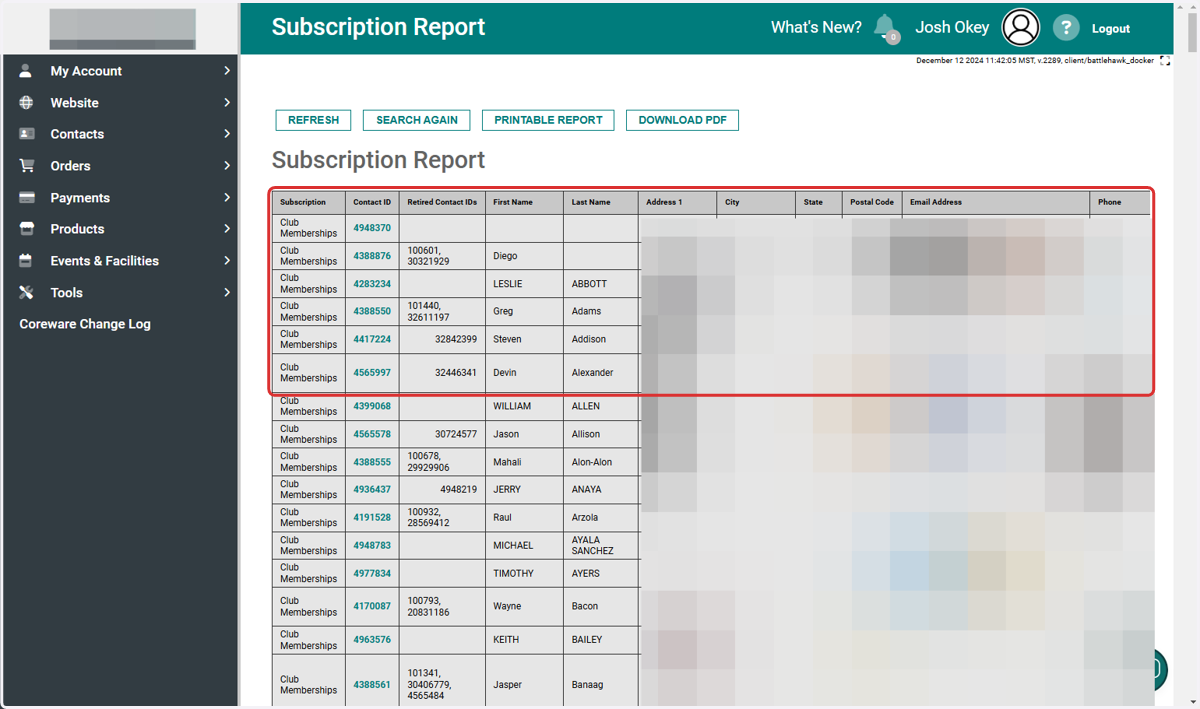
5. Subscription Report
On the subscription report you will see the information of each subscrtipion and the customers corresponding contact information.
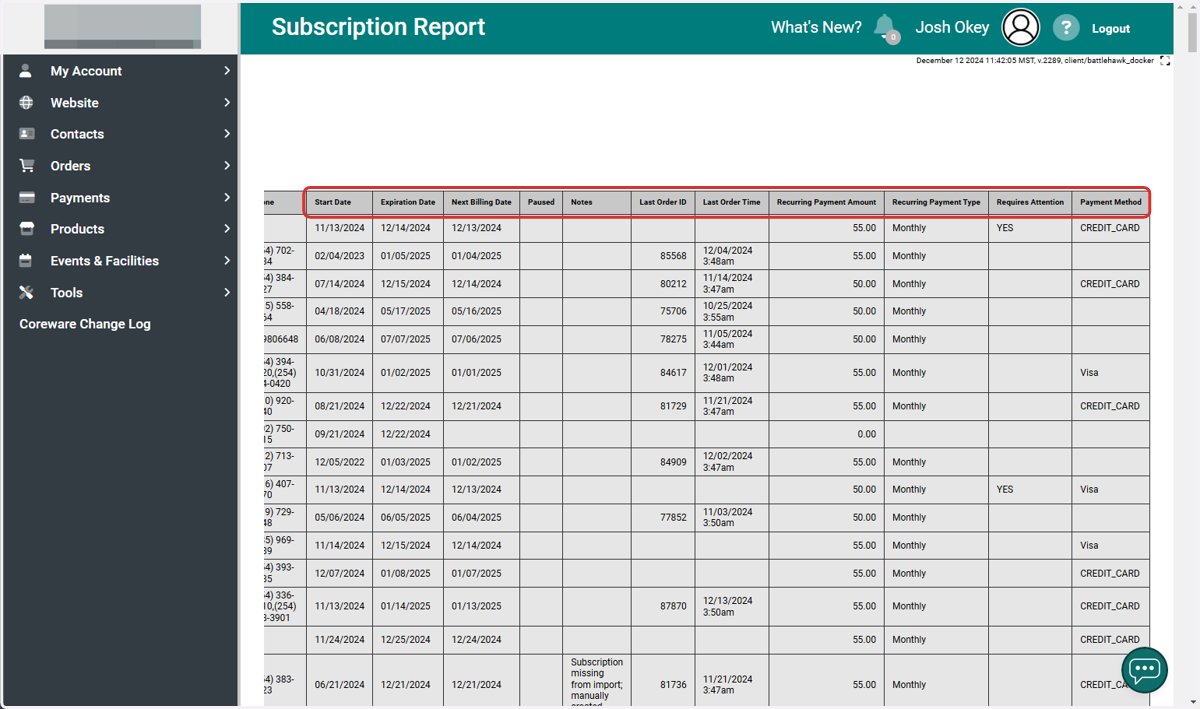
6. Additional Info
The Subscription Report also provides key details, including:
The Start Date of the subscription.
The Expiration Date, which indicates when the subscription will end if the next billing payment does not process.
The Recurring Payment Amount and Frequency.
Alerts for subscriptions requiring attention, such as needing an updated credit card on file for recurring payments.
7. Recurring Payment Report
Let’s explore another report option. Press Shift + Shift again to open the Page Selector.
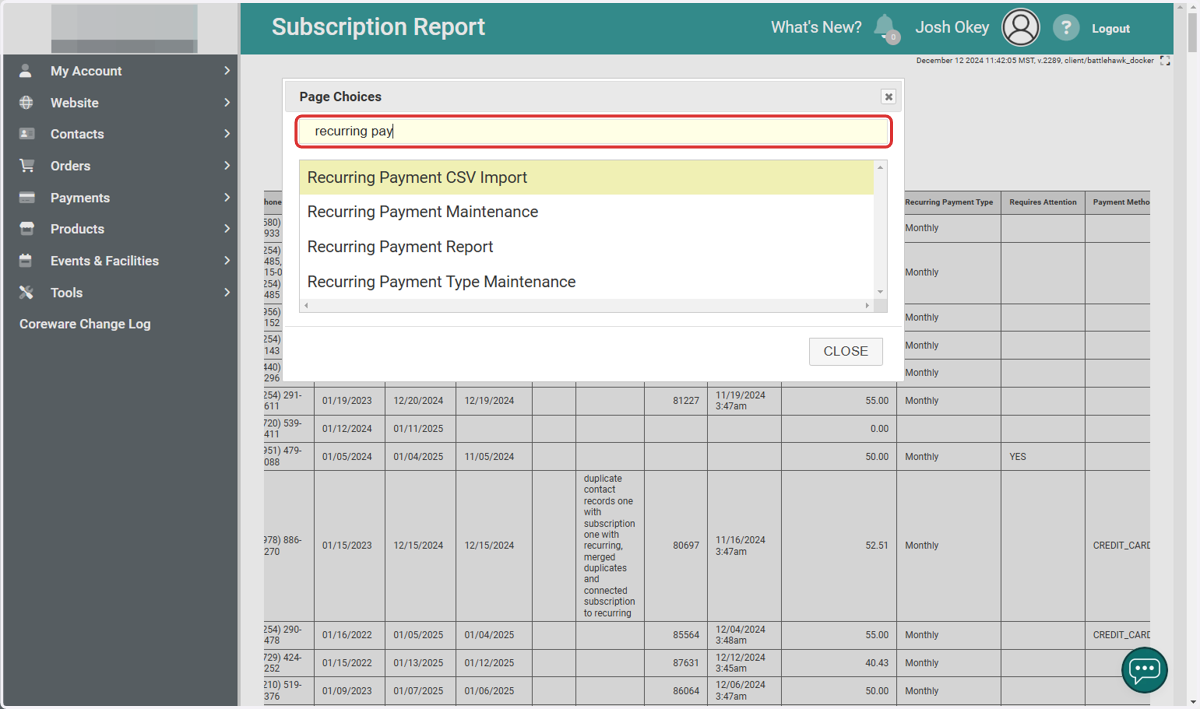
8. Recurring Payment Report
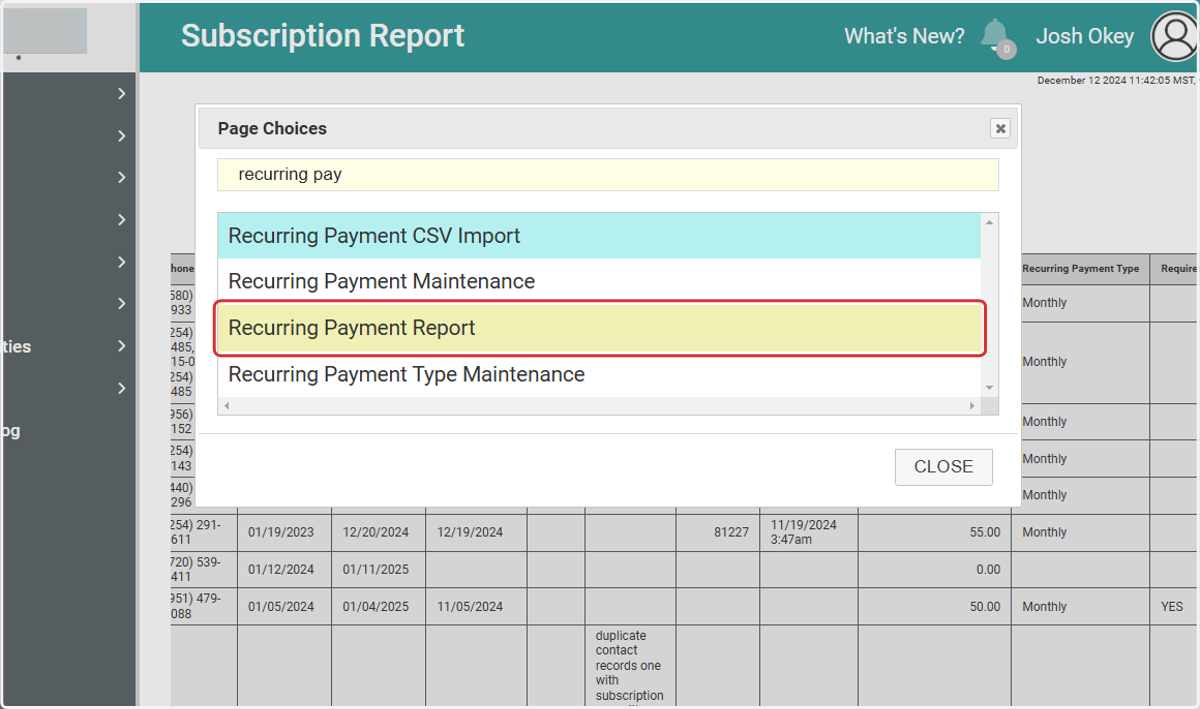
In the Page Selector search bar, type Recurring Payment Report and select it from the options.
9. Click on CREATE REPORT
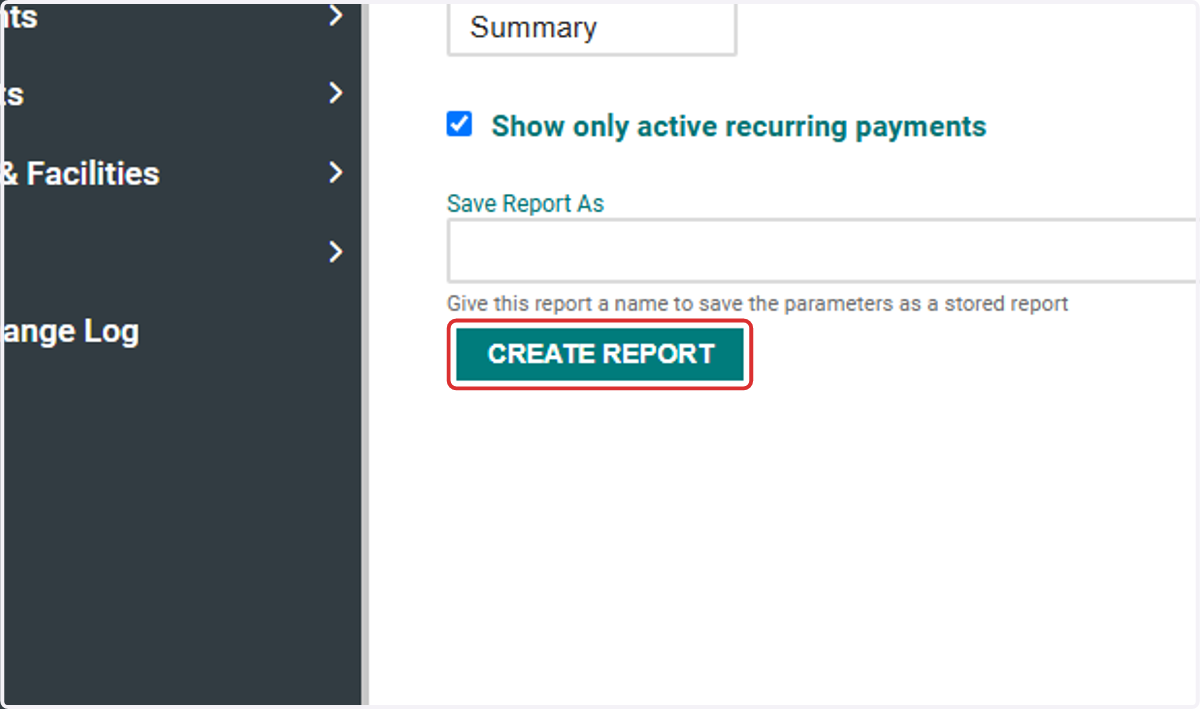
Click Create Report to generate your Recurring Payment Report.
Additionally:
You can assign a name to the report to save it for future use.
Select the option to view only Active Recurring Payments to gain insights into your cash flow forecast.
10. Recurring Payment Report
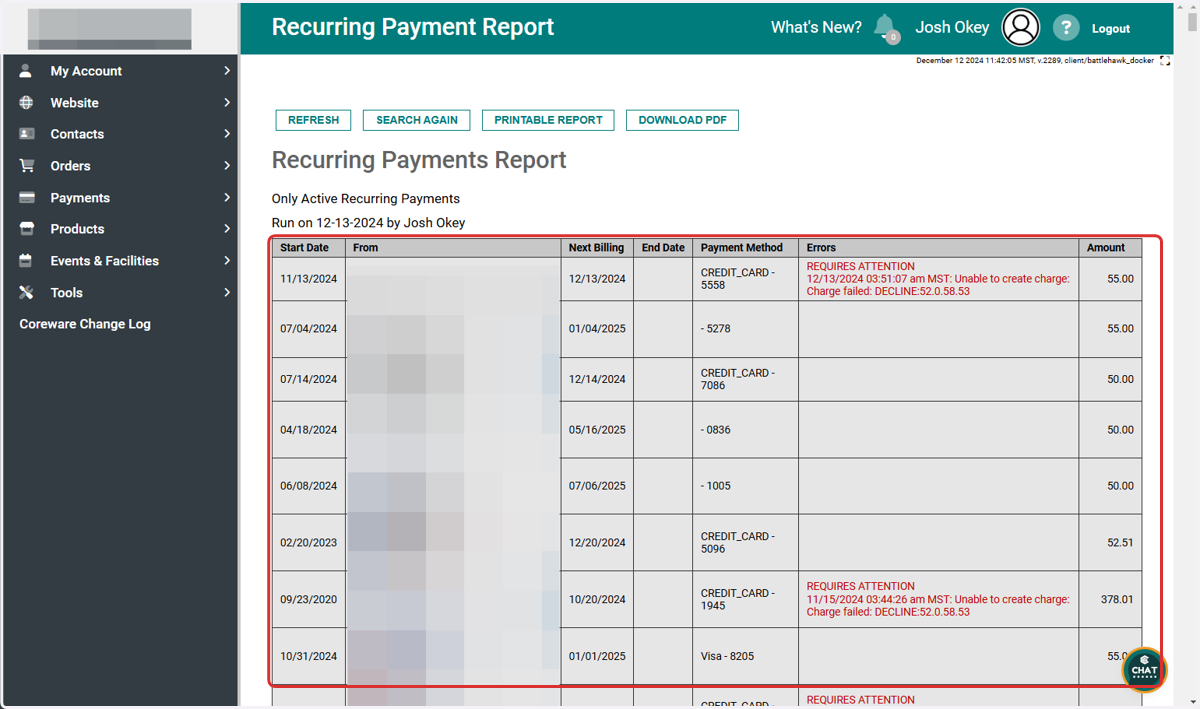
The Recurring Payment Report allows you to easily view:
Your client’s Start Date.
The Next Billing Date.
The Membership Amount.
Any errors in transactions, such as a declined card, enabling you to quickly identify and resolve missed payments.
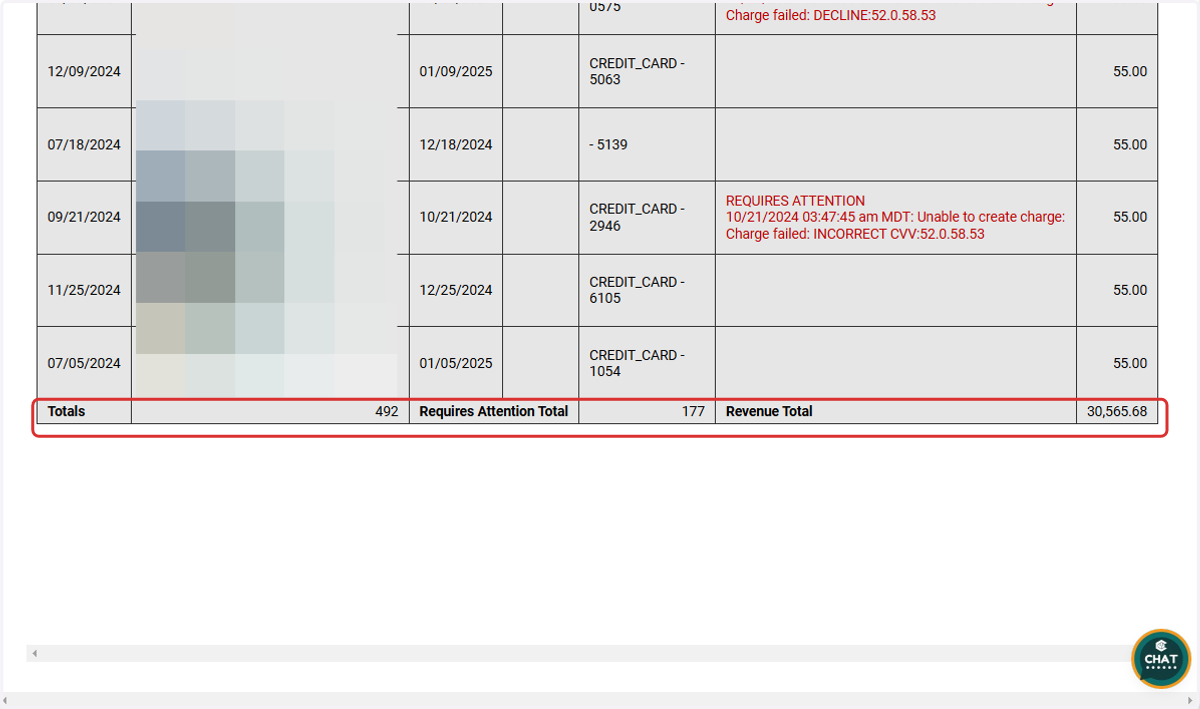
11. Grand Totals
The Recurring Payment Report includes a Grand Totals section, providing a summary of:
The total number of active memberships.
The number of memberships that require attention.
The projected recurring revenue from active memberships.