Mapping Customers
Every customer in Infigo that will be placing orders needs to be mapped to a printIQ Customer Code. This tutorial will show how to set up this mapping.
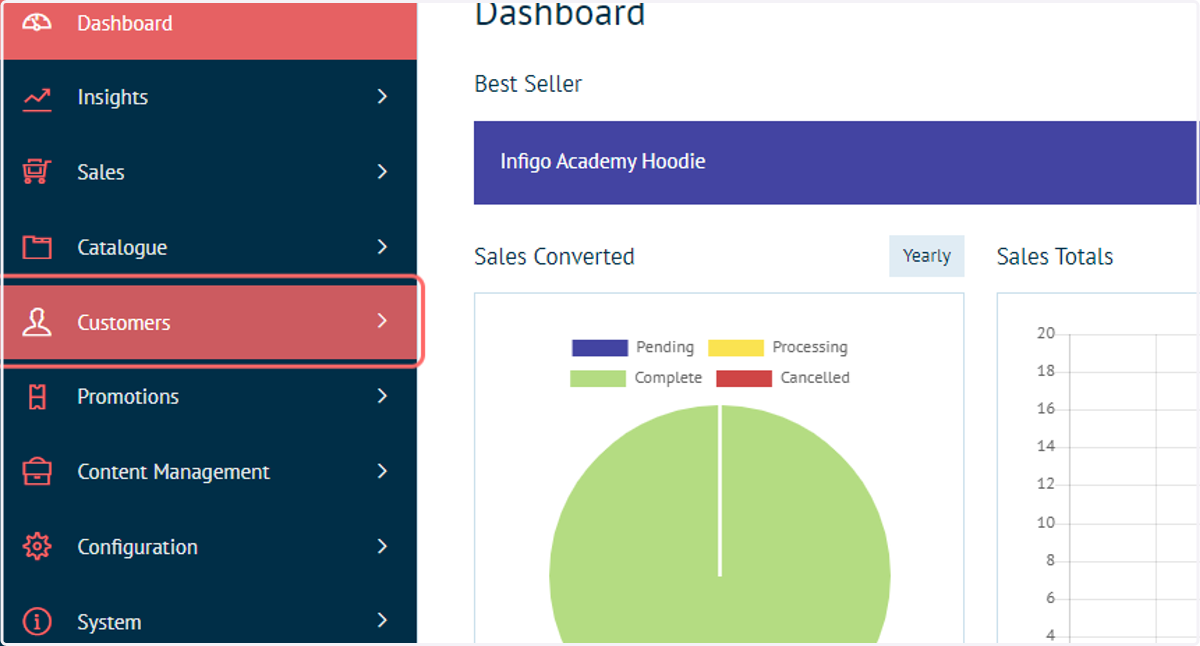
1. Click on Customers
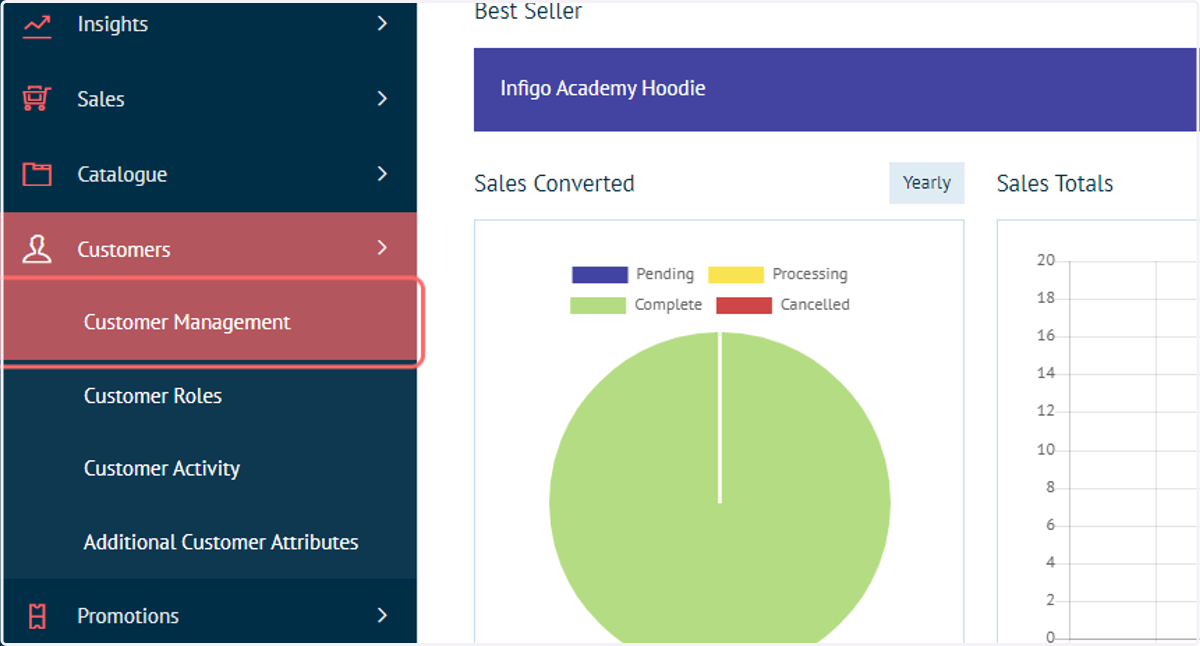
2. Click on Customer Management
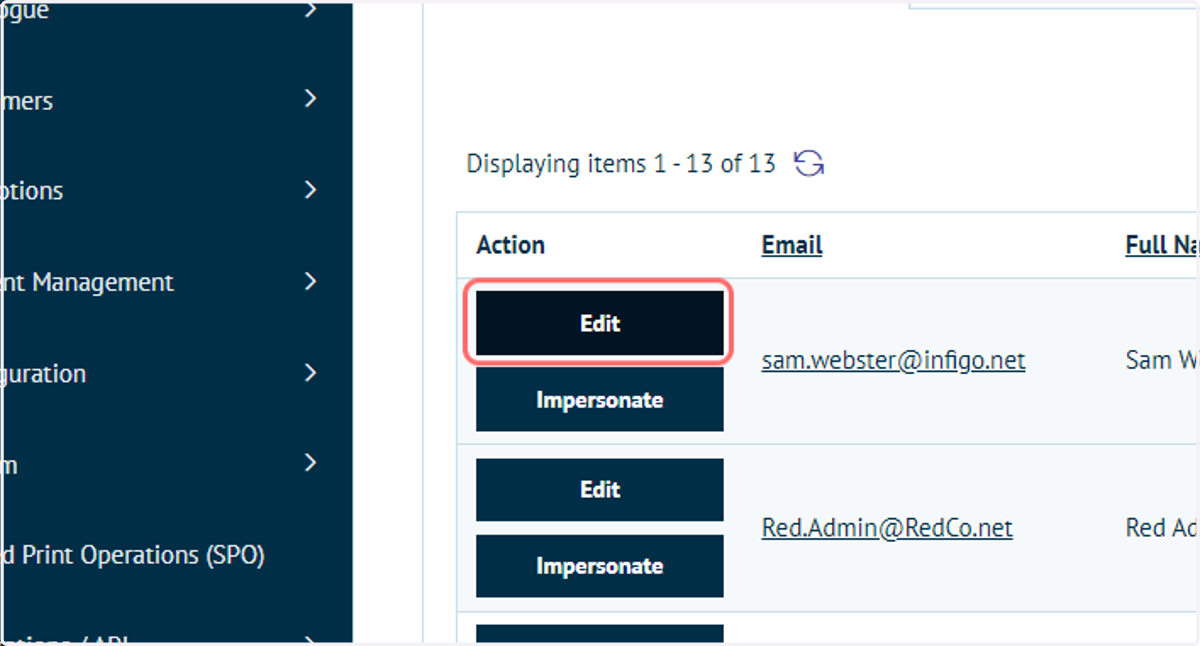
3. Create a customer in Infigo or take an existing customer and click Edit
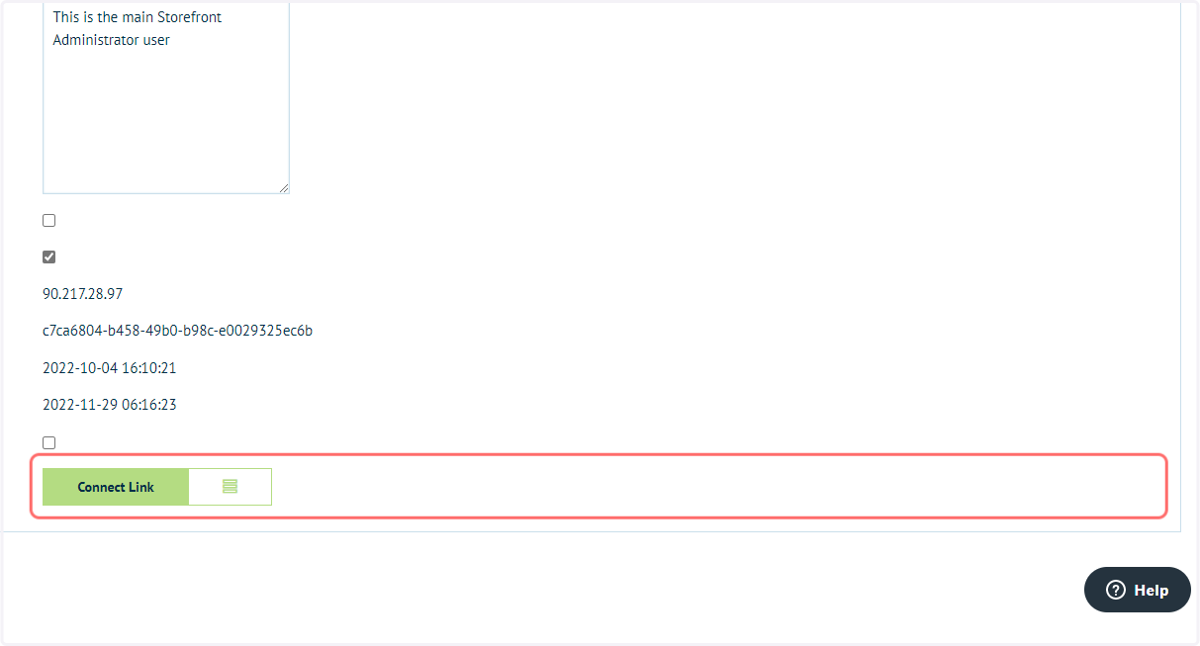
4. Click on Connect Link
Our Magic Green Button - 'Infigo Connect Link' - Keep an eye out for this throughout admin. It will be your best friend when setting up an MIS plugin in Infigo.
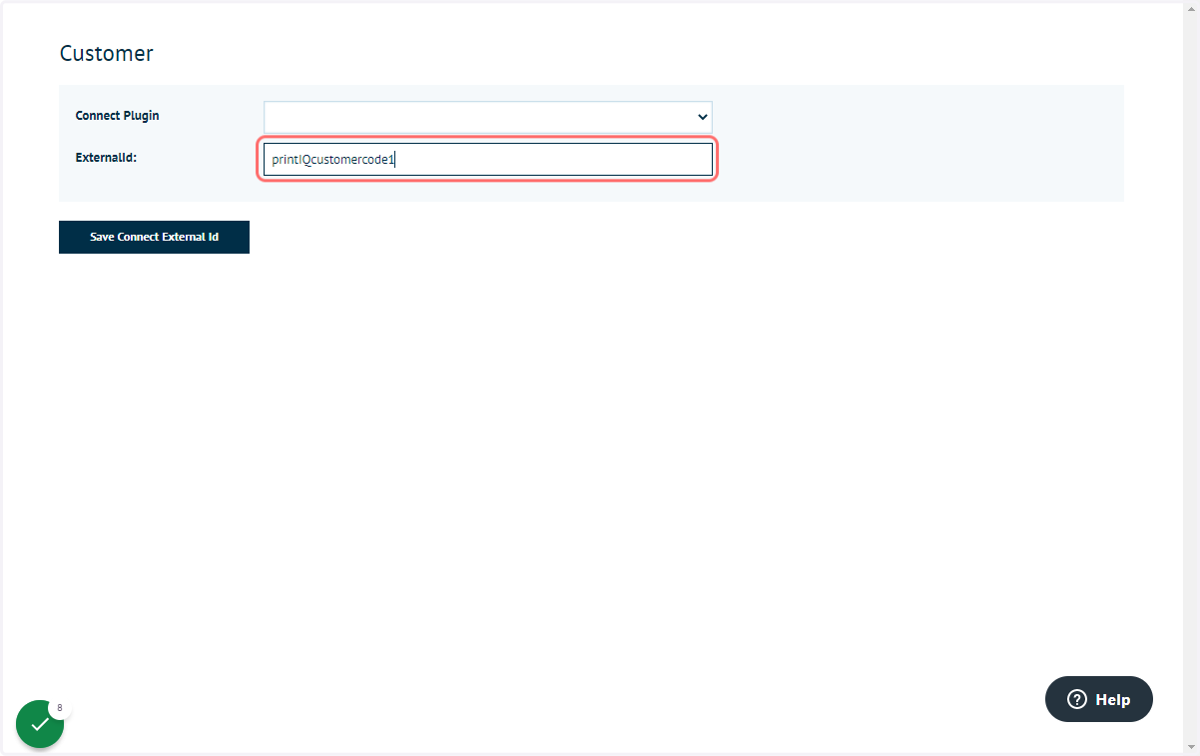
5. Enter link details
In the popup you can enter in your printIQ Customer Code. This code will be passed into printIQ with every estimate and order that this customer places in Infigo.
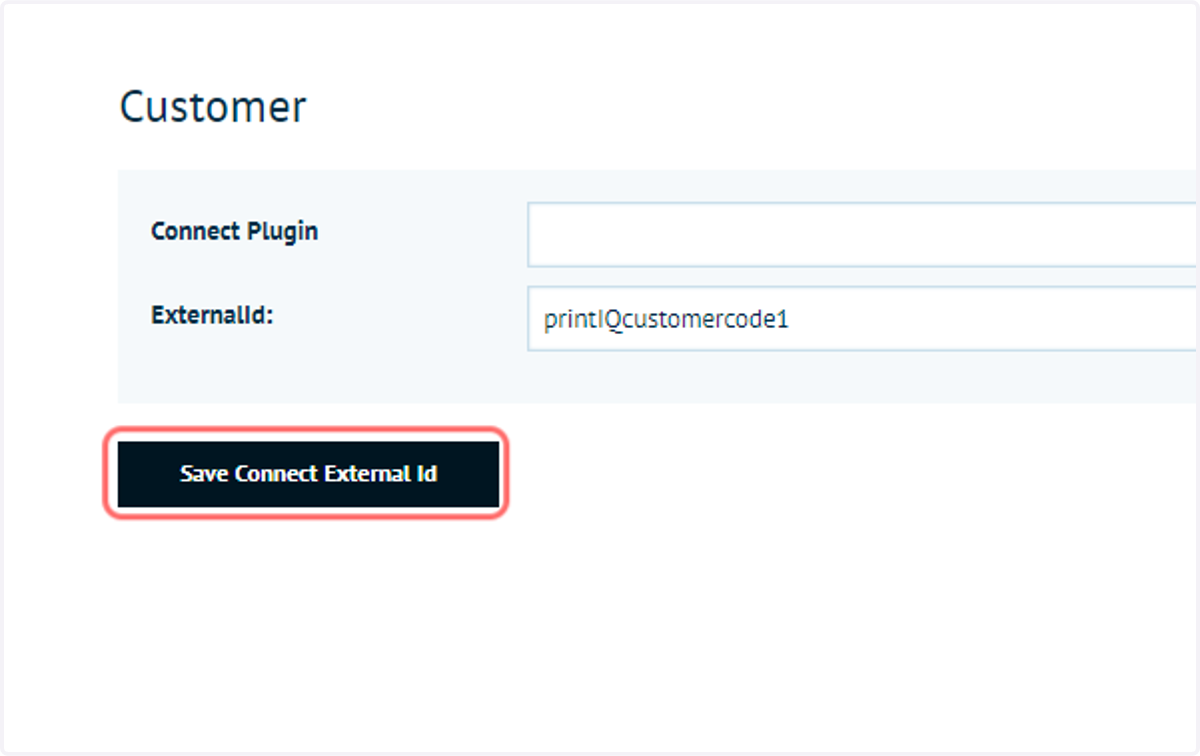
6. Click on Save Connect External Id
7. I do not wish or need to have individual Customer Codes per unique customer
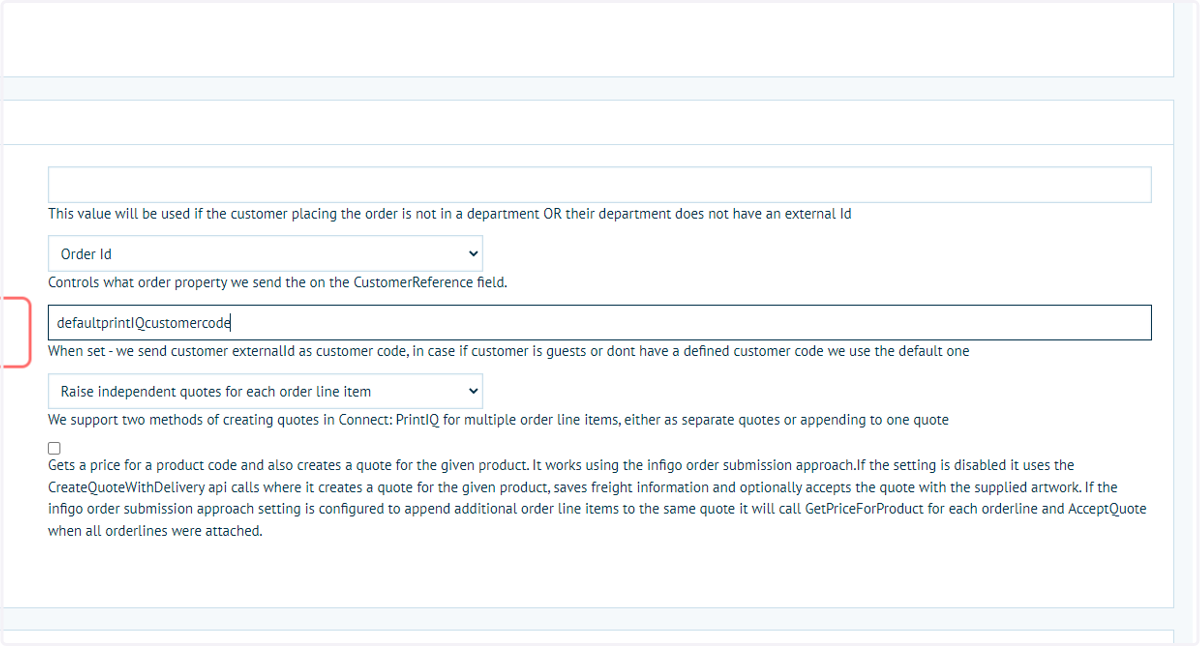
If you do not wish, or need to have individual Customer Codes per unique customer you can set a storefront default customer code.
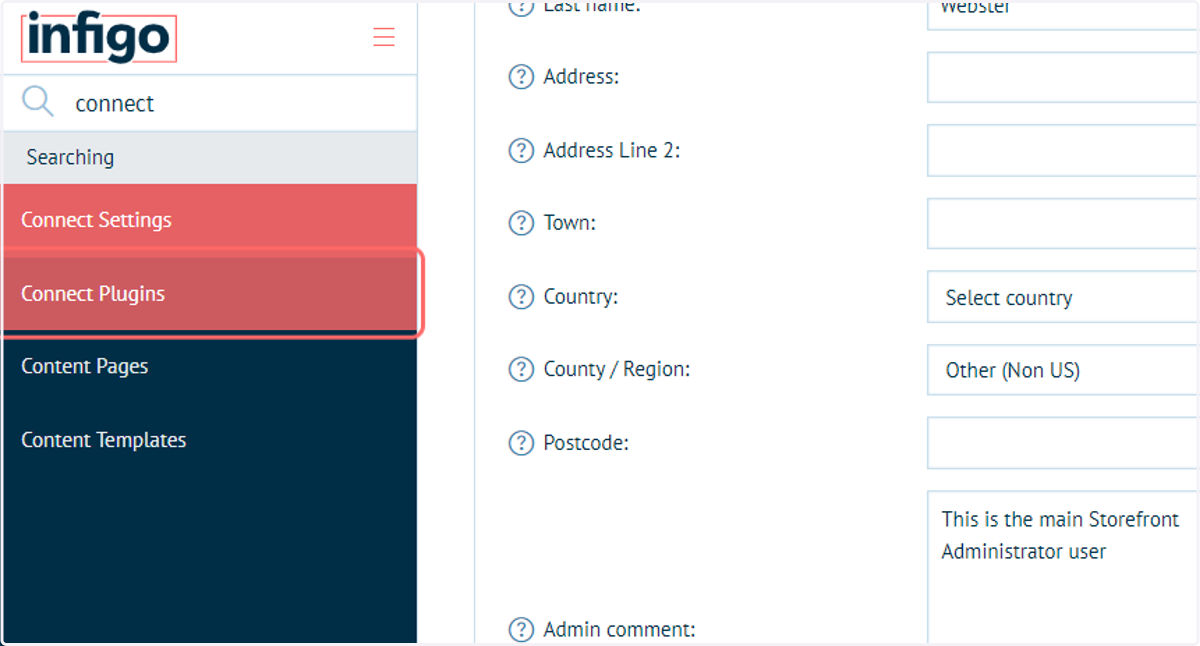
8. Type "connect"
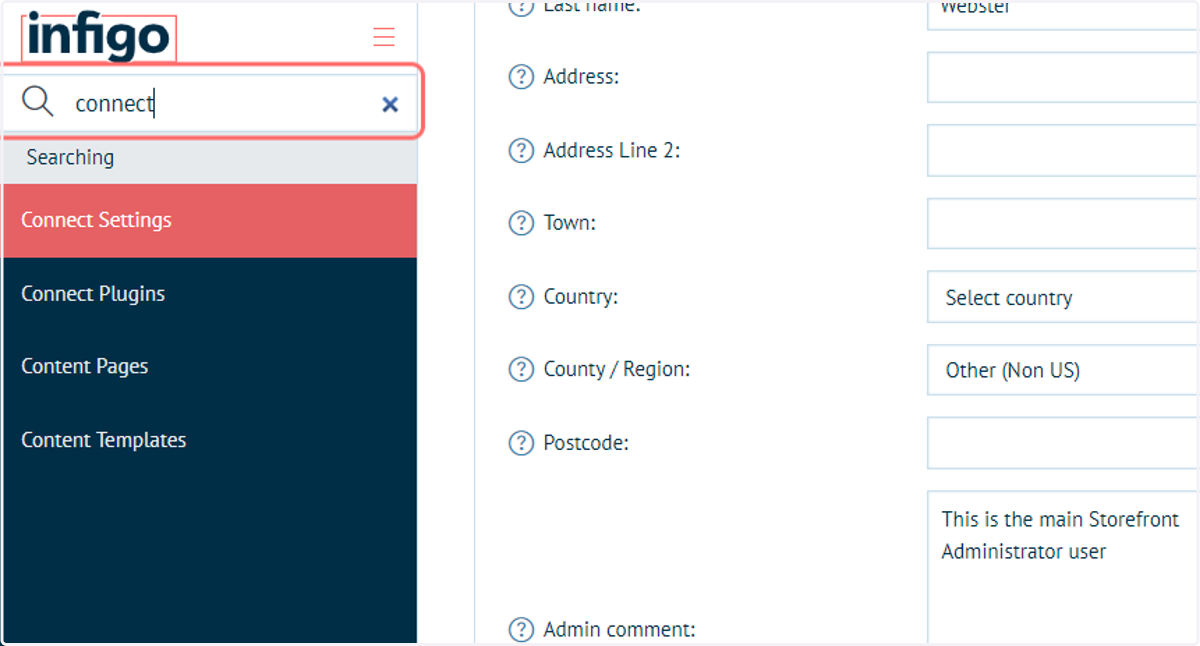
9. Click on Connect Plugins
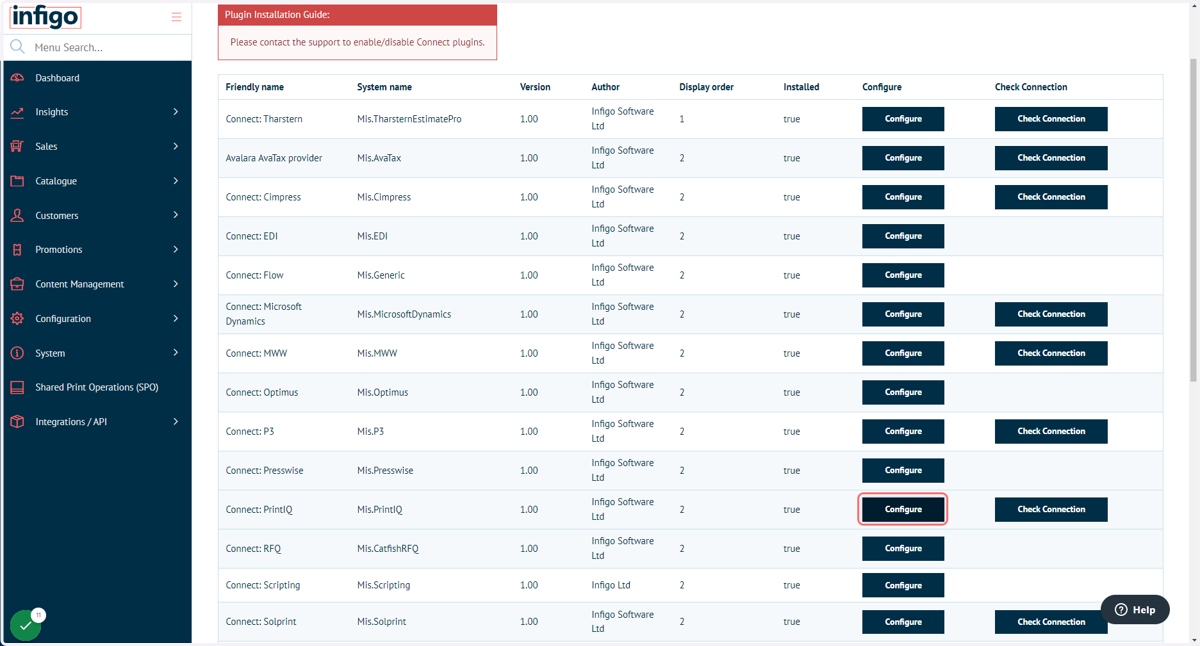
10. Click on Configure next to the Connect:PrintIQ plugin
11. Enter a value into Default Customer Code
Located in the Other Settings section of the PrintIQ configuration screen.
This value is a Storefront default, fall back Customer Code that is used when an order is placed by a customer that doesn't have a Customer Code assigned directly to them.