The Infigo Lightning Build | THOR_001
Congratulations on purchasing Infigo! You've taken that important first step in your web-to-print journey, but where do you go next?
Well don't worry, we've got you covered with our Lightning Build guide.
Infigo is a software that scales with you. Need a super-simple storefront? No problem! As we'll see in this tutorial, you can get a basic storefront up and running as quick as a flash!
Remember, this guide has been constructed to give you a surface level overview of Storefront builds. You'll see concepts and names which may seem a little unfamiliar, along with many settings we will not touch at all in this tutorial.
Don't worry, we'll get to all that in later tutorial series. Plus, our Infigo Academy is FULL of information on all things Infigo.
Want to jump straight to something a little more substantial? No problem at all. Check your Infigo Academy portal account for more advanced Learning Pathways. These will go through the our software in greater detail, but of course that will mean a bigger time commitment, too.
So, without further adieu, let's get started with our Lightning build!
1. Ready, Set, GO!
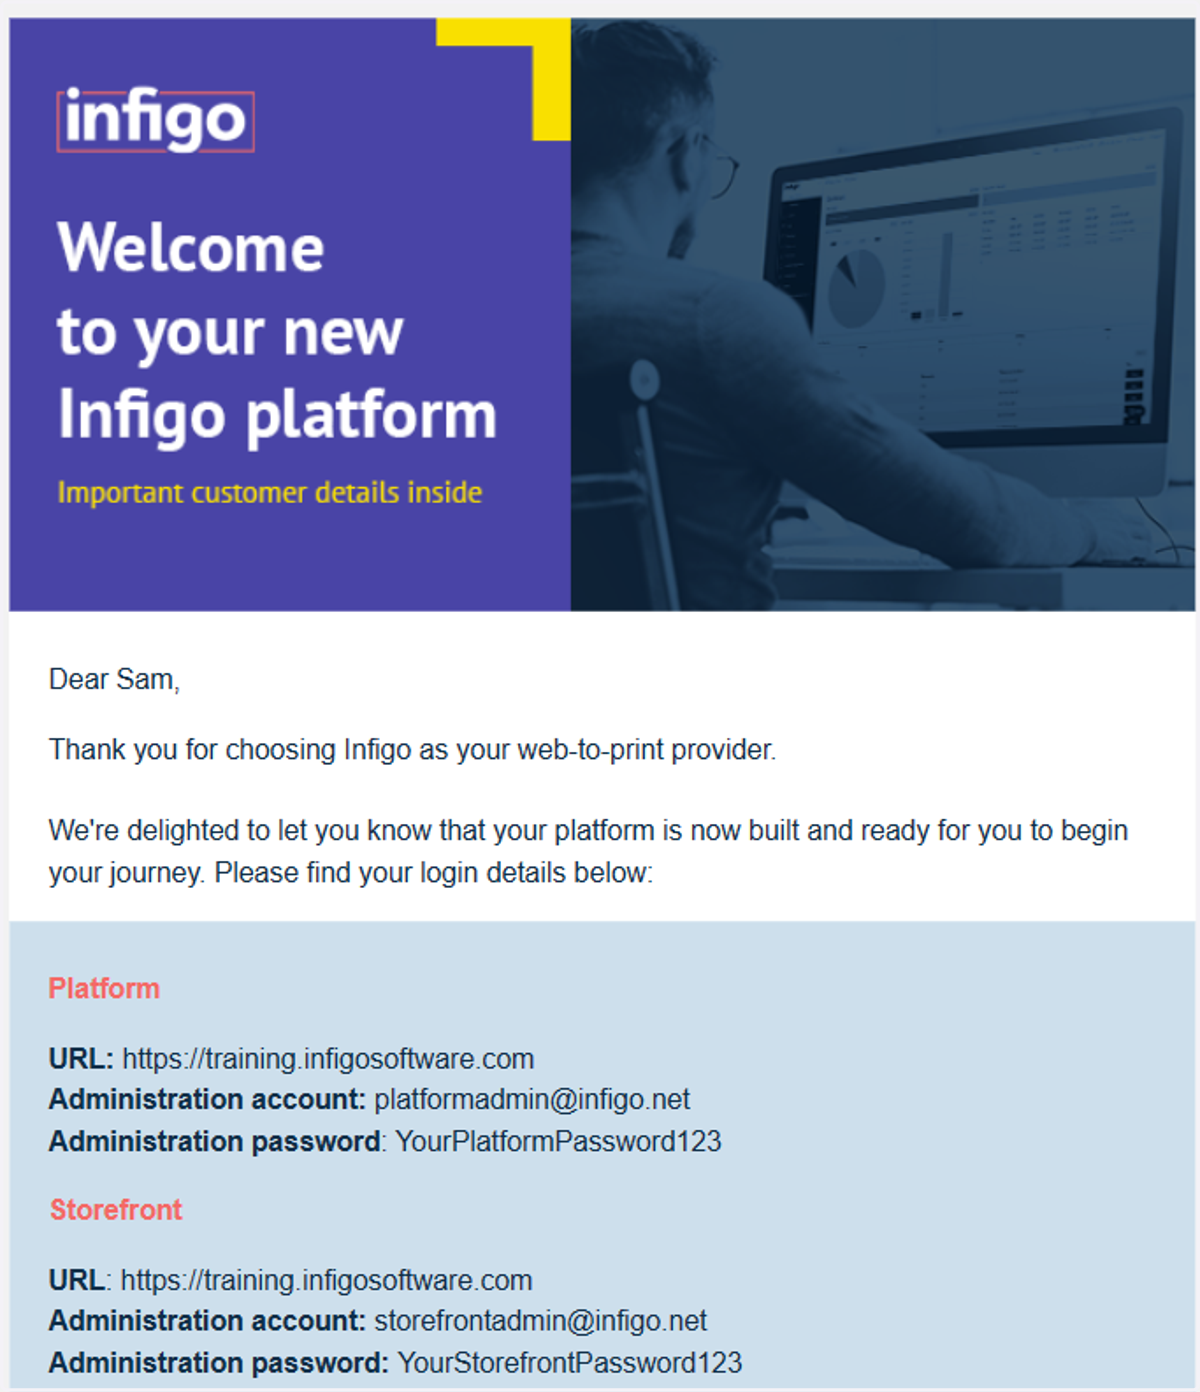
Start by logging in to your Platform account. You should have received an email from one of our team with your login details
Creating a new Storefront
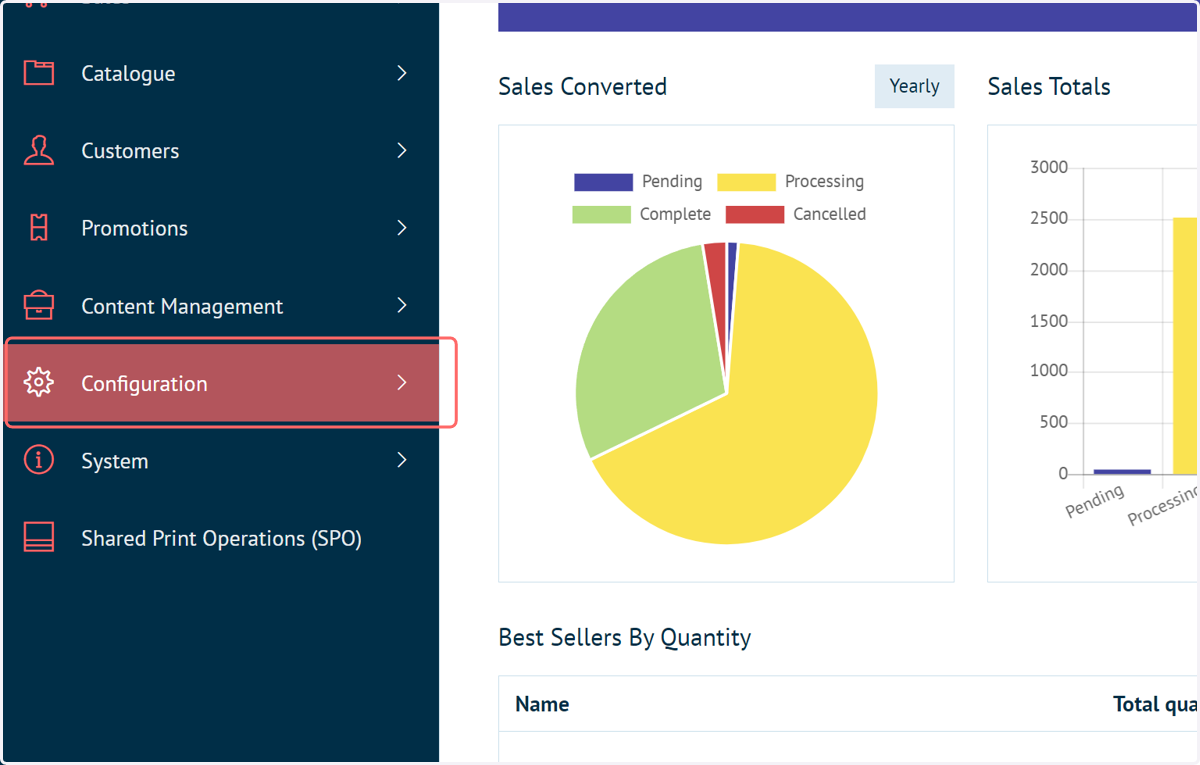
2. Click on Configuration
Let's begin by creating a new Storefront, which sits on your Infigo Platform.
Each Platform can have numerous Storefronts, limited by the amount of Storefronts you have purchased from Infigo.
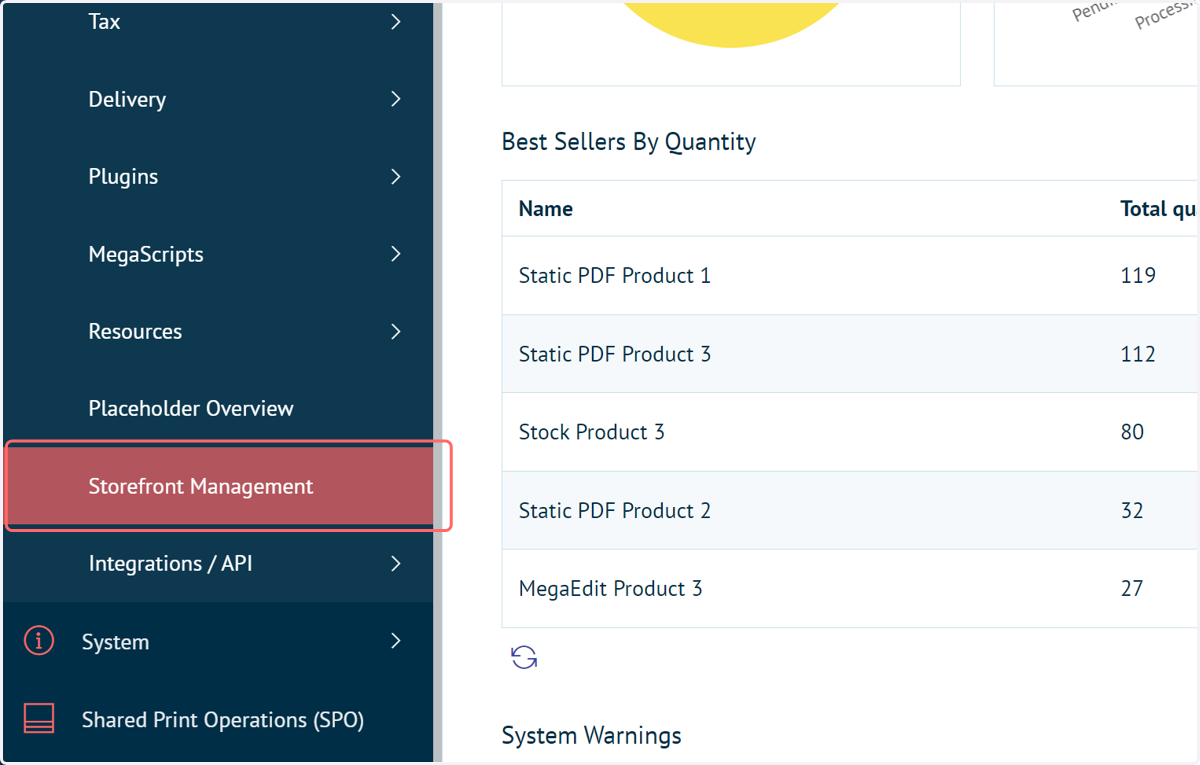
3. Click on Storefront Management
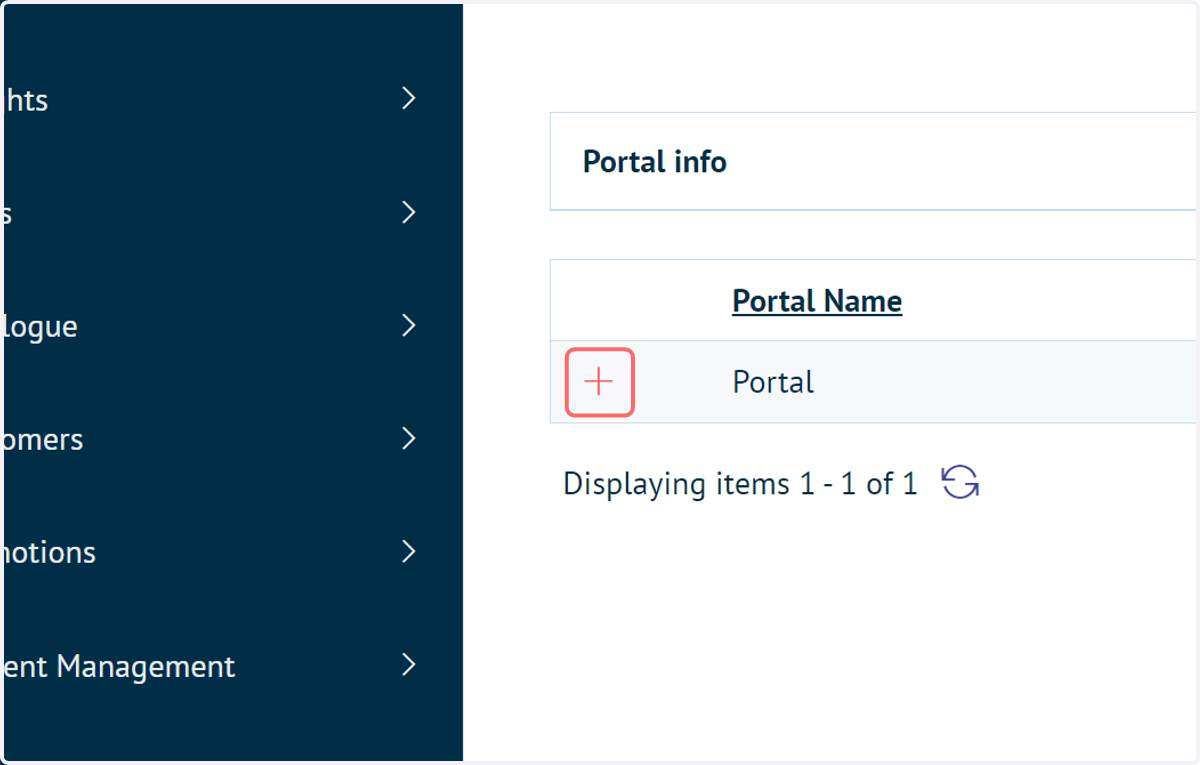
4. Click the '+' icon to see existing Storefronts
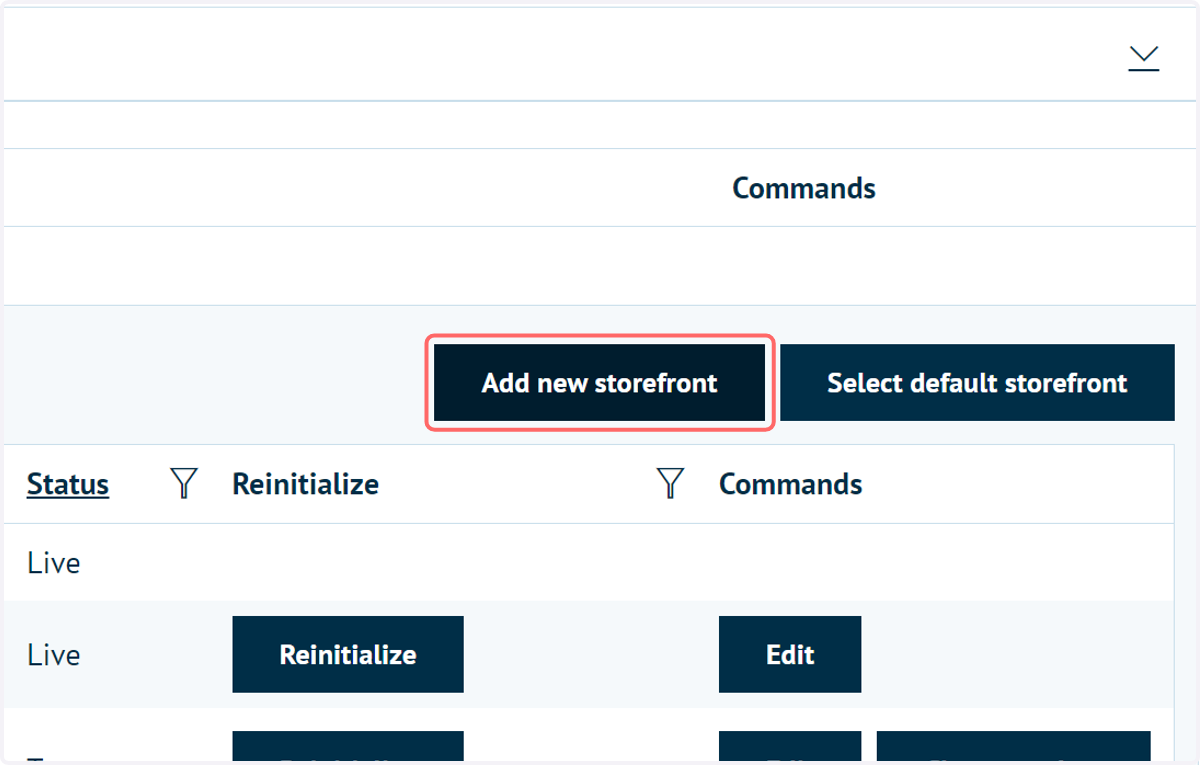
5. Click on Add new storefront
6. Enter Storefront details
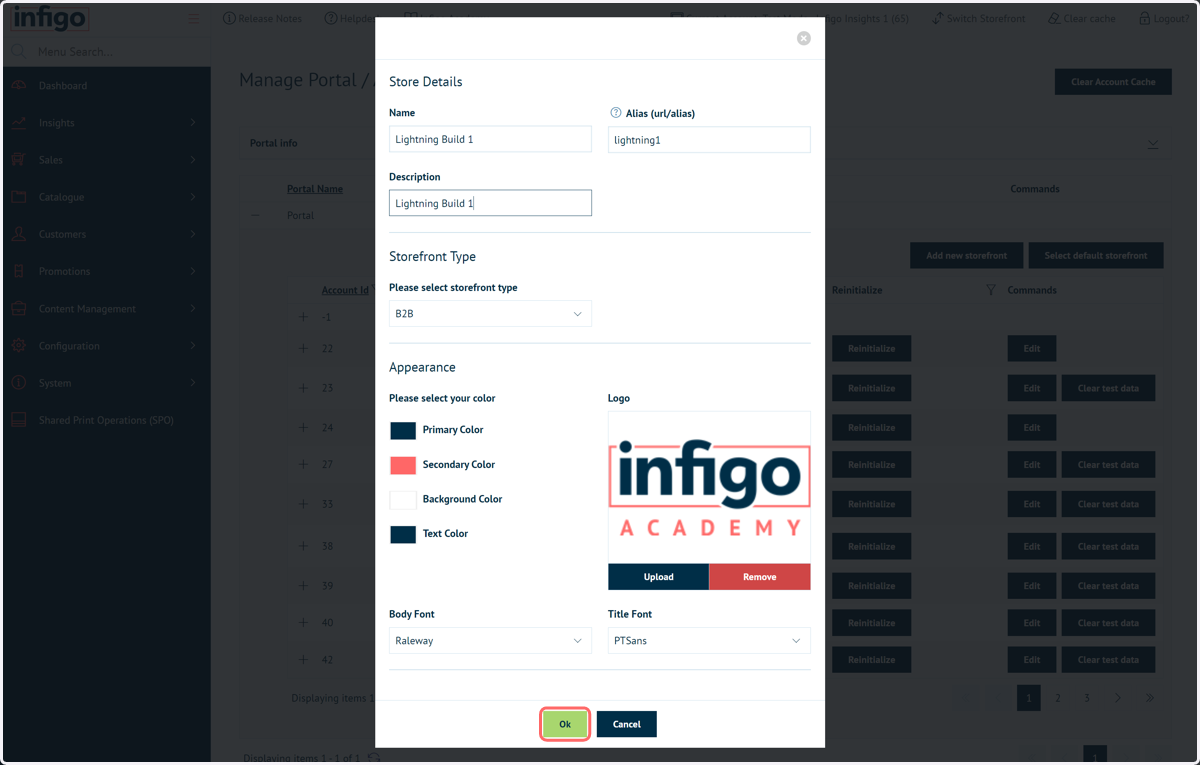
Enter a name, description and alias for your new Storefront. The alias defines the URL used to access the Storefront.
So in my case, for example, the platform URL is "https://training.infigosoftware.com", however the addition of an alias will allow me to access this Storefront on the platform.
The Storefront will be accessed using "https://training.infigosoftware.com/myalias".
Here, you can also define Storefront type, default Storefront colours, font and upload a logo.
7. Wait for Test mode
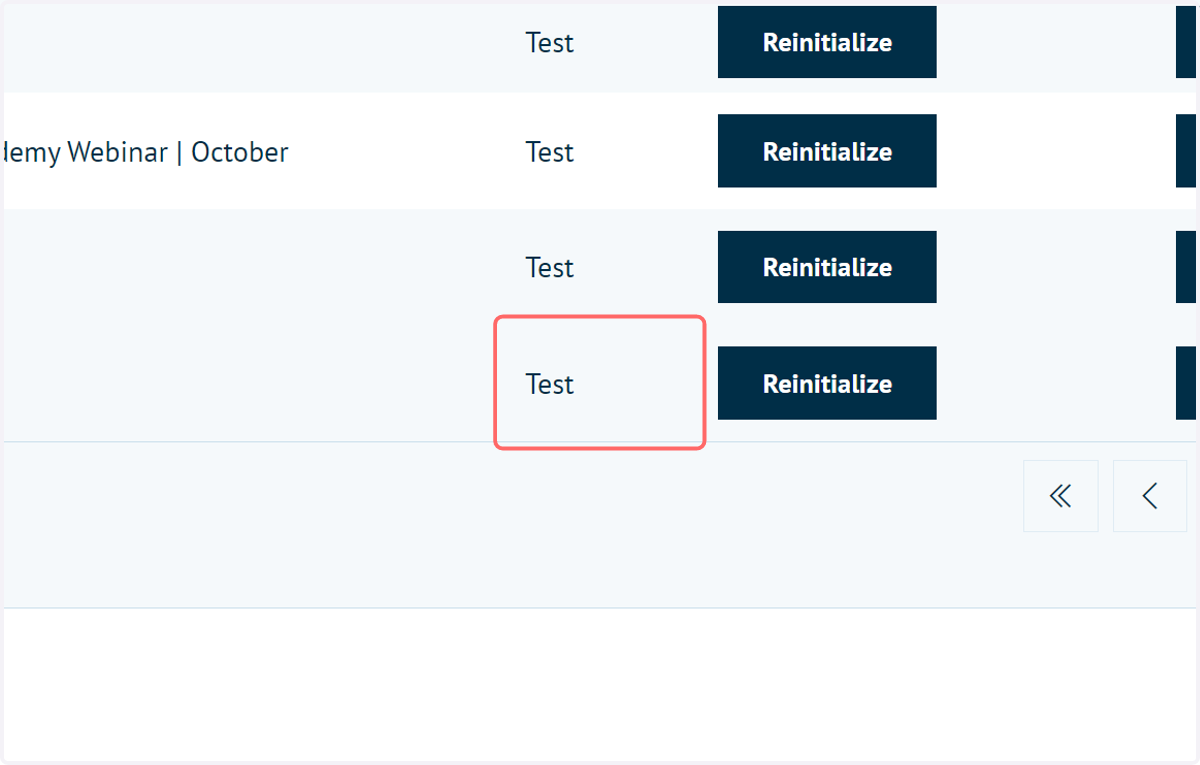
The Storefront will take a couple of minutes to initialise. Hit the refresh icon periodically until the status reads Test. Once your Storefront is ready to fully deploy, you can later change this status to Live and clear out data such as Customers and orders created during testing.
8. Click on Switch Storefront
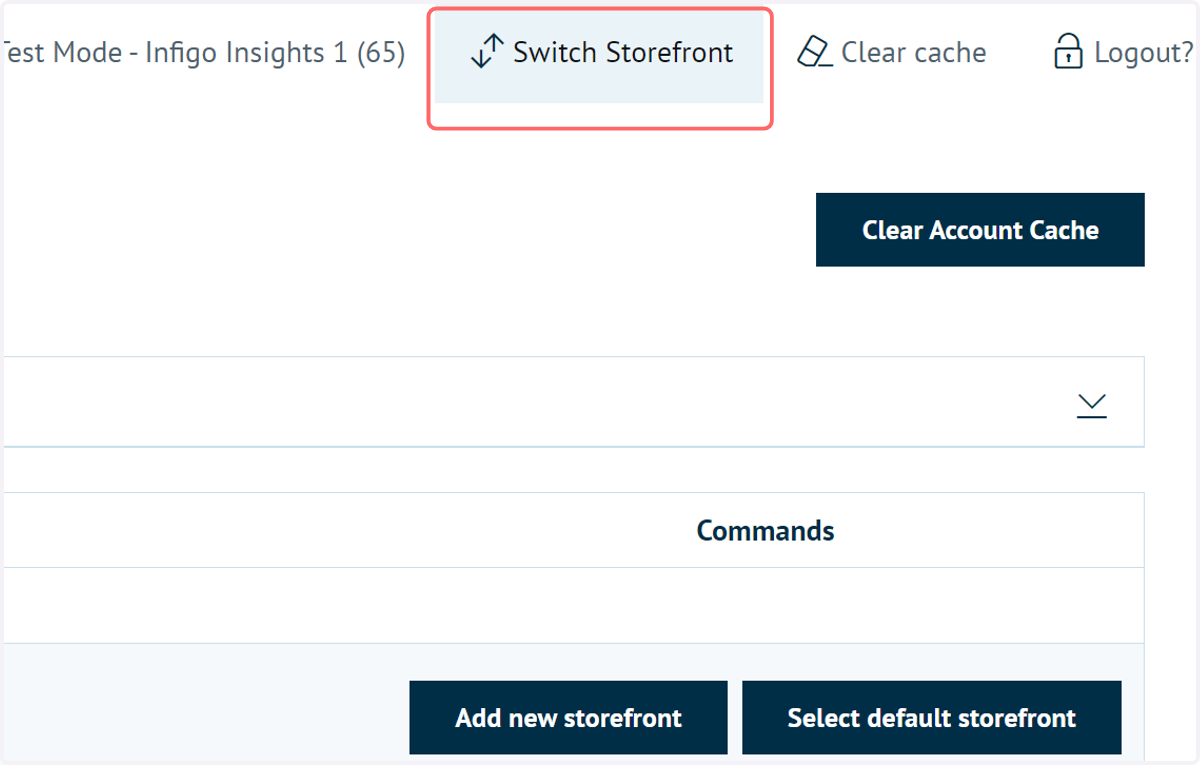
Next, we navigate to our newly created Storefront
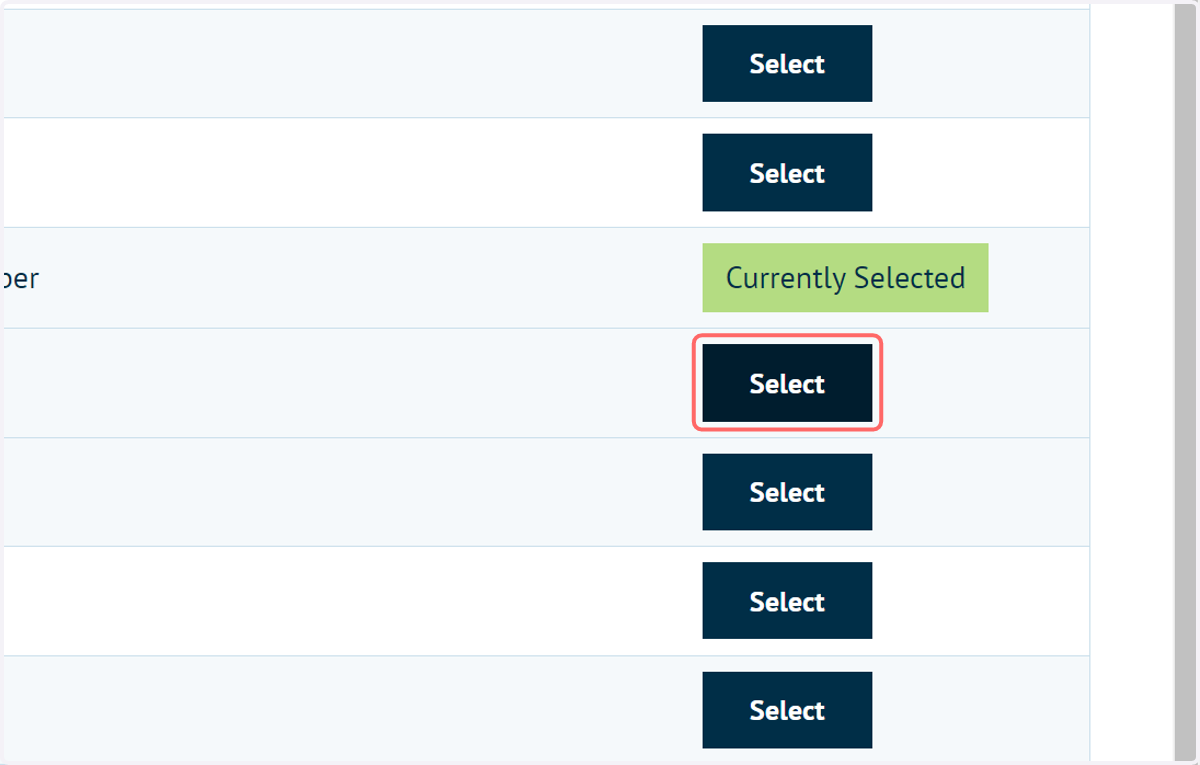
9. Click on Select on your new Storefront.
Creating a new Storefront administrator
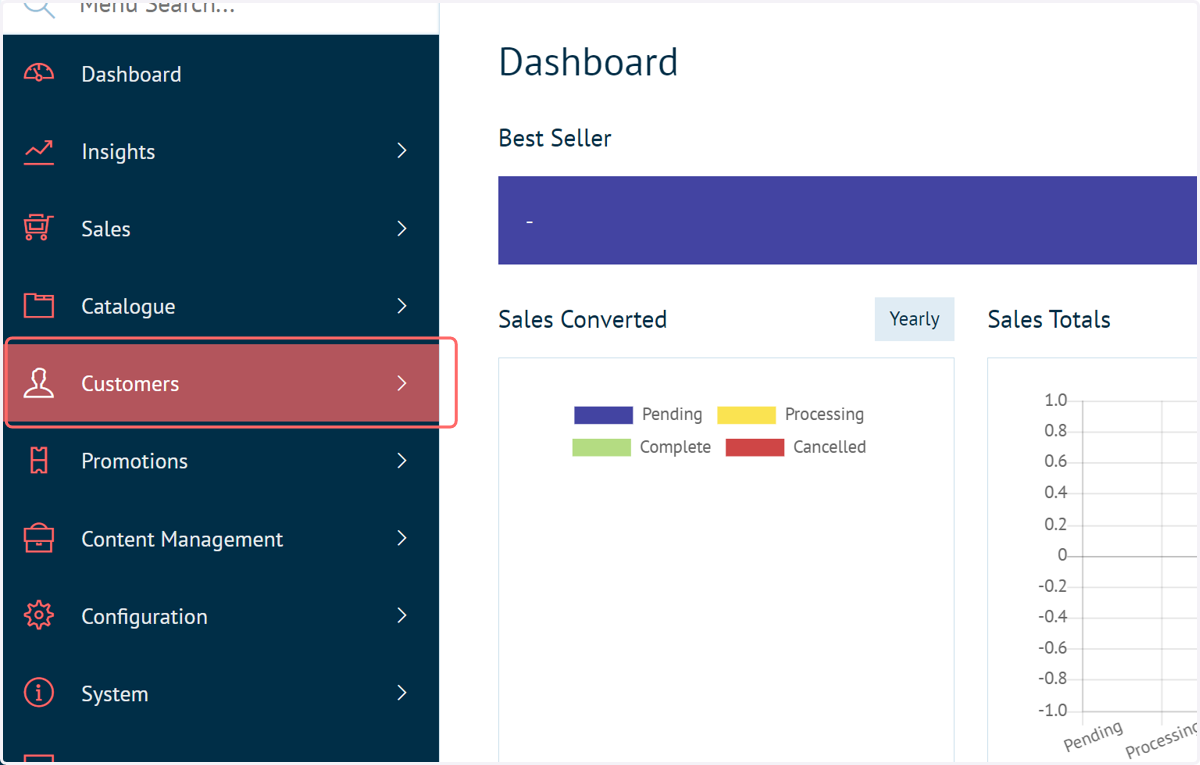
10. Click on Customers
Next, we will create a Storefront Administrator account, which we will use going forward to implement changes to this particular Storefront.
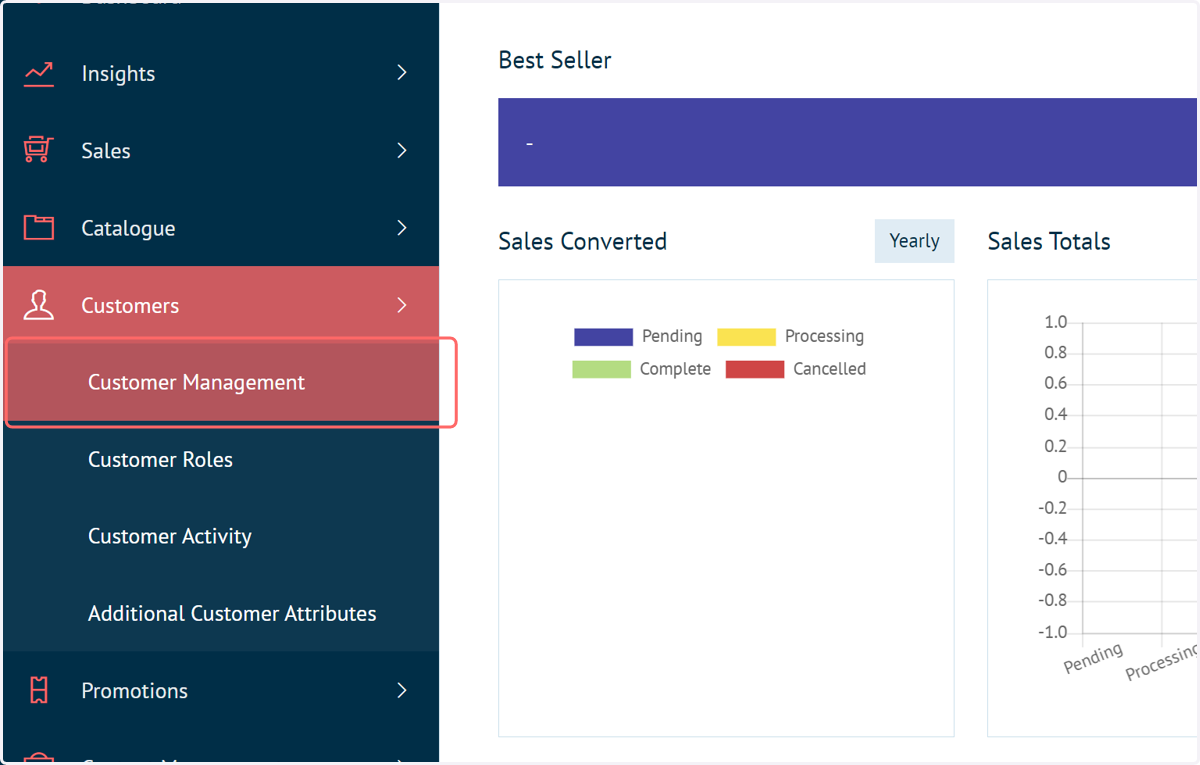
11. Click on Customer Management
12. Click on Add new
13. Input an email address and password
These are the only mandatory fields on the Customer Info page.
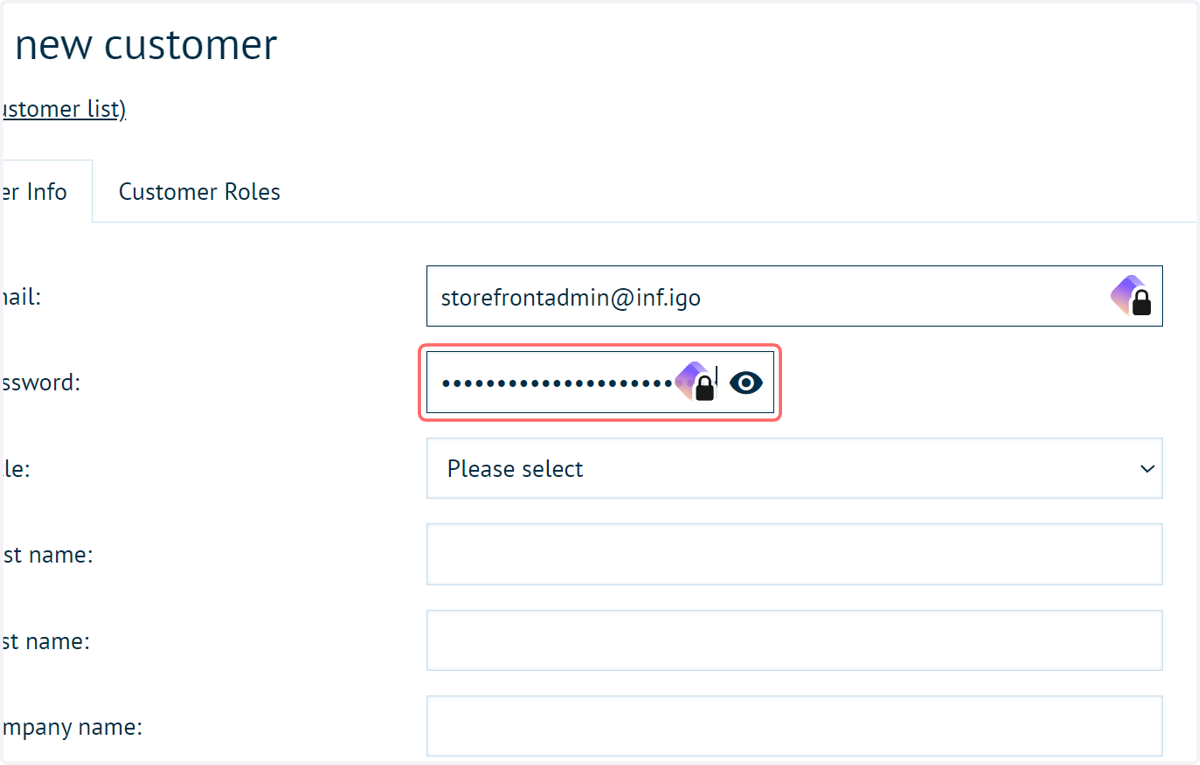
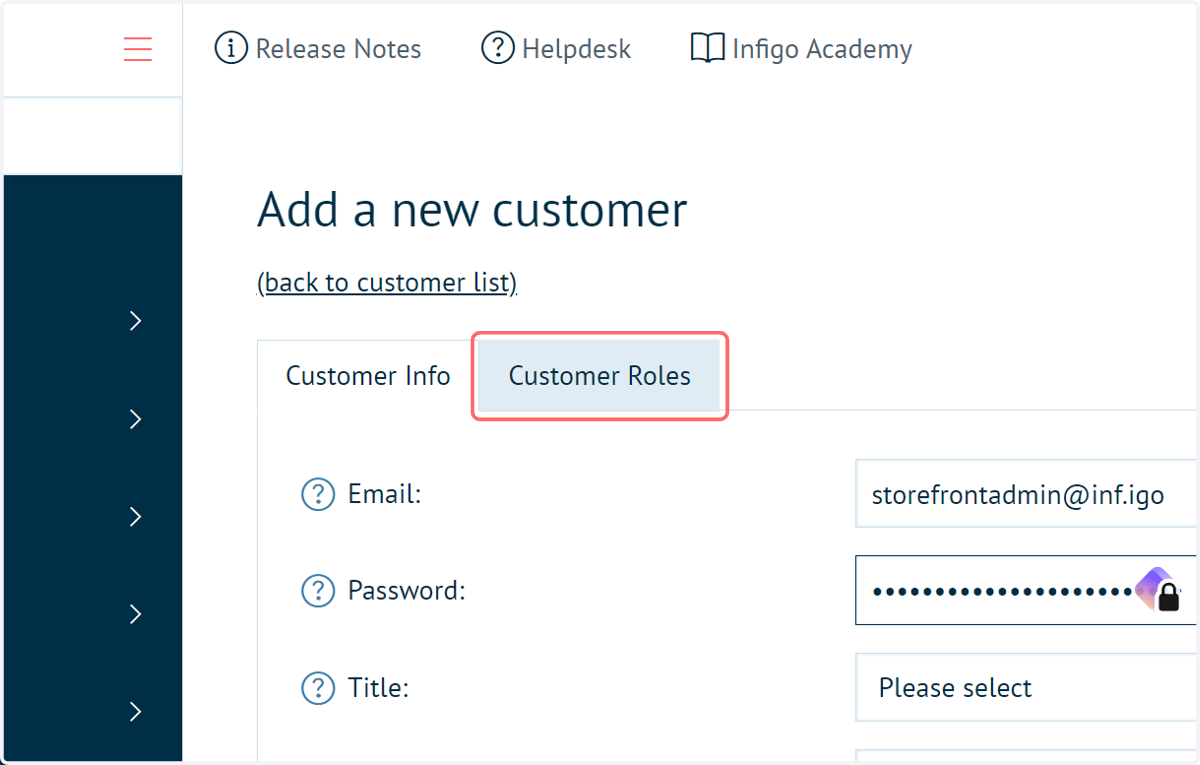
14. Click on Customer Roles
Customer roles allow us to give enhanced access and capabilities to certain Customers (or users) we create.
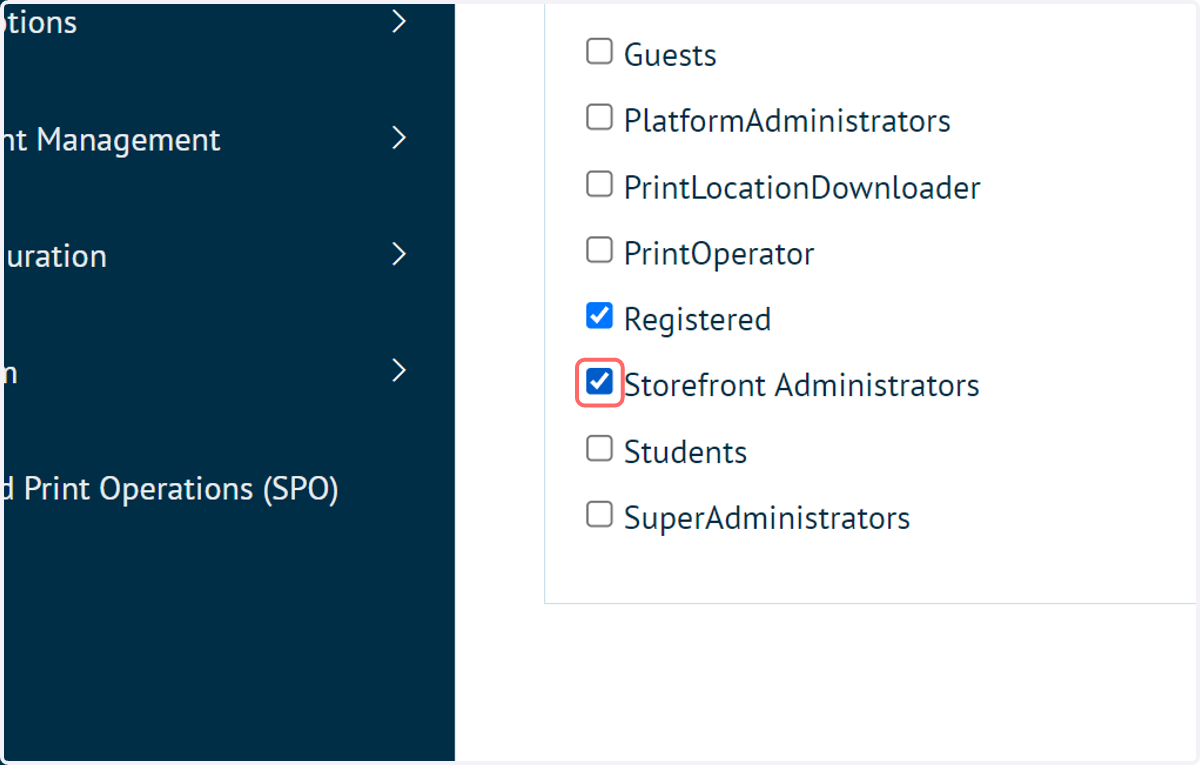
15. Check Storefront Administrators
We will give this user Storefront Administrator permissions. This gives them full access to the Admin side of Infigo for this particular Storefront.
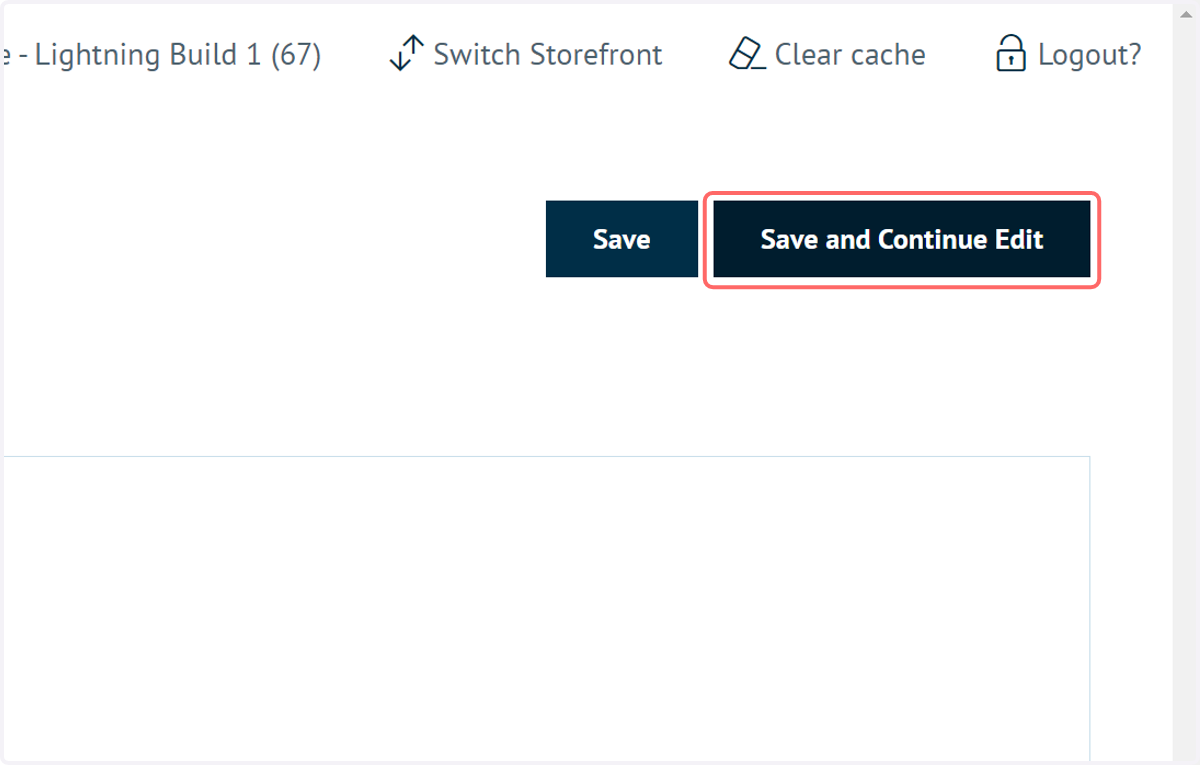
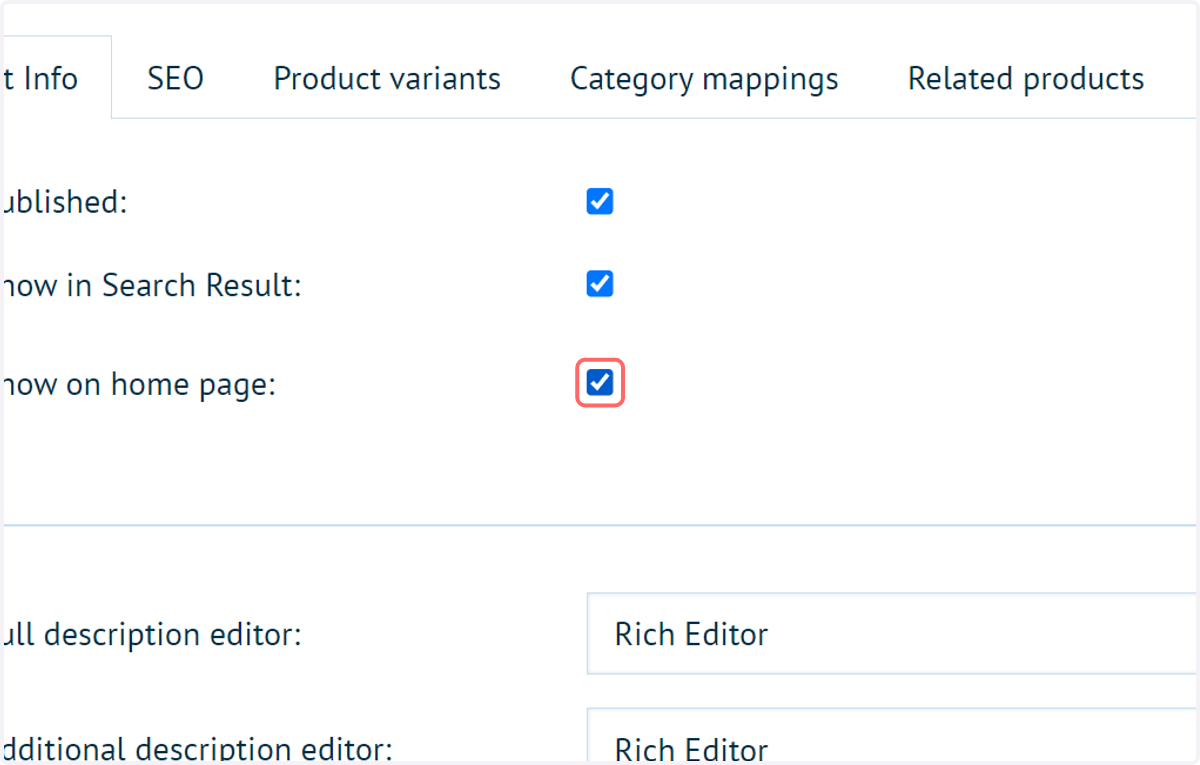
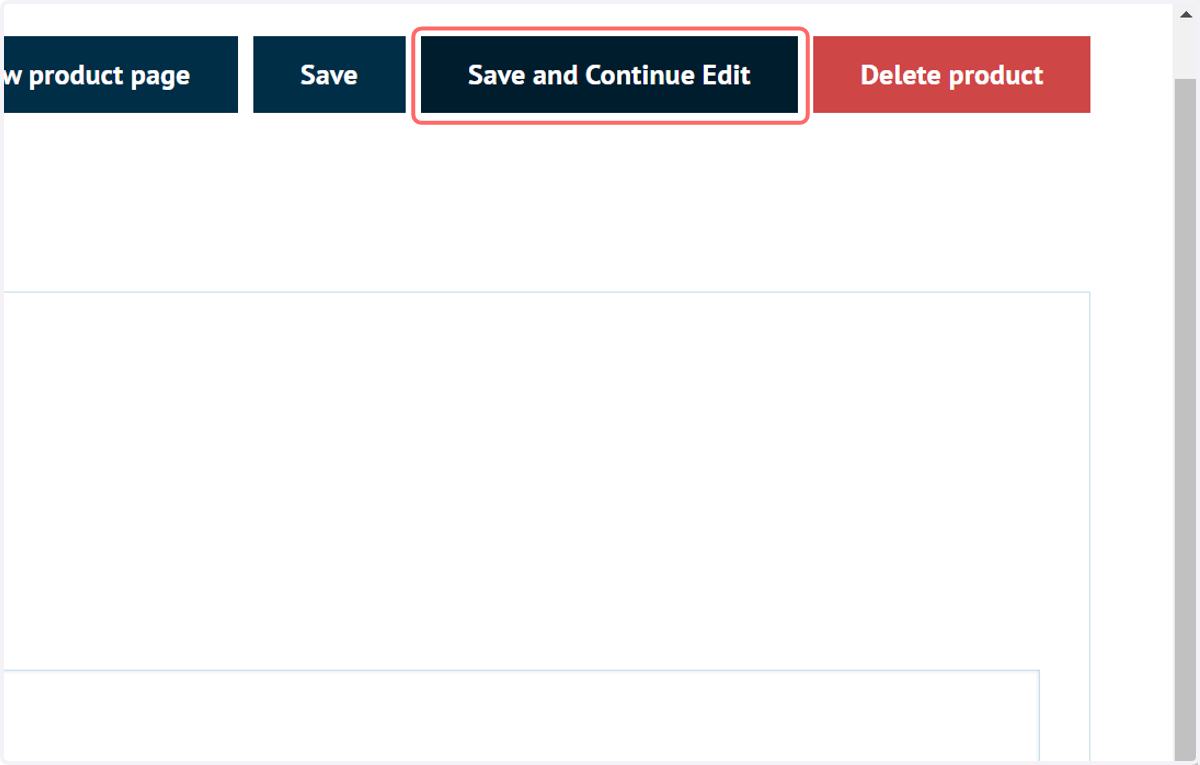
16. Click on Save and Continue Edit
Save returns you to the previous page (here, that would be the Customer Management page).
Save and Continue Edit keeps you on the current page to make further changes.
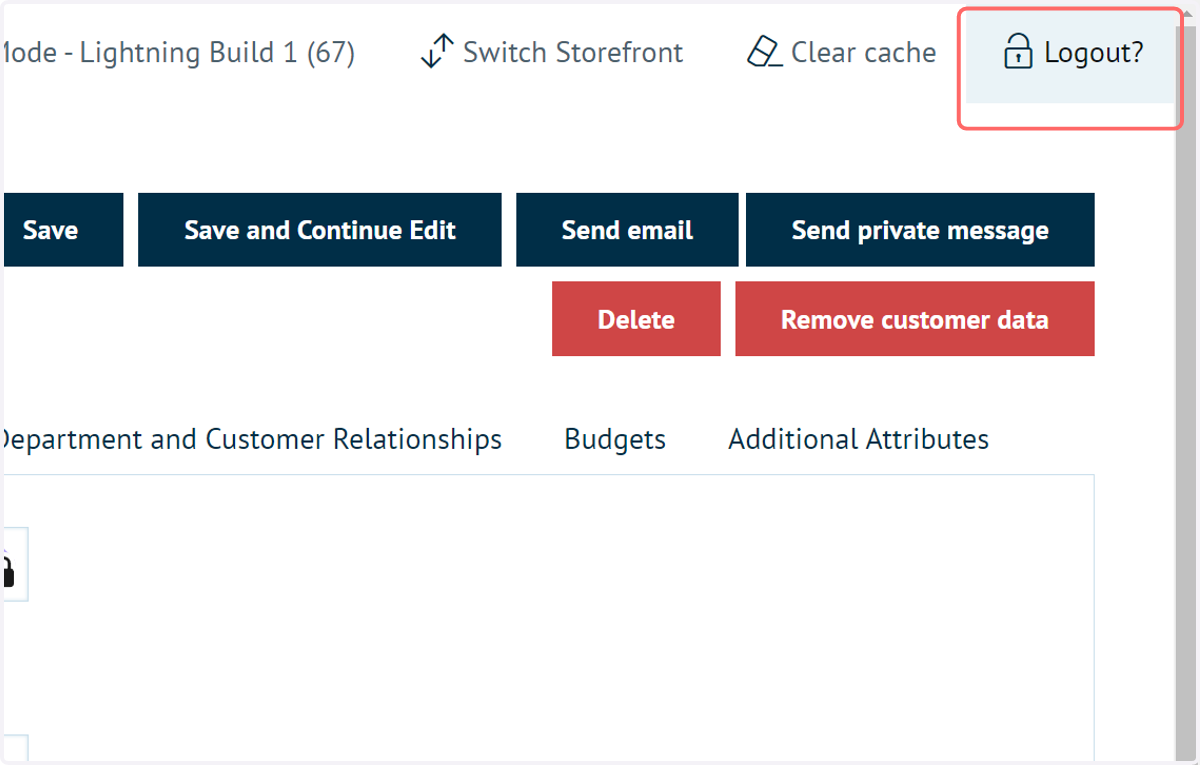
17. Click on Logout?
Let's now log out and log back in as our new Storefront Administrator account.
You will first need to navigate to the Storefront URL using the Platform URL and the Storefront alias.
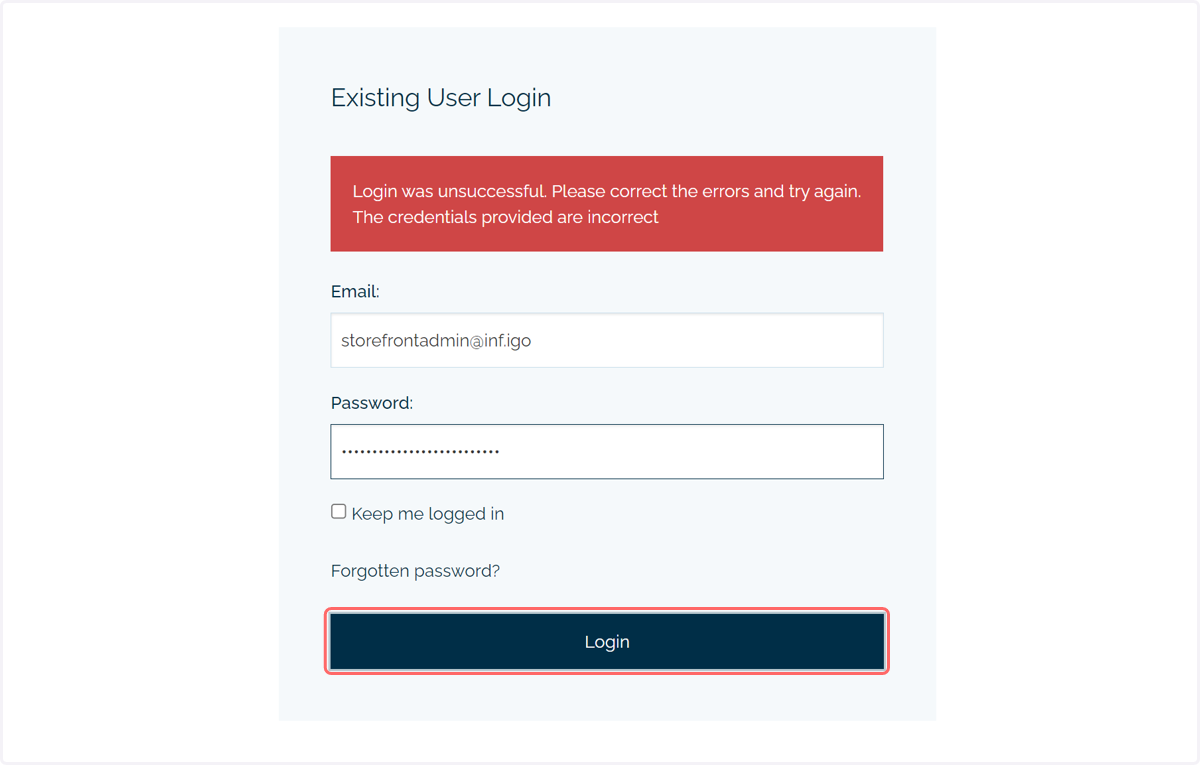
18. Enter the Storefront Administrator details and click Login
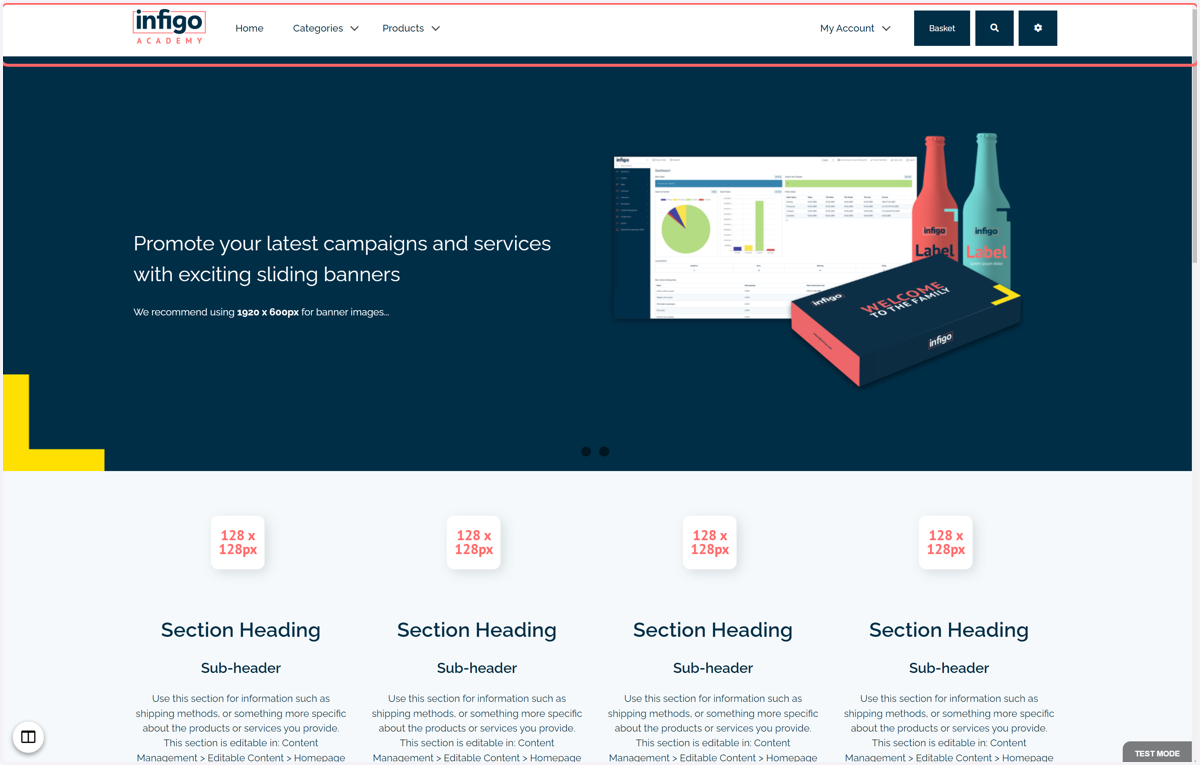
19. Storefront front-end
When logging in as a Storefront Administrator, you will be taken directly to the front end website.
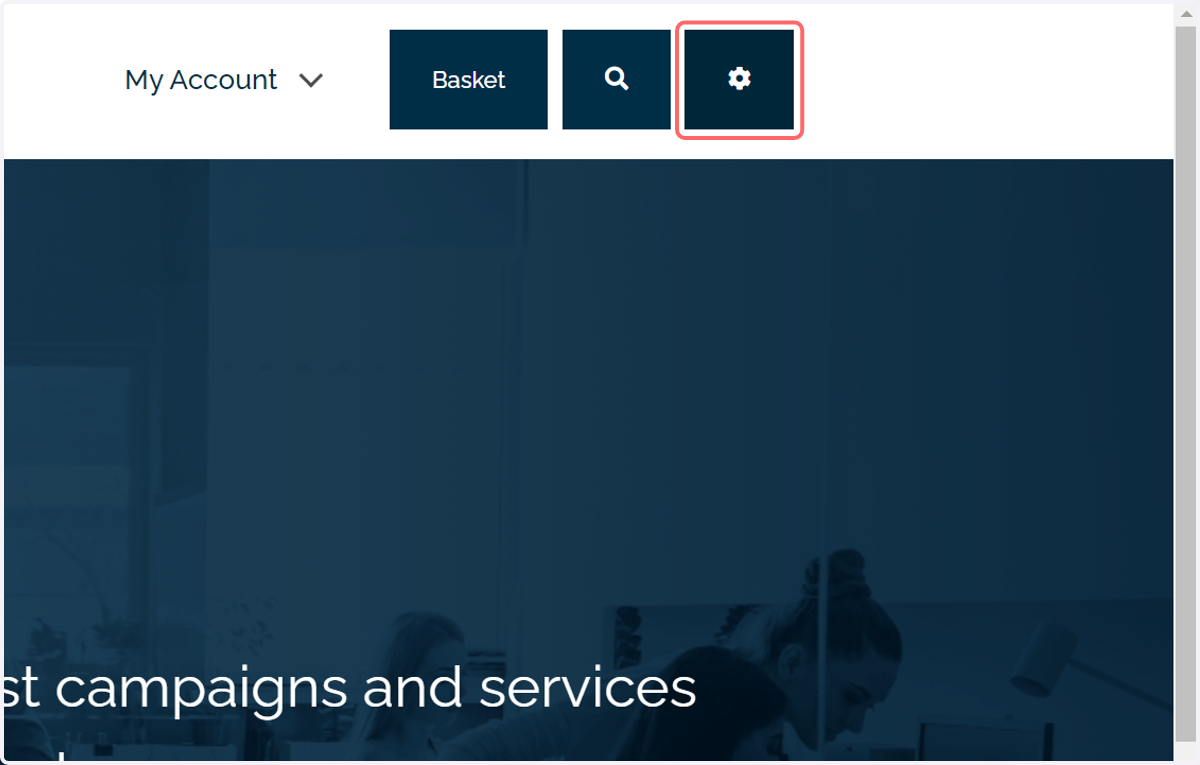
20. Click on Admin to enter the administrator area
Creating and configuring products
21. Click on Catalogue
Next, we'll create some basic Products on our Storefront.
In this tutorial, these will consist of a basic Stock product and a Static PDF product.
These will be explained more, later.
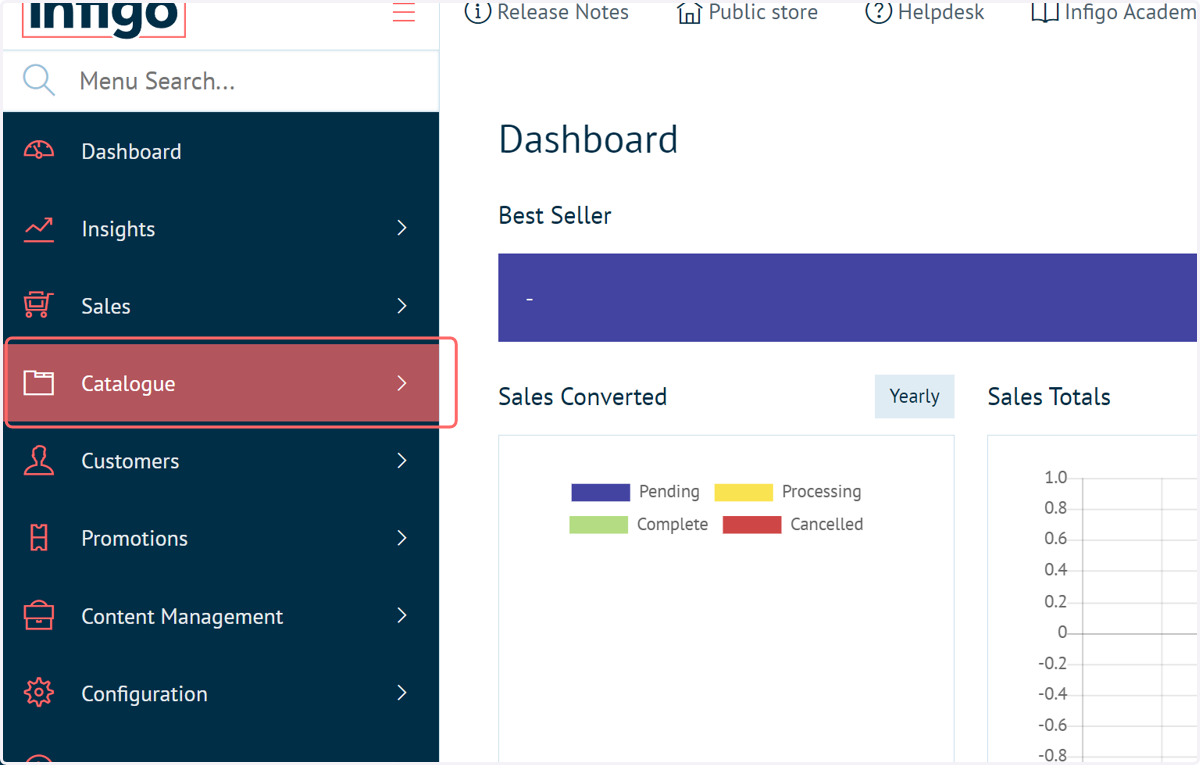
22. Click on Products
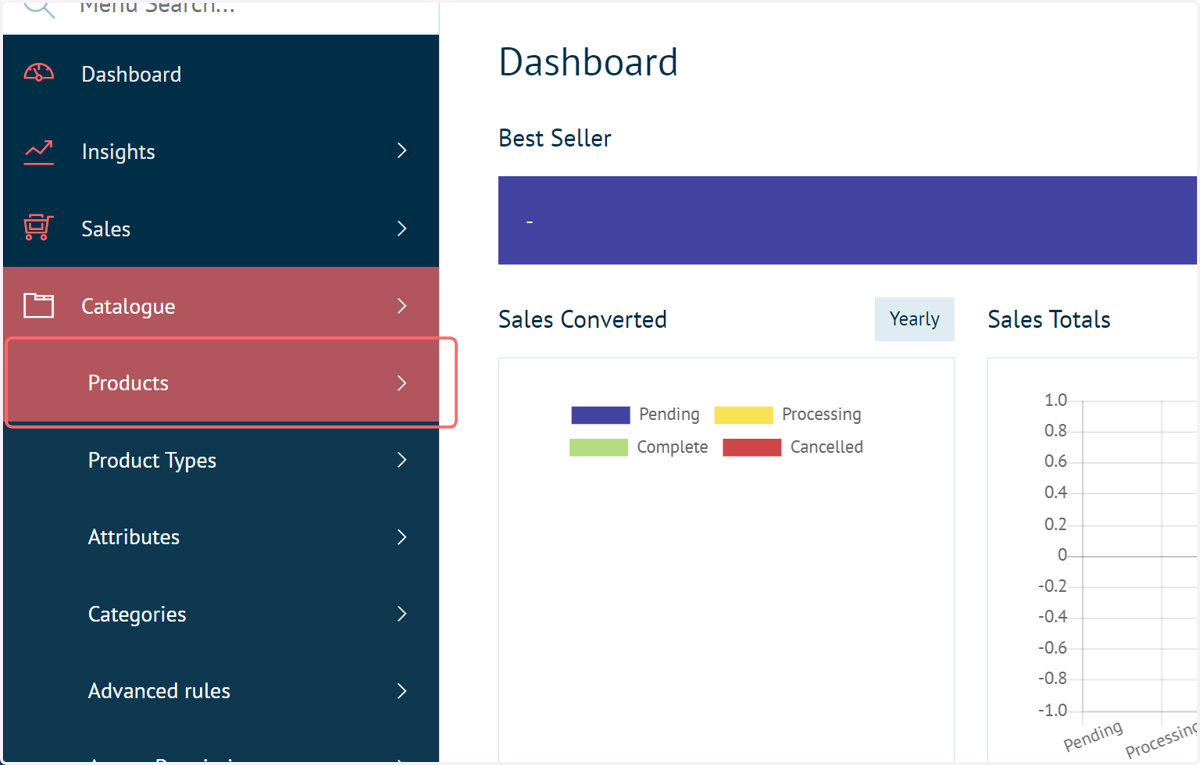
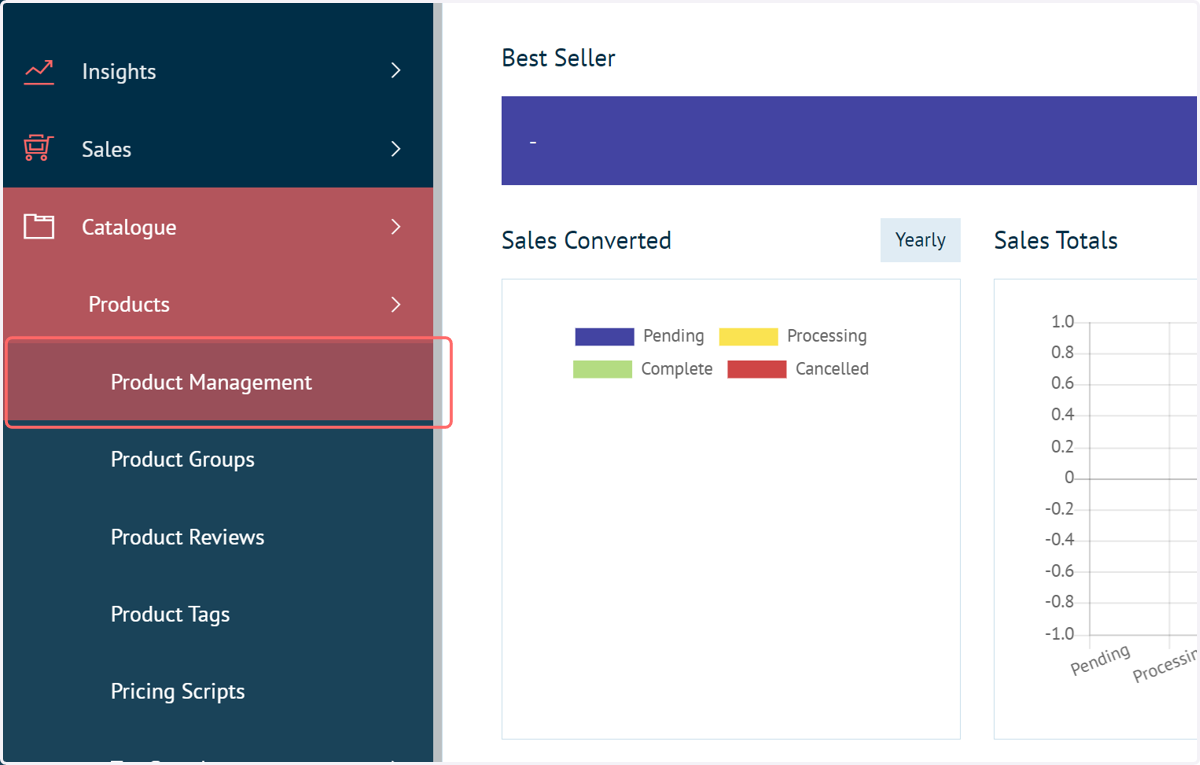
23. Click on Product Management
The Product Management screen will show you a list of all Products created on your Storefront.
You can also create new Products, edit your Products and delete Products.
24. Click on Add new
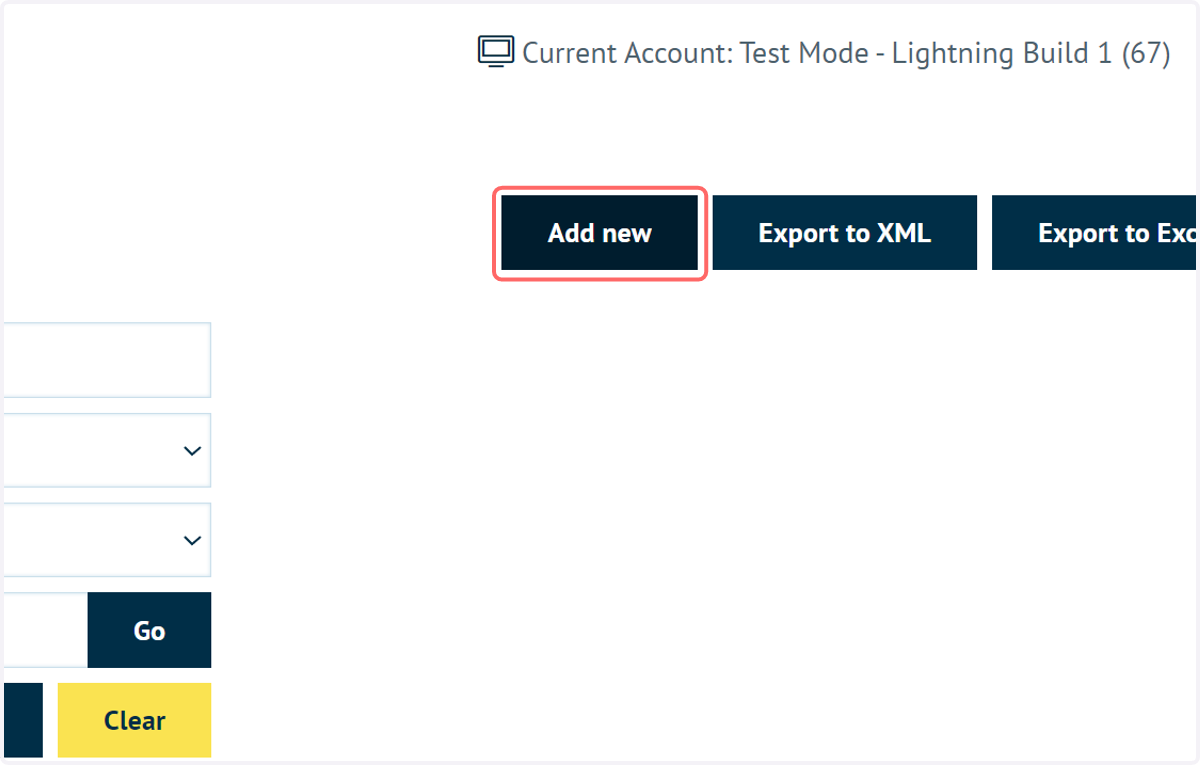
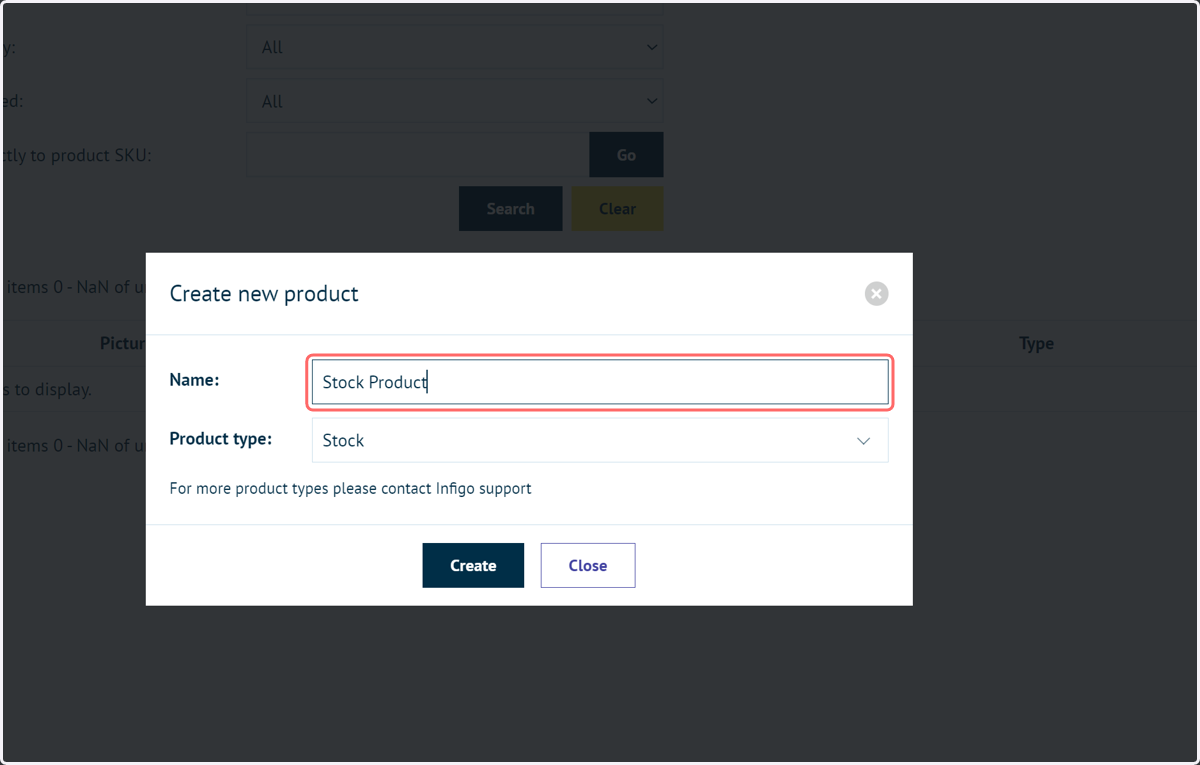
25. Type "Stock Product" and select the Stock product type
26. Click on Create
No further specification is required to create a basic Stock product.
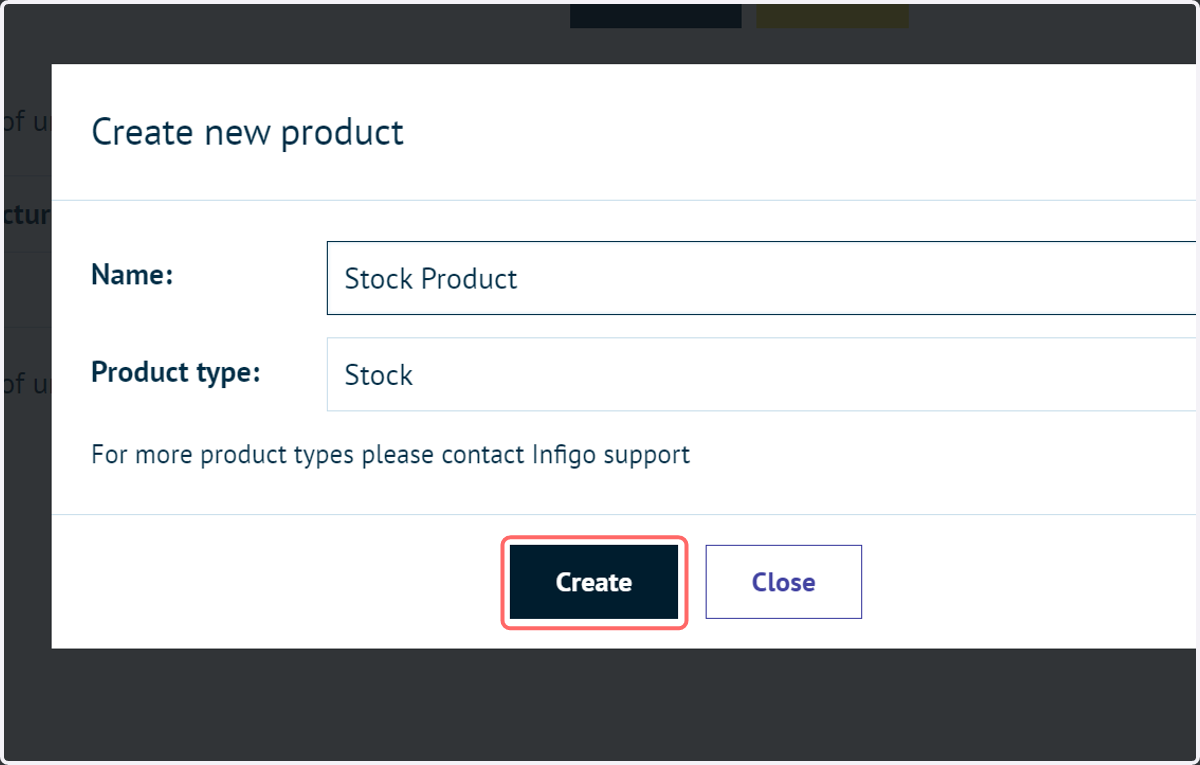
27. Check Show on home page
We have the ability to display this product directly on our Storefront's home page.
This is not a necessary step if you do not wish to have these "featured products", but it will help us when experimenting with the Storefront, giving easy access to this product.
28. Click on Save and Continue Edit
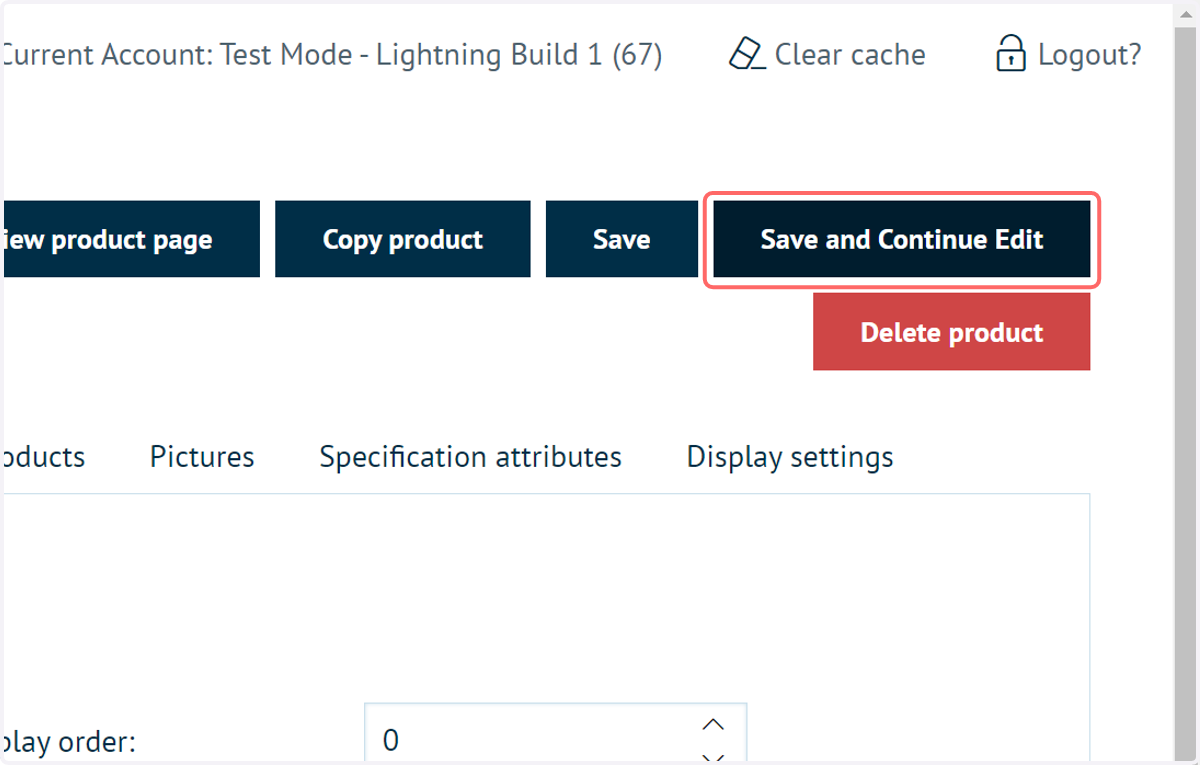
29. Click on Product variants
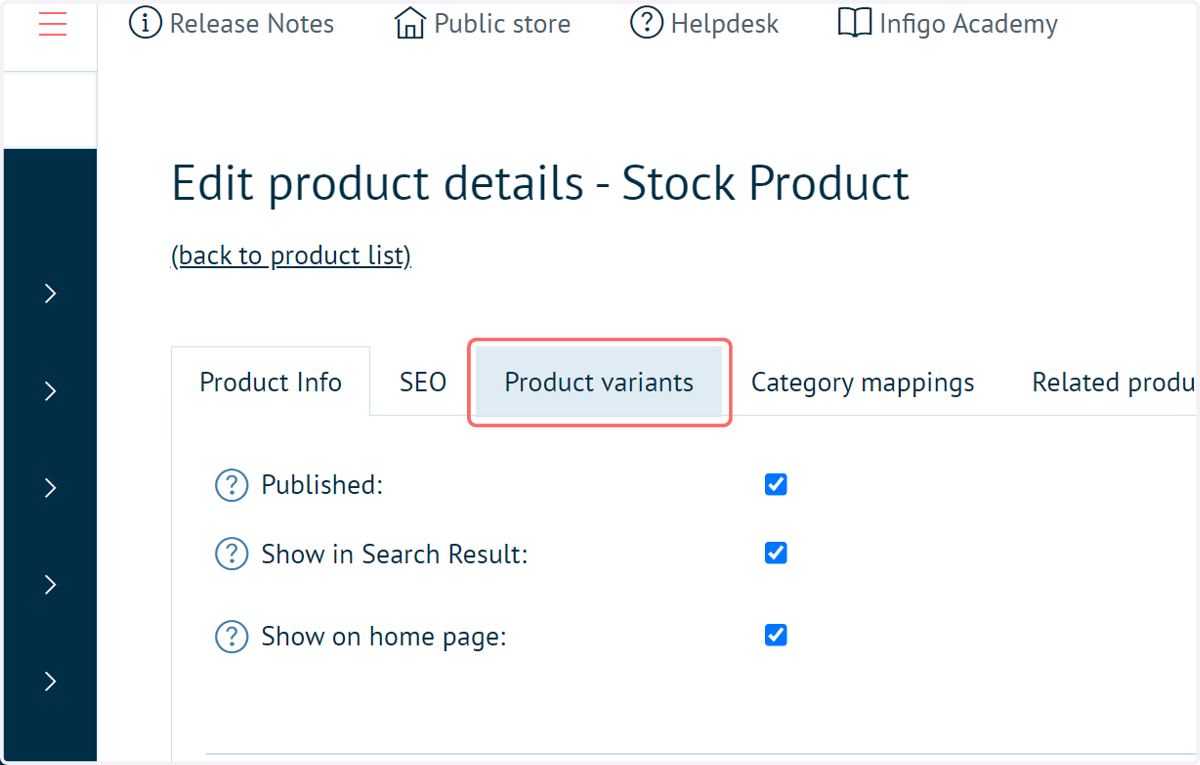
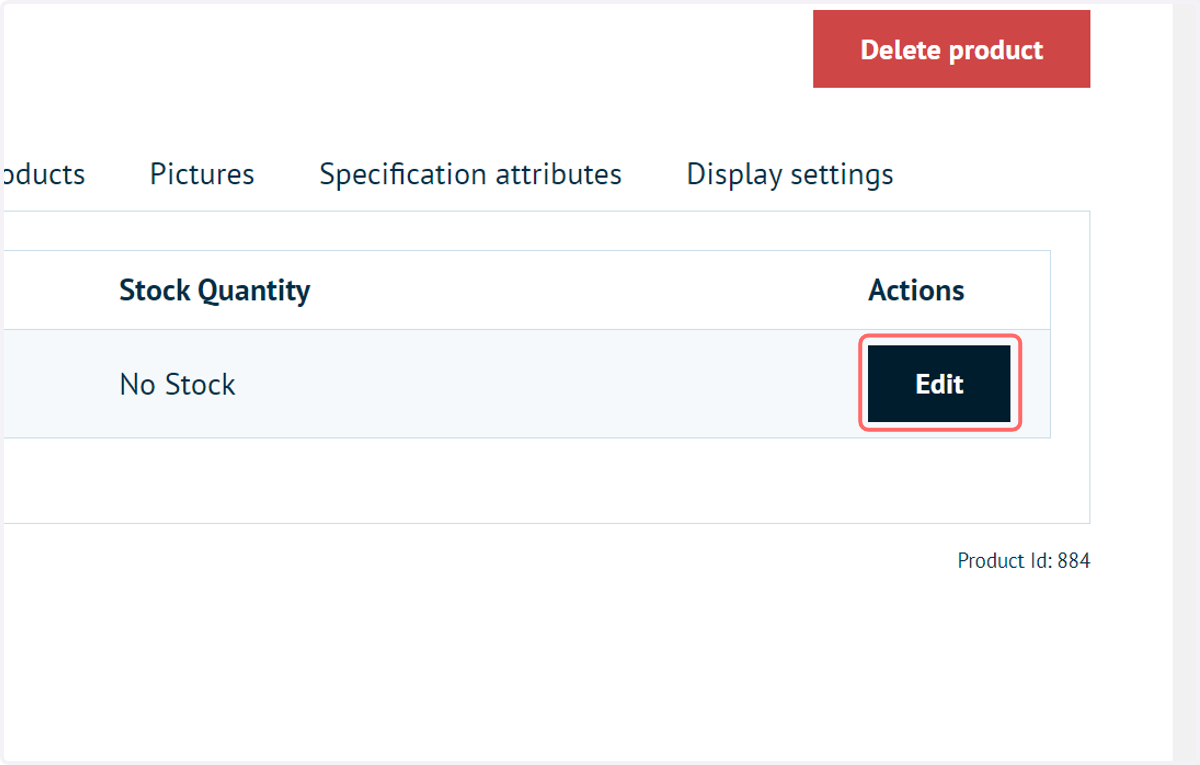
30. Click on Edit
Each Product has one product variant.
The product variant settings control many of the technical elements of the product.
In here, you will find information to do with pricing, tax, shipping, weights and more. Along with this, you can specify product attributes (defining features of a product selection, such as size, colour, etc). Product attributes will not be covered in this tutorial, but is covered in great detail elsewhere on the Infigo Academy
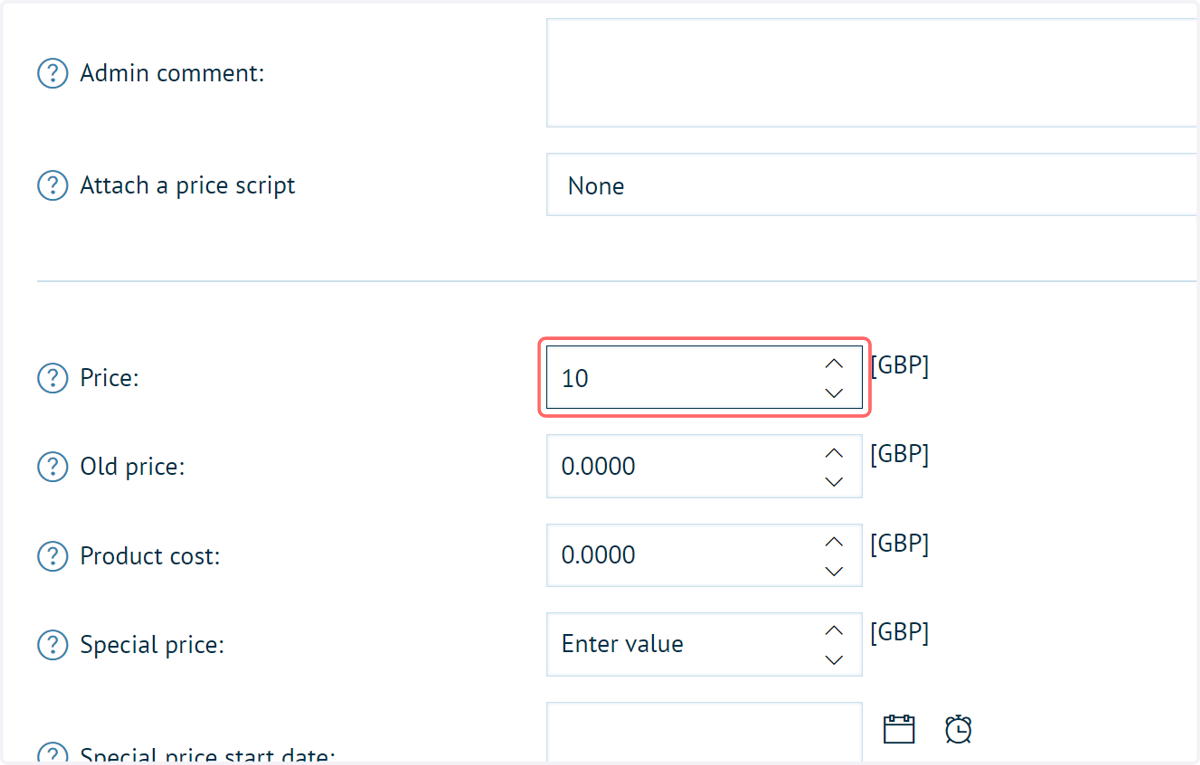
31. Navigate to the Price field and enter a basic price
This will be the price per unit for this product.
This is pricing in its most basic form, with the price per unit remaining fixed.
32. Click on Save and Continue Edit
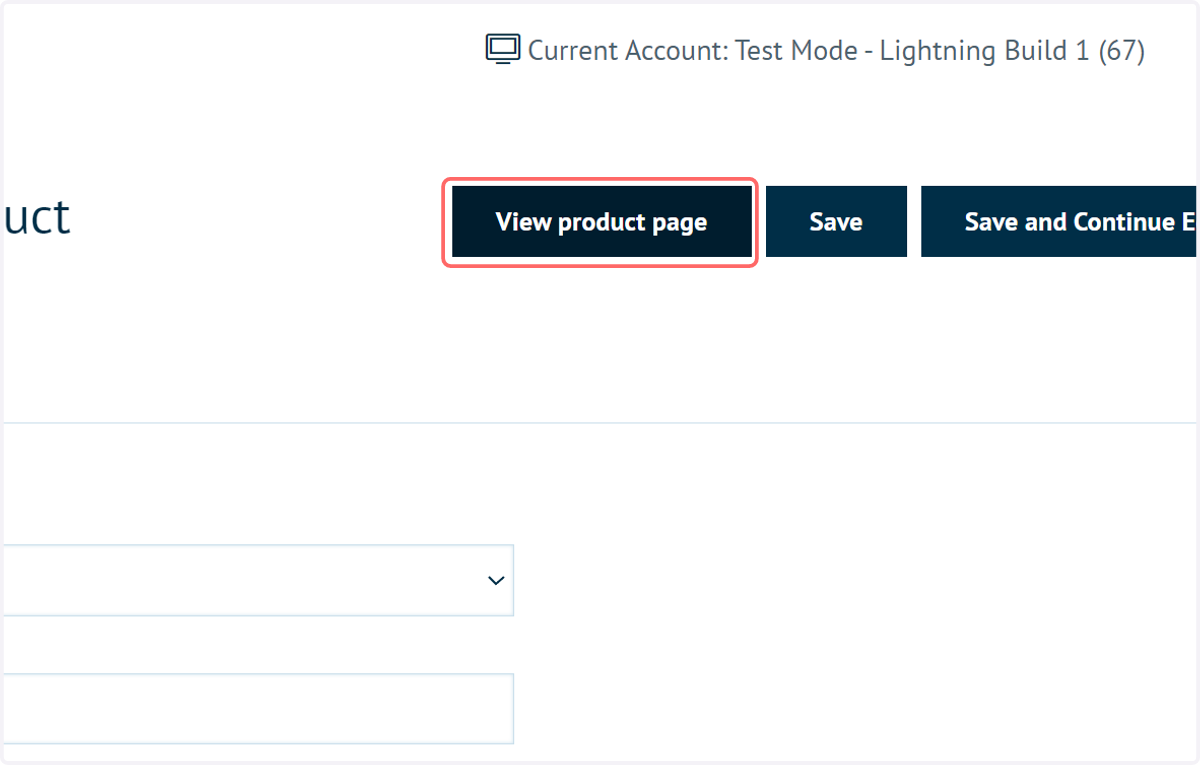
33. Click on View product page
We can immediately navigate to the front-end and view this product by clicking View Product Page.
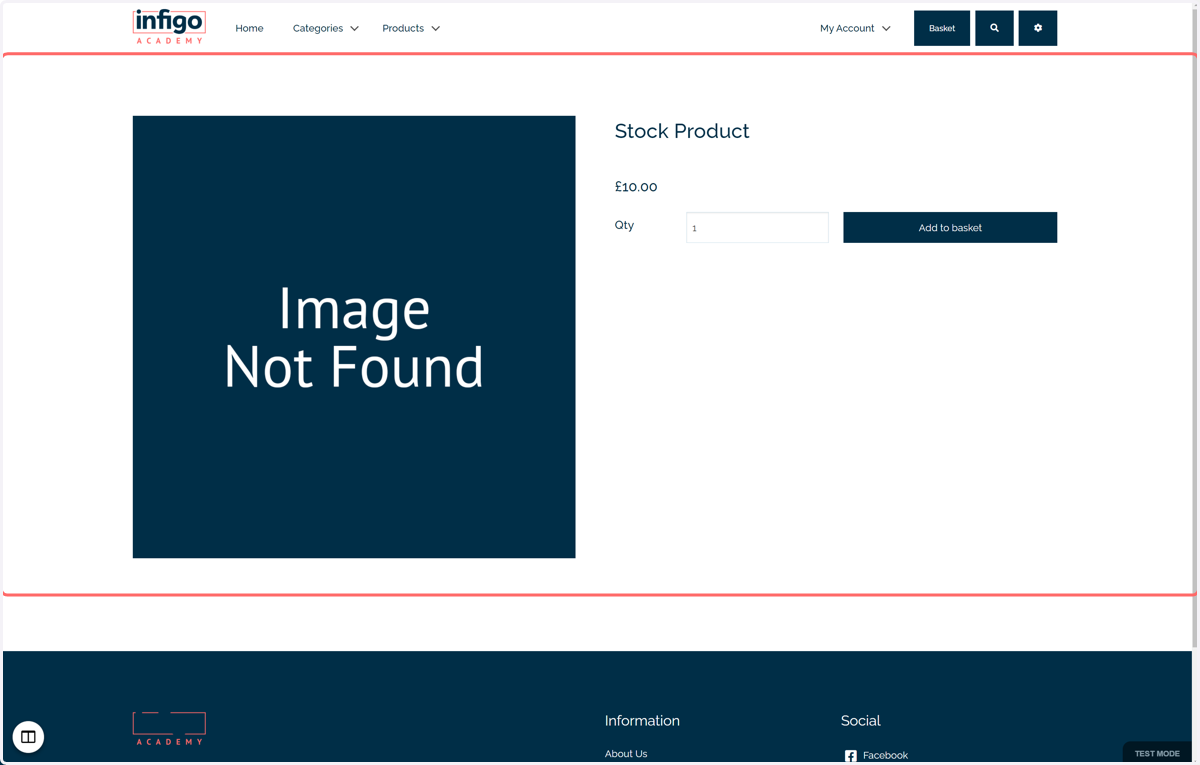
34. Our first product
Here's our product landing page on the front end. It's incredibly basic right now, but you can see we have a product name and price specified, along with the ability to add any quantity of this product to our basket.
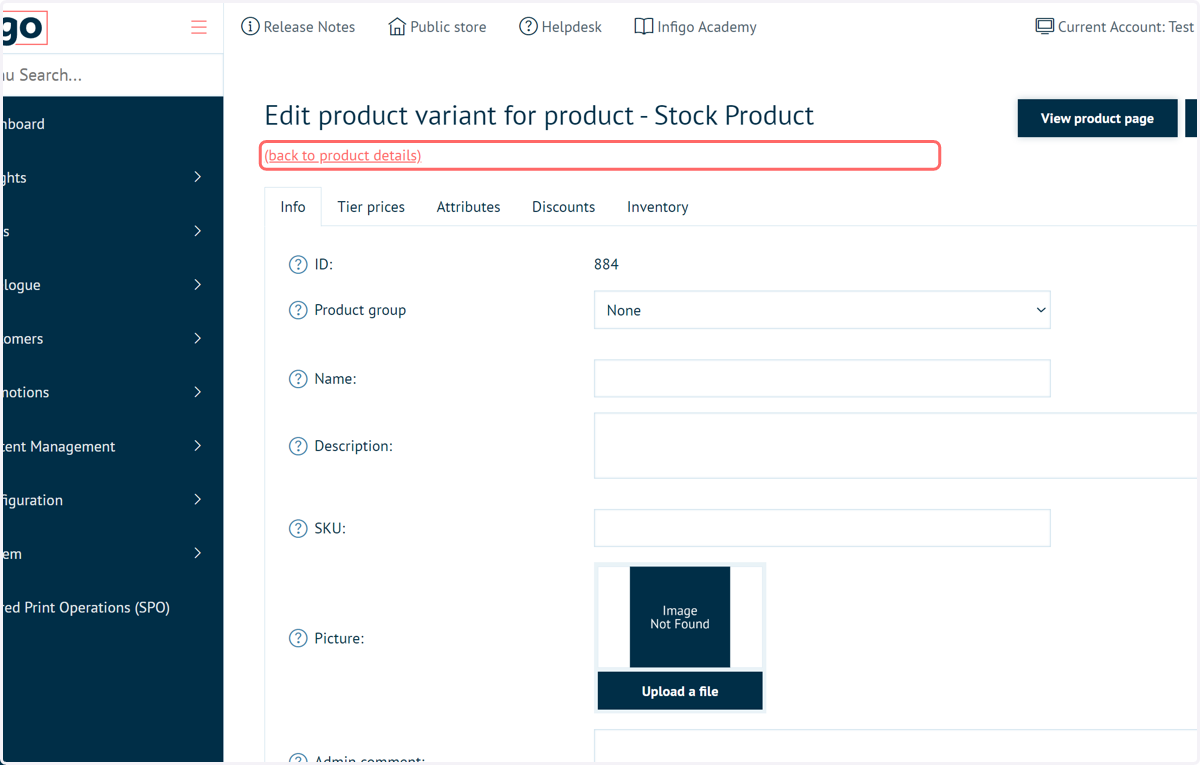
35. Navigate to the Infigo back-end again and click on (back to product details) to exit the Product Variant details.
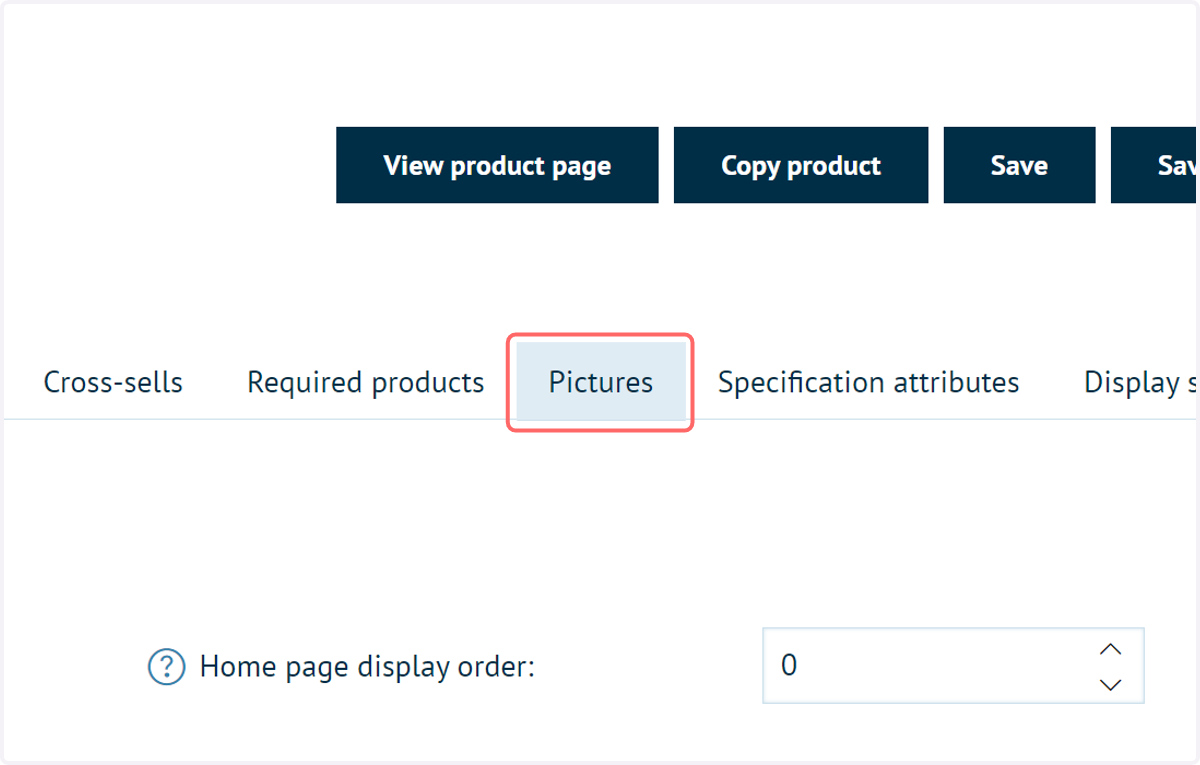
36. Click on Pictures
Next, we'll take a look at applying an image to our Product.
37. Select an image using the upload button
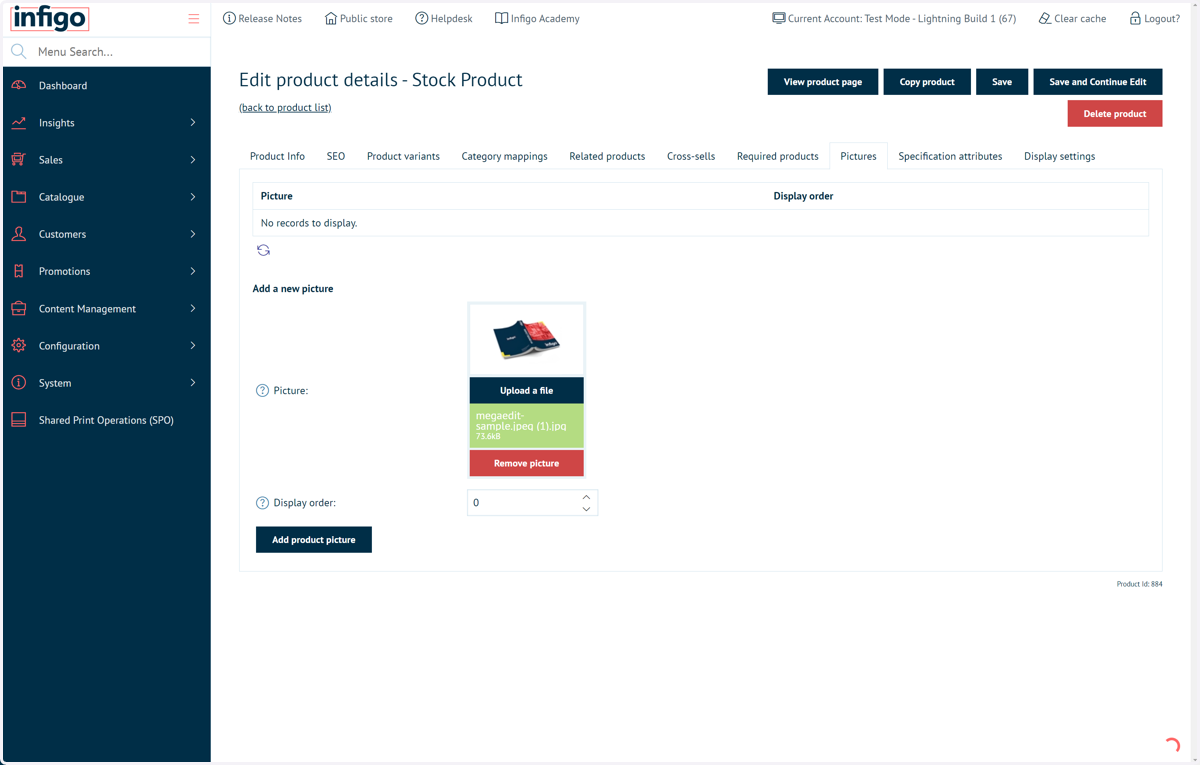
38. Click on Add product picture
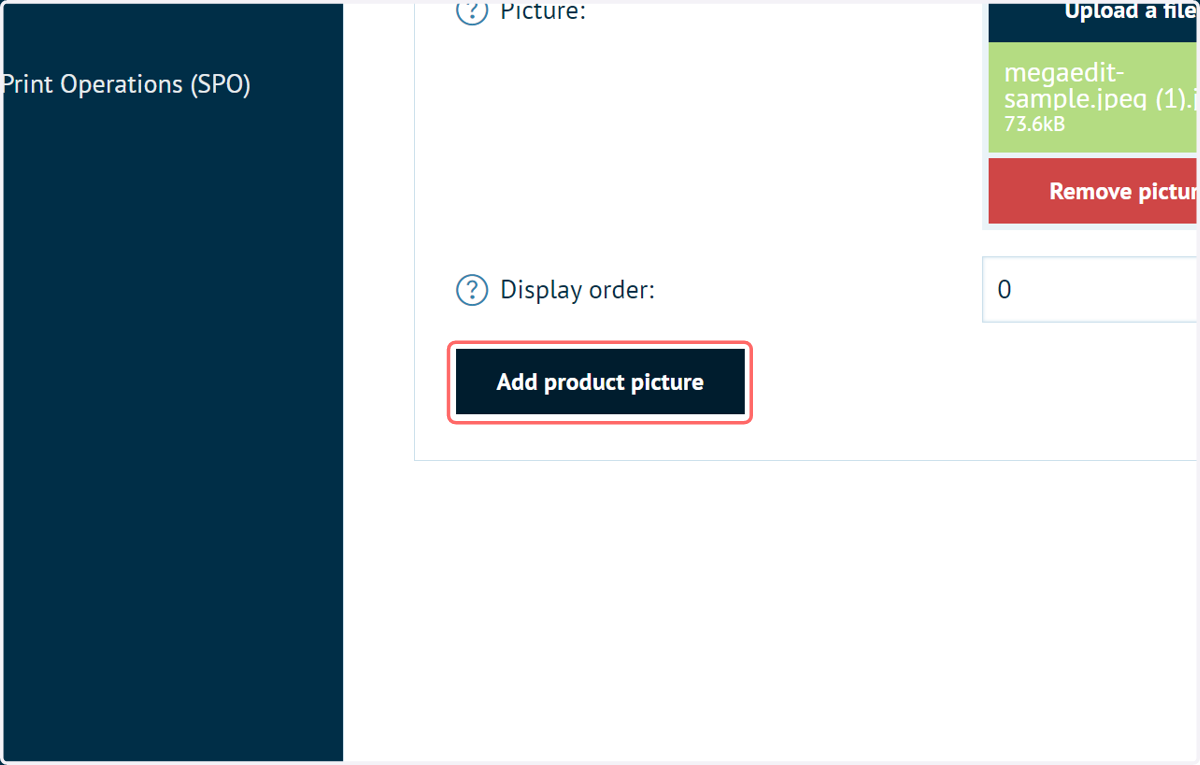
39. Click on Save
This image has now been applied to our product. It will be visible in various places, such as on the product landing page, category pages and as the featured product image on the home page.
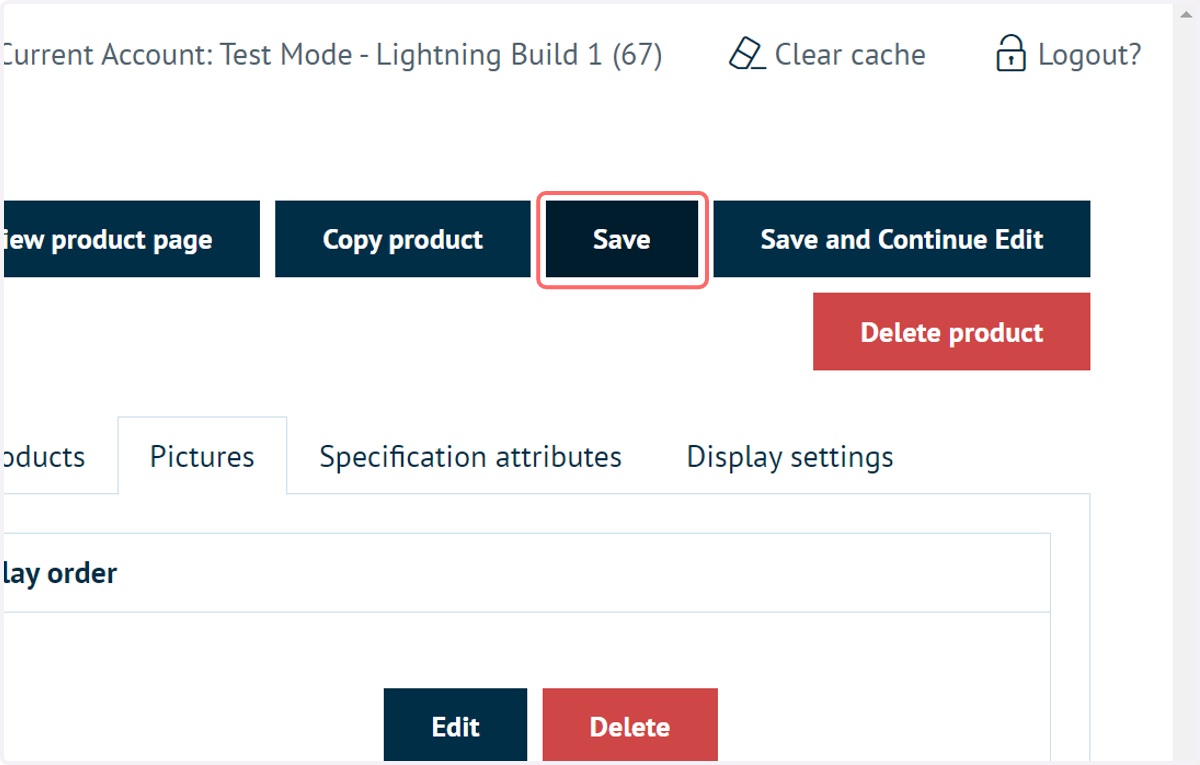
40. Return to the Product Management page and click on Add new
Let's now create a different type of product!
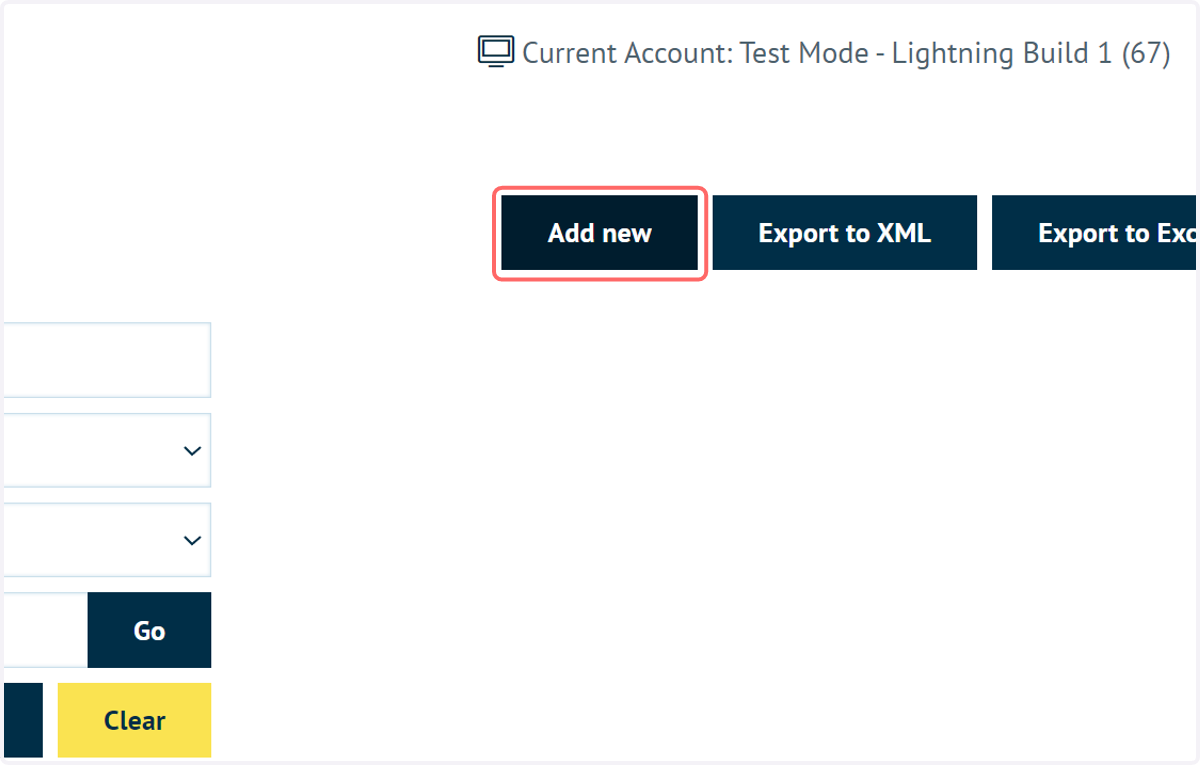
41. Type a product name
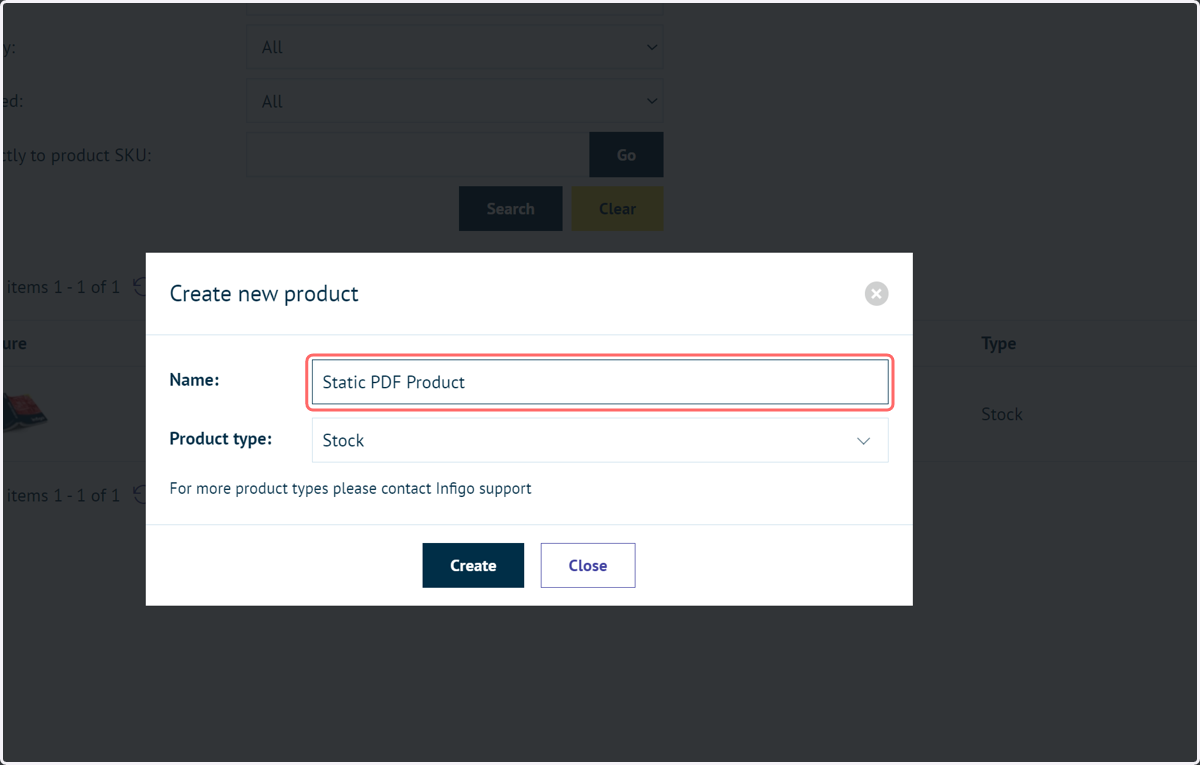
42. Select Static PDF
This type of product allows customers to purchase a non-customisable product. We name this a Static PDF product.
As the administrator, you upload a PDF to associate with this product.
Customers will be able to view the PDF on the storefront and when they place an order, the PDF is used as the output file for use by your business.
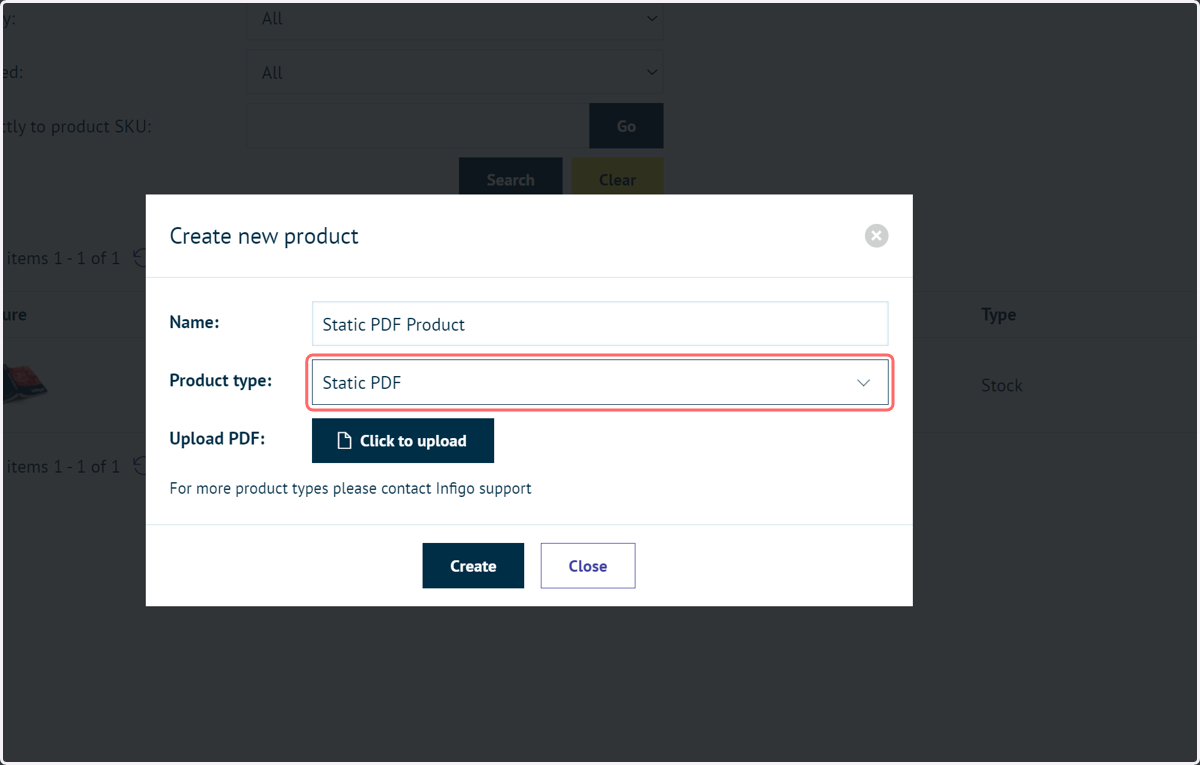
43. Select a file from upload menu
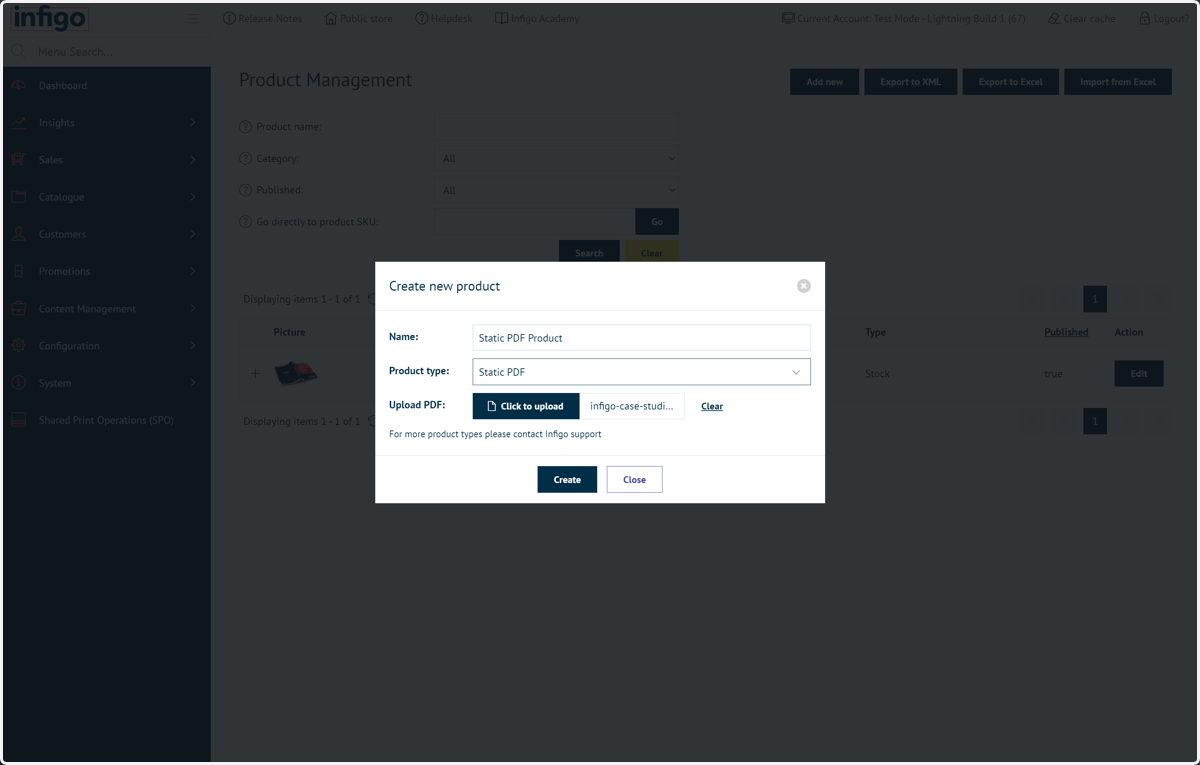
44. Once the file ha uploaded, click on Create
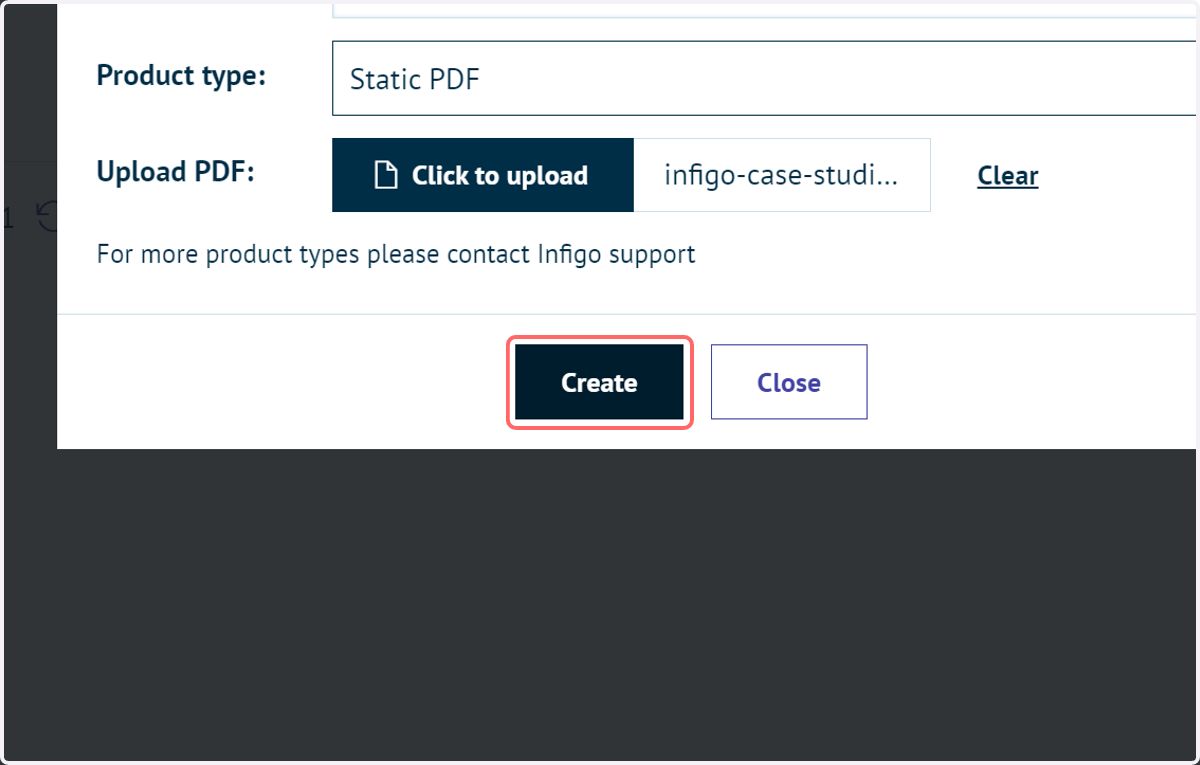
45. Check Show on home page
Once again, this just makes it easier for us during this tutorial. It is not a necessary step if you don't want featured products!
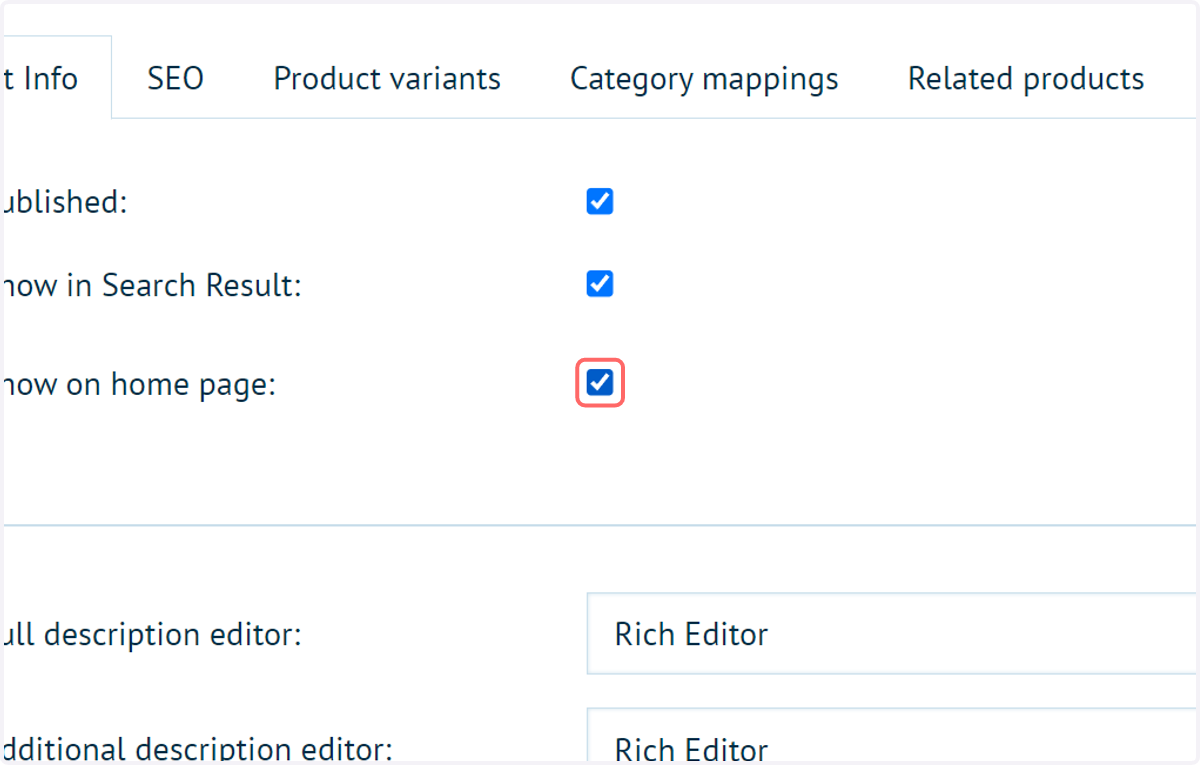
46. Click on Save and Continue Edit
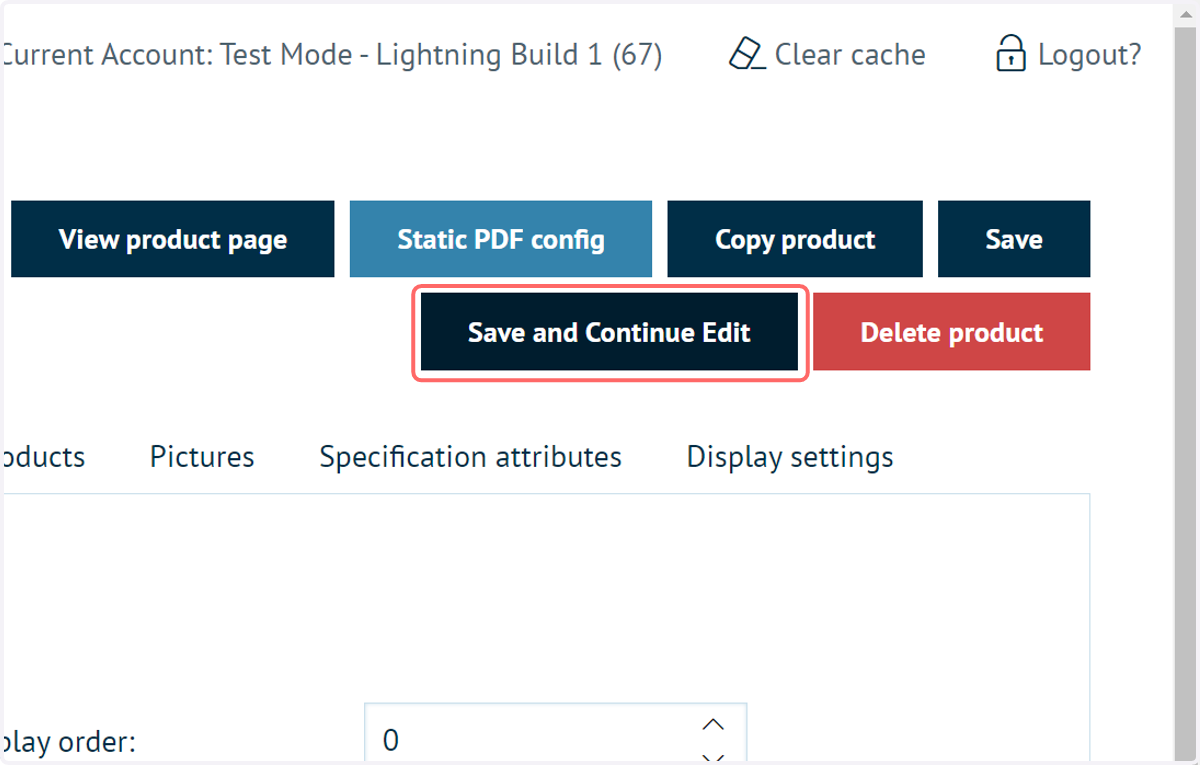
47. Click on Product variants
Once again, let's go to the Product Variant settings to input some pricing information.
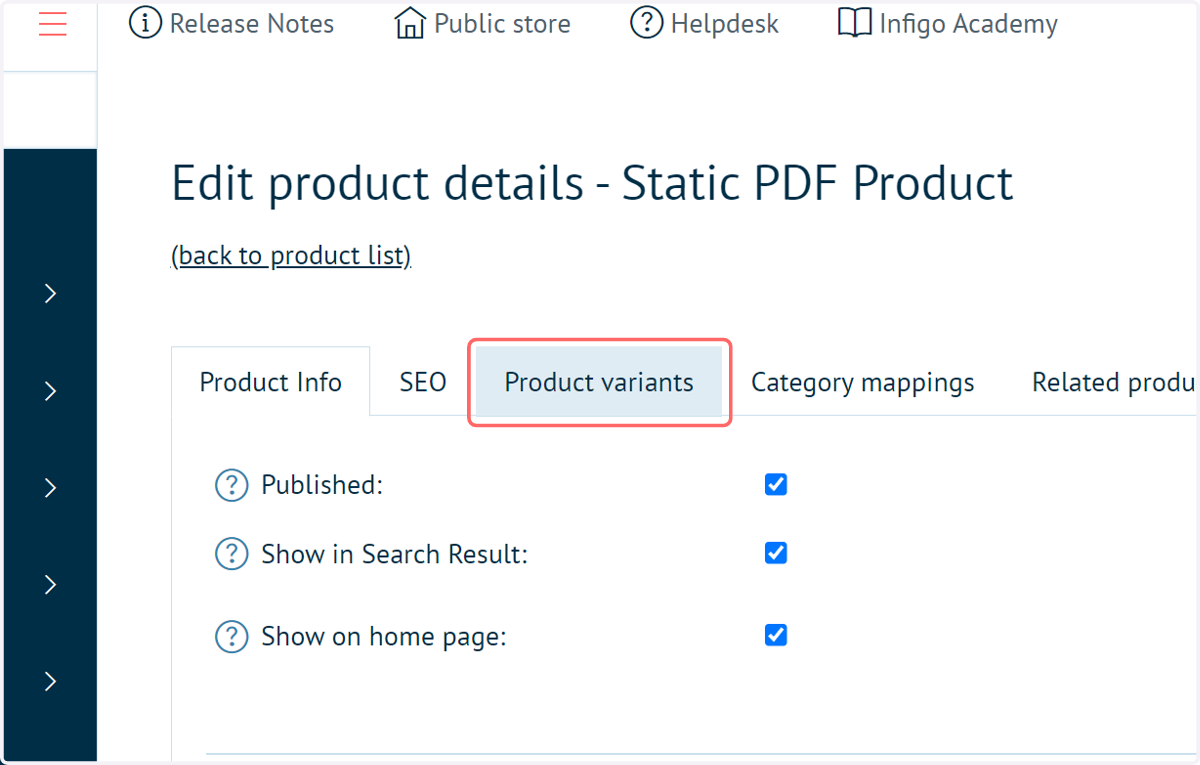
48. Click on Edit
49. Enter a price per unit in the Price field
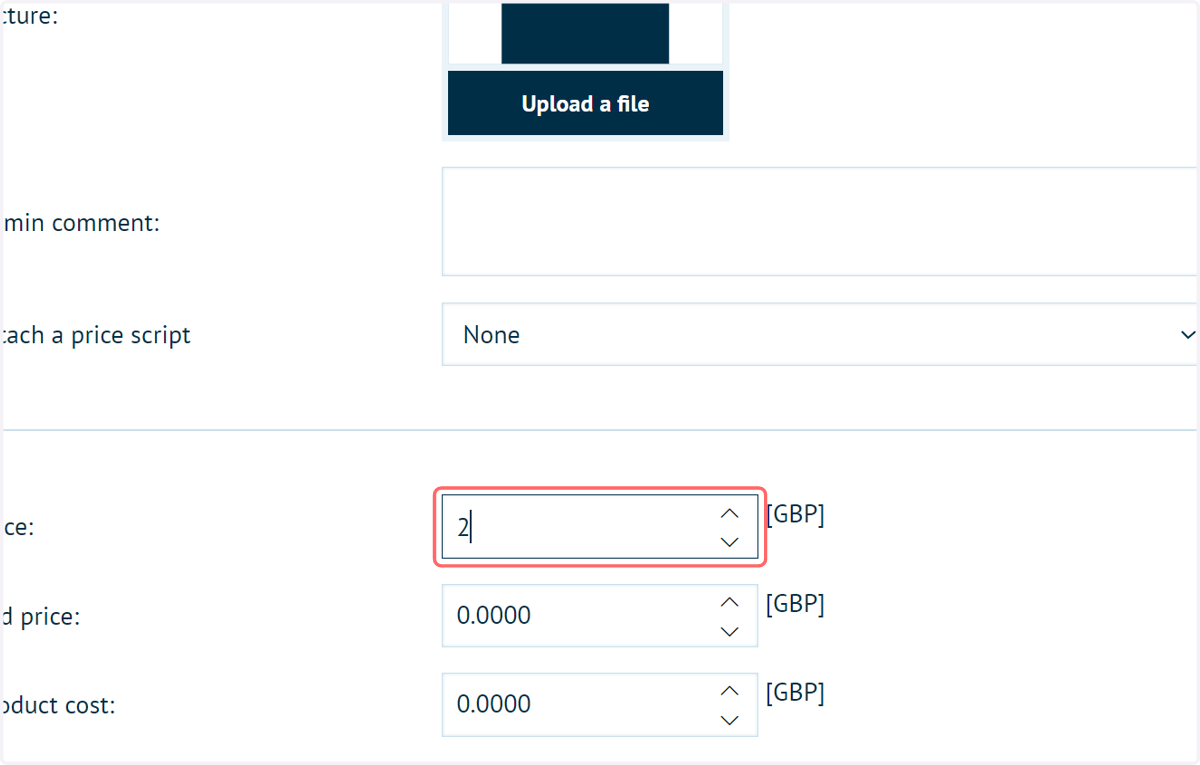
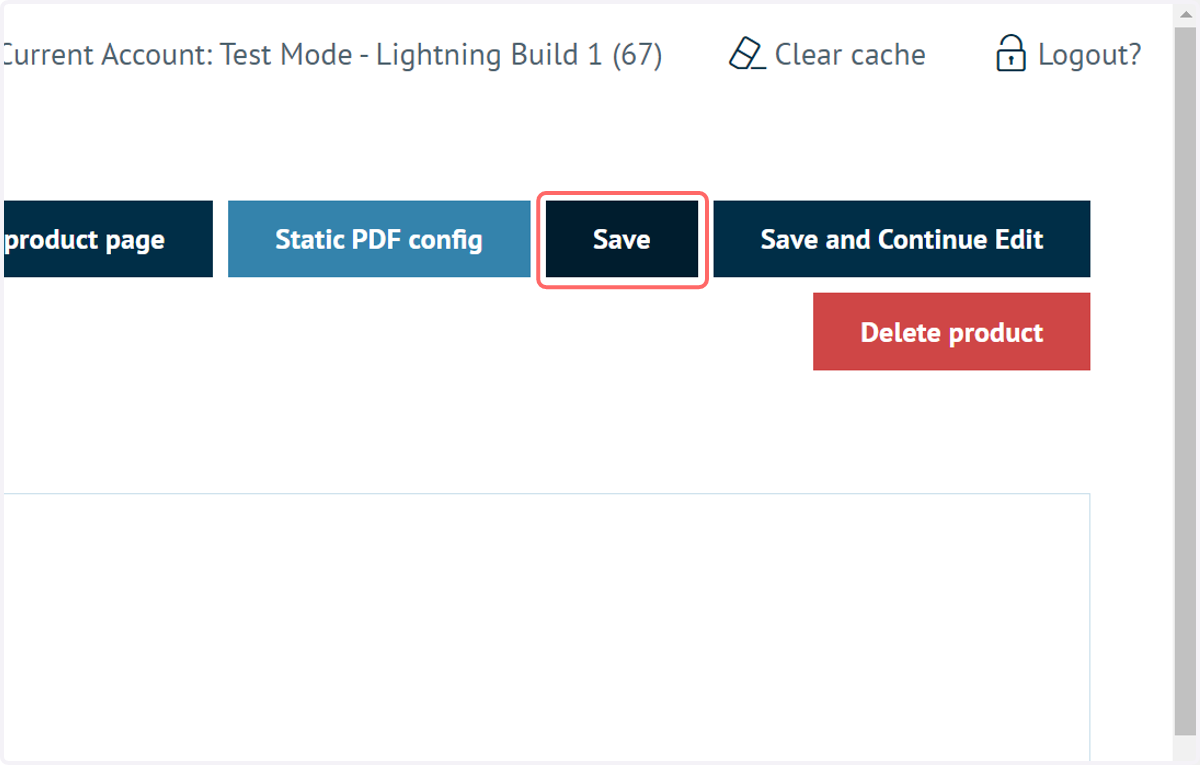
50. Click on Save
Designing our Storefront front-end
Let's make some basic changes to our Storefront front-end, starting with the site header.
We'll make sure we can get straight to our two new products from the header, and we'll get rid of some of the default entries that we don't need.
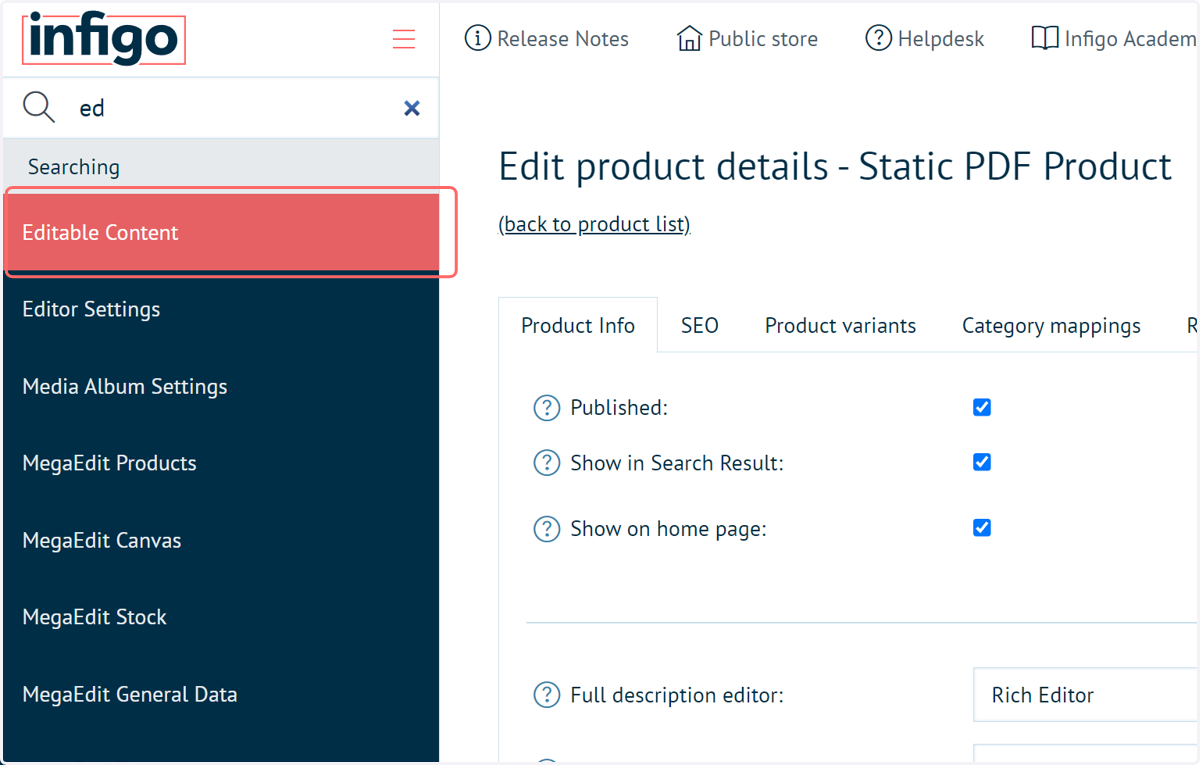
51. Navigate to the Editable Content
The Editable Content area is where you will find the ability to modify many of the areas of your site.
There are A LOT of elements that can be modified here, so it's recommended to familiarise yourself a little with the list, however some of the more crucial elements include:
Header
Footer
Home page banner
We'll use some of these to work on our home page.
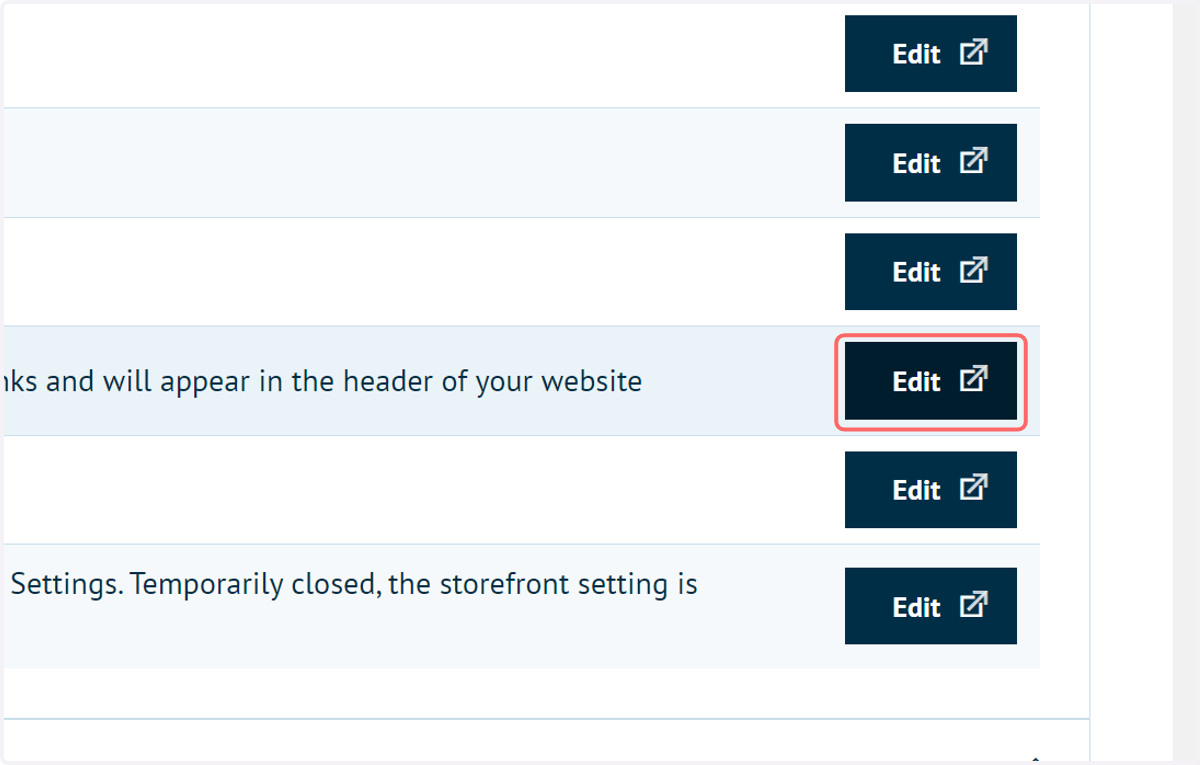
52. Locate the Header section and click on Edit
This gives us our first look at constructing page layouts using Content Templates.
These are versatile tools allowing us to curate beautiful pages without having to interact directly with the underlying HTML. Instead, the administrator will use a building block approach to develop their content.
The Infigo Academy contains many tutorials regarding Content Templates. Here, we'll just focus on the basics.
53. Default header
The default header is already utilising Content Templates.
You can see we have a few blocks (and blocks nested within those blocks) making up a few menu items and corresponding sub menus.
We have full control over these entries, meaning we can add to it, modify it or delete it.
If you prefer and have the skills, you can skip the use of Content Templates completely, instead creating site content by directly inputting HTML.
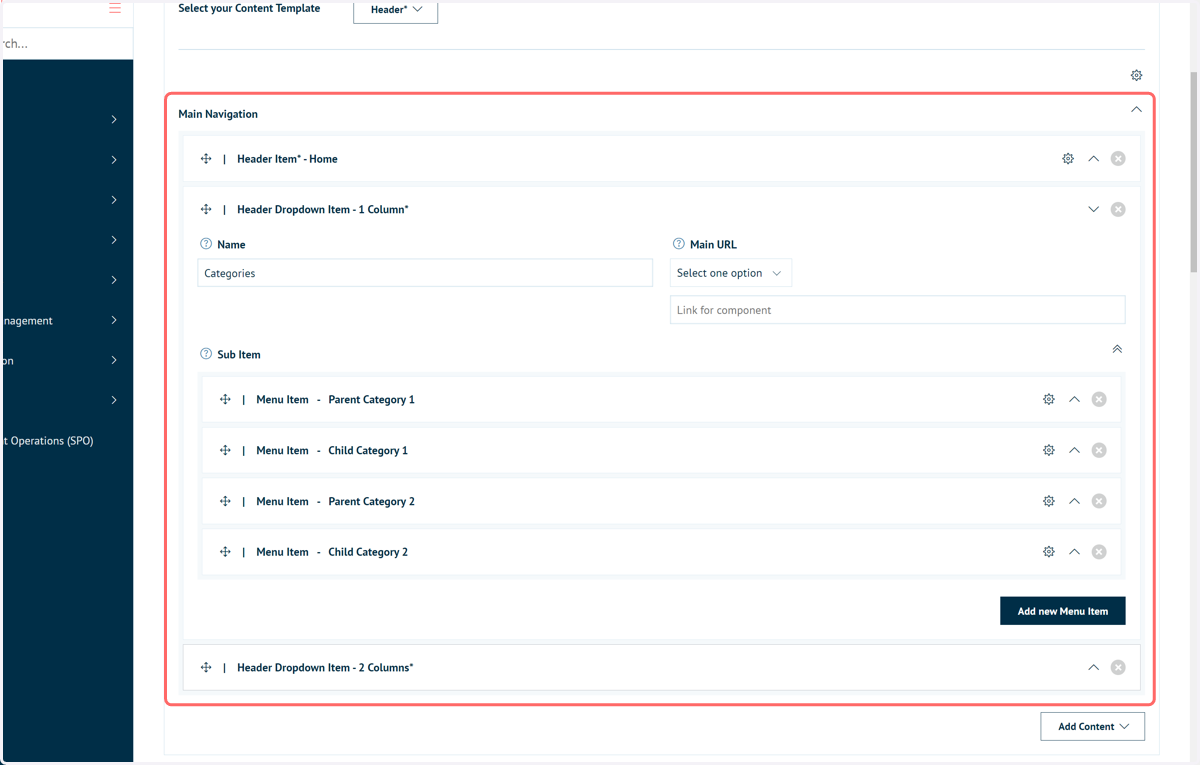
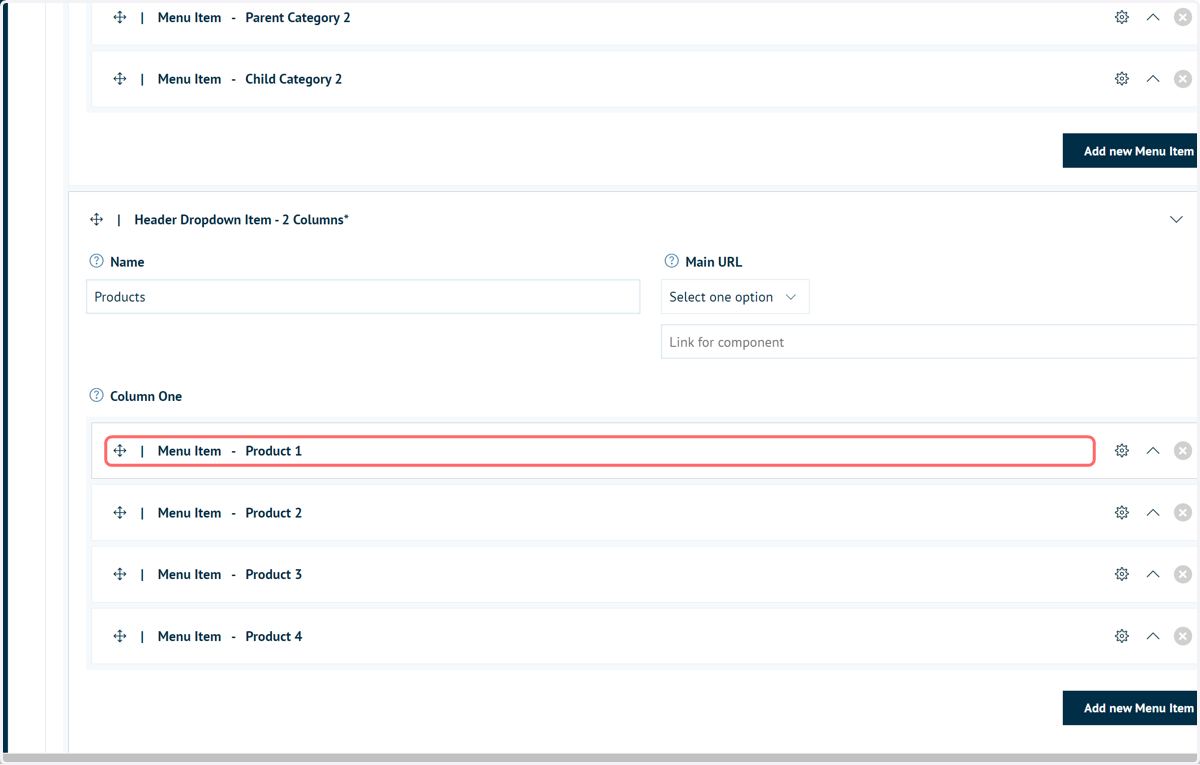
54. Expand one of the header dropdown items related to Products and select one of the Product entries.
We're going to utilise some of the details already entered. But, by default, we don't have our specific products linked to these header entries.
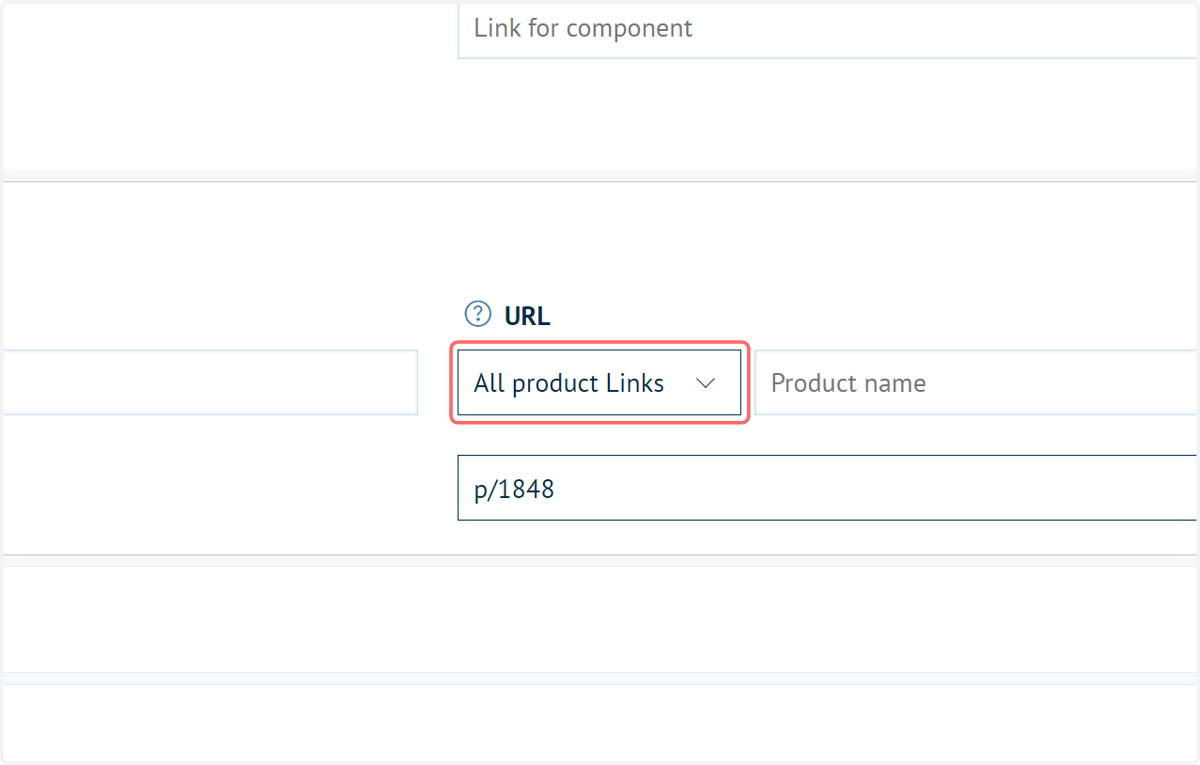
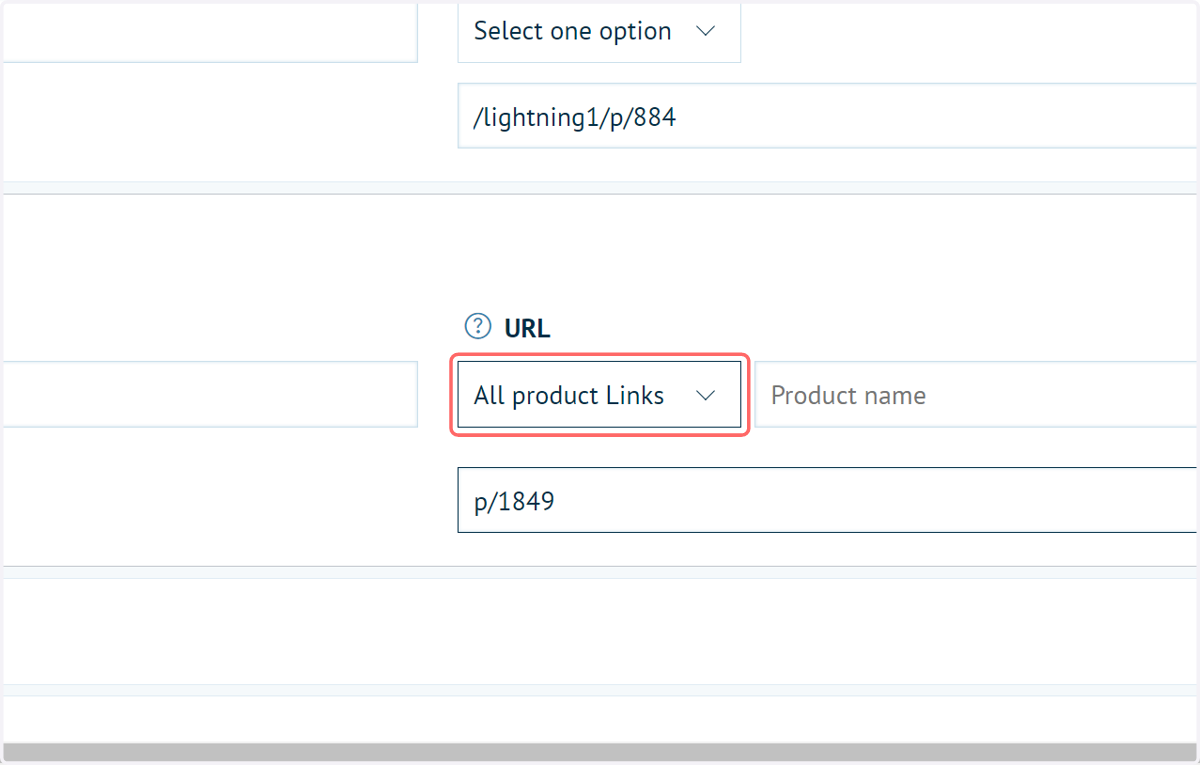
55. Select All product Links
We can search through the existing content of our Storefront to find the correct URL for this link.
Searchable items include Products, categories and content pages, most of which we haven't covered yet!
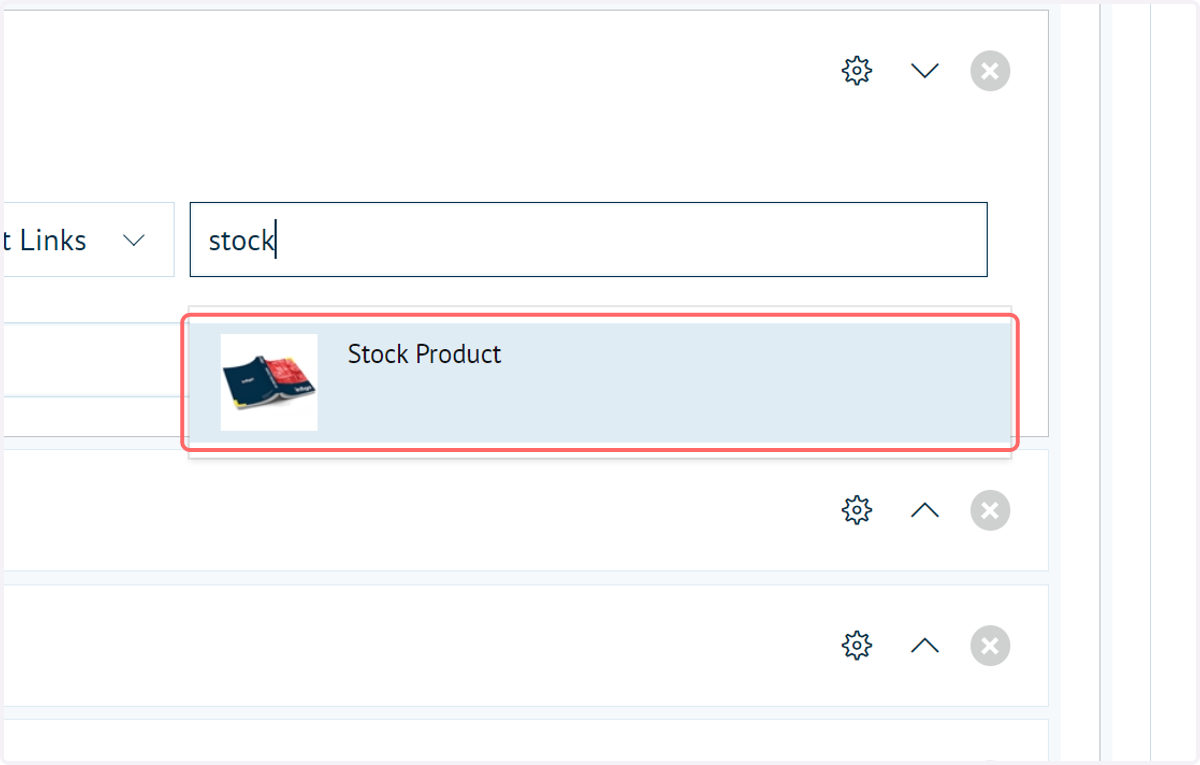
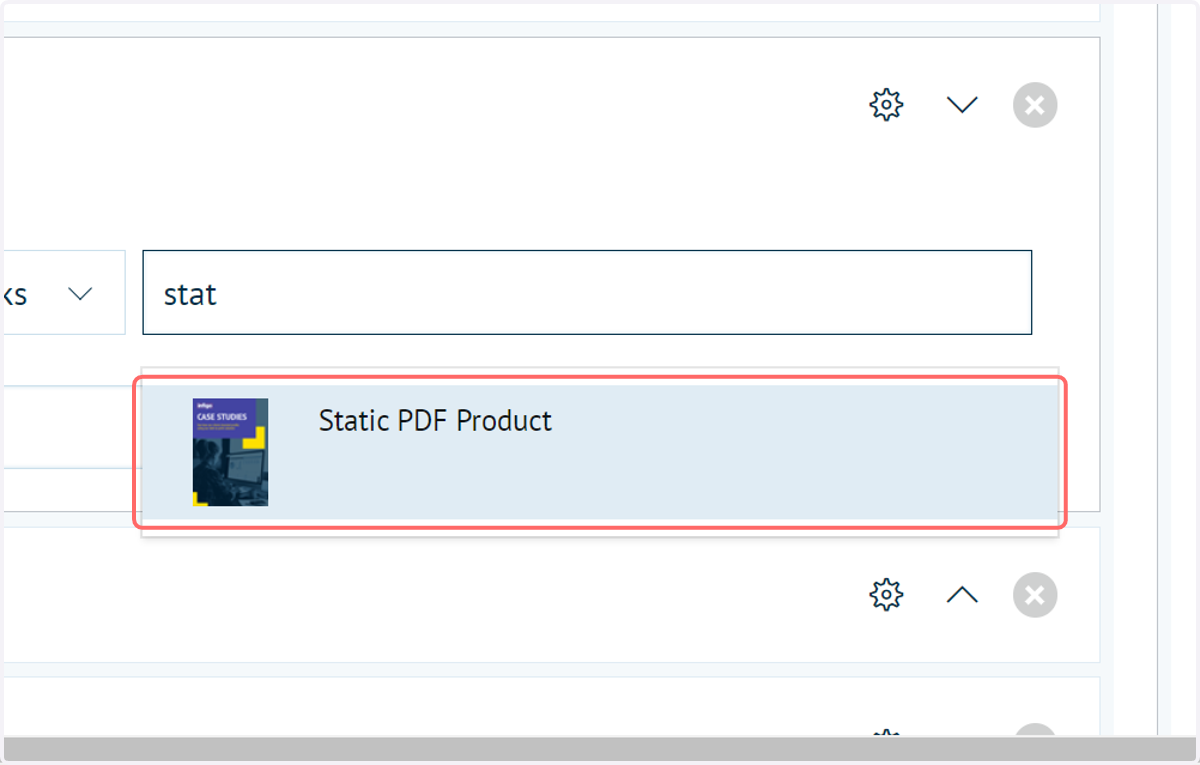
56. Begin typing your product name
A dropdown list will appear where you can select from your available products
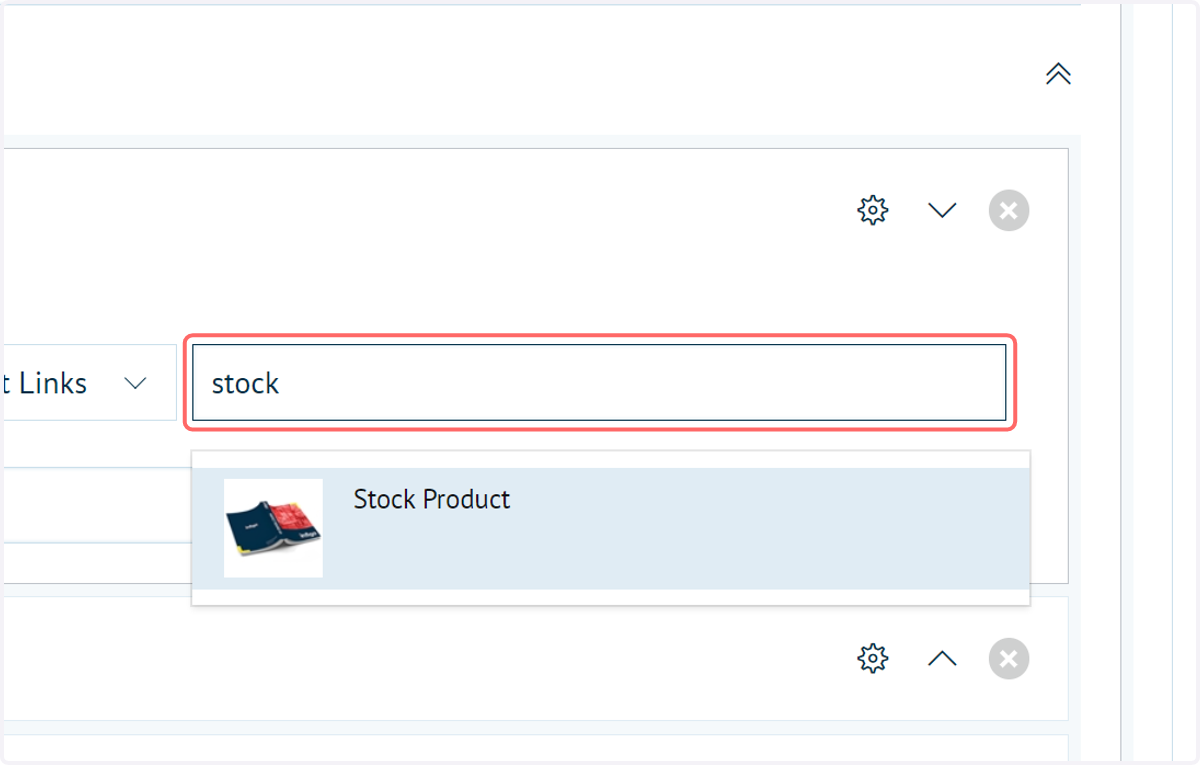
57. Select your Product
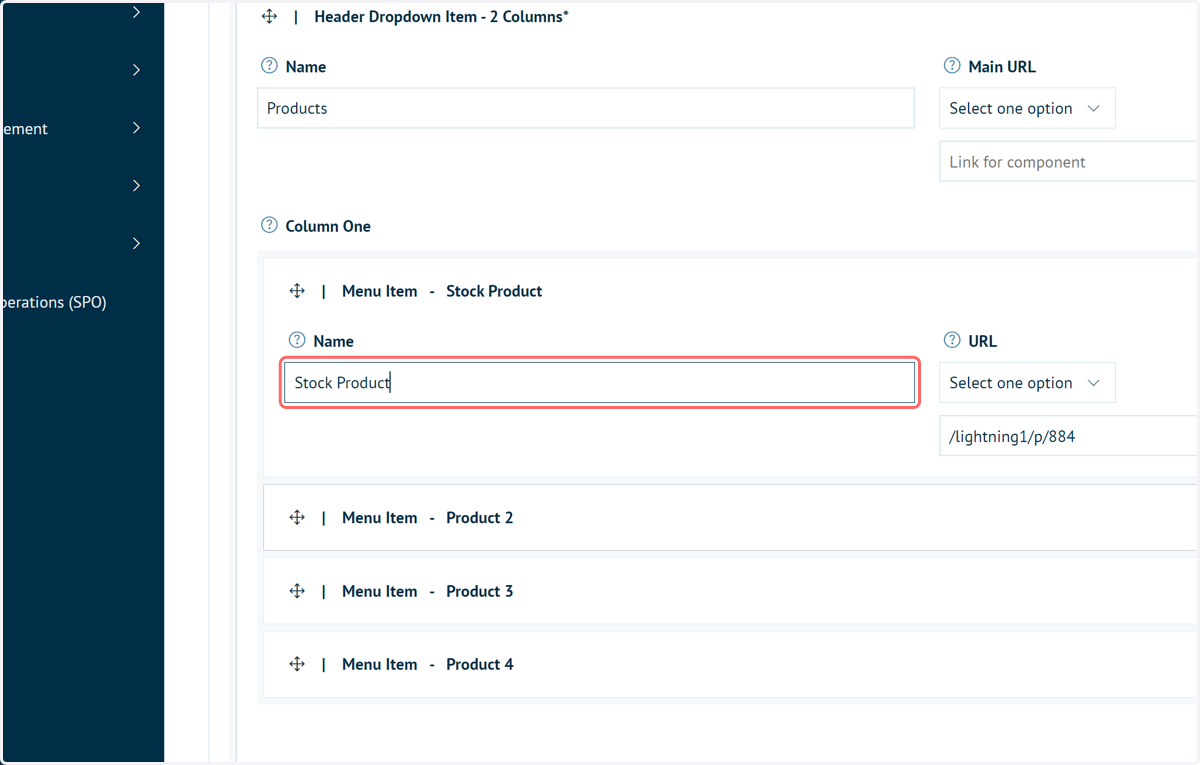
58. Type a title which will appear on the site header
For example, the name of the product
59. Reprat the process for our second product!
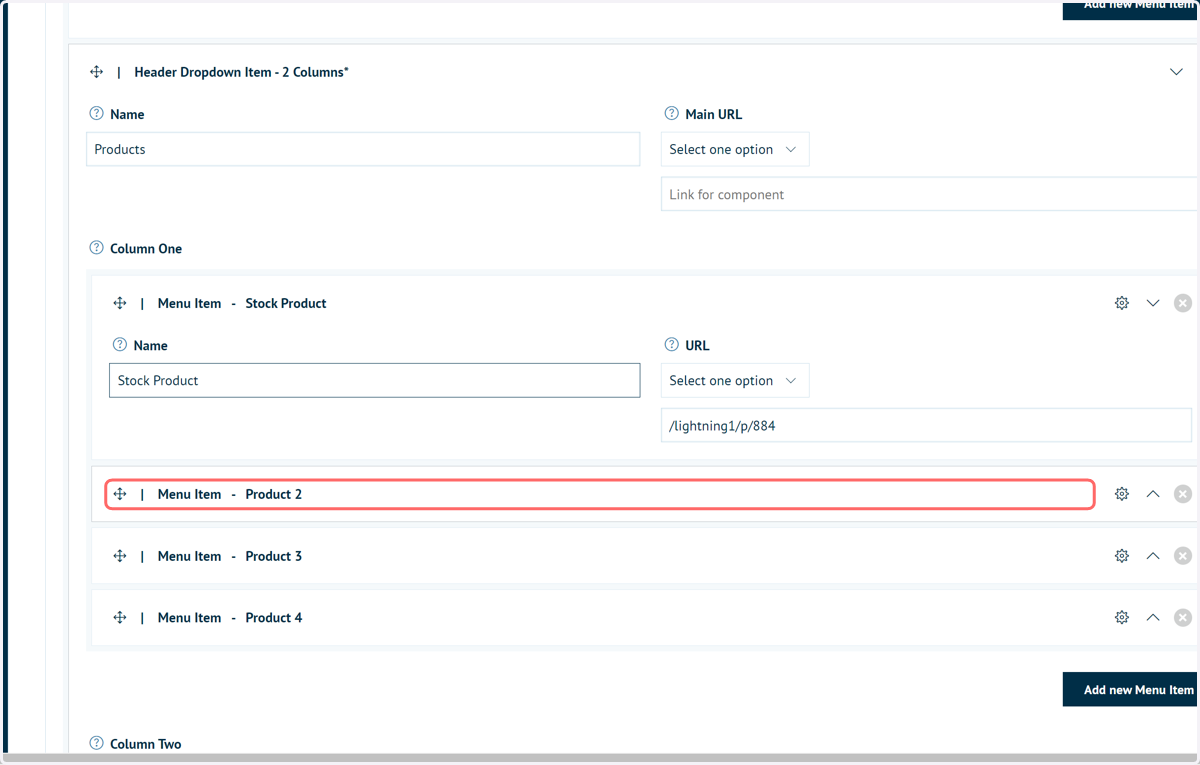
60. Type a name to appear in the header
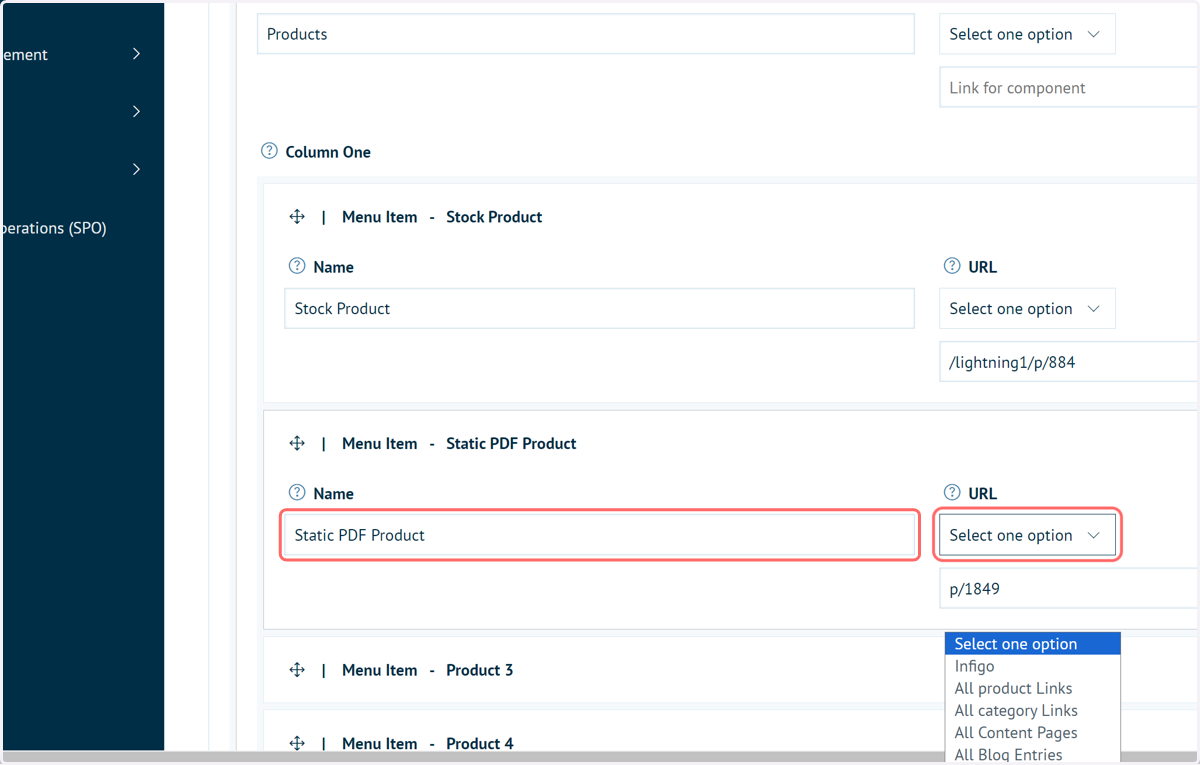
61. Select All product Links
62. Select the relevant product
63. Deleting parts of your Content Template
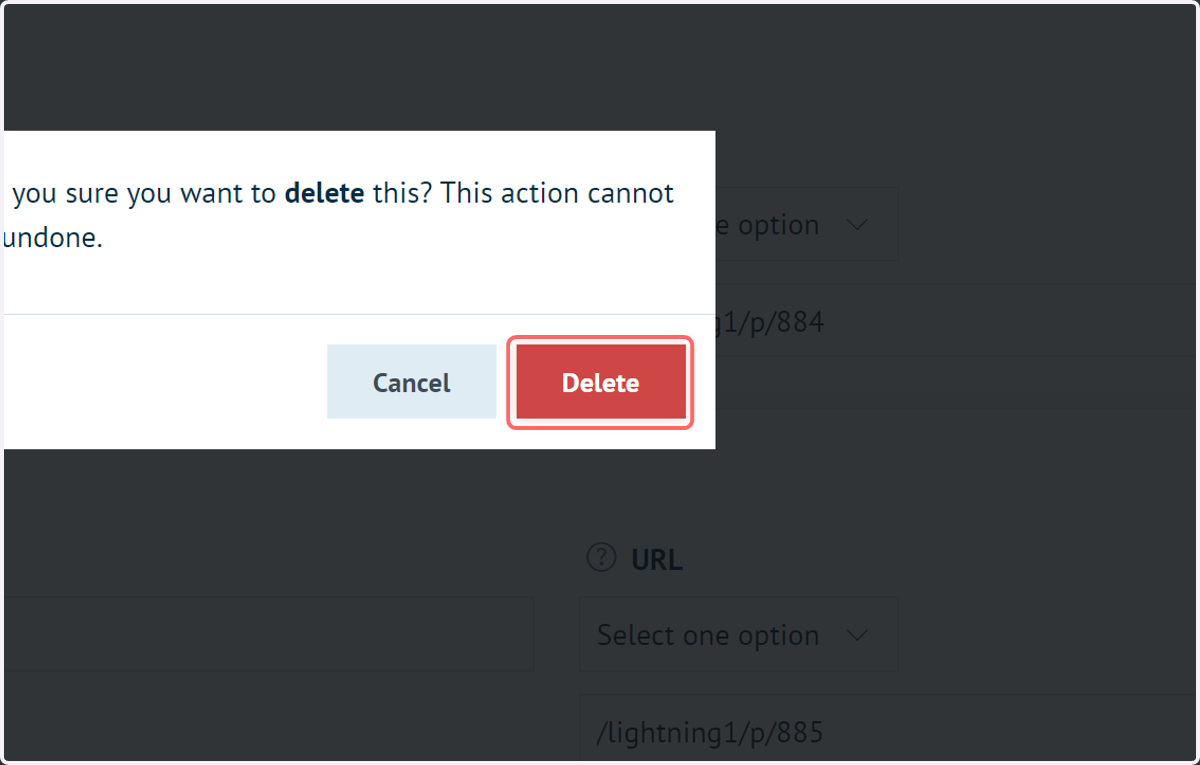
We have some additional Product entries and areas of our header which are not relevant to us at this time. These can be deleted.
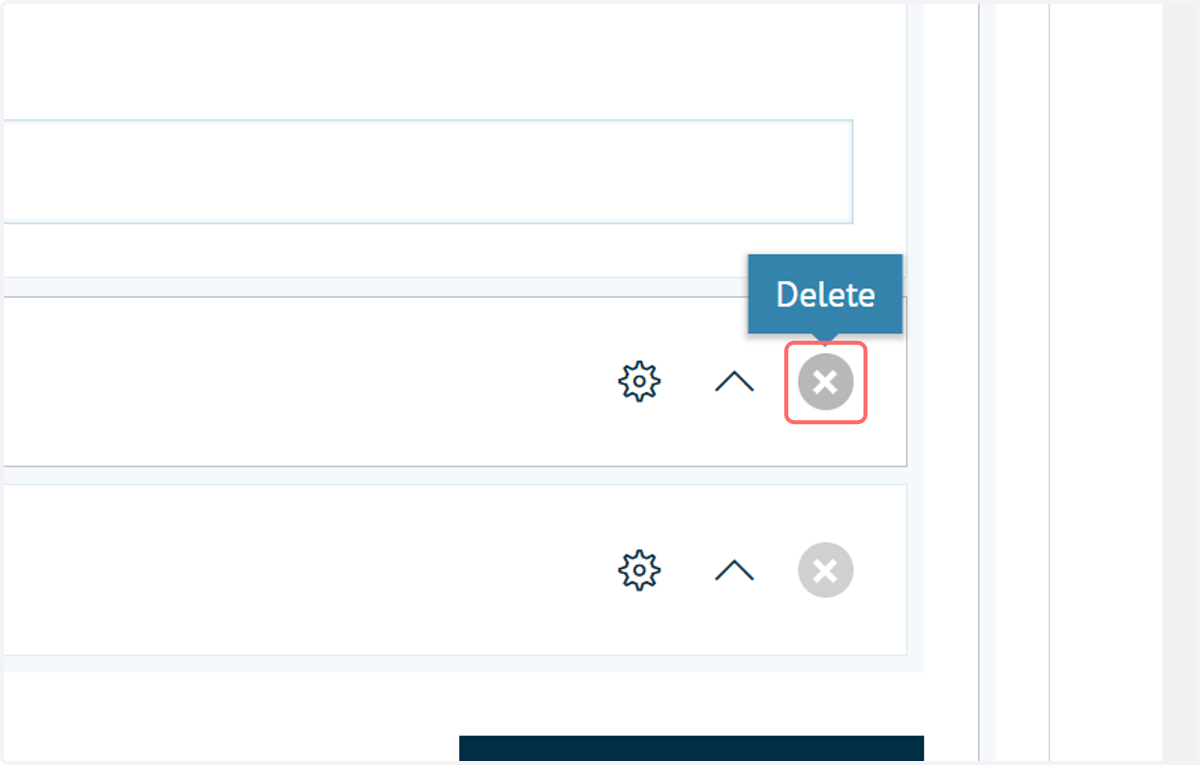
64. Click on Delete
65. Click on Save
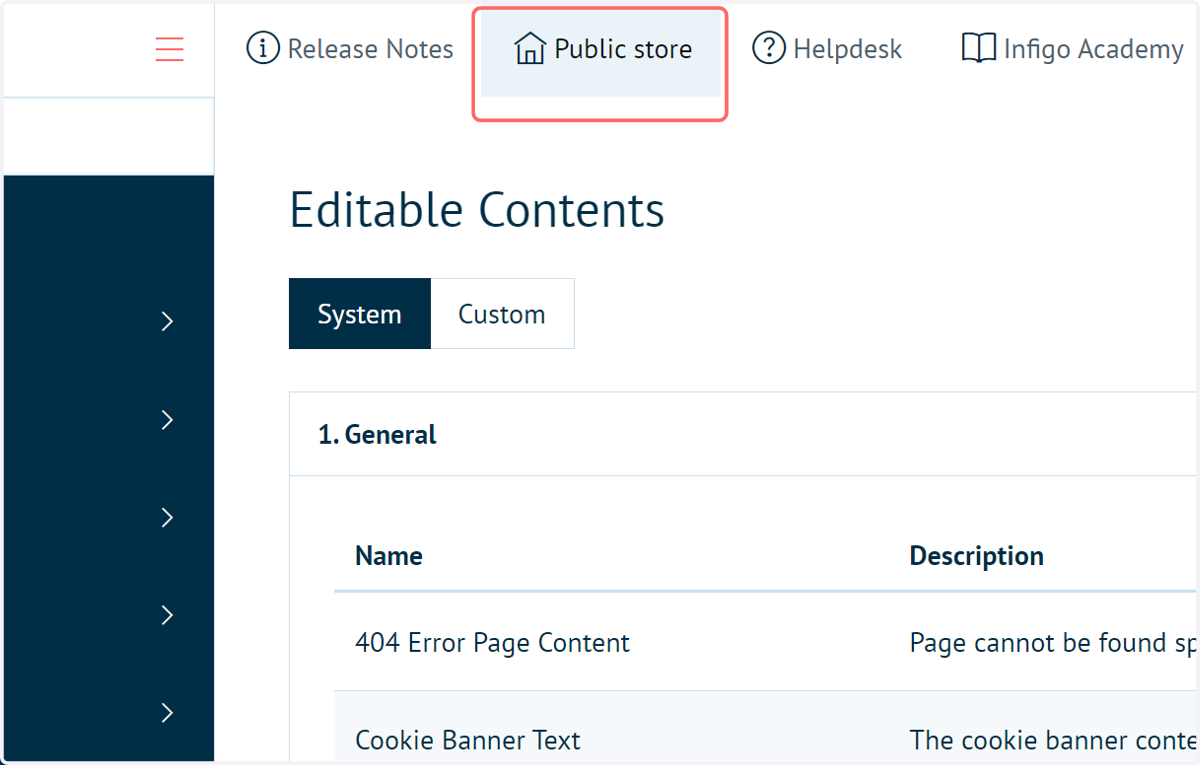
66. Click on Public store
Let's go ahead and view our modified header.
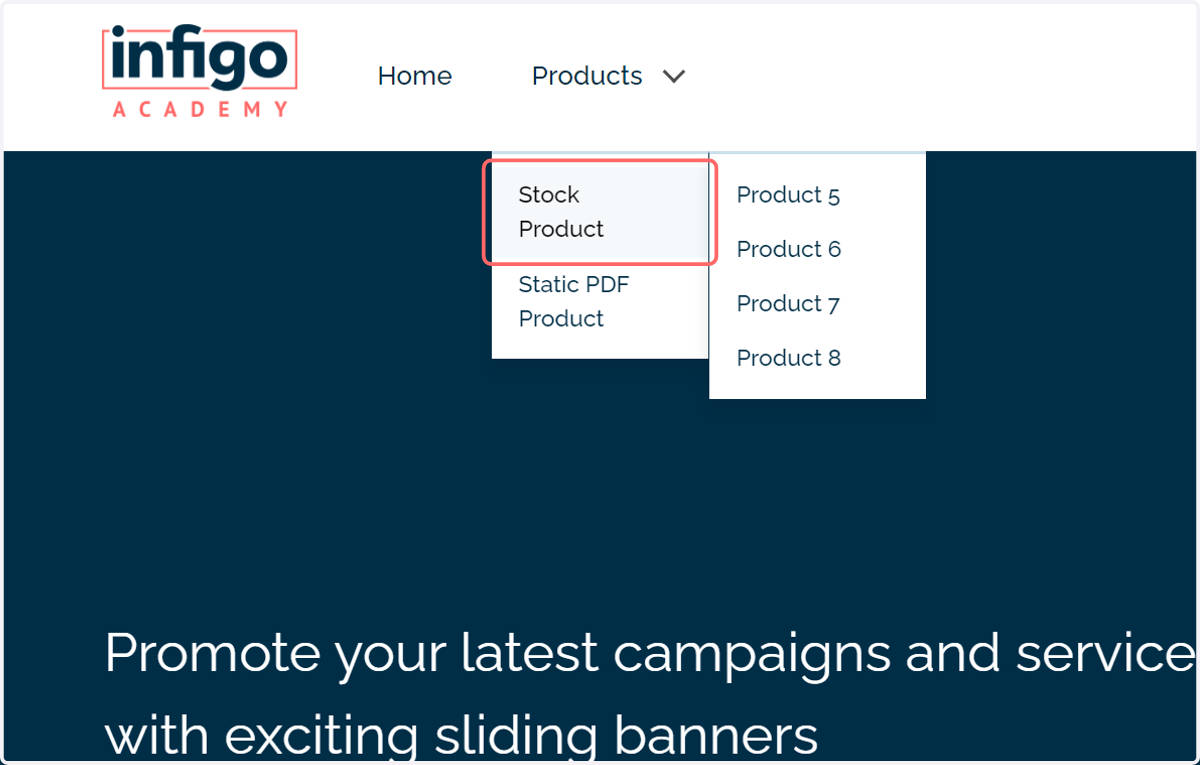
67. Our modified header is displayed
Our two Products are now part of the drop down menu for Products and can be directly accessed from the header.
Select your Stock product to continue!!
The user experience and placing an order
Now we've created some Products and made some basic changes to our Storefront, let's take a look at the experience this would give our end users.
We'll begin on the Product landing page we just selected
68. Type a quantity
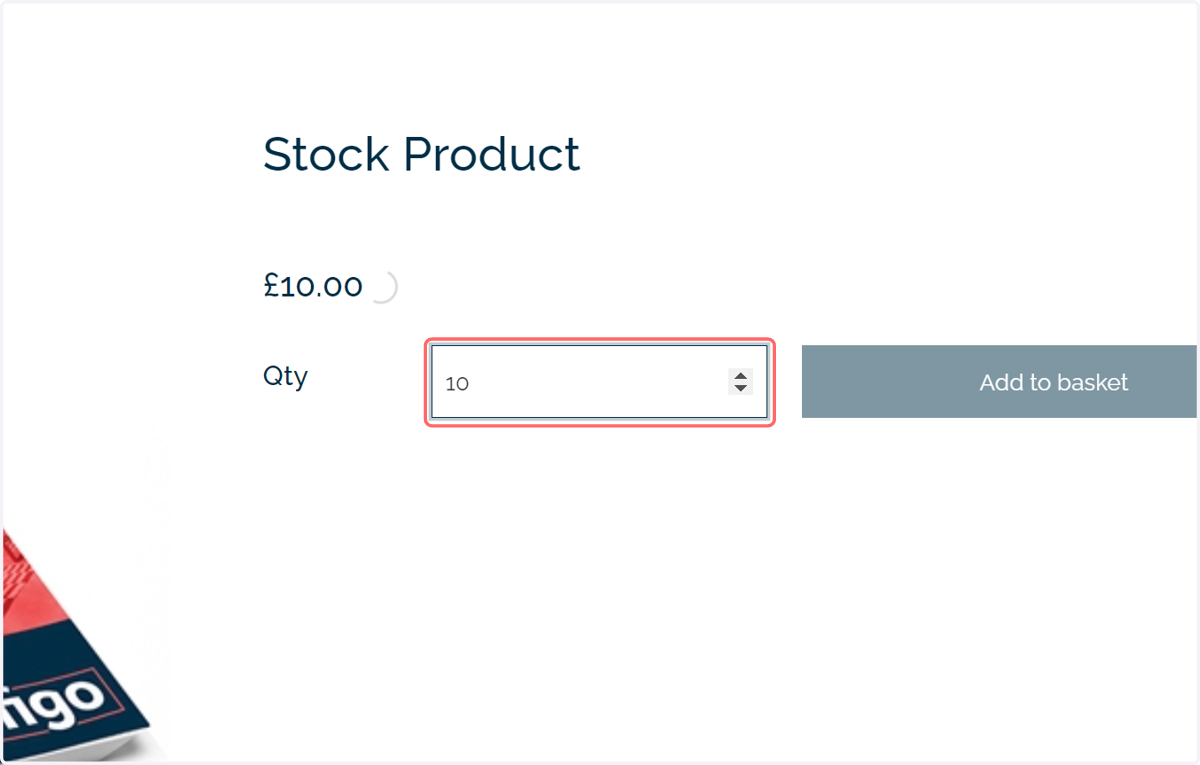
69. Add it to your basket
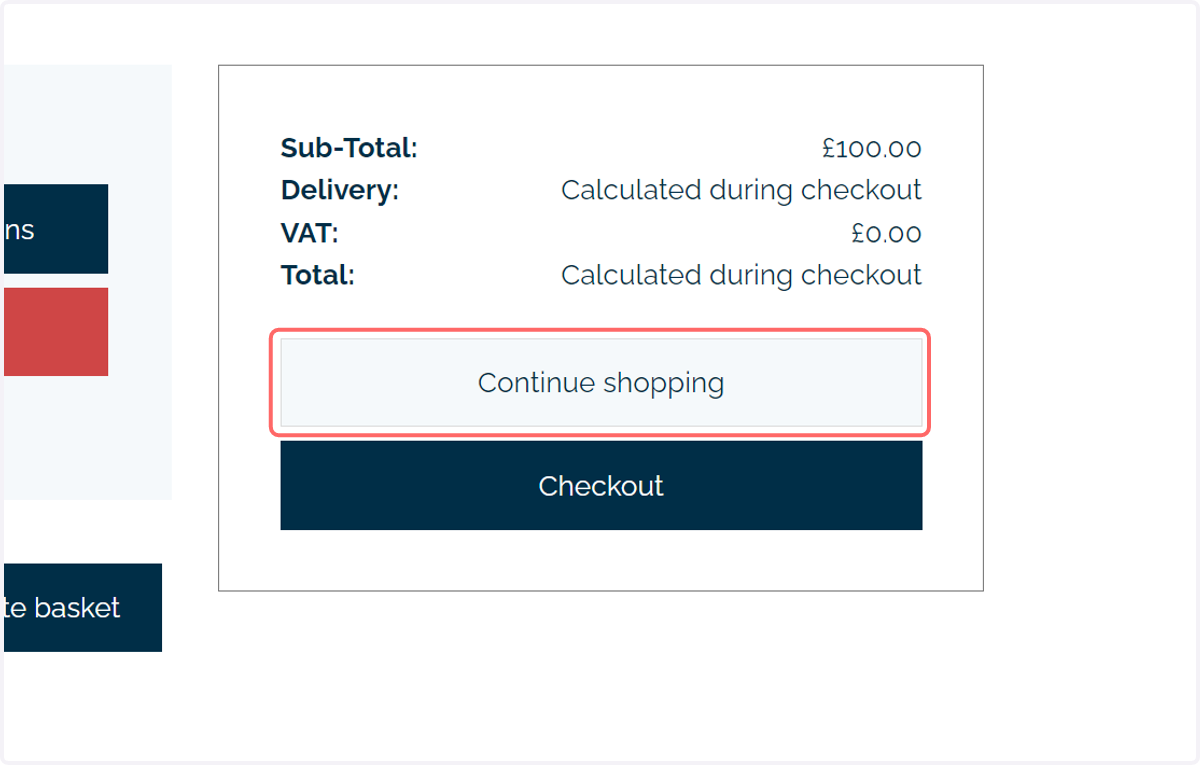
70. Click on Continue shopping
This will return the customer to the home page to continue choosing products.
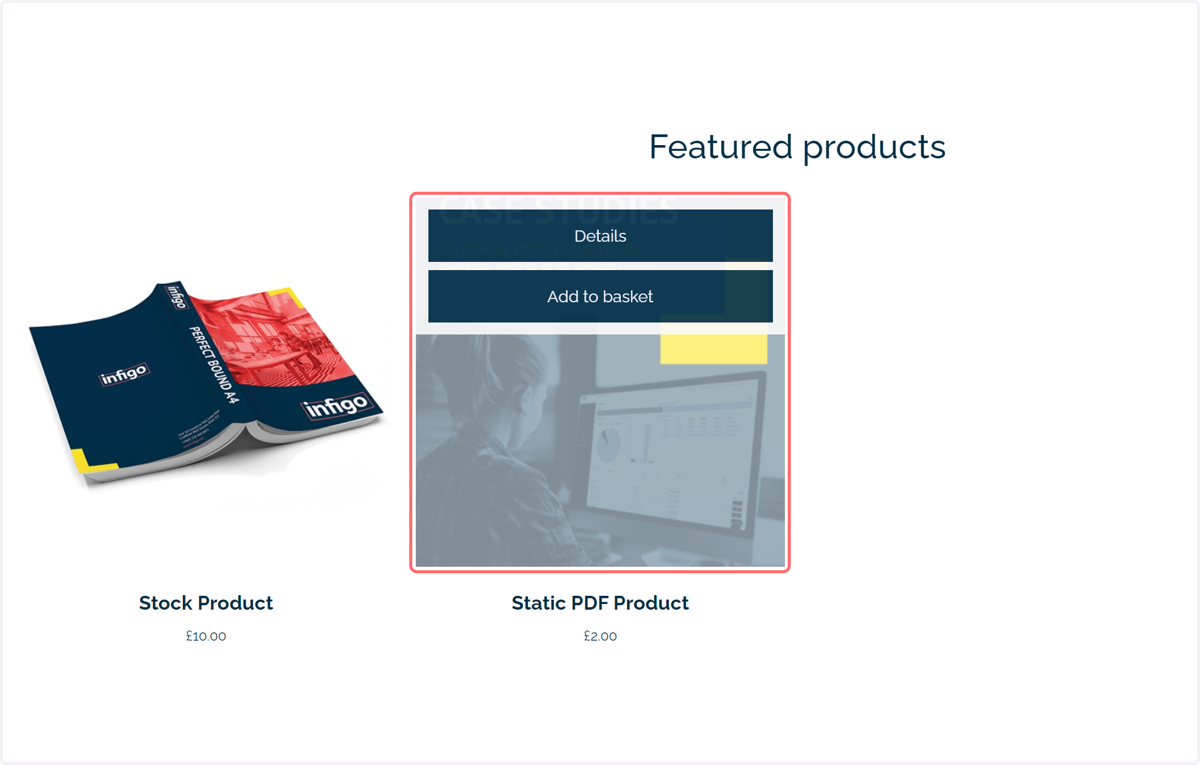
71. Click on Show details for Static PDF Product
This will appear on the home page as we set this product as a Featured Product
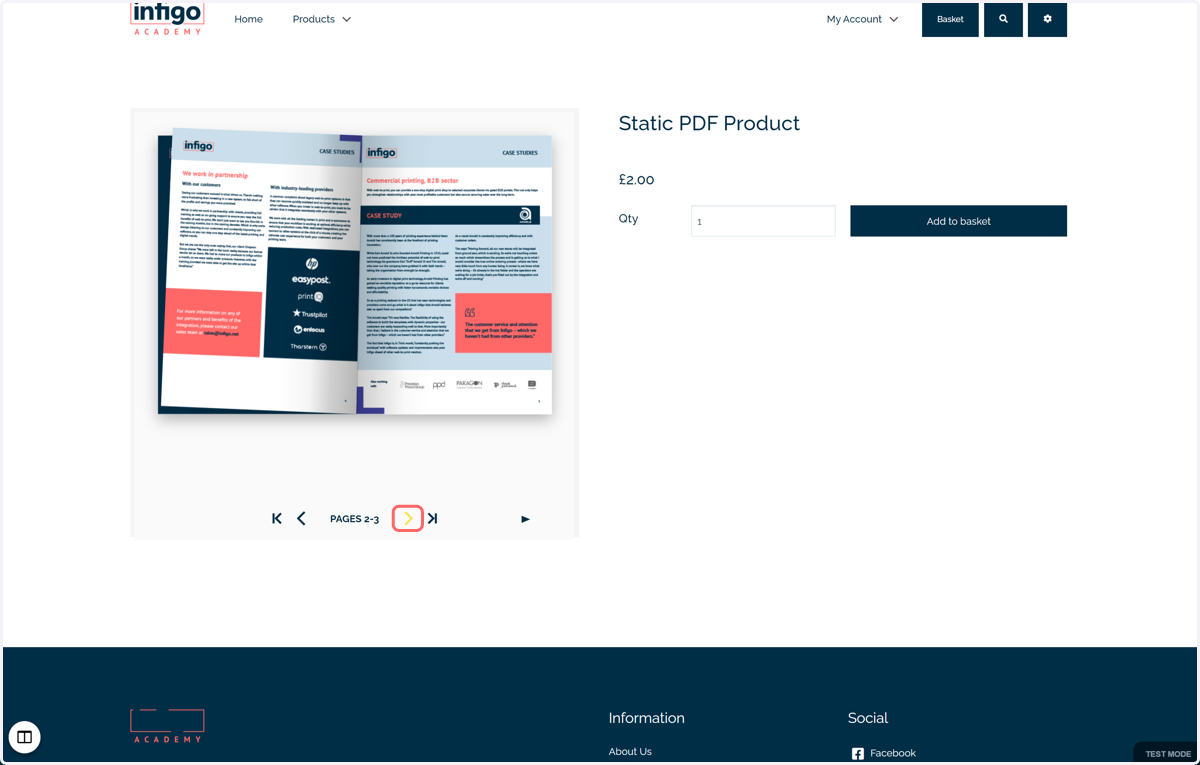
72. Flick through the PDF
The default settings of a static PDF will show a preview of it on the product landing page
73. Type a quantity of product to purchase
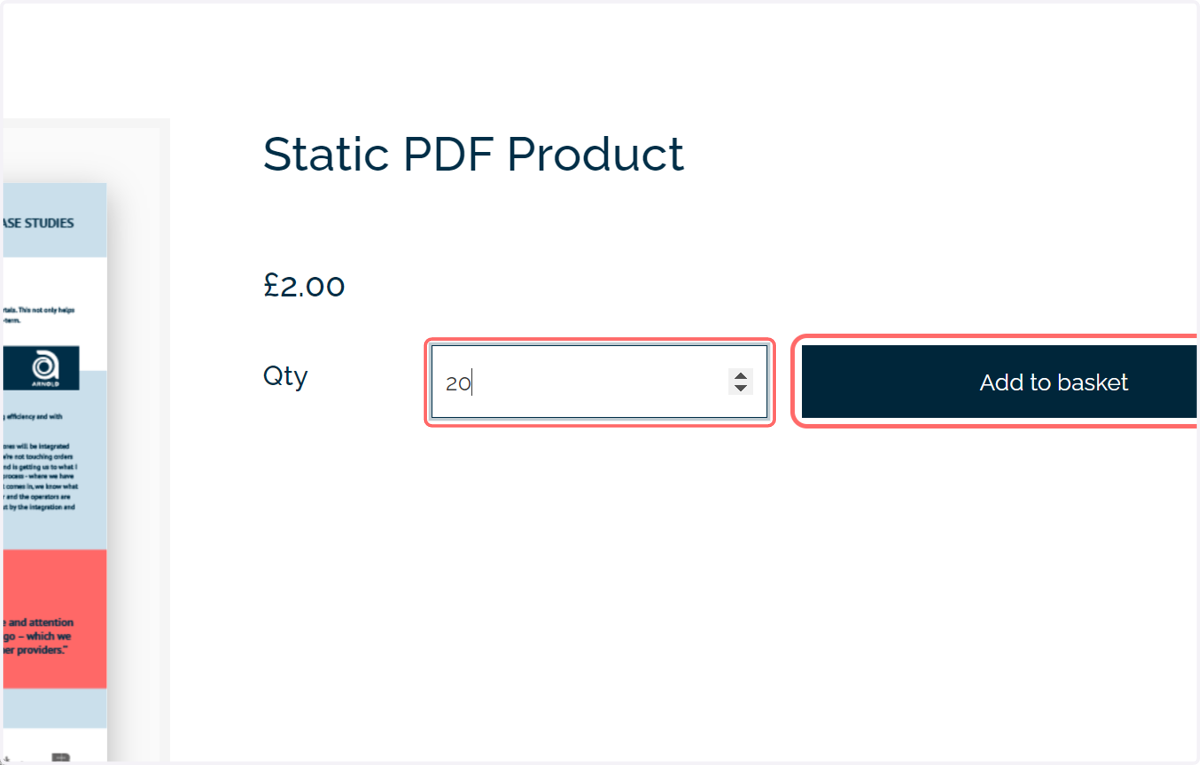
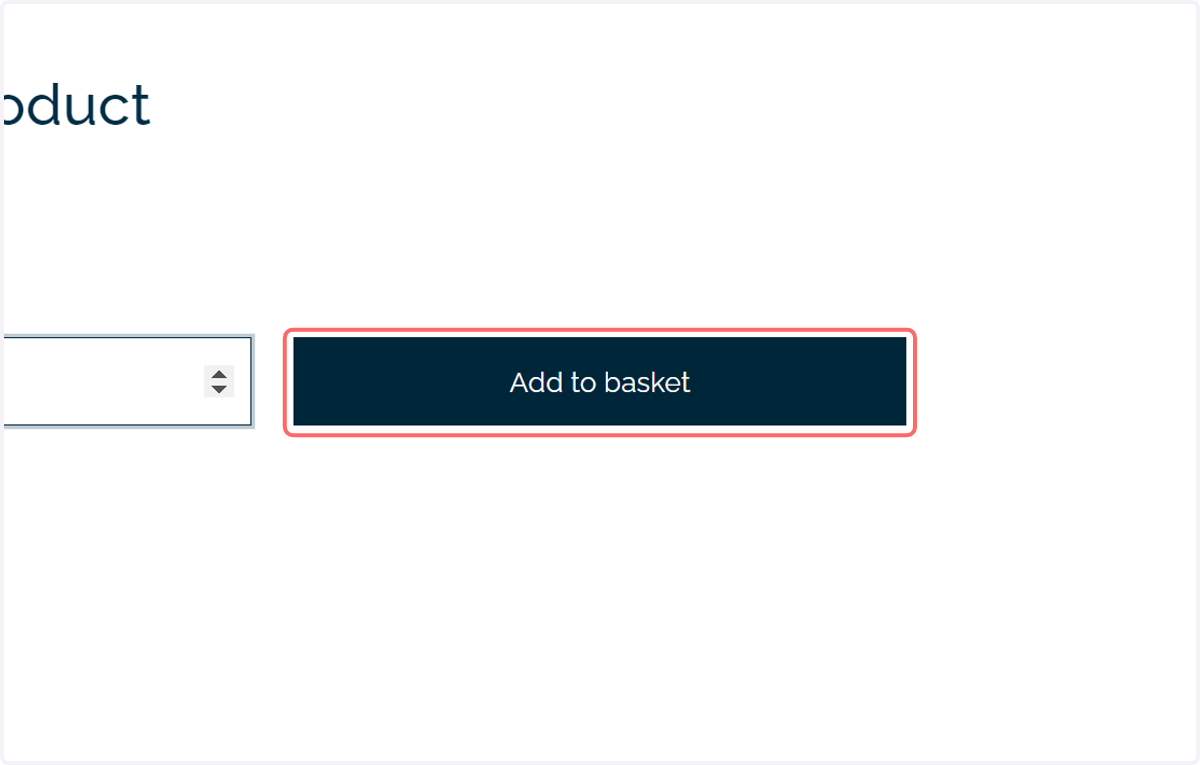
74. Click Add to basket
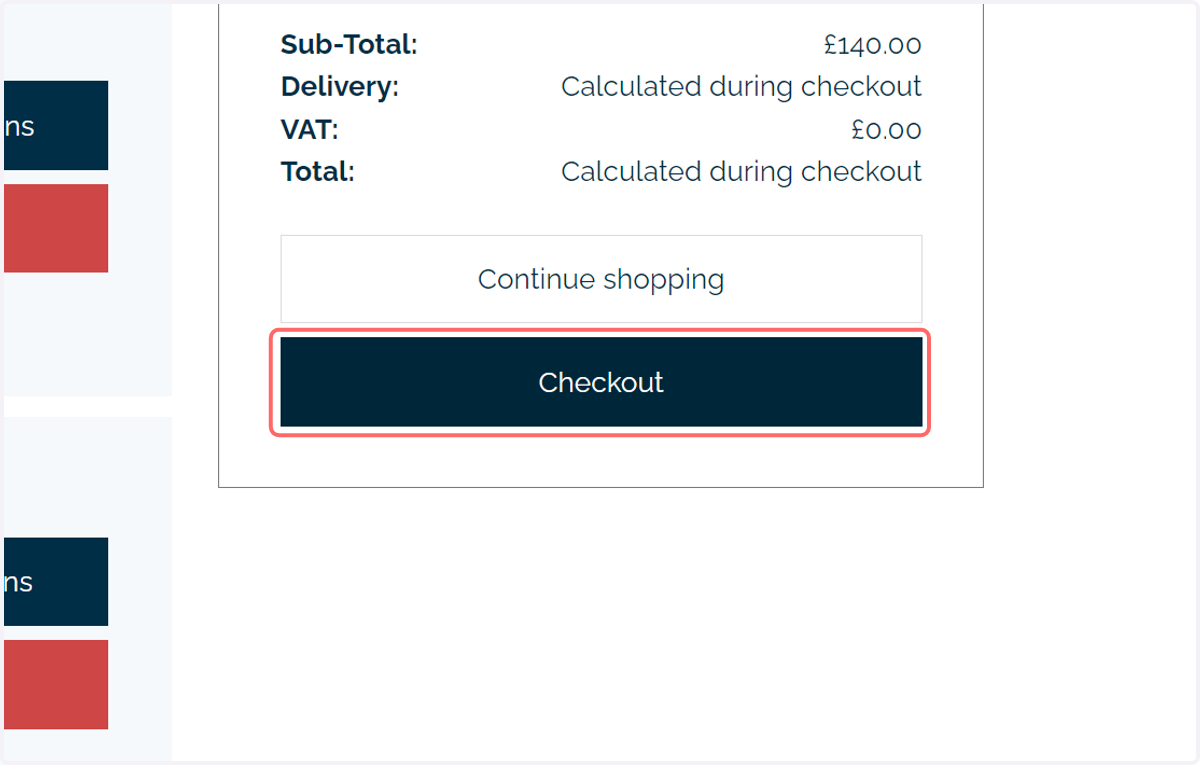
75. Click on checkout
Next, let's proceed through the default checkout process
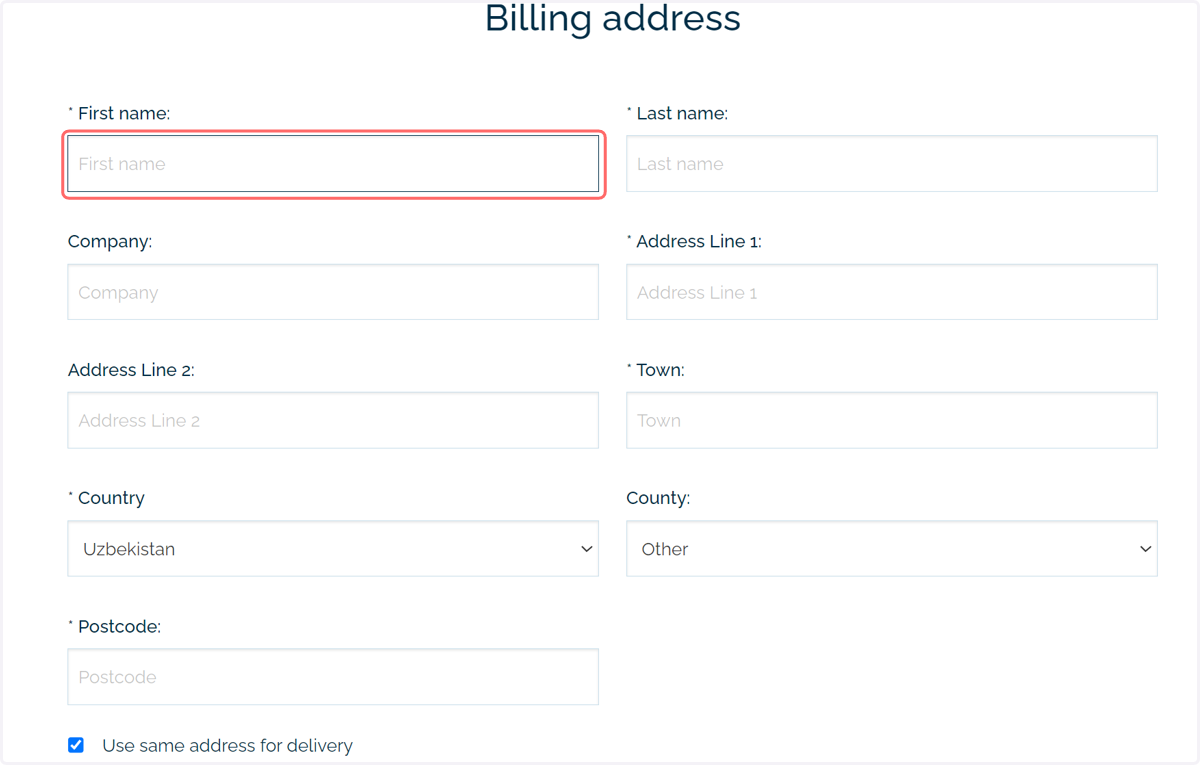
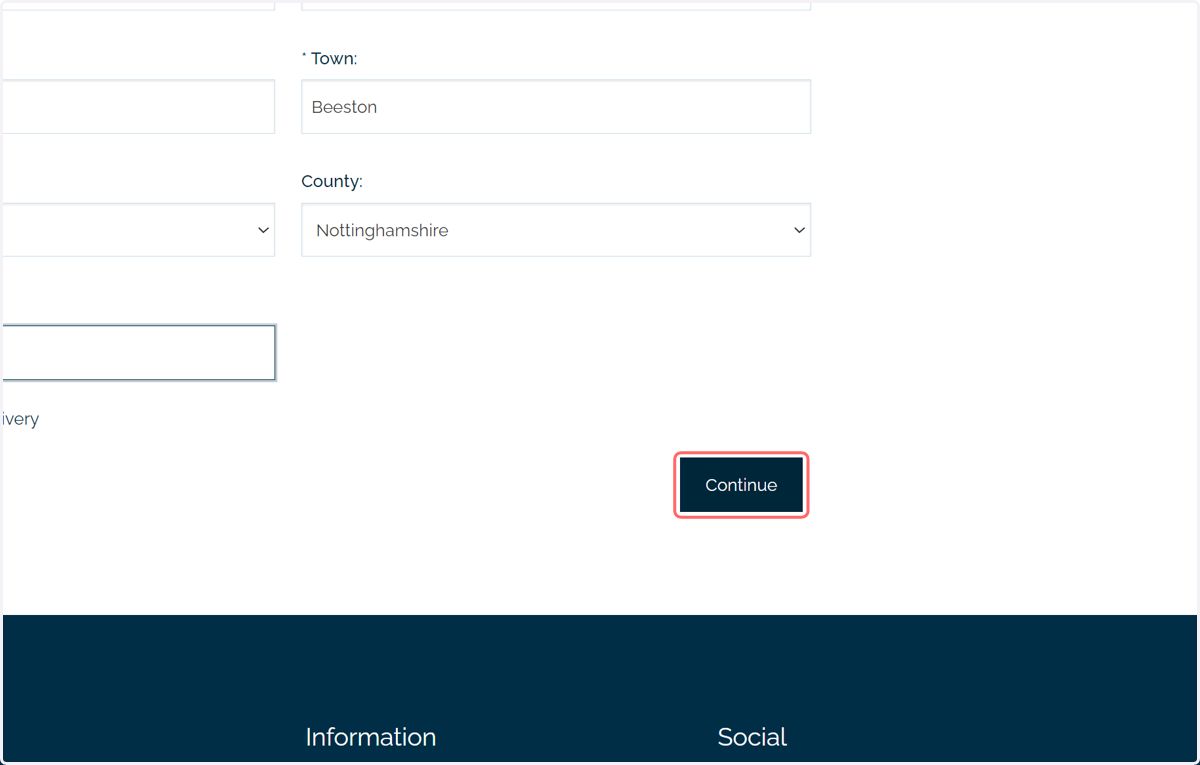
76. We will first be taken to our address details
As no previous addresses have been entered for this user, we need to create one.
Enter the details. These will be remembered for the next time this user checks out.
77. Click on Continue
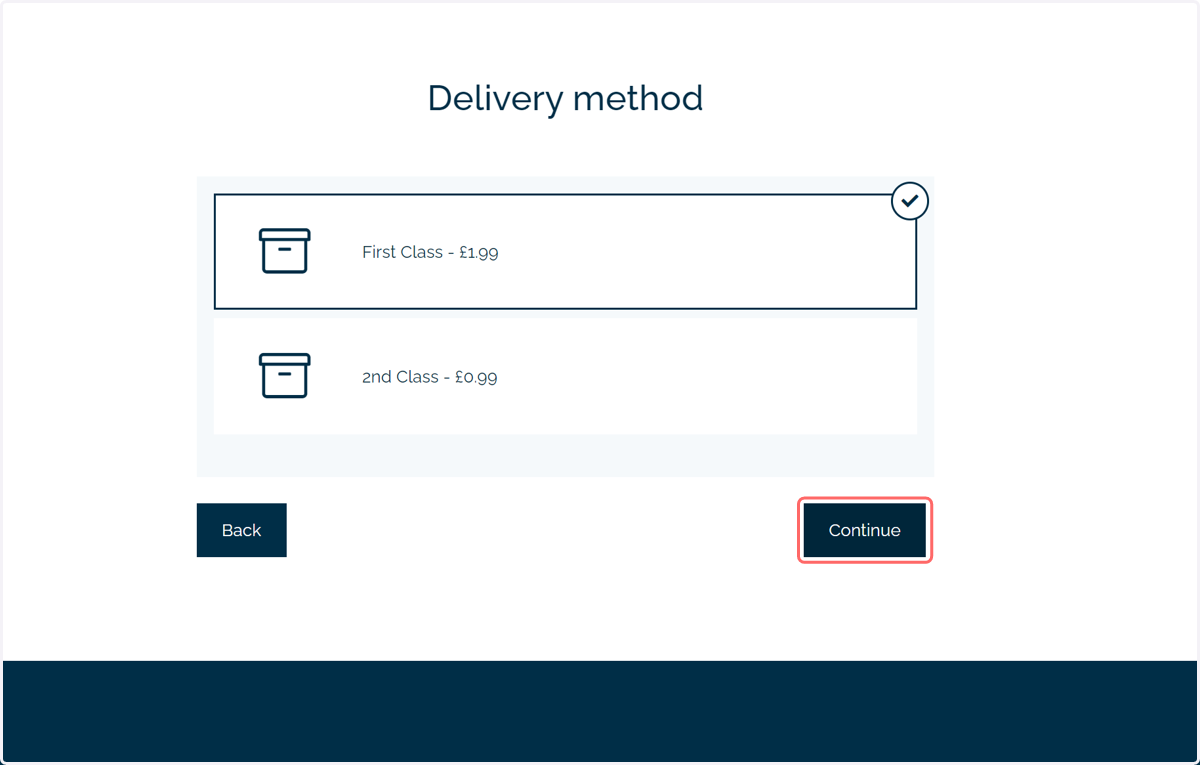
78. Select a delivery method and continue
Two delivery methods will exist by default.
These can be amended or deleted at a platform level.
Additional delivery methods can also be added. See the Infigo Academy for further details.
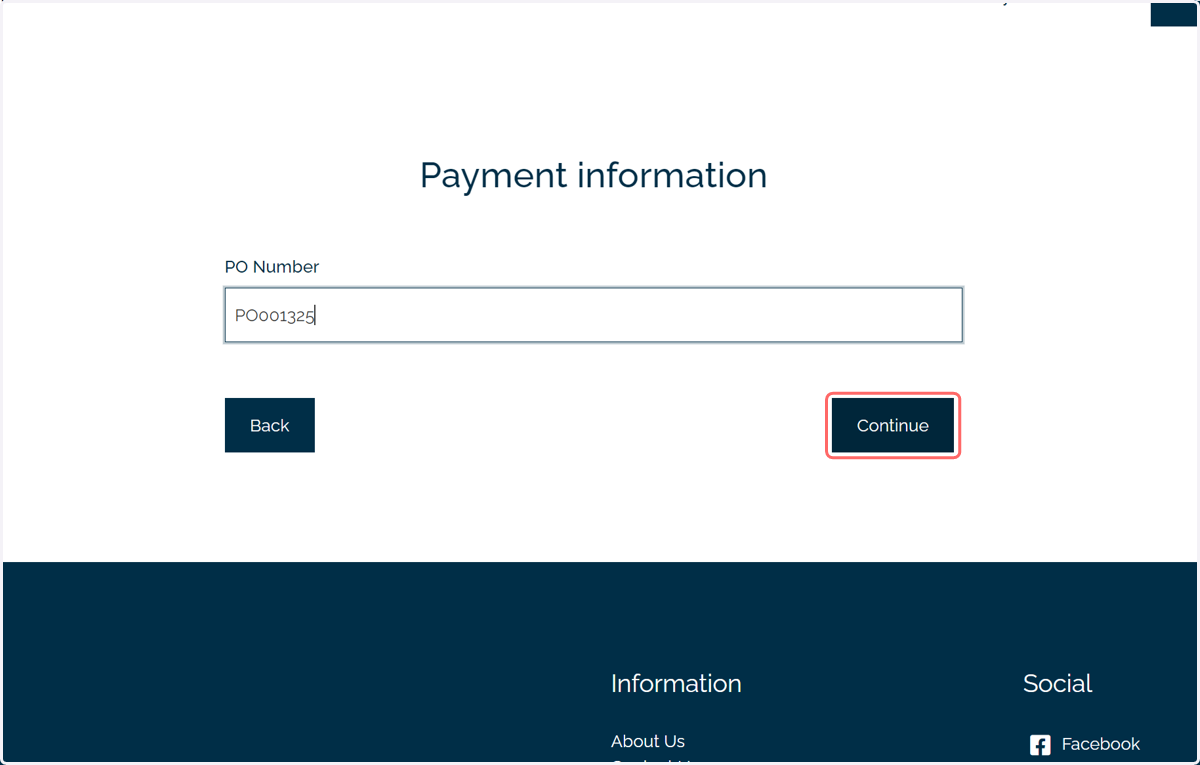
79. Type "PO001325"
80. Enter a PO number
Next in the checkout is the payment information. On a default storefront, purchase order is the only available method of payment.
Additional payment methods can be configured. See the Infigo Academy for more details.
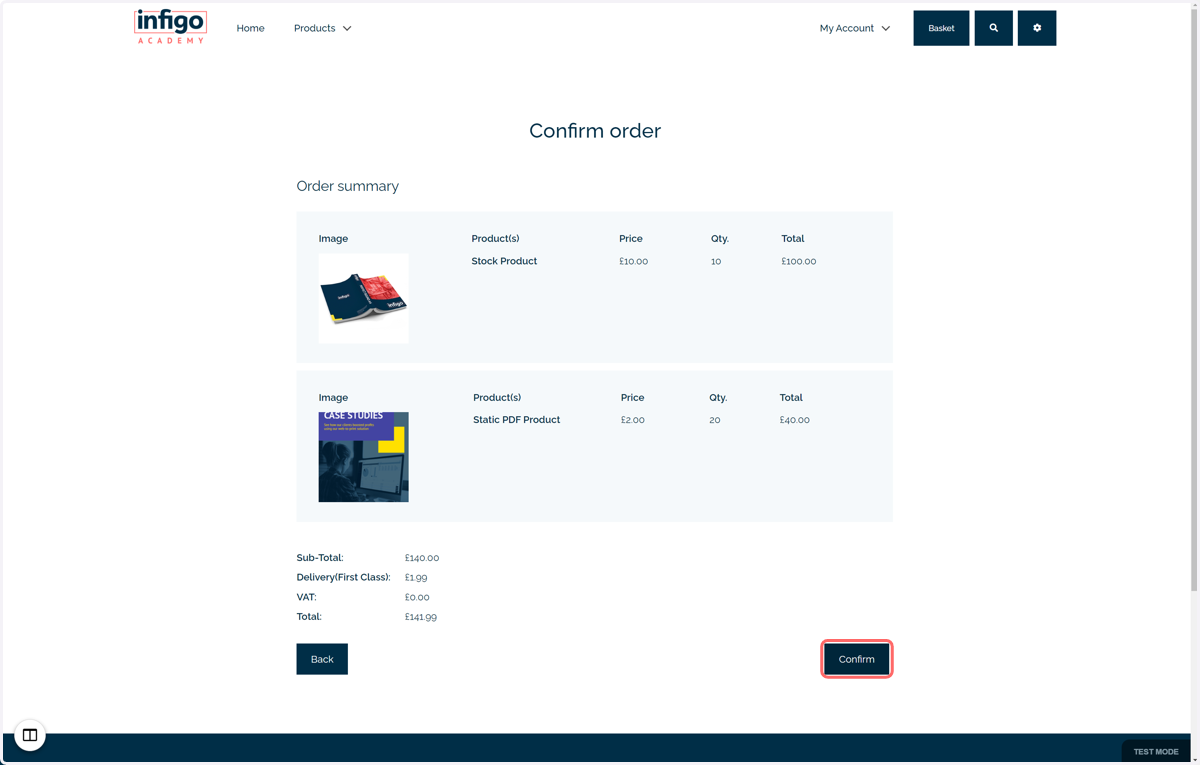
81. Click on Confirm to place the order
82. Click on Click here for order details.
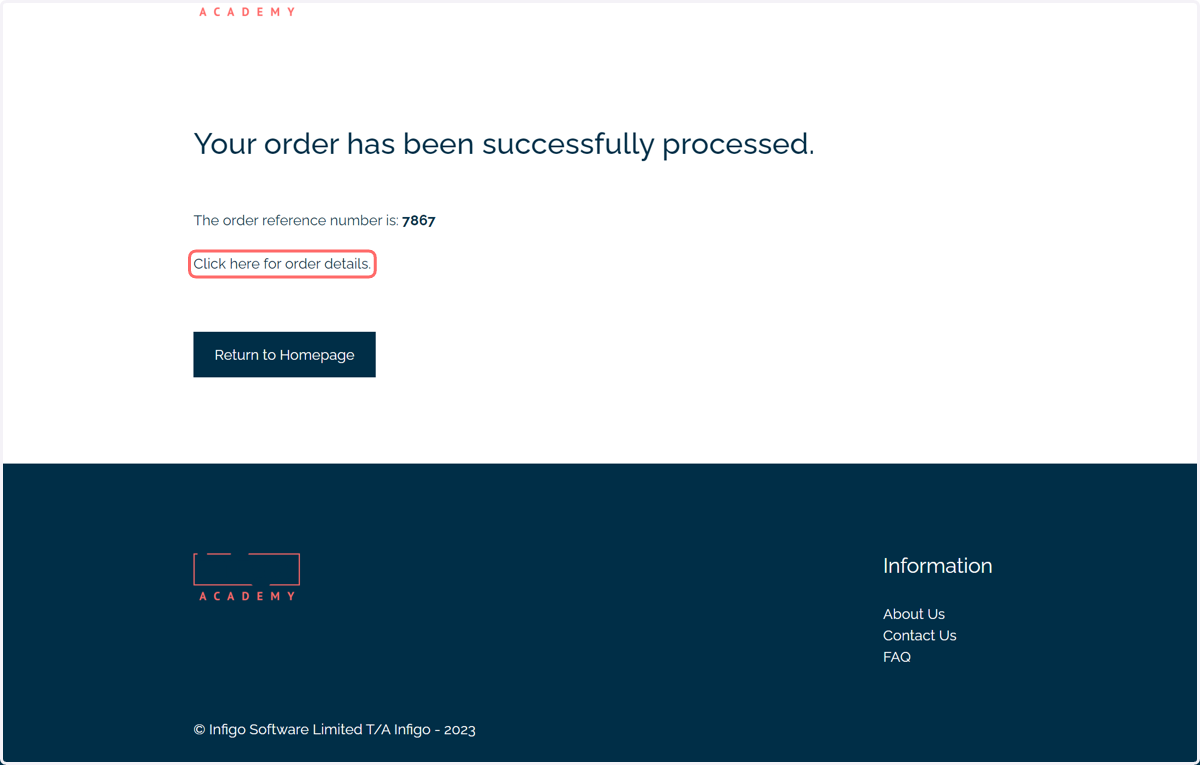
83. Order details can be seen in the customer's account page
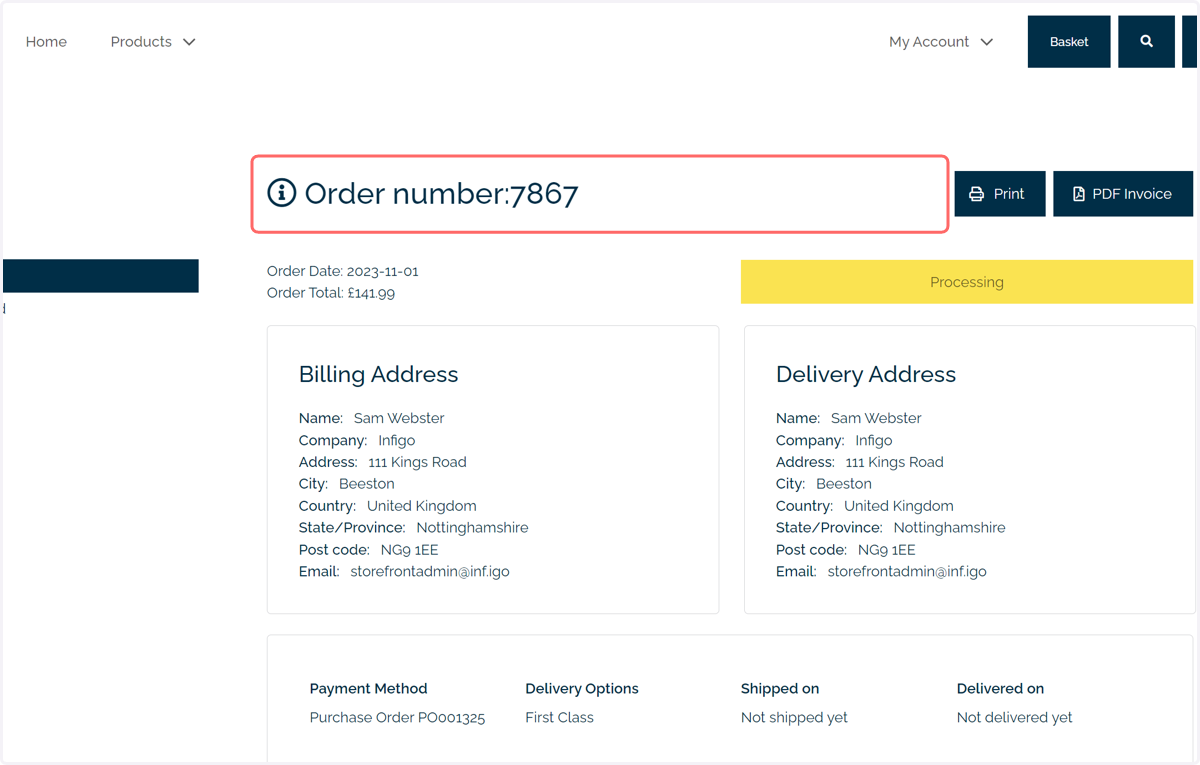
Managing orders in Infigo
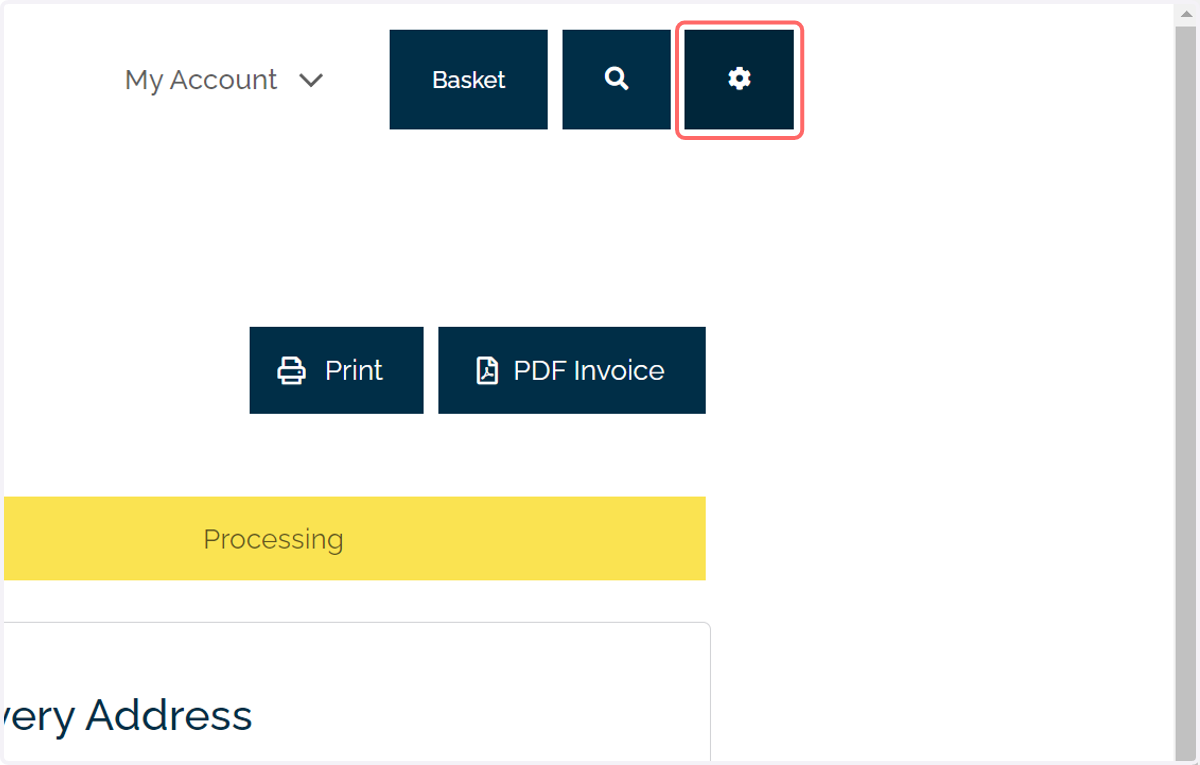
84. Click on Admin
This will take you from the front-end of your site back to the admin view
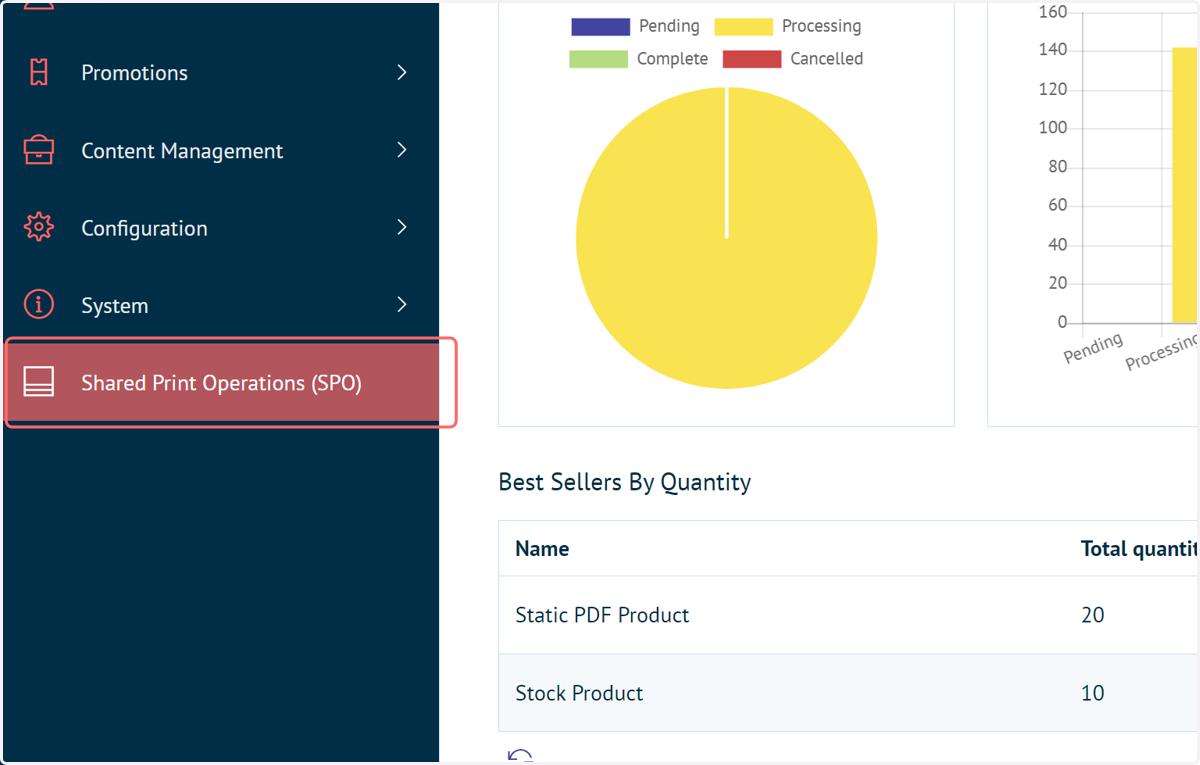
85. Click on Shared Print Operations (SPO)
Shared Print Operations (SPO) is your primary place to manage orders received through your Infigo Storefront.
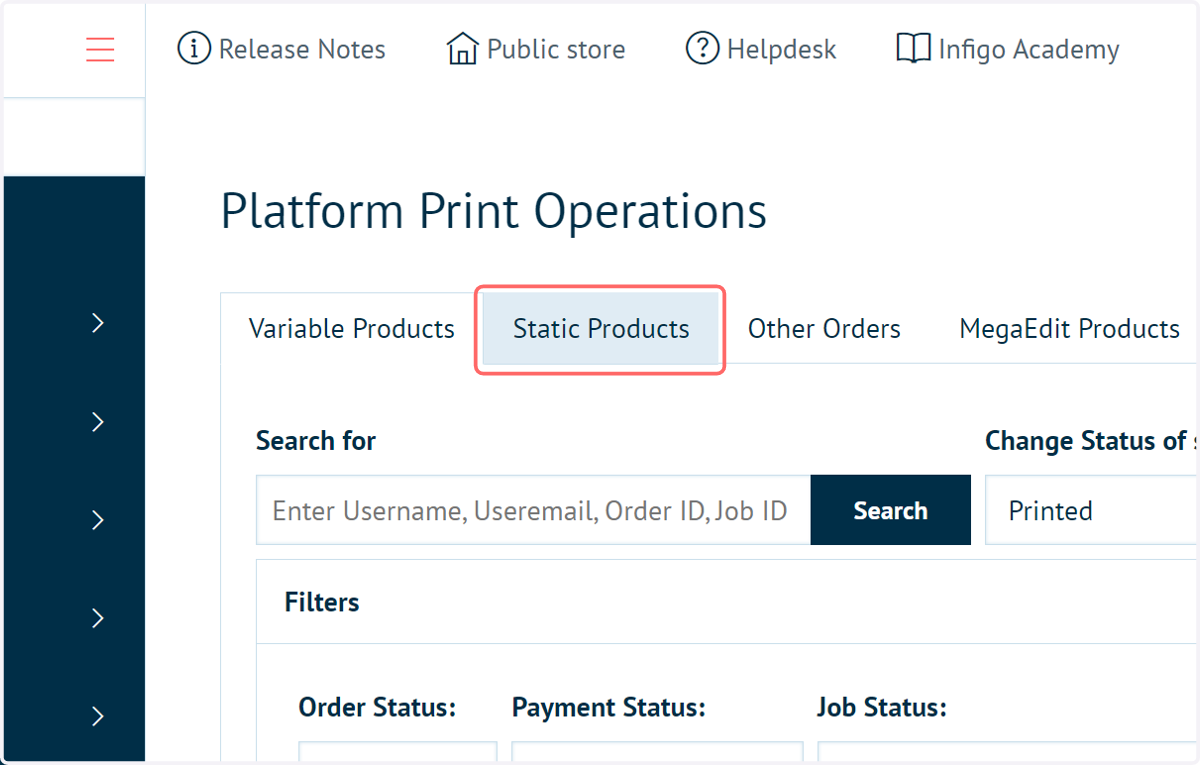
86. Click on Static Products
Separate tabs are present for different types of products.
Orders are split into different orderlines and jobs within SPO, meaning there may be several entries for a single order
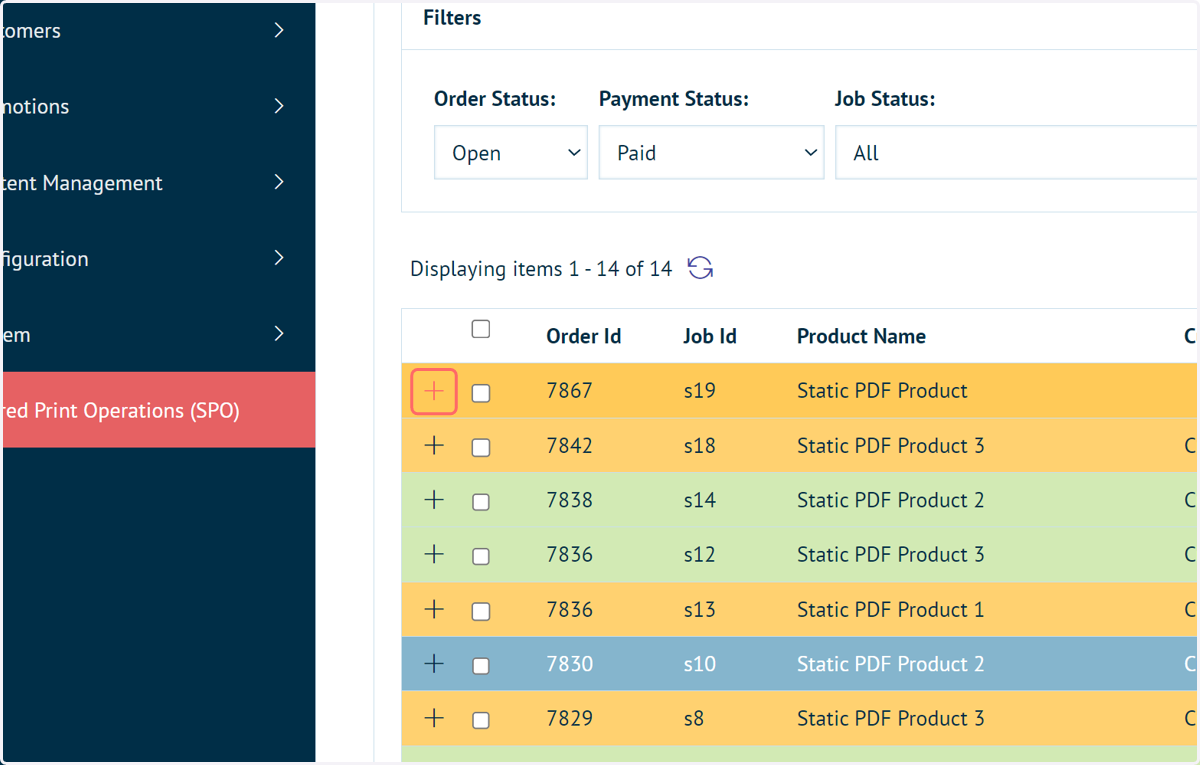
87. Locate a job and click the '+' icon to see additional information
There are loads of different pieces of information available on the job. Including, amongst others, status histories (keeping track of the jobs progress through the system), address details, shipping details and more.
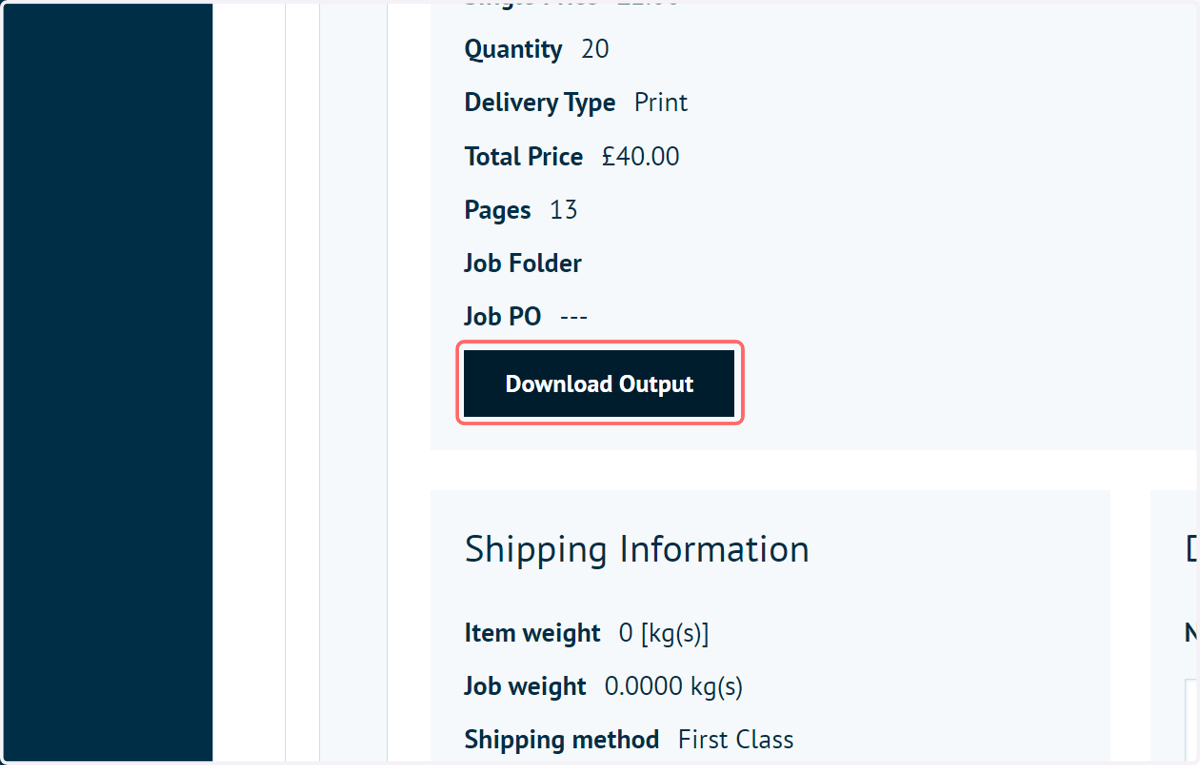
88. Click on Download Output
For relevant product types, we are able to download the output file from within SPO.
In our example products, we will be able to obtain an output for the static PDF.
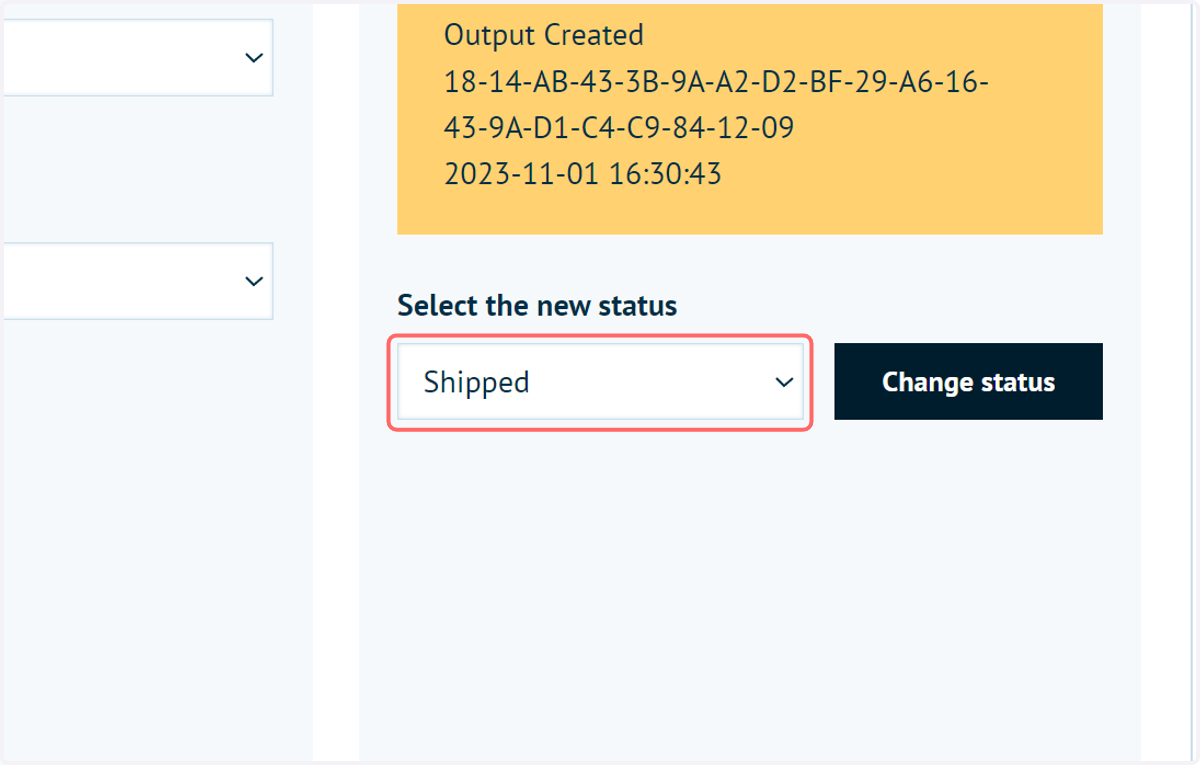
89. The current status of the job can also be changed within SPO.
And that's it!
So concludes your lightning build guide, giving you an introduction to using Infigo and discovering what it has to offer.