Automatically add PDF's to Static PDF products using the Excel import tool | BG_058
In this tutorial, we will learn how we can use an Excel datasheet to quickly and efficiently upload PDF's to Static PDF documents on mass. This functionality ensures that all products requiring a PDF can have it assigned in the shortest possible time, without having to individually upload PDF's to each product.
Whilst we will focus on PDFs and Static PDF products in this tutorial, the same methodology also applies to MegaEdit products, where a .mex file from Infigo Invent can be used in place of the PDF file.
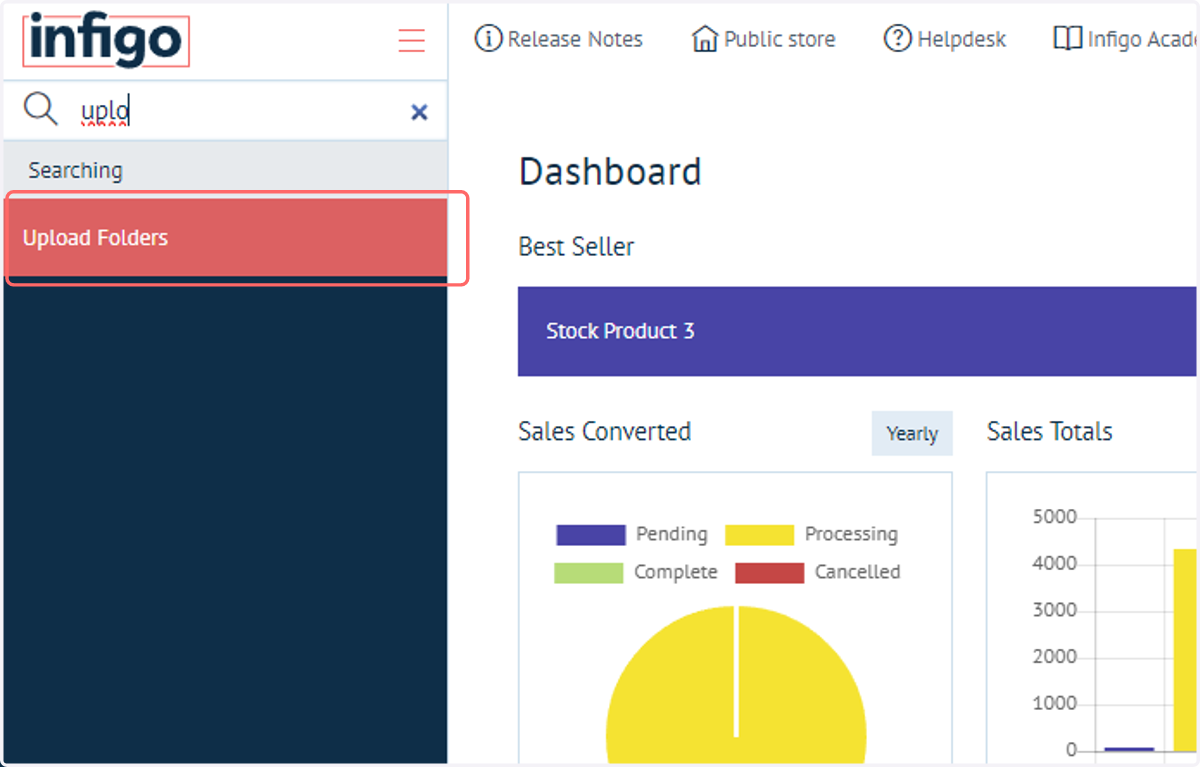
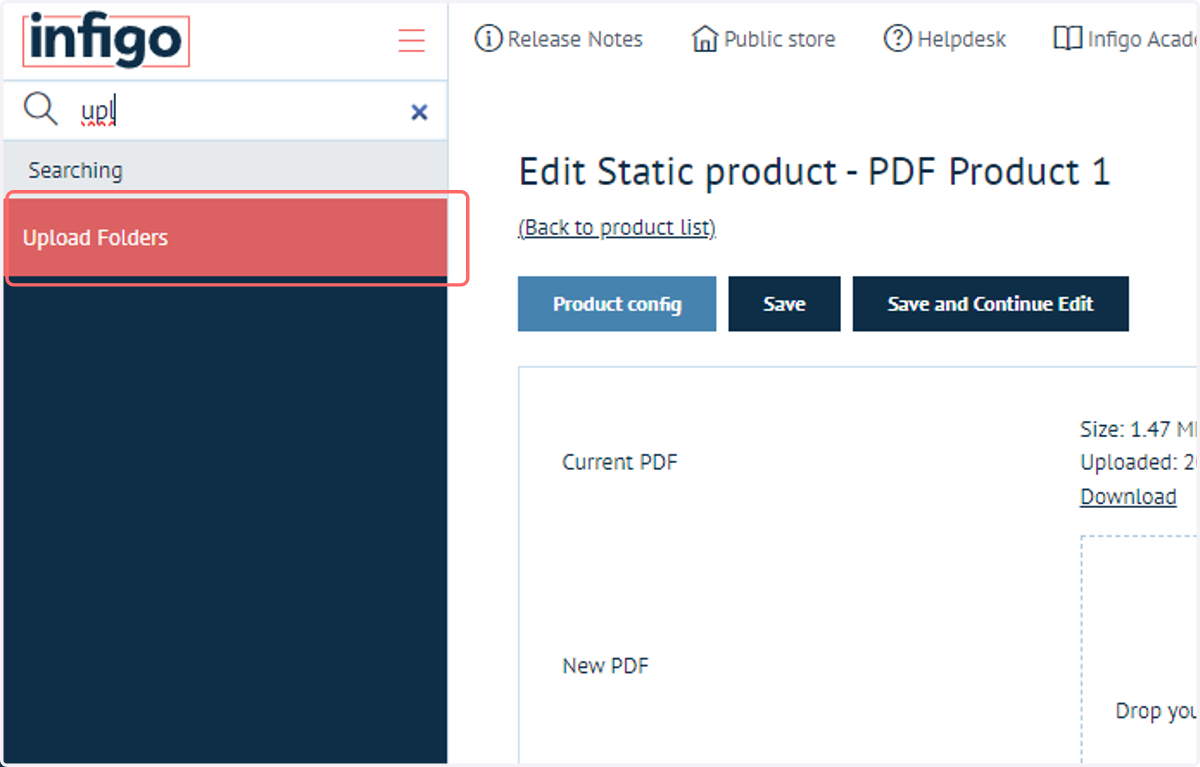
1. Navigate to Upload Folders
This functionality relies on the PDF's being available within the Infigo system. We can accomplish this using an area named Upload Folders, which allows us to upload files to the system on mass.
If you cannot access the Upload Folders area, it may be that we need to grant permission from our side. Please contact our Customer Support who will be happy to help.
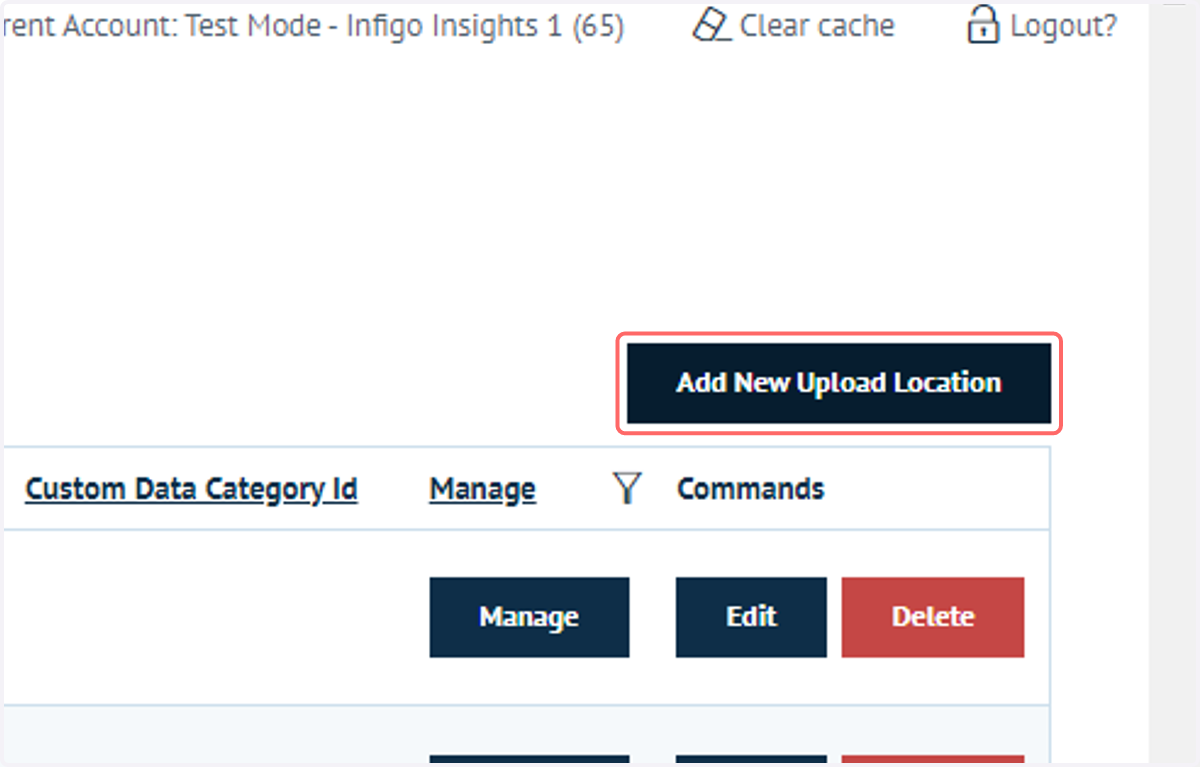
2. Click on Add New Upload Location
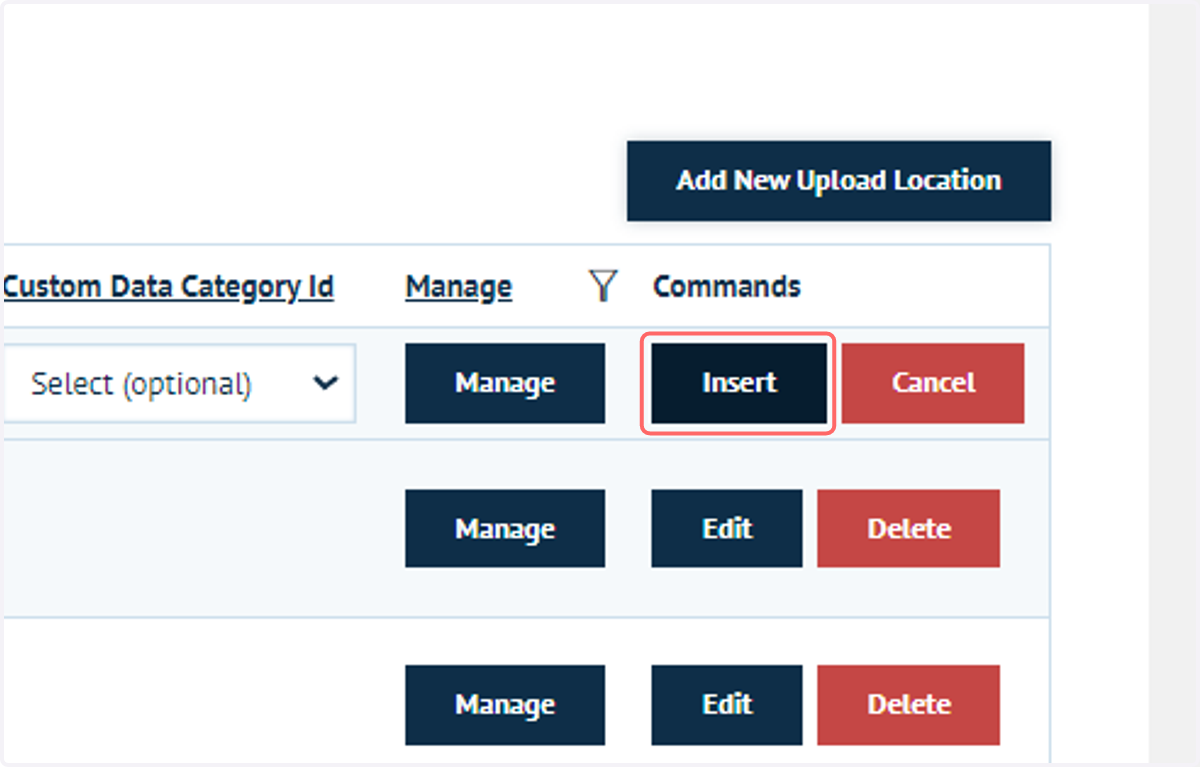
3. Fill in the required naming details then click on Insert
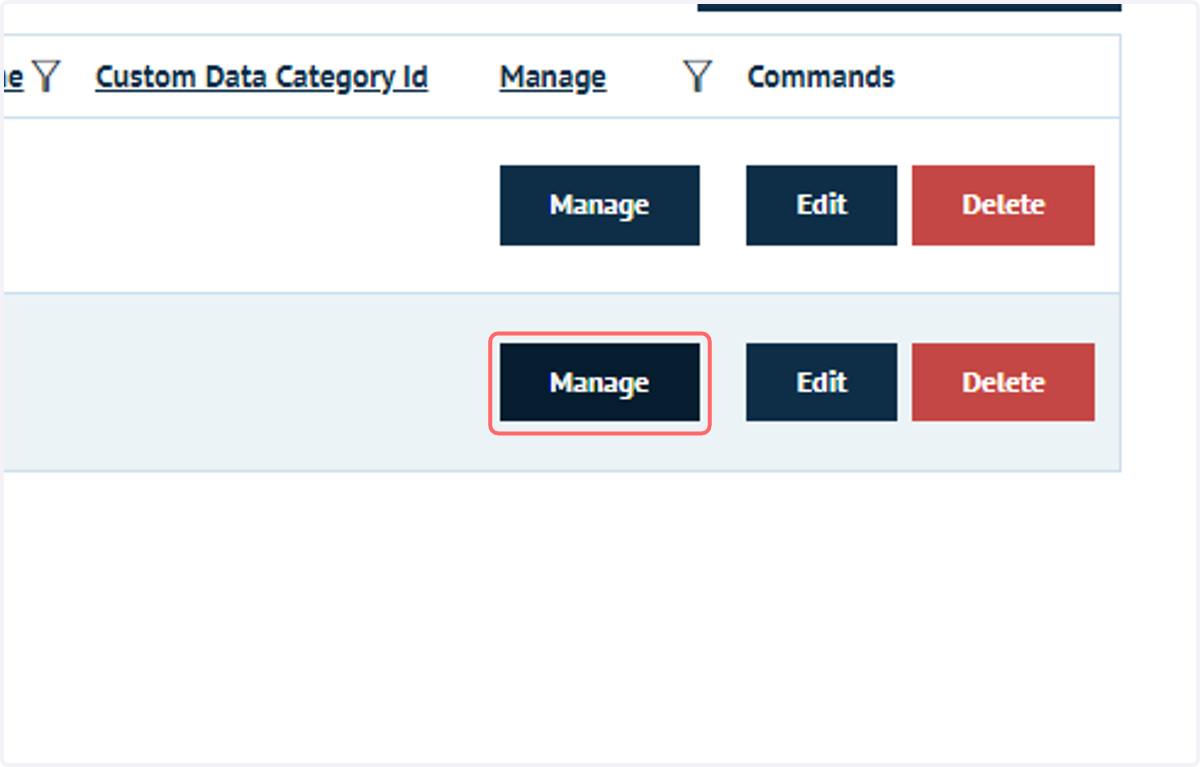
4. Click on Manage to begin applying files to the Upload Folder
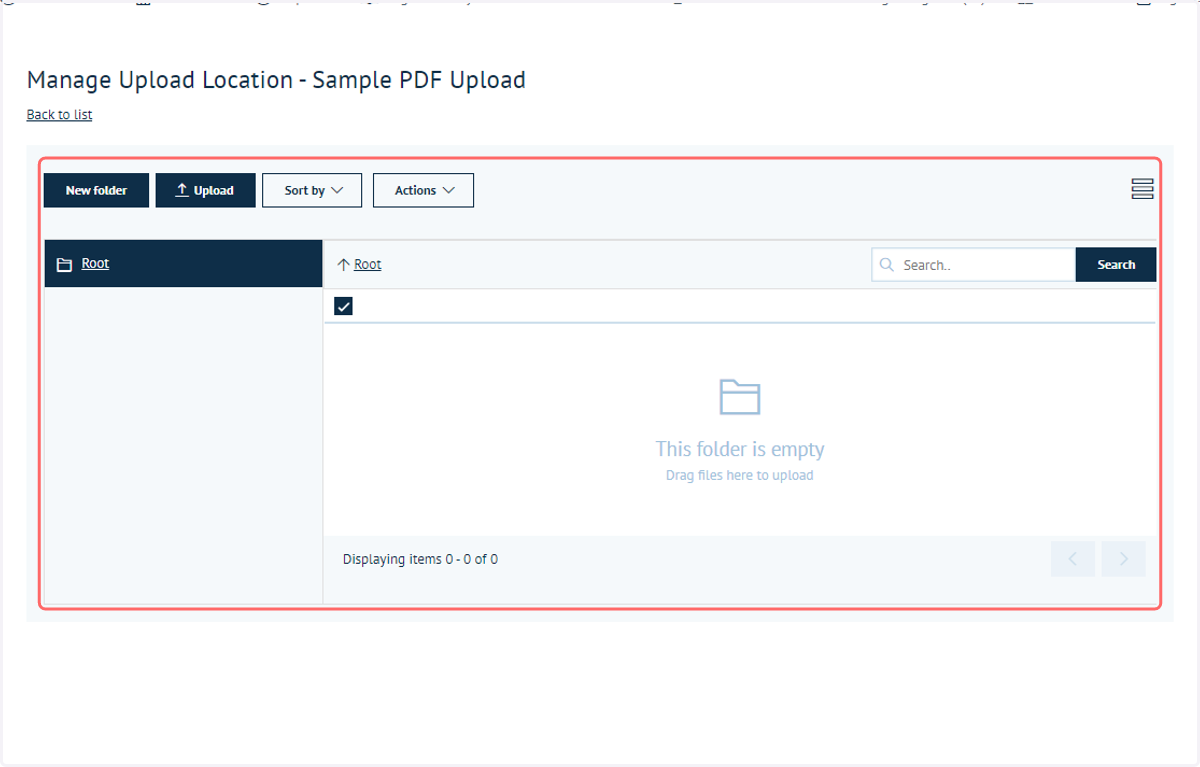
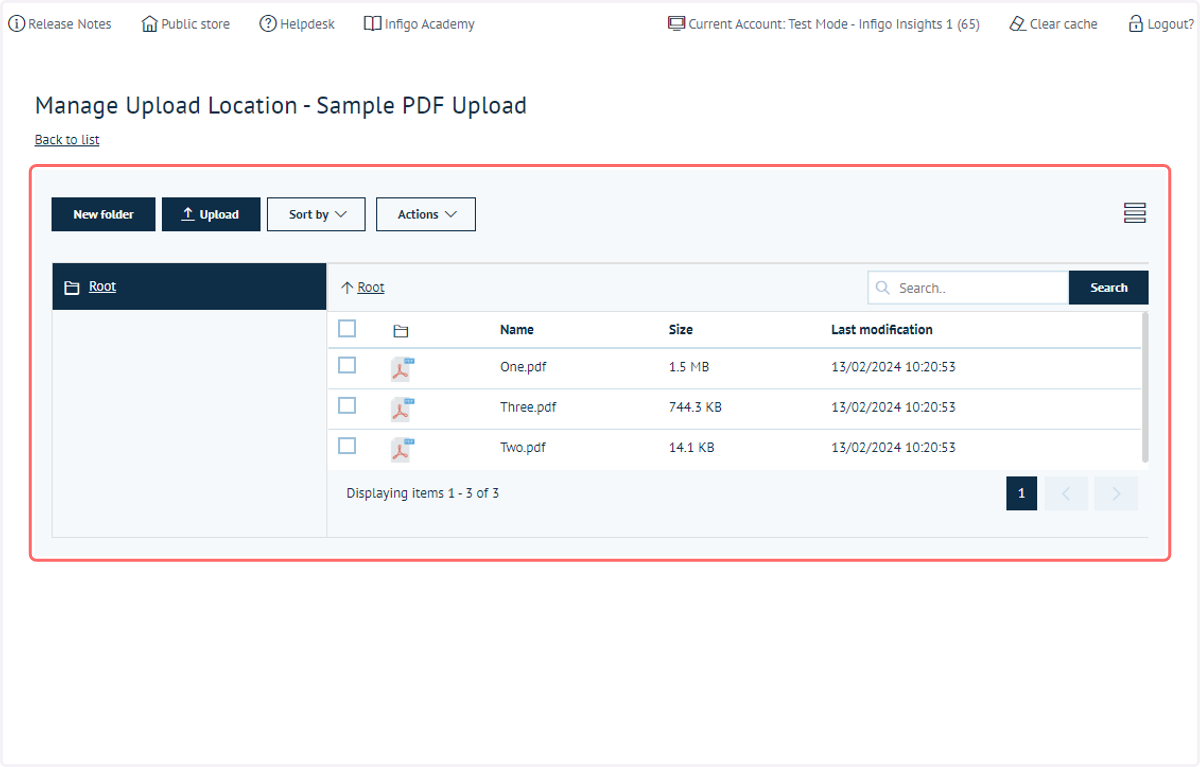
5. Either select Upload, or simply drag and drop files into this folder
You can also create subdirectories if required, using the New Folder icon.
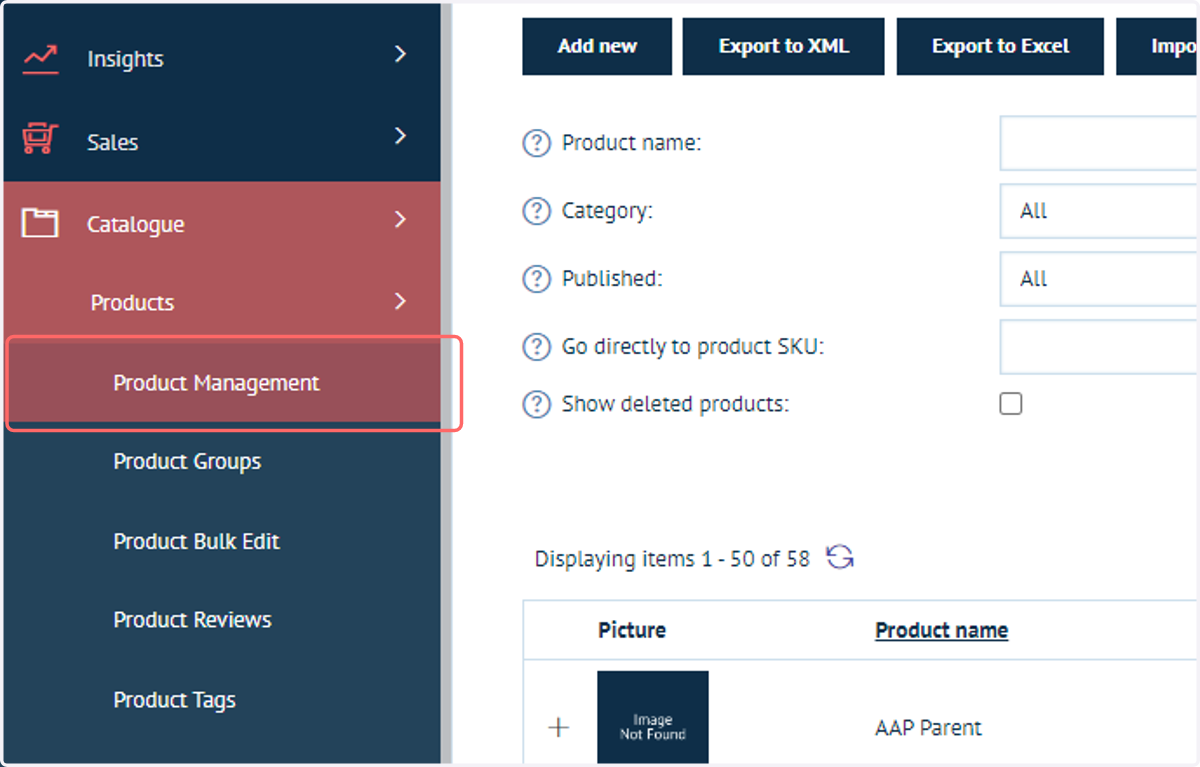
6. Navigate to Product Management
Next, we will obtain the template required for our product Excel sheet.
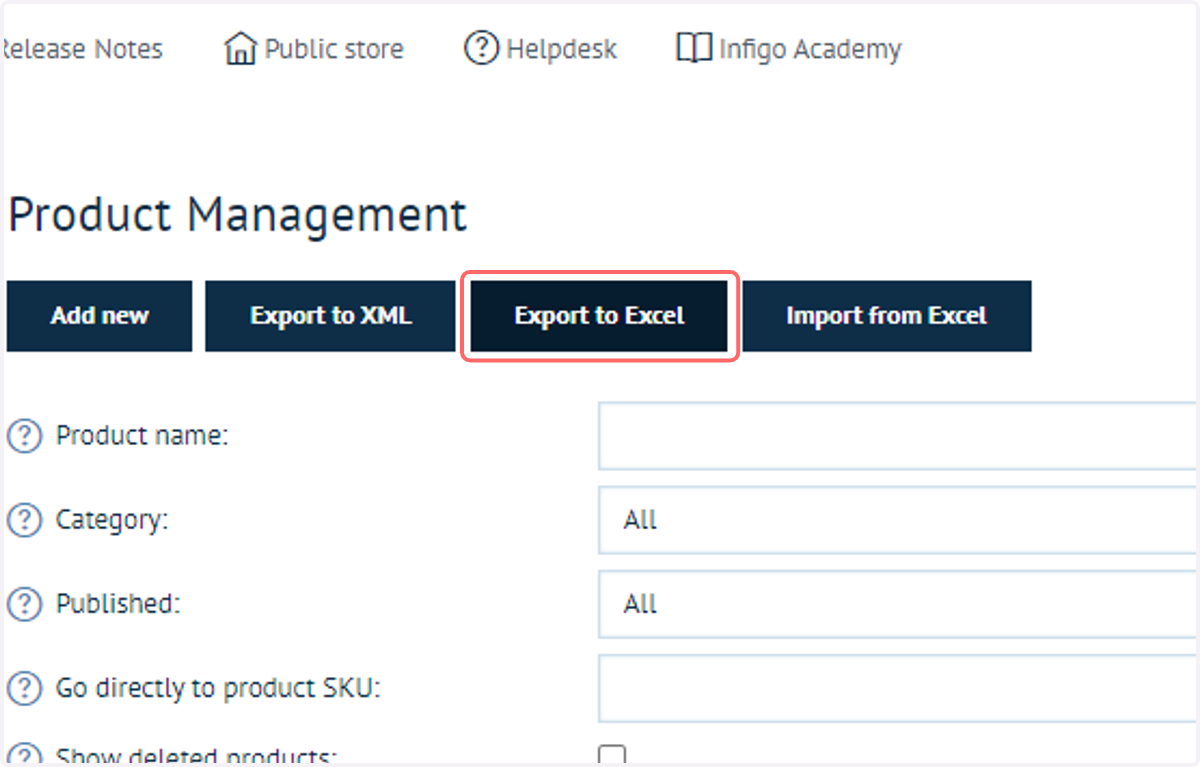
7. Click on Export to Excel
This will give us a full list of details for each product already listed on the Storefront.
We can perform two tasks using this sheet. We can either modify existing products, or detail new products by adding a new line entry.
8. Once it is ready, click on the download icon to retrieve the Excel sheet

9. Within the Excel sheet, ensure there is an entry for each product you wish to upload a PDF against
Ensure these products are set to StaticPDF under the ProductType column.
If you are adding new products which don't already exist in the system, you can leave the ProductID column blank. This is the unique identifier for any product and will be generated automatically when you import the Excel sheet.
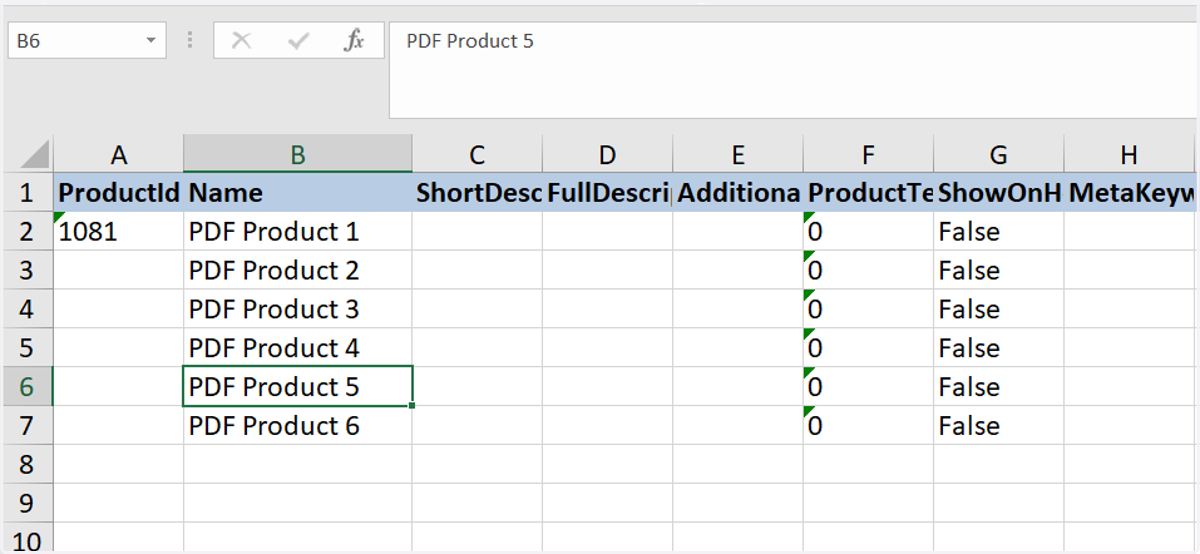
10. Add an additional column to handle the uploaded PDFs
Add an additional column titled ProductAsset to the end of the Excel sheet.
This column should be populated with the exact names of the PDF files in the Upload Folder and should include the ".pdf" extension.
So for example "file.pdf".
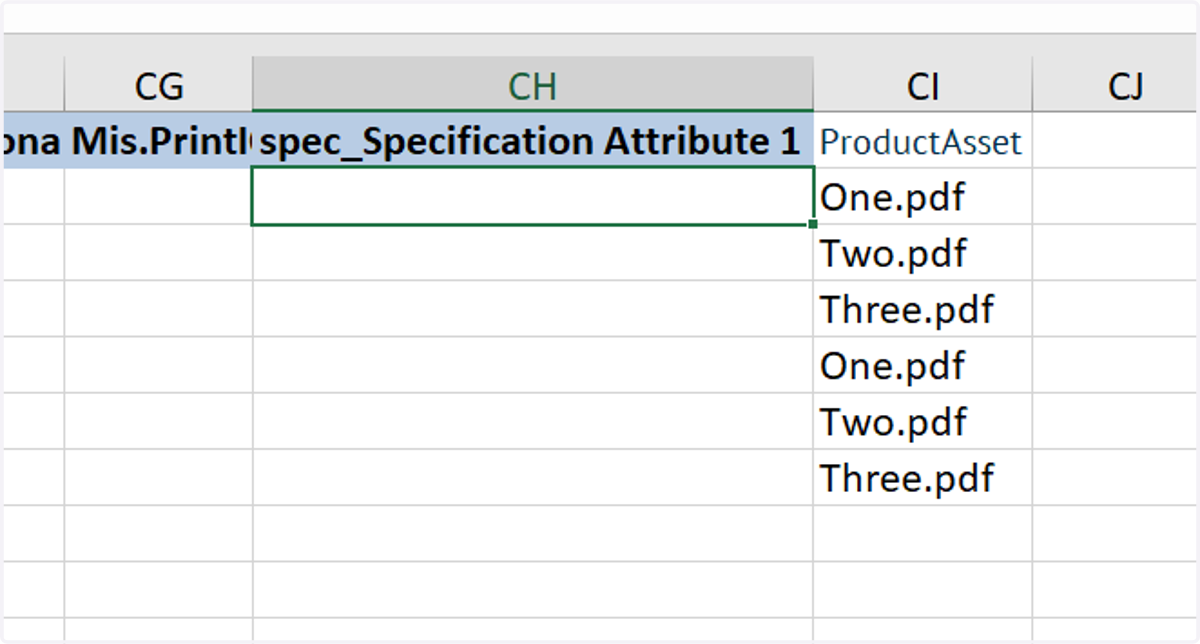
11. Click on Import from Excel
Next, we will re-import the updated Excel sheet
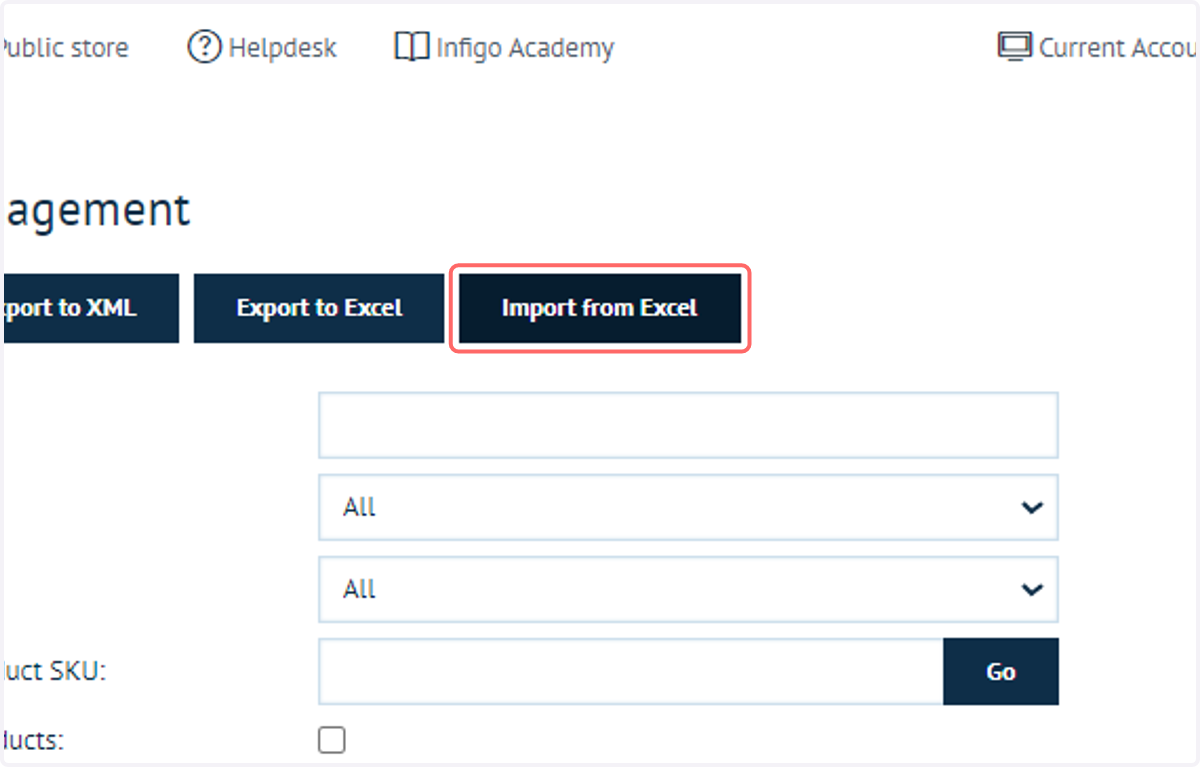
12. Select the Excel file to upload
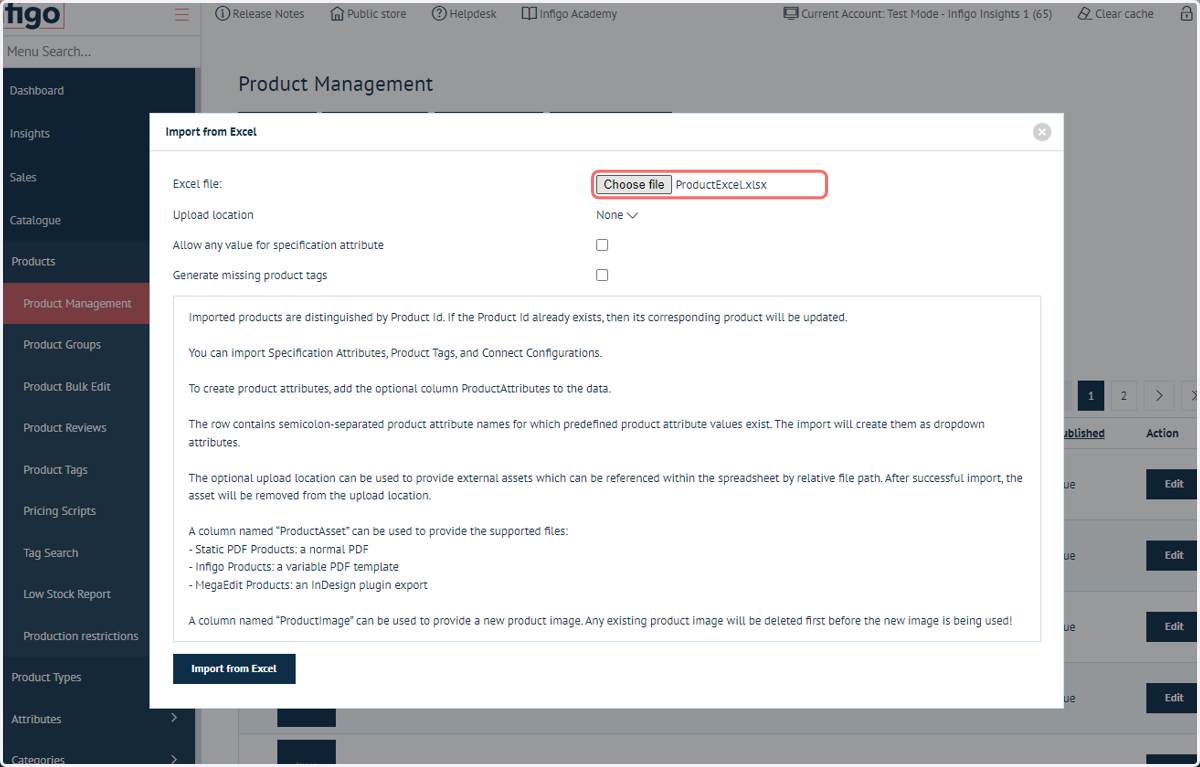
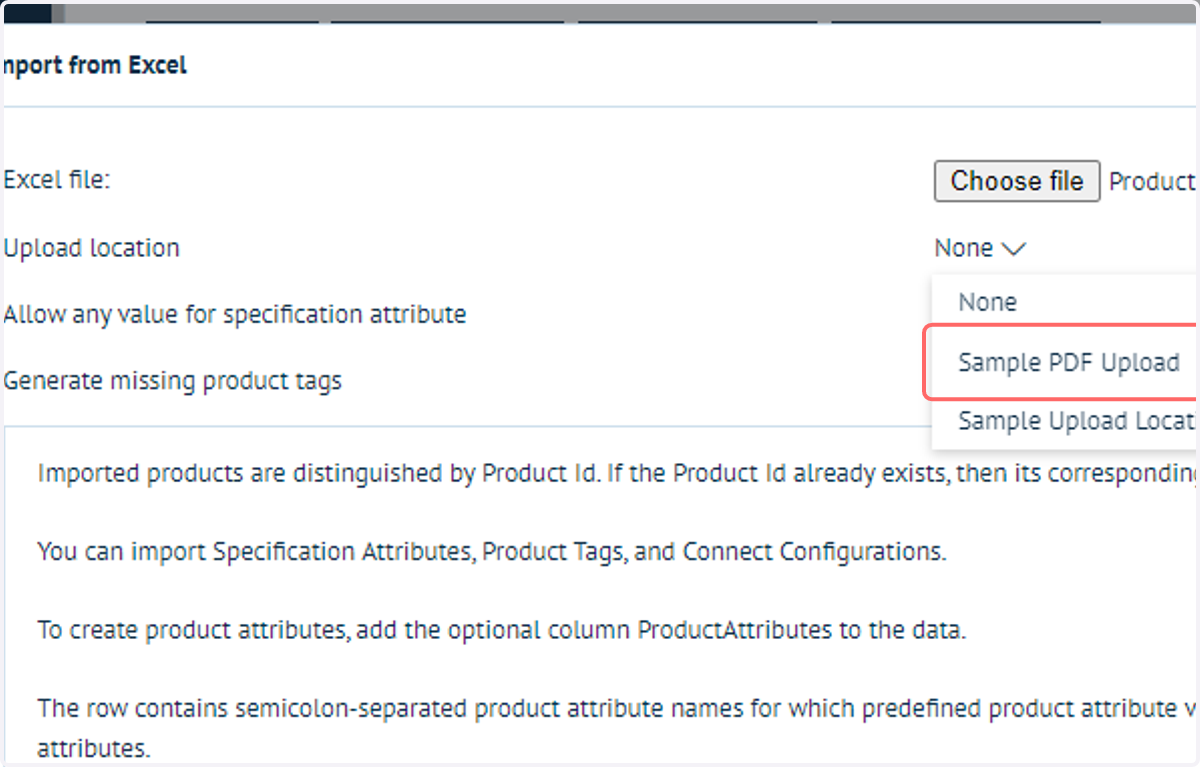
13. From Upload Location, select the Upload Folder containing your named PDFs
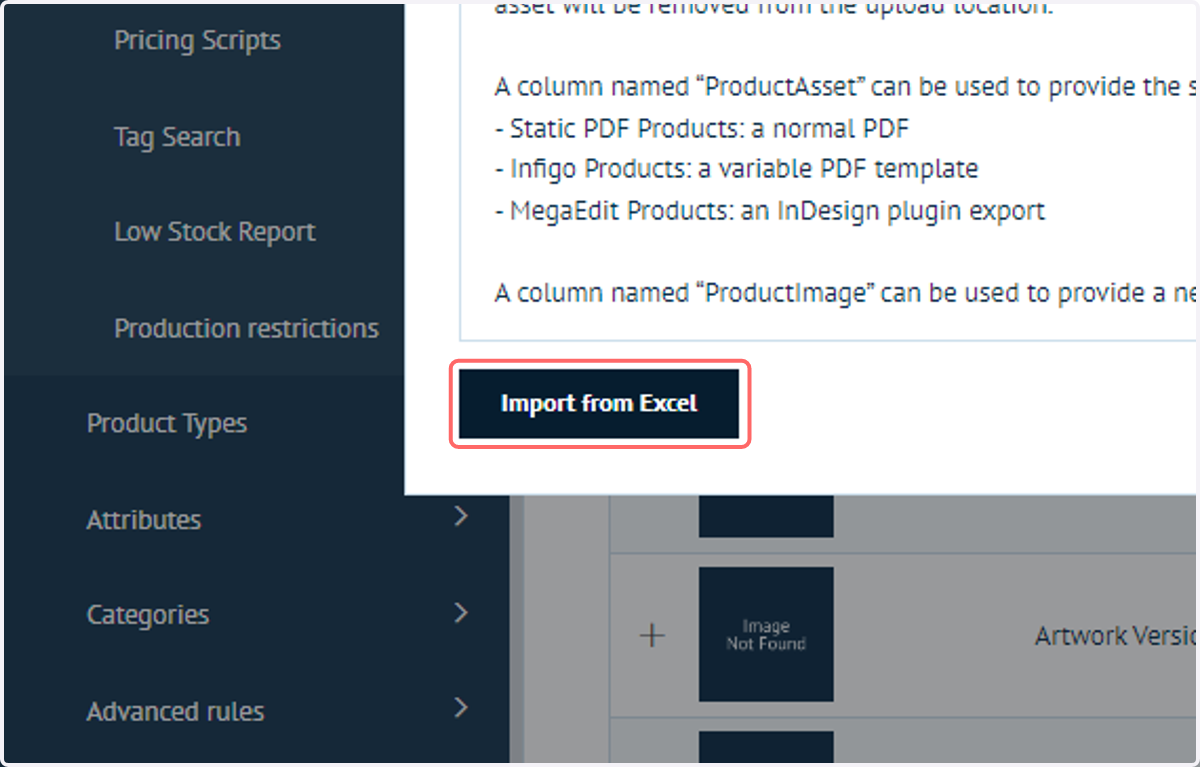
14. Click on Import from Excel
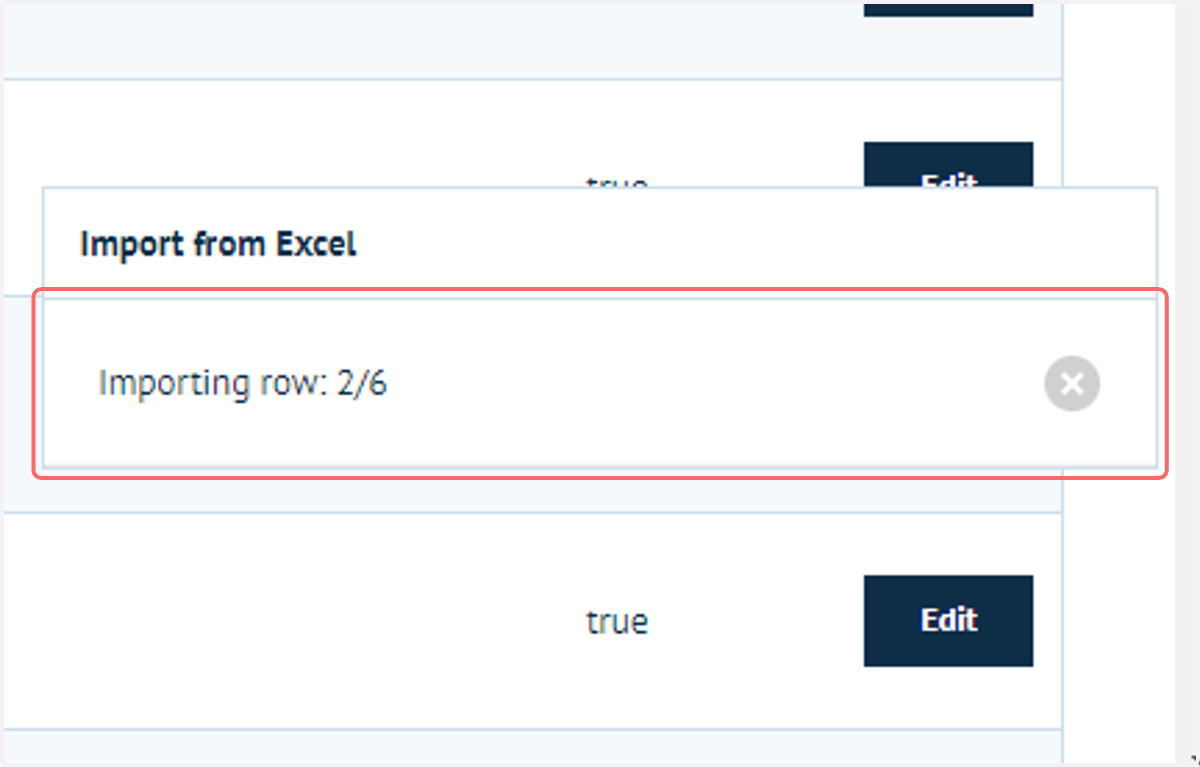
15. The system will begin importing your PDF documents
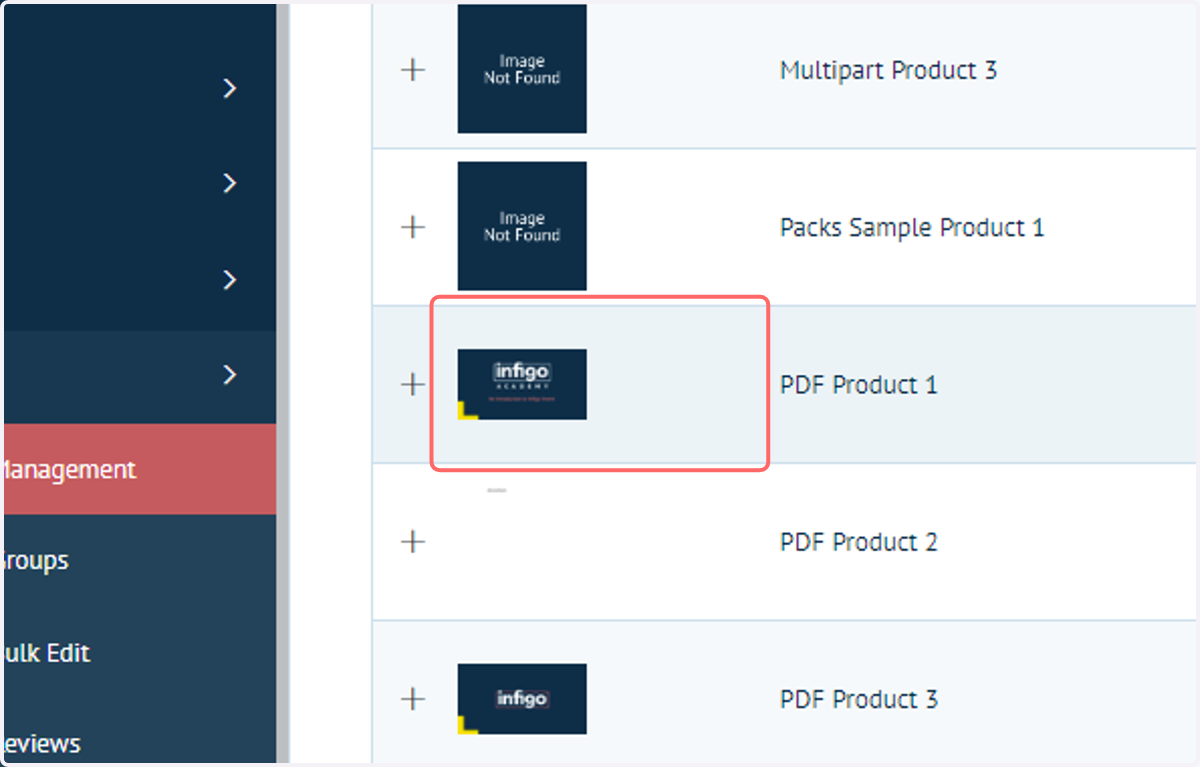
16. Once completed, we see the PDFs are now in use on the updated / newly created products
17. Navigate back to Upload Folders
18. Click on Manage
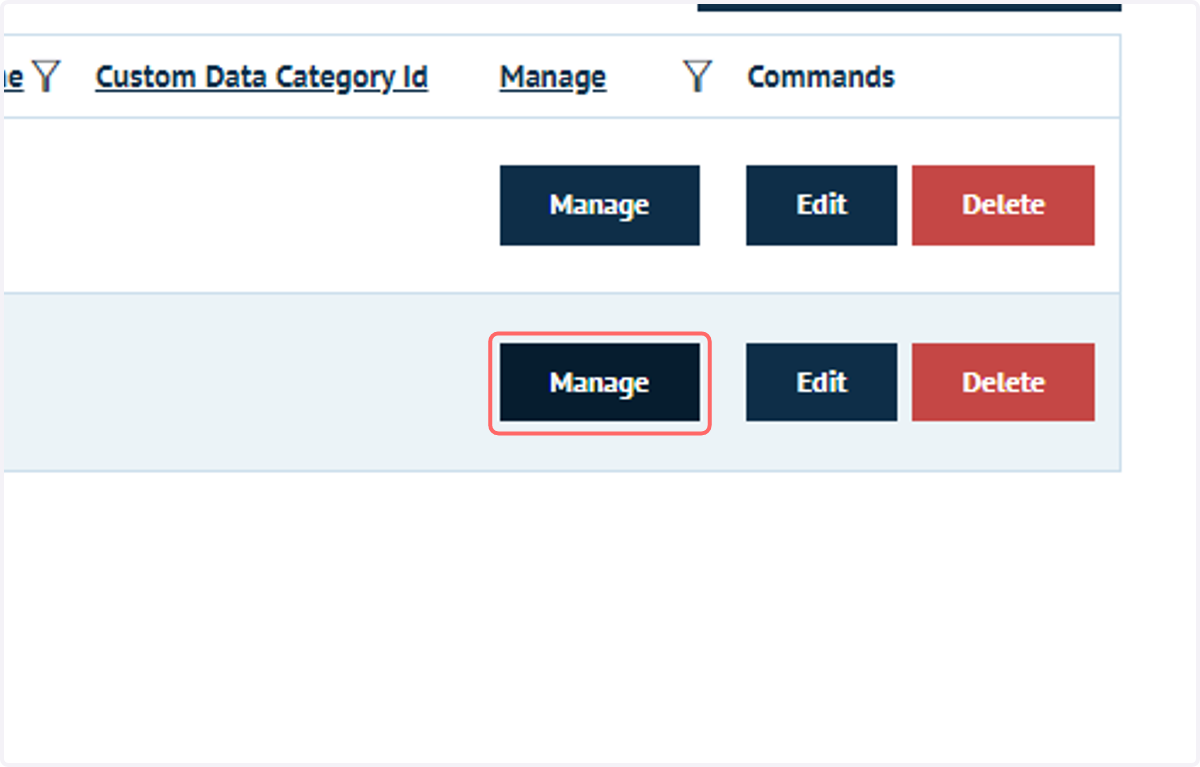
19. You will see the upload folder is now empty
Once utilised by the Excel Import, the PDFs are removed from the upload folder.