Branding the MegaEdit editor
In this tutorial, we will explore how to change the colour scheme utilised by the MegaEdit editor.
This allows the editor to match the branding of the business.
Infigosoftware
1. Initial MegaEdit editor
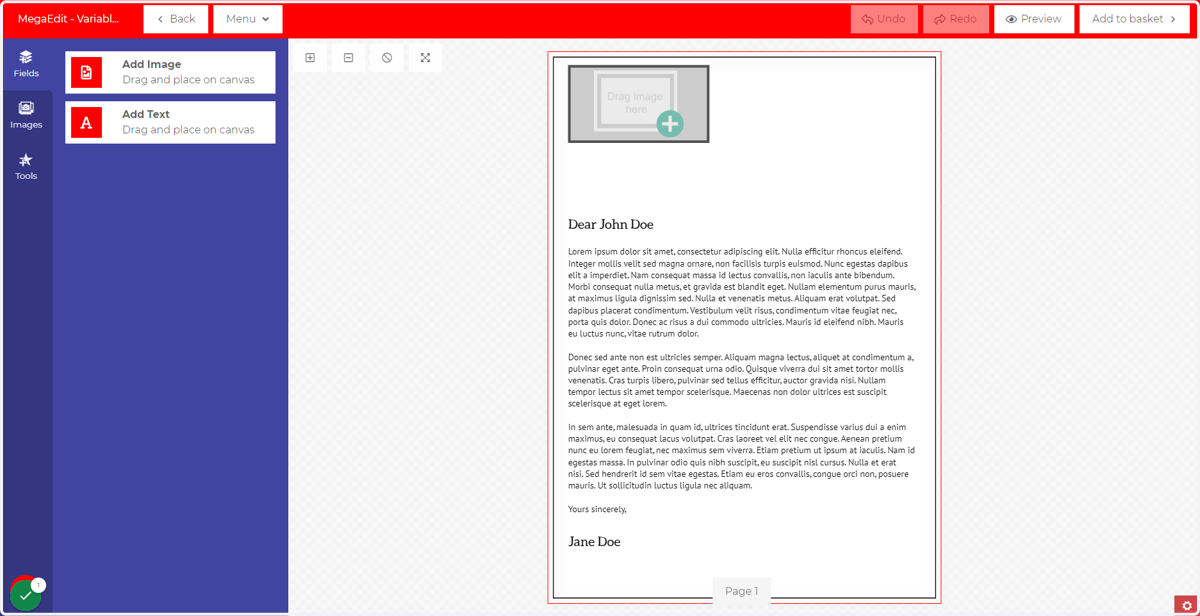
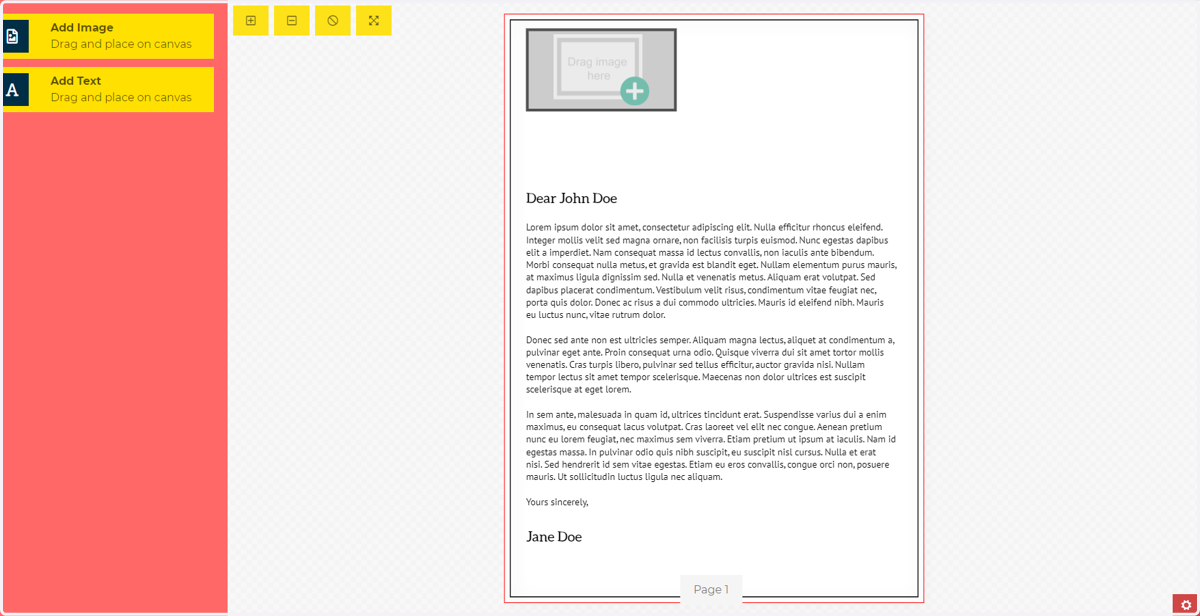
For reference, this is the colour scheme initially being used by the author of this tutorial.
2. Switch to the administrative area
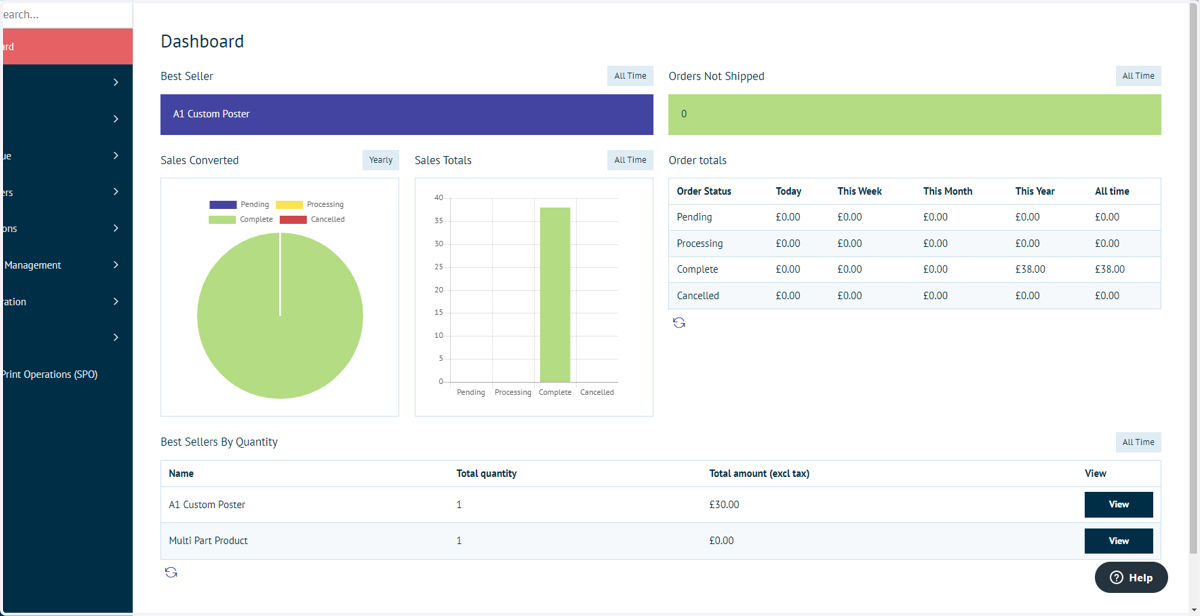
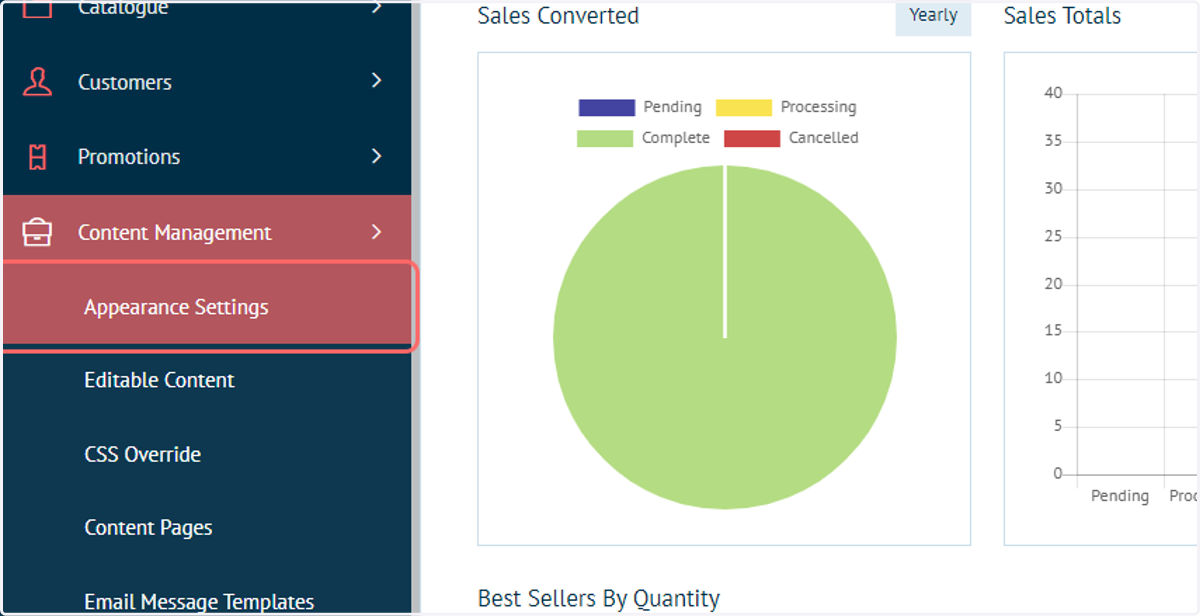
To begin, we will navigate to the Appearance Settings within the admin area of Infigo.
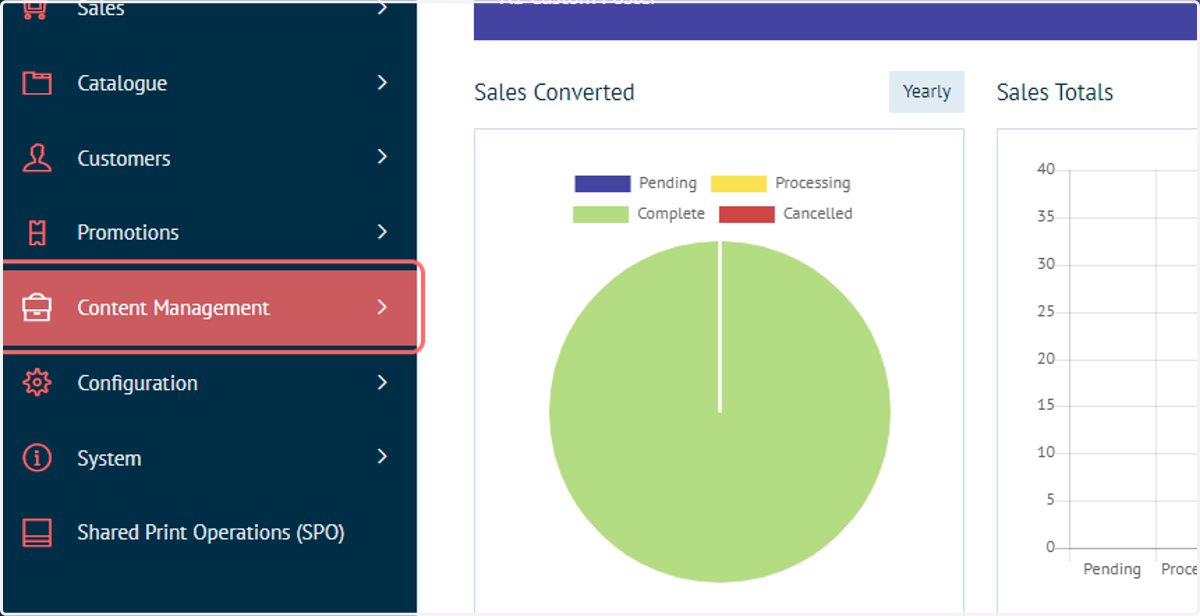
3. Click on Content Management
4. Click on Appearance Settings
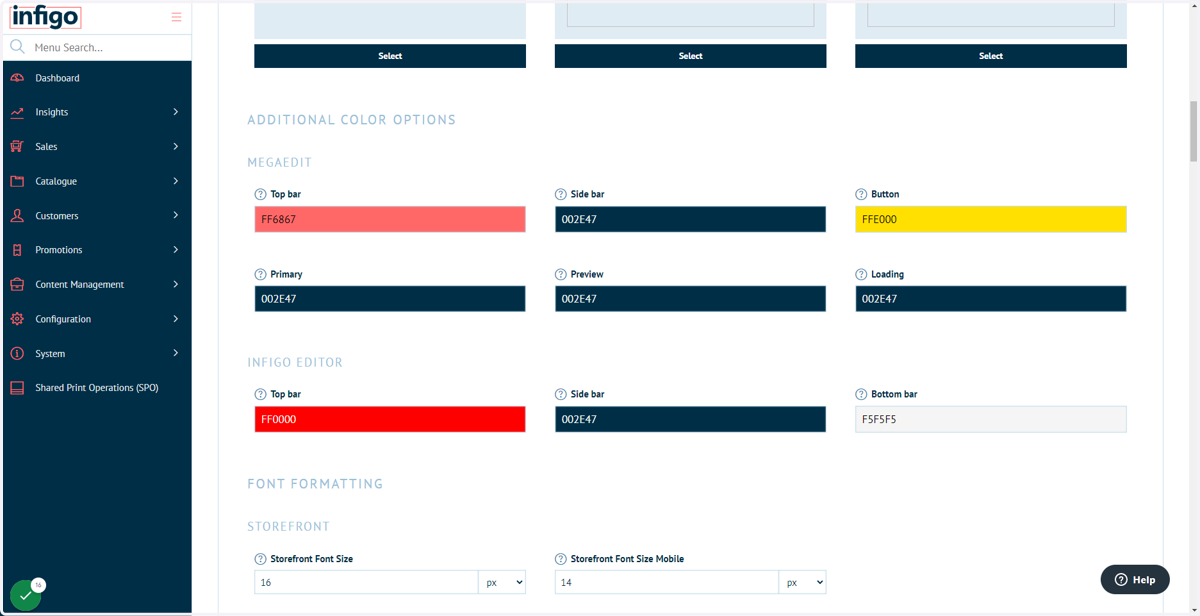
5. Navigate to the Additional Colour Options section
The MegaEdit colour scheme is controlled with its own series of colour pickers.
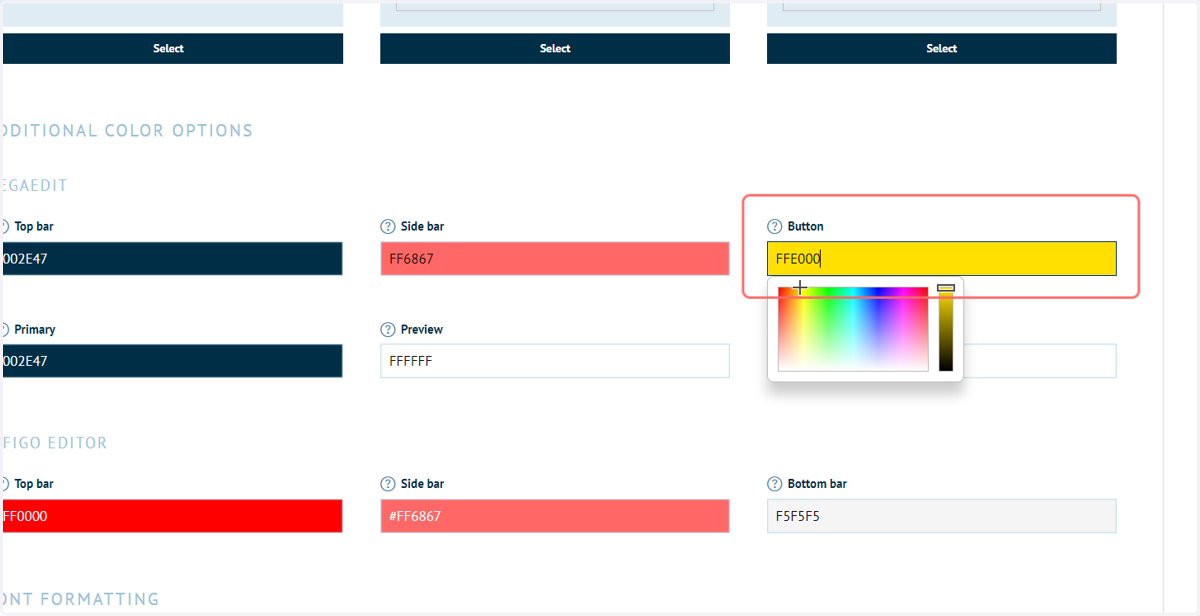
These pickers allow you to manually select a colour, or specify a HEX value to choose a specific colour.
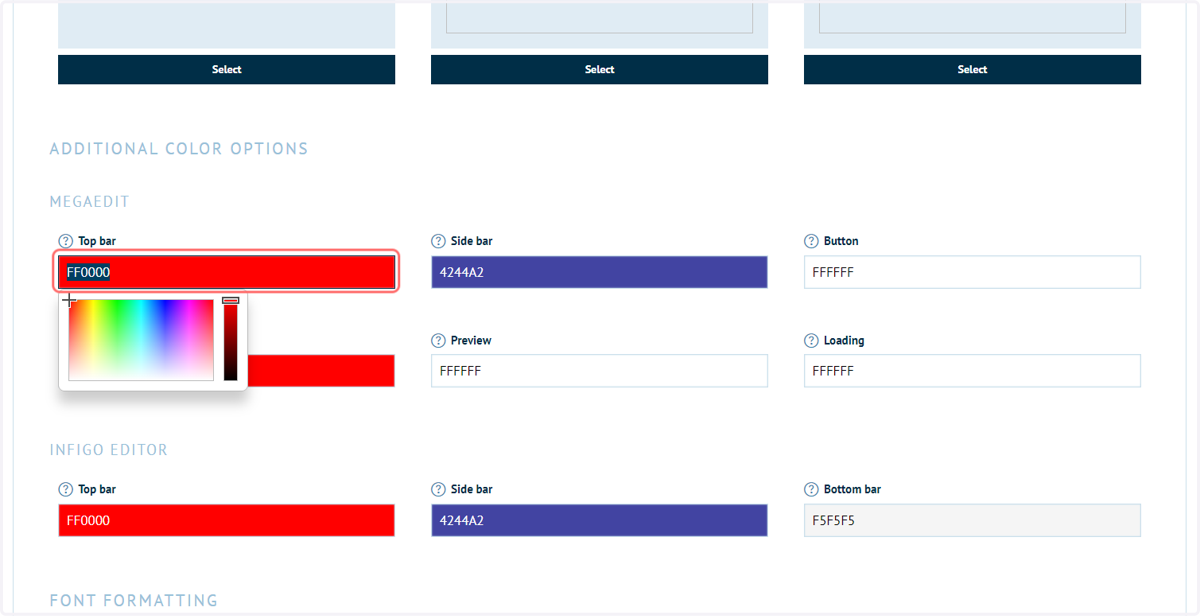
6. Specify colour choices
Infigosoftware
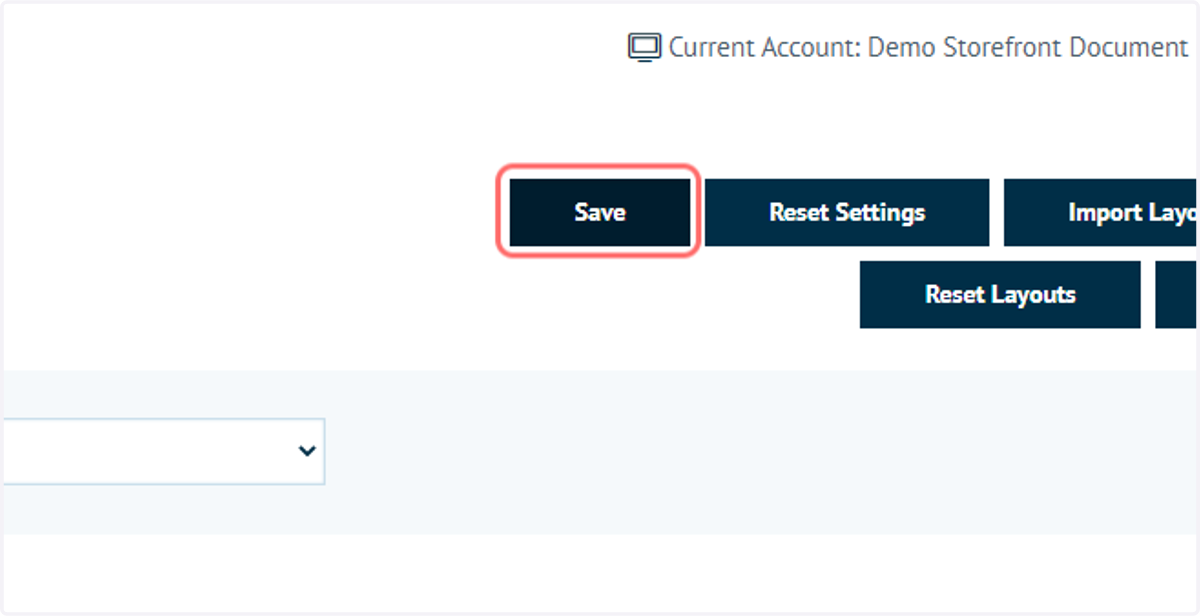
7. Click on Save
8. Reload the MegaEdit editor
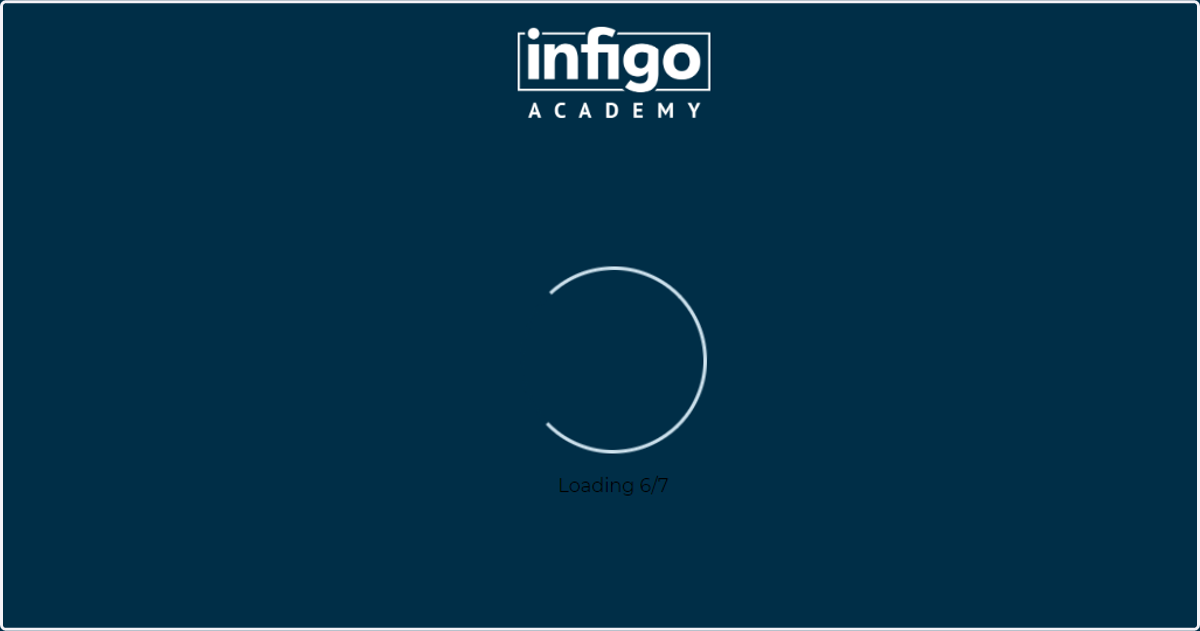
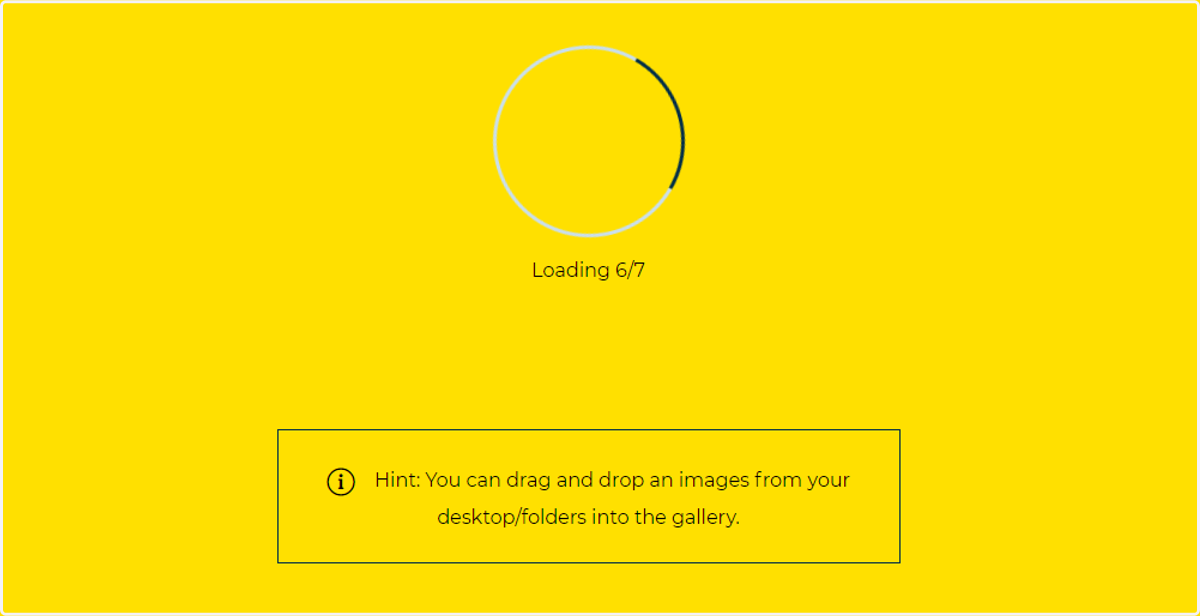
The loading page colour is customised using the "Loading" colour picker.
9. Updated MegaEdit editor
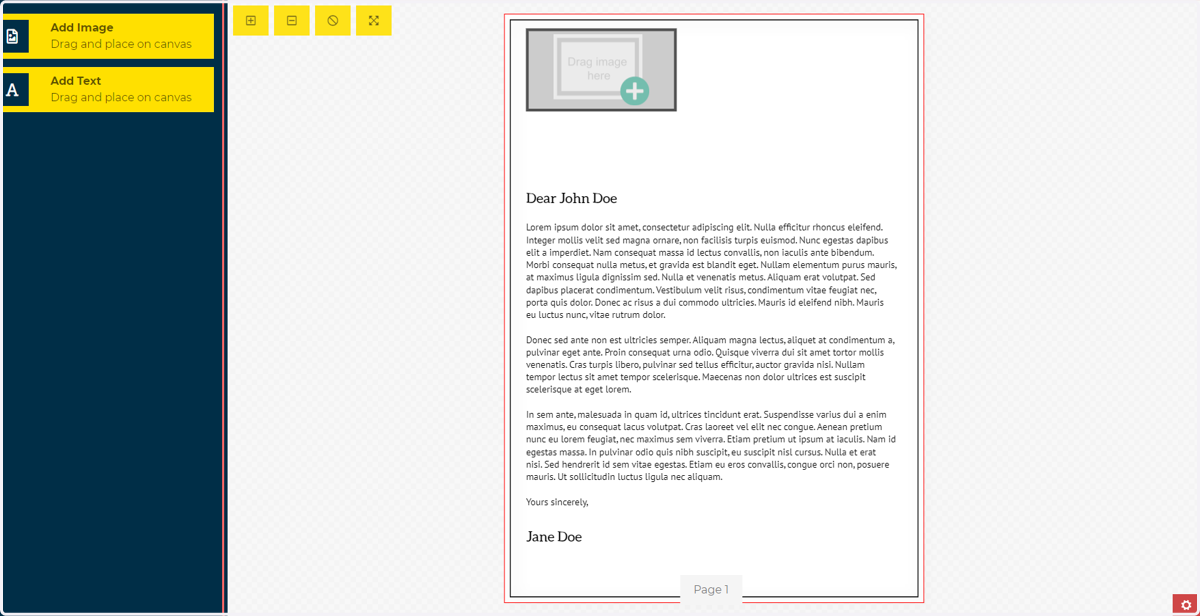
The reloaded editor will display with your updated colour scheme.
10. Tweak colours
Colours can be updated and tweaked by returning to the Appearance Settings.
11. Branded MegaEdit editor
12. It is also possible to apply a logo to your loading screen
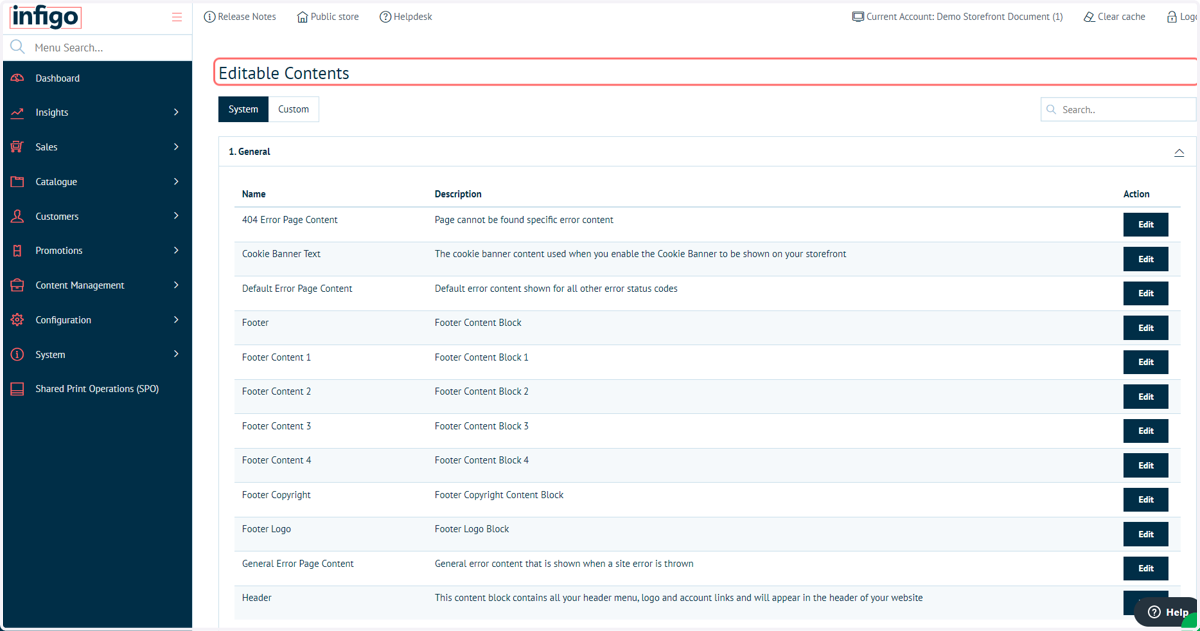
13. To begin, navigate to the Editable Content area
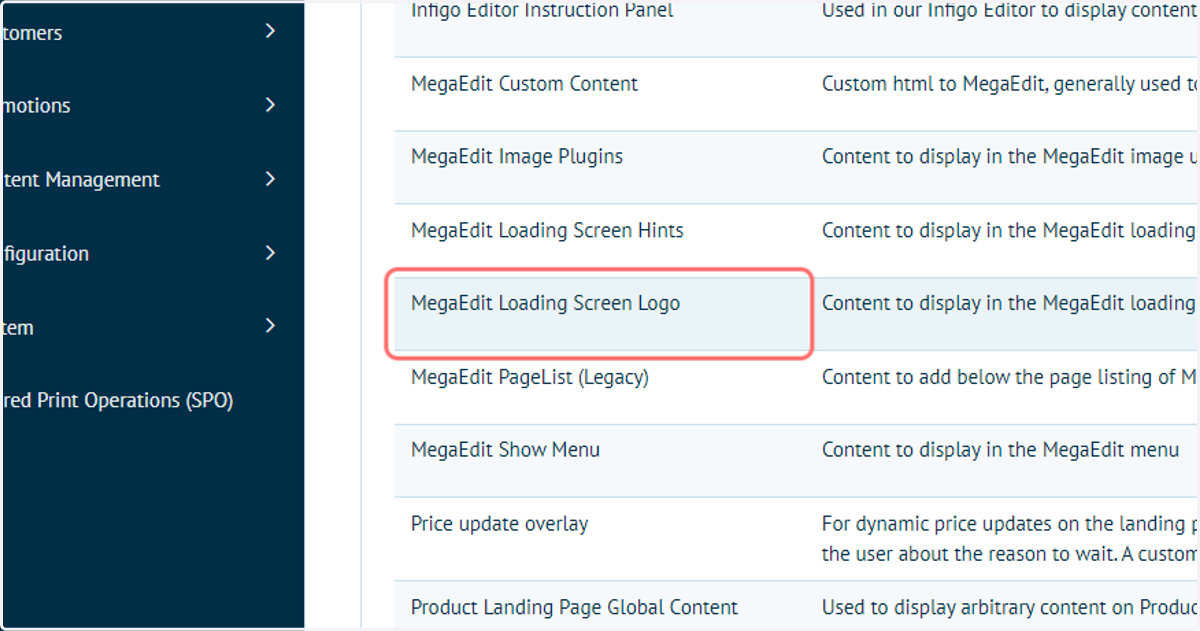
14. Locate the MegaEdit Loading Screen Logo content block
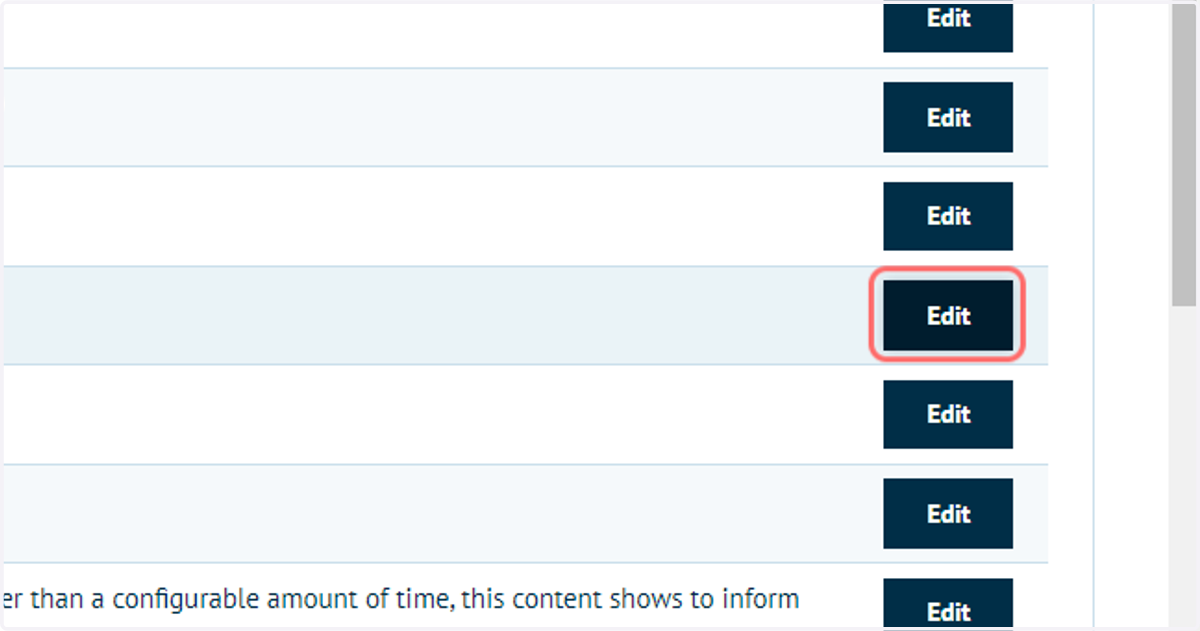
15. Click on Edit
Infigosoftware
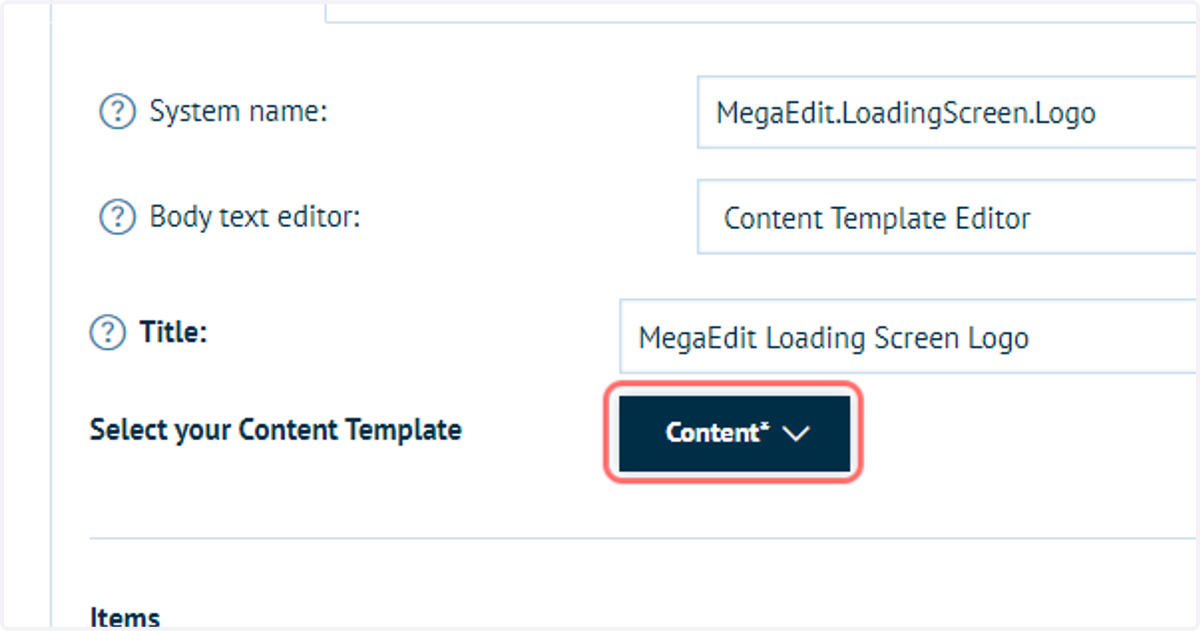
16. Using the Content Template Editor, select the Content template type
This allows you to add individual elements to a content block, such as an image.
17. Click on Add Content
18. Click on Image*
Infigosoftware
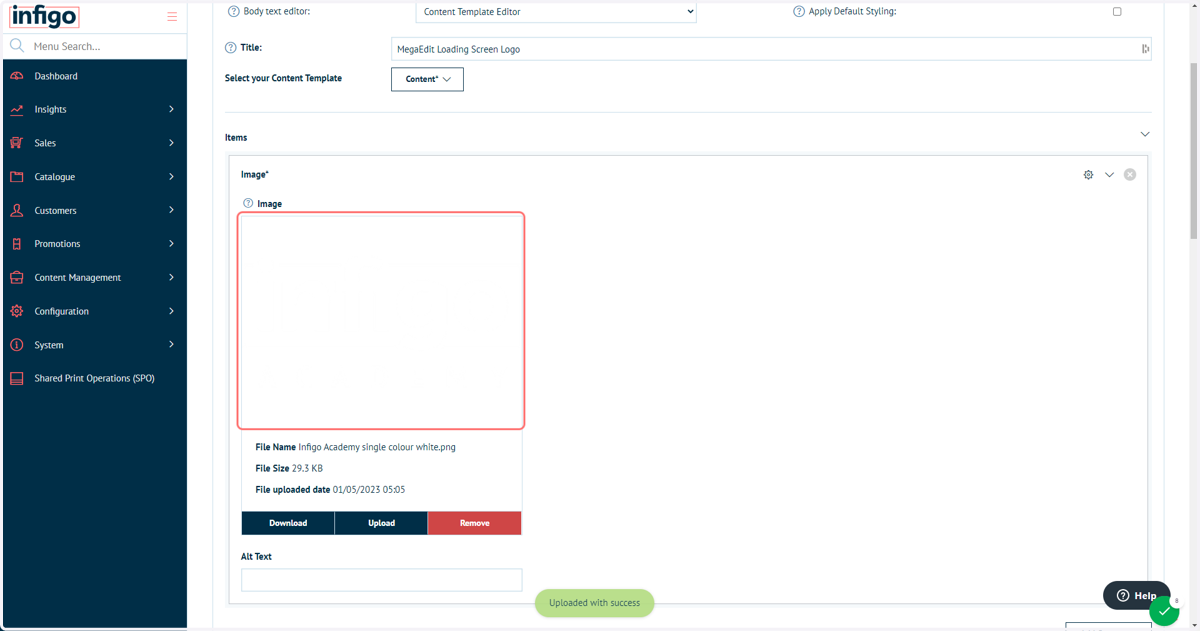
19. An image content block will be created where you can upload your logo resource
20. Click on Save and Continue Edit
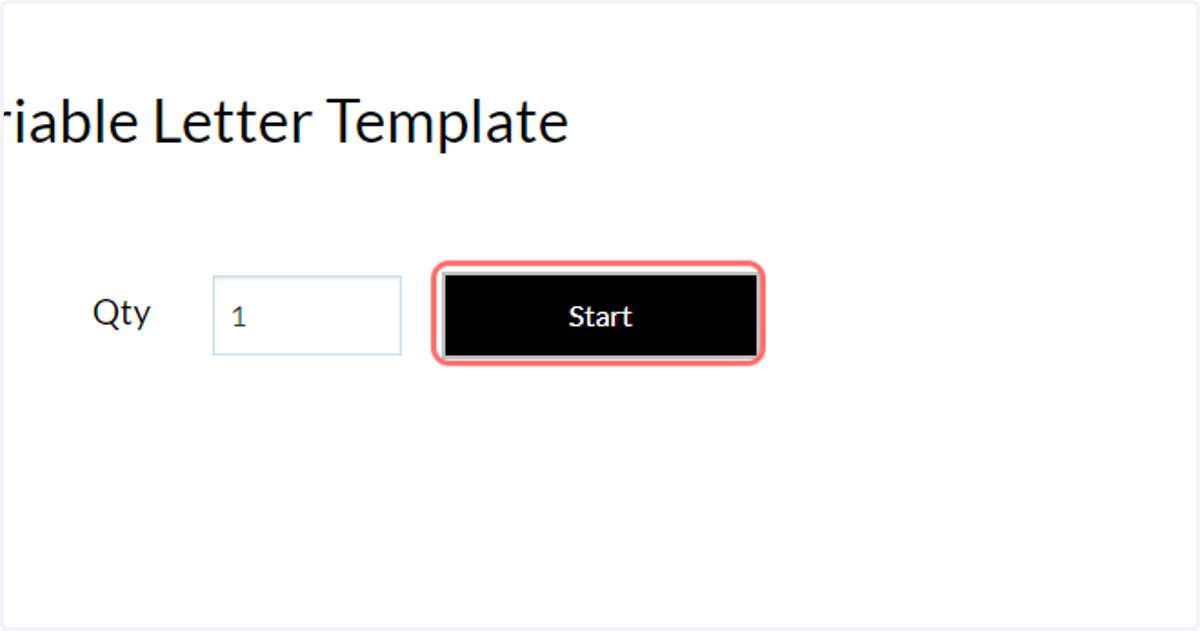
21. Navigate to a MegaEdit product on the storefront and launch the editor
22. The uploaded logo will be displayed on the loading screen