[Salesloft]: ADMINS - How to configure Org Settings
Start in Orum.com
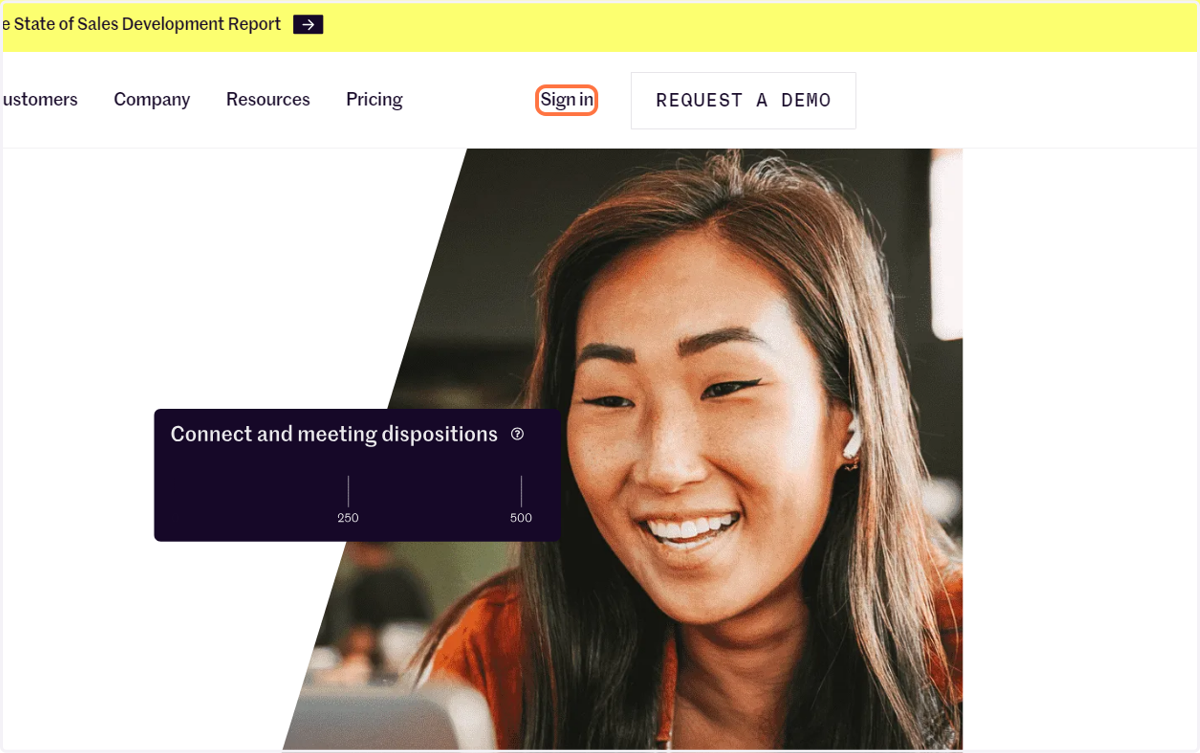
1. Click Sign In
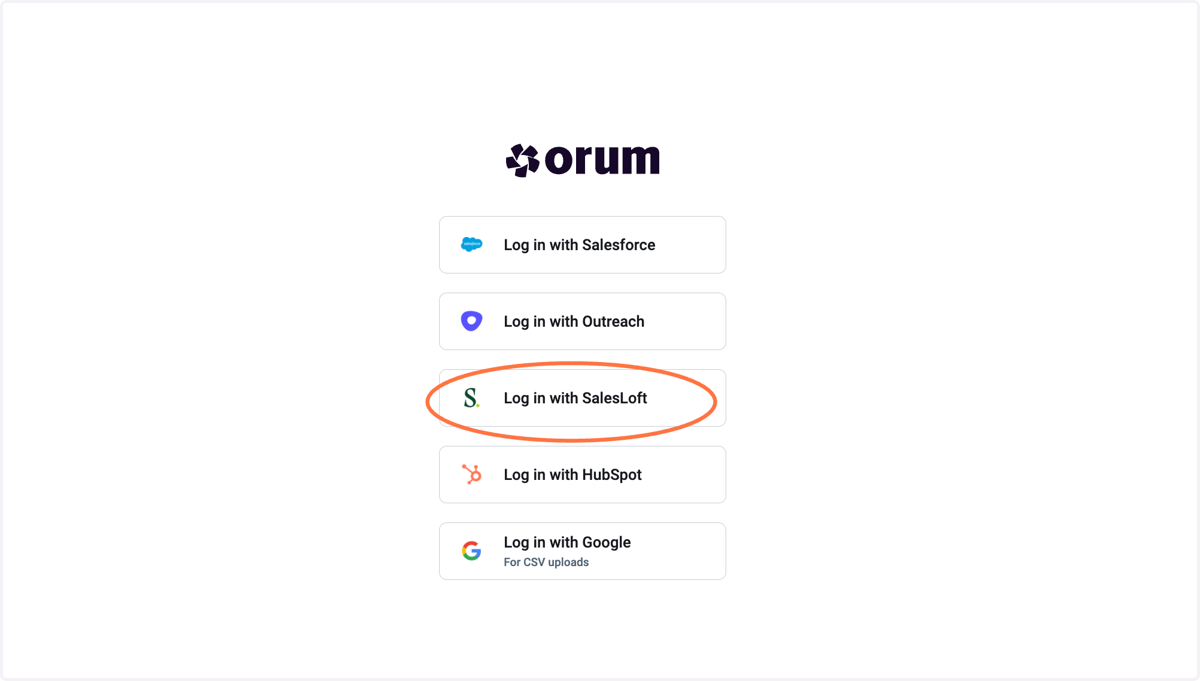
2. Login via Salesloft
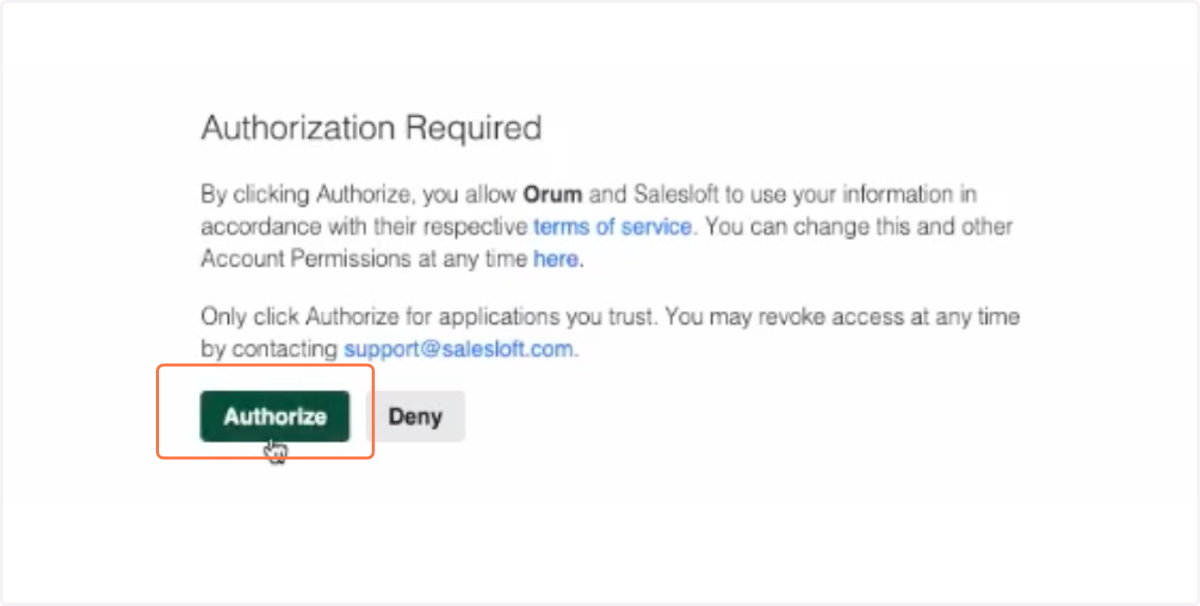
3. Authorize permission access:
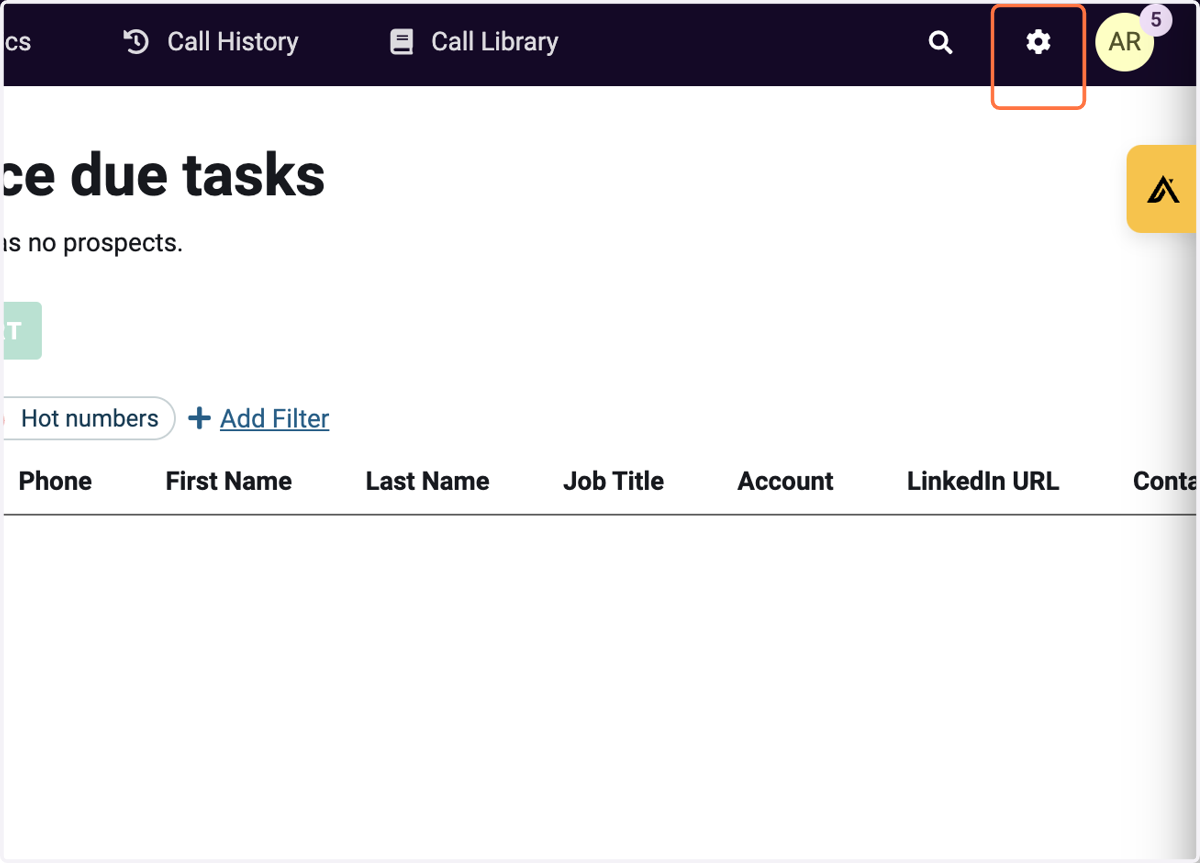
4. Click on gear icon on the top right of Orum
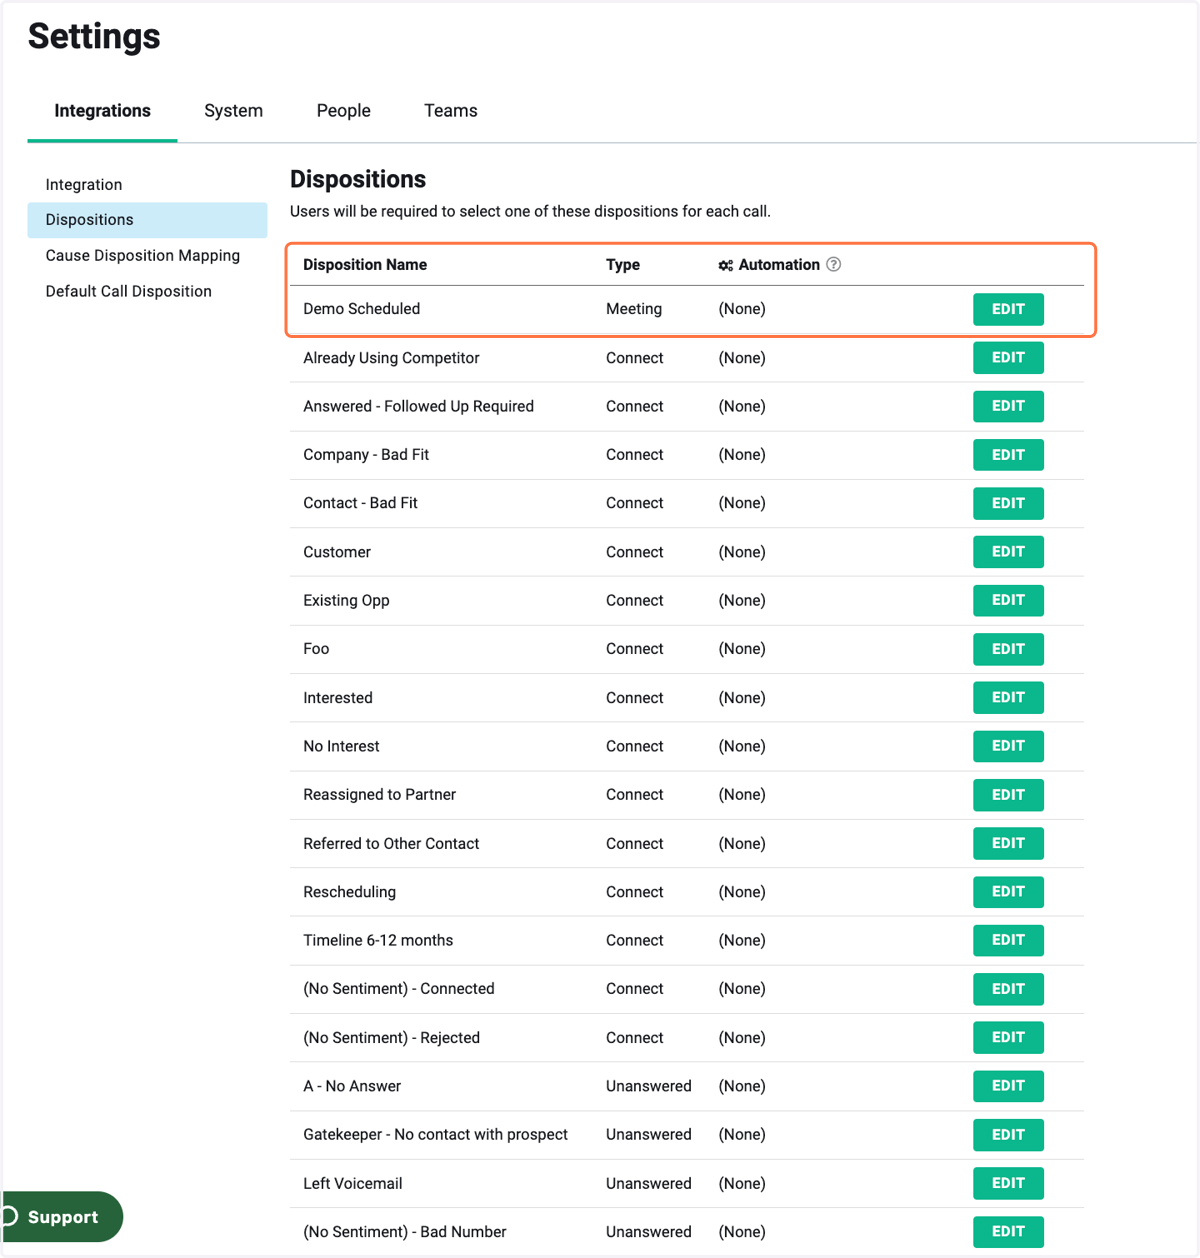
📞 Disposition and Sentiment Mappings
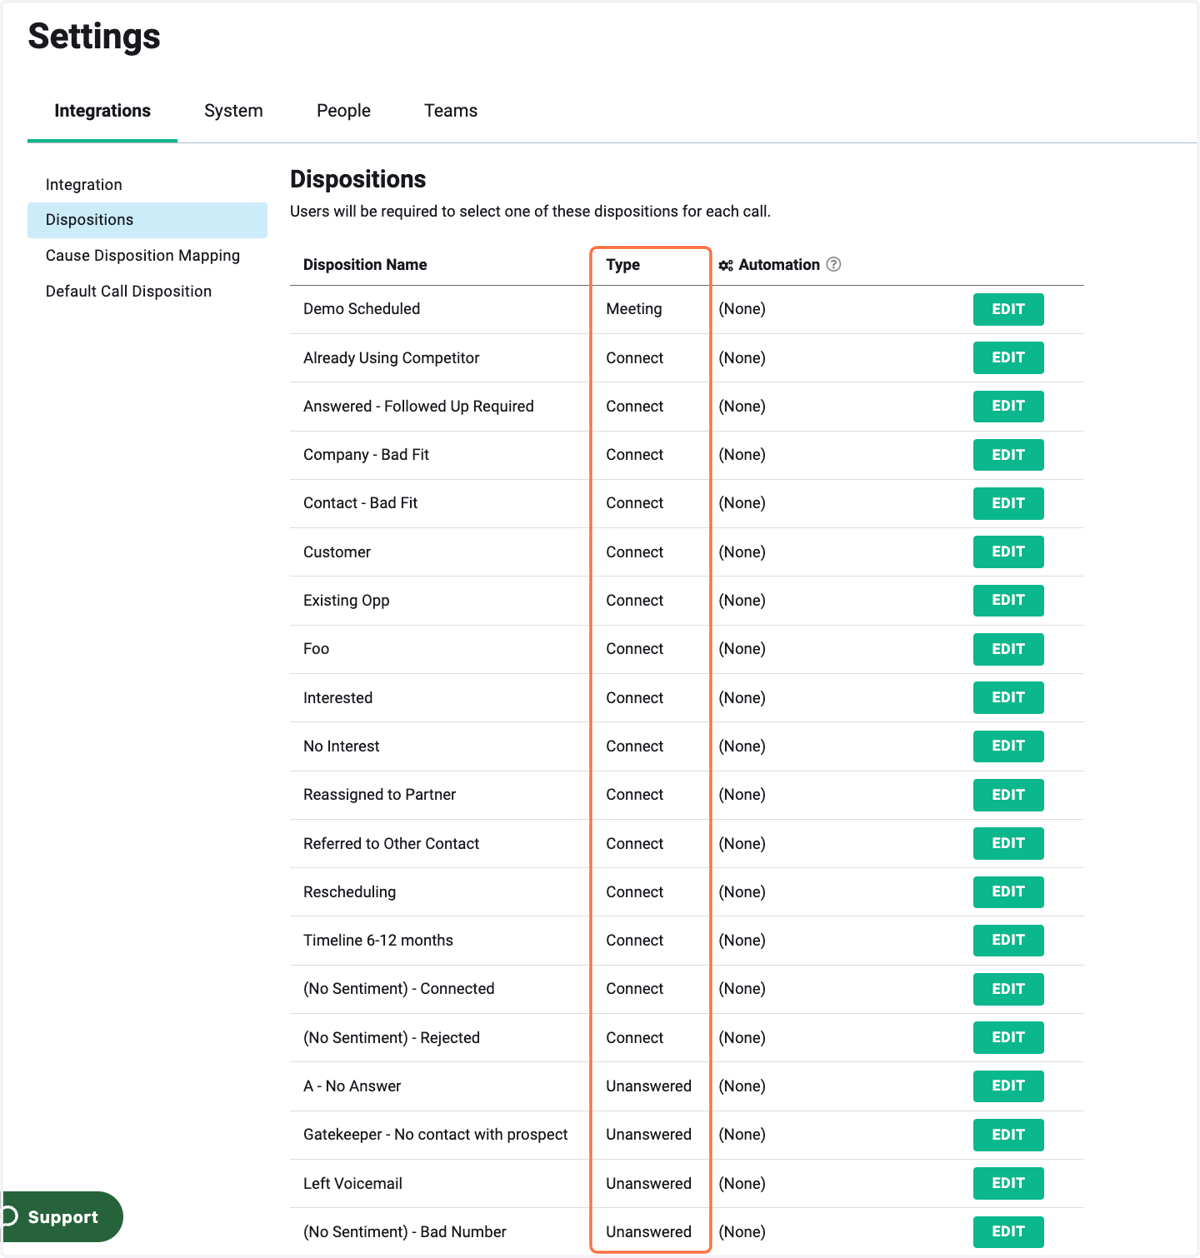
5. First- find your Meeting disposition/sentiment and click on the edit tab to select the right 'Type'
A Meeting Booked Disposition/Sentiment is required for setup.
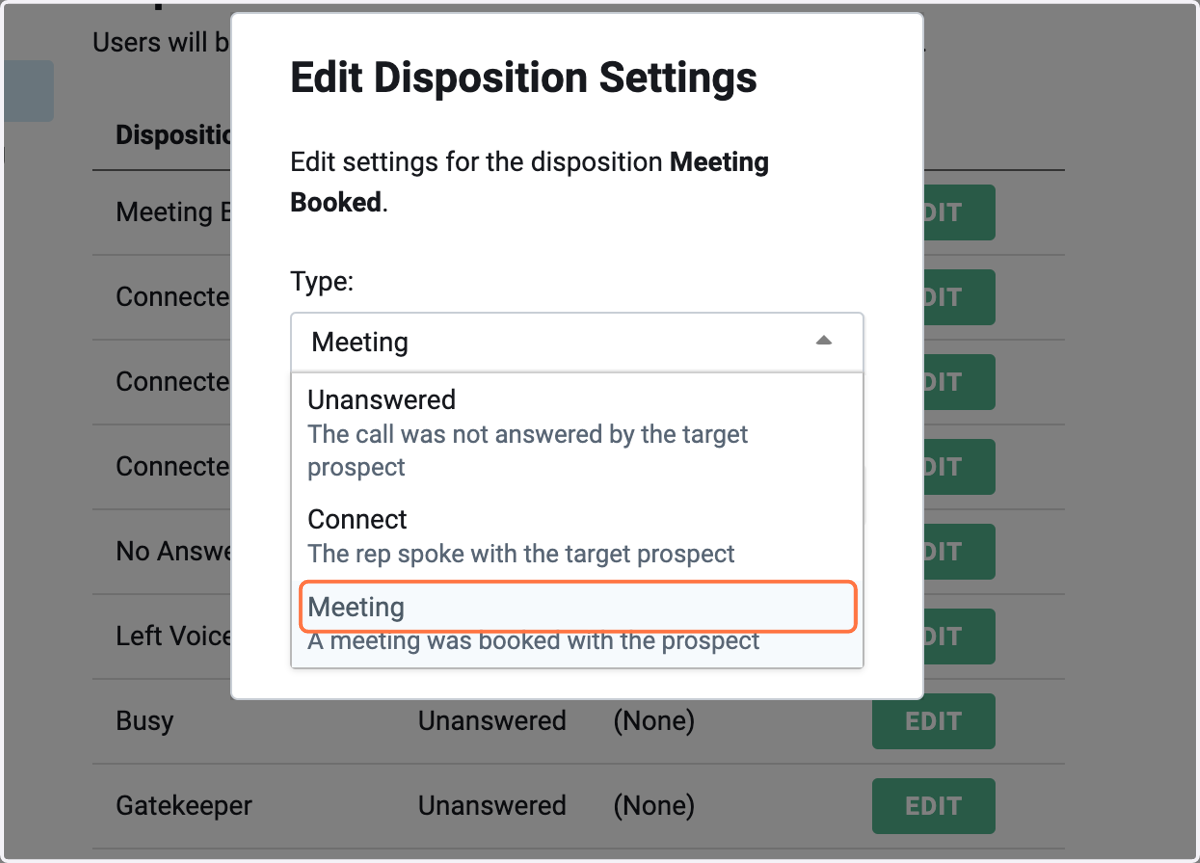
6. Select the specific Type in this example it is 'Meeting'
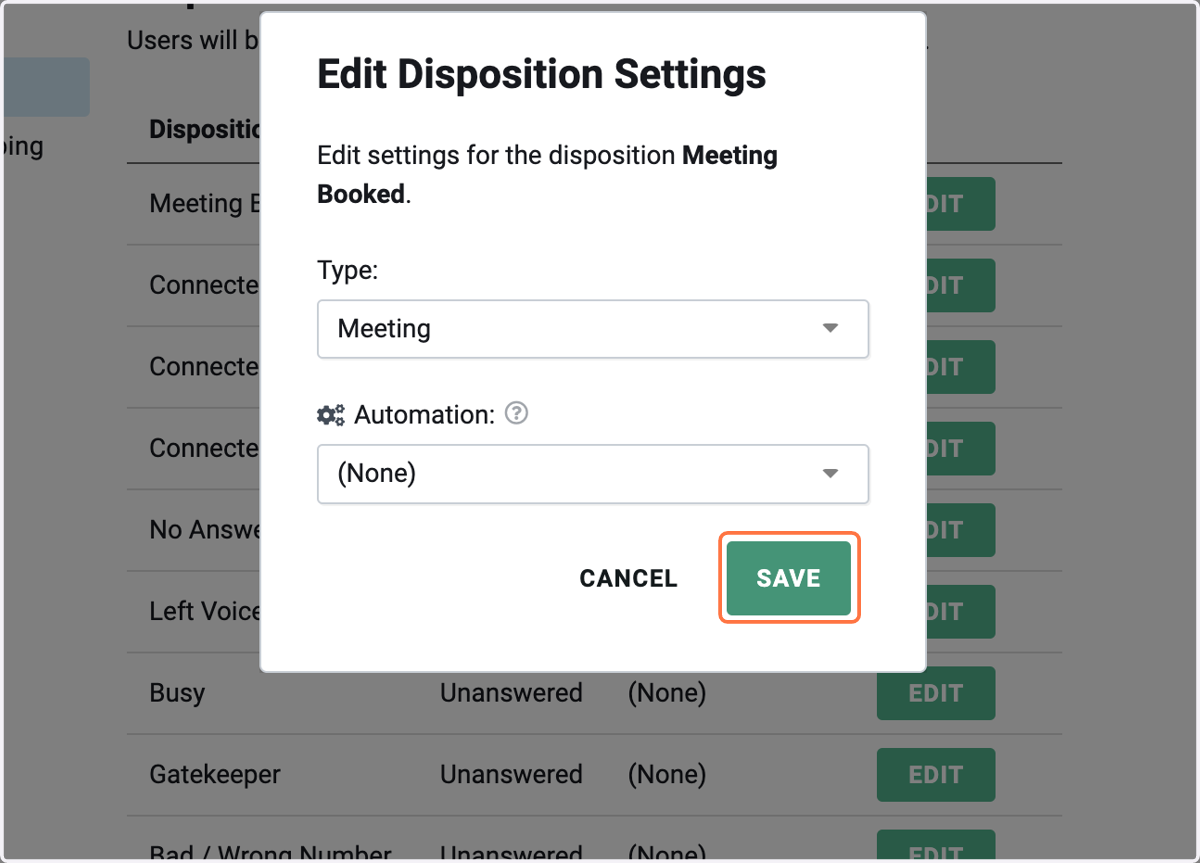
7. Click on SAVE
8. Repeat the process for all the dispositions and sentiments on the list.
Connect = You spoke with the intended prospect
Unanswered = Did not speak with prospect, ex: VM, GK, Dial Tree etc.
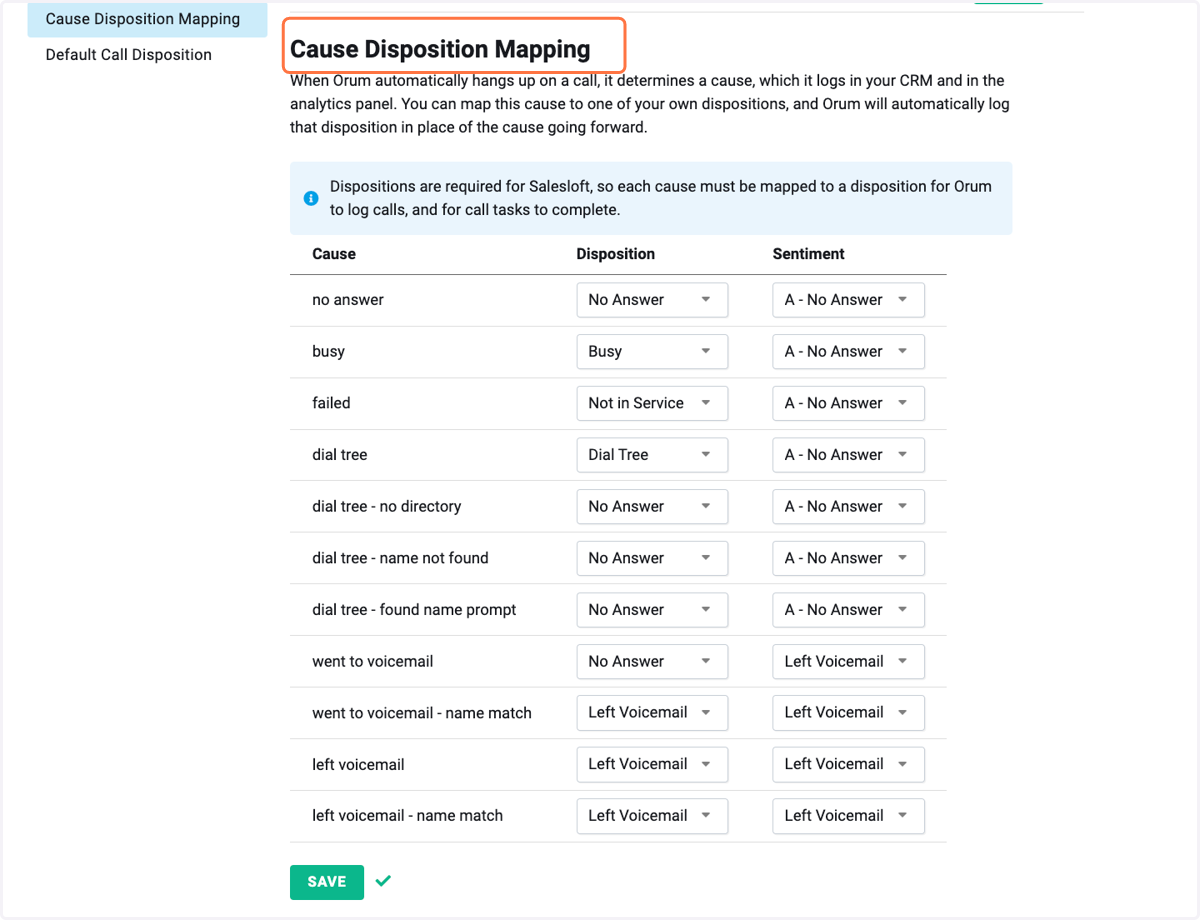
9. Scroll down to Cause Disposition Mapping
This is where you will map what Disposition and Sentiment is logged by Orum for unanswered calls that do not reach a human.
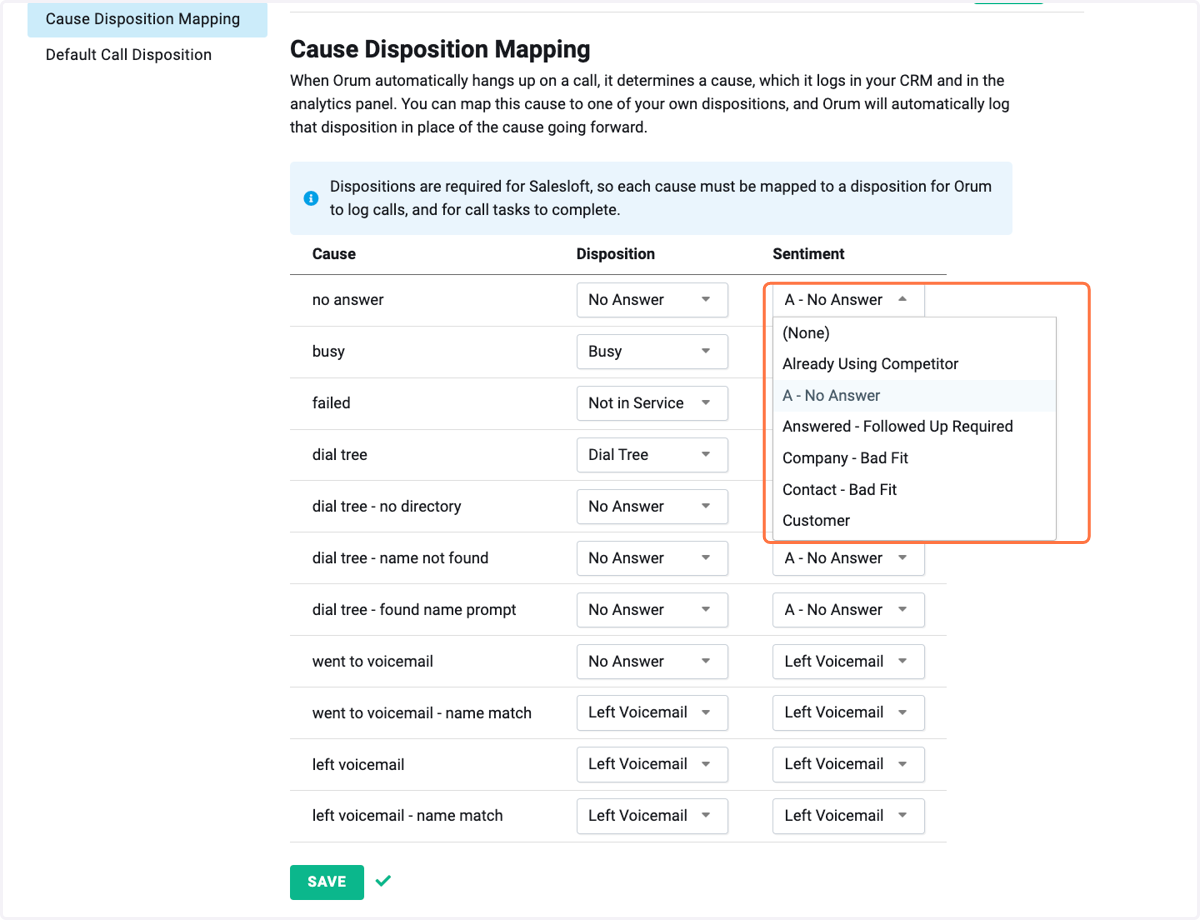
10. Use the pick list to select what disposition and sentiment is left for each specific Cause.
If you do not require Sentiments to be logged in Salesloft, you can just map the dispositions only.
All Disposition and Sentiments mapped here should be a 'Unanswered' type.
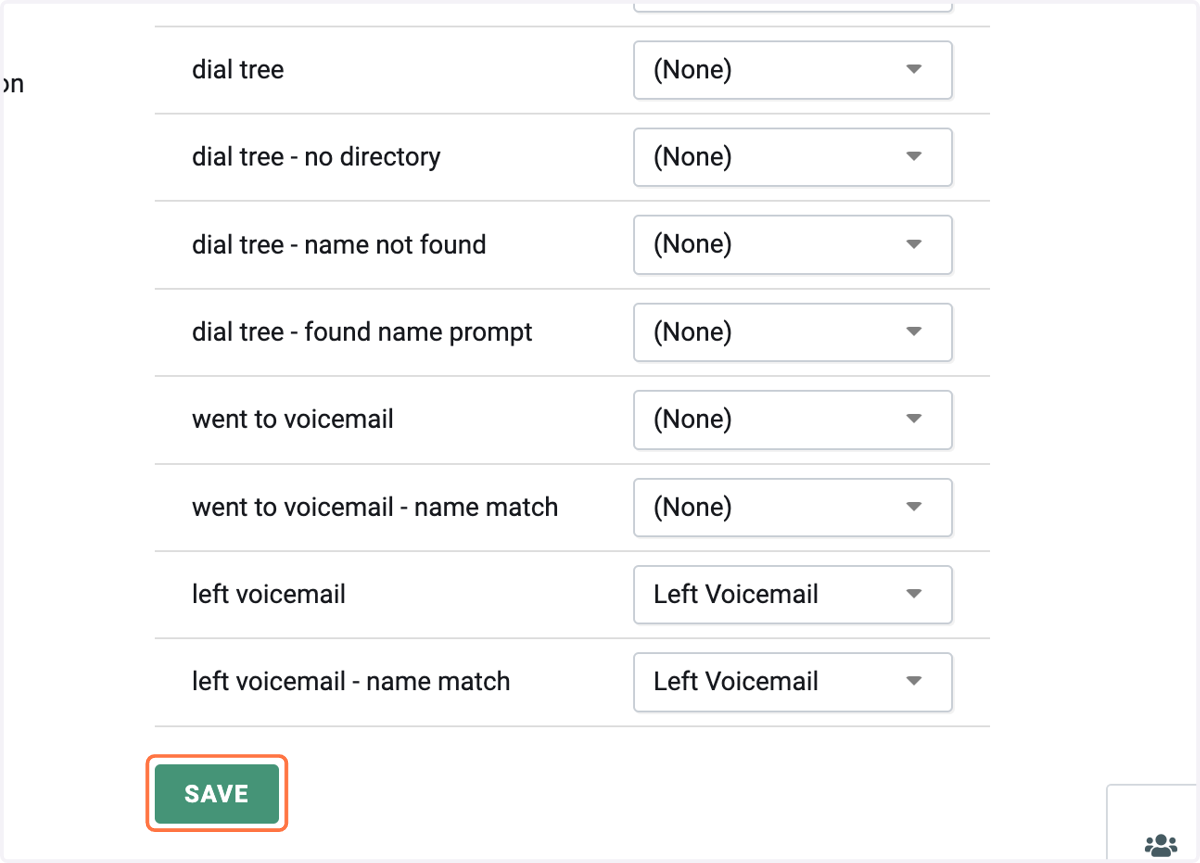
11. Click on SAVE when finished
💻 Adding Salesloft Fields to Orum
12. Scroll down to Default Fields For All Reps
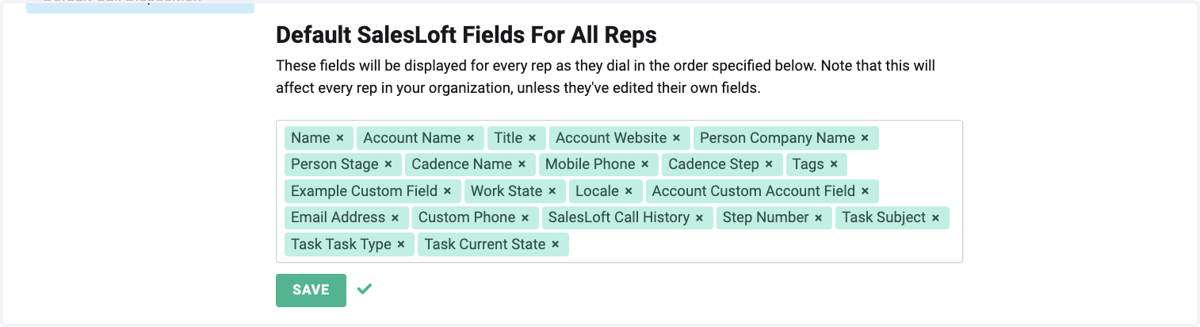
13. Add new fields by clicking on the whitespace and selecting a new field. Reorganize the fields by dragging and dropping them in the order you would like displayed.
Orum will display fields from left to right.
Key fields to add are:
Cadence Name, Cadence Step, Email Address, Linkedin URL, Call History, Pinned Notes, Account Pinned Notes and any Pre-call research notes fields you have.
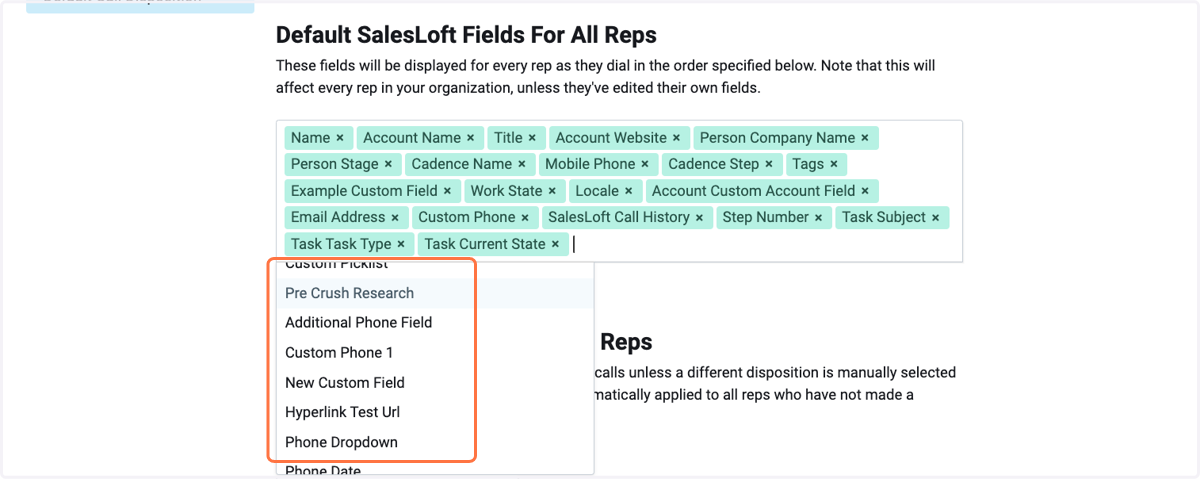
14. Click on SAVE when finished.
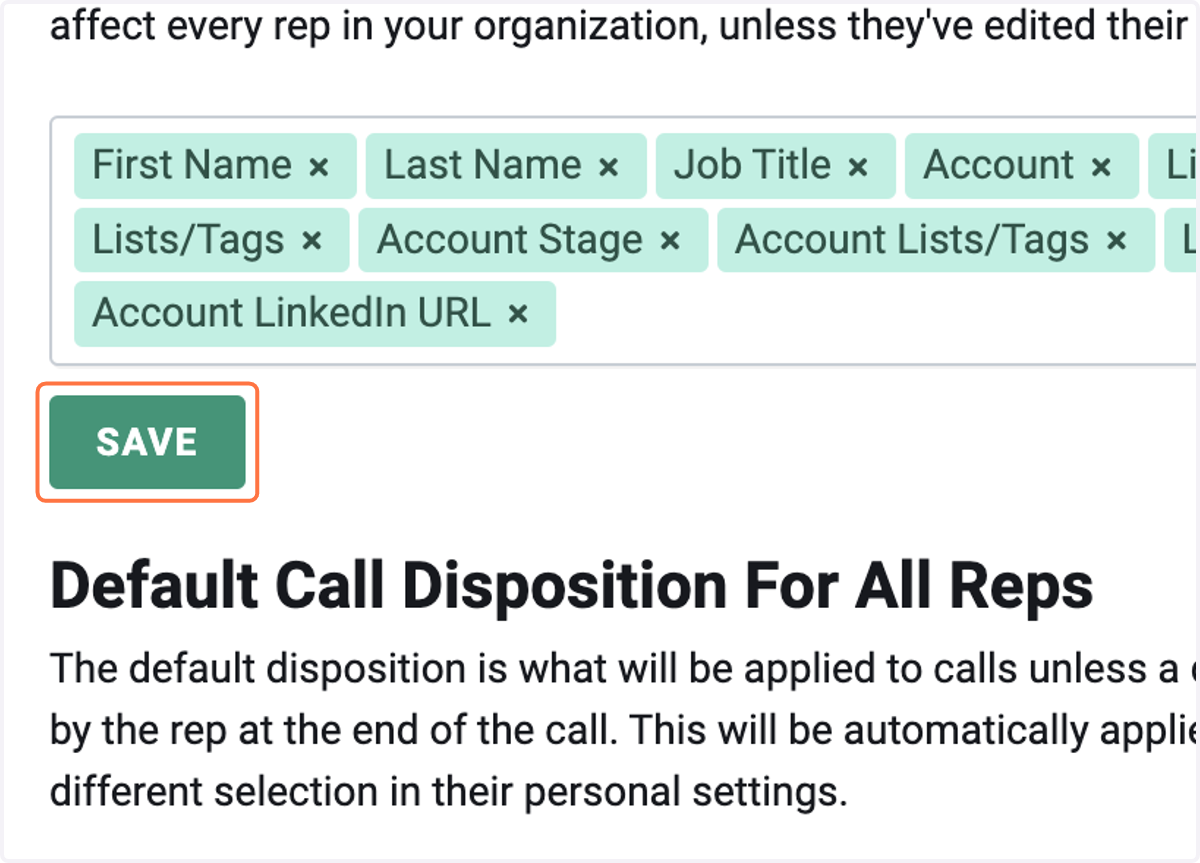
15. Ensure Default Call Disposition For All Reps is set to 'No Answer'
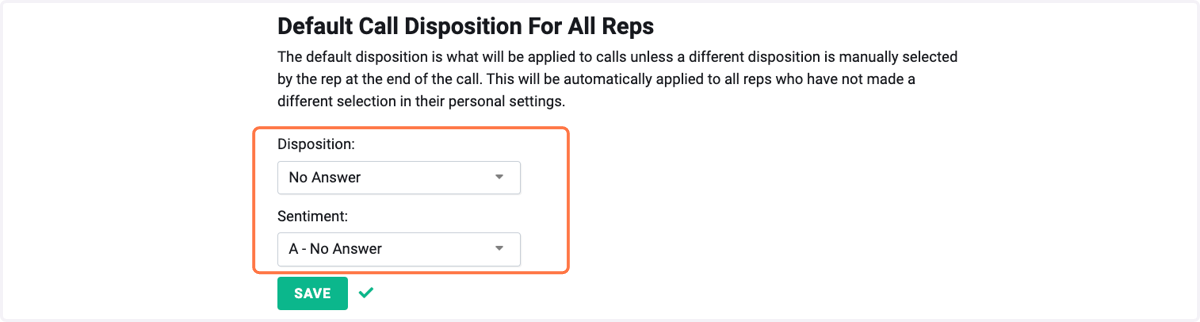
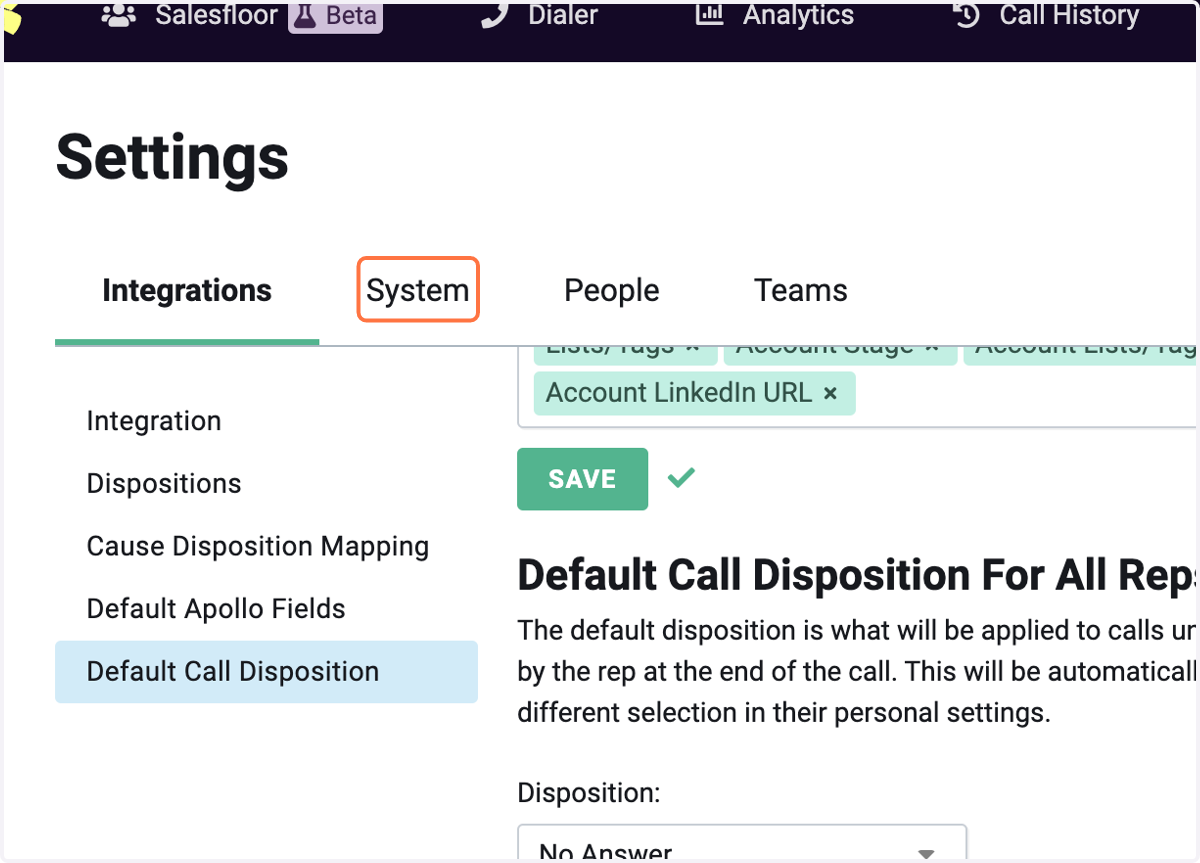
16. Click on System tab
17. Select the timezone you would like Calls logged in.
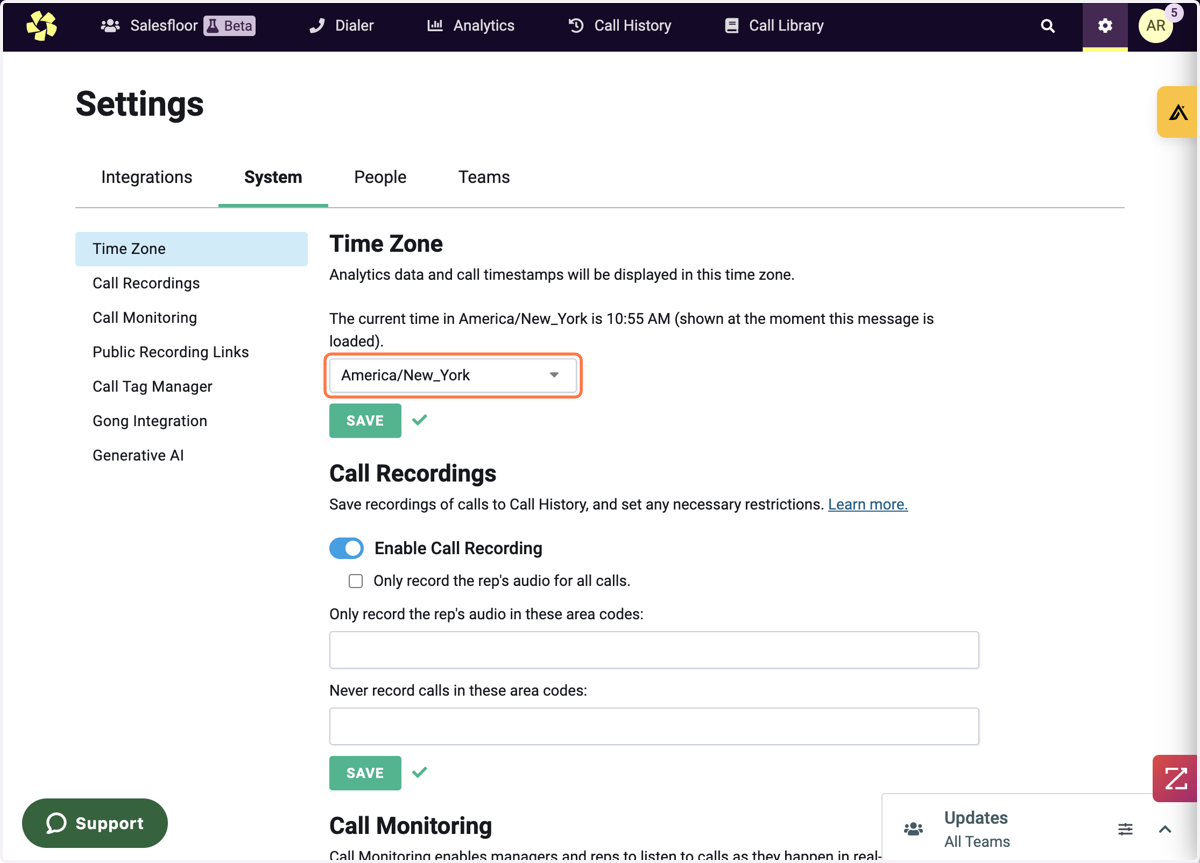
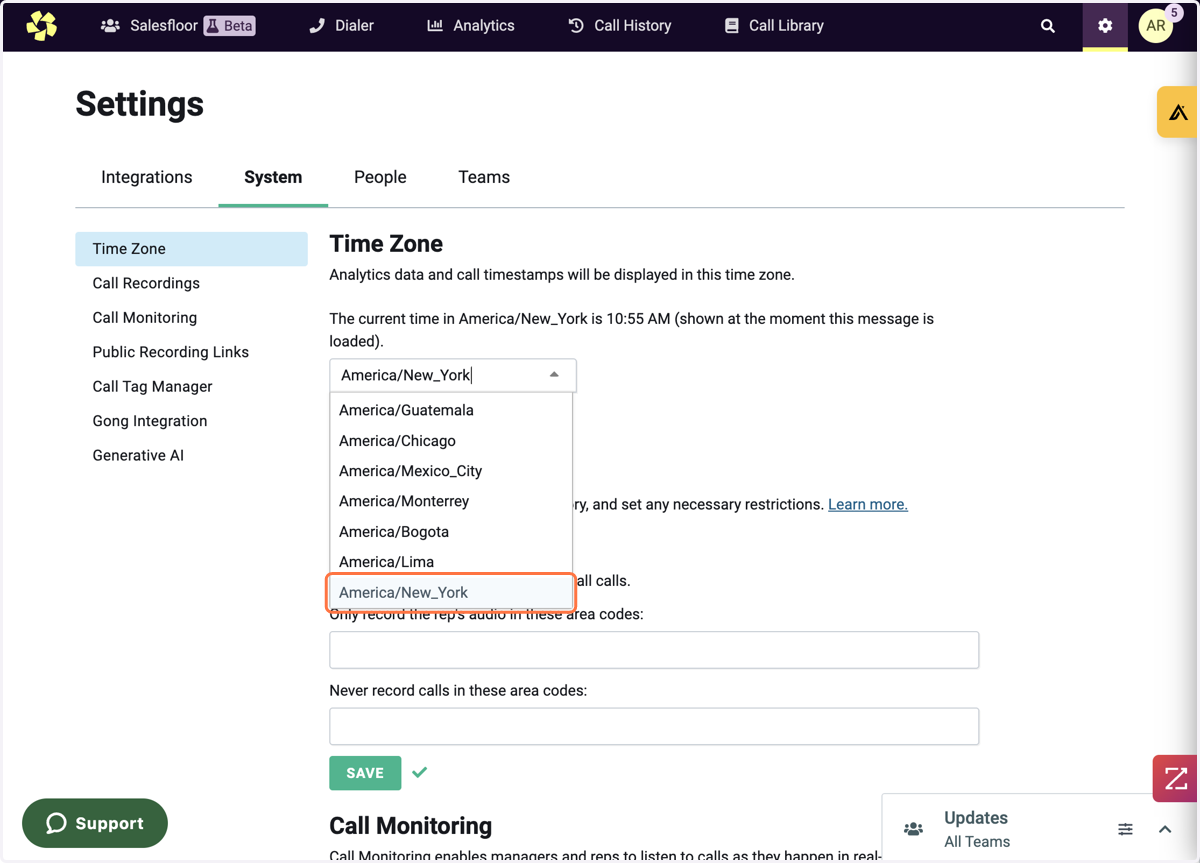
18. Select the appropriate Timezone
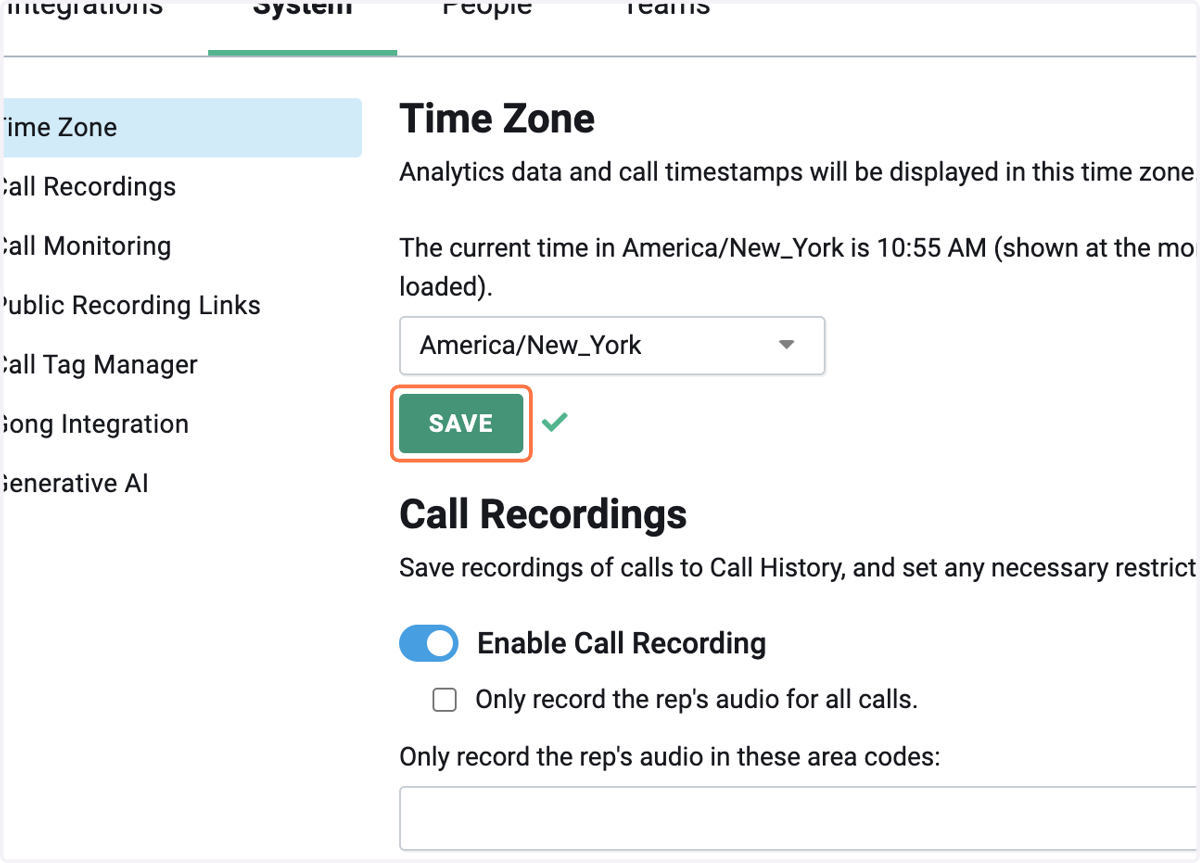
19. Click on SAVE
🔉 Call Recording Settings
20. Enable Call Recordings for Orum
This is Optional
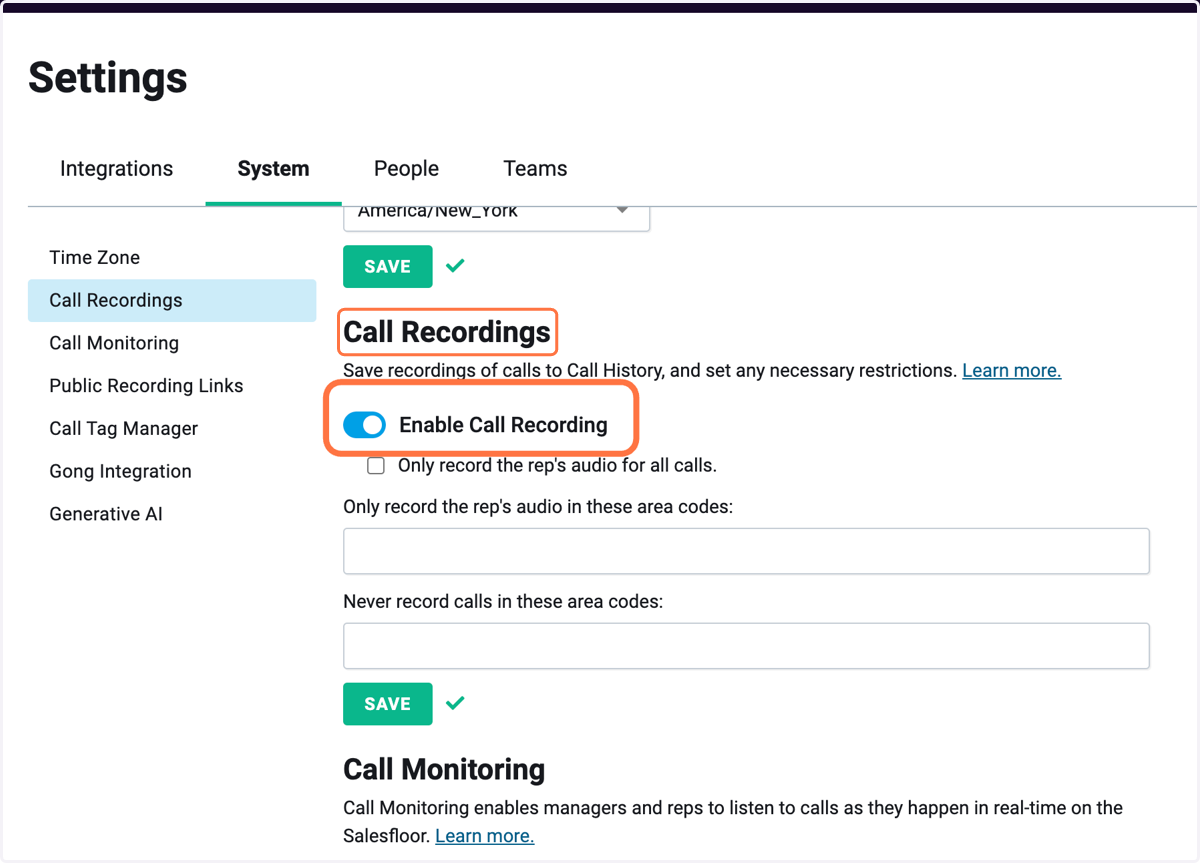
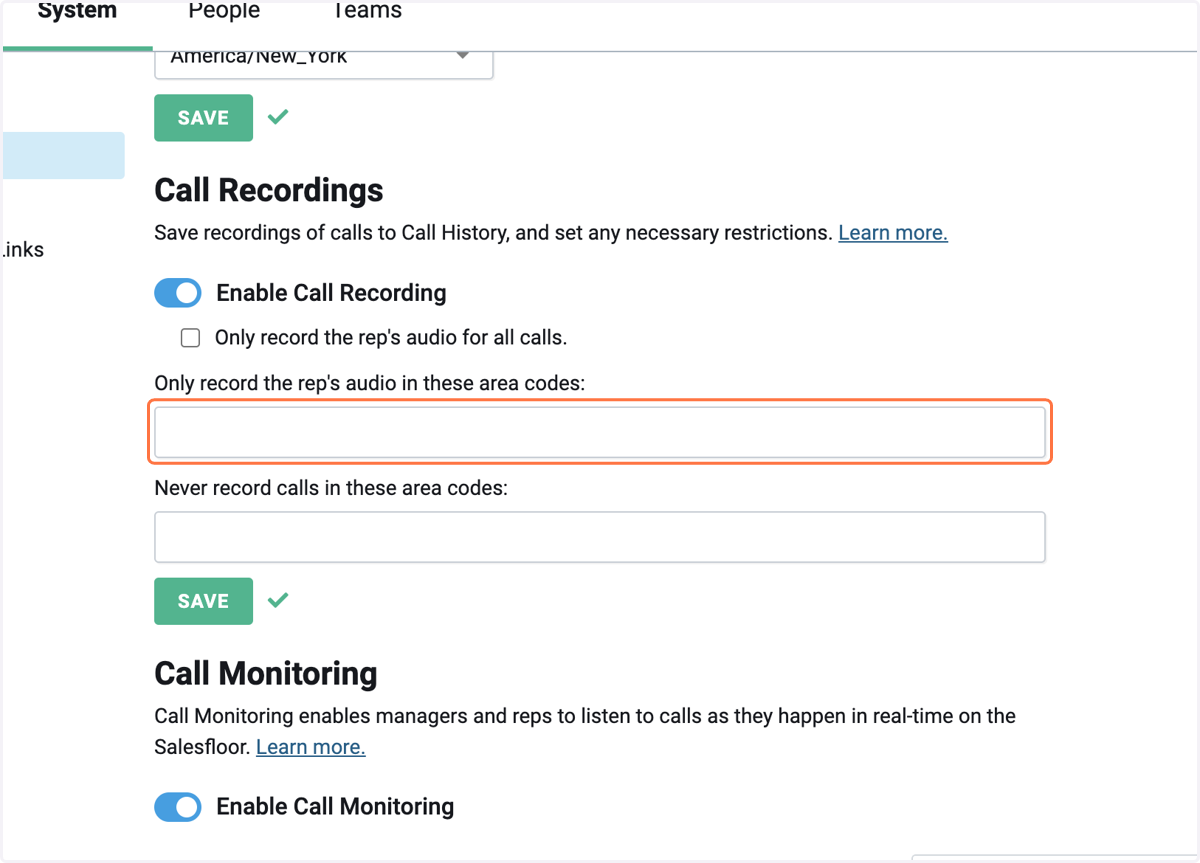
21. If enabled select the appropriate call recording restrictions, if left empty Orum will record all calls. You can simply paste the 2 party consent area codes into the white space.
A list of 2 party consent area codes can be found at the end of this resource article:
https://support.orum.com/hc/en-us/articles/4402737802897-Call-Recording-Settings-Two-Party-Consent
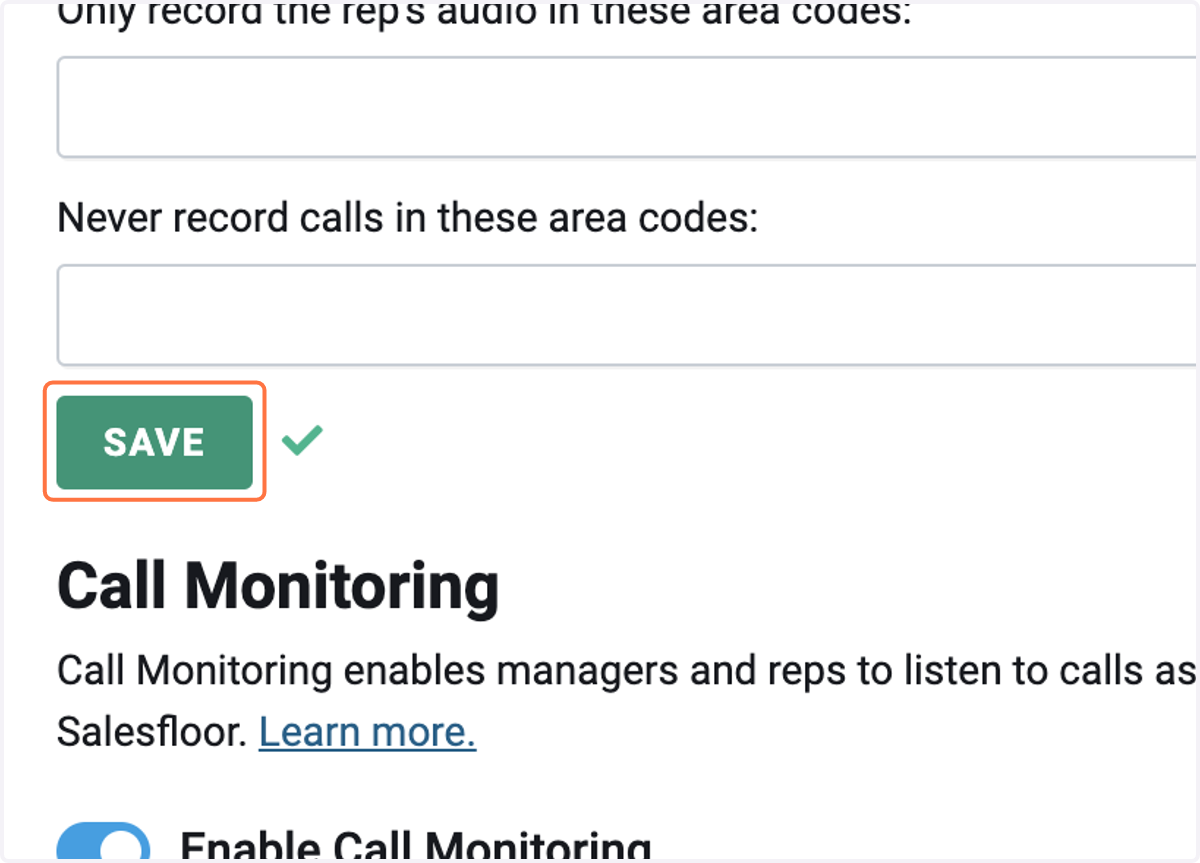
22. Click on SAVE
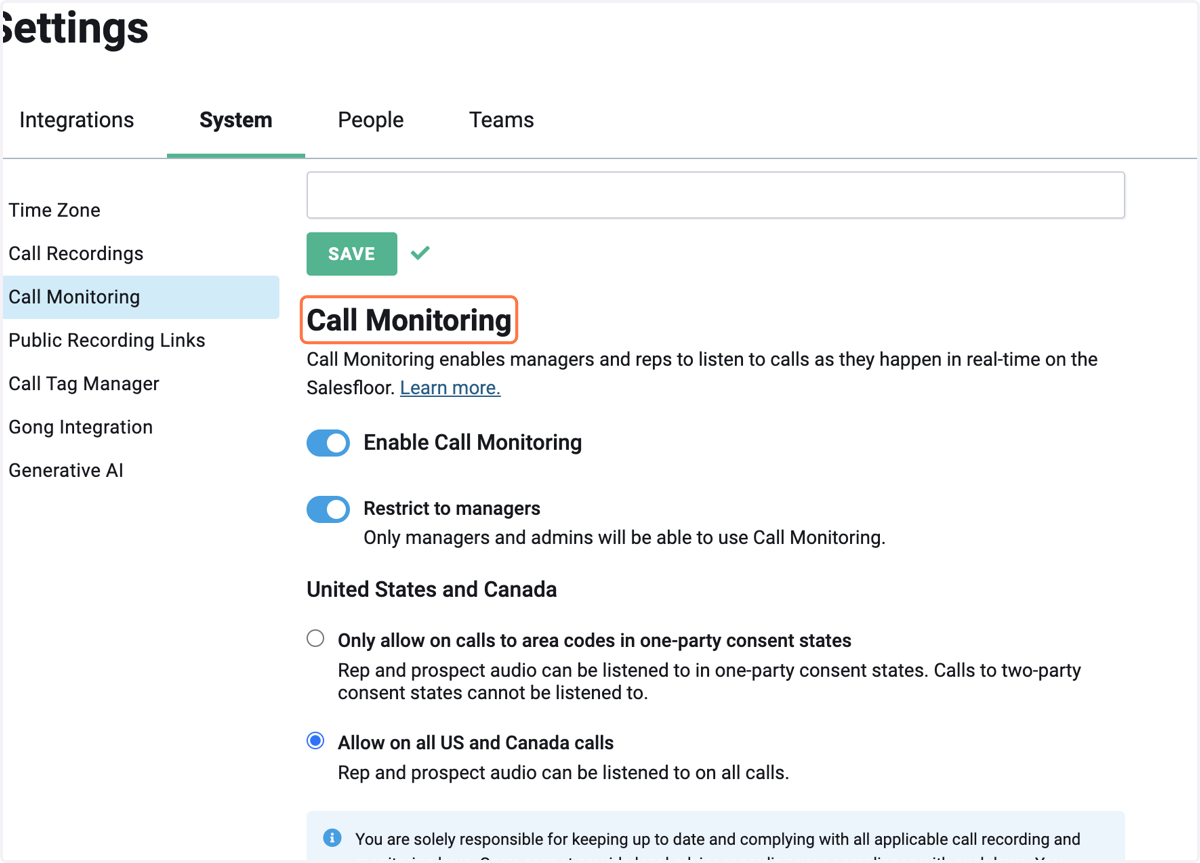
23. Enable Call Monitoring and set your setting preferences.
This is optional.
24. Click on SAVE
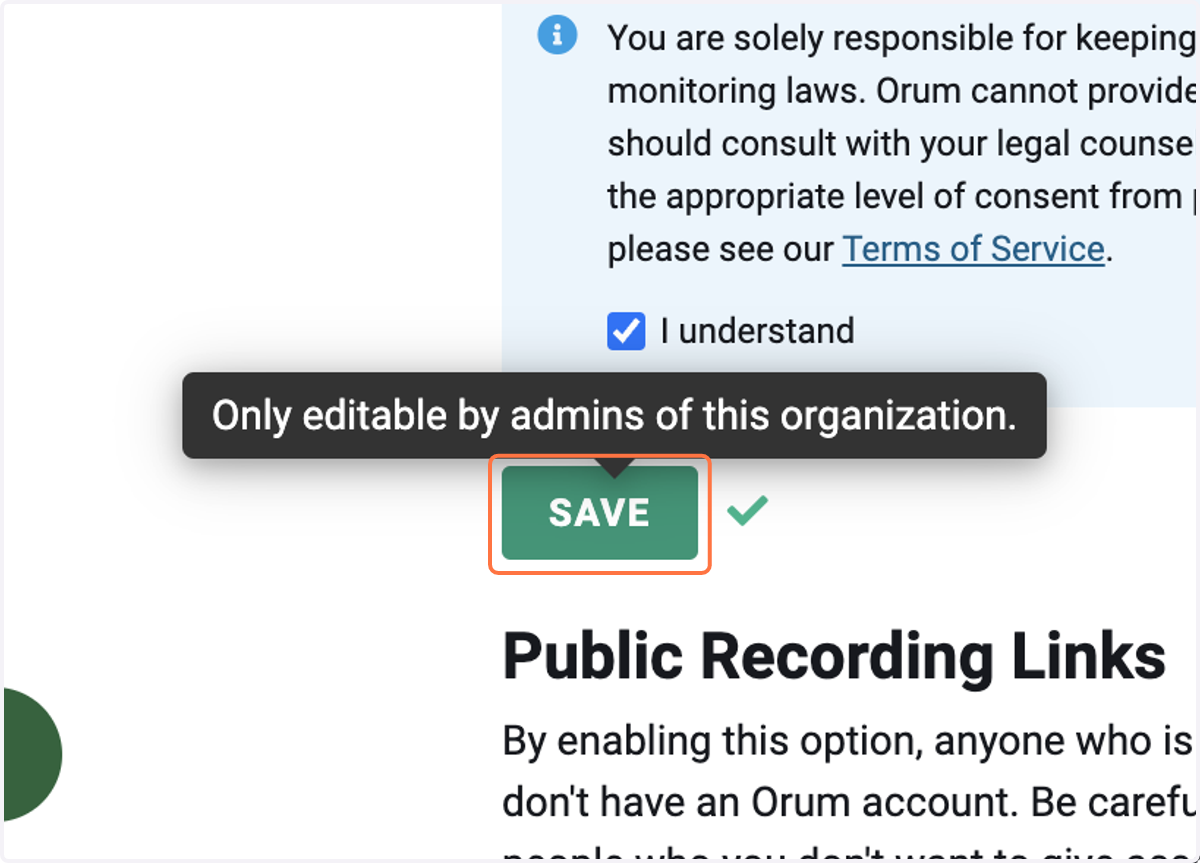
25. If you are using our Call Library you can add custom call tags here.
This is Optional
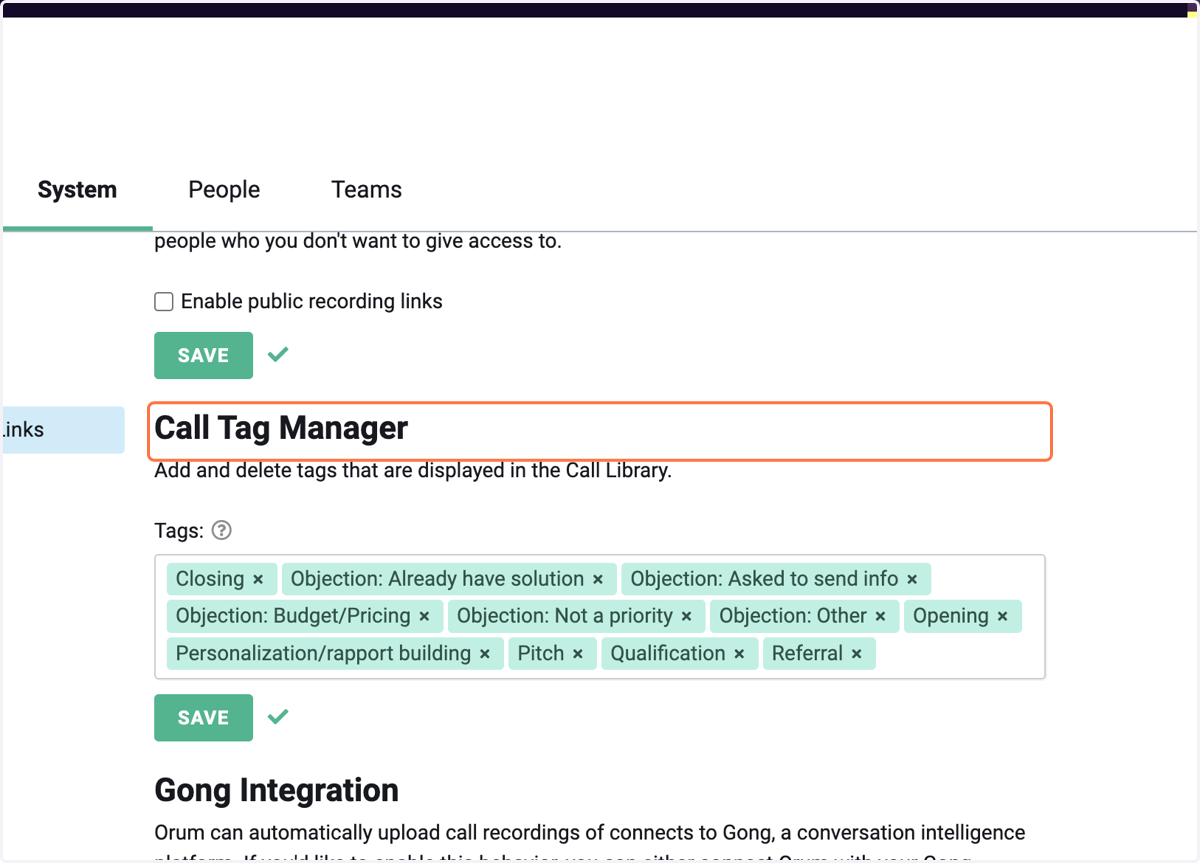
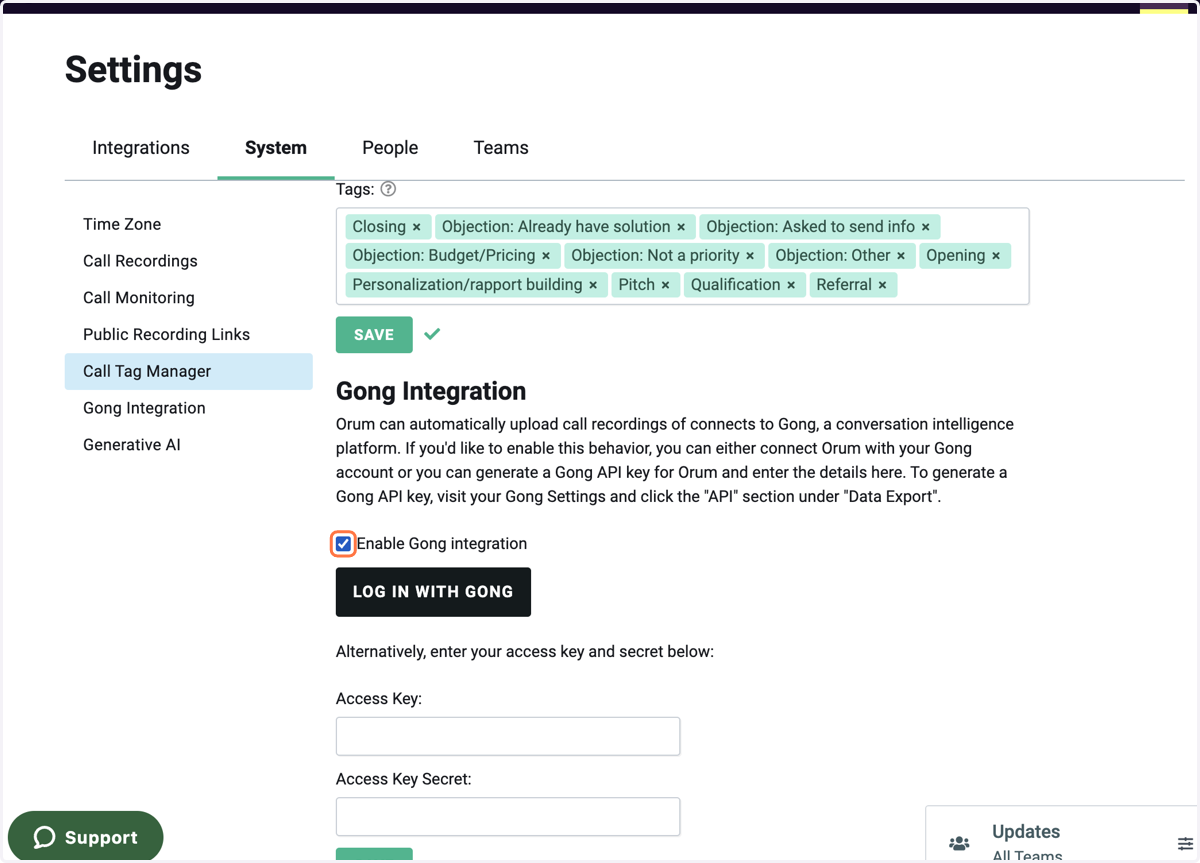
26. If you are using Gong you can set up the Gong Integration here.
You will need to be a Gong Admin to complete this step.
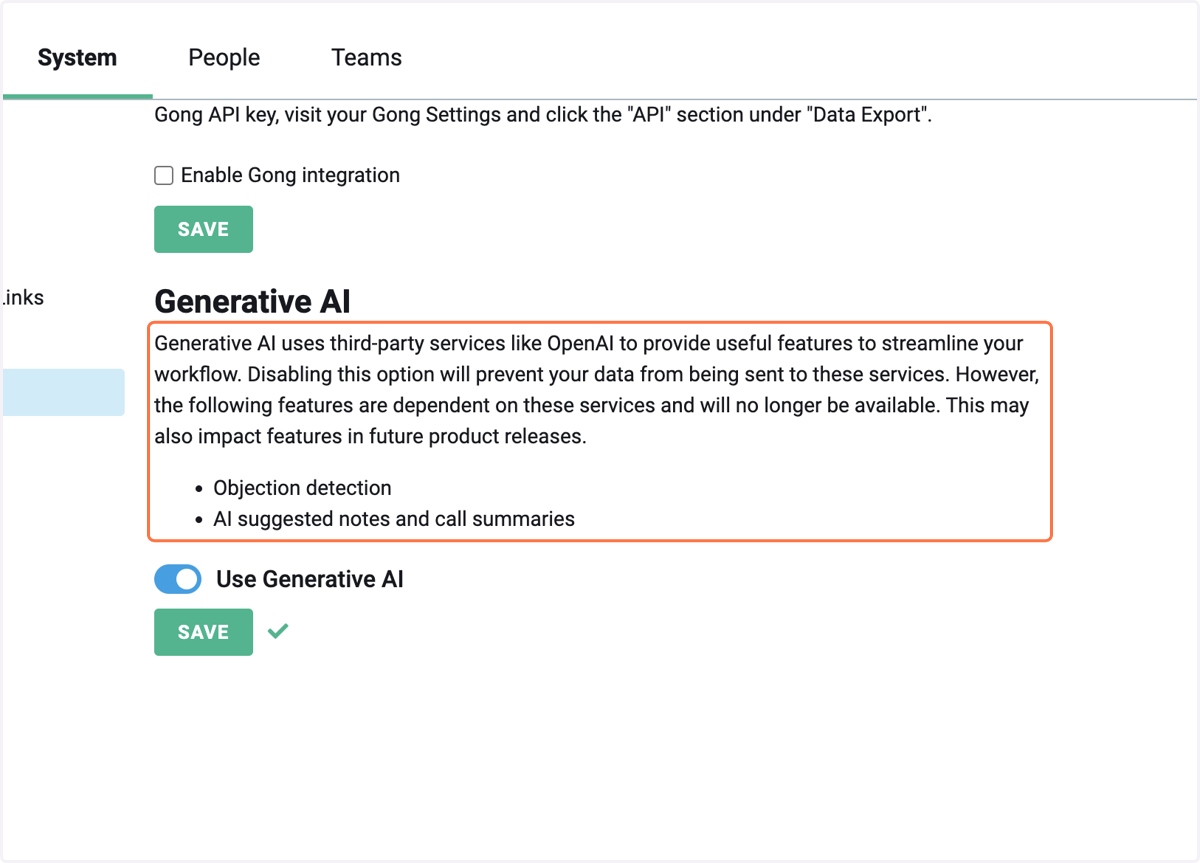
27. Optional: If you would like Orum to not use 2 of our AI features you can toggle them off here.
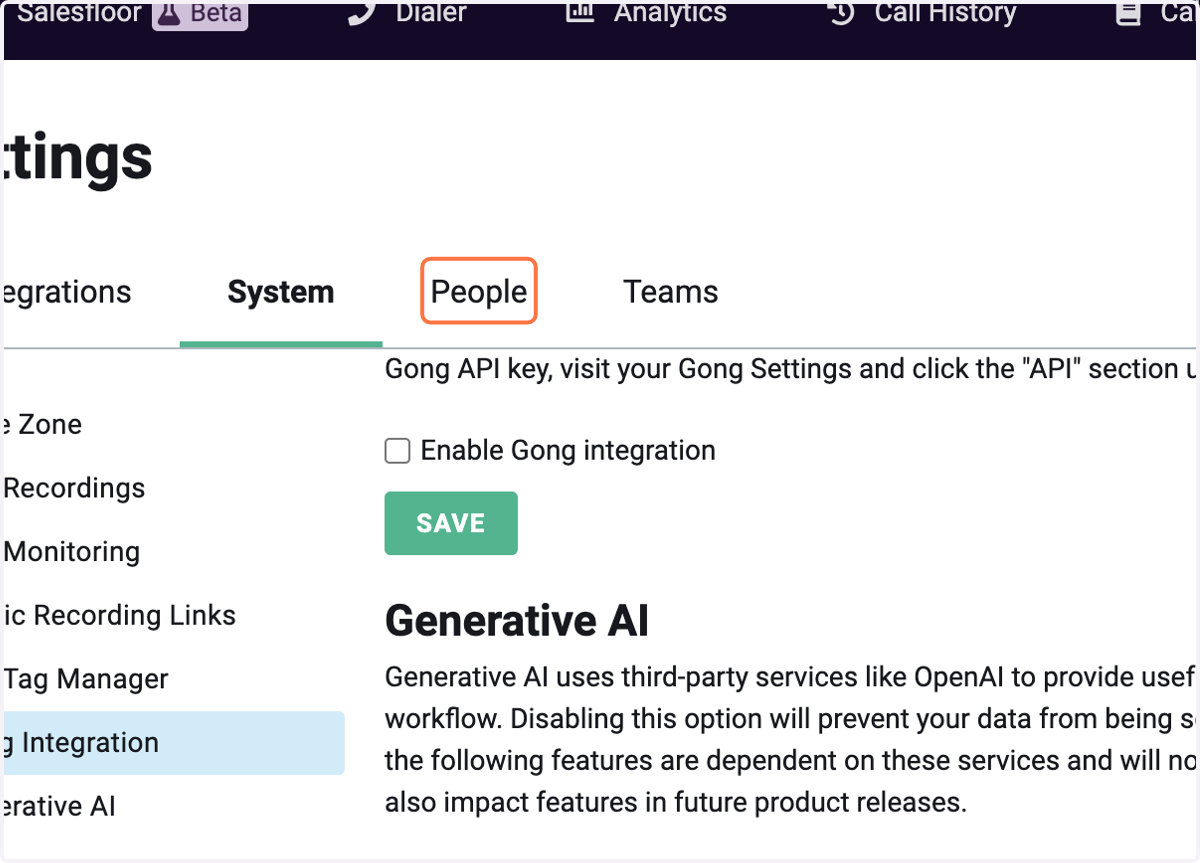
28. Click on People tab
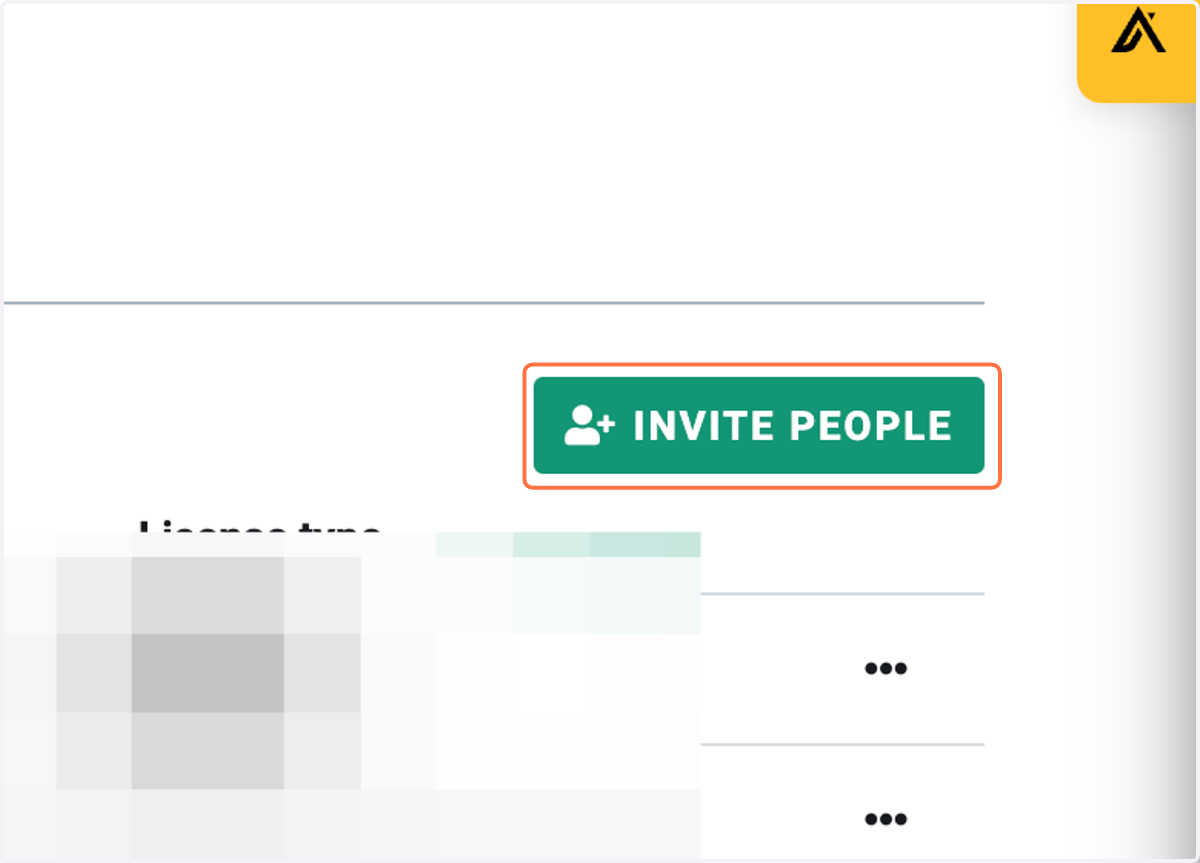
29. Click on INVITE PEOPLE
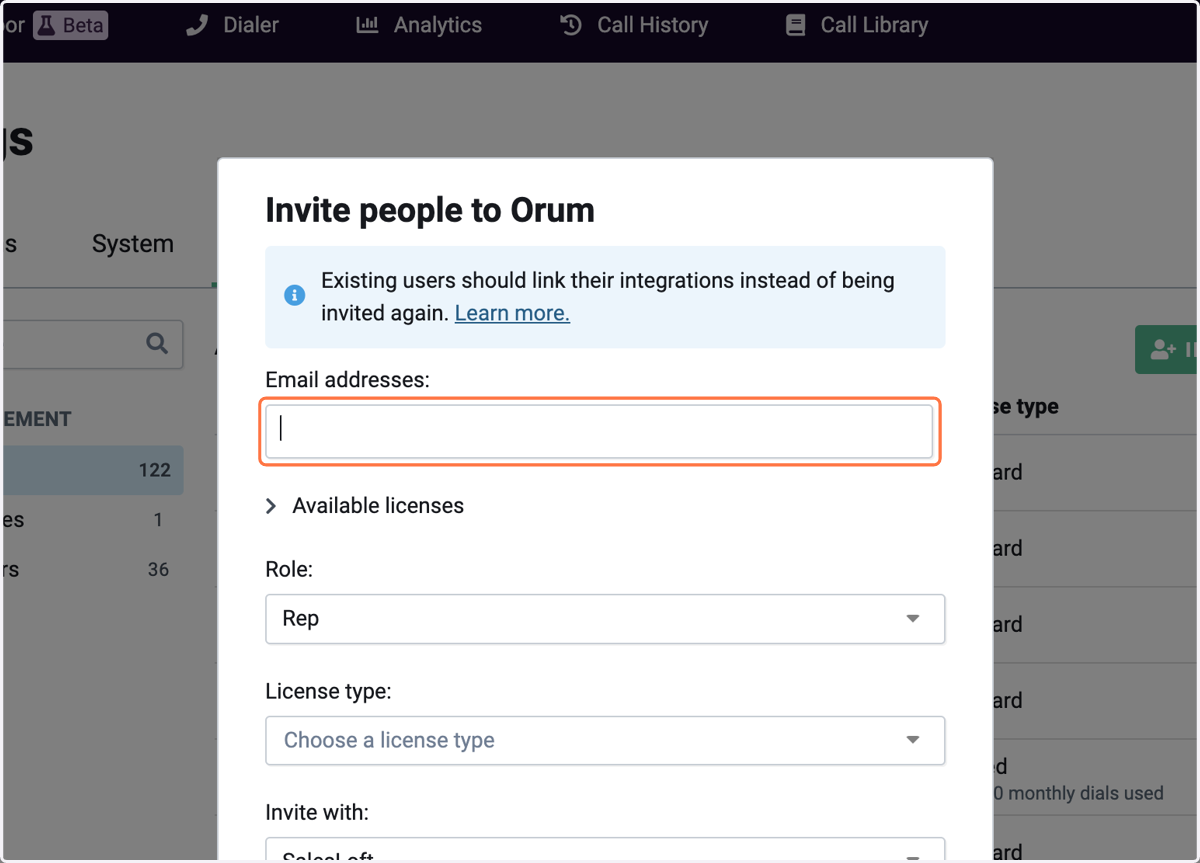
30. Add email addresses of Users
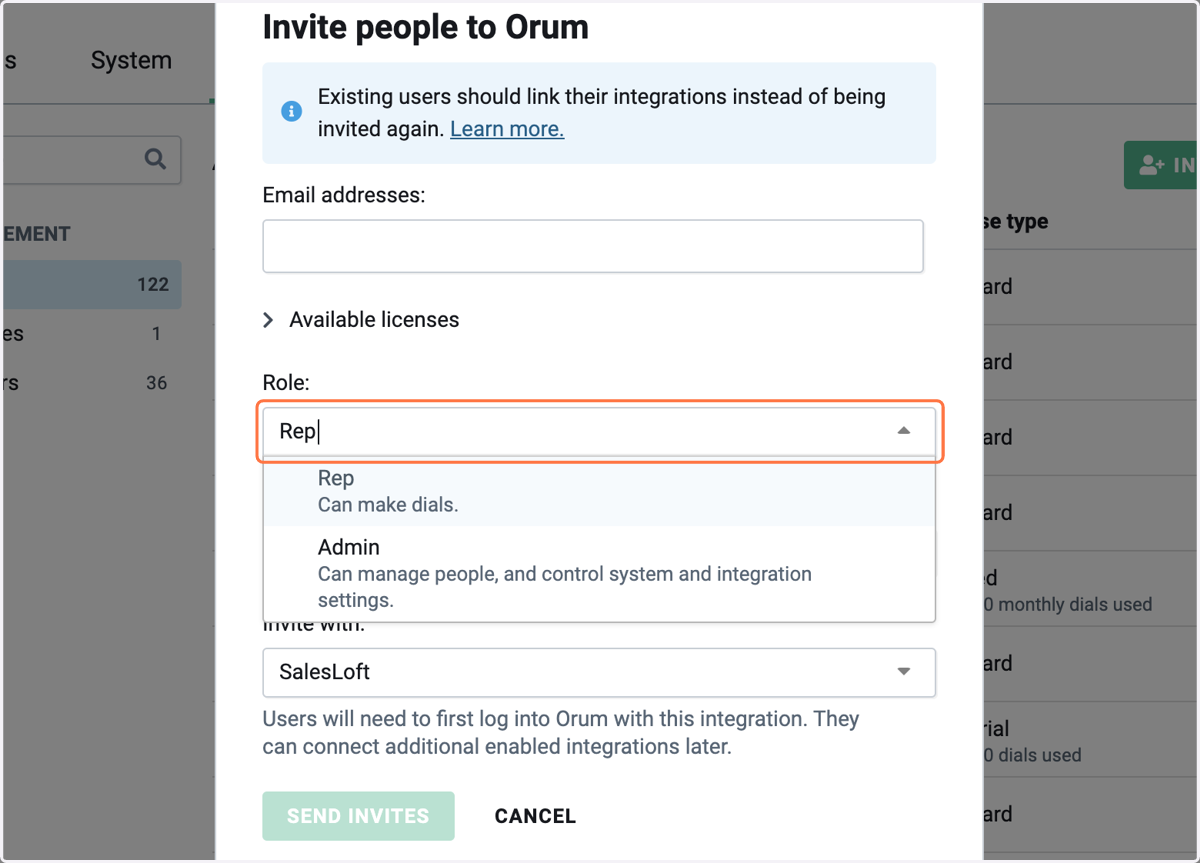
31. Select the role
32. Click license Type
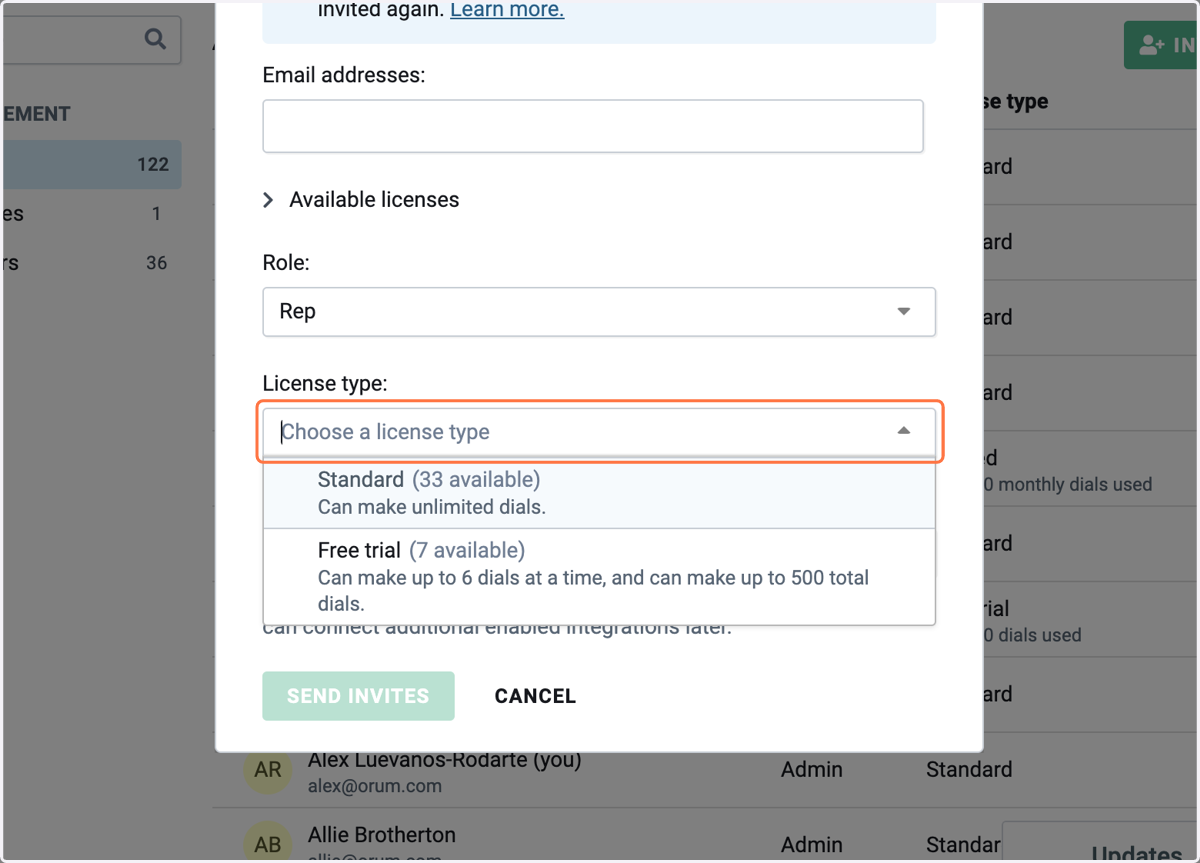
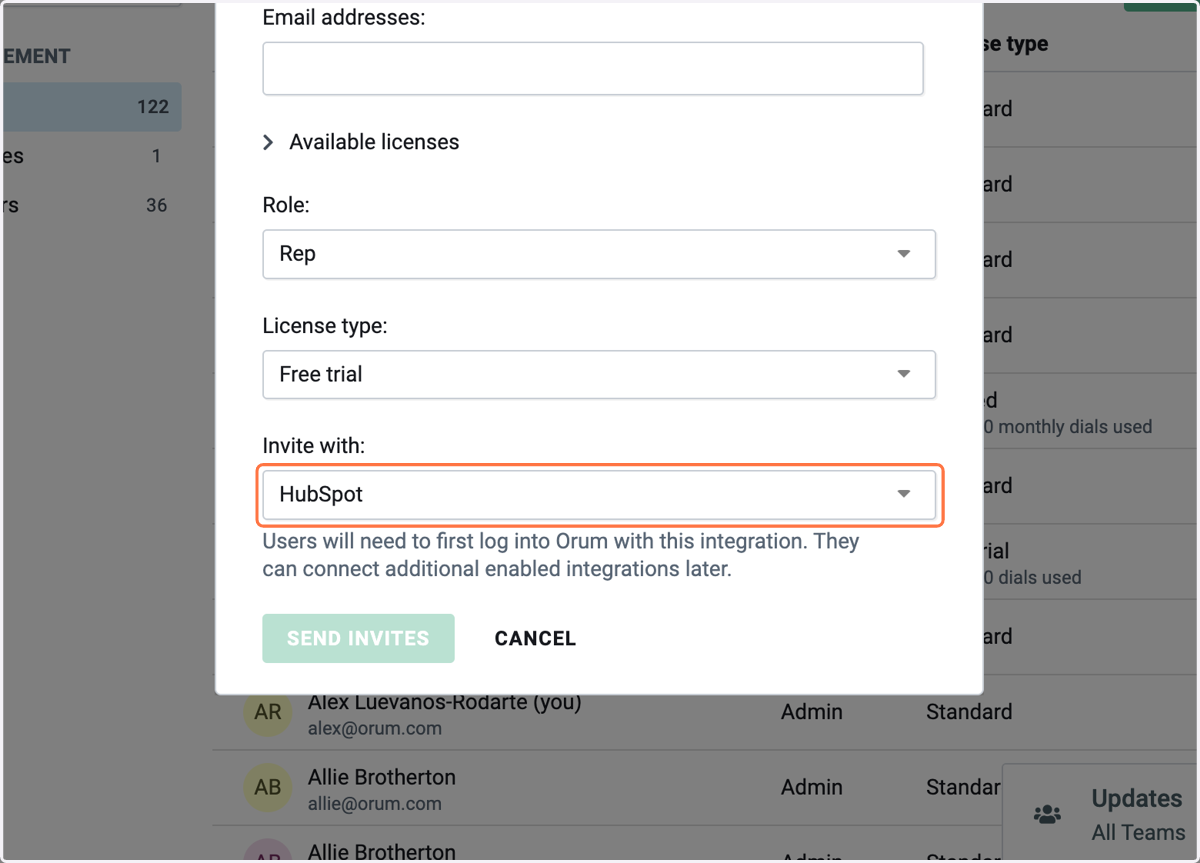
33. Click on what integration they will be sent for the initial invite. In this case it will be Salesloft.
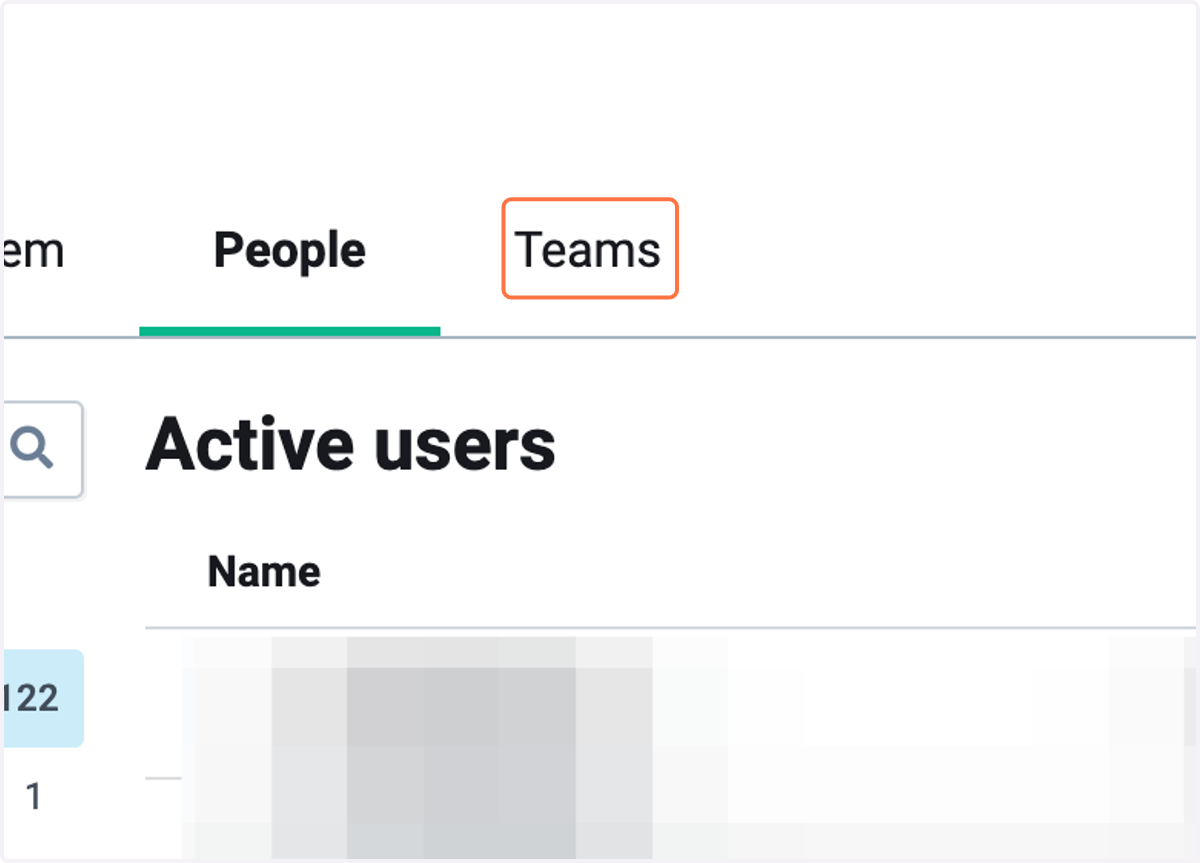
34. Click on Teams
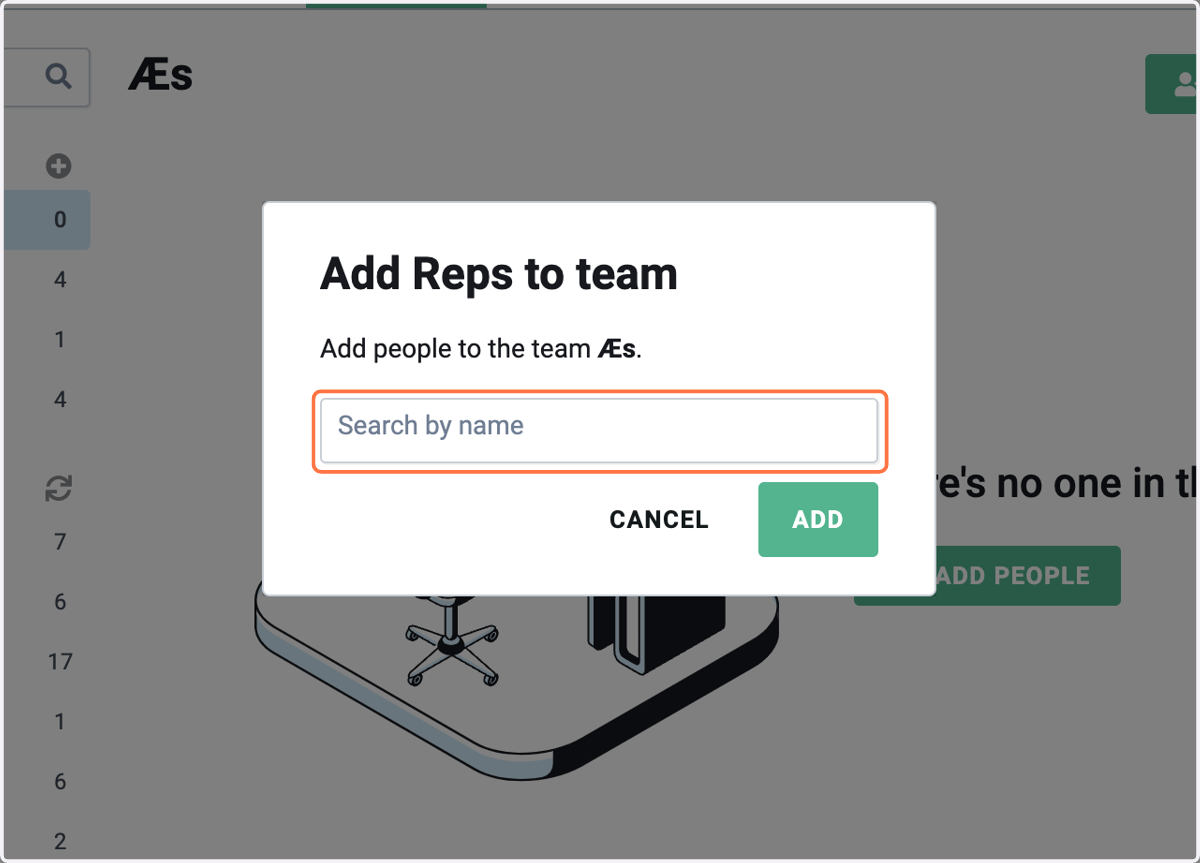
35. Click on ADD PEOPLE
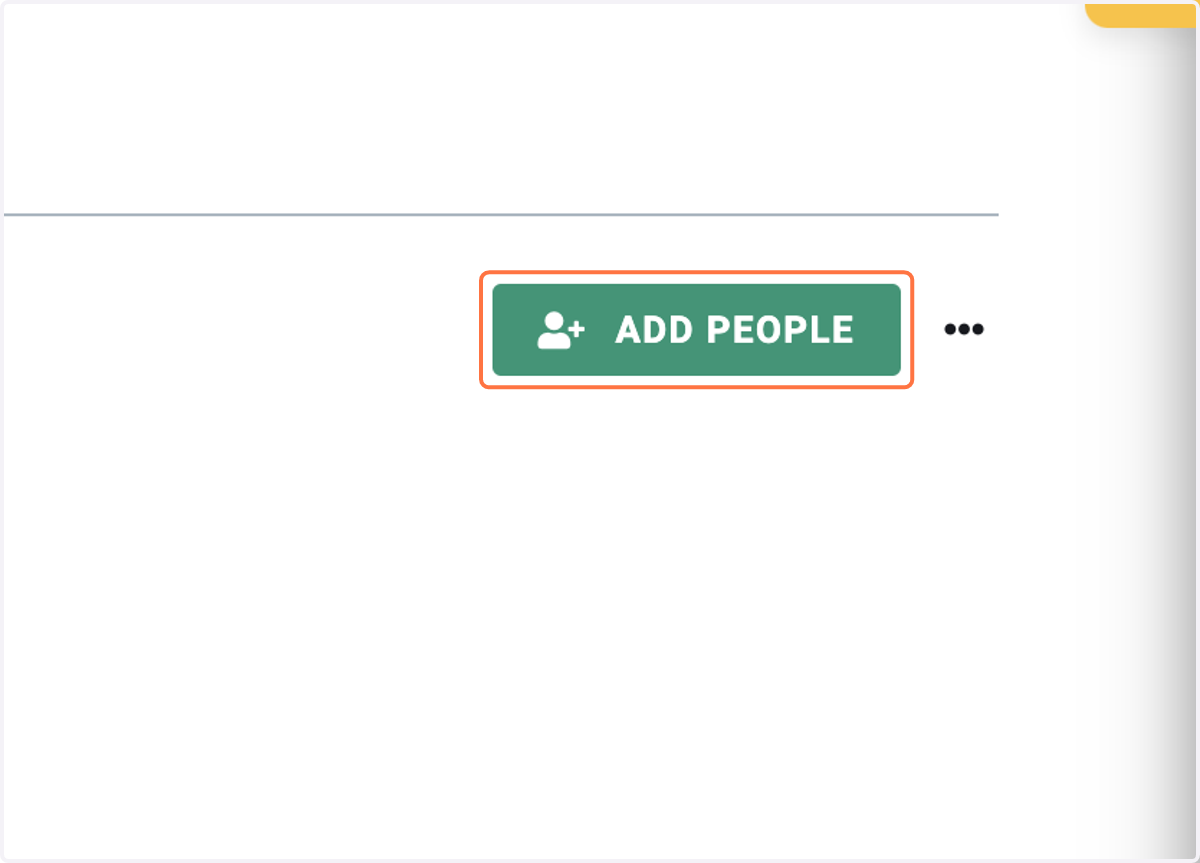
36. Create a specific team for Orum, you can assign reps once they login.
Setting up teams can be helpful when viewing Analytics and Call history data for a group of users.