First steps with the bookingtime system
Sign in with your email address and password. If you have just created an account, you will need to click “Forgot Password” to create an initial password.
startpage
1. On the Startpage you have various options to copy your booking module link to send it or integrate it into your website.
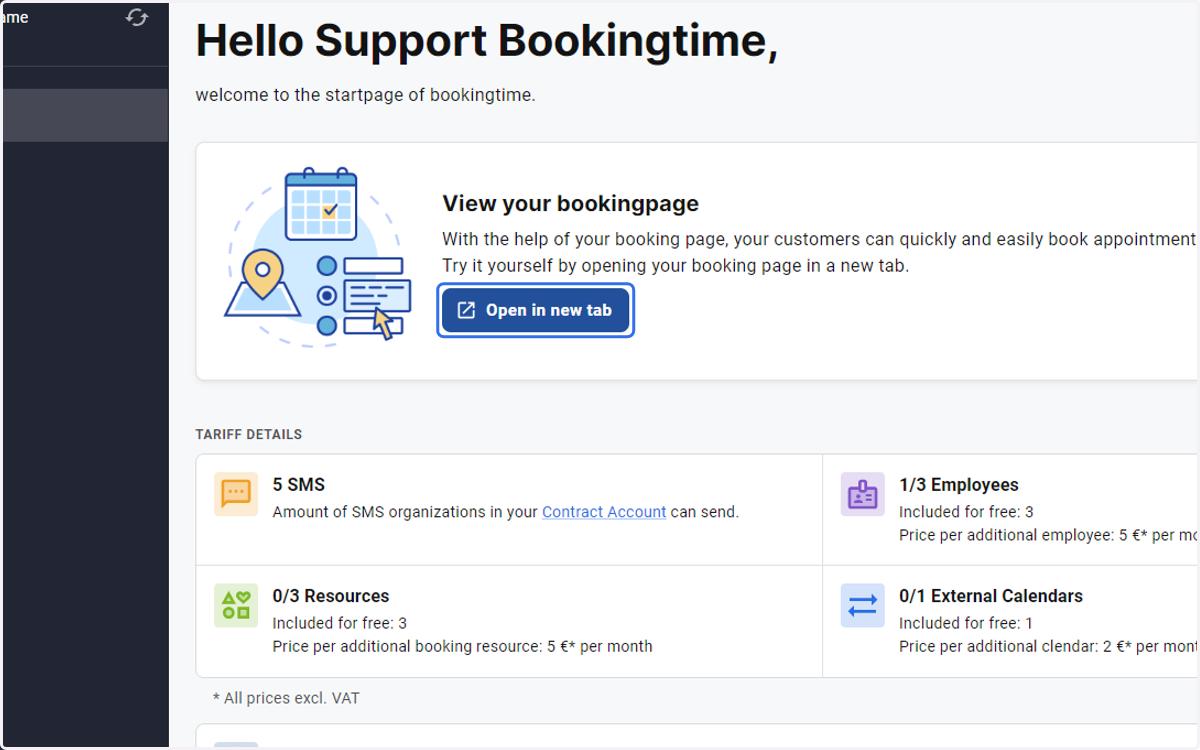
2. Click on COPY
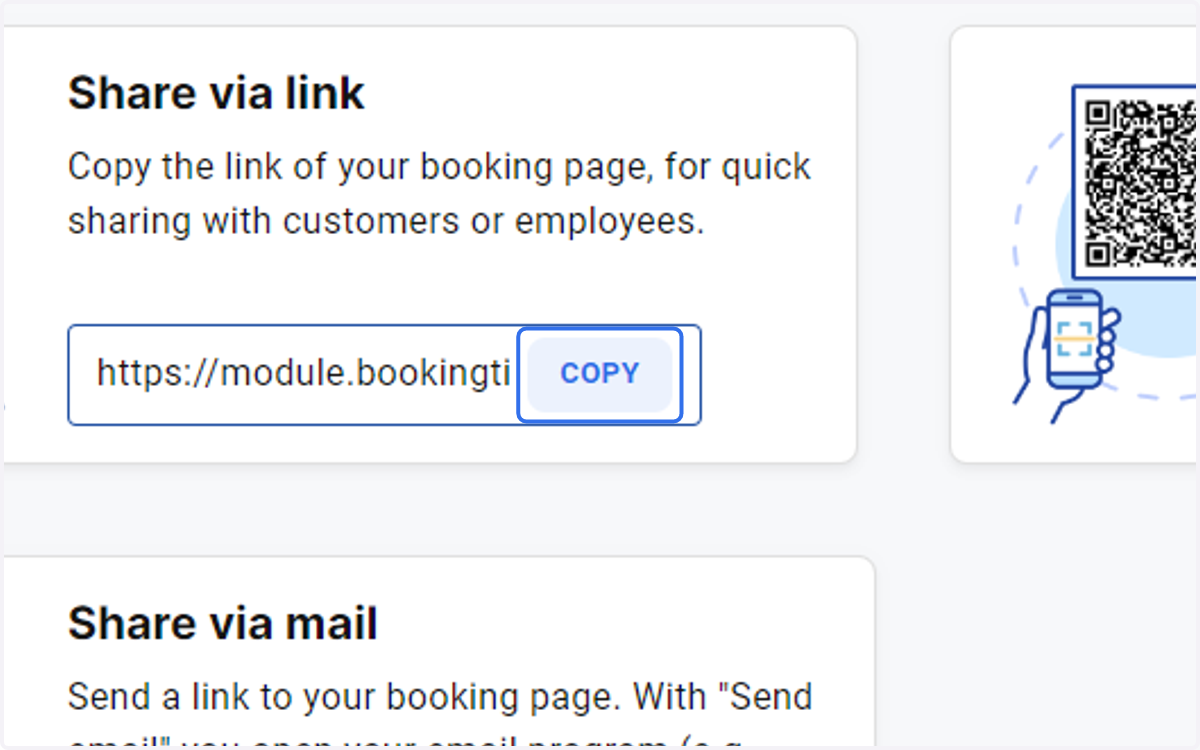
3. Copy input
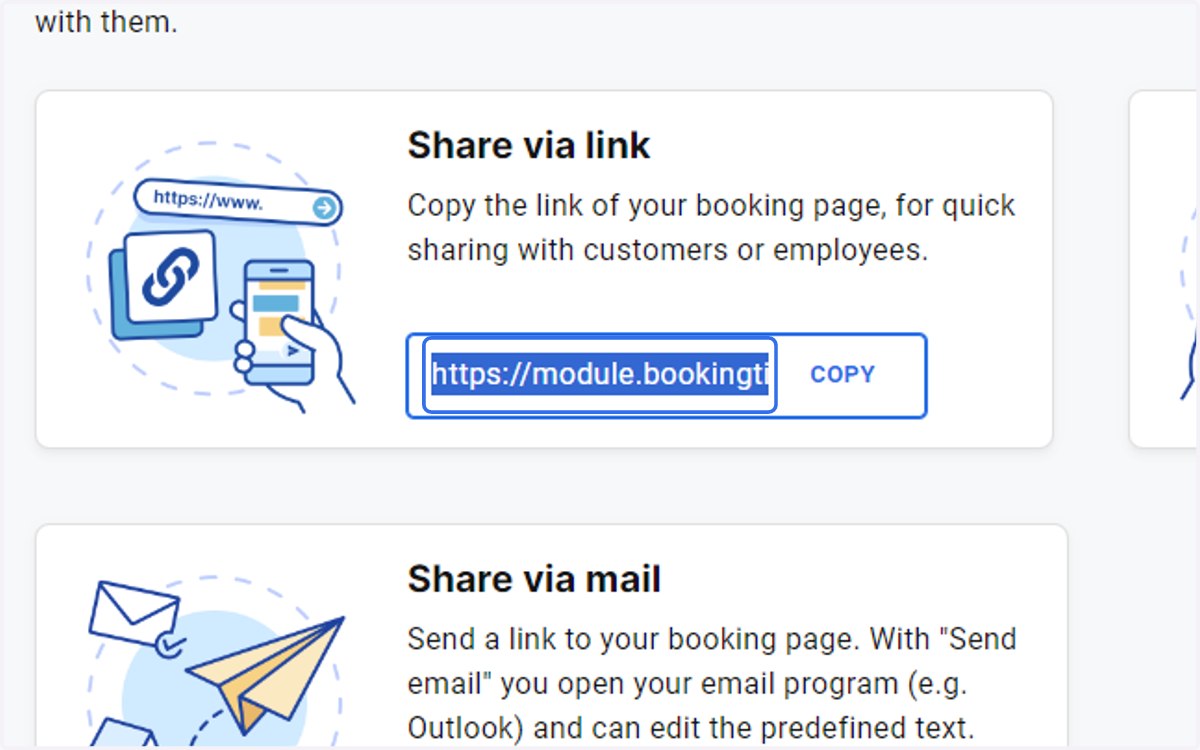
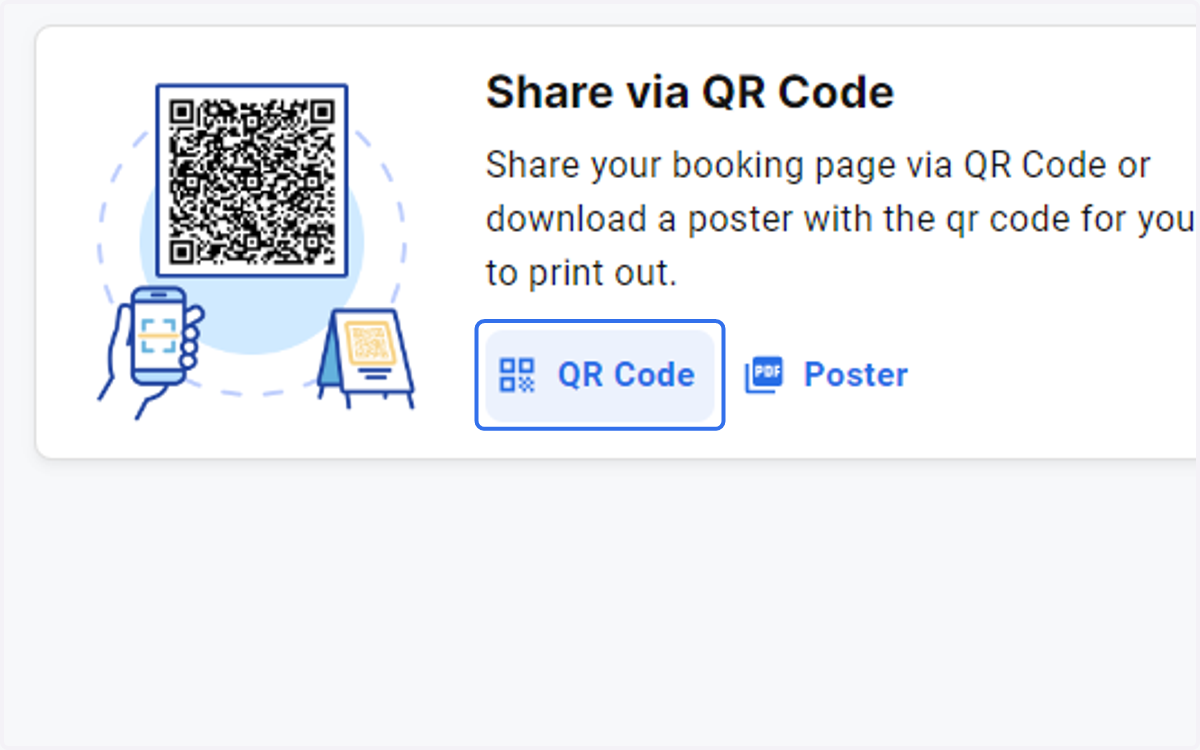
4. Click on QR Code
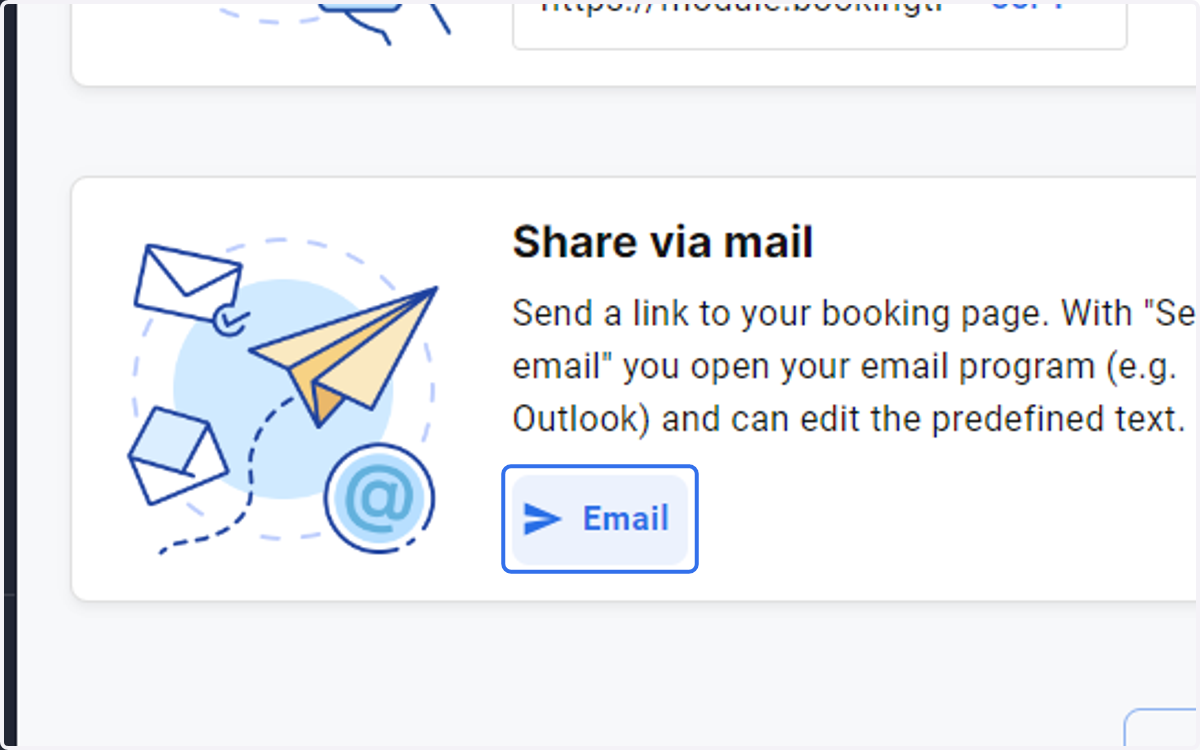
5. Click on Email
6. Click on …
Here you can view and edit all employee settings
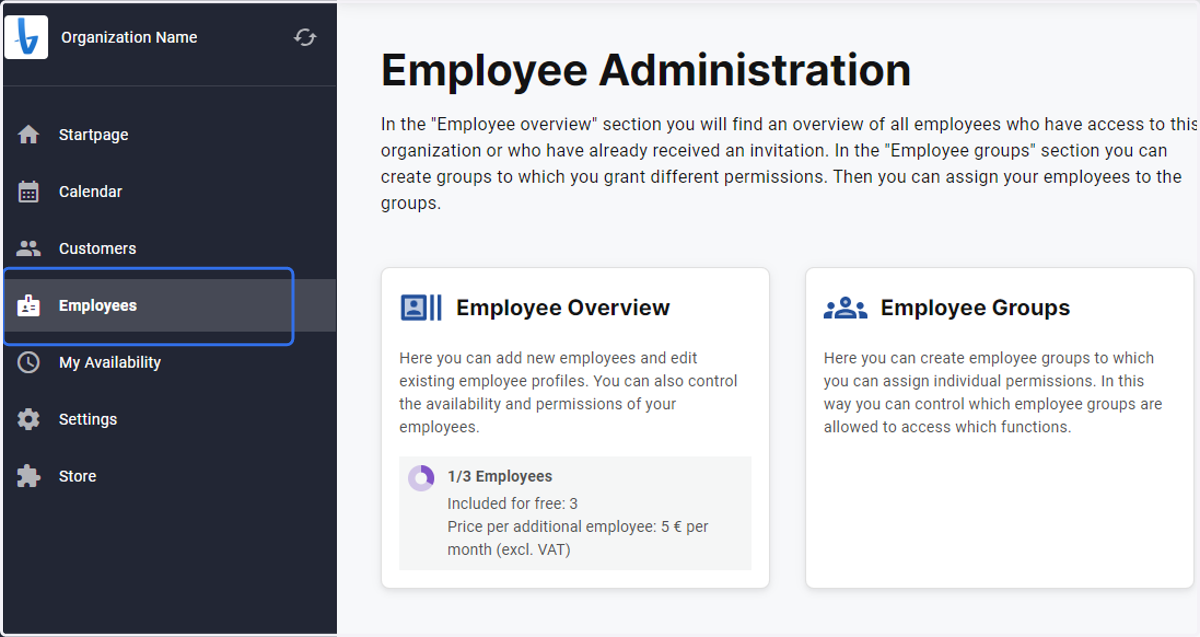
7. Click on employee overview
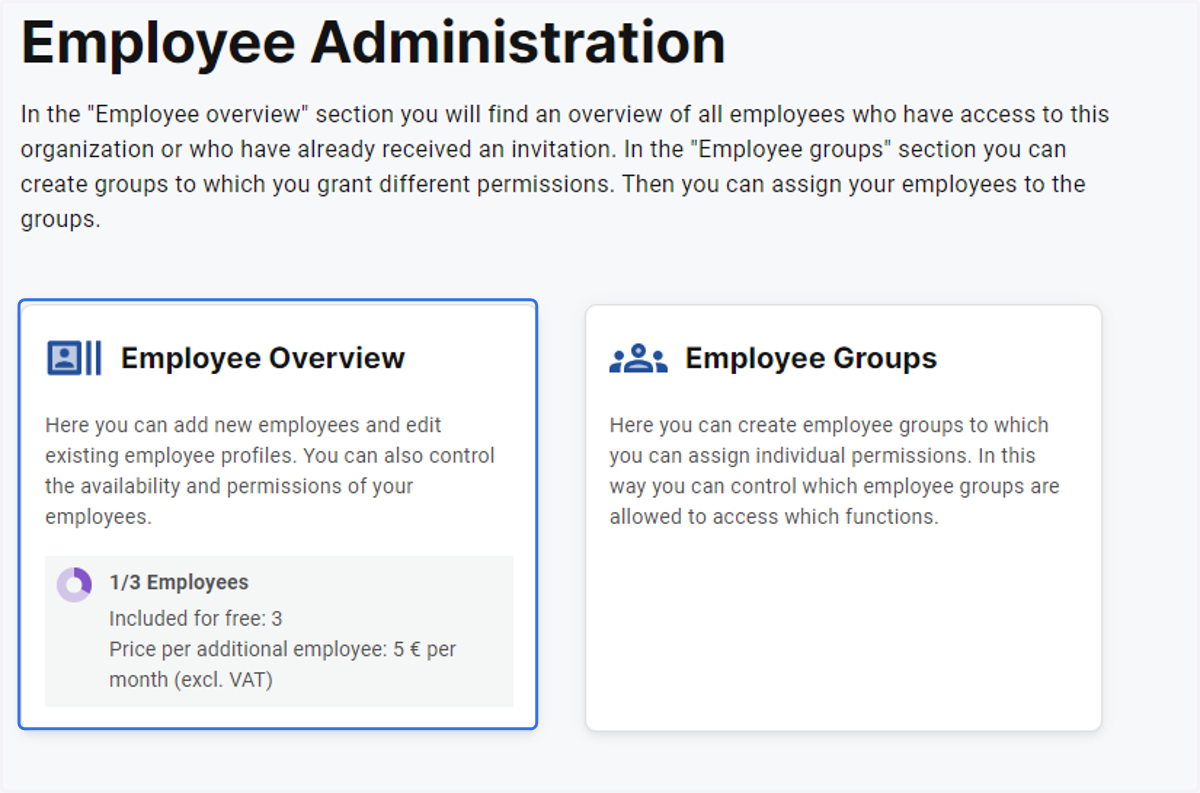
8. Click on the relevant employee
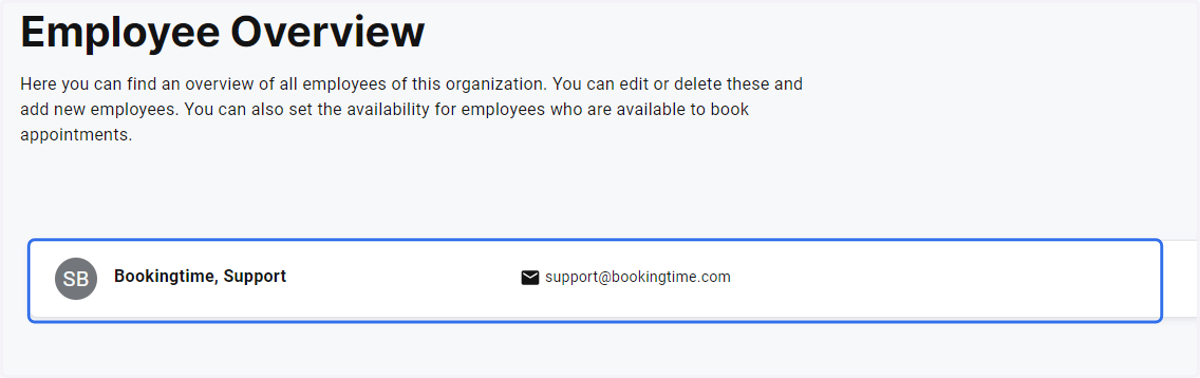
9. Click on Search to add an image
Fügen Sie bei Bedarf ein Bild hinzu
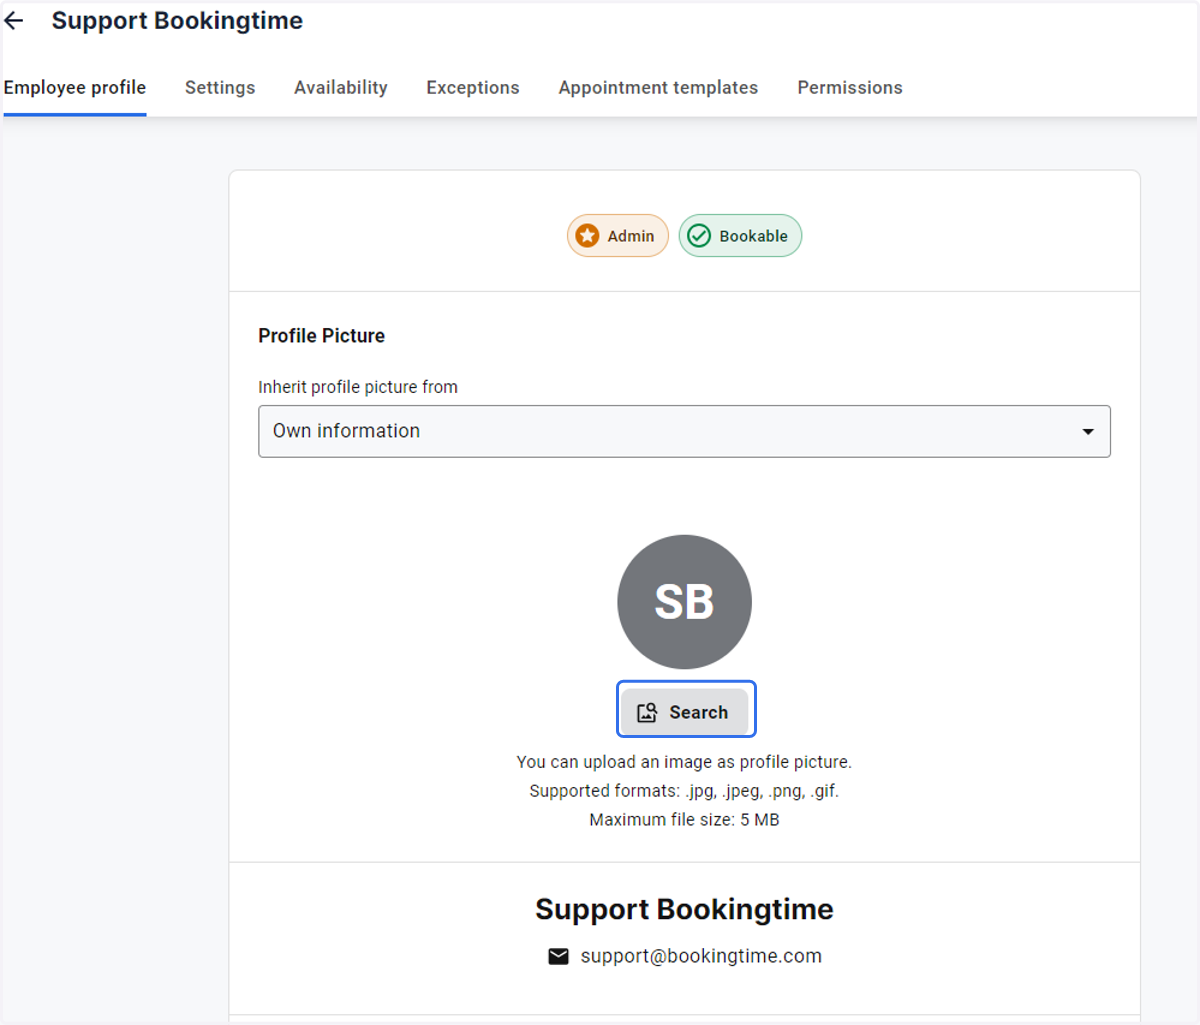
10. Click on Availability to edit or set the employee's working hours
the availability can be copied from the organization settings or adapted individually and carried over for the following year
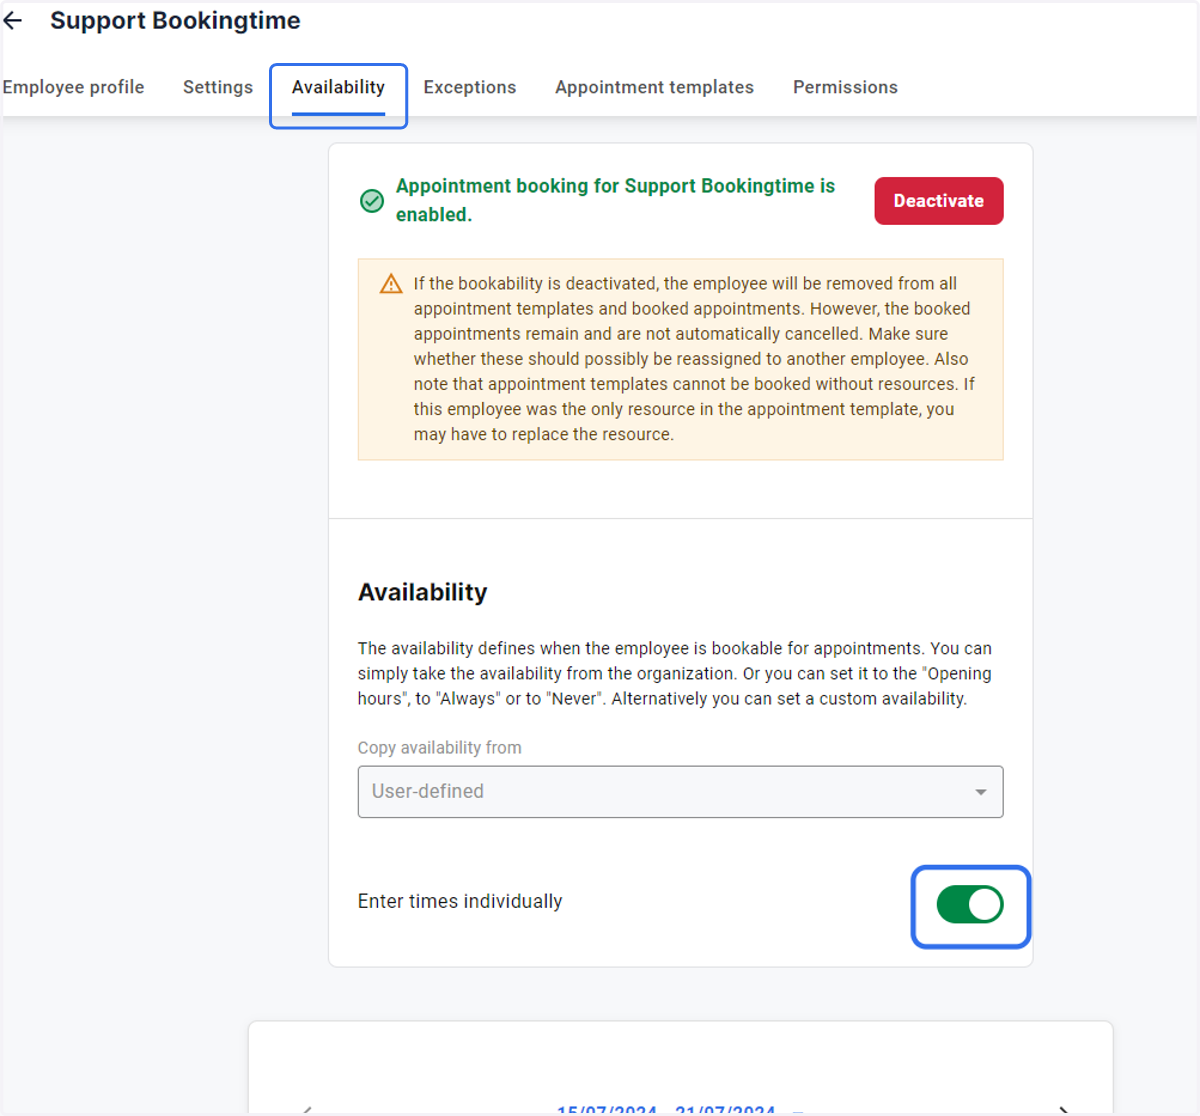
11. Click on settings
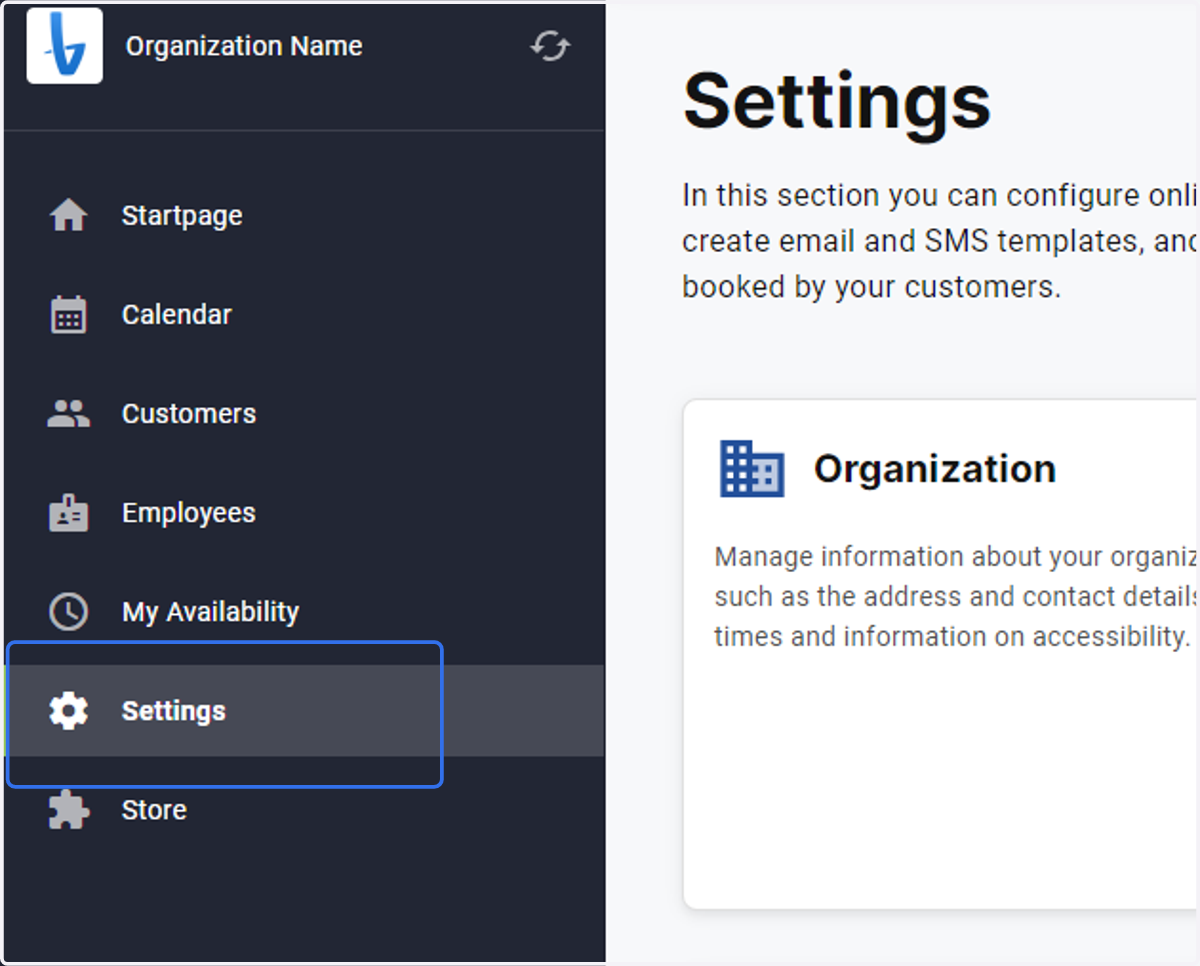
12. Click on Organisation
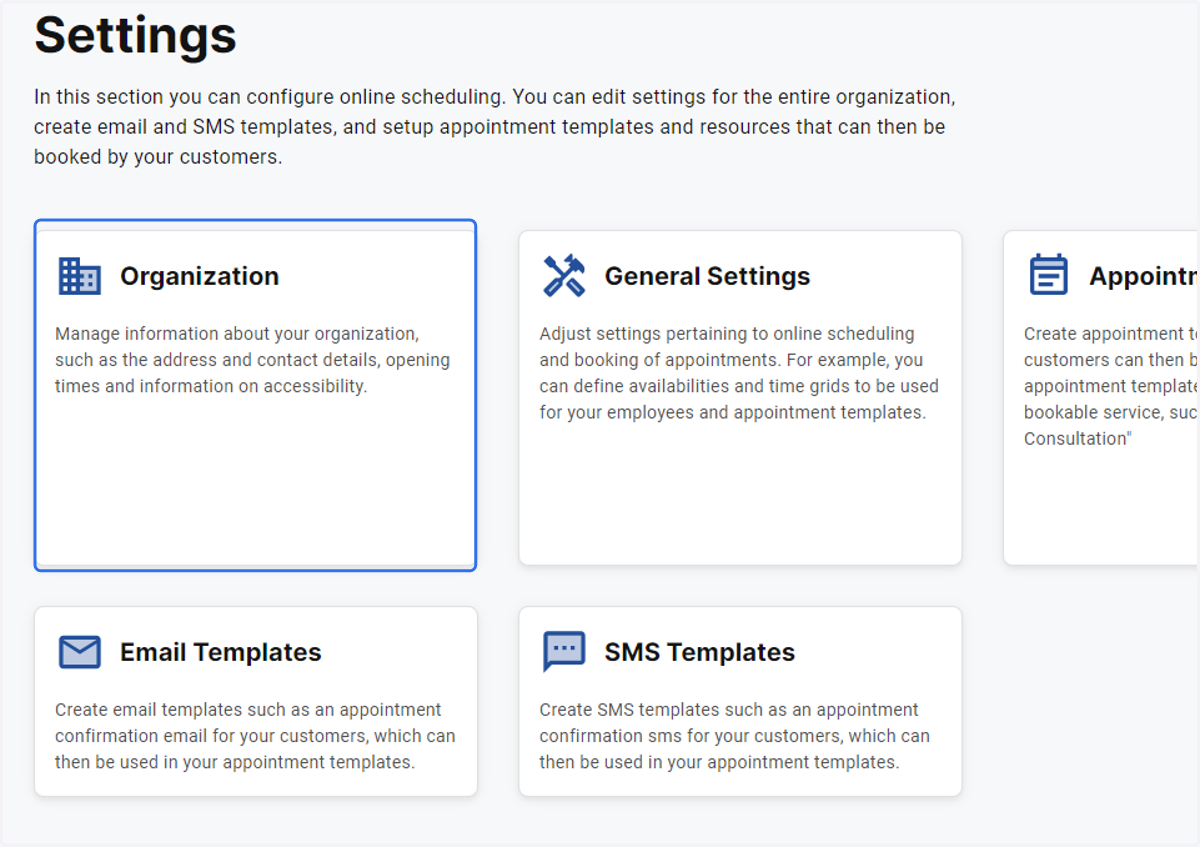
13. Add your company logo here
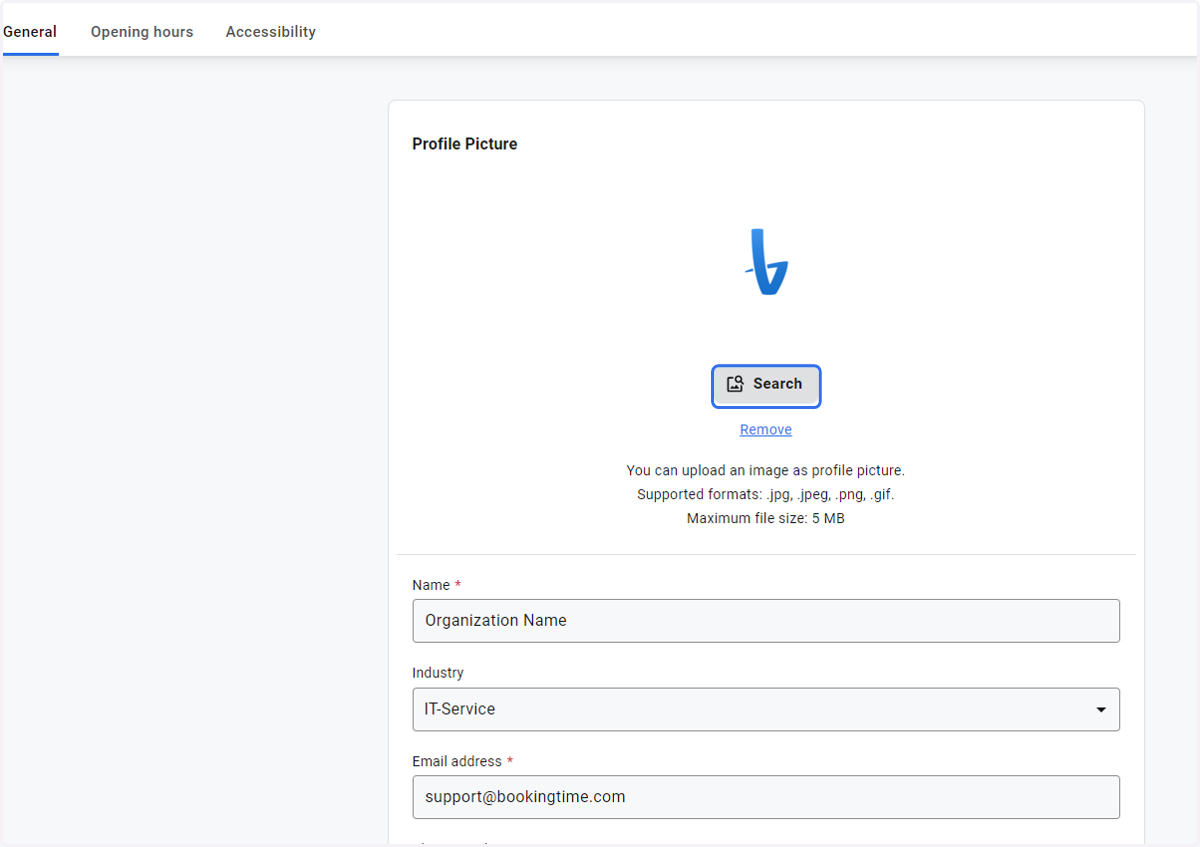
14. Click on Opening hours and define your business hours
by adding a new time slot, you could integrate a lunch time
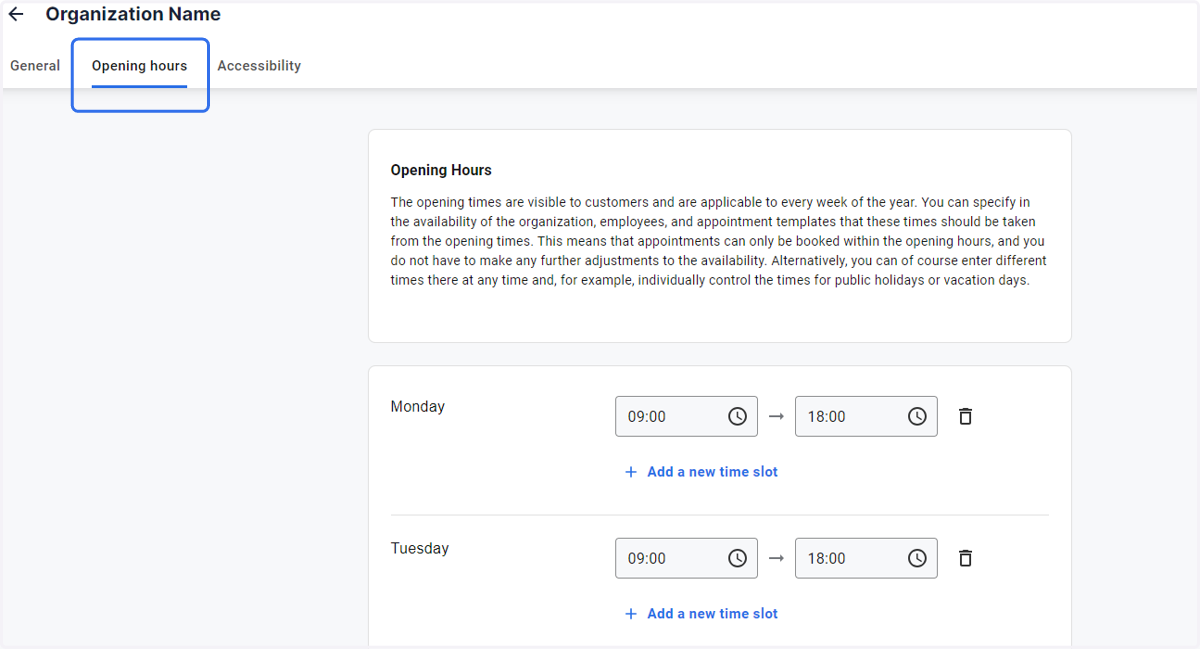
15. Click on Settings and then General settings
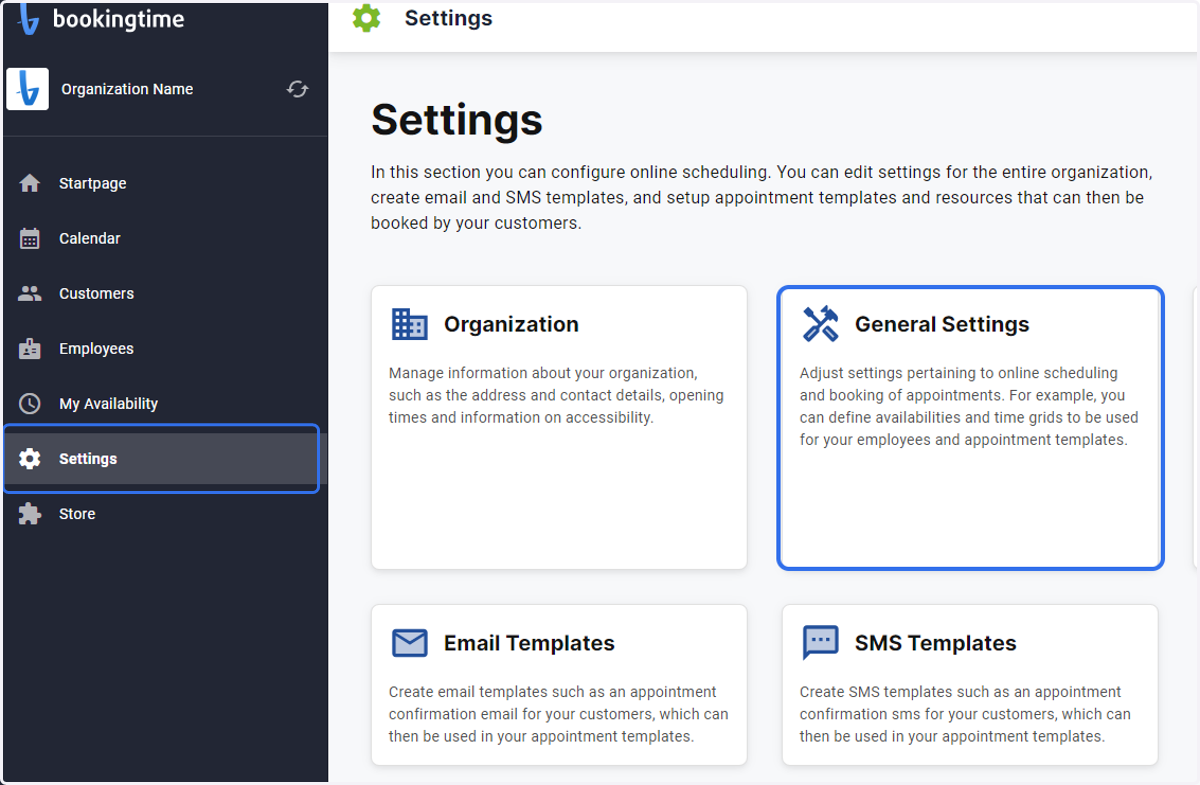
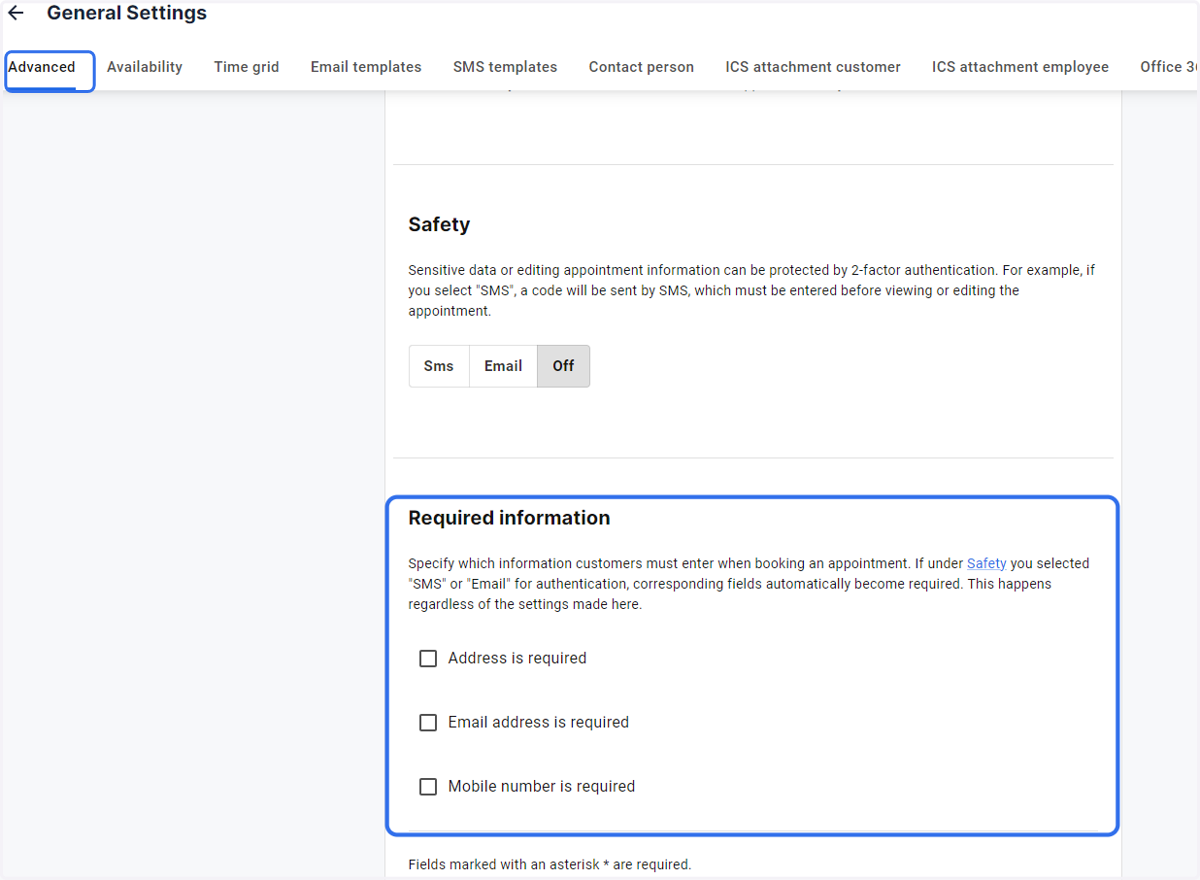
16. Check Required Information fields
this data will be requested of your customers during the booking process
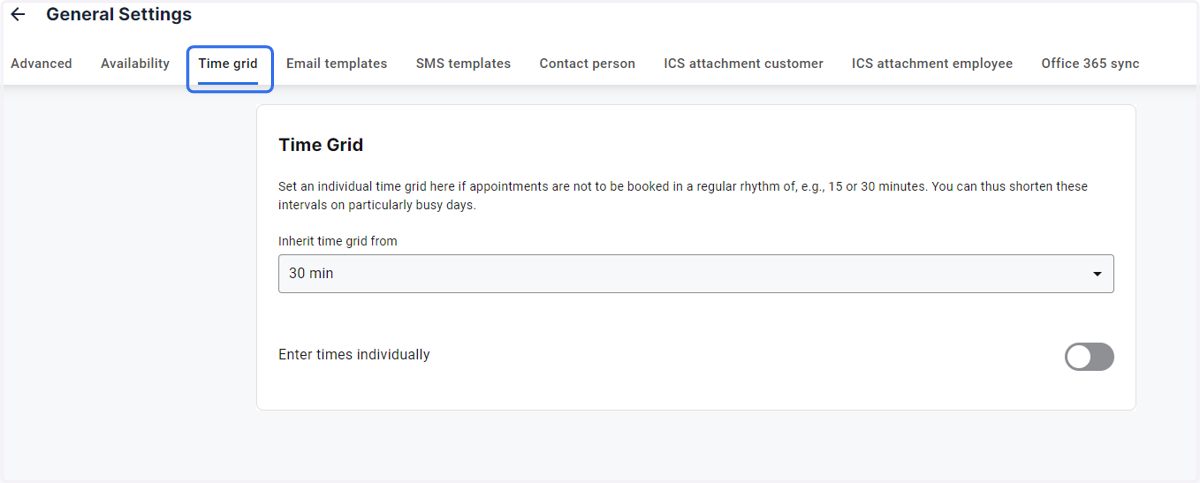
17. Click on Time Grid
This setting determines the time interval at which all your appointments are offered. This can be changed at any time and individually adapted in each appointment template if you wish
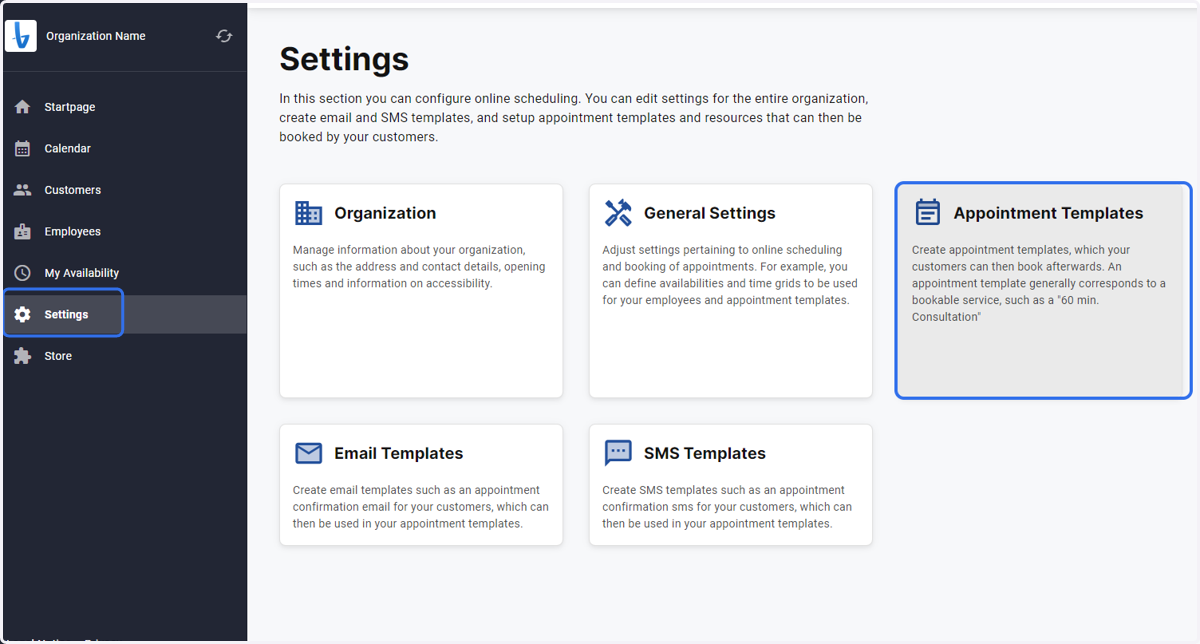
18. Click on Settings and then appointment templates
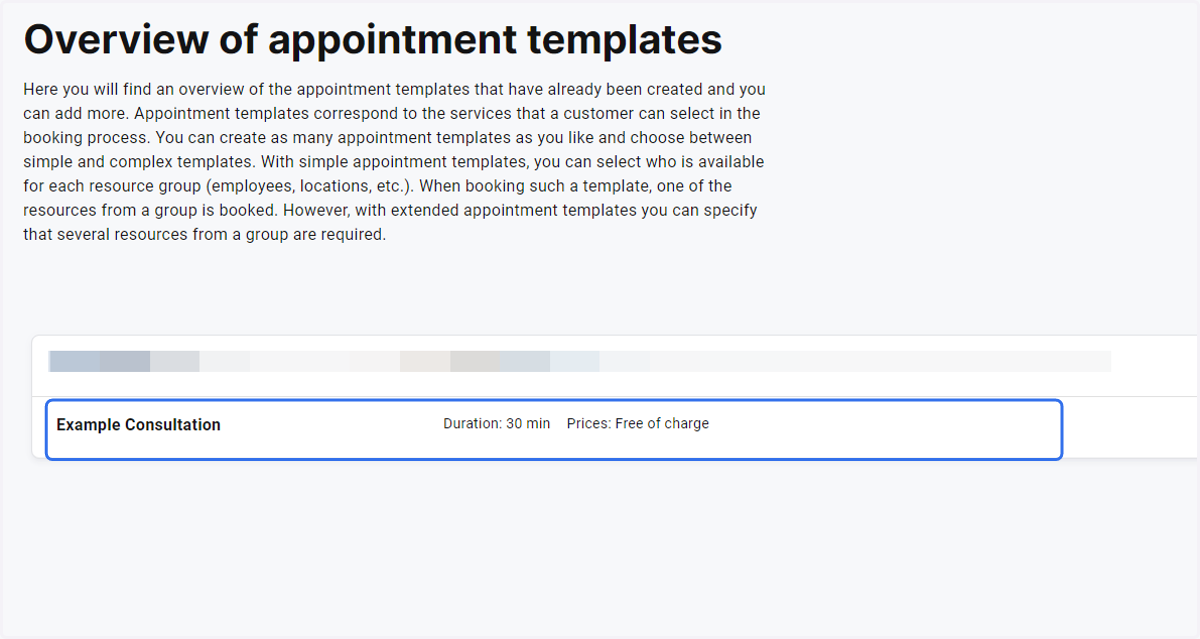
19. Click on the appointment template you wish to edit
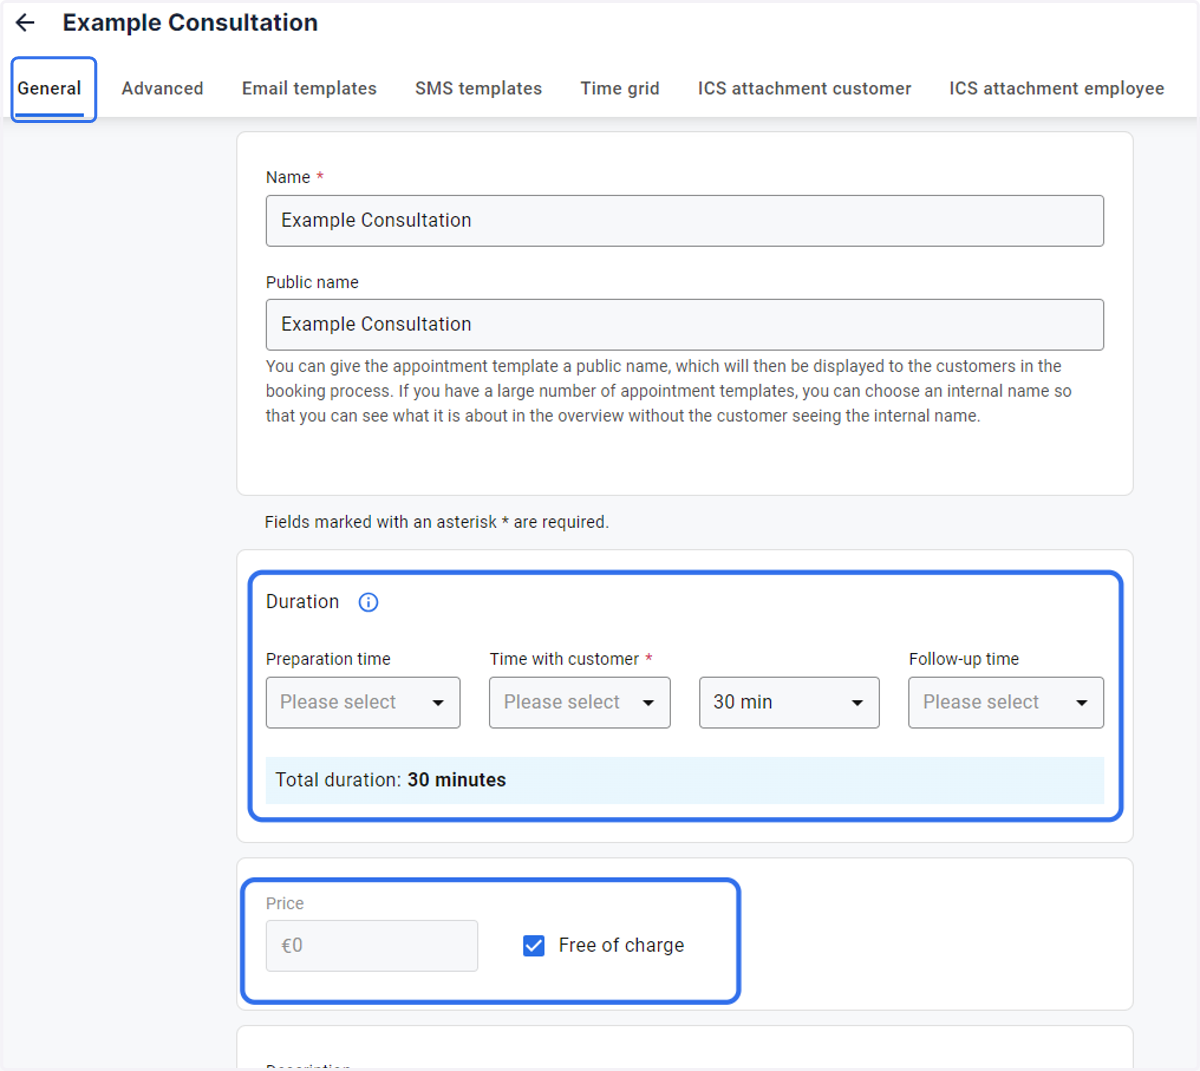
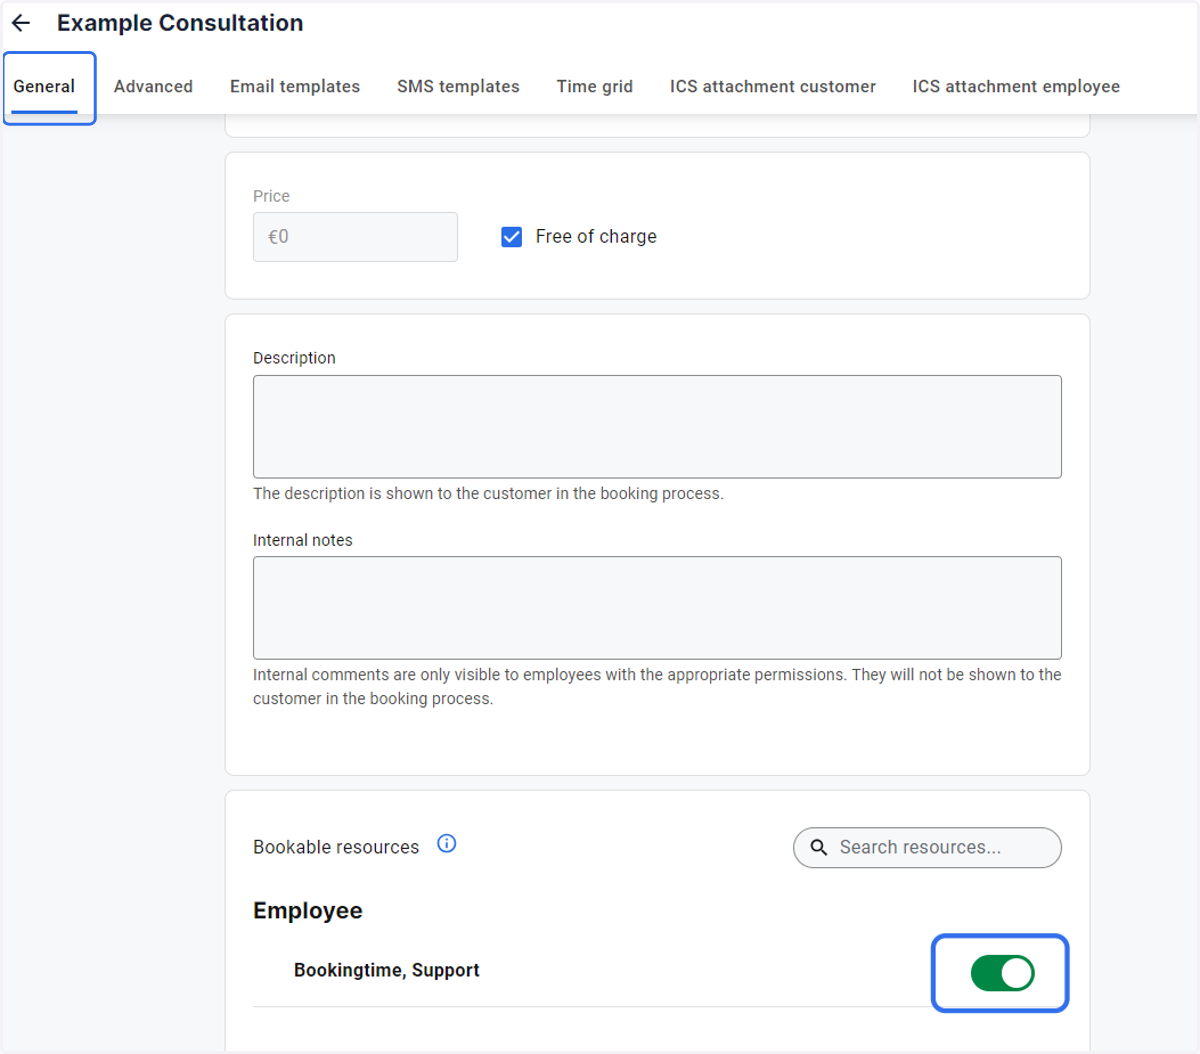
20. Under the General tab you can define costs, duration including lead and follow-up times and select the required employees or resources needed for this appointment
21. Employee and resource selection
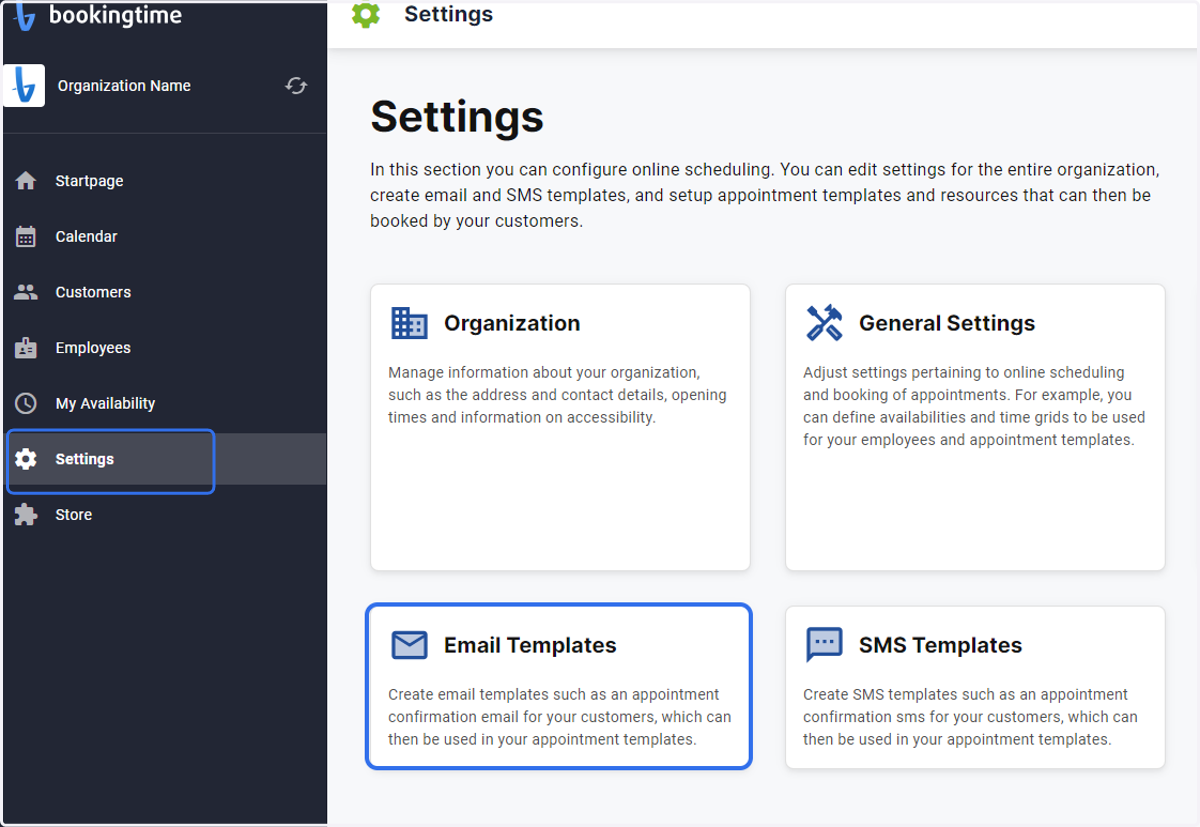
22. Click on Settings and then Email Templates
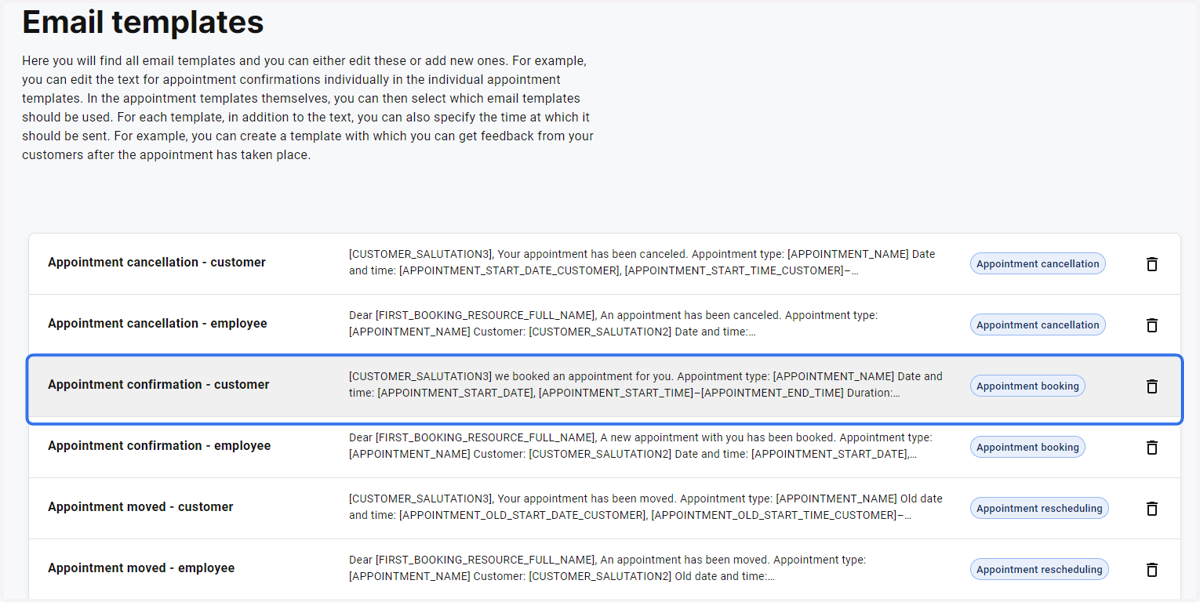
Here you have the option to use our pre-defined texts or create your own. These are all the email confirmations sent to your employees and customers
23. Click on Appointment confirmation - customer
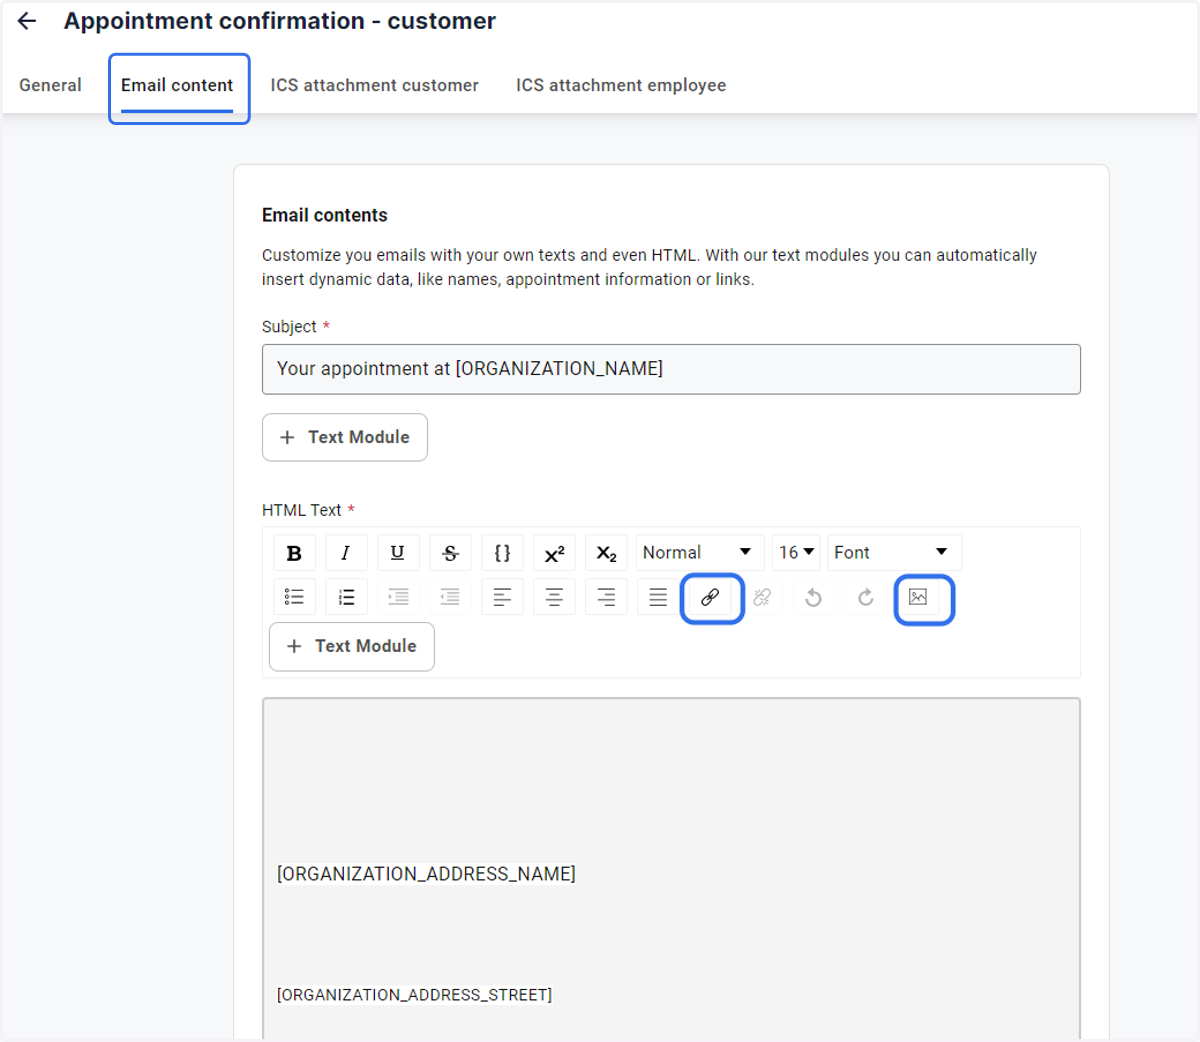
24. Click on Email content
You have the option to insert an image or a hyperlink
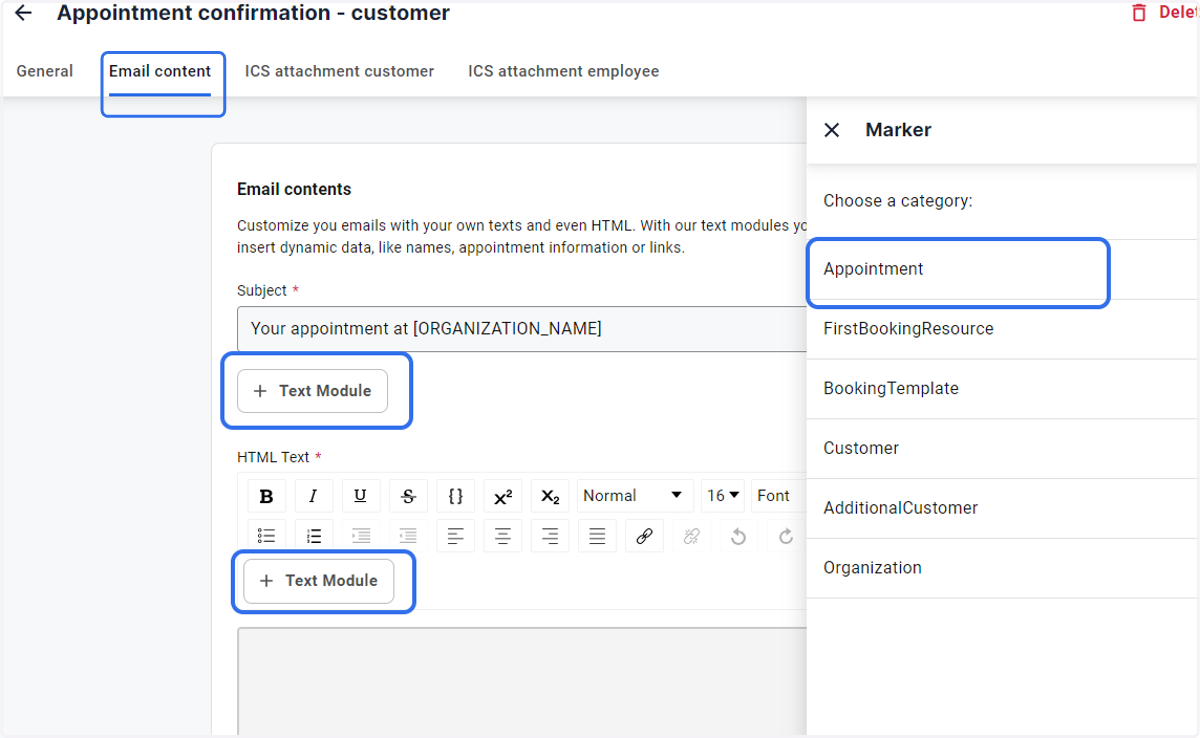
25. Using Markers as place holders for customized information e.g. the customer's name and their booked appointment's name
clicking on the marker automatically inserts it into the body of your email
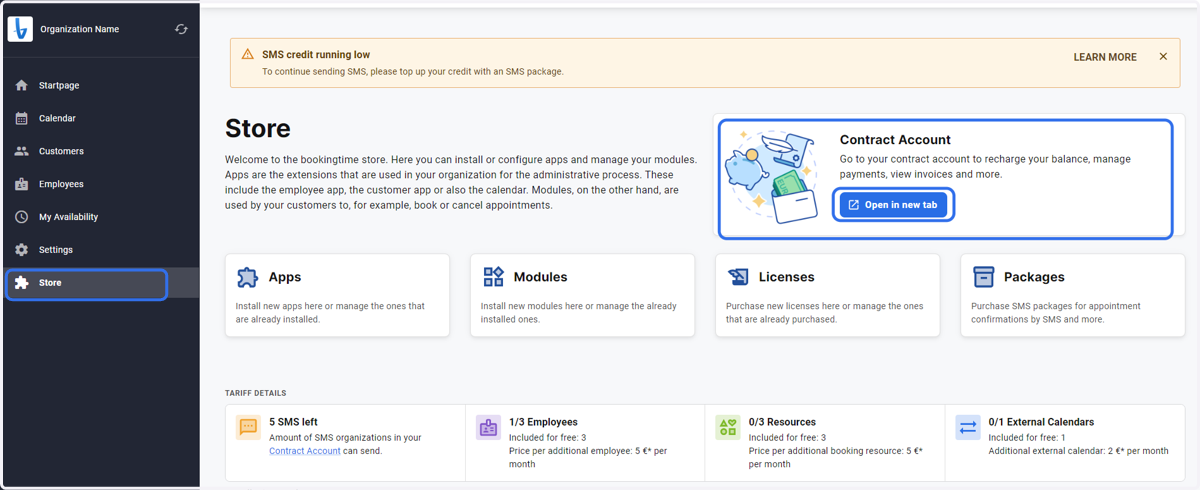
26. Click on Store and then "open in new tab" under the contract account
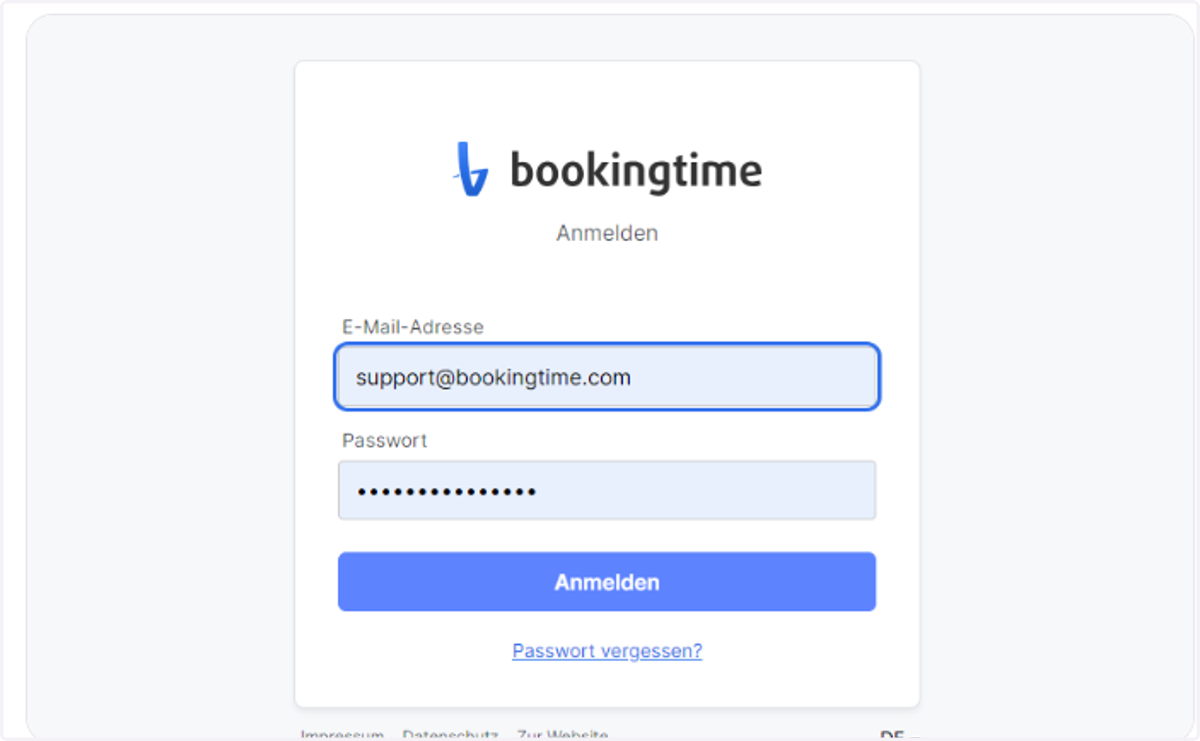
27. Log in again with the same log in details
Only when logging in for the first time will you be asked to verify yourself
28. Check all your details and make changes where necessary and then click the confirm button at the bottom of the screen
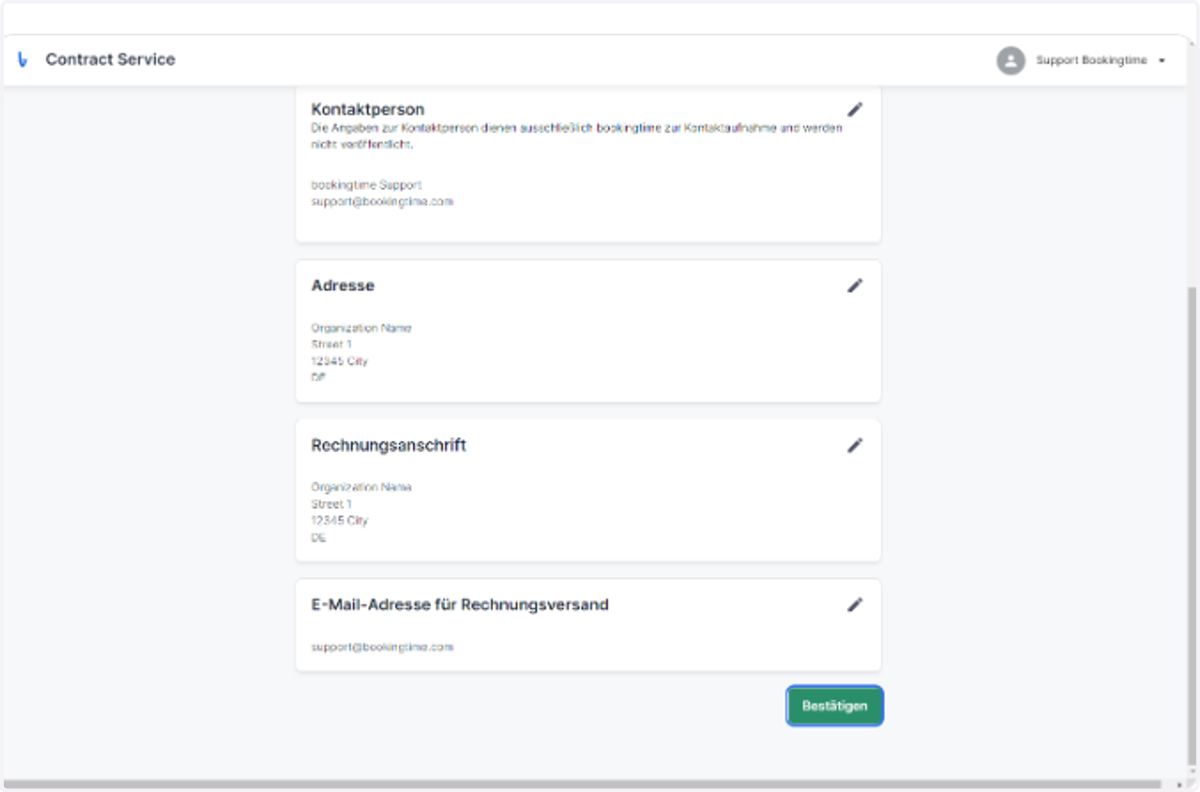
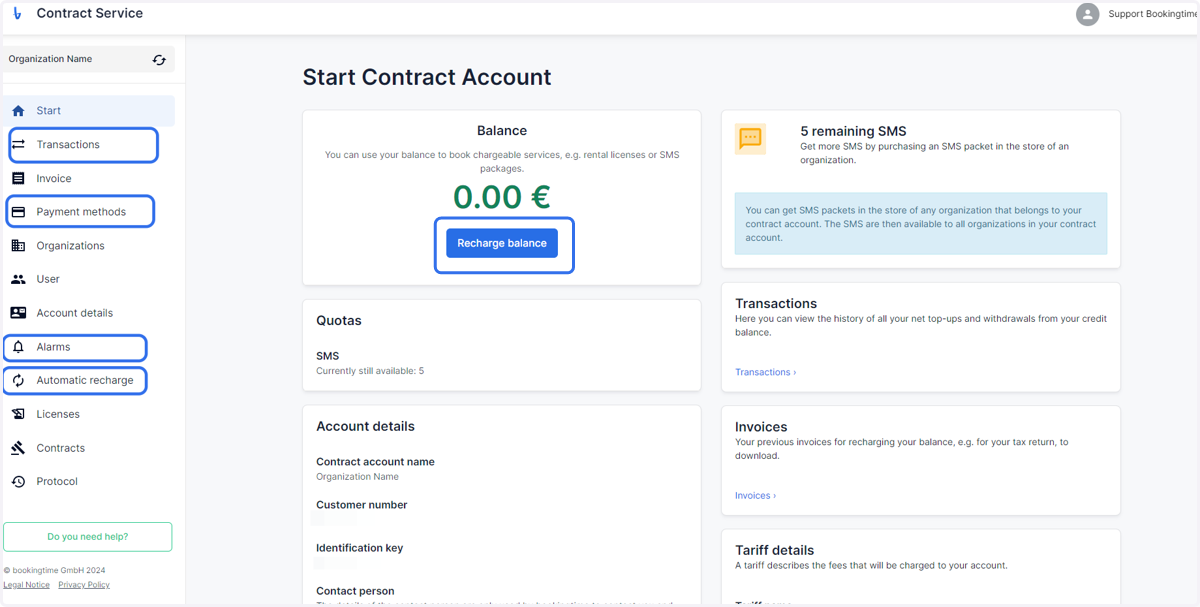
29. This is your contract account where you can add payment methods, view invoices and top up credit
View all debits and credits under Transactions, add or change Payment methods and either set an alarm to notify you when your credit reaches a certain amount or even set up an automatic recharge should the balance fall under a specified amount.