Add Fuel Expense

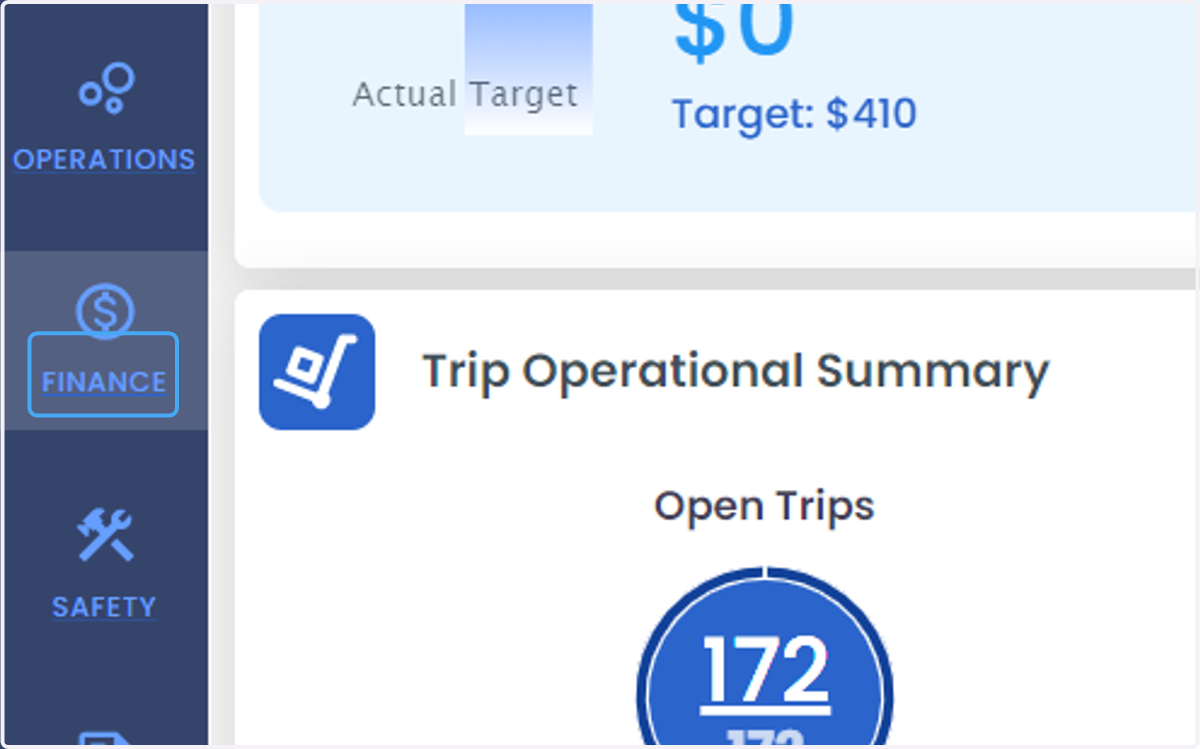
  1. 1. Click on FINANCE

    Click on FINANCE
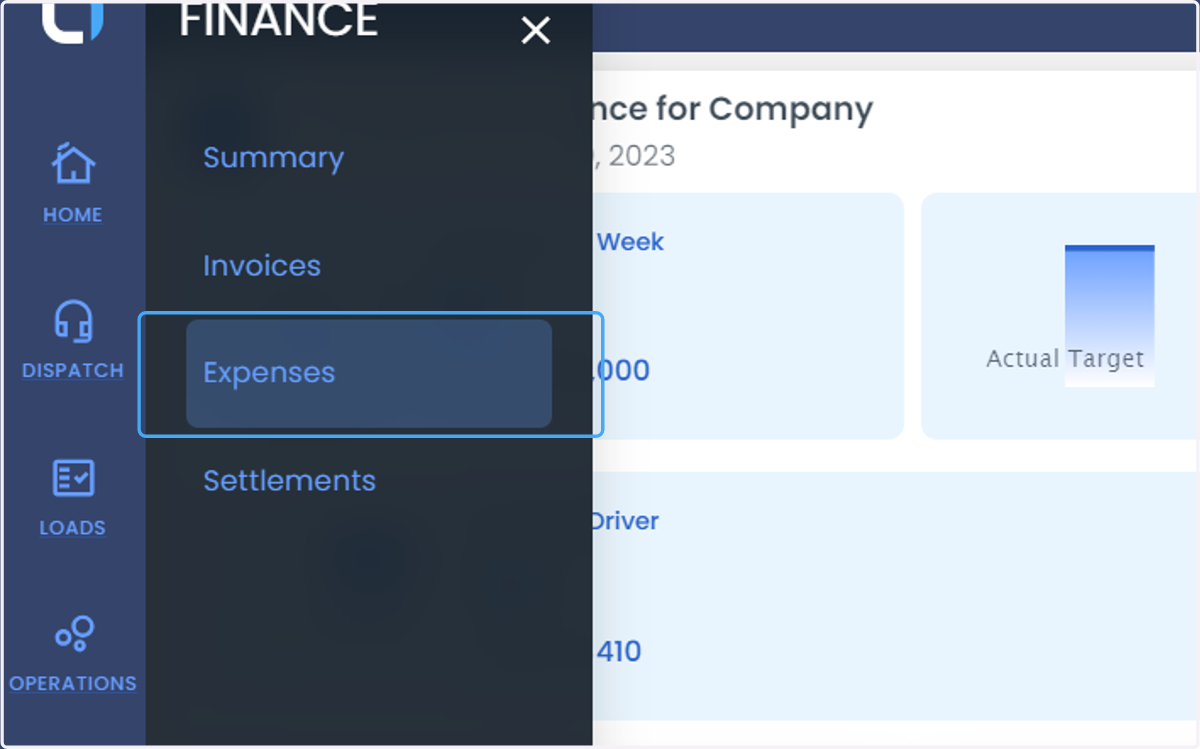
  2. 2. Click on Expenses

    Click on Expenses
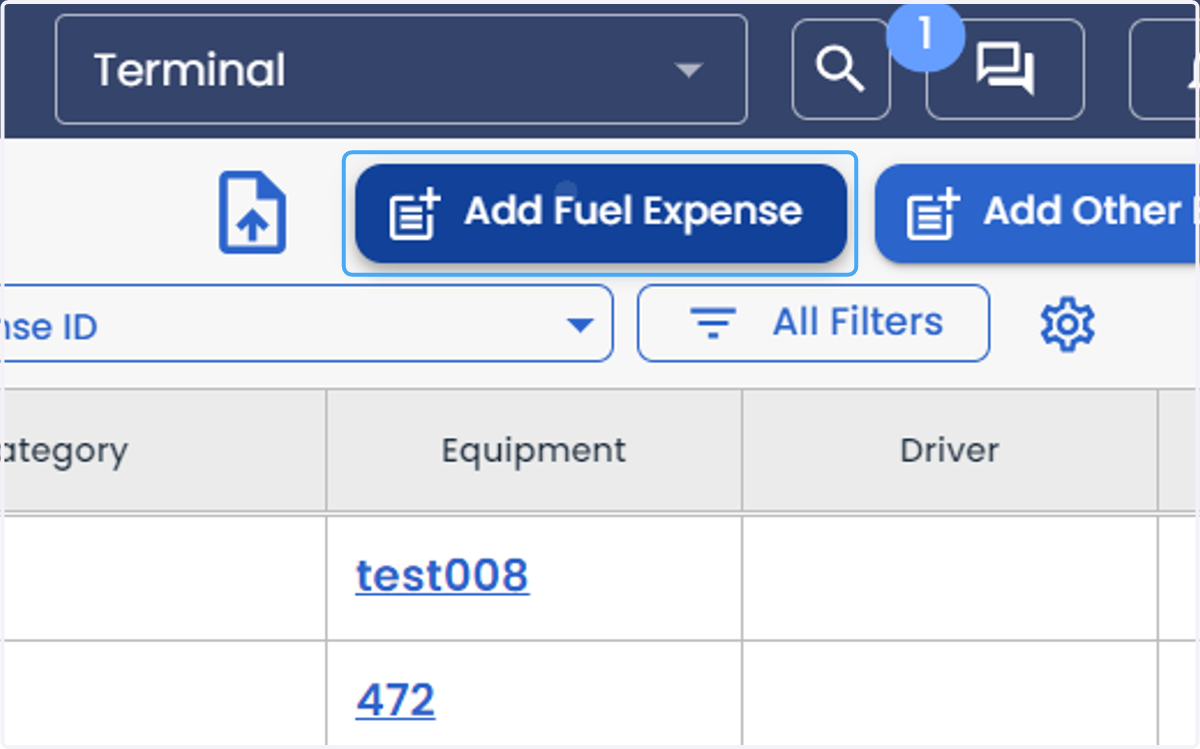
  3. 3. Click on Add Fuel Expense

    Click on Add Fuel Expense
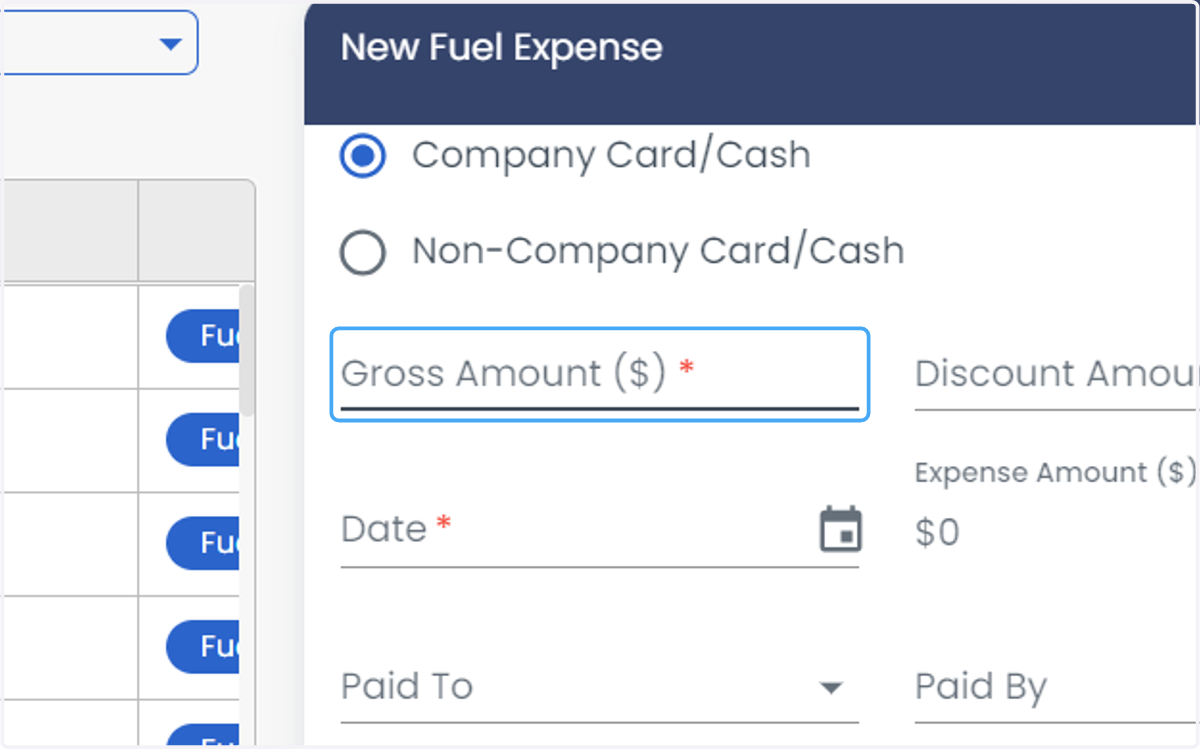
  4. 4. You can select either Company Card/Cash or Non-Company Card/Cash
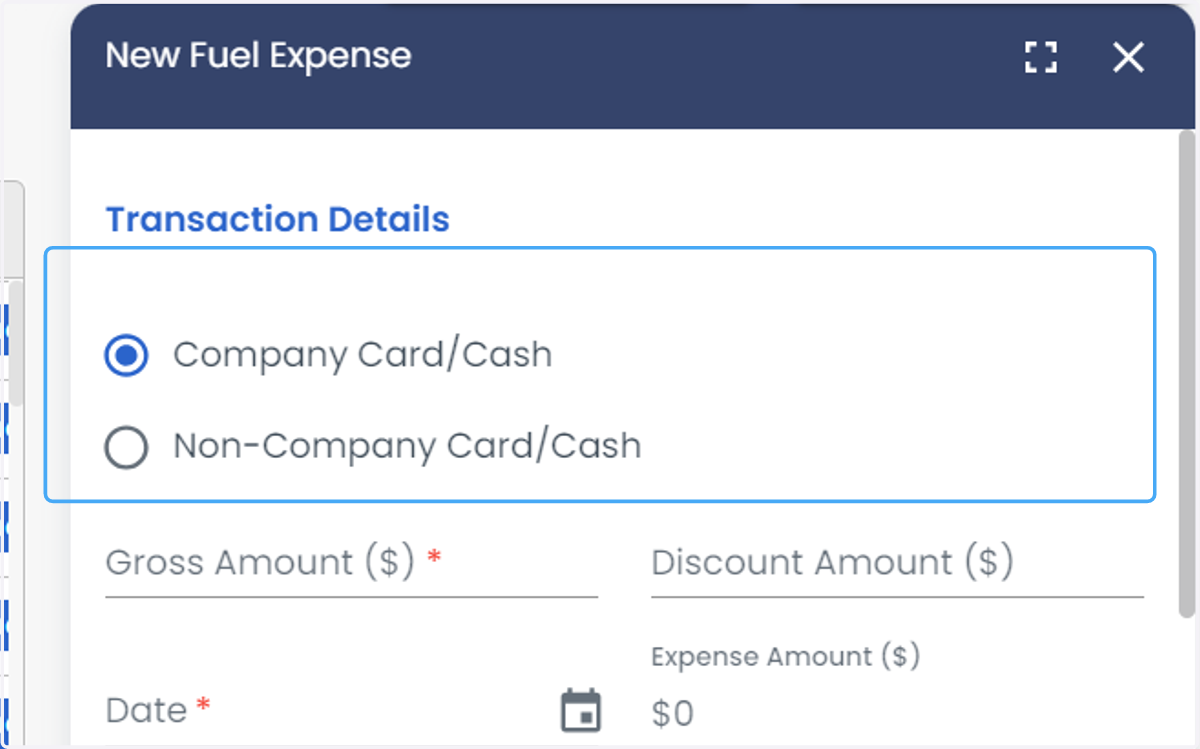
    You can select either Company Card/Cash or Non-Company Card/Cash
  5. 5. Enter the Gross Amount ($)

    Enter the Gross Amount ($)
  6. 6. Select the Fuel Type from the drop-down list.
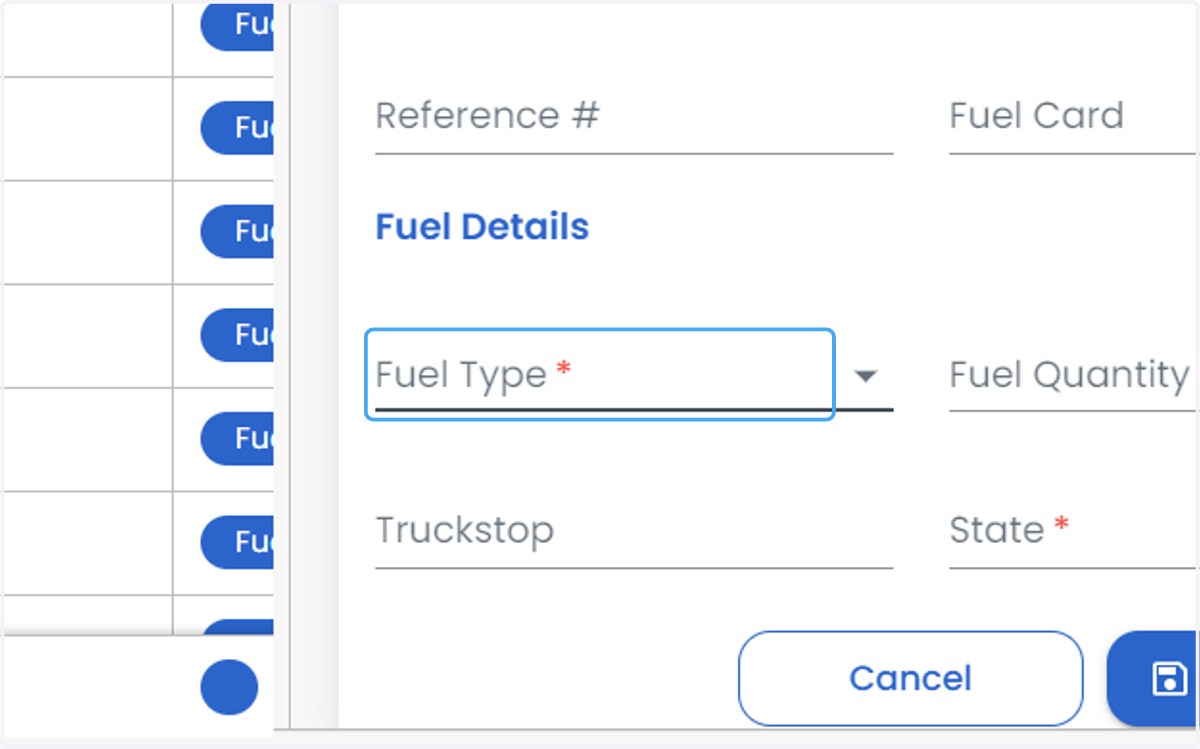
    Select the Fuel Type from the drop-down list.
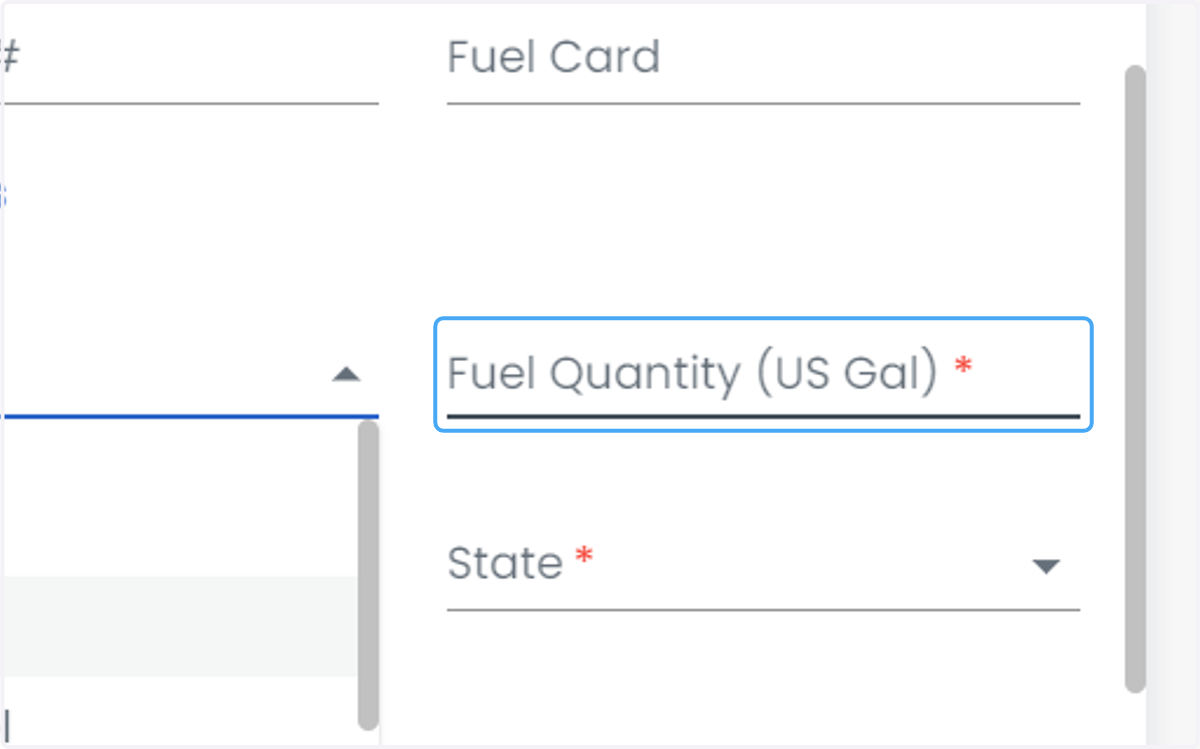
  7. 7. Enter the Fuel Quantity (US Gal)

    Enter the Fuel Quantity (US Gal)
  8. 8. Select the state from the drop-down list.
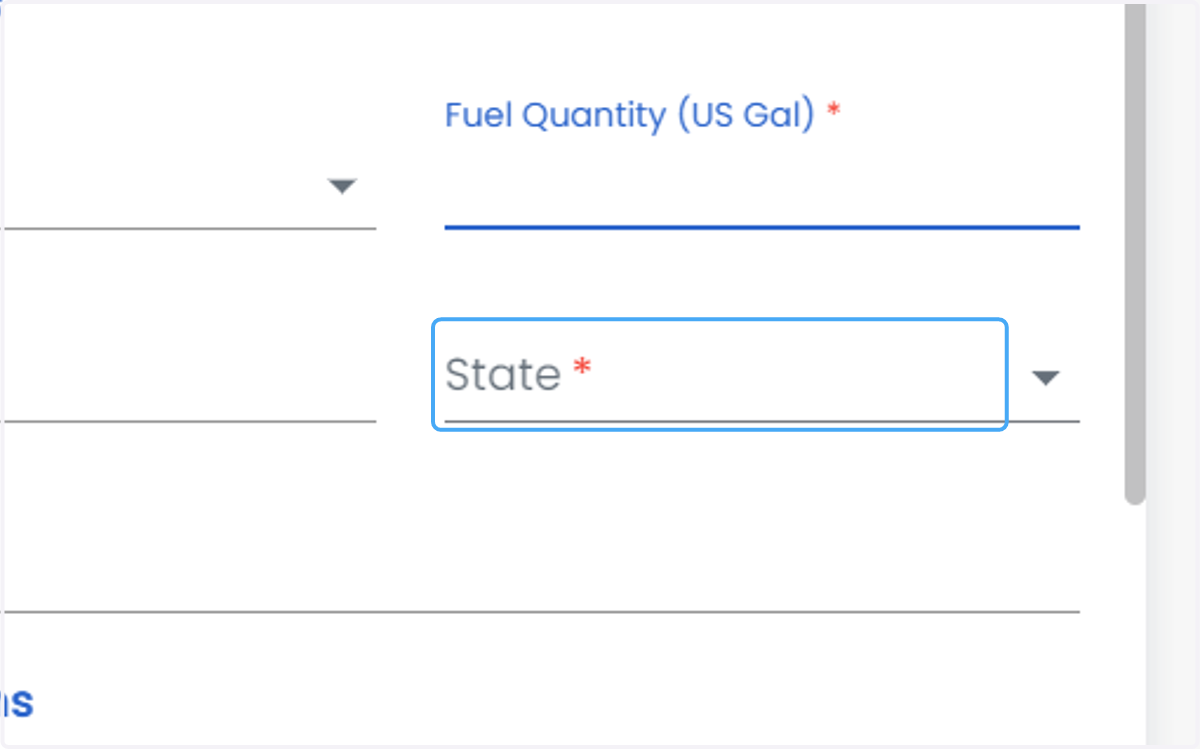
    Select the state from the drop-down list.
  9. 9. Click on Terminal to select a terminal.
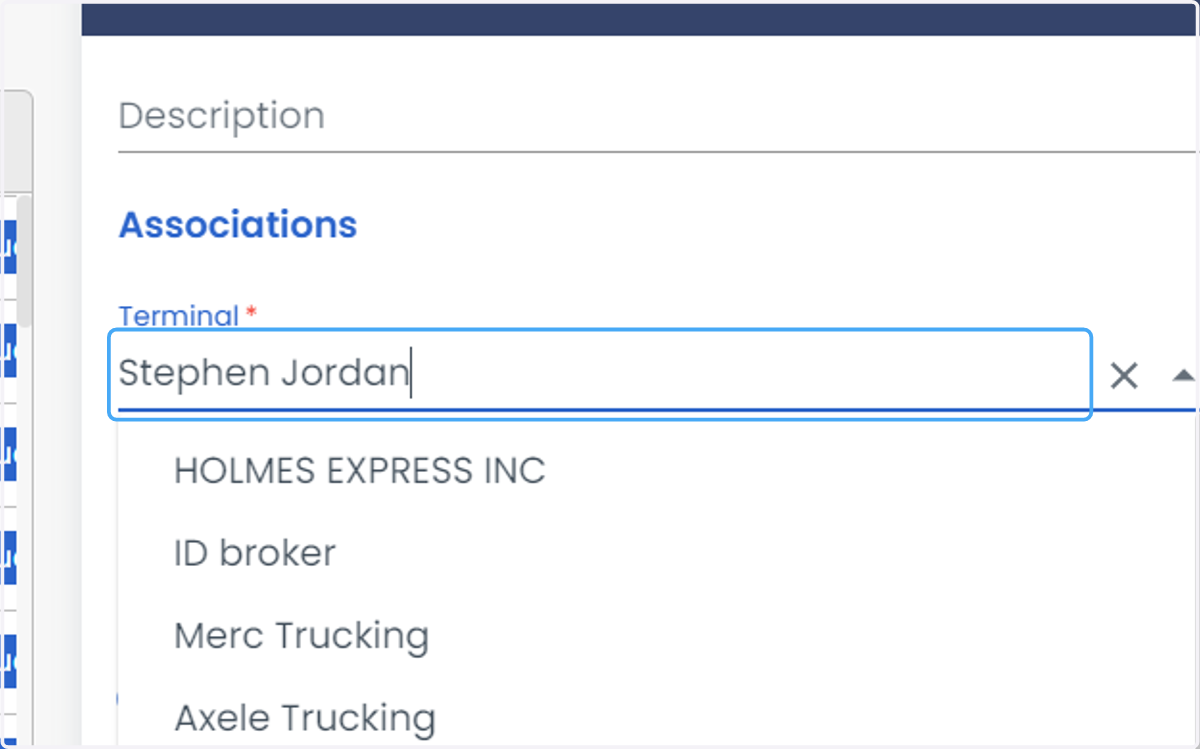
    Click on Terminal to select a terminal.
  10. 10. You can click on Tractor or Trailer button and enter the Trailer/Tractor number.
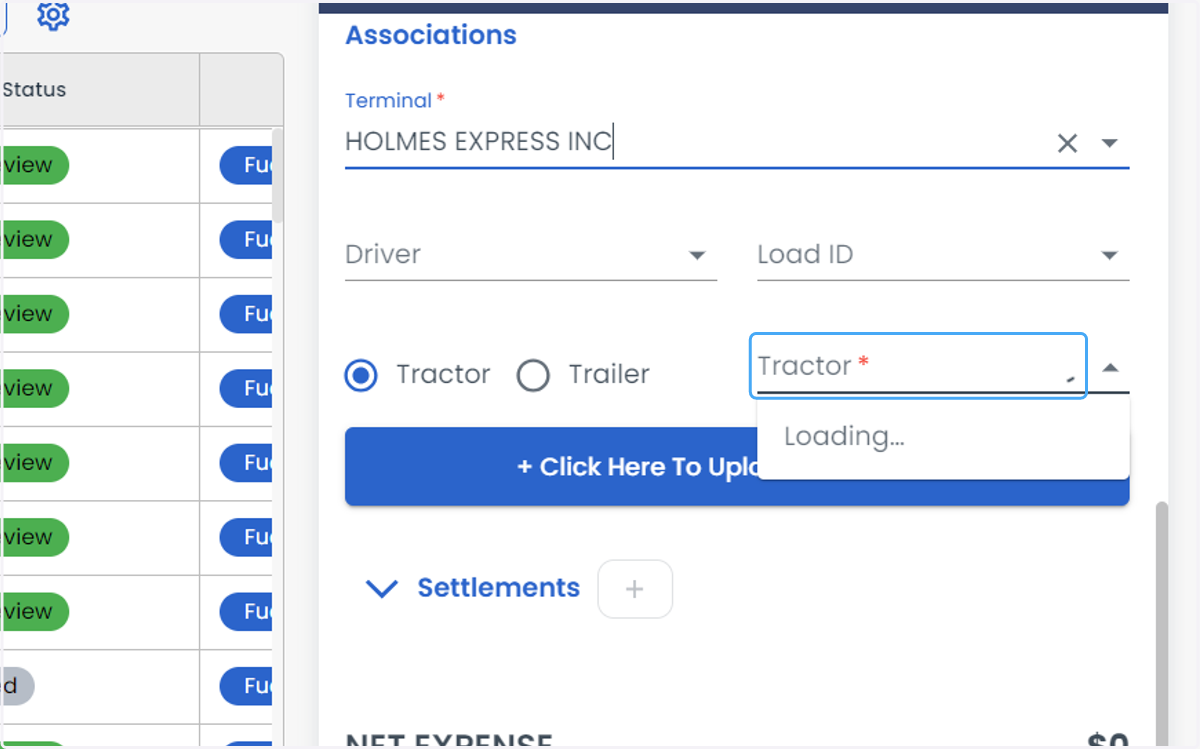
    You can click on Tractor or Trailer button and enter the Trailer/Tractor number.
  11. 11. Expense related documents can also be uploaded by clicking on + Click Here To Upload a Document"
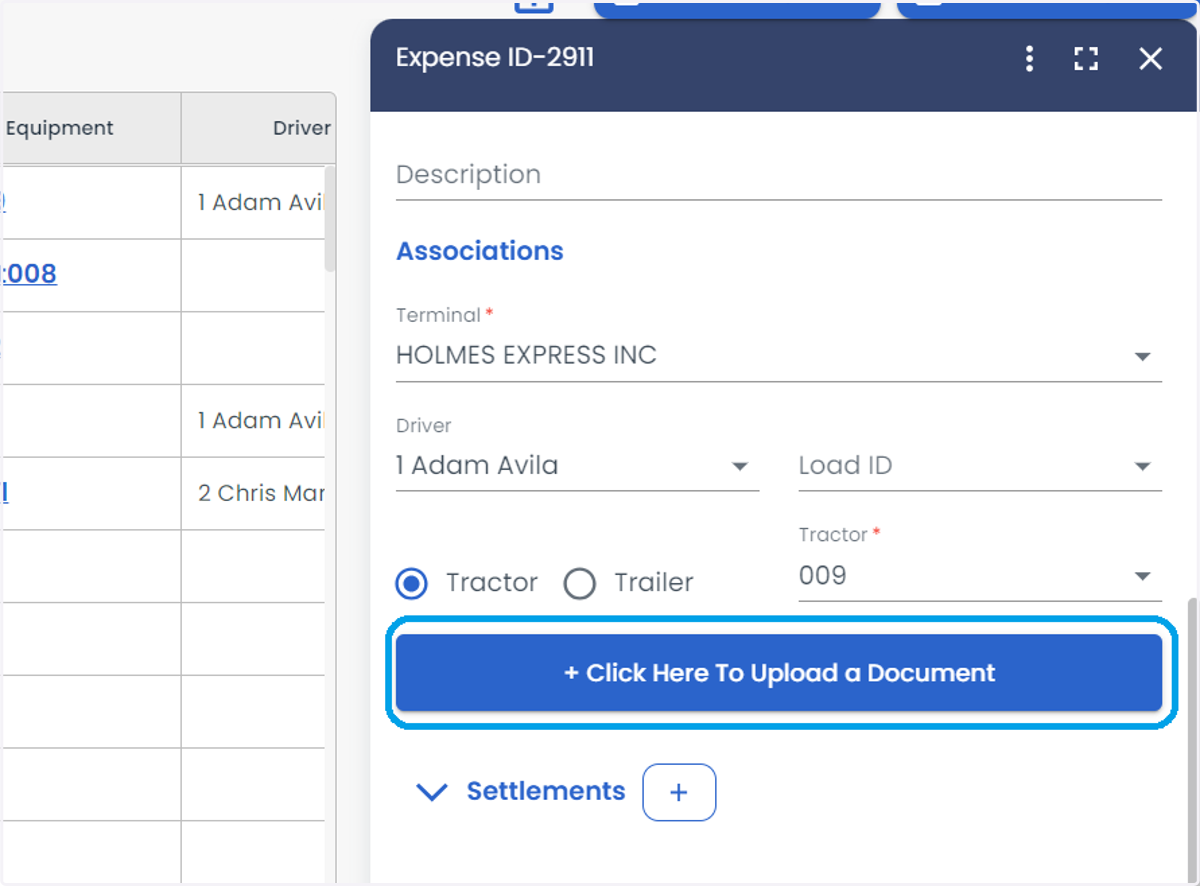
    Expense related documents can also be uploaded by clicking on + Click Here To Upload a Document"
  12. 12. Click on + symbol to create a Driver/Tractor Settlements

    Click on + symbol to create a Driver/Tractor Settlements
  13. 13. To add a deduction, select Driver/Tractor and enter the details.
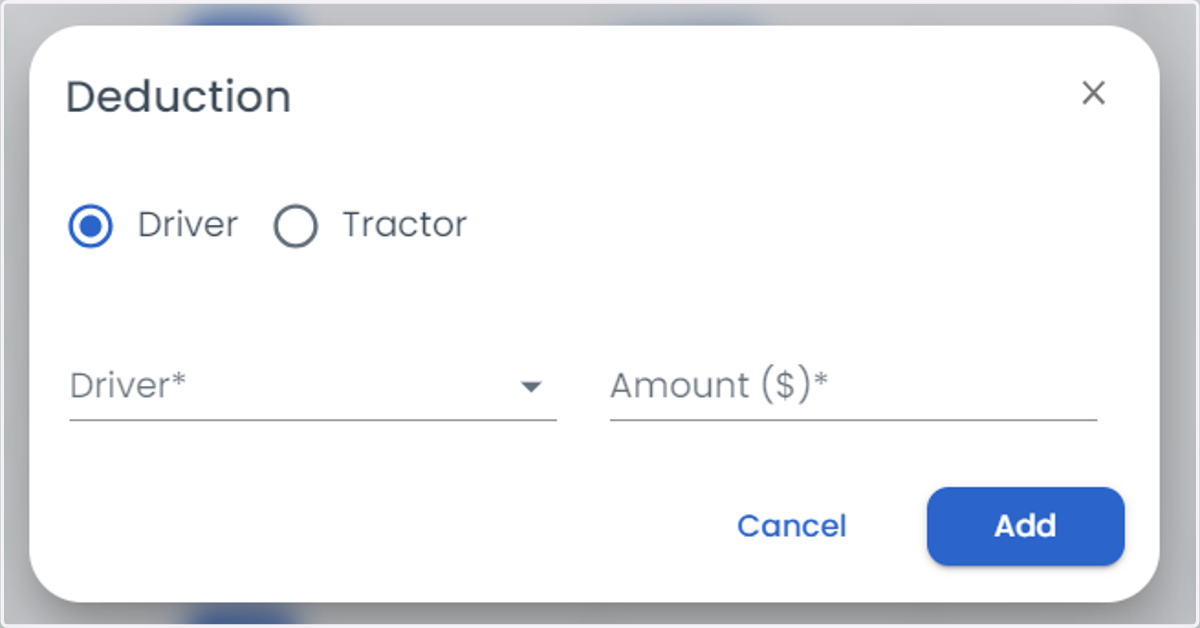
    To add a deduction, select Driver/Tractor and enter the details.
  14. 14. By default, all created expenses are added with the status Reviewed. Check Needs Review box if the expense need to be specifically reviewed.
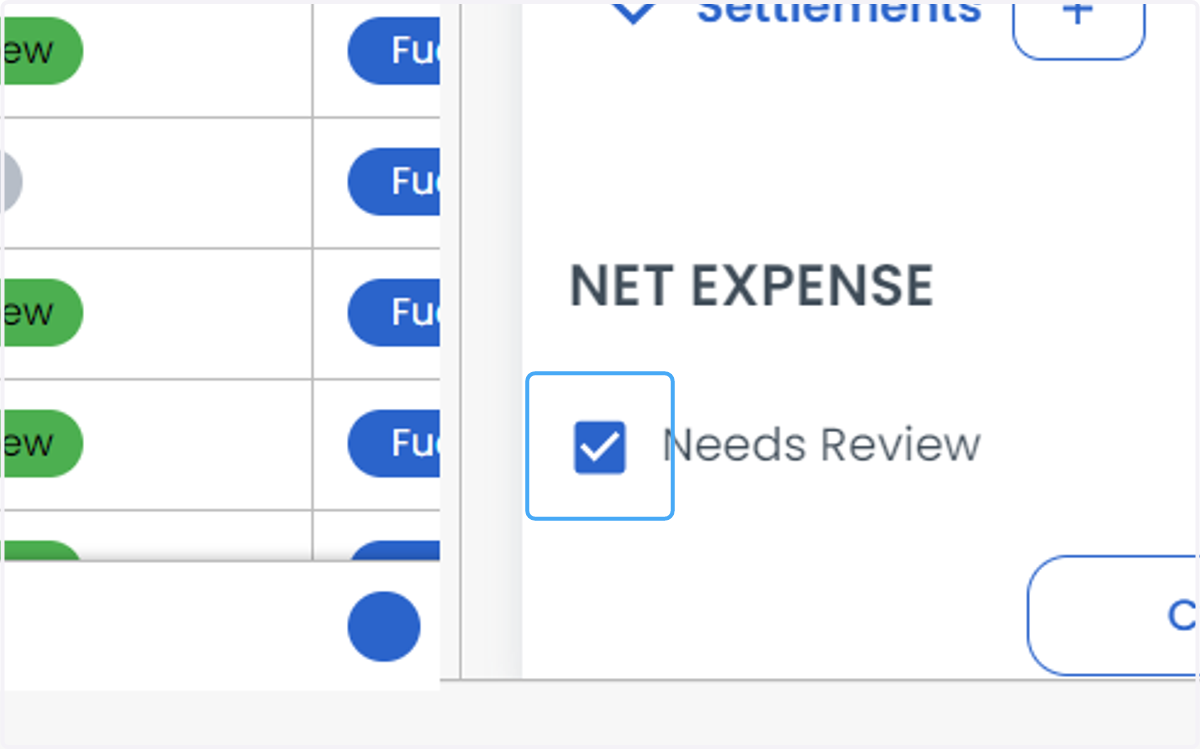
    By default, all created expenses are added with the status Reviewed. Check Needs Review box if the expense need to be specifically reviewed.
  15. 15. Click on Add Expense to save the created expense details.
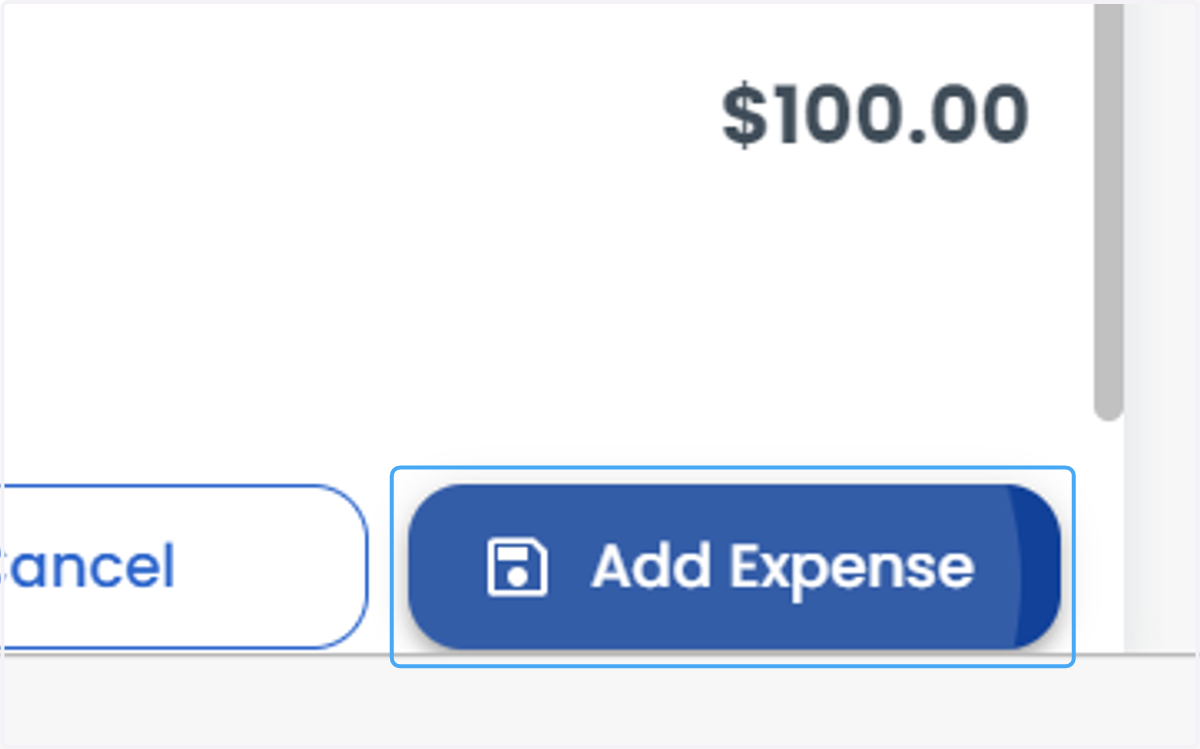
    Click on Add Expense to save the created expense details.