Process KadoVault Sale and Post
Login to KadoVault
1. Prerequisite Settings
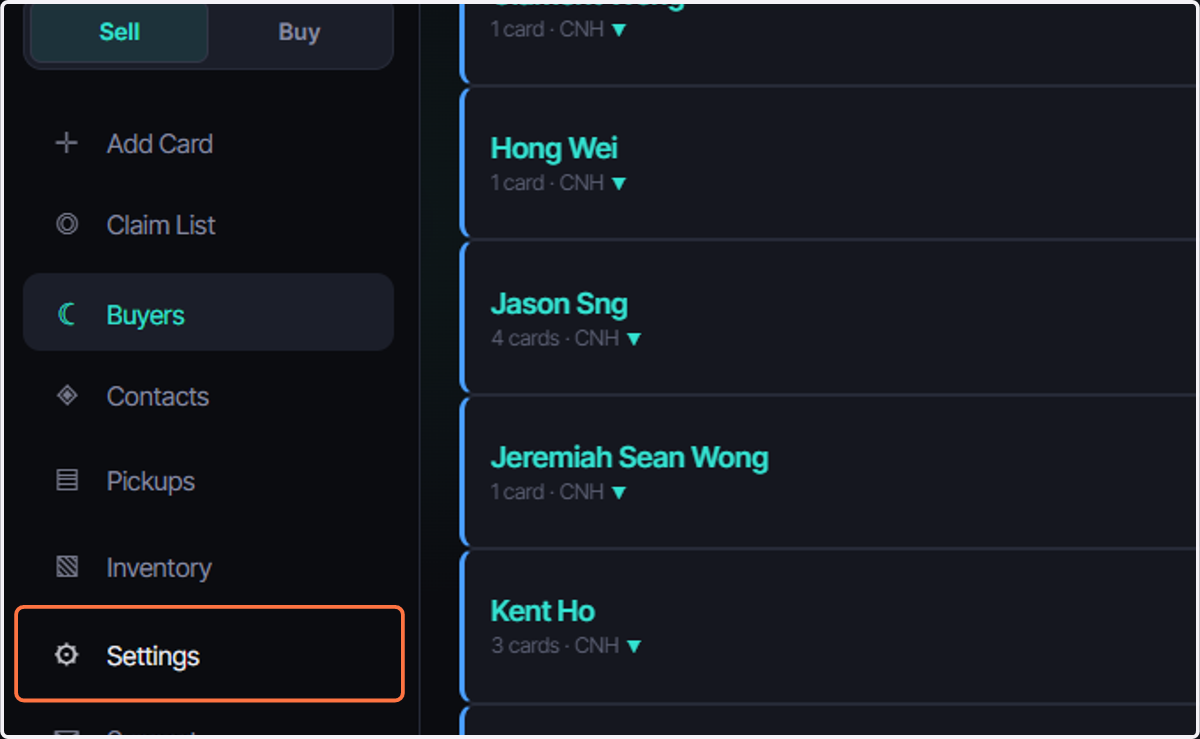
Go to Setting to update sales related details
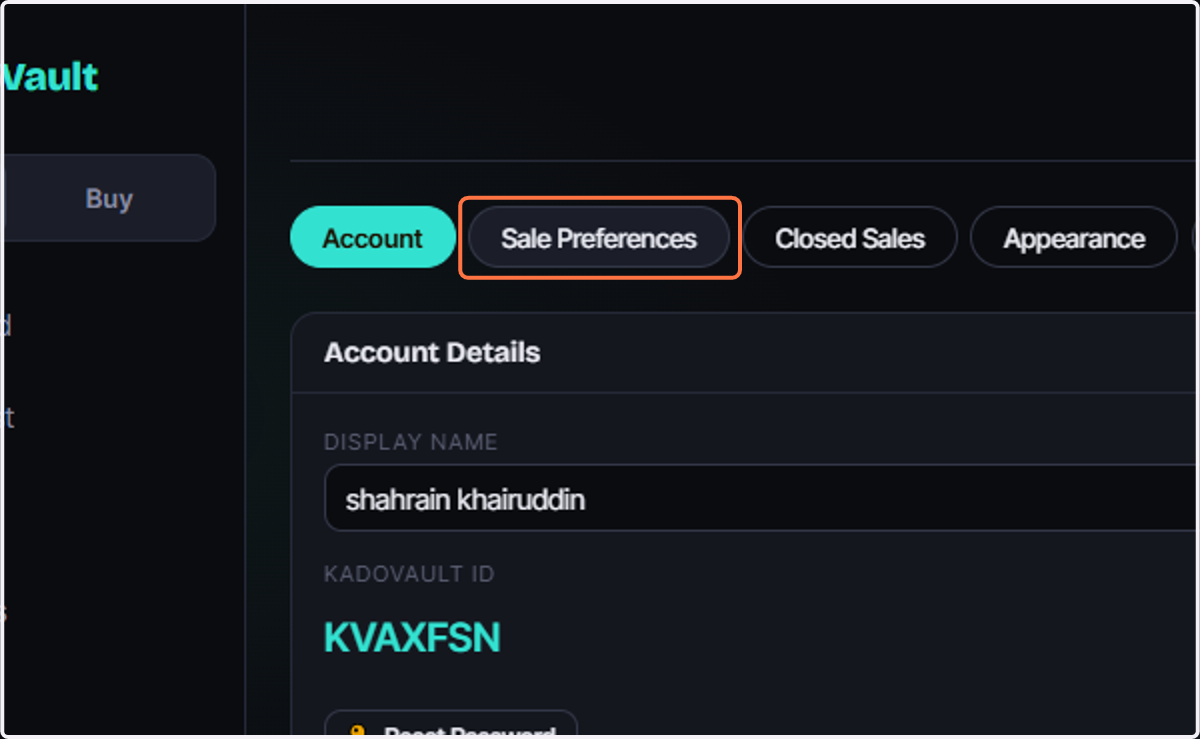
2. Click on Sale Preferences
to update details related to sales
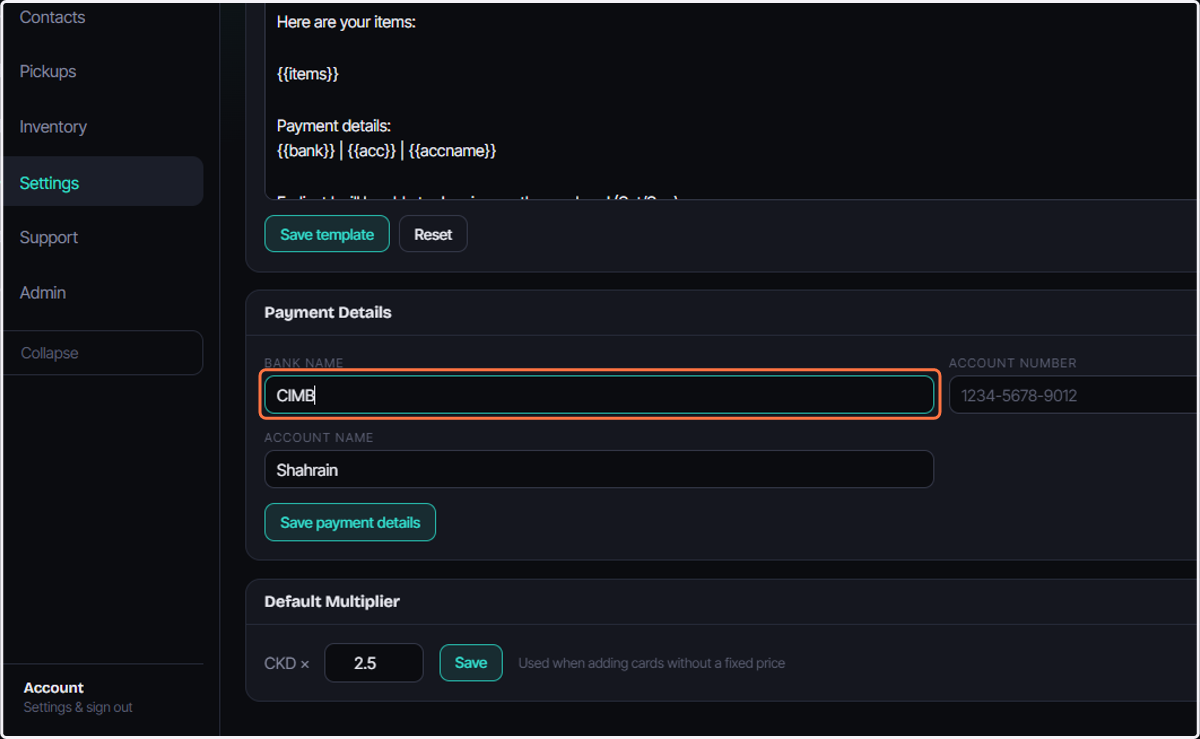
3. Click on BANK NAME
Type in Bank name you wish to show.
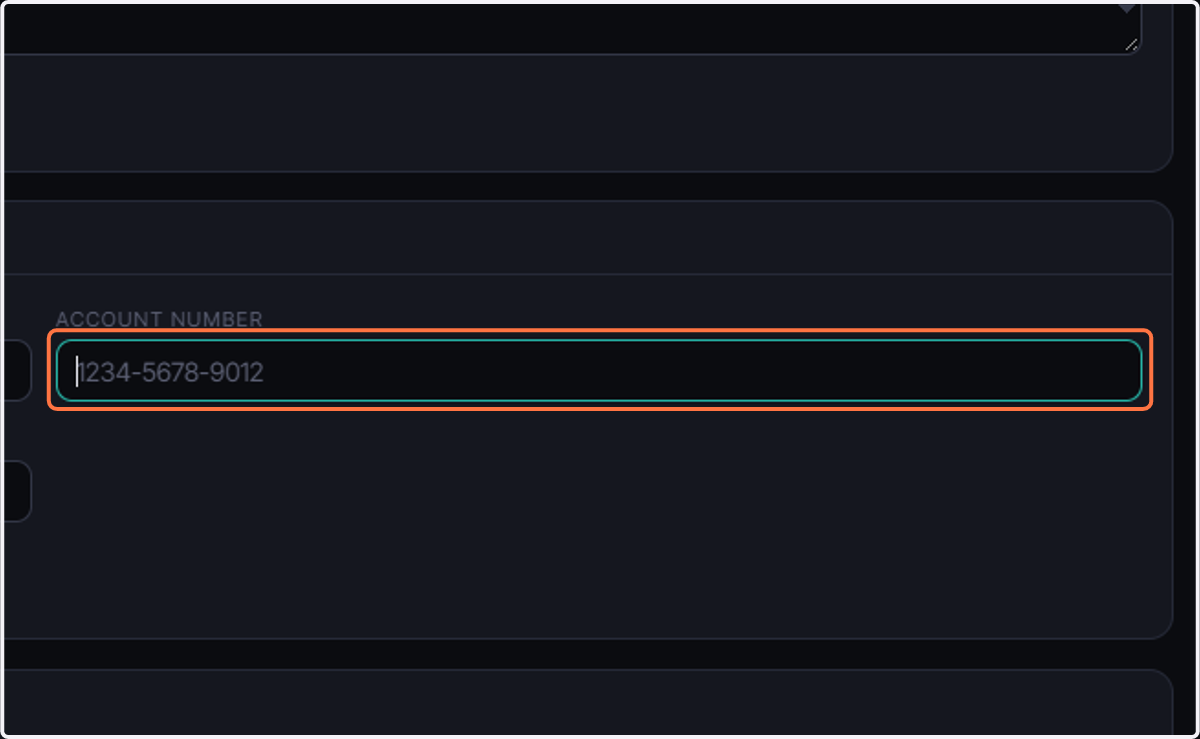
4. Click on ACCOUNT NUMBER
Fill in with Bank Account number
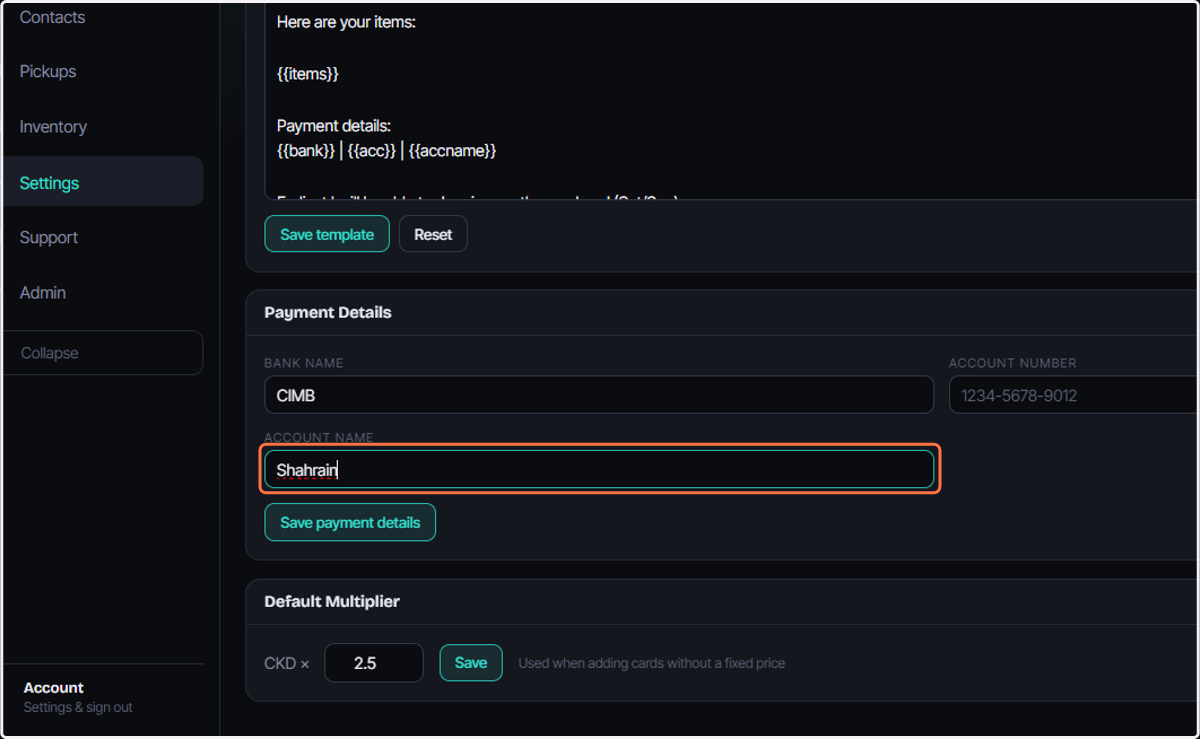
5. Click on ACCOUNT NAME
The name that will appear during the transfer
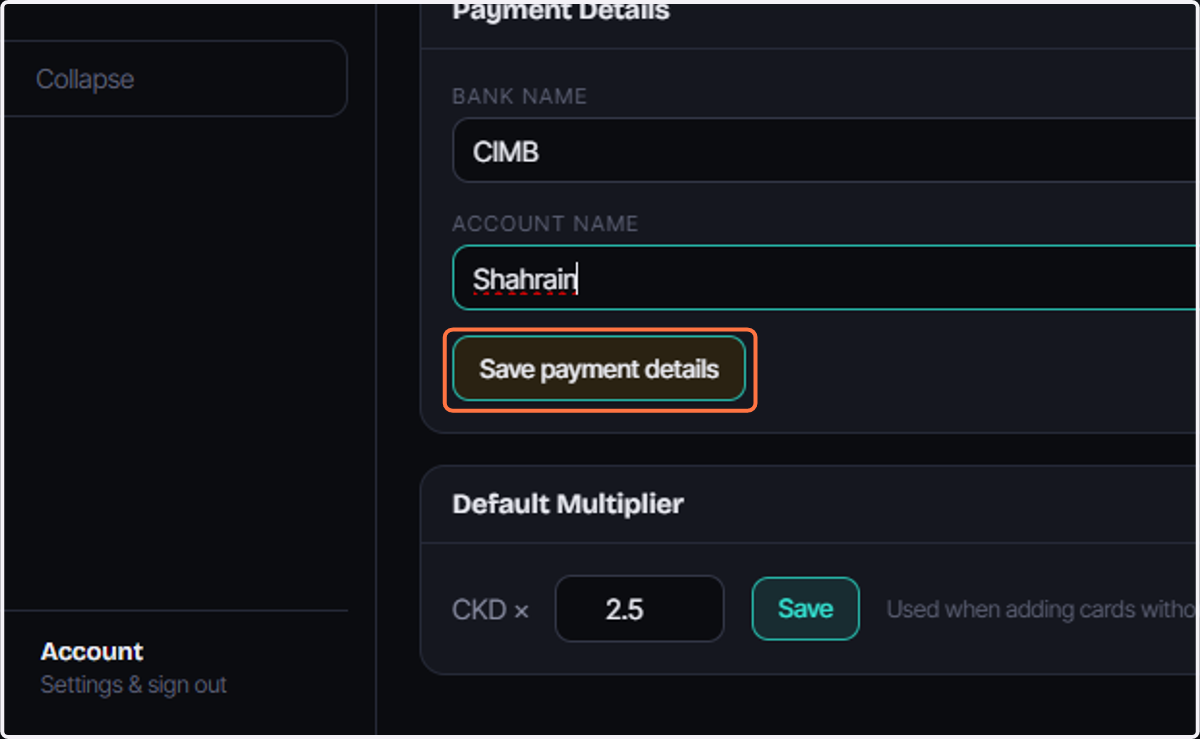
6. Click on Save payment details
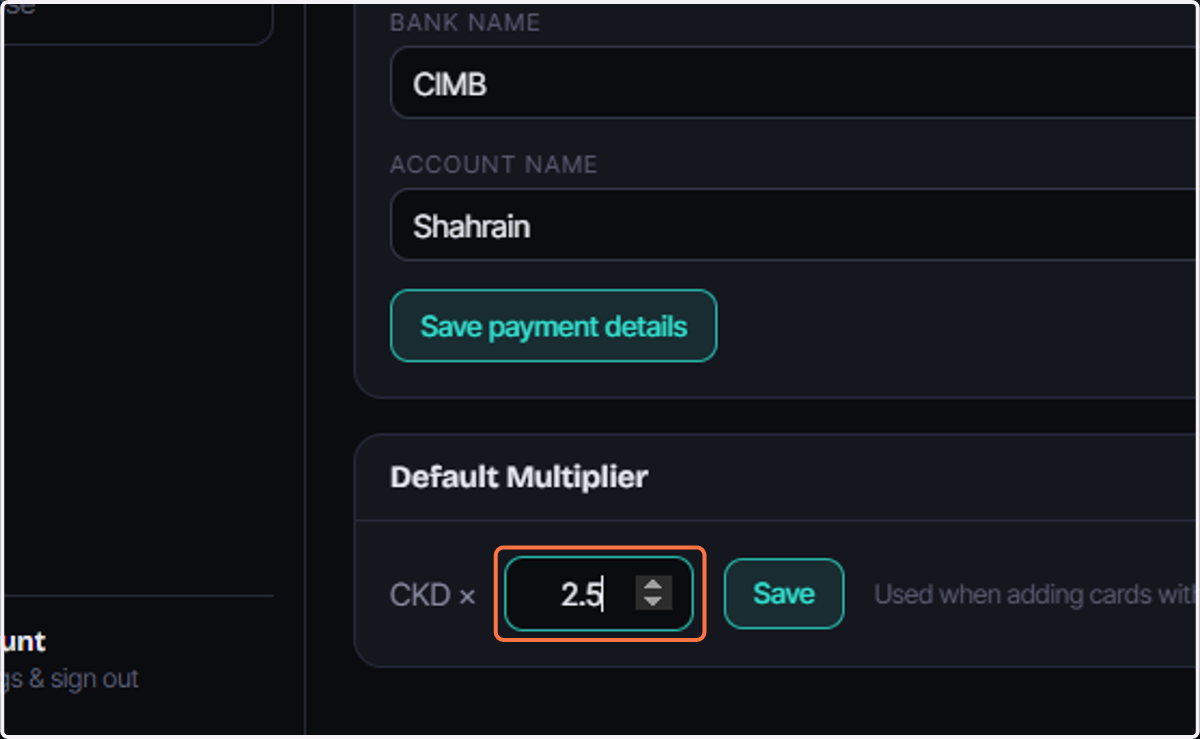
7. Update Default Multiplier
This is for when adding cards so that it will default to it.
8. Beginning of Sales
Click on the Add card button
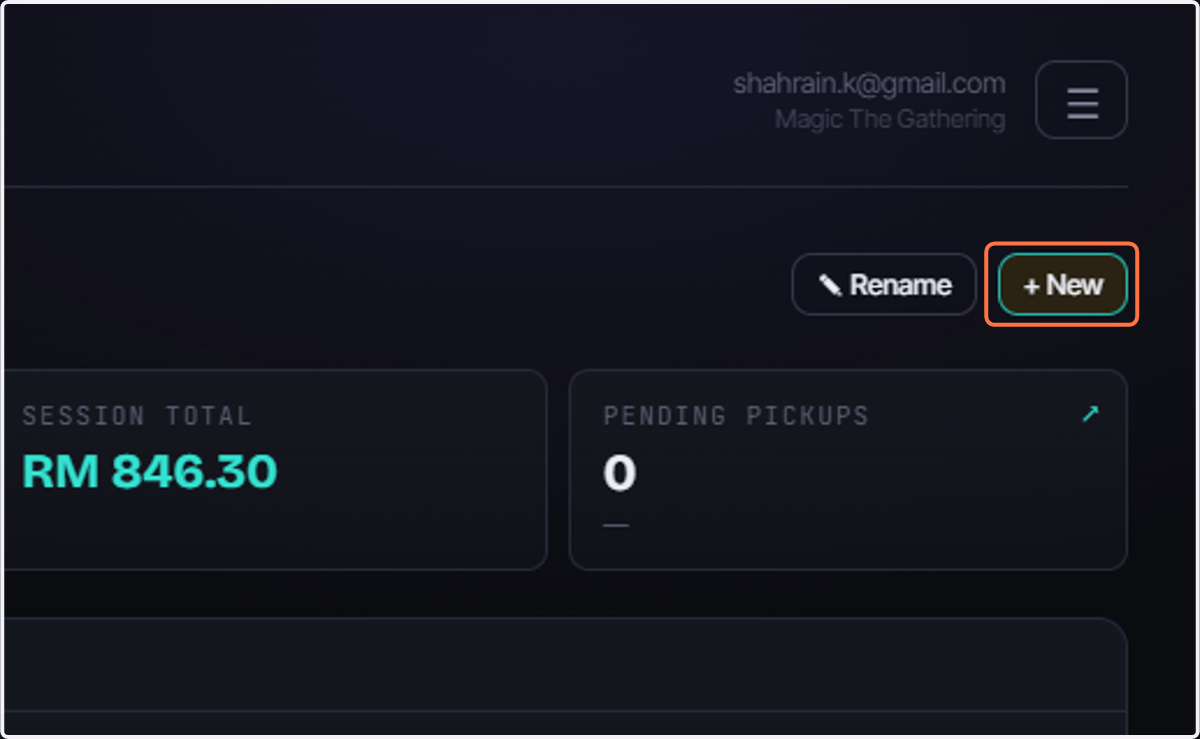
9. Click on + New
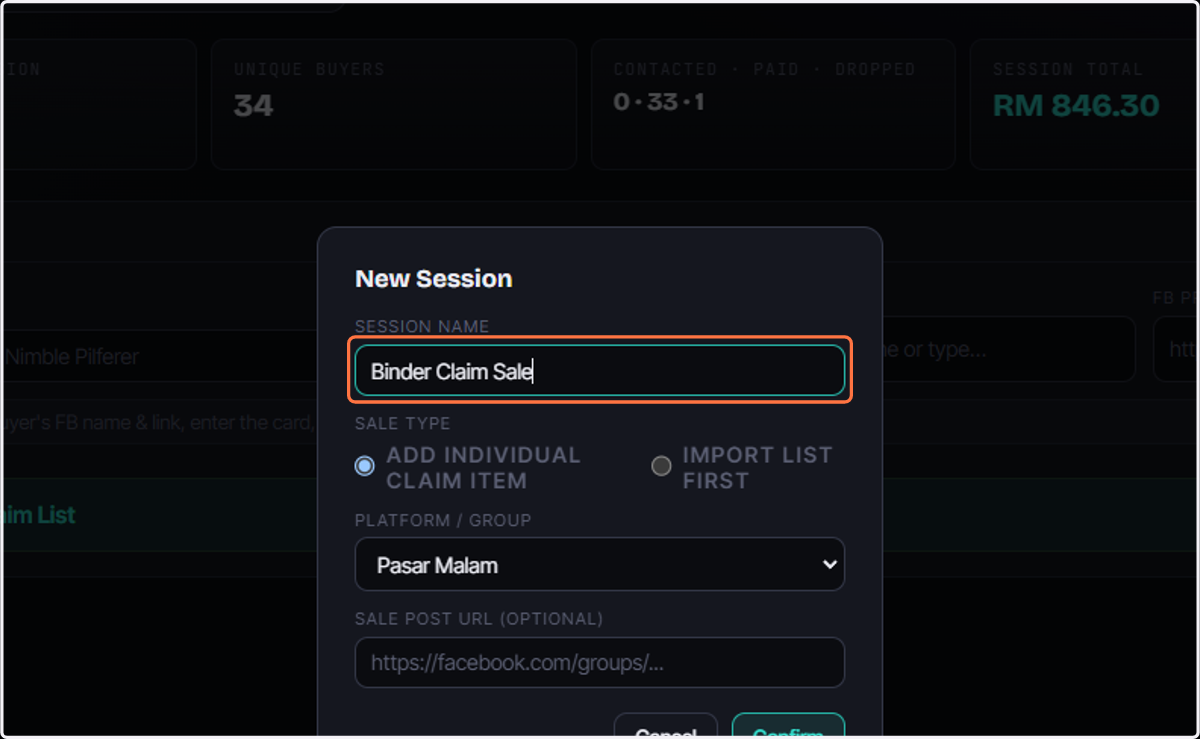
10. Type Name of Sale
Could be anything you wish to track
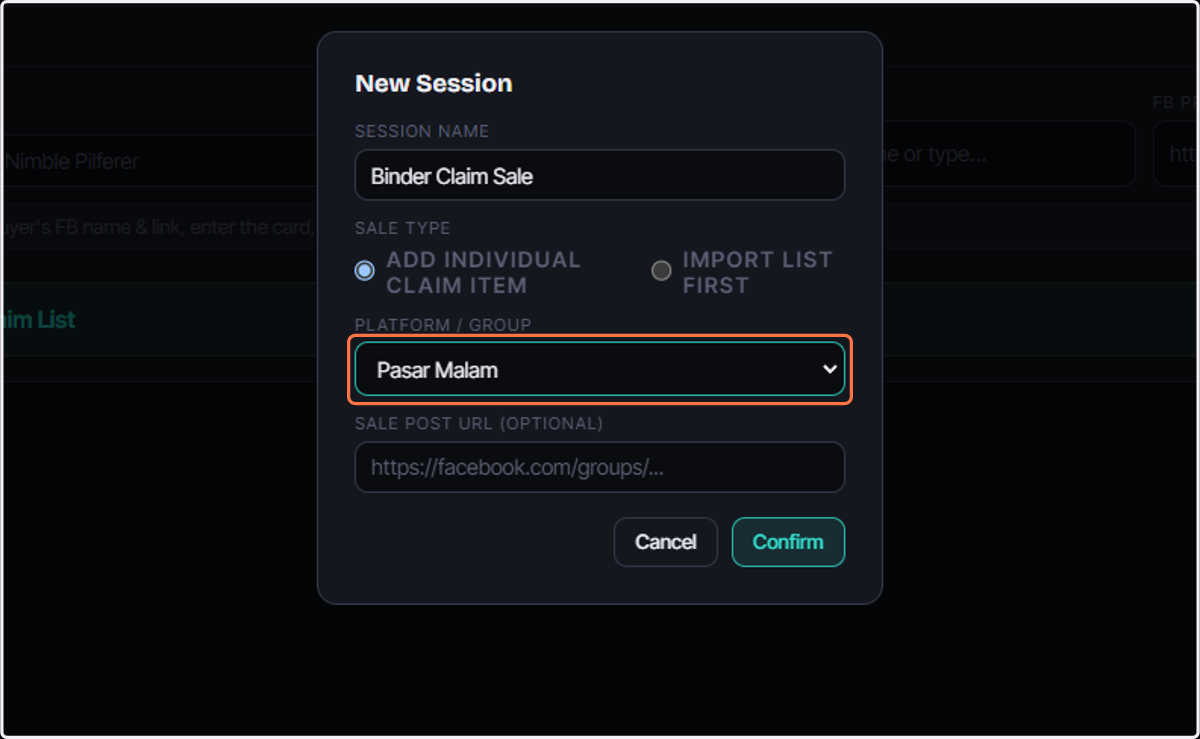
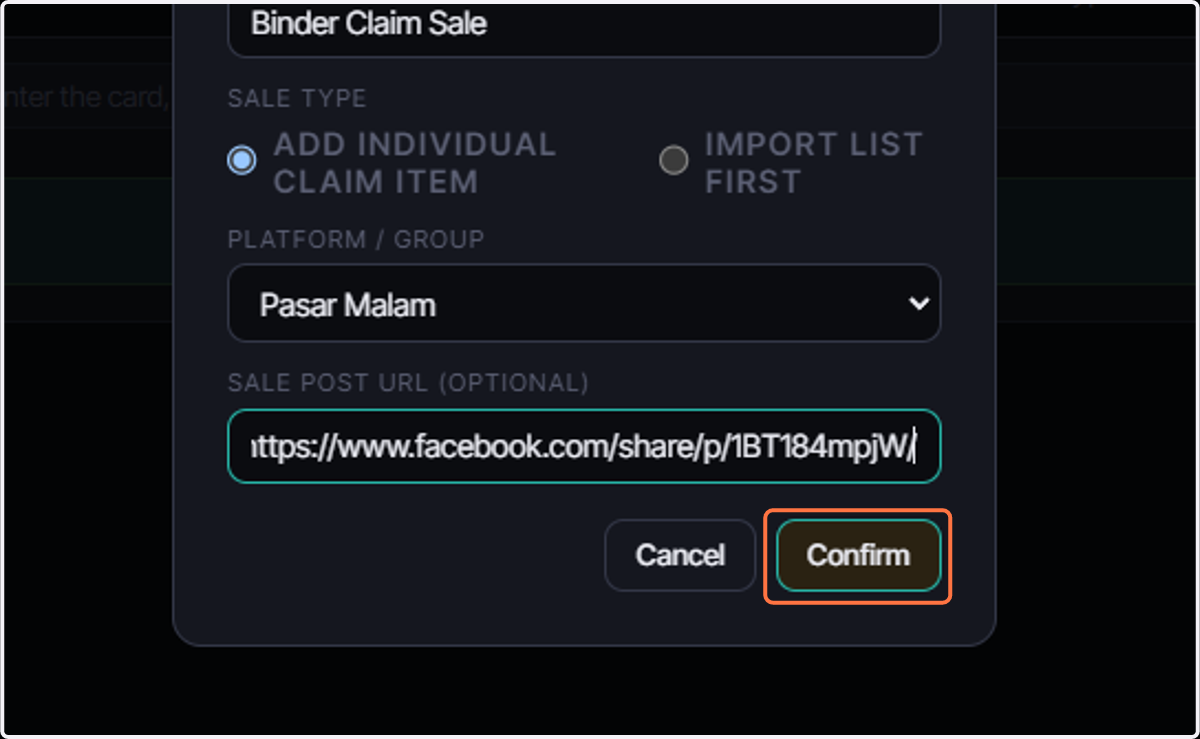
11. Select Pasar Malam from PLATFORM / GROUP
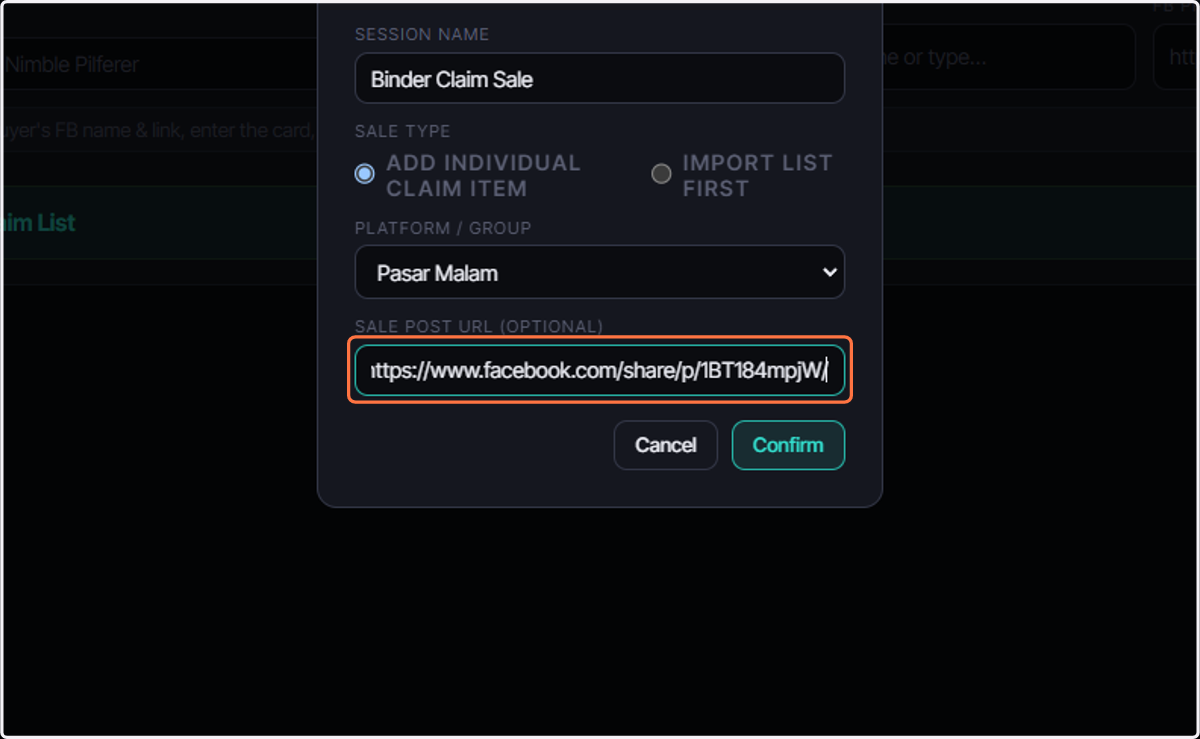
12. Paste URL Link
this is optional but there will be a button that link directly to sales page for ease of use.
13. Click on Confirm
14. Once People have claim cards
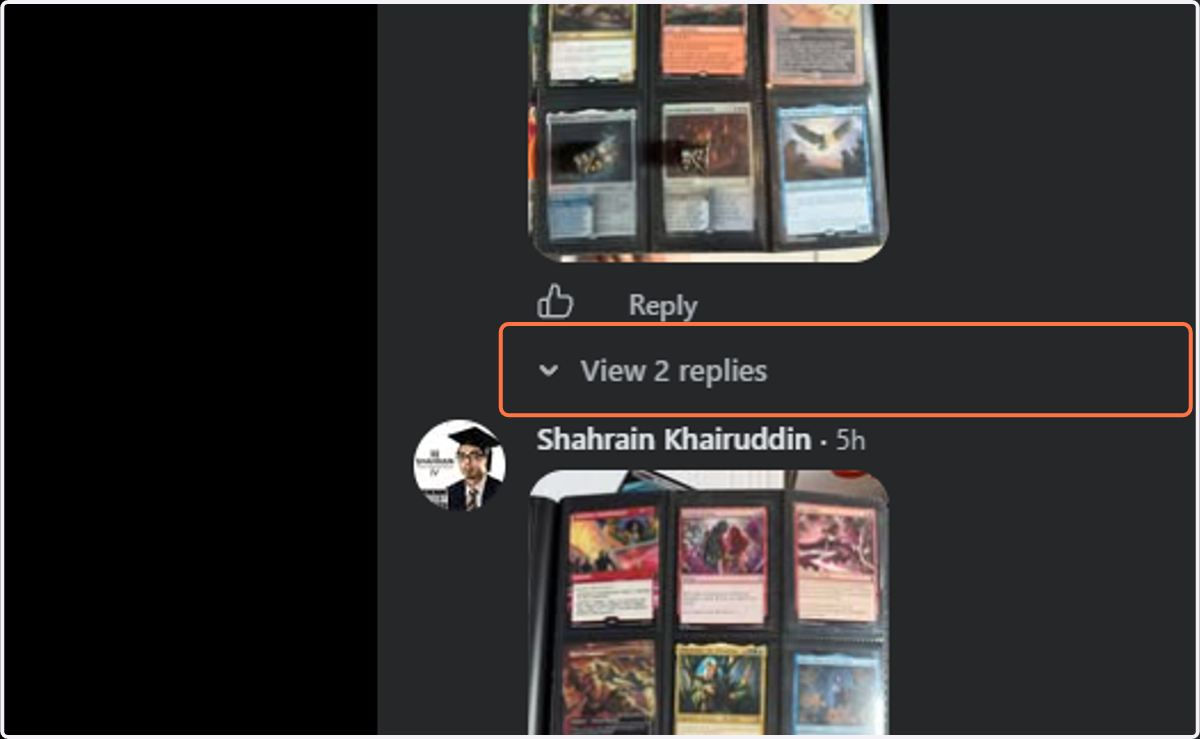
15. Drag highlighted element
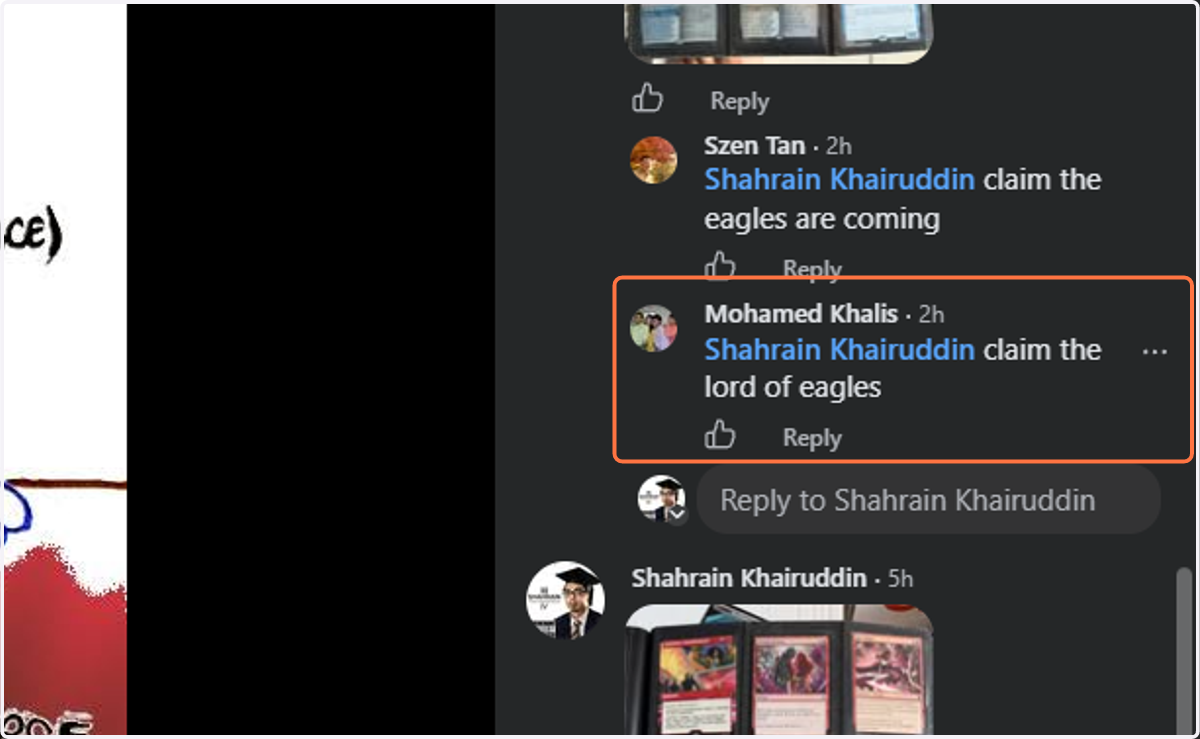
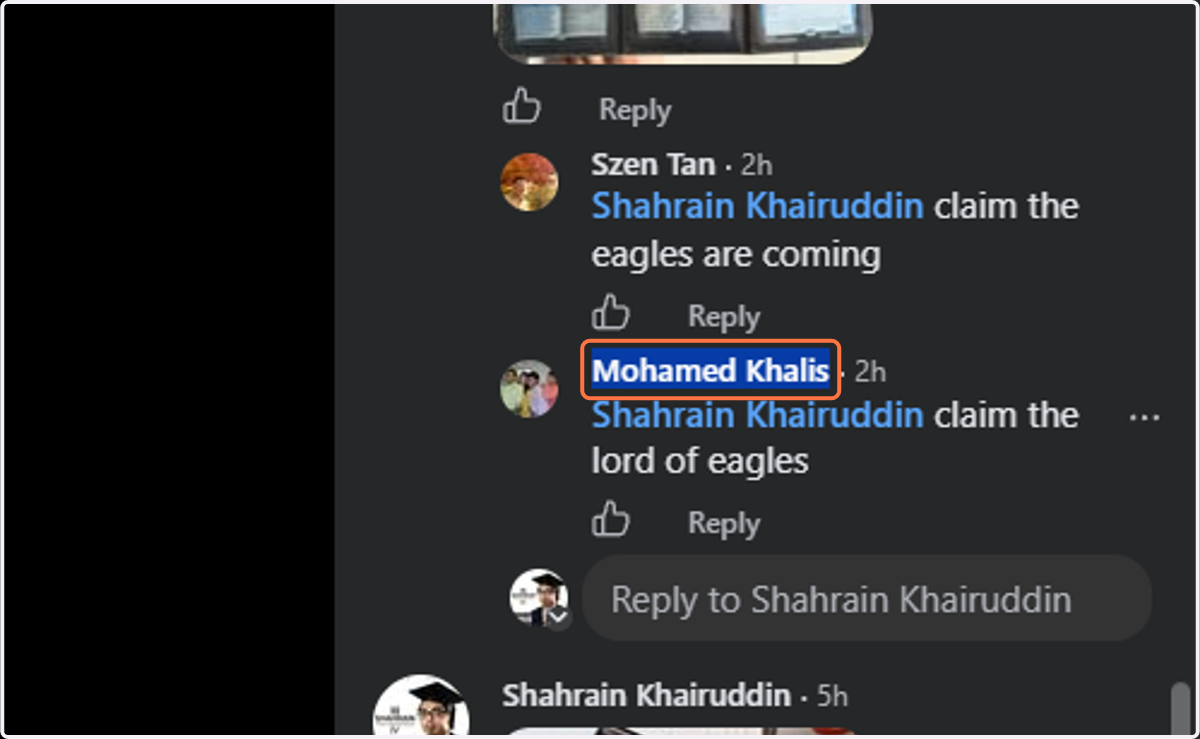
16. Copy link titled "Mohamed Khalis"
KadoVault
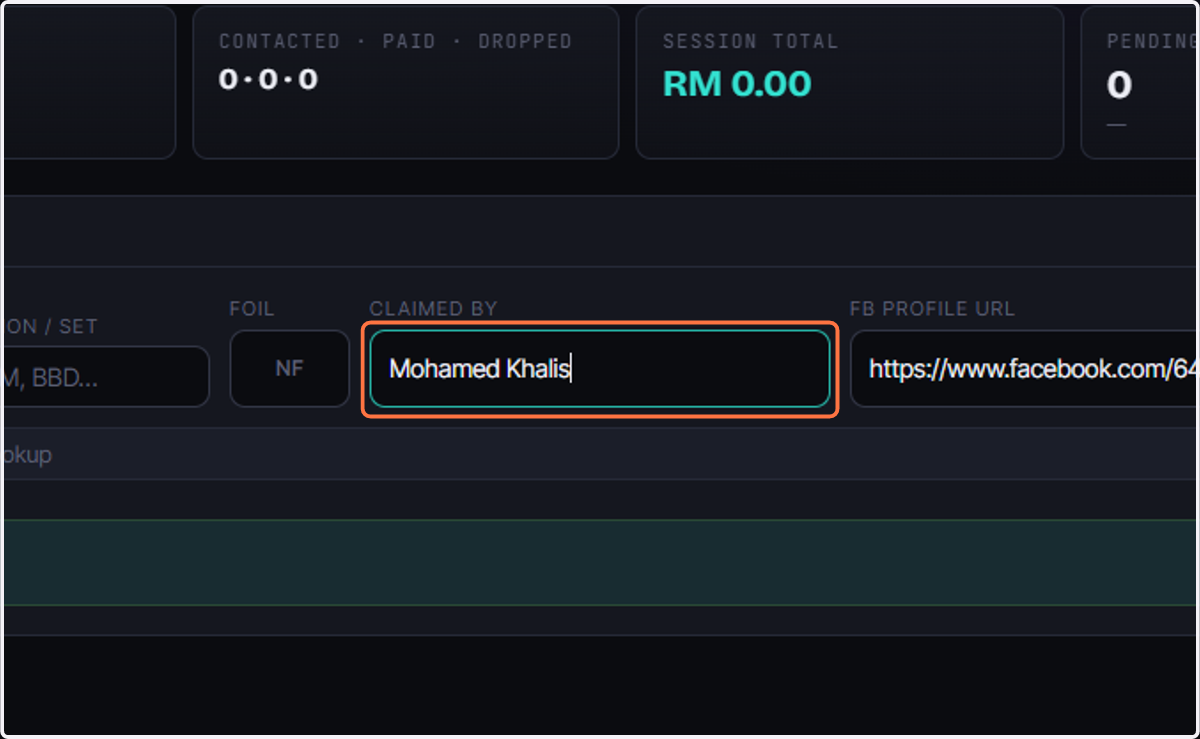
17. Paste "Mohamed Khalis" into input
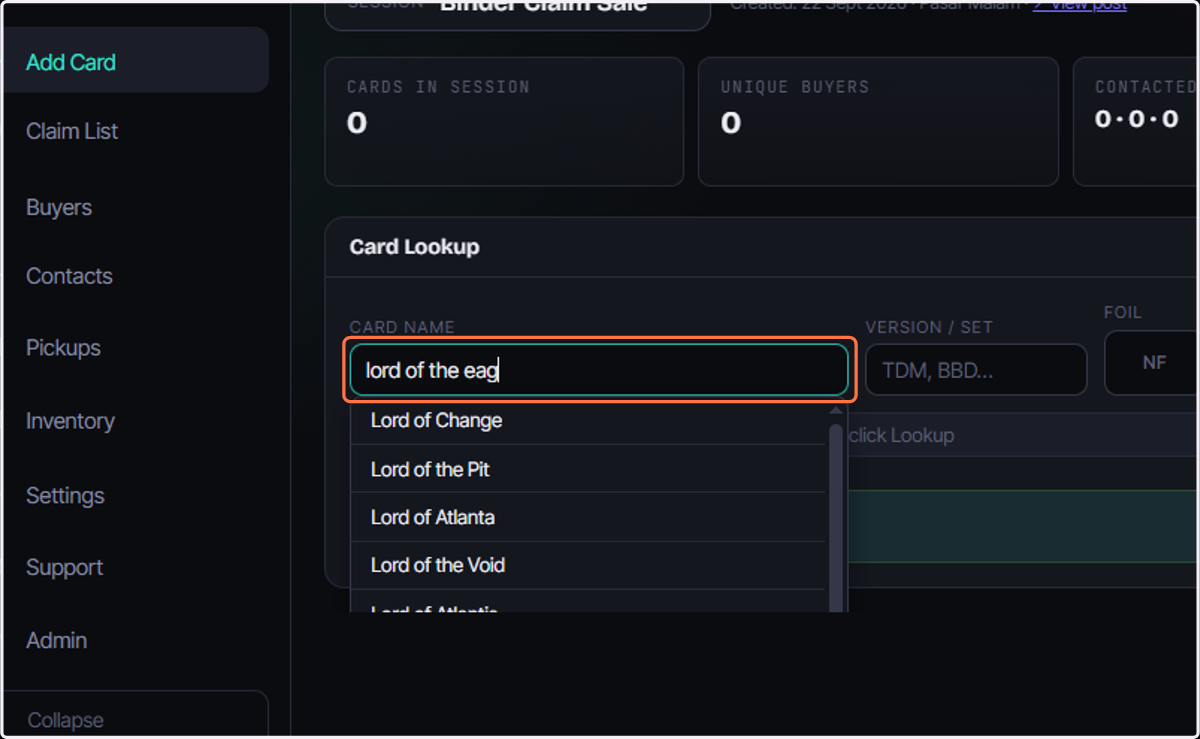
18. Type "lord of the eag"
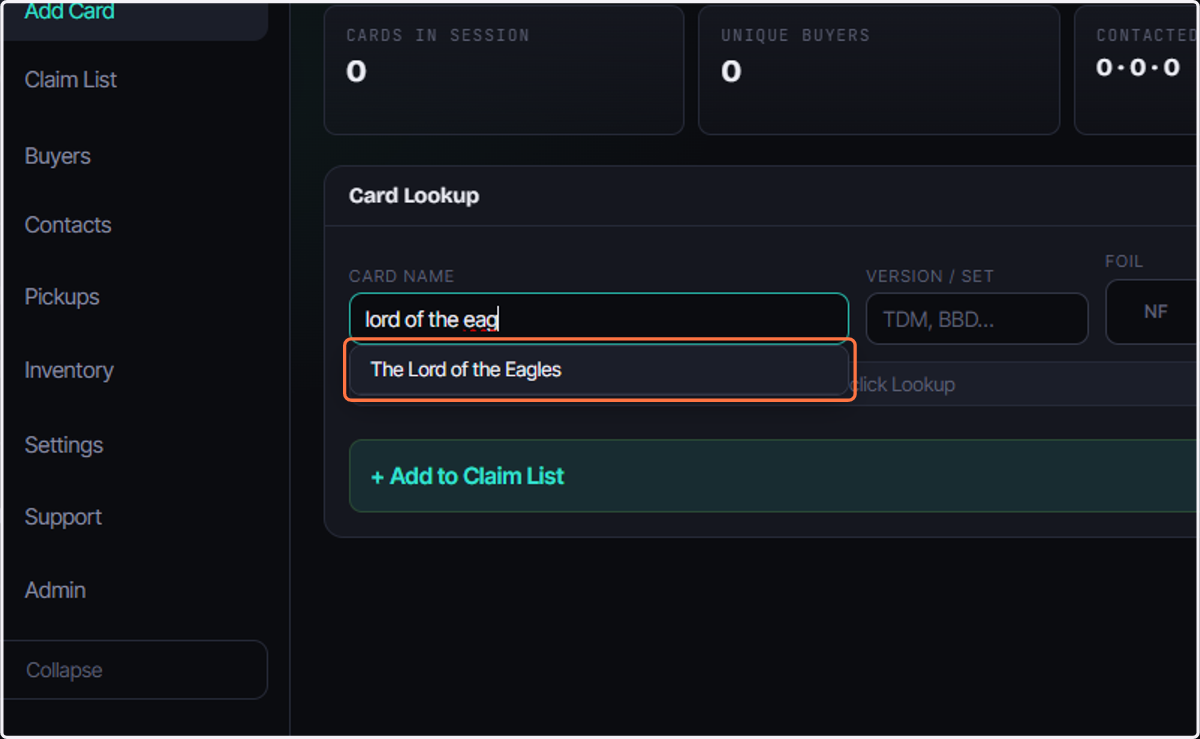
19. Click on The Lord of the Eagles
20. View and select the correct Version
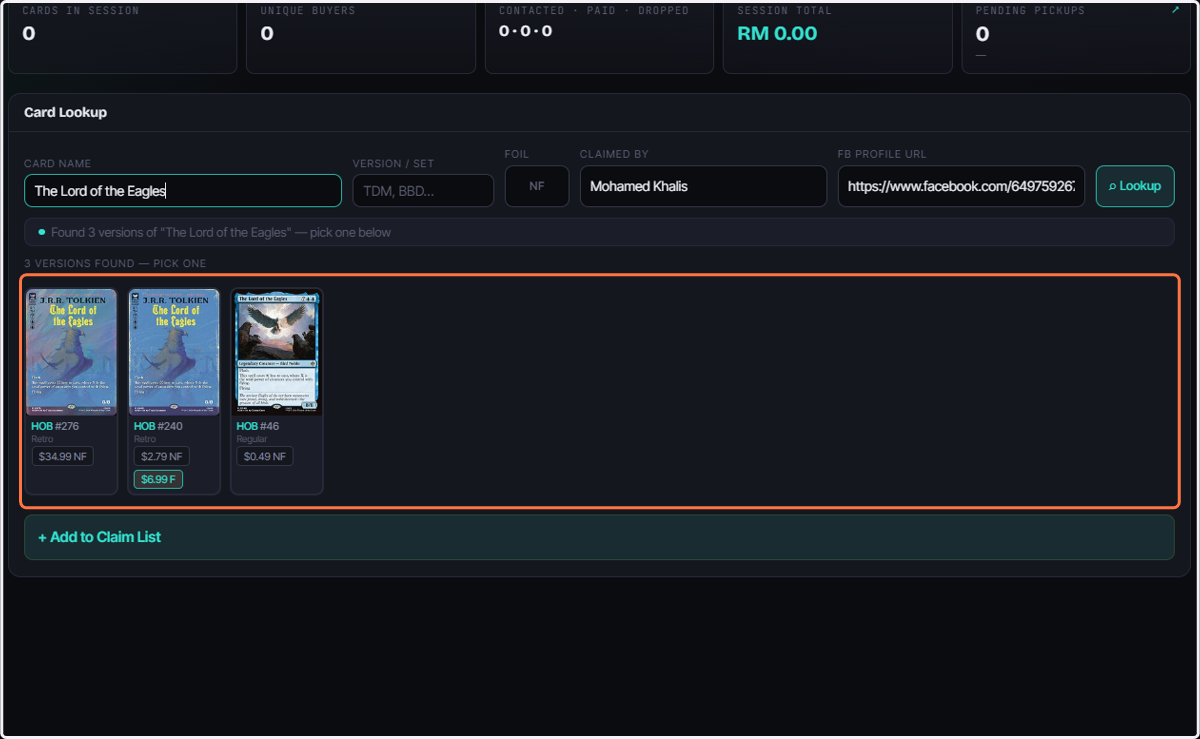
21. Select Version
The price of Foils and Non Foils will appear. and you can either click on the button or select it and then click foil or non foil.
*Do note that if the version doesn't have a foil you are unable to add.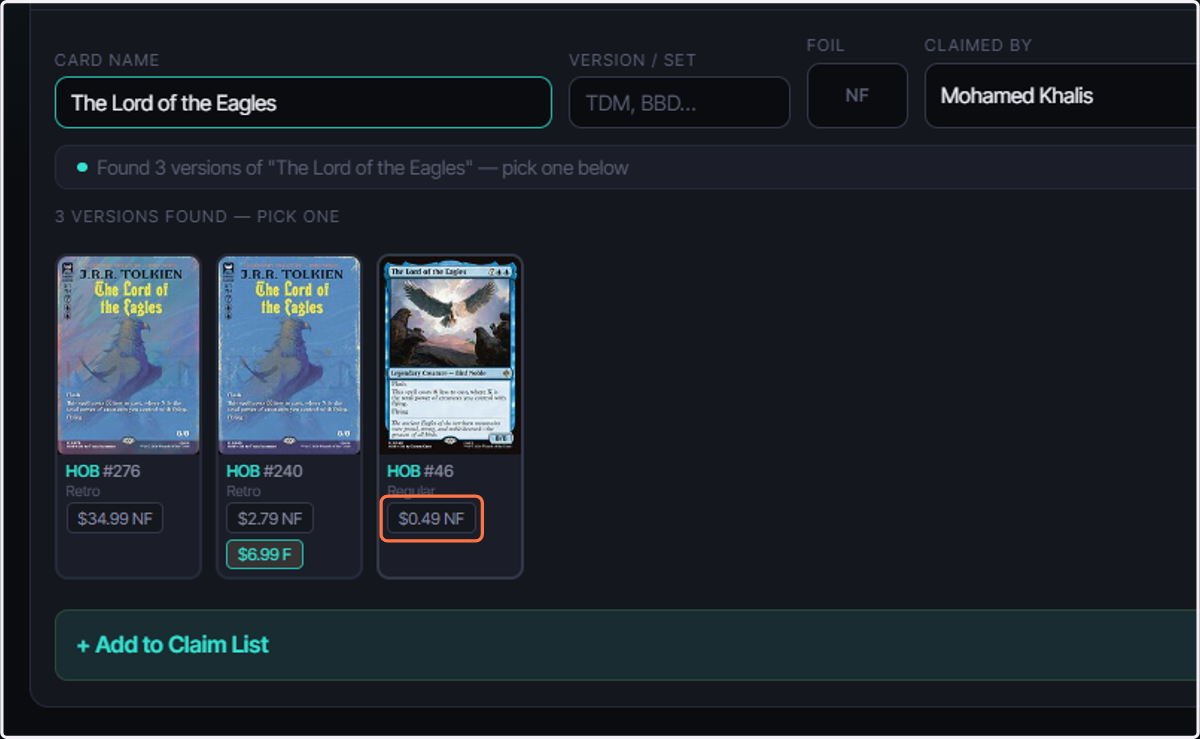
22. Click on + Add to Claim List
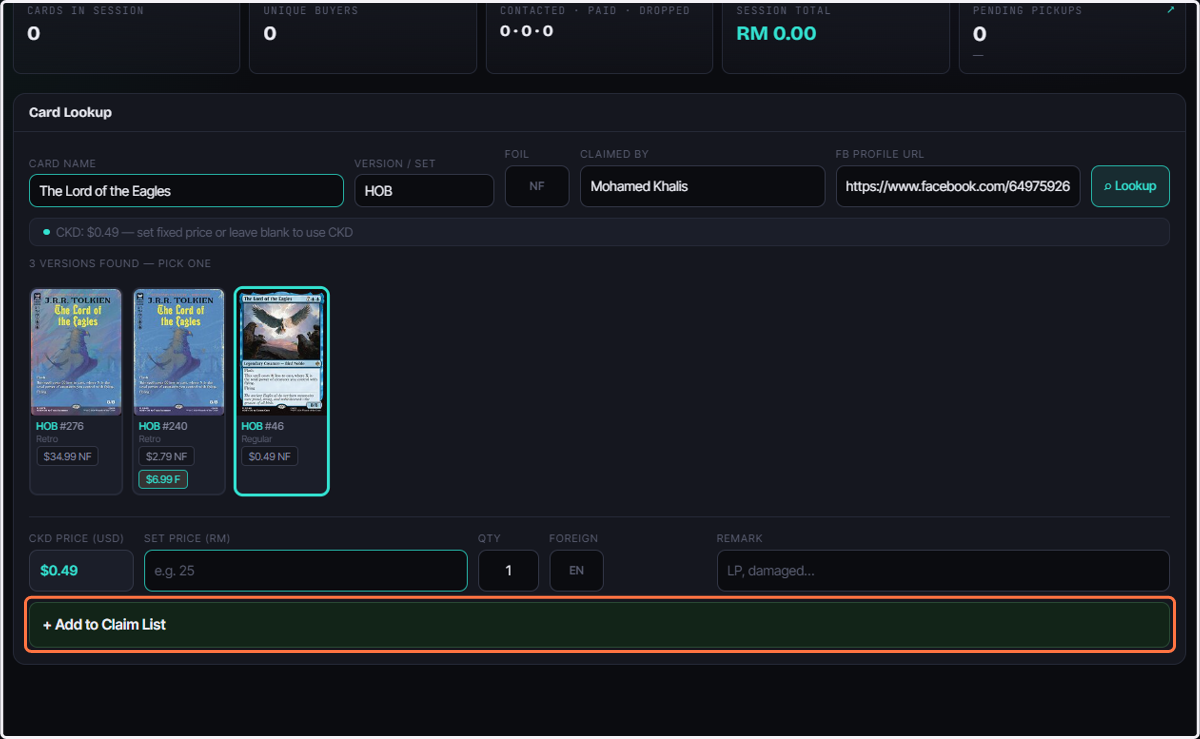
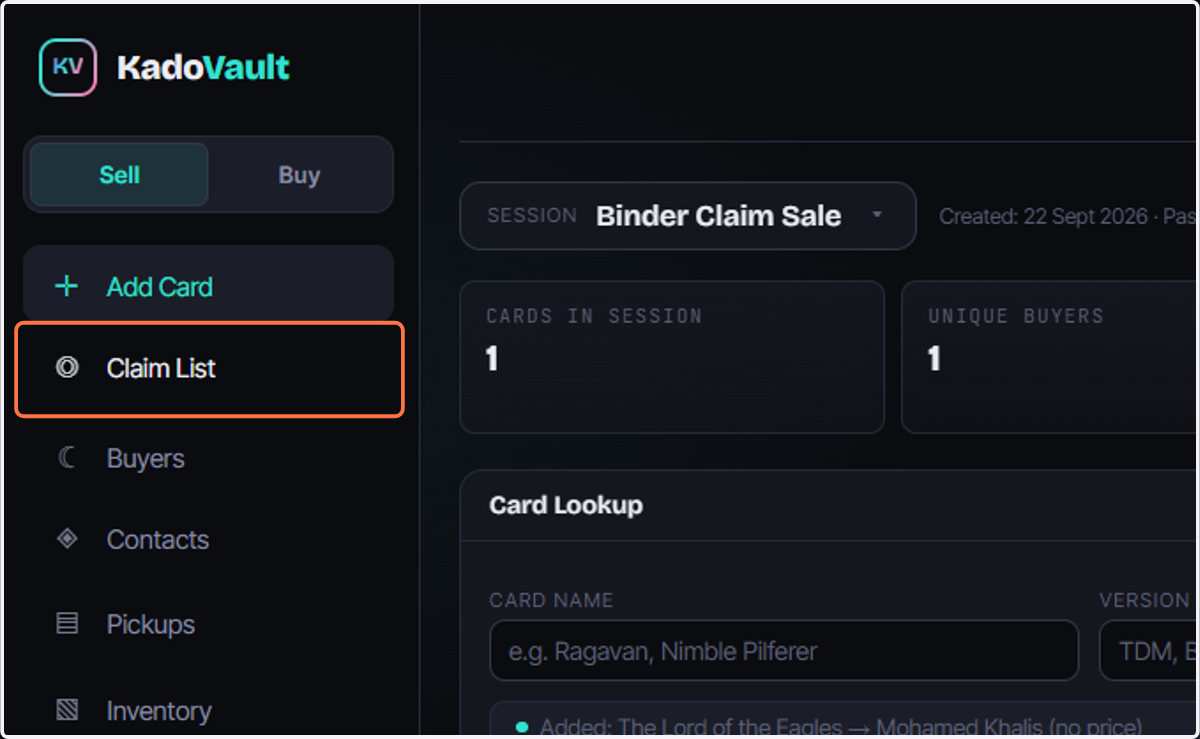
23. View Claimer
Once You have update all your buyers and cards you can go to claim list to view all infromation.
24. All buyers and cards
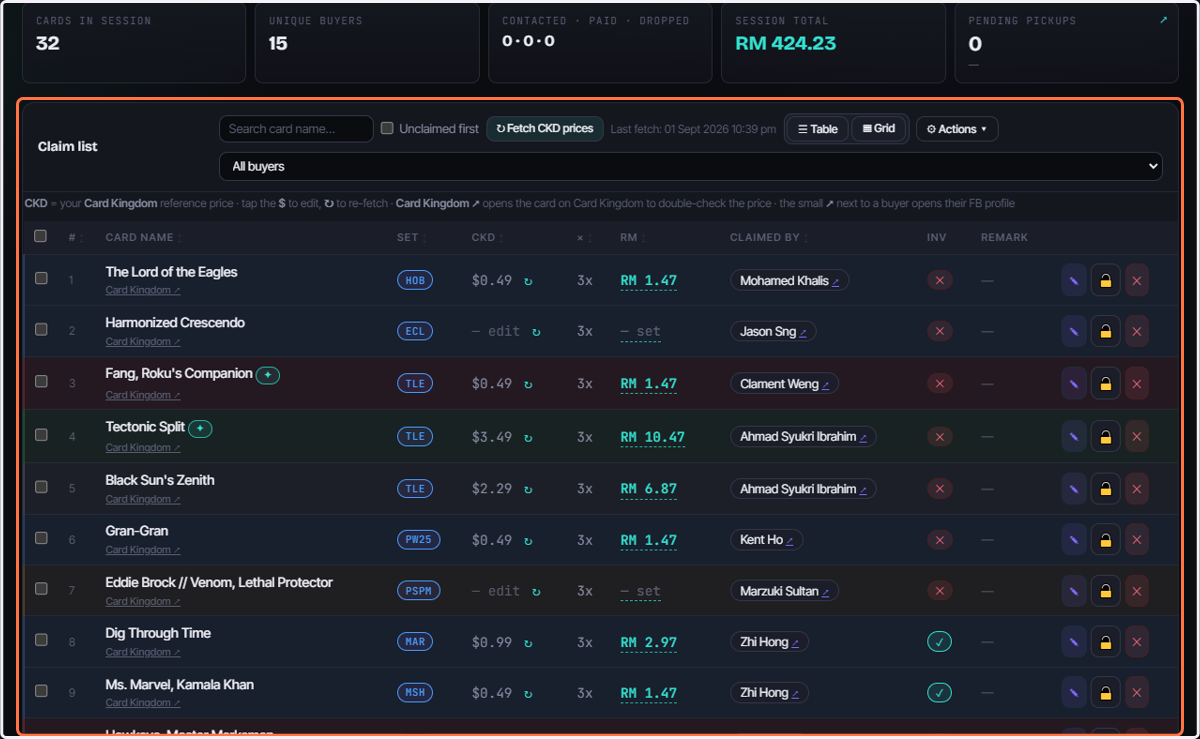
25. Refresh CKD Pricing
Regularly the CKD prices will refresh and pricing.
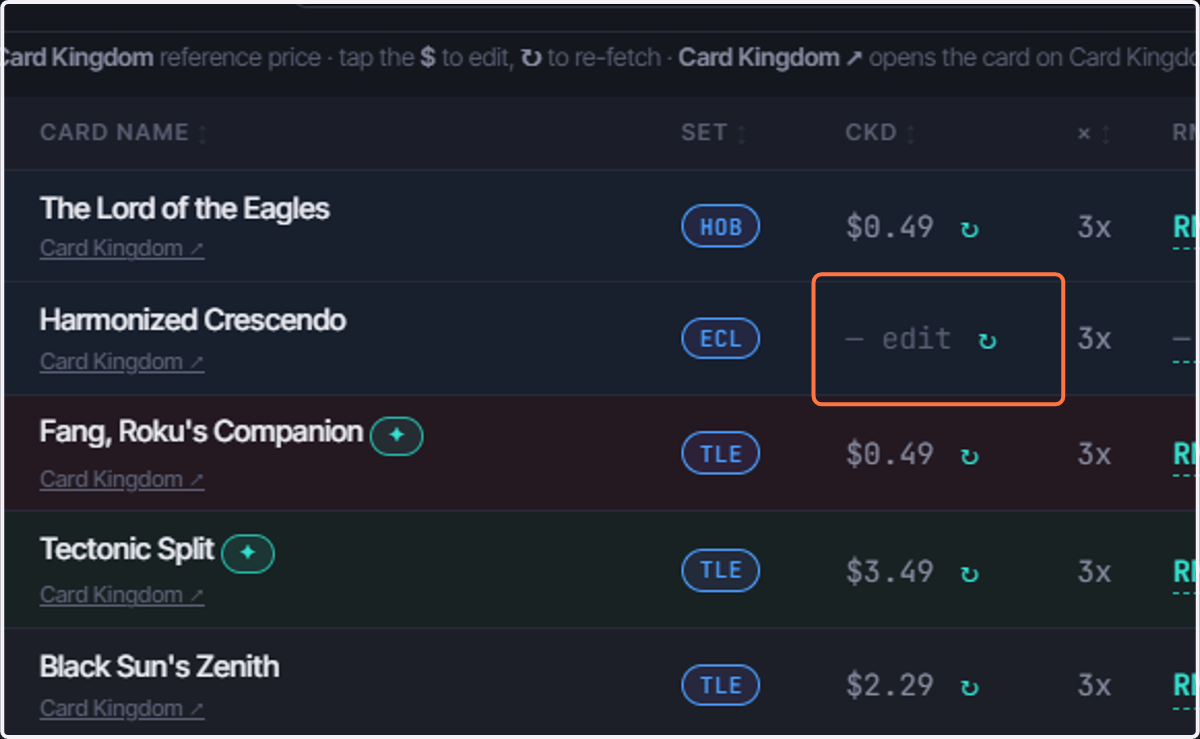
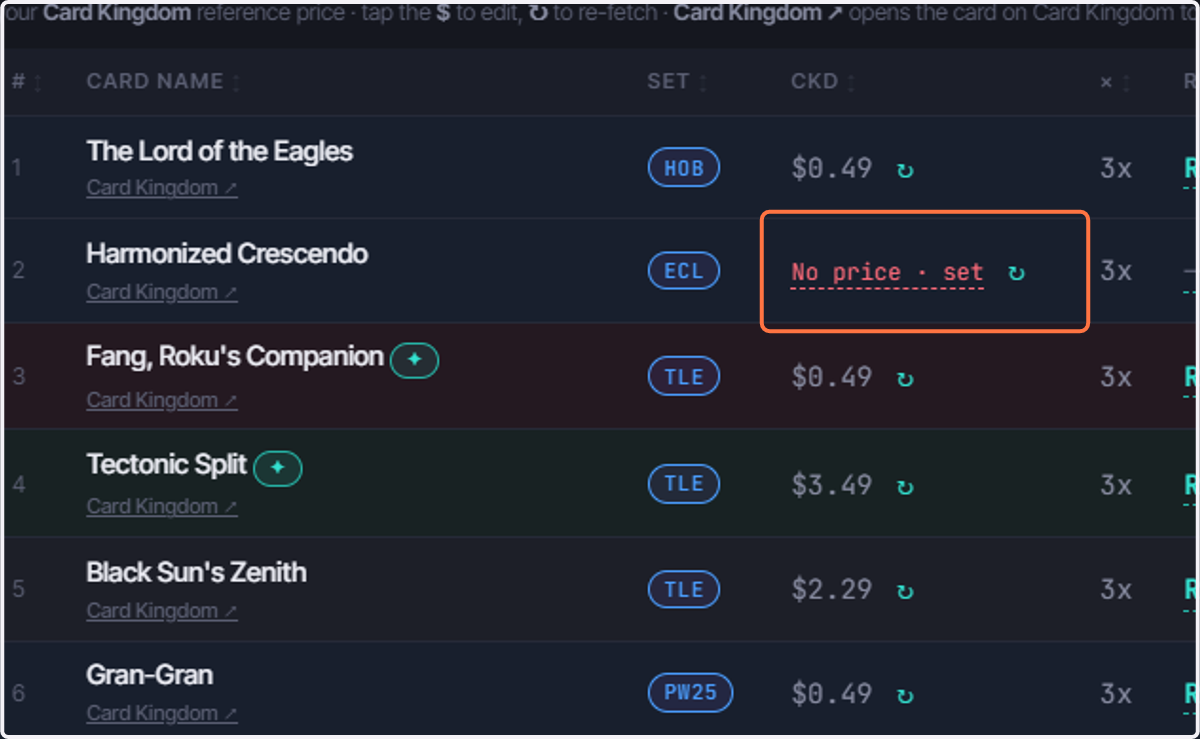
26. Sometimes there will be error
when there is no price available eventhough we have refresh a few times.
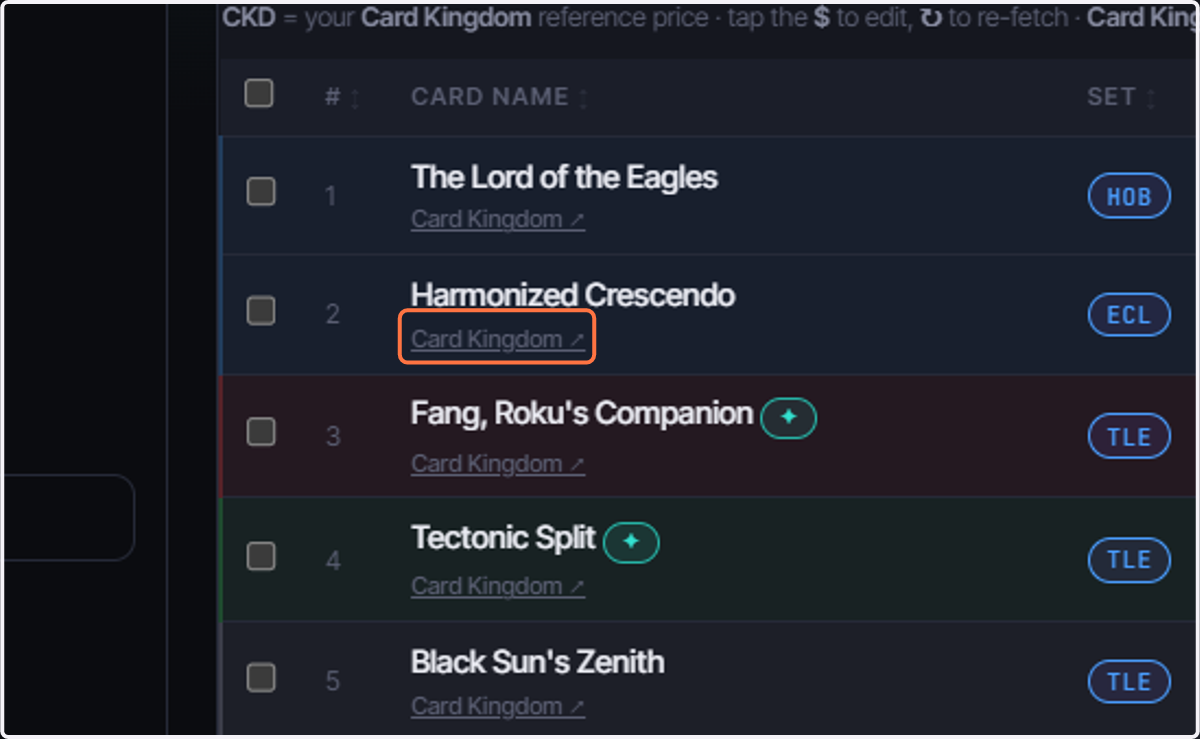
27. Search Directly on CKD
We can click on the link and takes us directly to CardKingdom.com to view the pricing and version
Card Kingdom
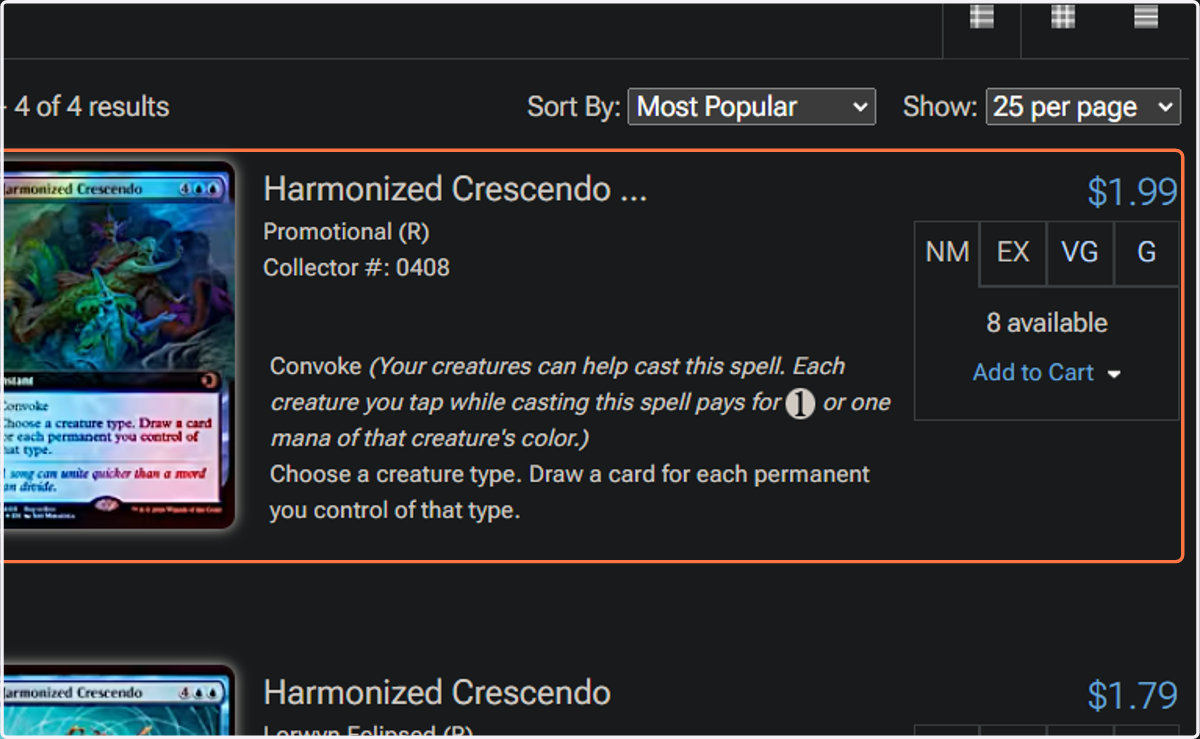
28. Direct Link
the link directly takes us to the item searched. All we have to do is search for the version and foiling. Look! we found it here at $1.99
KadoVault
29. Coming back to KadoVault
Click on the CKD
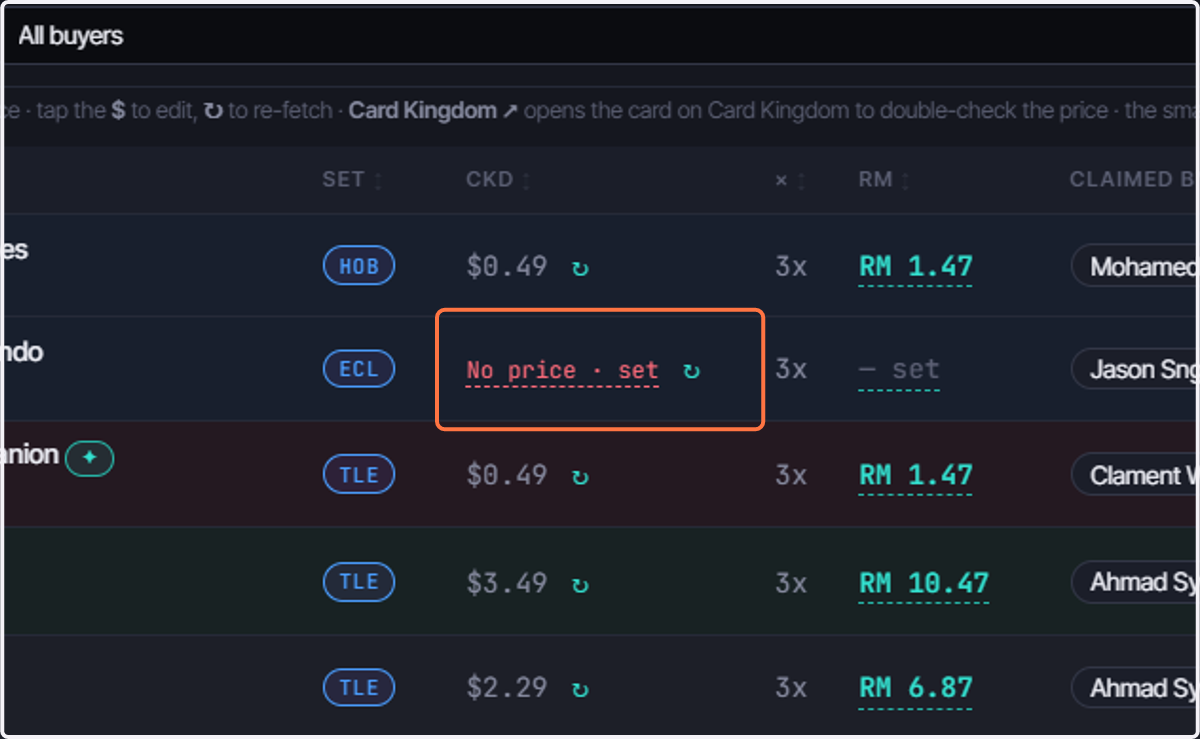
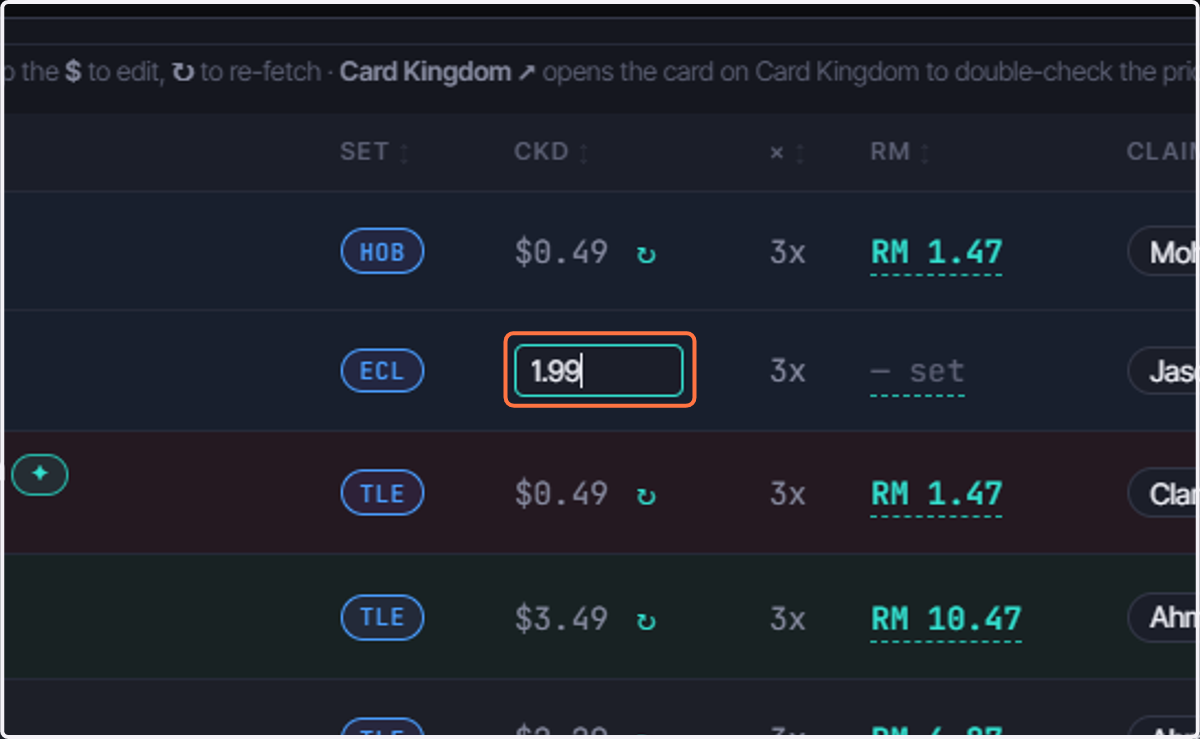
30. Type the Price we found
and Done we have updated it
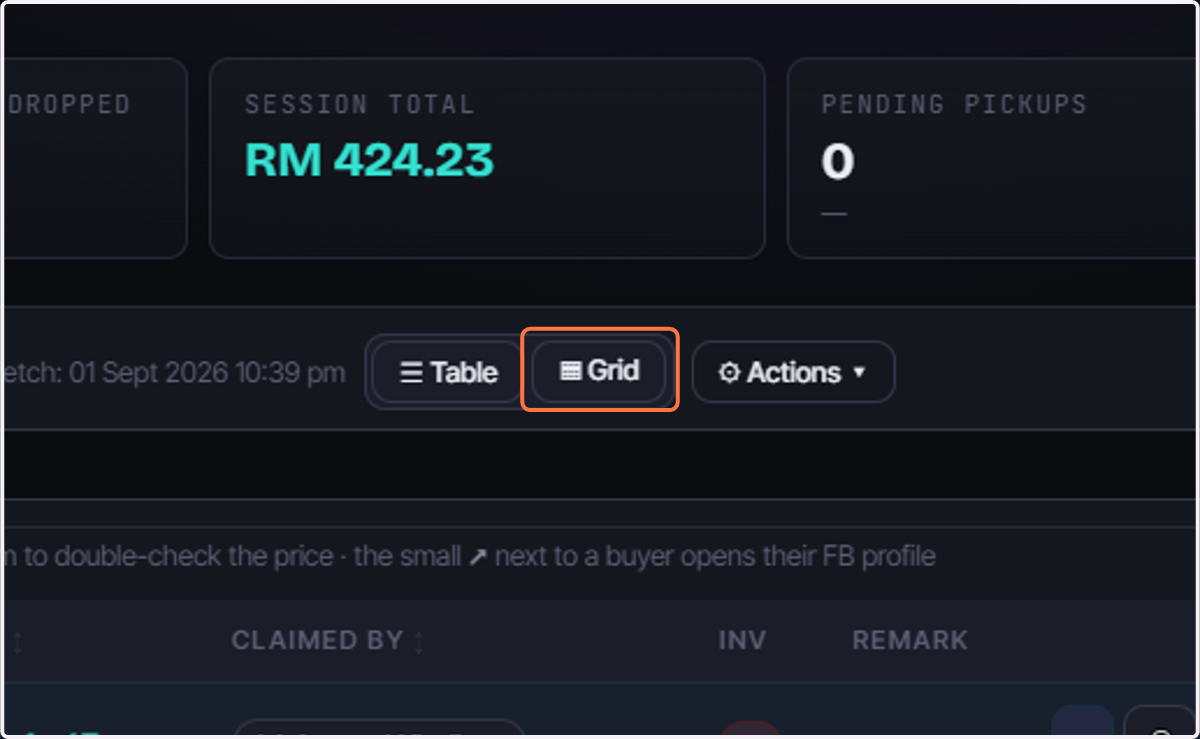
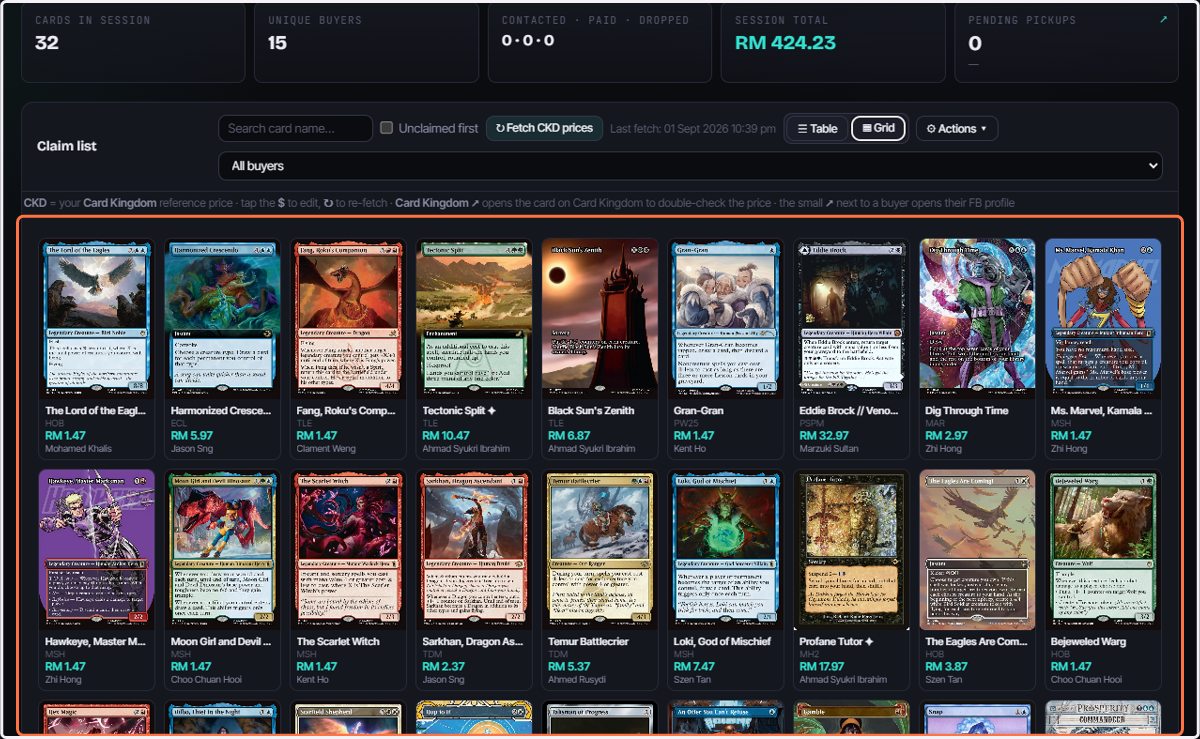
31. View In Grid
32. Have a view of all the cards images
*Optional
33. Updating Multiplier
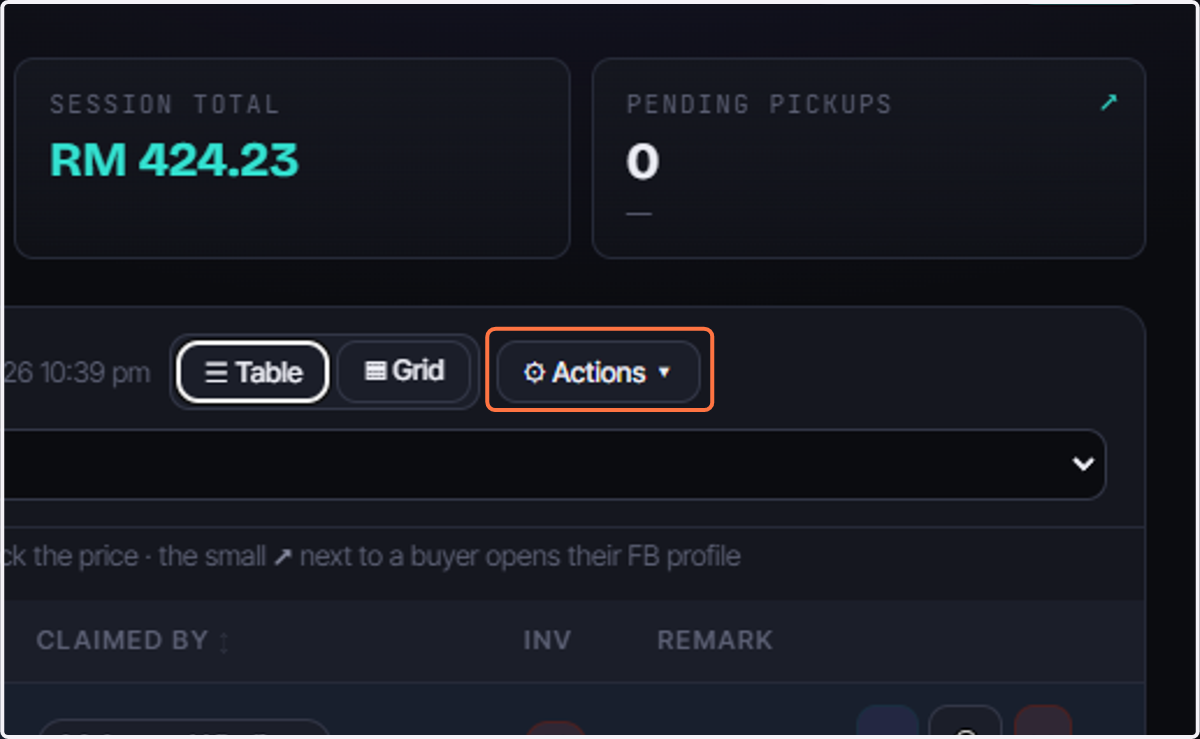
Click on ⚙ Actions ▾
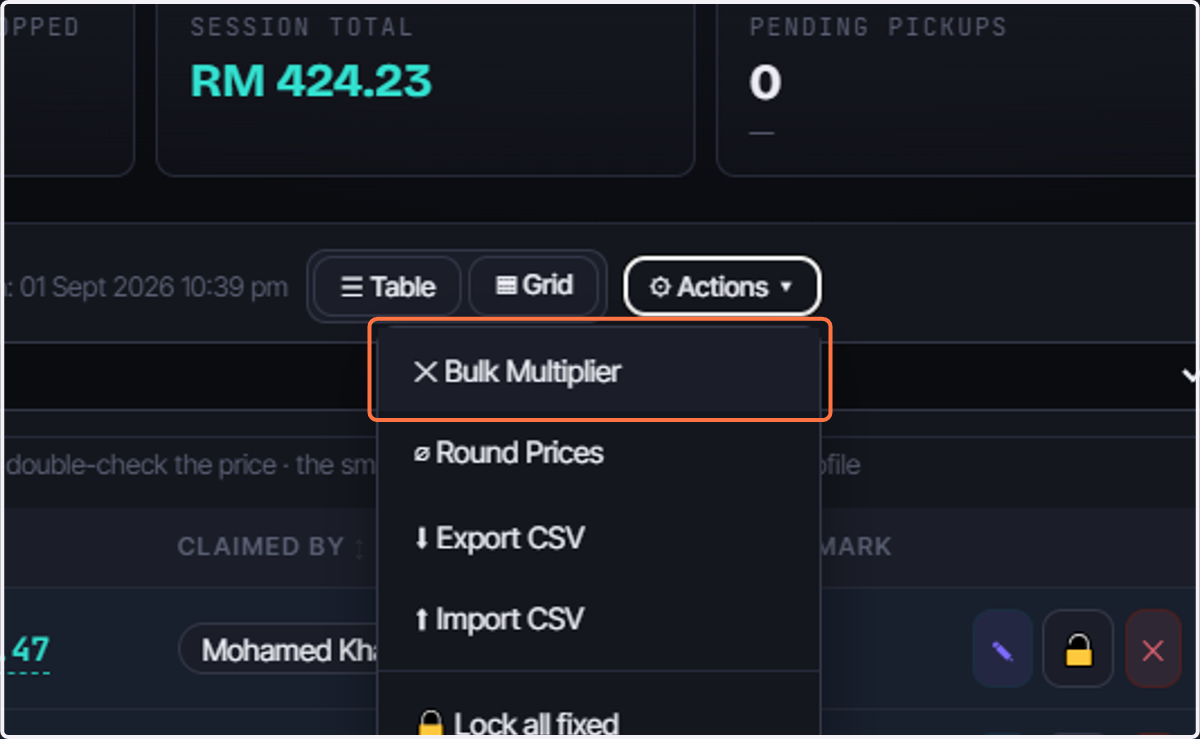
34. Click on ✕ Bulk Multiplier
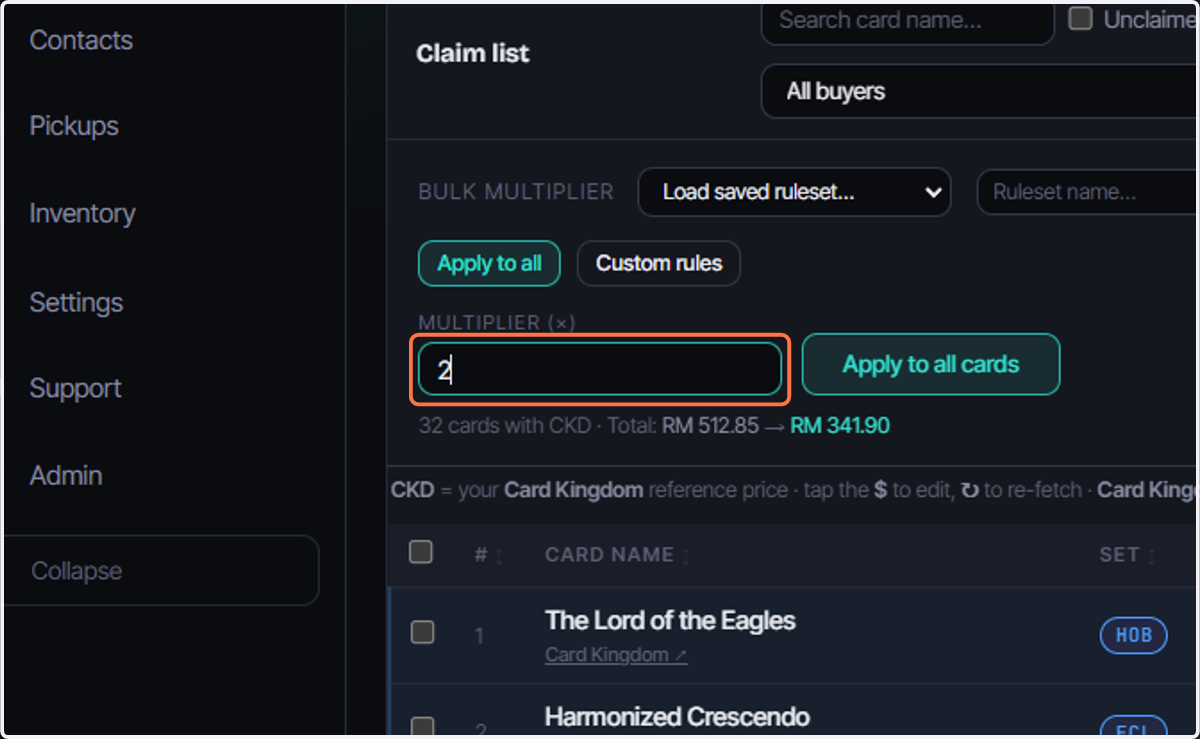
35. Update Multiplier GENERALLY
we can update the multiplier to apply to ALL cards with no rules
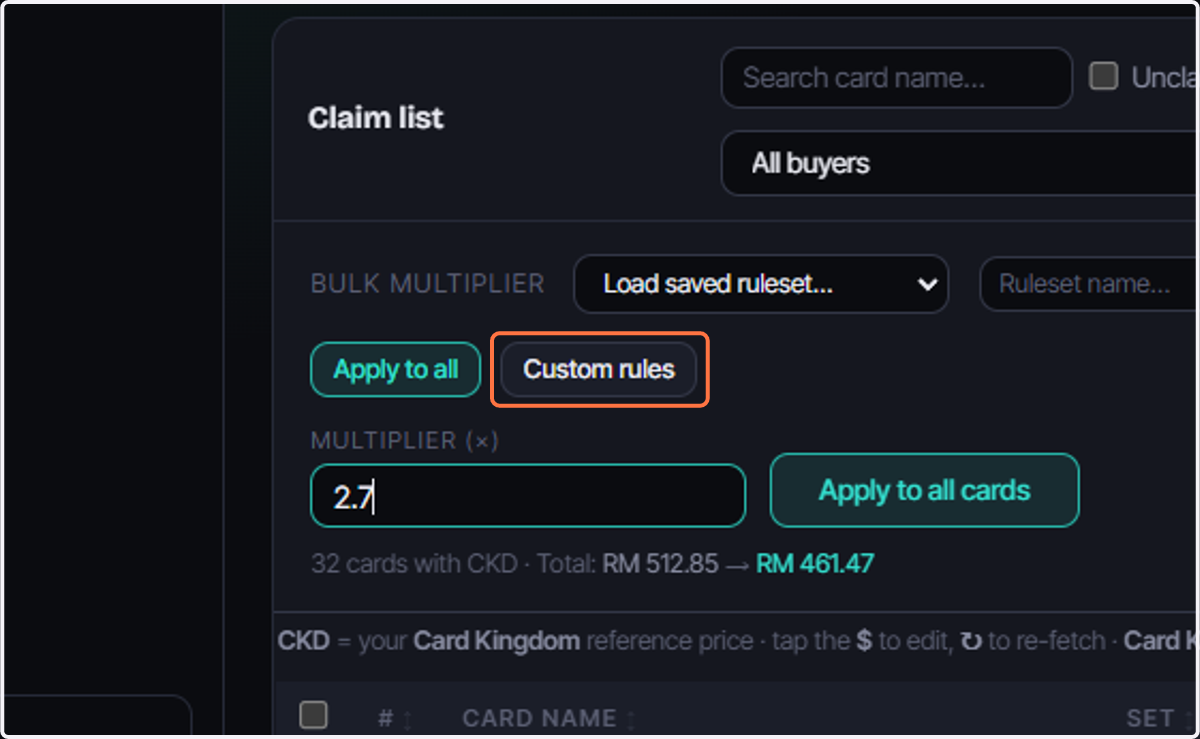
36. Setting Custom Rules
Or we can have custom rules for different card typings
37. We Can update and Save rules
have a name for it and save and load it whenever we wish.
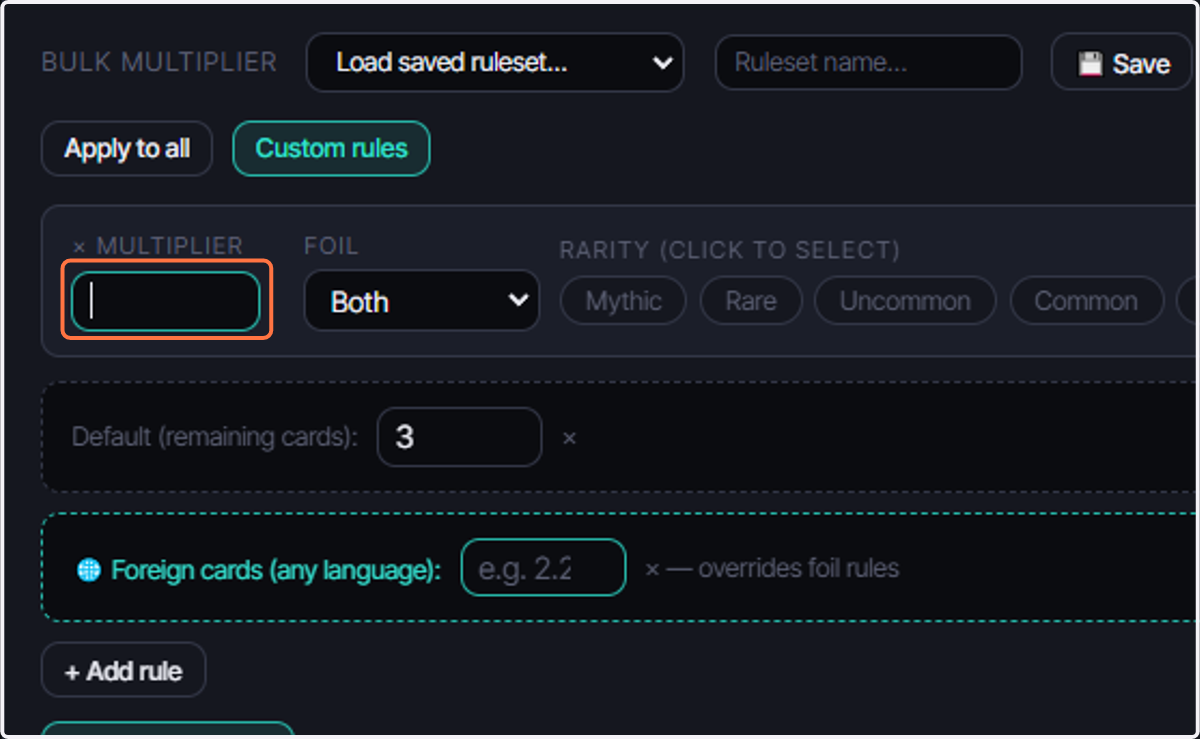
38. Setting Rules
We can have things such as Mythic and Rares and 2.7 and the rest and 2.5
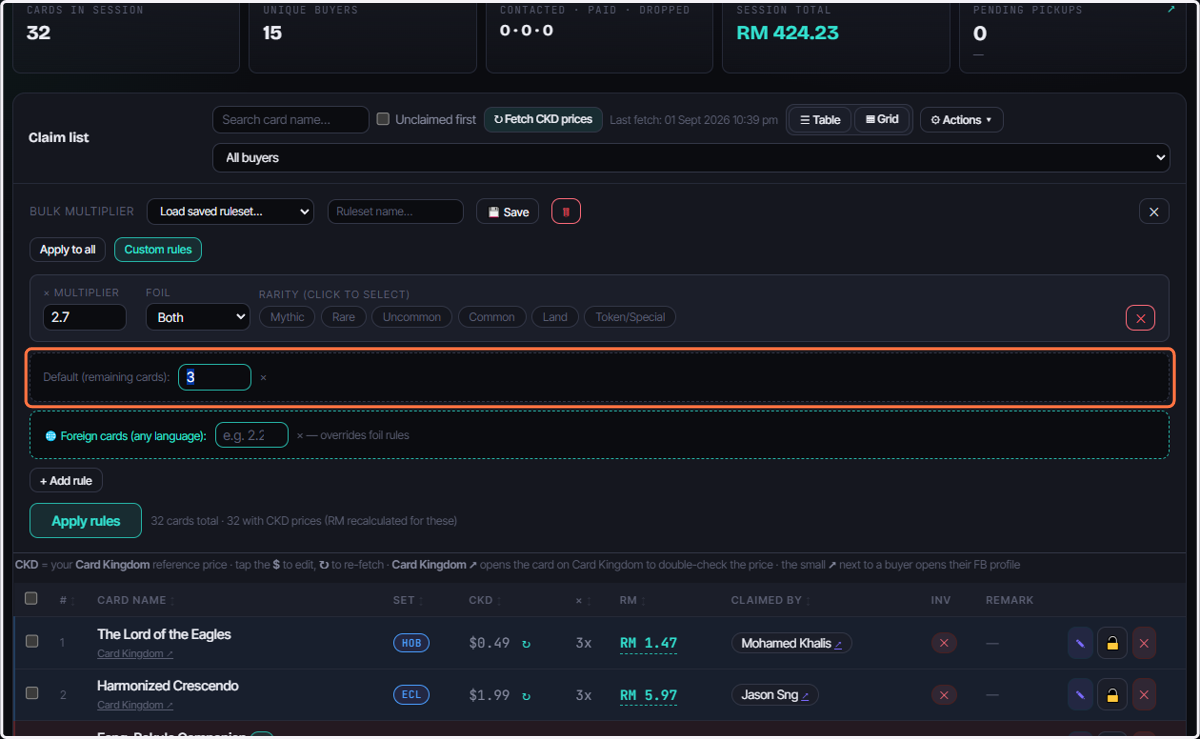
39. Setting Default
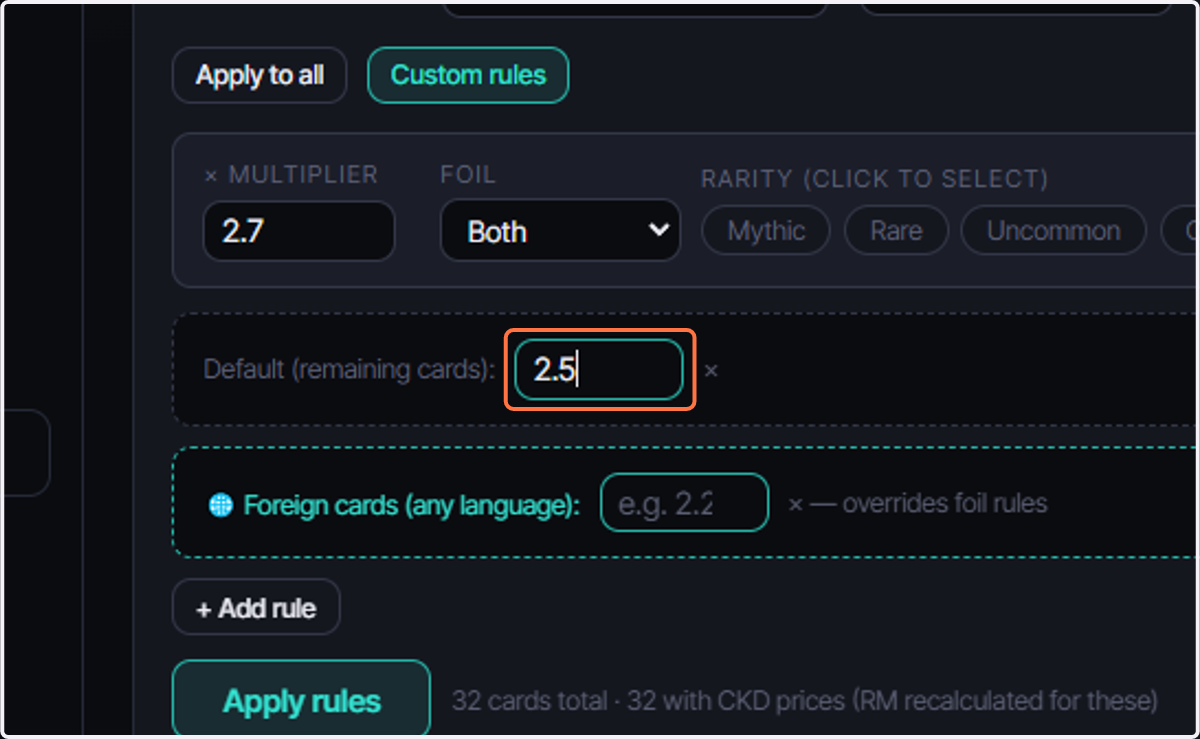
40. Type "2.5"
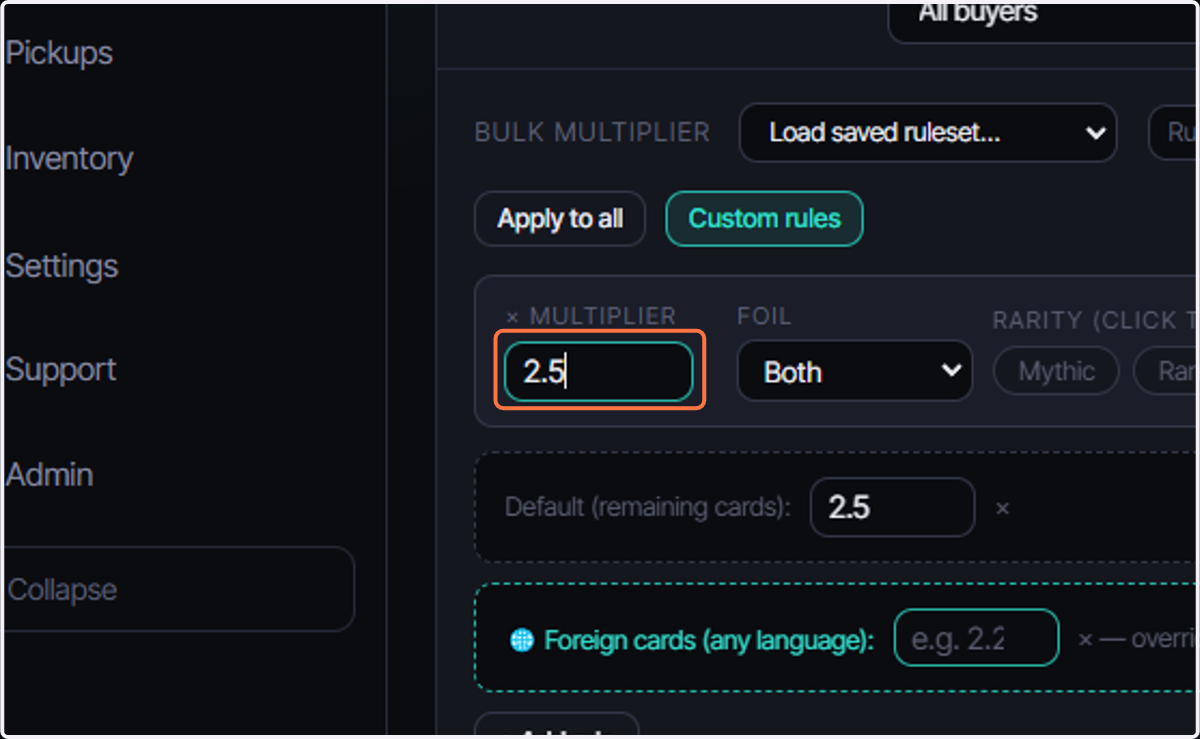
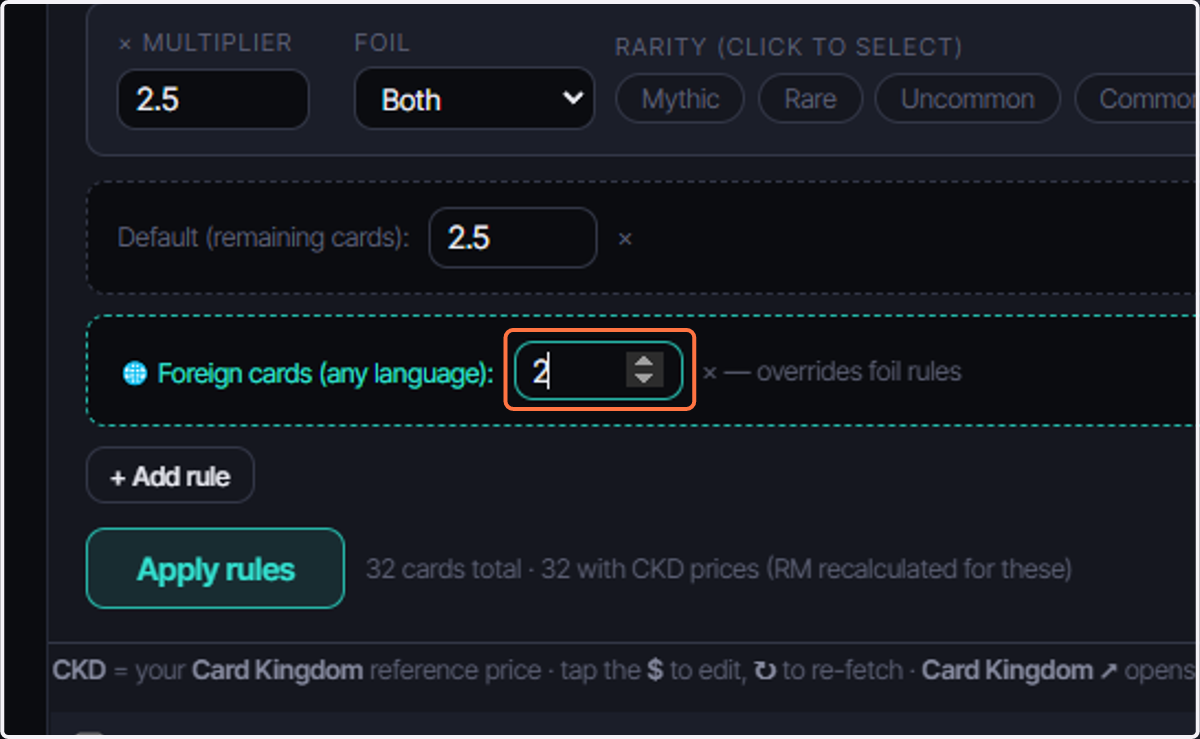
41. Setting for Foreign
We can also Set for Foreign cards at a different rate. But Dont forget to identify the foreign cards when adding them!
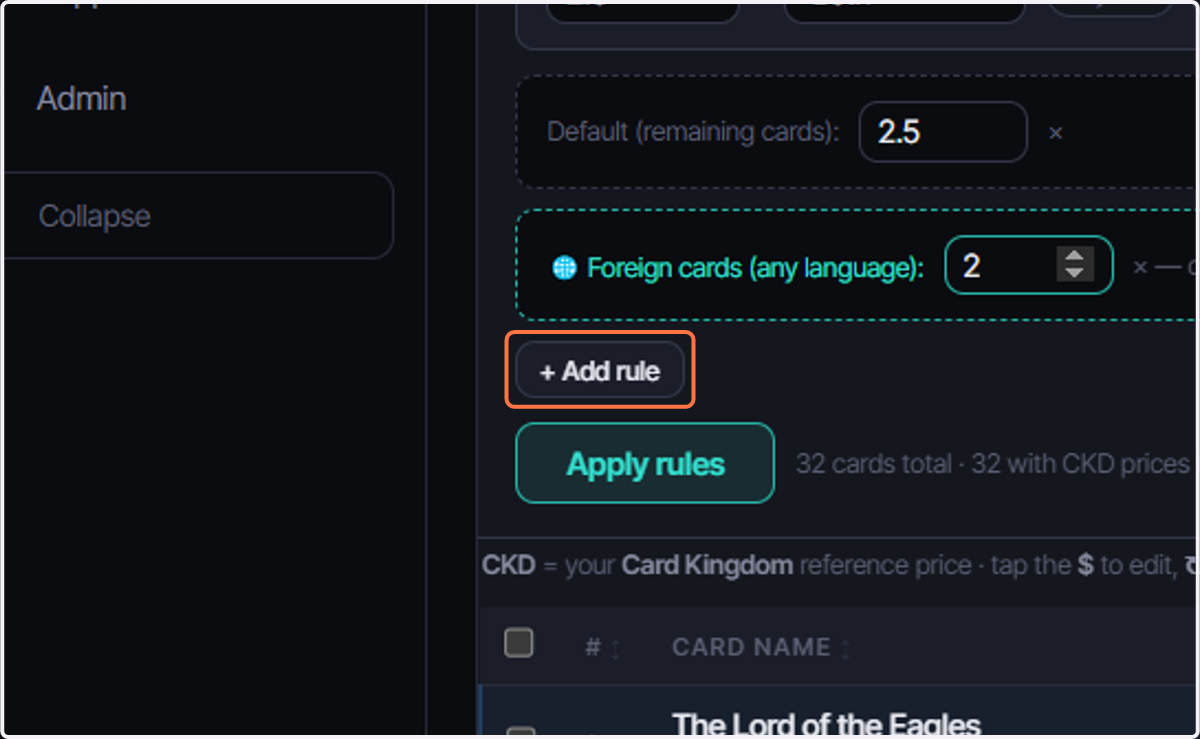
42. Adding Rules
We can add more rules if we want a more complex and comprehensive ruleset
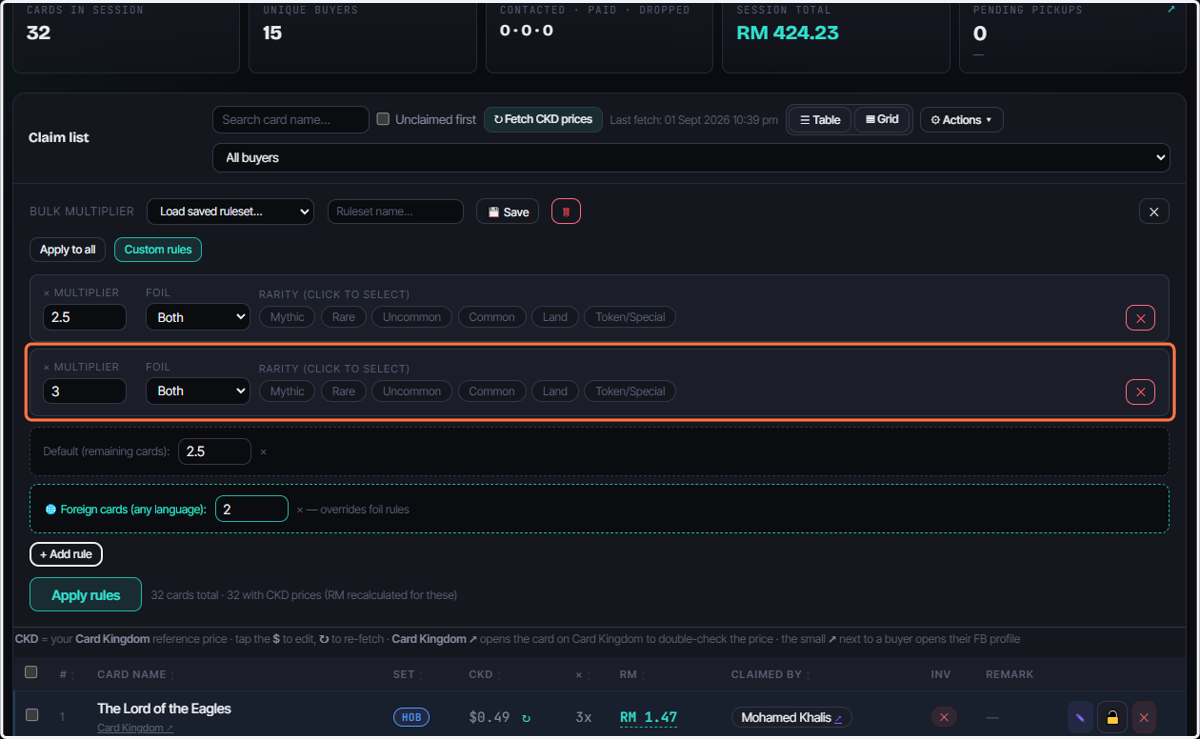
43. Layers
We can have many layers or rules that follow from top to bottom.
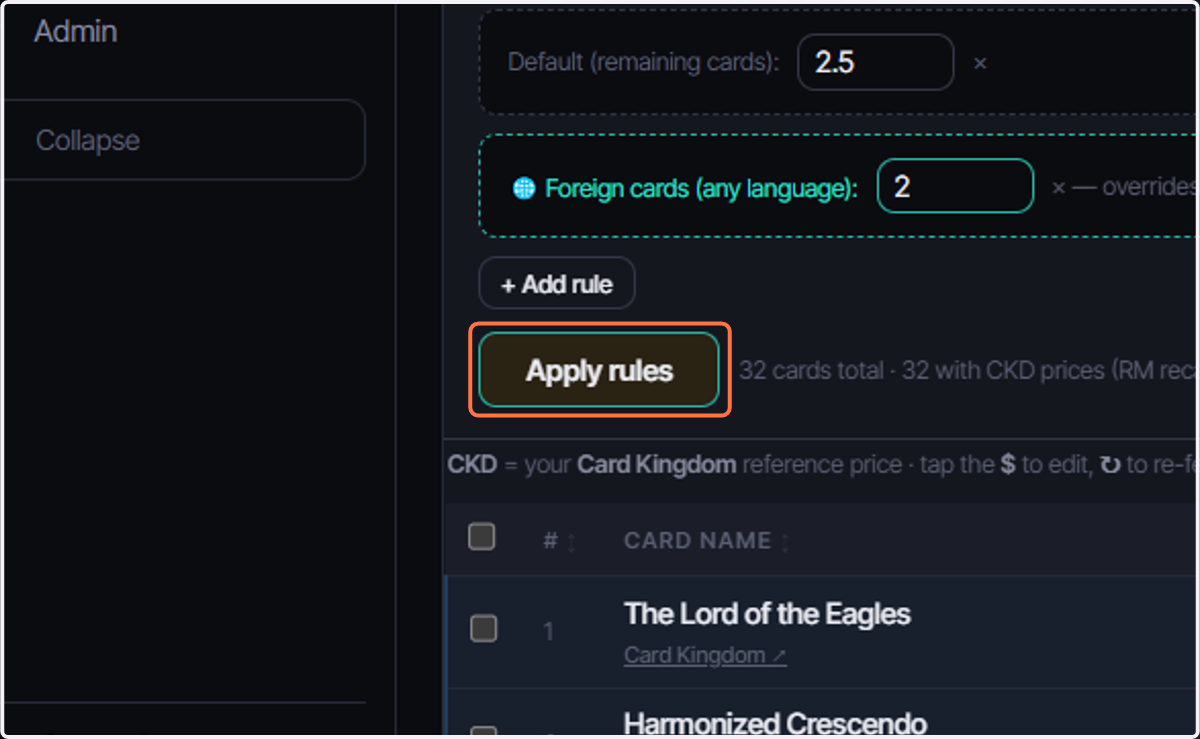
44. Click on Apply rules
It will reflect all cards (aside from locked cards)
45. Multiplier Updated!
We can see the multiplier have been updated but the prices is not being rounded. Lets Fix that
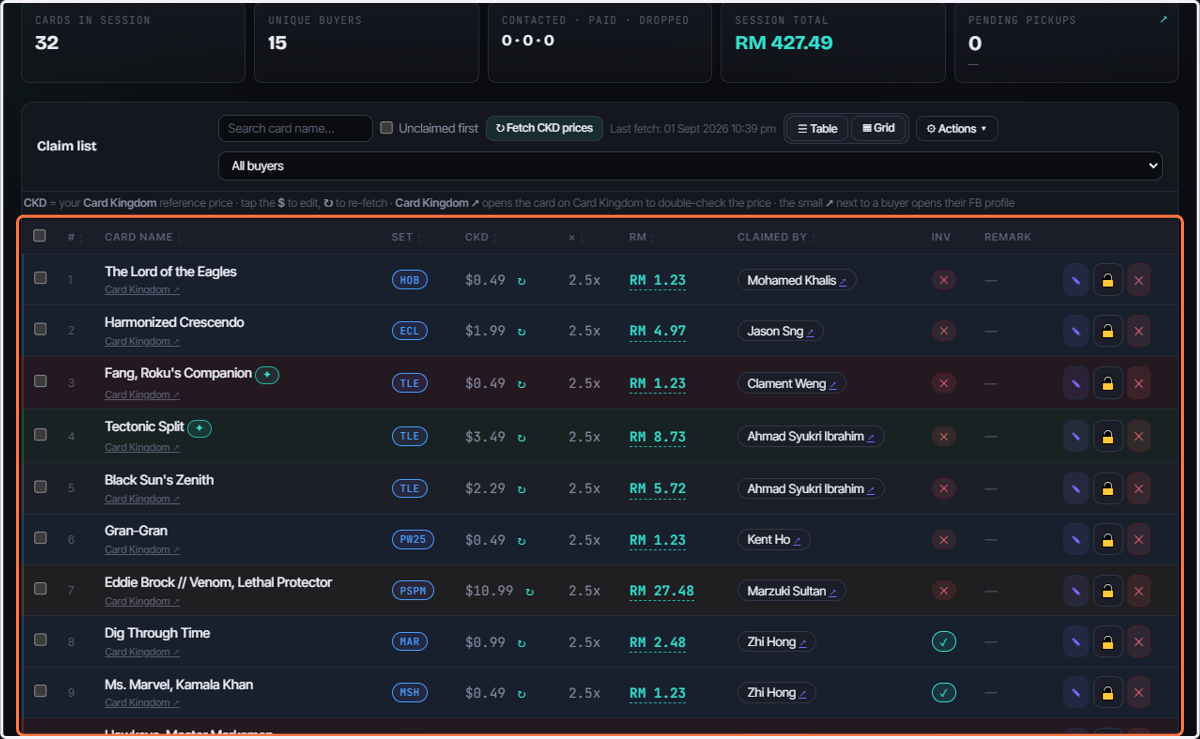
46. Click on ⚙ Actions ▾
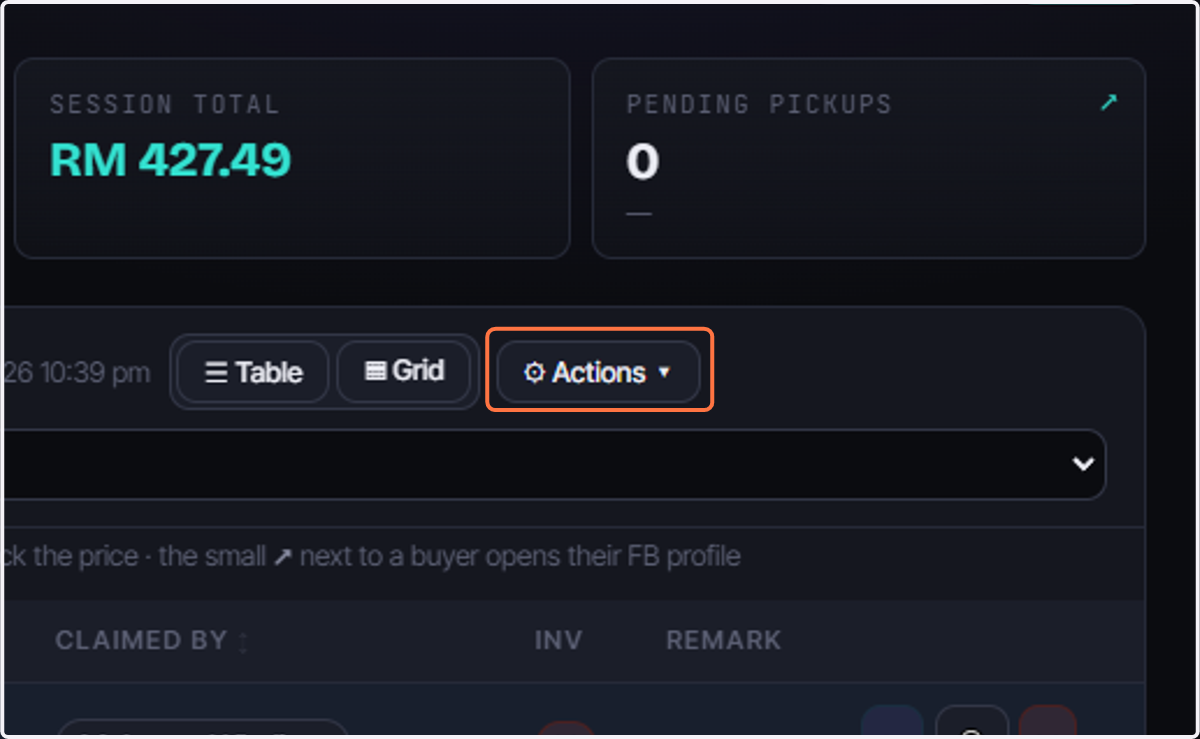
47. Click on ⌀ Round Prices
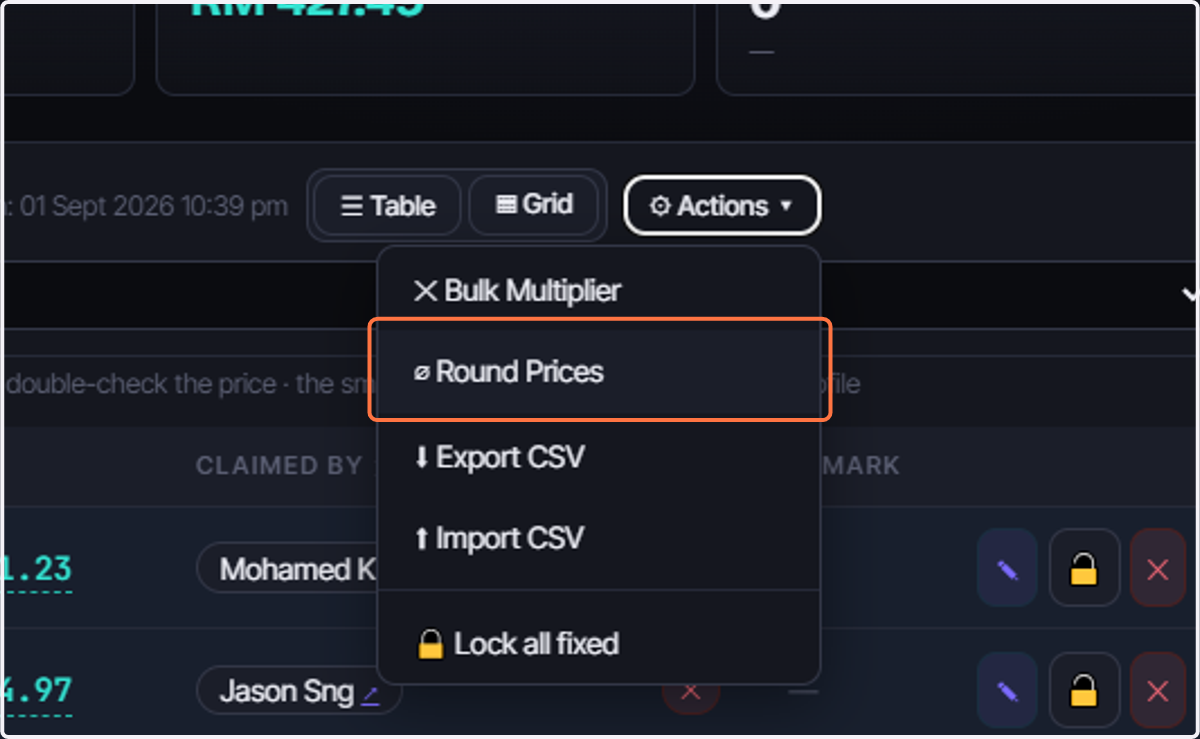
48. Select The Rounding
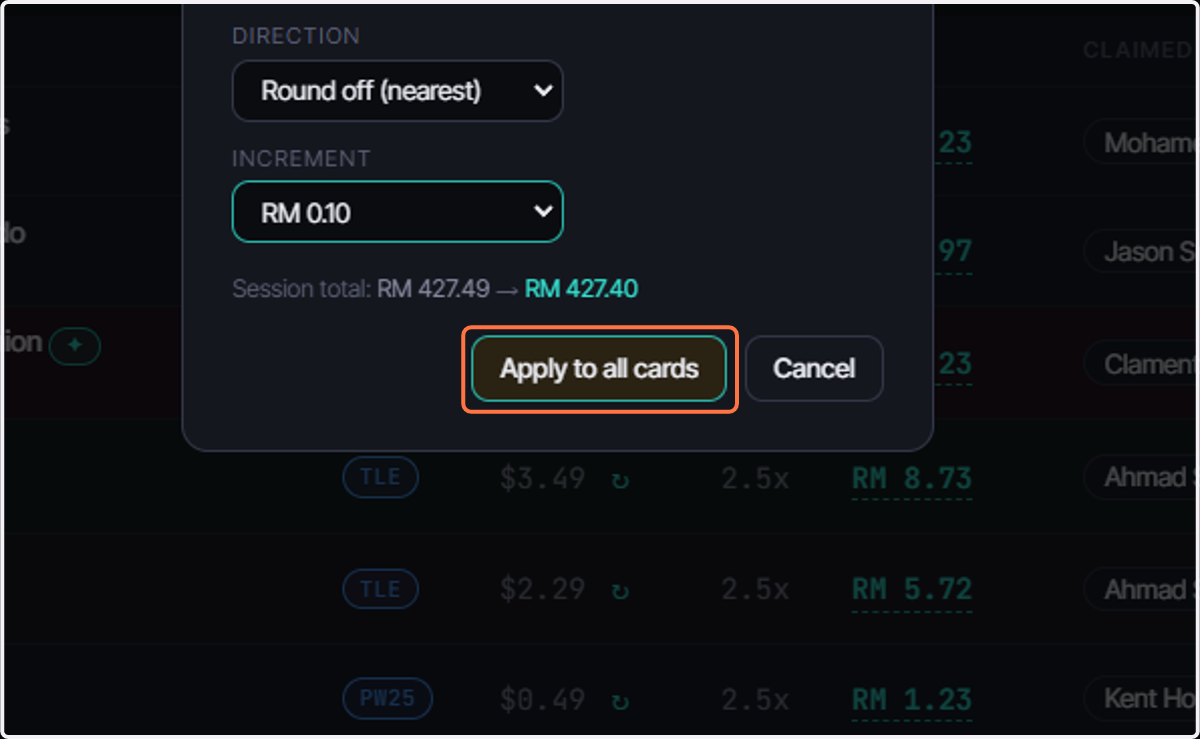
We can Round Up, Round Down or Round off to the Nearest 0.10, 0.50 or 1.00. You can decide
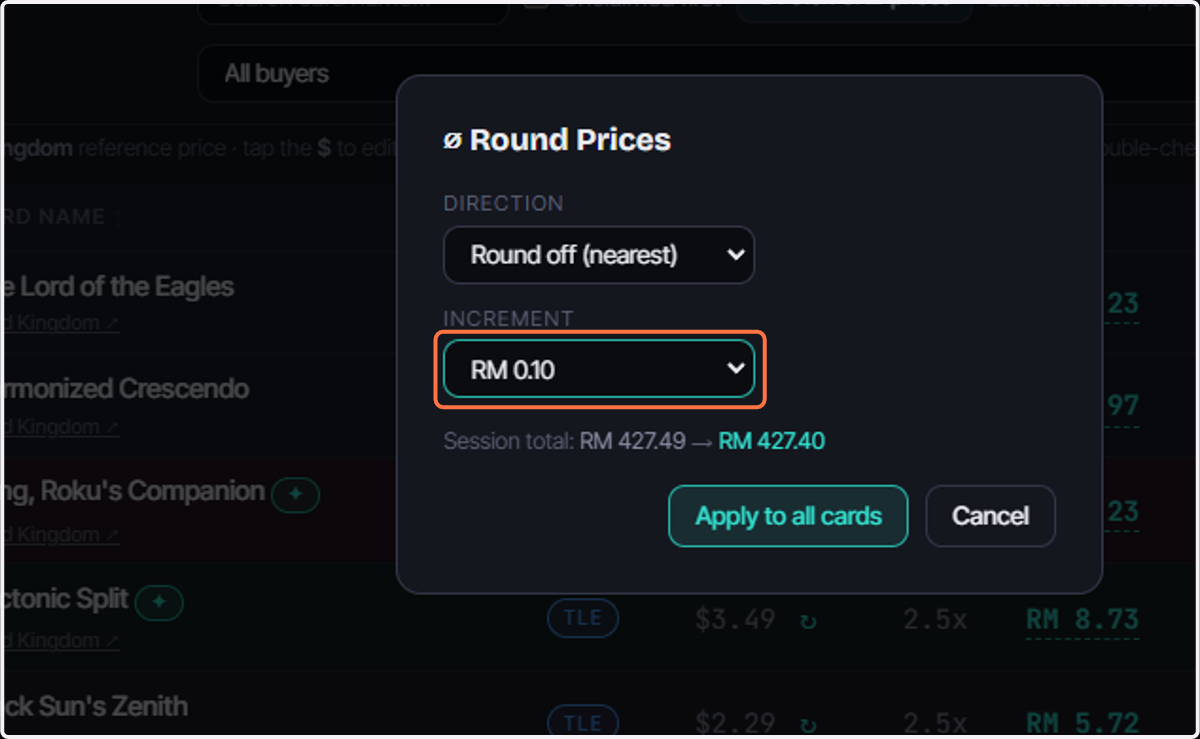
49. Click on Apply to all cards
50. Click on ↩ Revert
just incase you want to use a different setting.
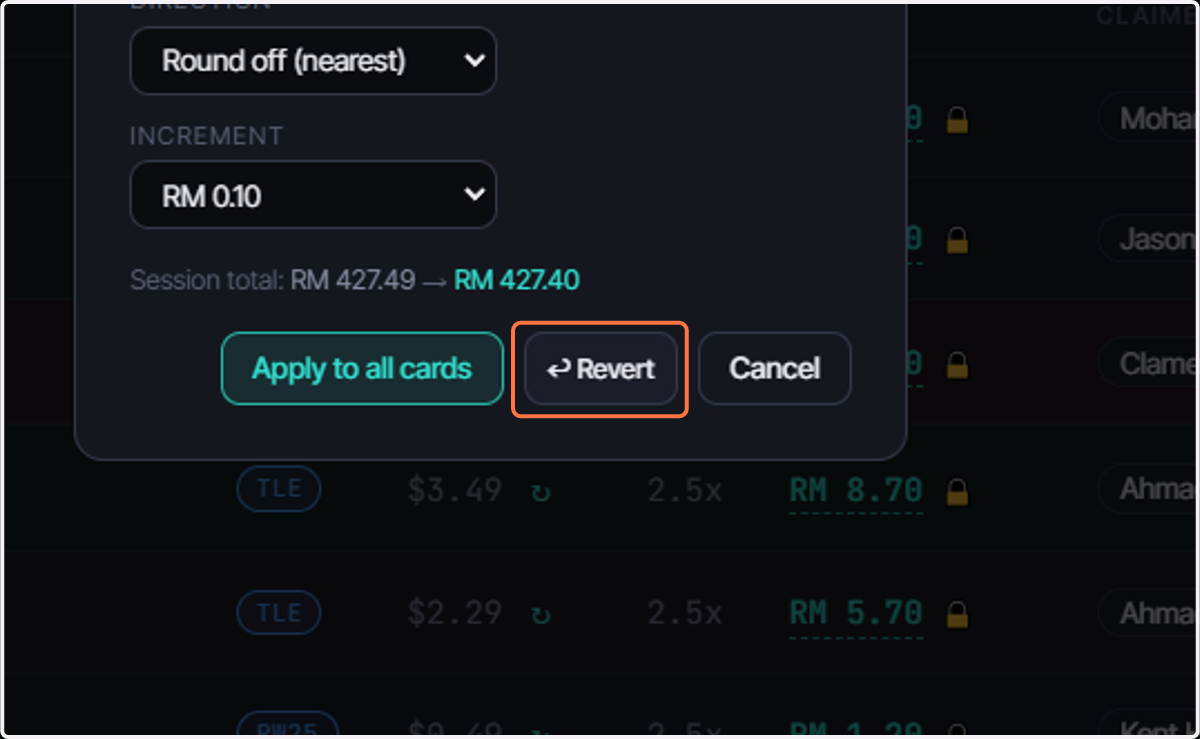
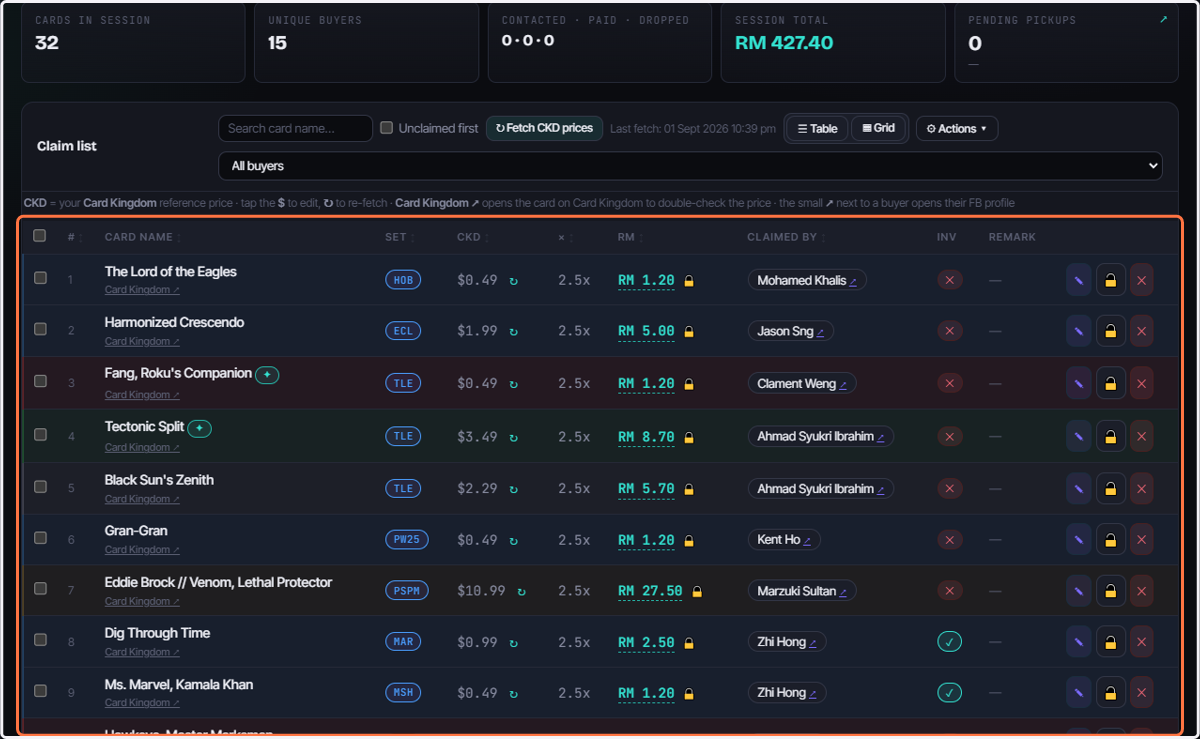
51. Prices have been updated
We can see that the prices have been rounded off and being Locked! This is so we dont accidentally re-updated them.
52. Reaching to our Customers
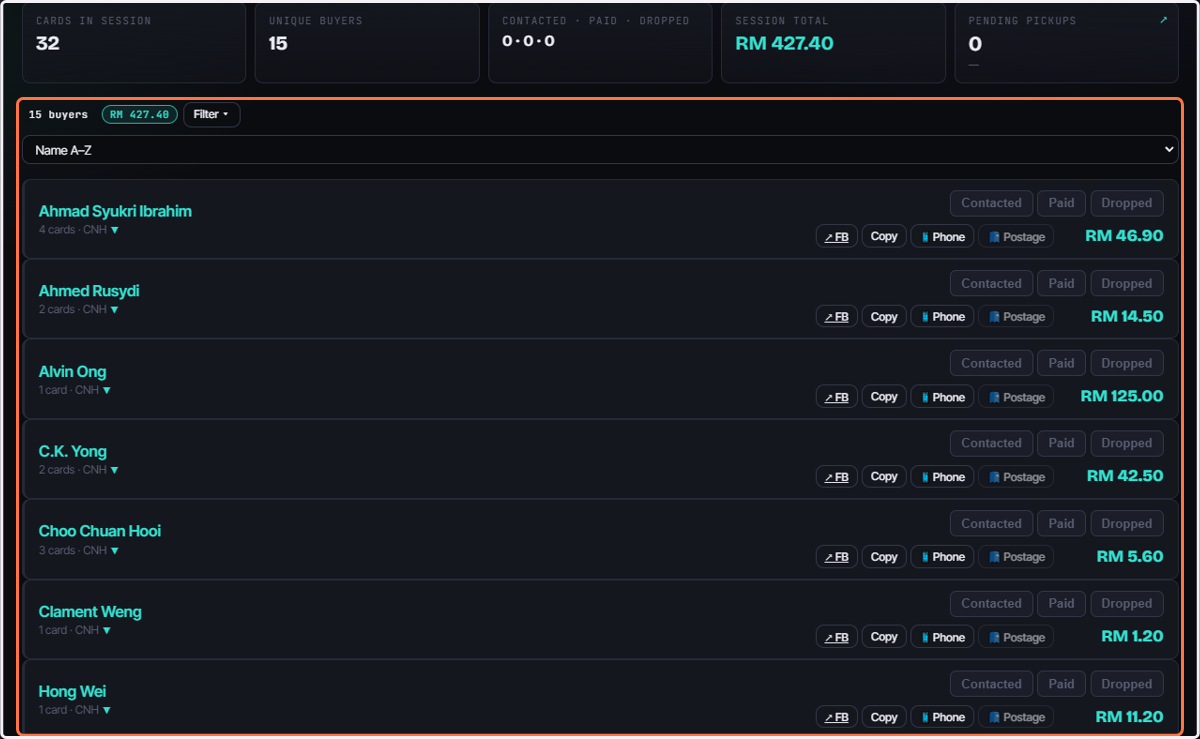
We can reach out our buyers by clicking on the buyer section.
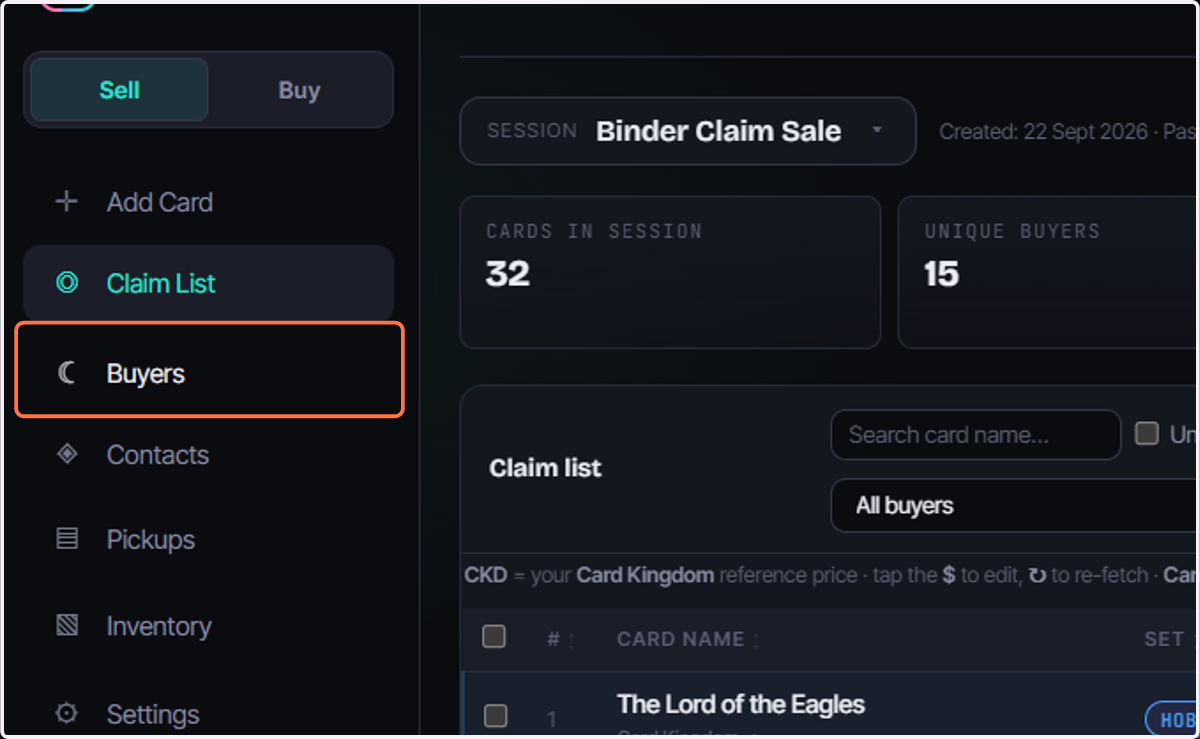
53. We can view all our buyers in this view.
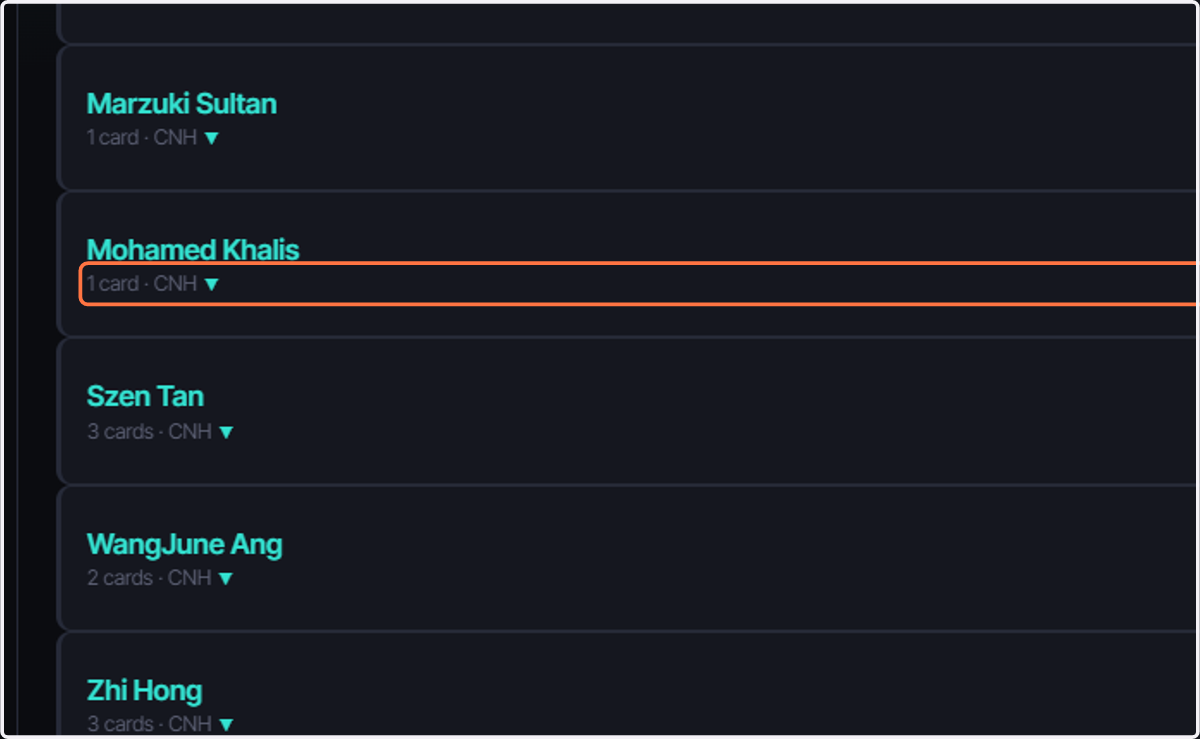
54. Viewing Cards
We can verify the cards while we pack them by clicking the drop down menu
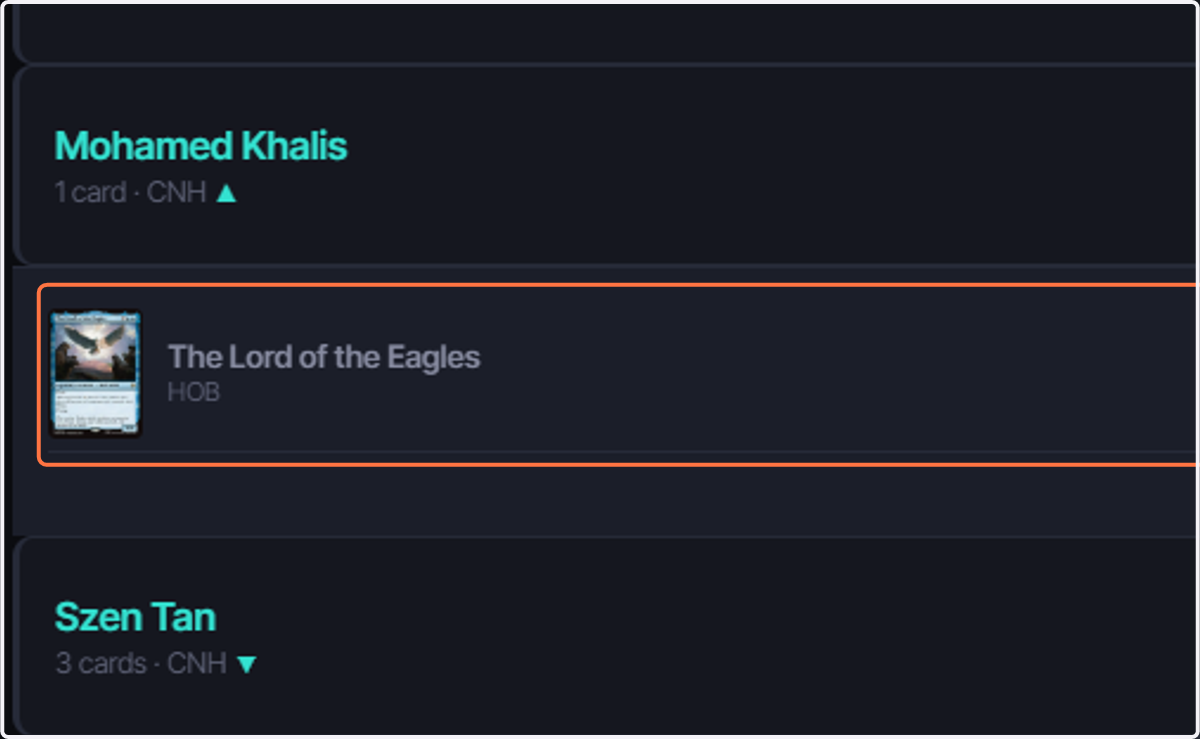
55. Verify the cards
we can see which cards to pack for which buyer
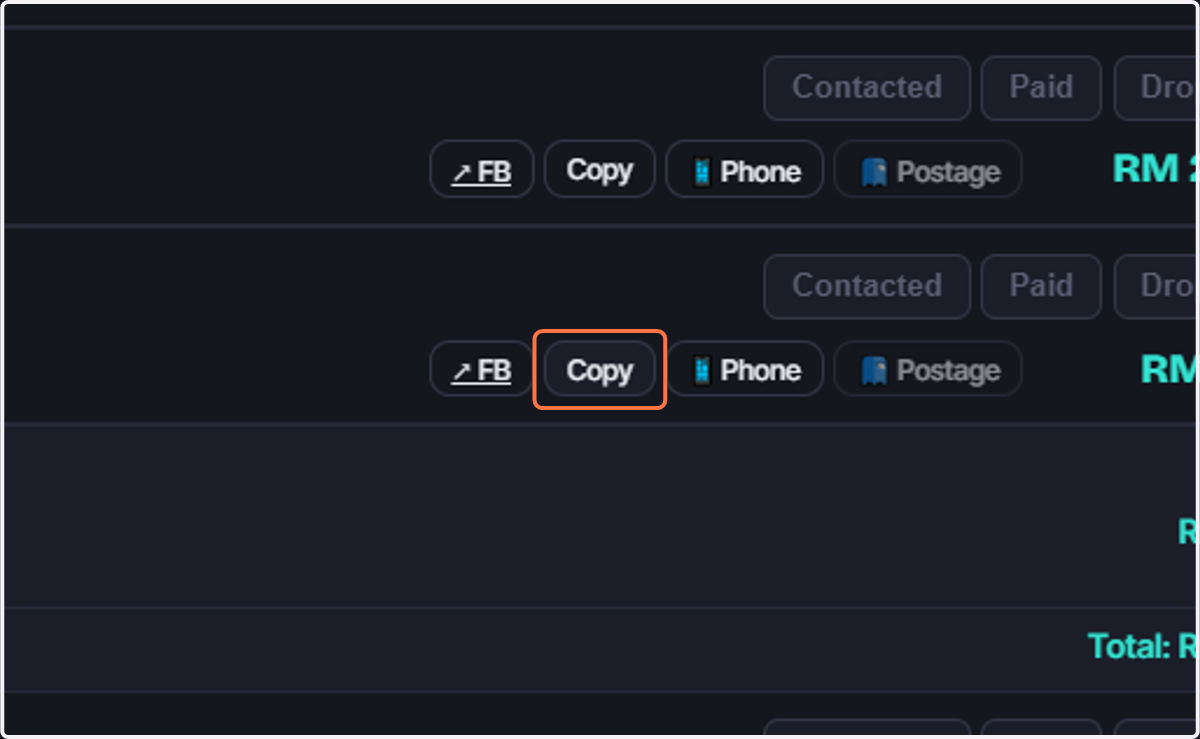
56. Click on Copy
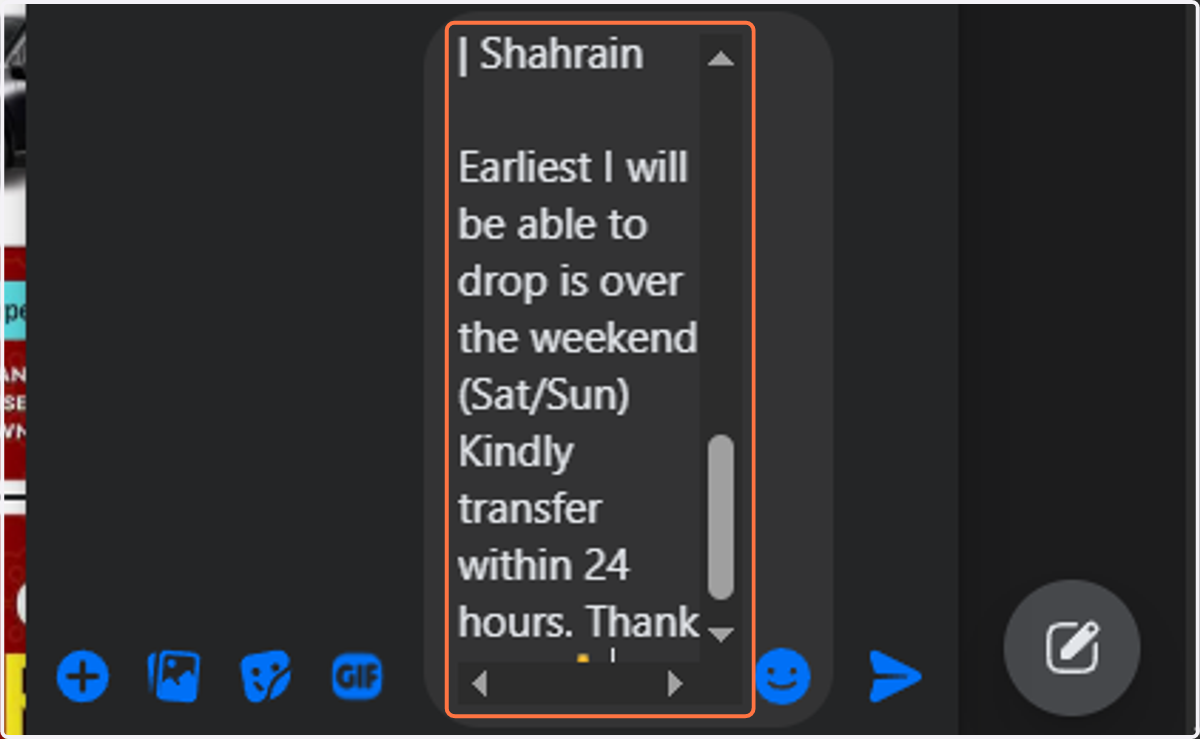
to copy the message we have set in the setting that will contain all of our banking details aswell as the buyer cards and price of them
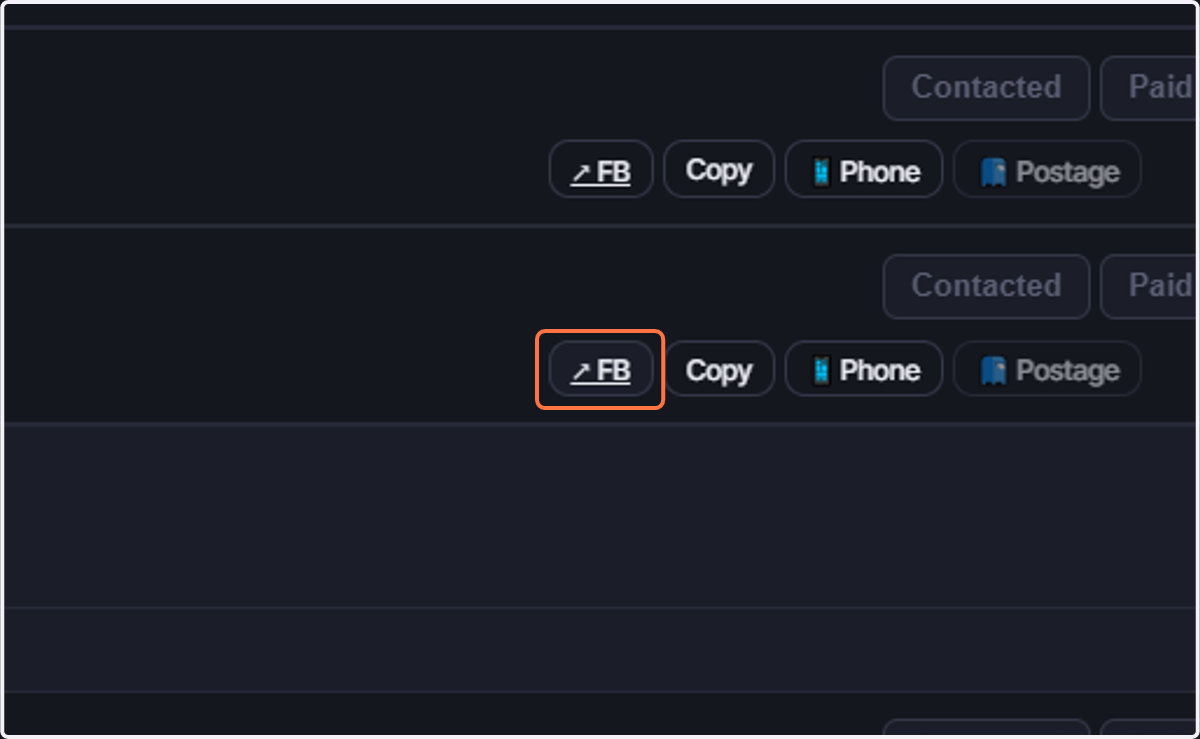
57. Click on ↗ FB
to redirect to their facebook page.
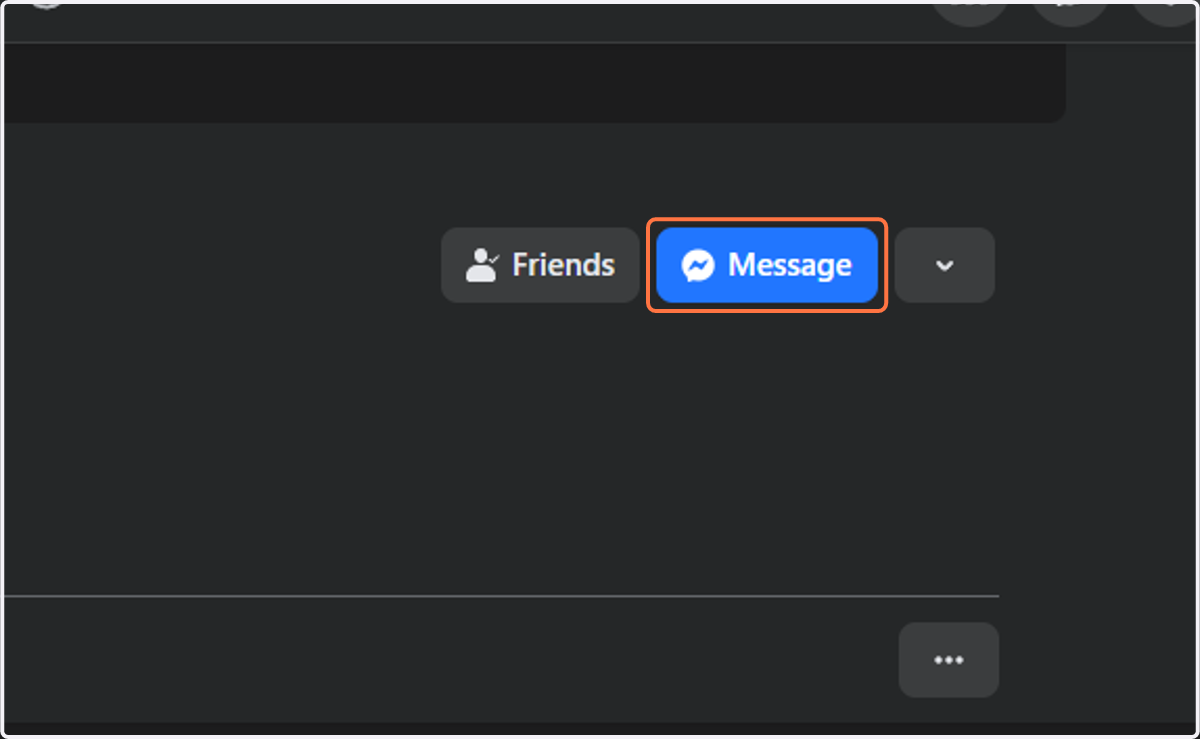
Direct Link to facebook user page
58. Click on Message
59. Paste Automatic Copied Message
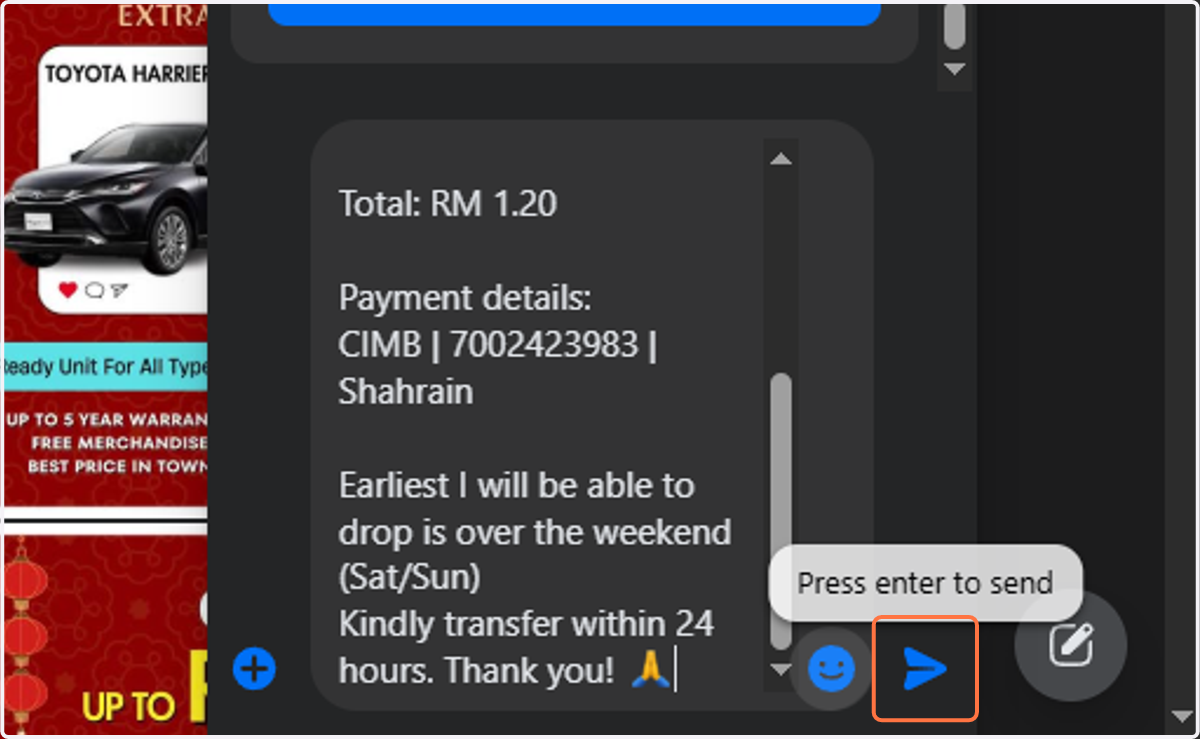
60. Send message
You can see from the item of the cards and your bank details will appear
KadoVault
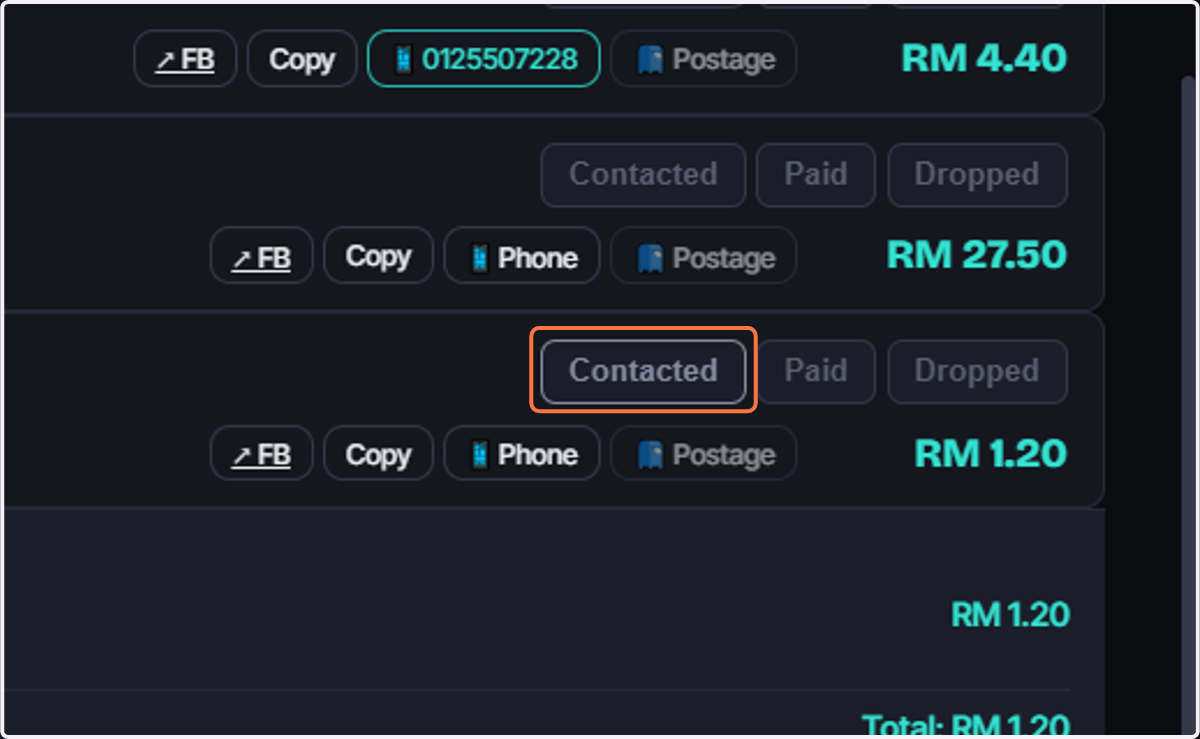
61. Click on Contacted
to track that this customer has been contacted
62. We can see user has paid
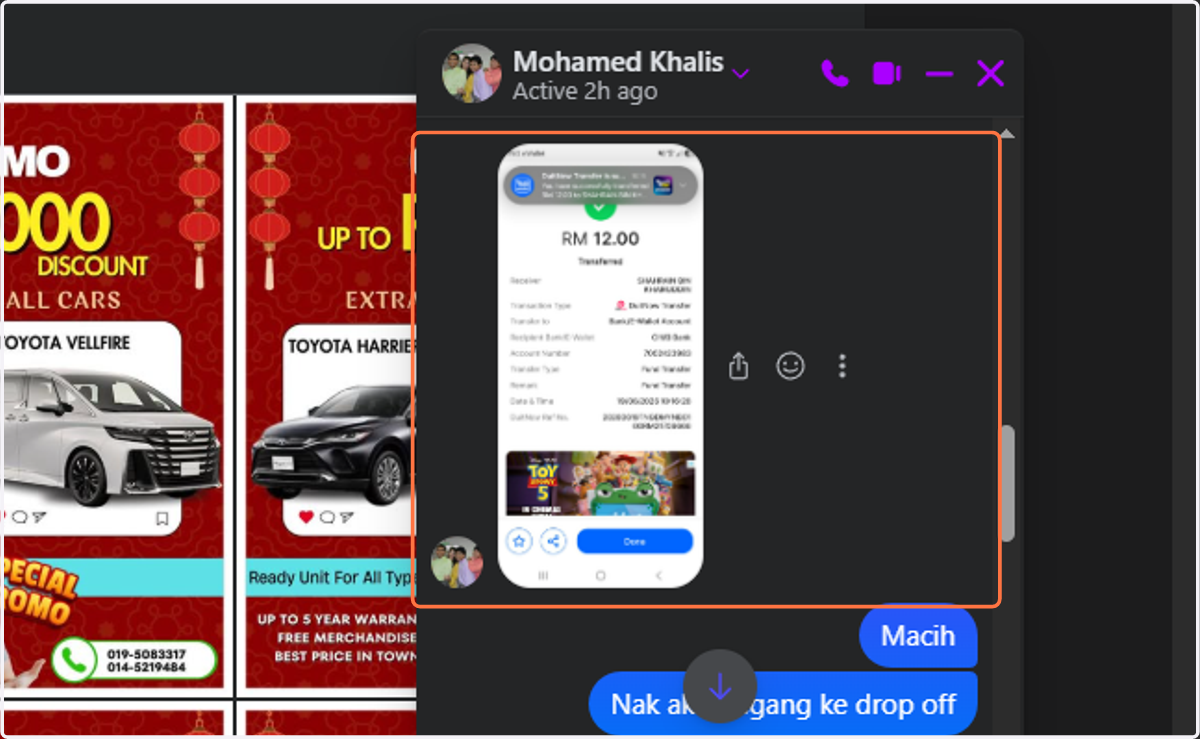
KadoVault
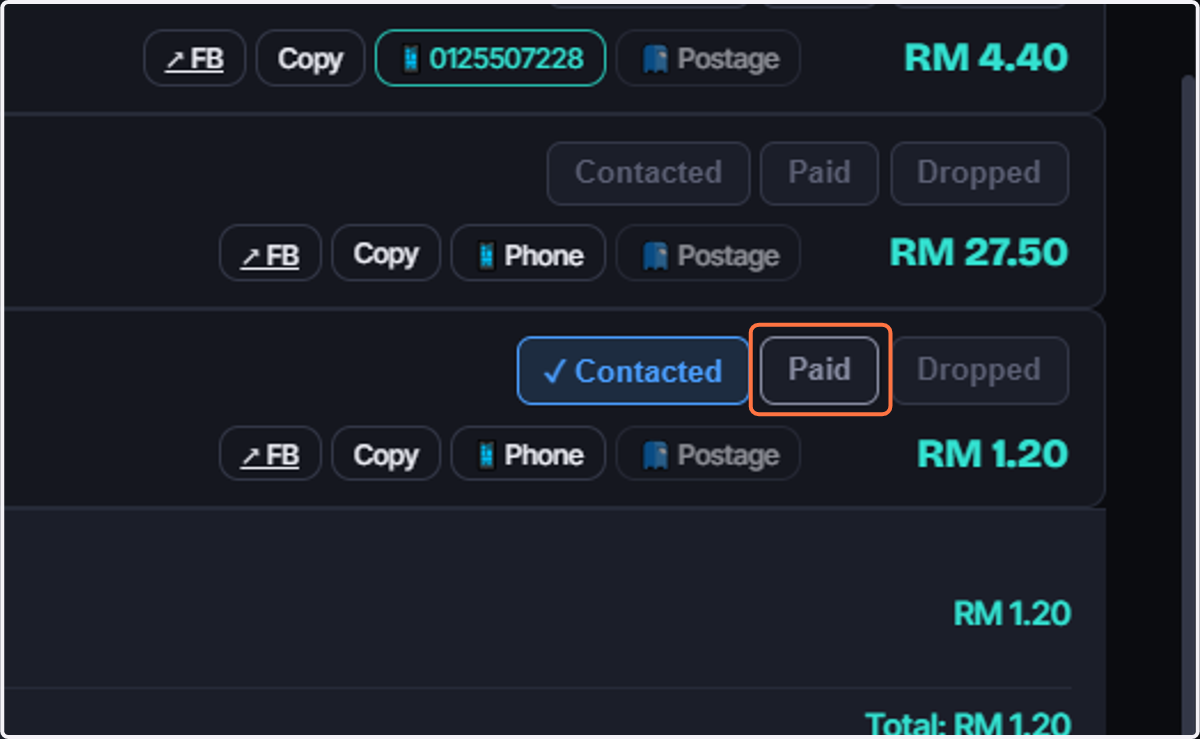
63. Update status to Paid
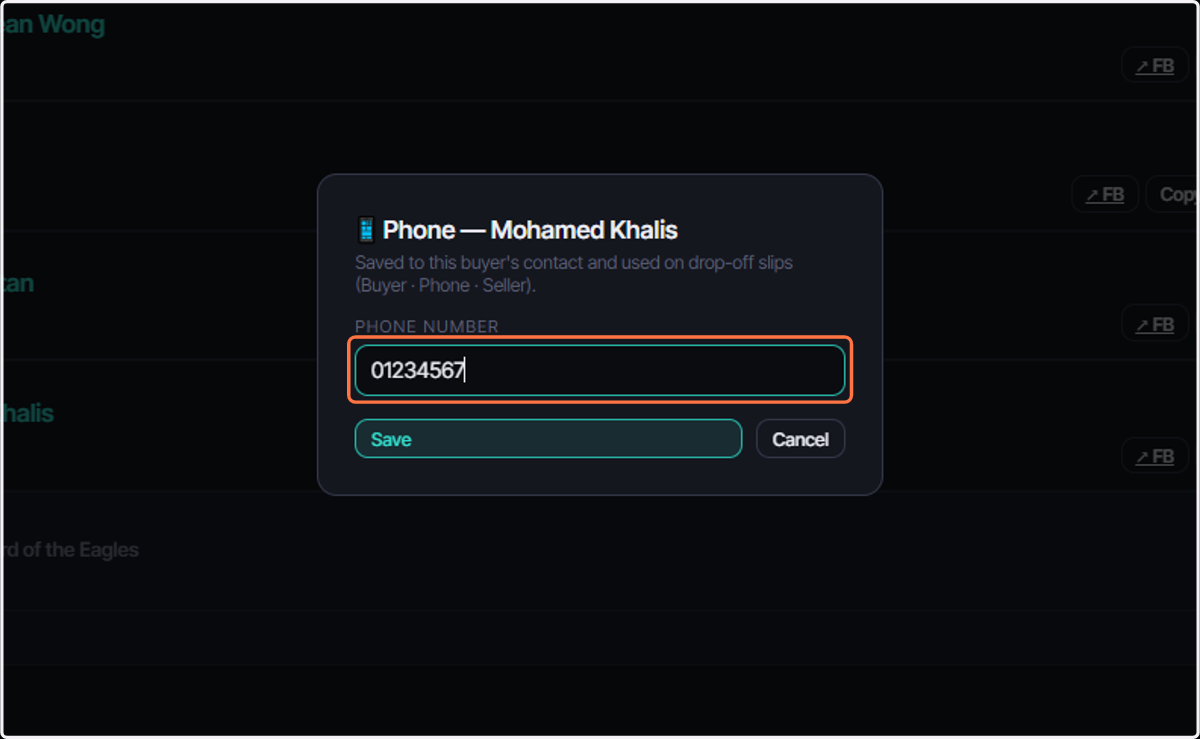
64. Click on 📱 Phone
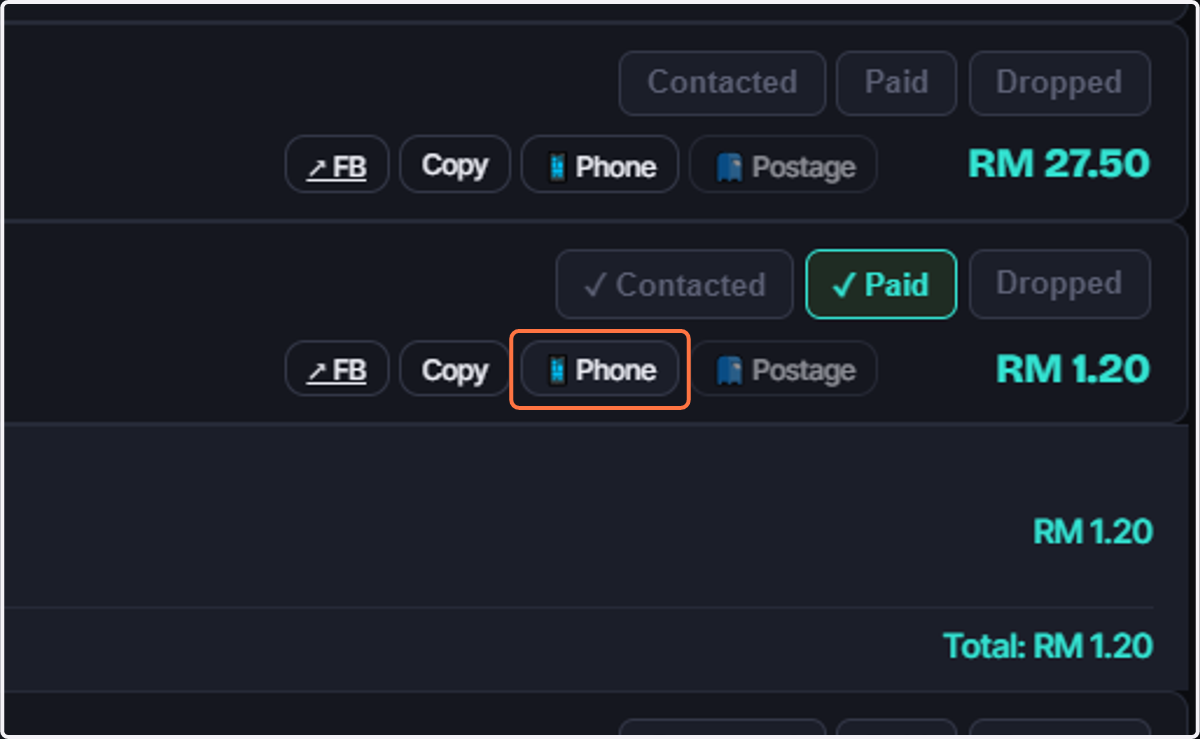
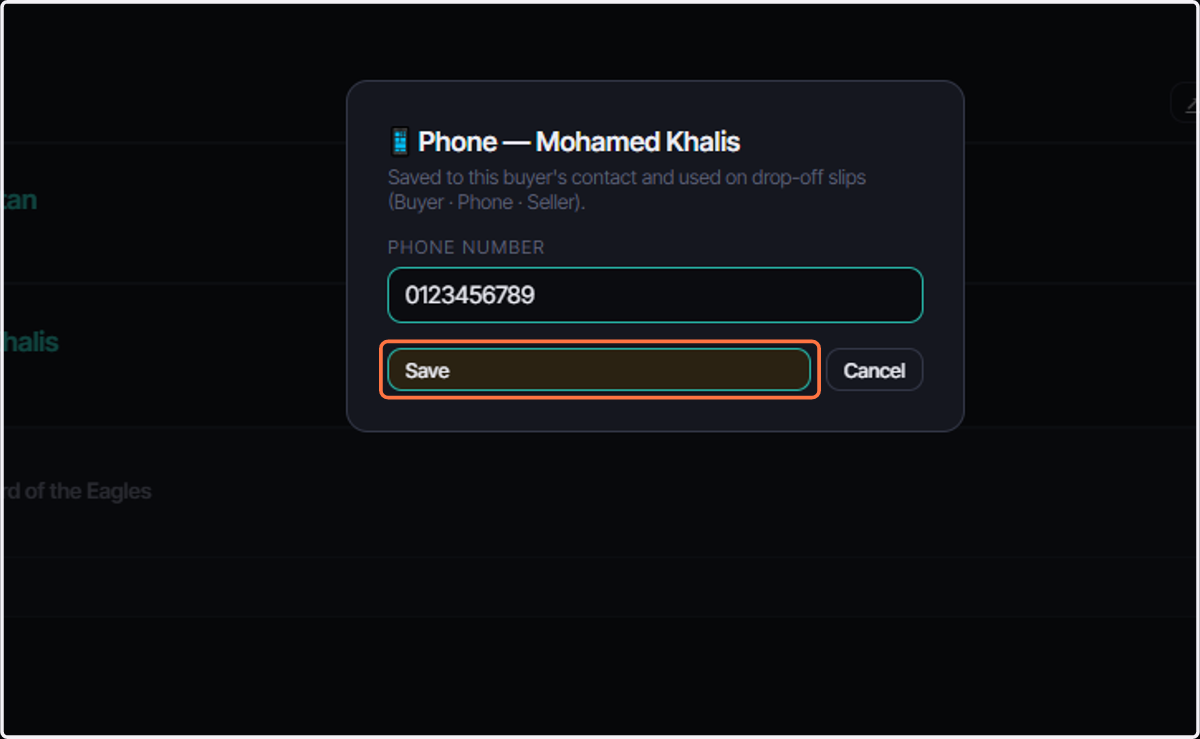
65. Fill in phone number
from drop off details we will get number and then we can update here.
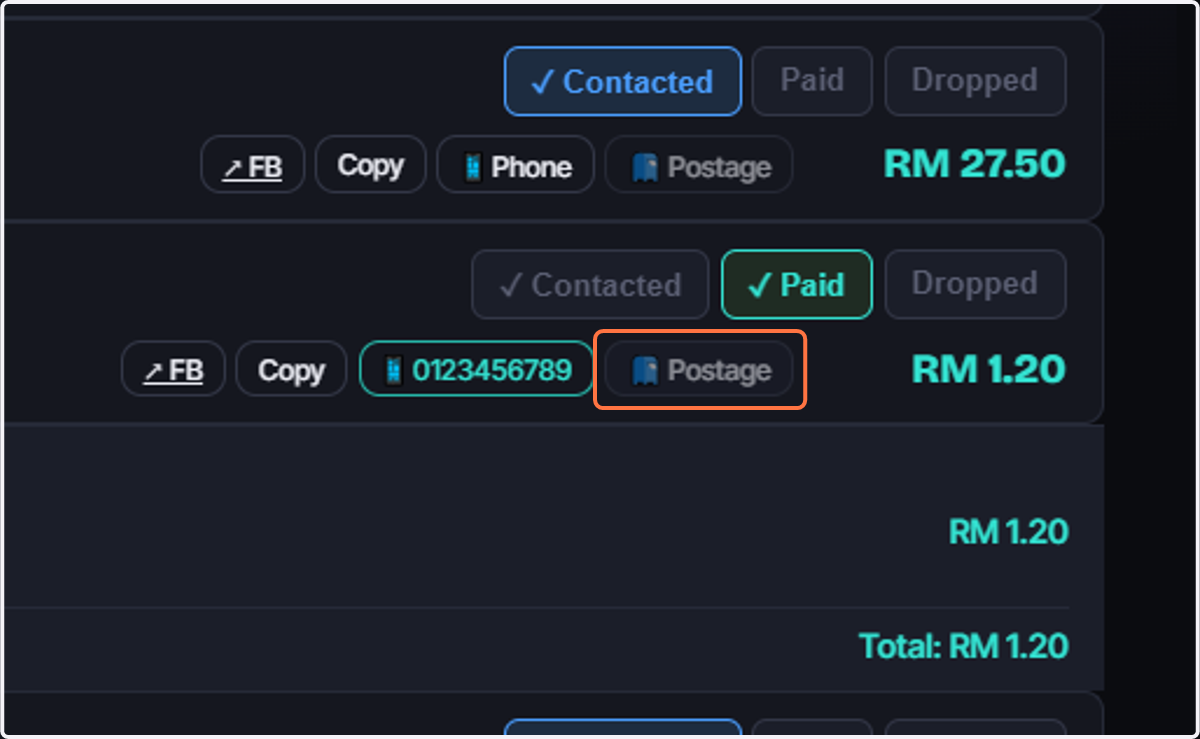
66. Click on 📮 Postage
if customer require and wanted postage we can add it here.
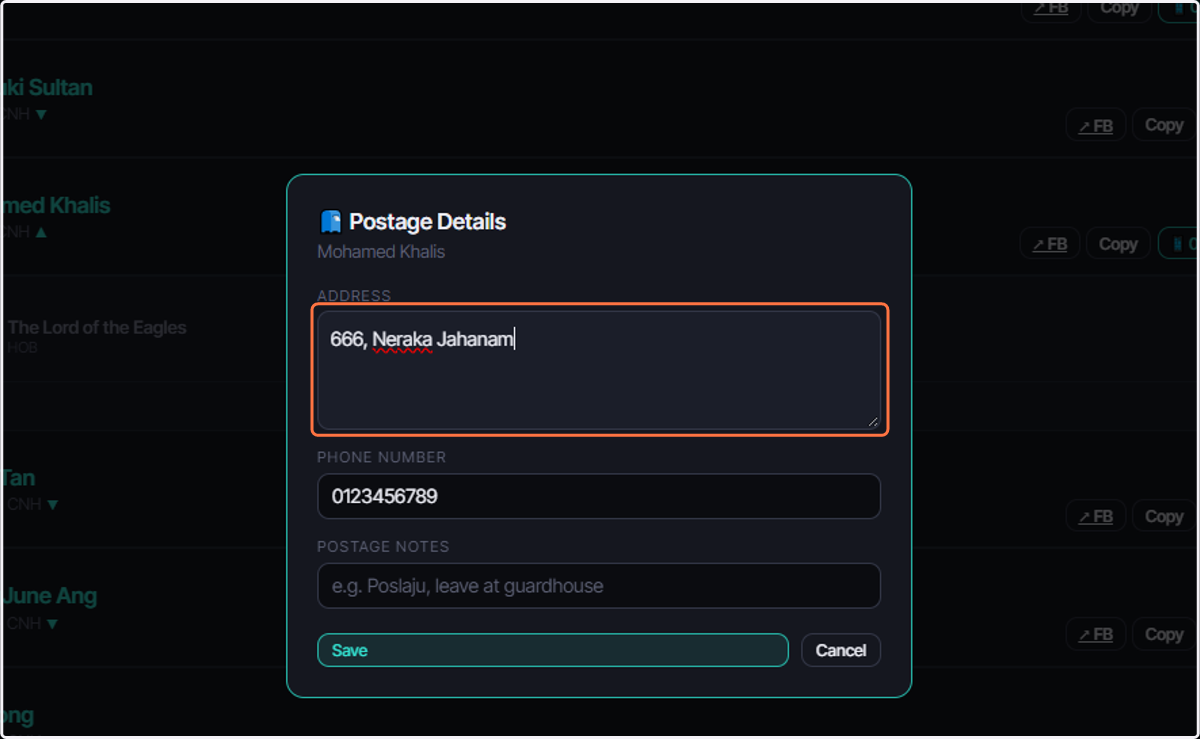
67. Insert Address
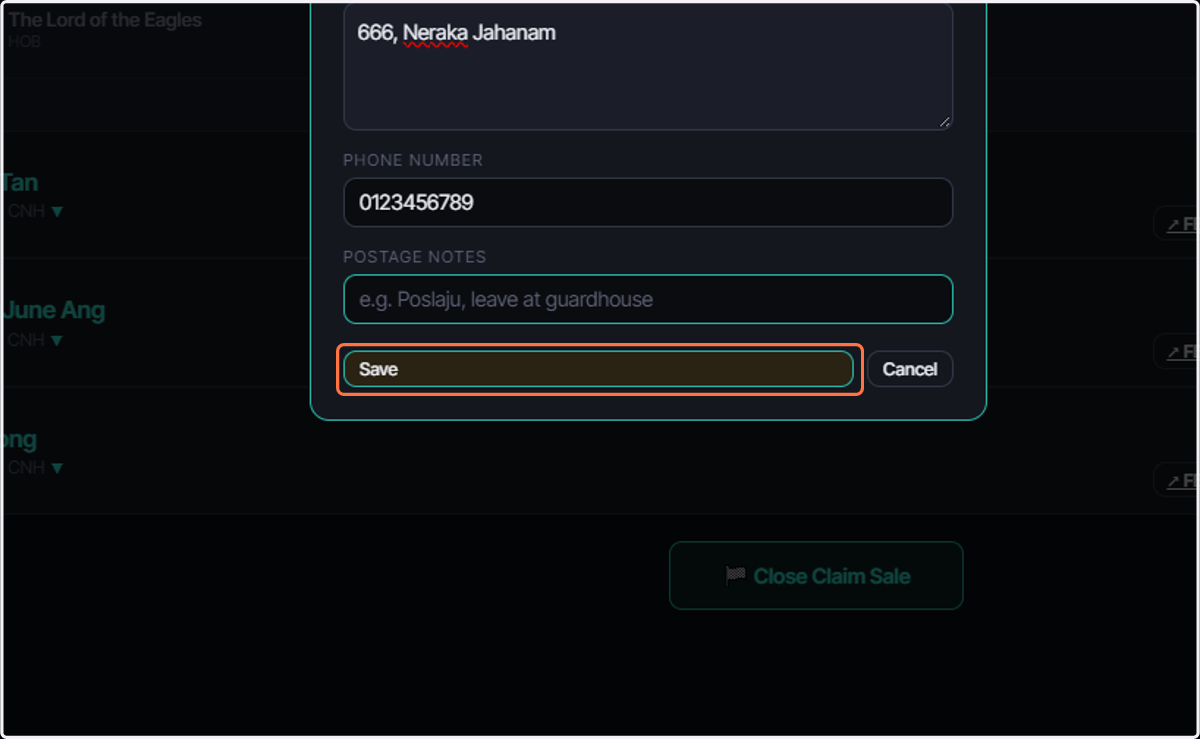
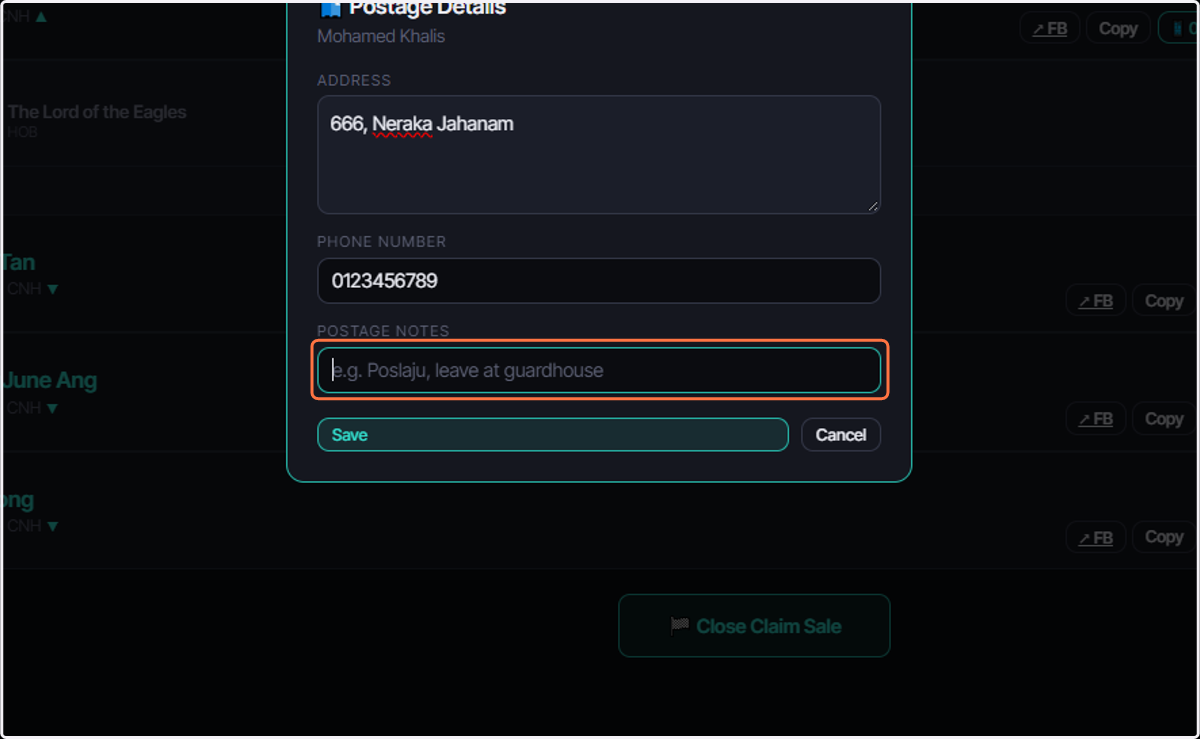
68. Click on POSTAGE NOTES
for additional notes that we need.
69. Postage Icon
we can see clearly that we have updated postage for this buyer
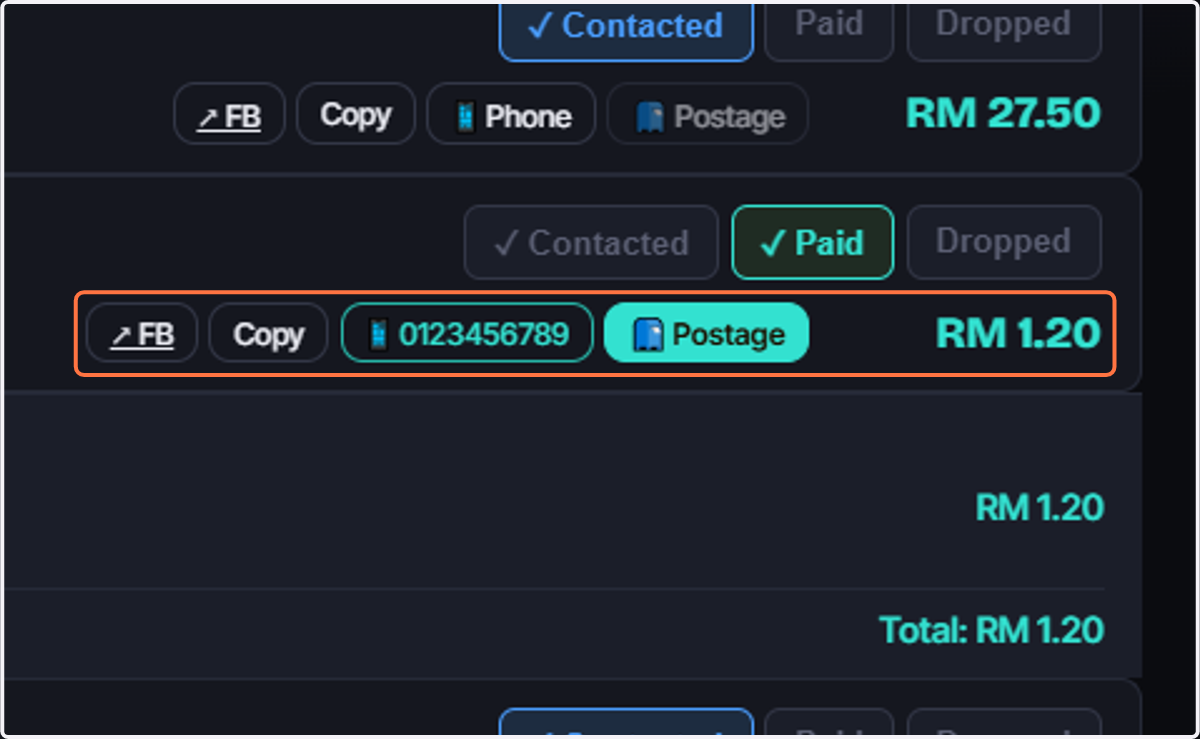
70. Click on Save
Generating Drop off Slips
71. Print Slips
Once we have received all
72. Click on 🖨 Print Drop-off Slips…
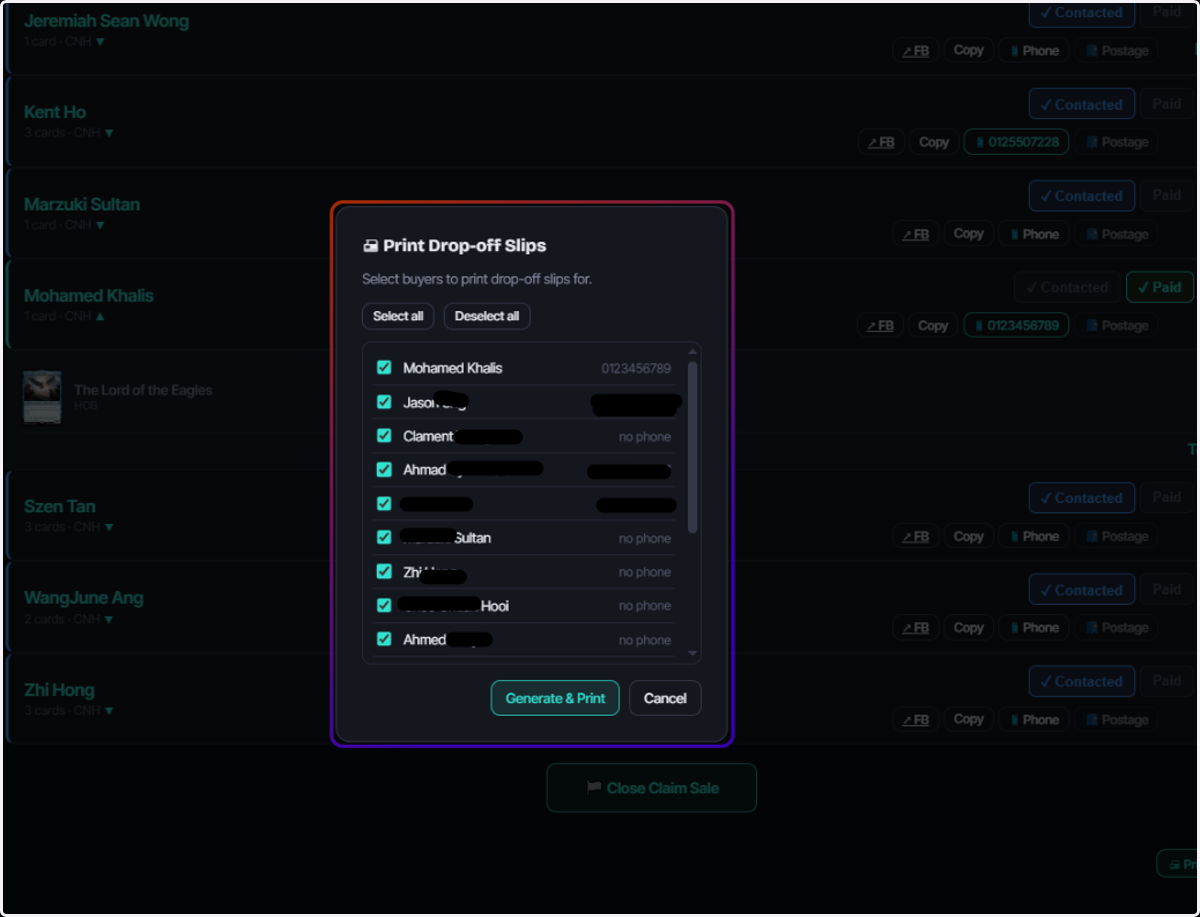
73. Click on Generate & Print
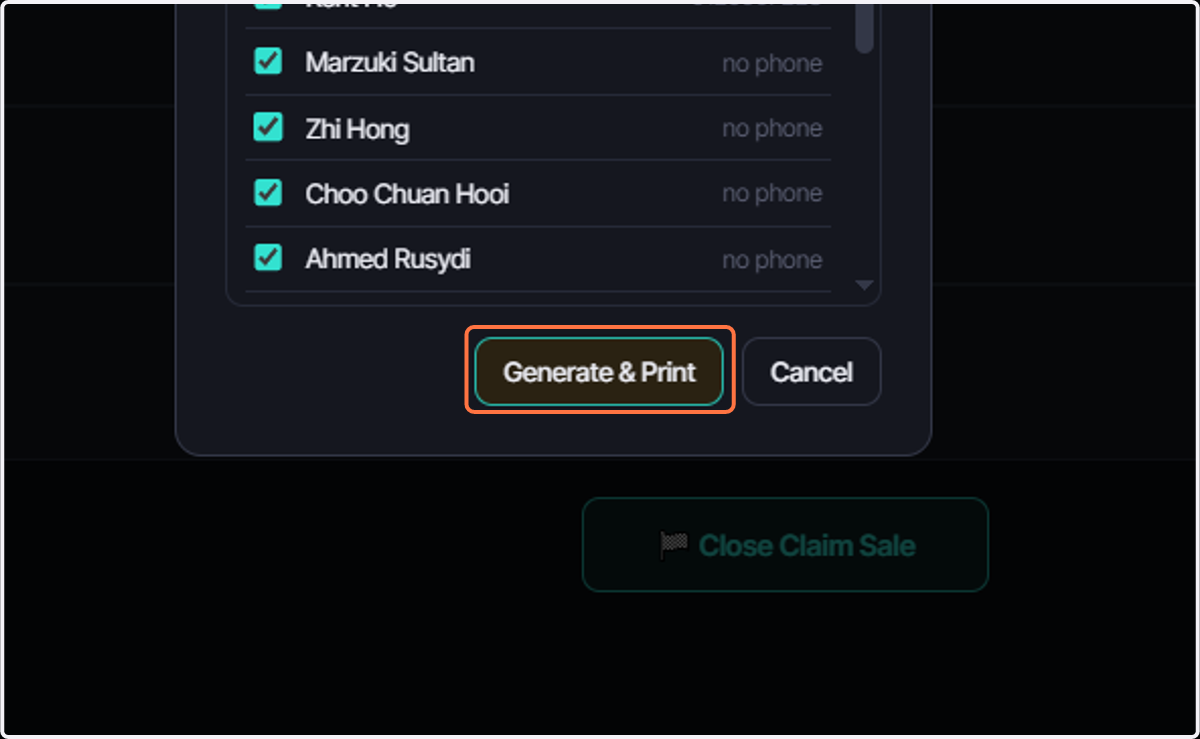
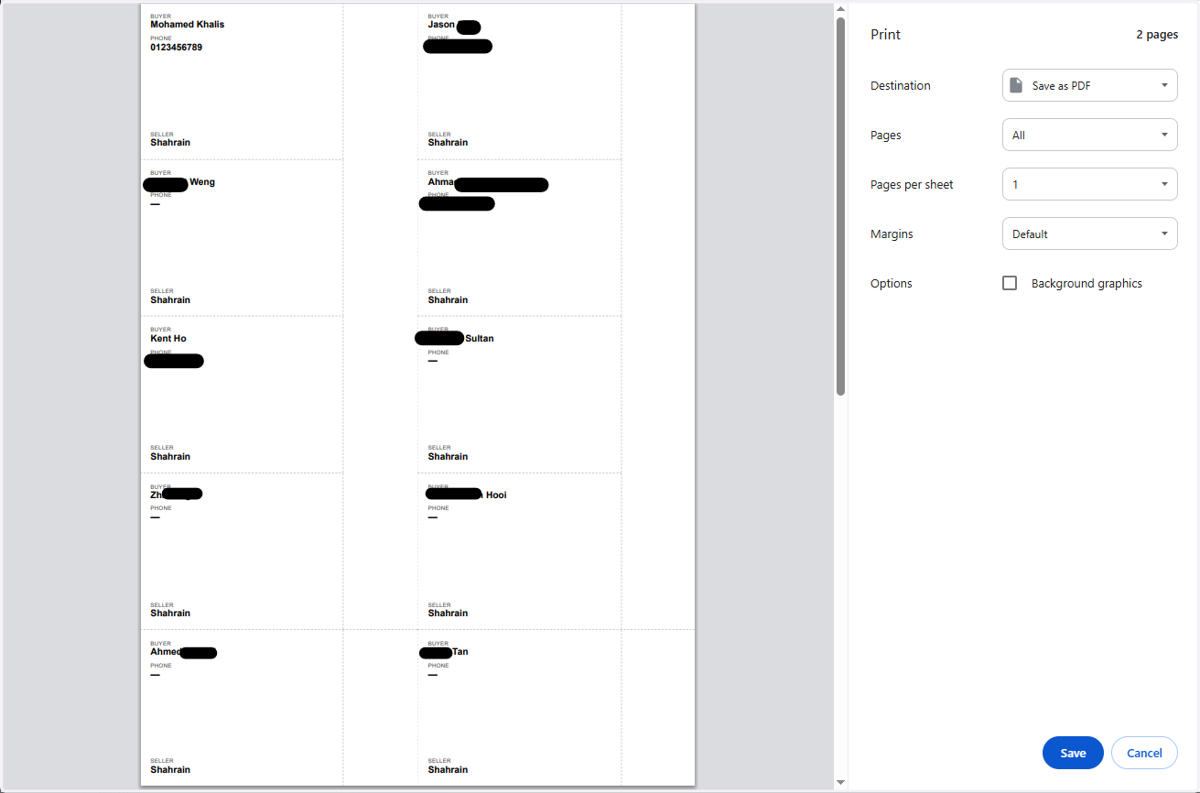
74. Print Drop of slips
All the details will be automatically filled from number and name to ease. all we need to do is print and cut!
End of Sales
After we have closed the sales and dropoff the cards we want to generate or store a report for out purpose
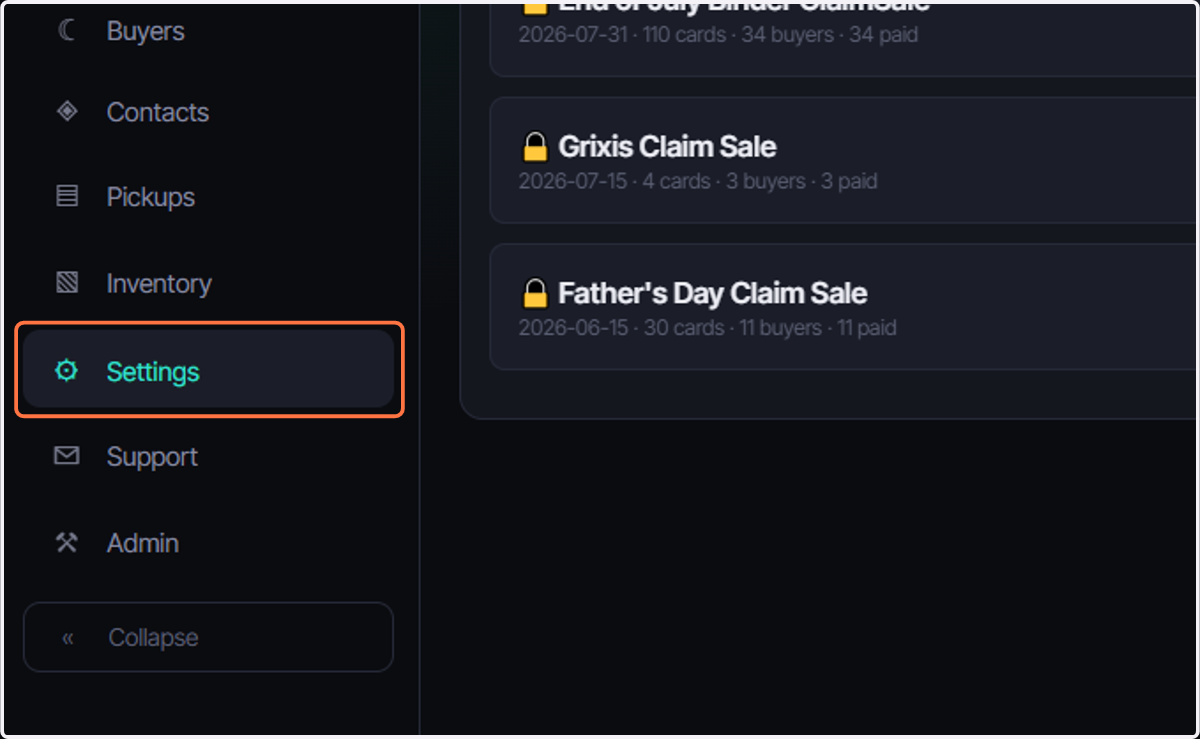
75. Click on setting
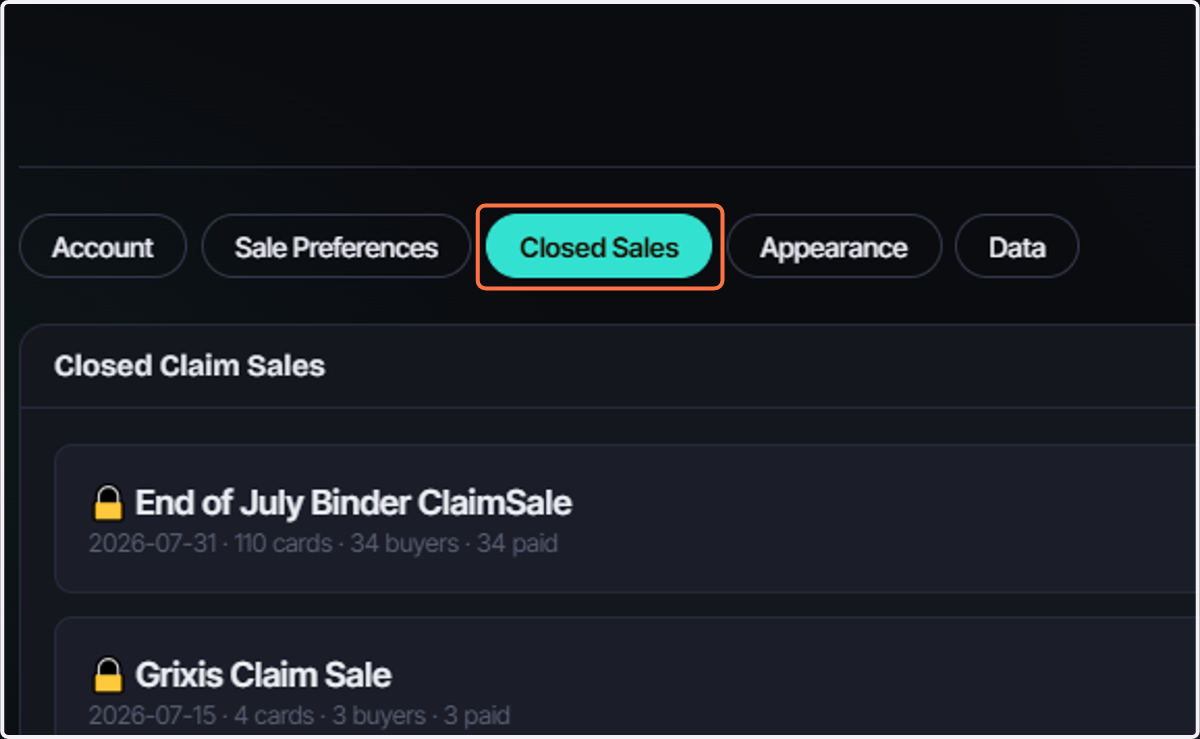
76. Click on Closed Sales
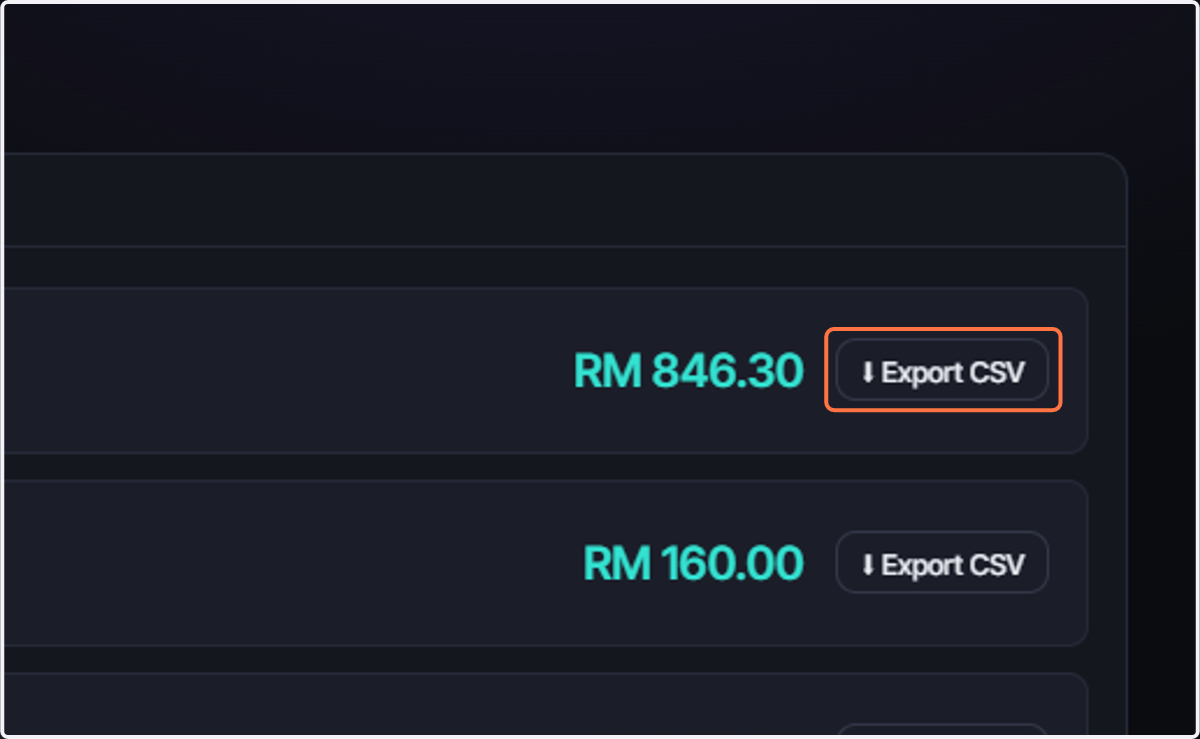
77. Click on ⬇ Export CSV
78. Click on Save