Creating Your MagicSet Sender Email via Google Workspace Custom Domain
By completing this walkthrough, you will successfully set up both a new domain and Google Workspace account simultaneously. By having these two things set up, you will be creating your MagicSet Sender Email address e.g. phil@trygoldenpoplaradvisors.com.
You MUST have a Sender email to be able to utilize MagicSet.
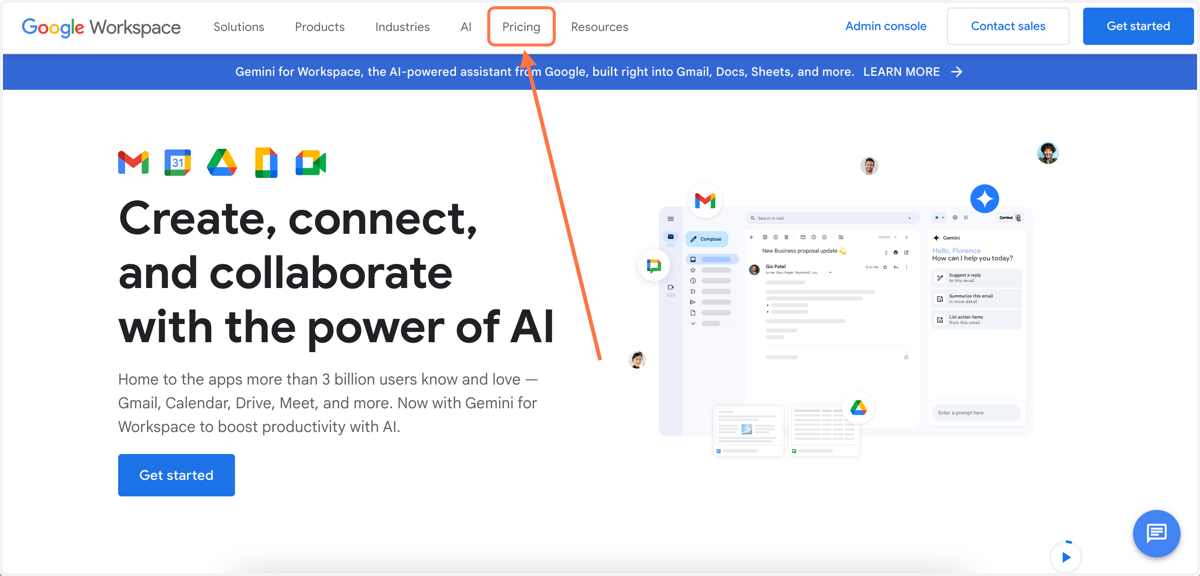
1. Navigate to workspace.google.com
Click "Pricing" at the top of the page.
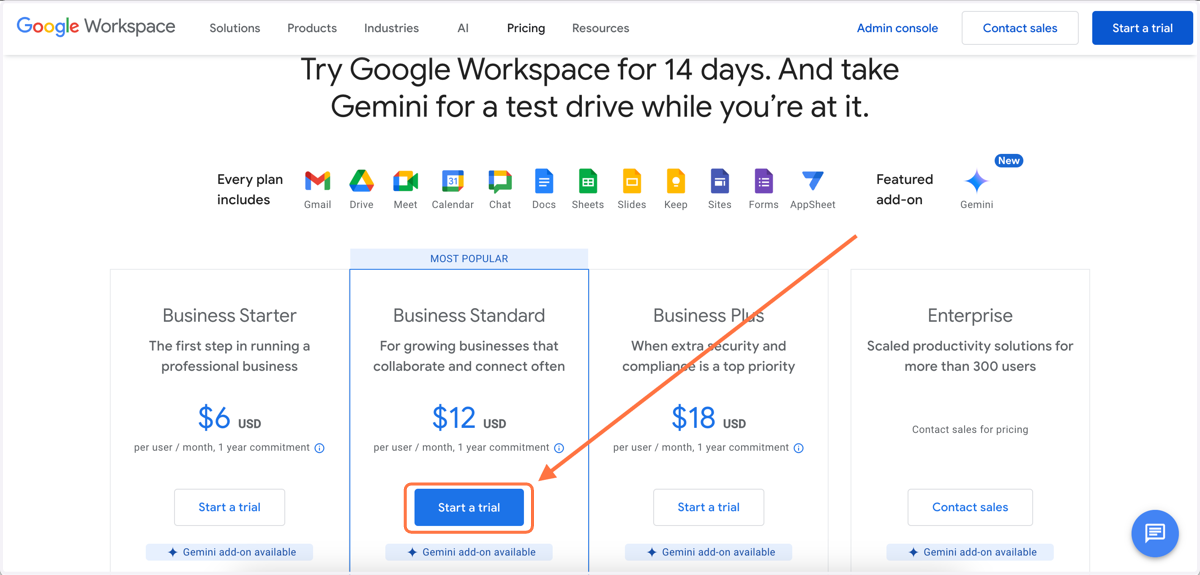
2. Select "Business Standard"
Click the "Start a trial" button within the Business Standard pricing option box.
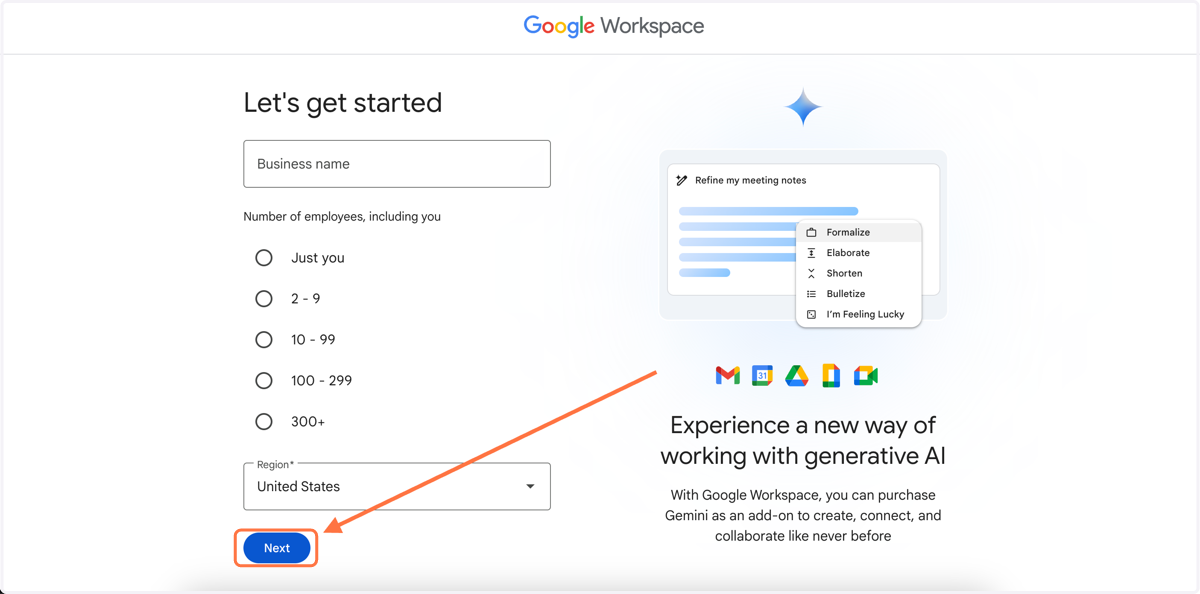
3. Provide Your Business Information
Type in your Business Name
Select the number of employees
Set your region to United States (it may automatically be set to this)
Click "Next"
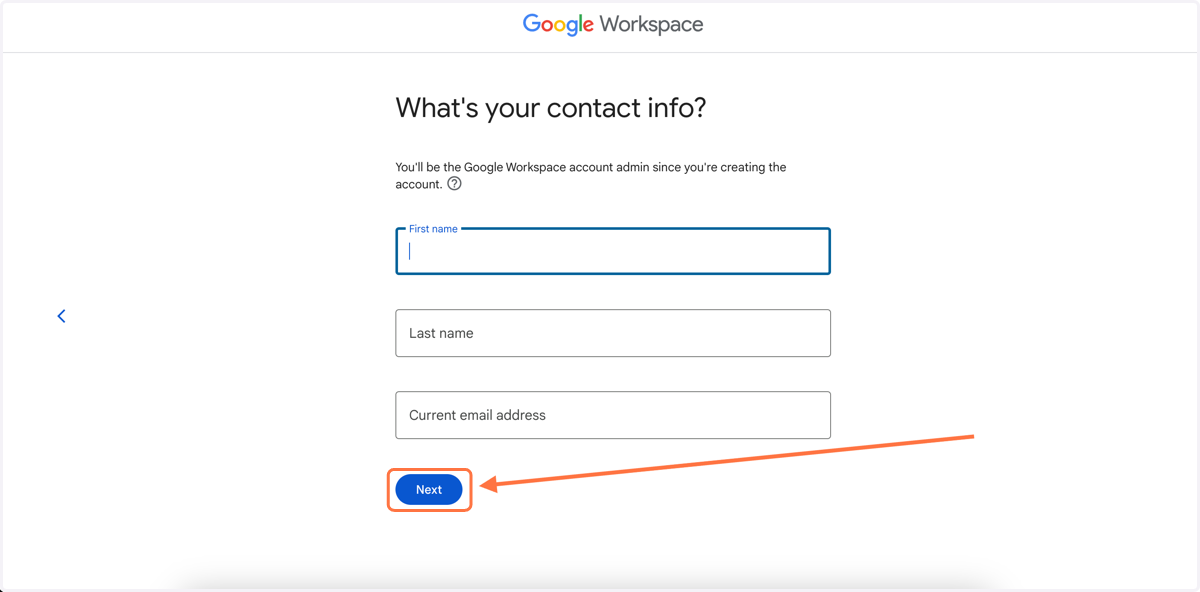
4. Provide Your Contact Information
Type in your First Name
Type in your Last Name
Type in your current email address, this can be any email you are currently using and will be used for verifying your account in the final step of setup.
Click "Next"
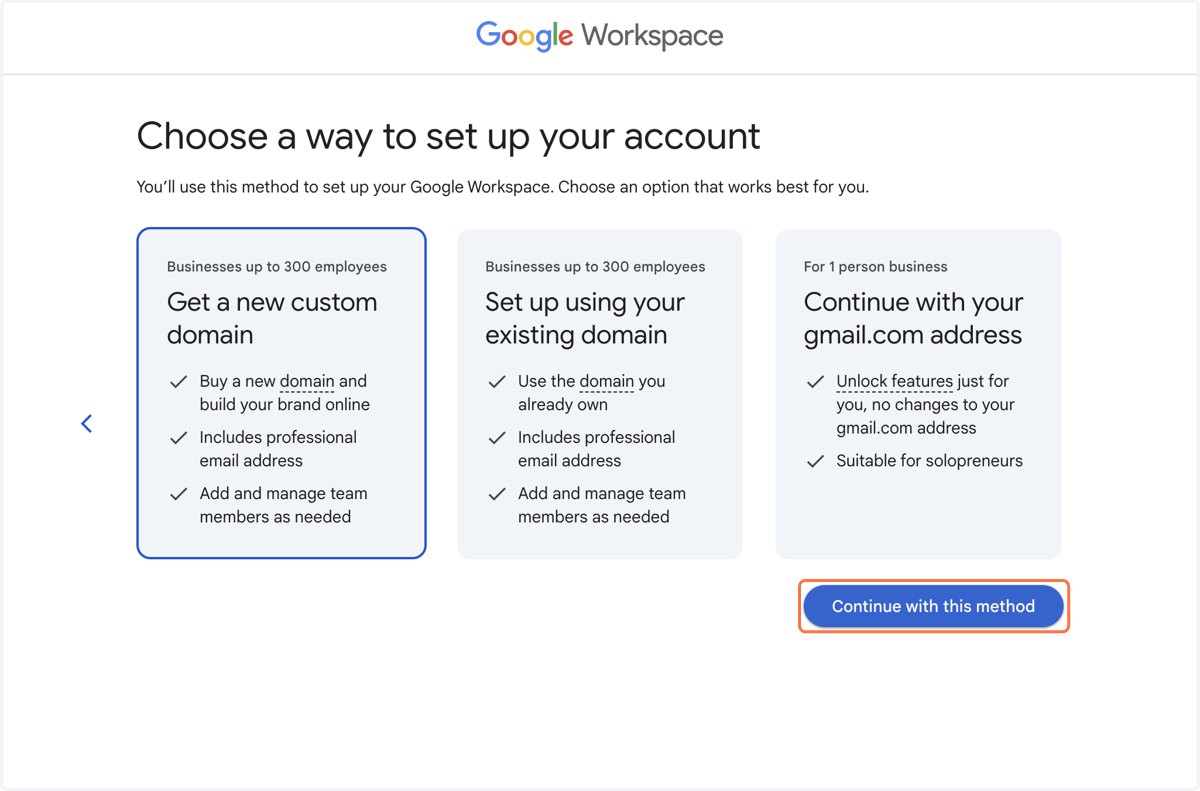
5. Choose your Google Workspace account setup method
Click the "Get a new custom domain" box
Click "Continue with this method"
6. Find your MagicSet Sender Email domain name
You will want a slight variation of your main business domain name.
For example if your main business is Golden Poplar Advisors and you own the domain www.goldenpoplaradvisors.com -- you should NOT use www.goldenpoplaradvisors.com / phil@goldenpoplaradvisors.com for your MagicSet sender email address campaigns.Why not?
Because in email marketing there is always a risk of your Google Workspace account being flagged by a prospect's email service provider e.g. Gmail. We do not want even the slightest chance of your main business domain to be at risk, even though MagicSet has built-in protections. Using a slight variation of your domain allows for brand congruency and risk mitigation.
Examples of slight variation:
If main business domain is www.goldenpoplaradvisors.com...
Then slight variations would look like...
- www.trygoldenpoplaradvisors.com
- www.gogoldenpoplaradvisors.com
- www.mailgoldenpoplaradvisors.com
You can put the modifying word at the beginning or the end of the domain name.
- www.goldenpoplaradvisorsgo.com
- www.goldenpoplaradvisorsmail.com
1. Type in your desired domain name
2. Click the magnifying glass icon to initiate the search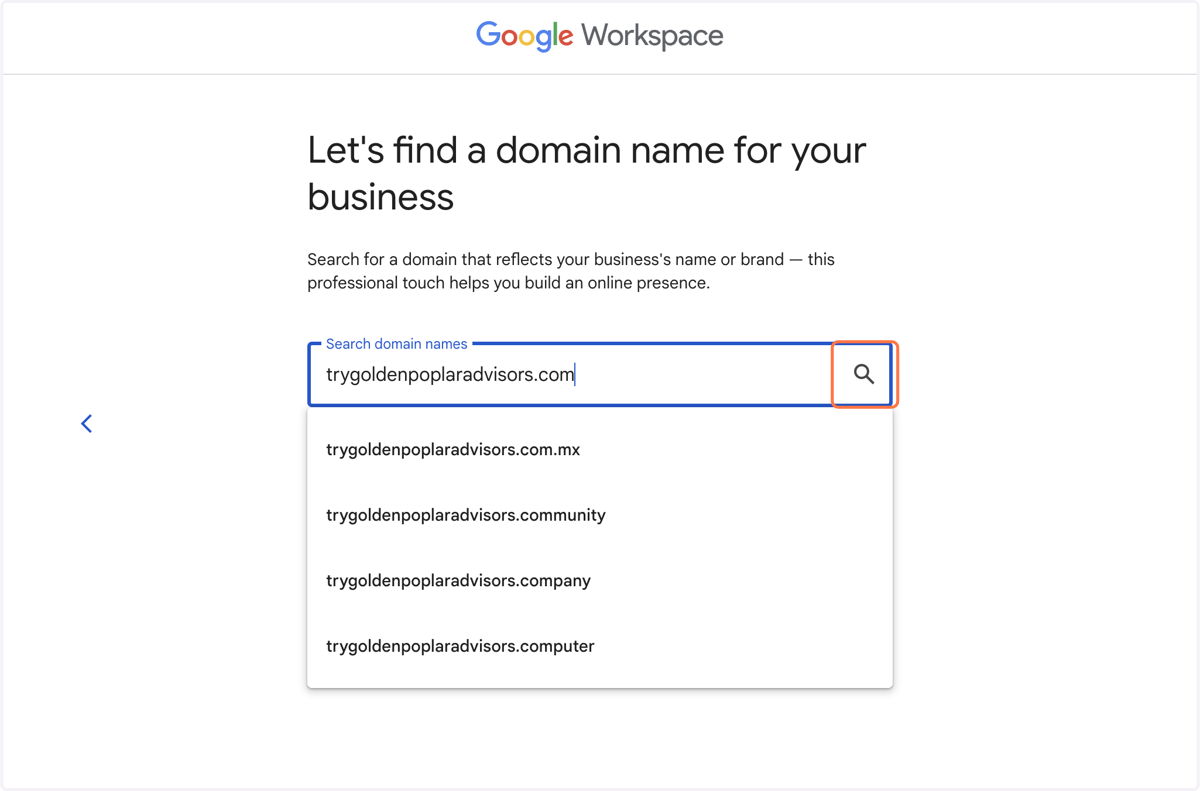
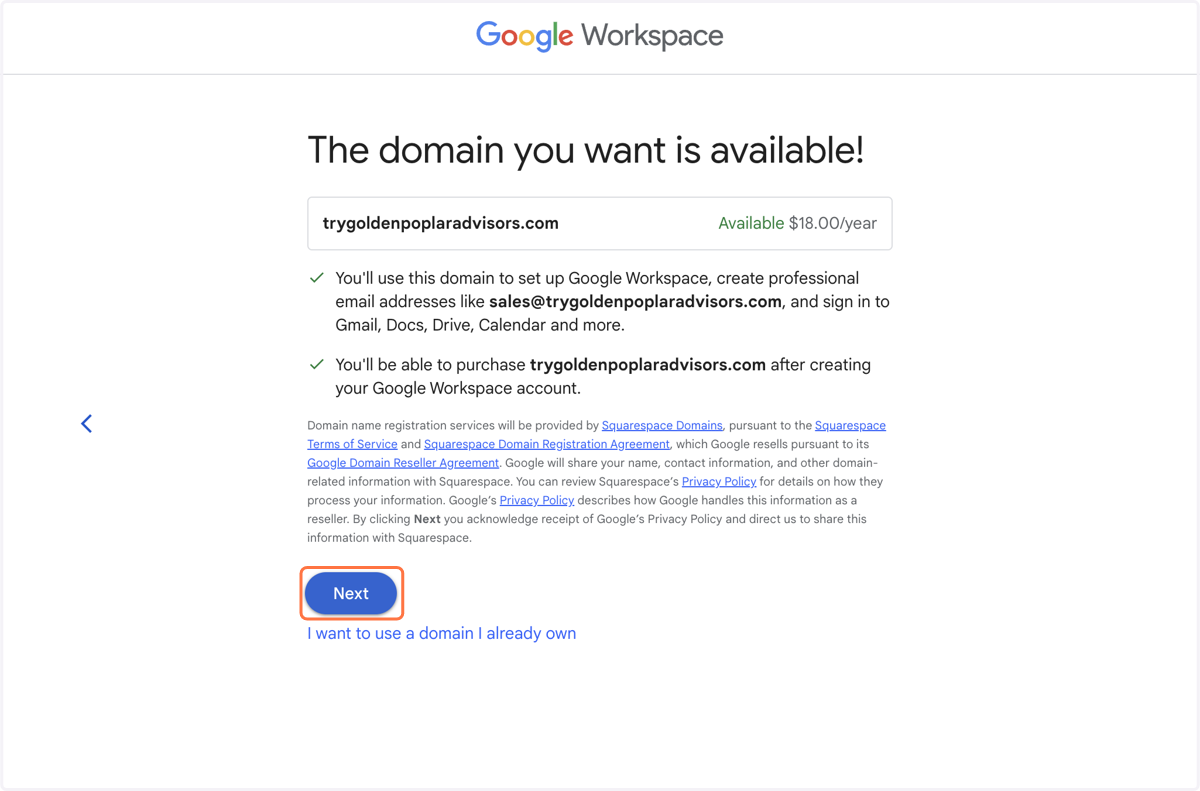
7. Secure your new domain name
If your desired domain name is available, you will see "The domain you want is available!" on this page.
Click "Next"
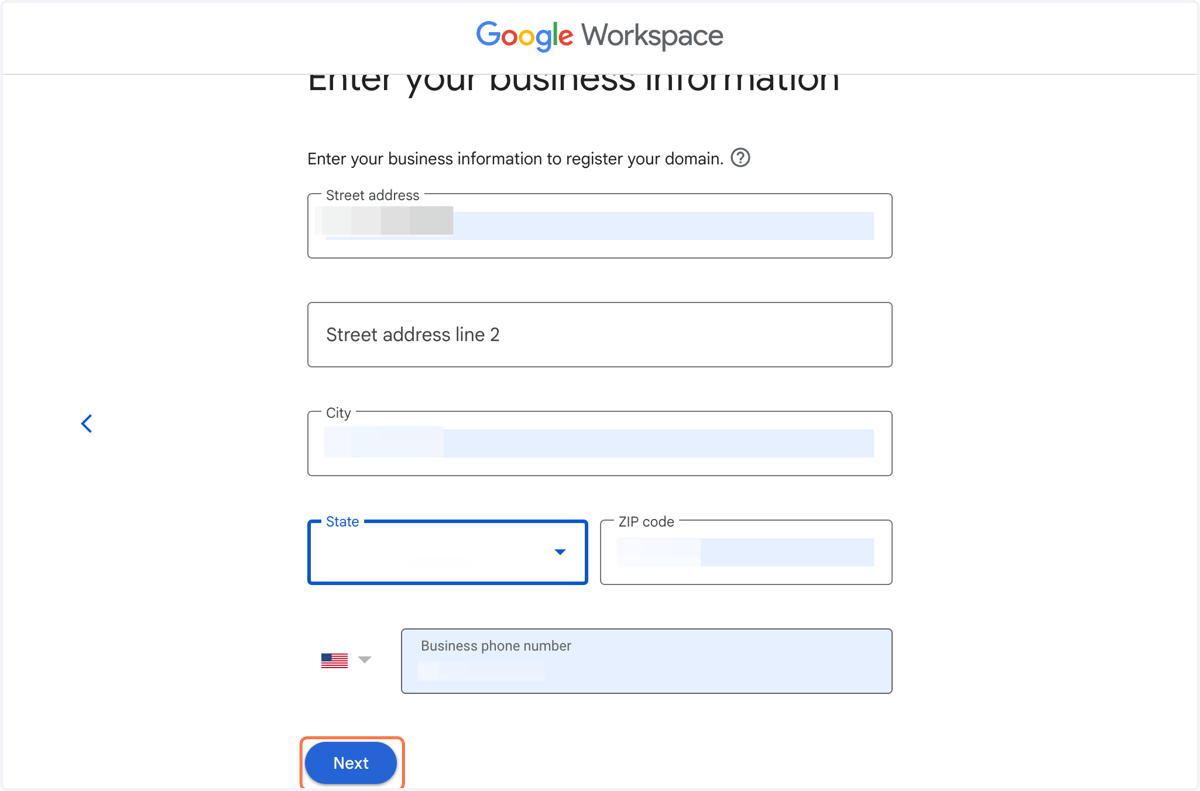
8. Enter your business information
Type in your business street address
Type in your business city
Select your business state
Type in your business ZIP code
Type in your business phone number
Click "Next"
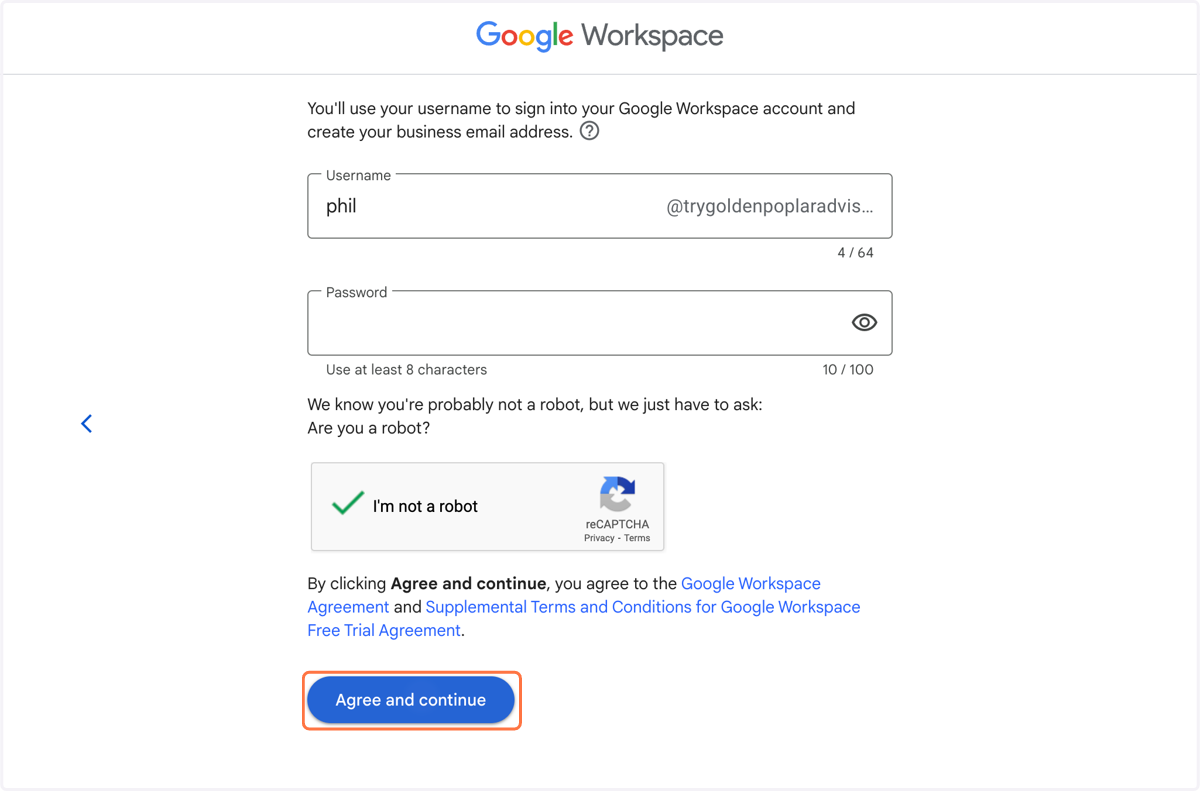
9. Create your Google Workspace username and password
Type in your username. Best practice is to user your first name as the username. We do NOT recommend using a generic username such as "support" or "info."
Type in your password
Check the "I'm not a robot" box
Click "Agree and continue"
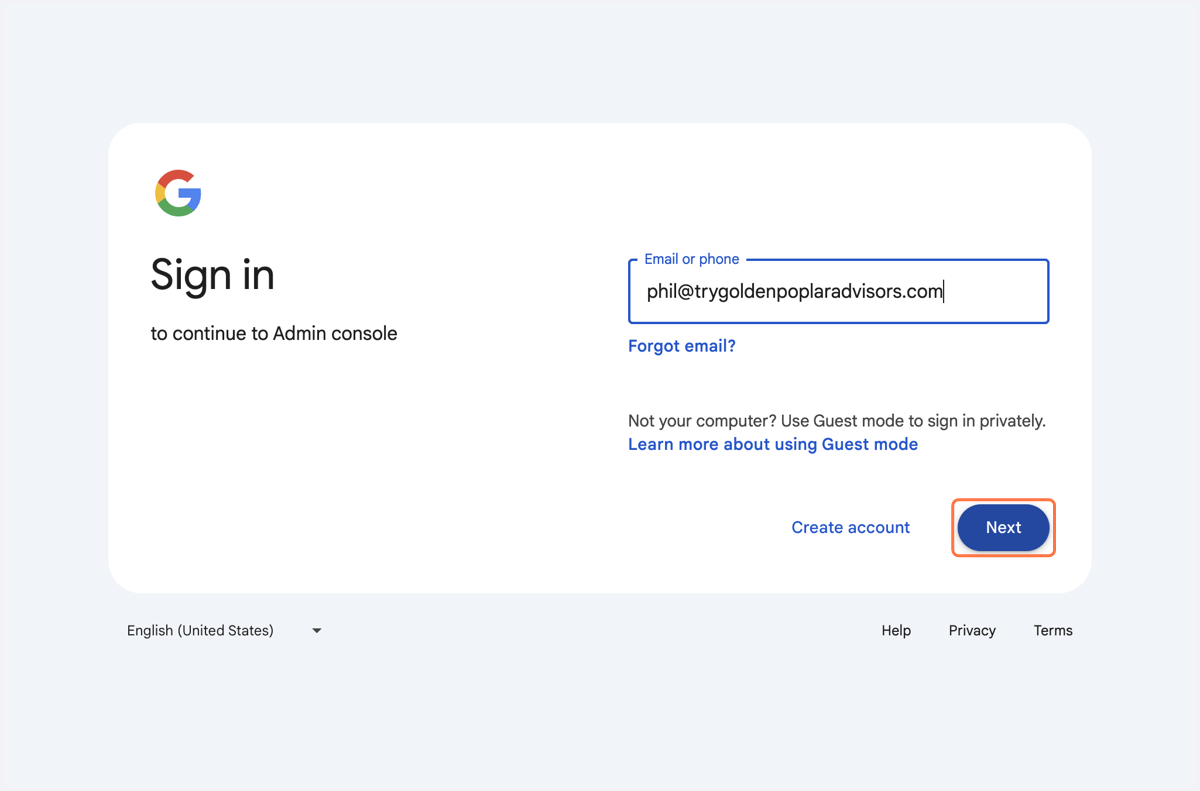
10. Sign in to your Google Workspace account
Type in your new Google Workspace sender email address (it may automatically populate and you will not need to type it in)
Click "Next"
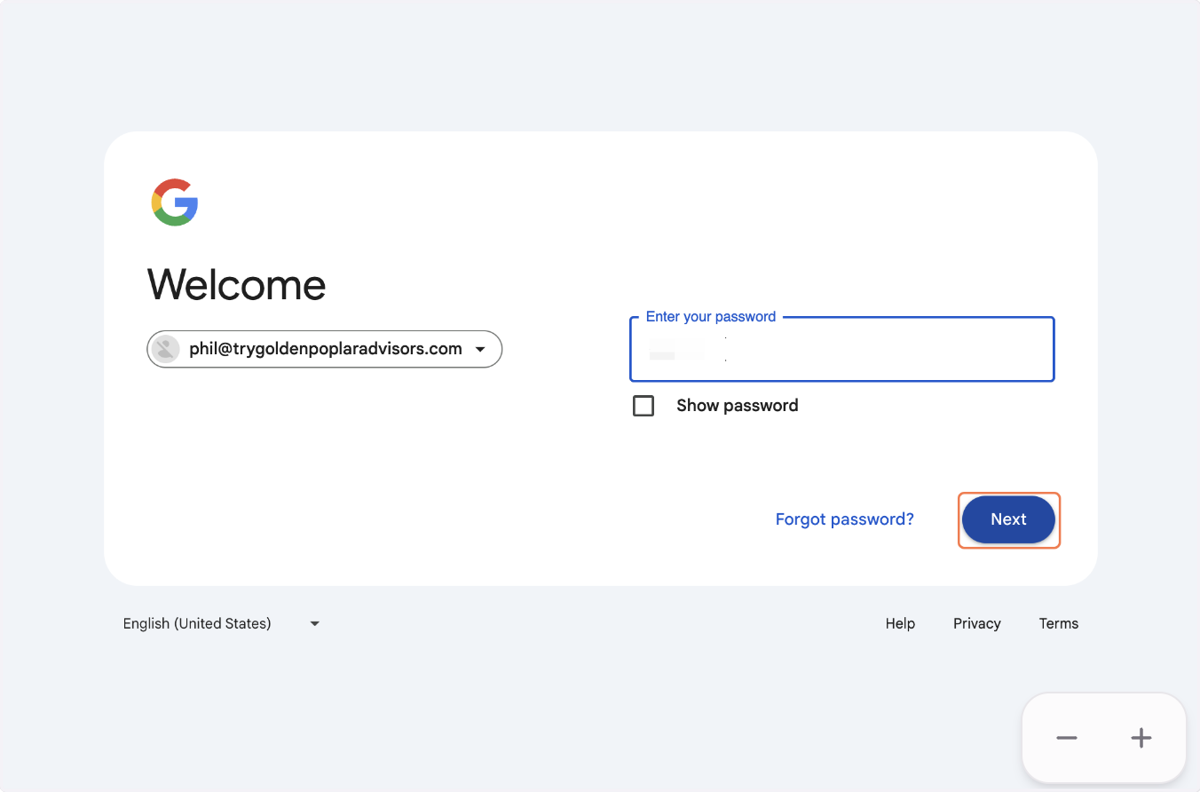
11. Sign in to your Google Workspace account
Type in your Google Workspace password
Click "Next"
12. Sign in to your Google Workspace account
Click "I understand"
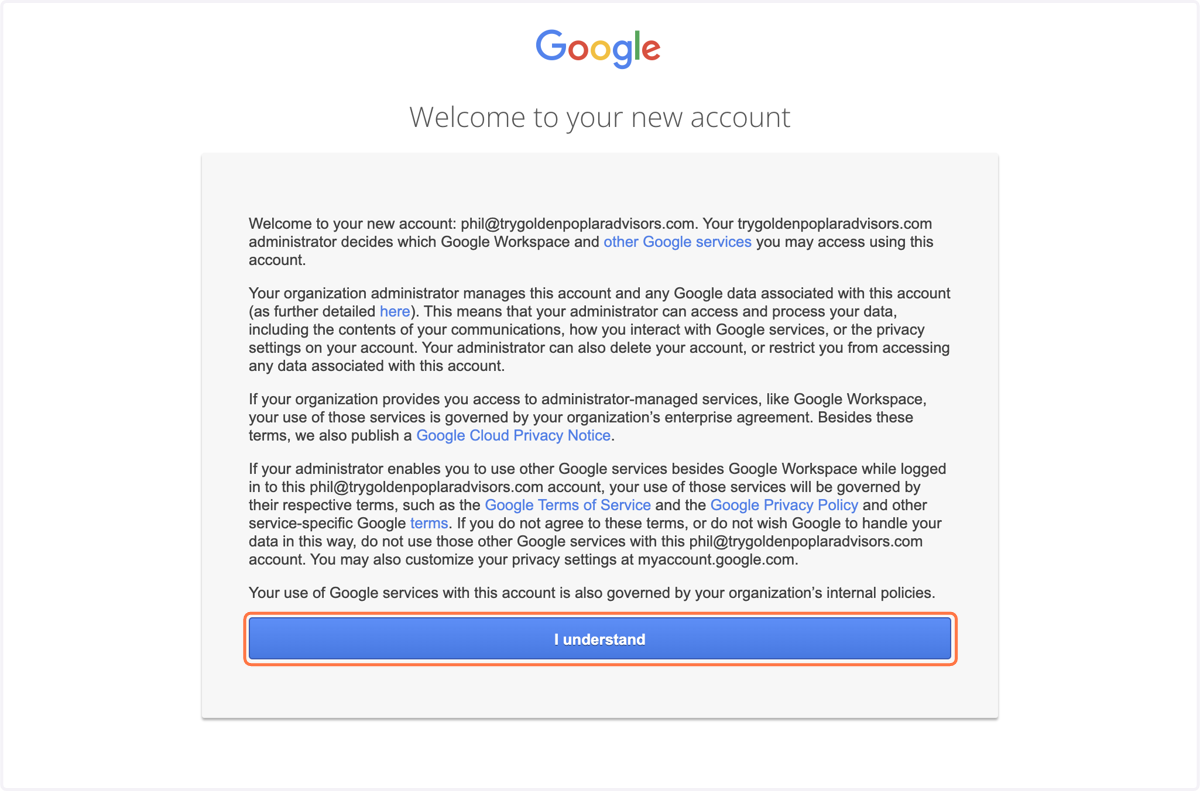
13. Select your Google Workspace plan
Click "Try free for 14 days"

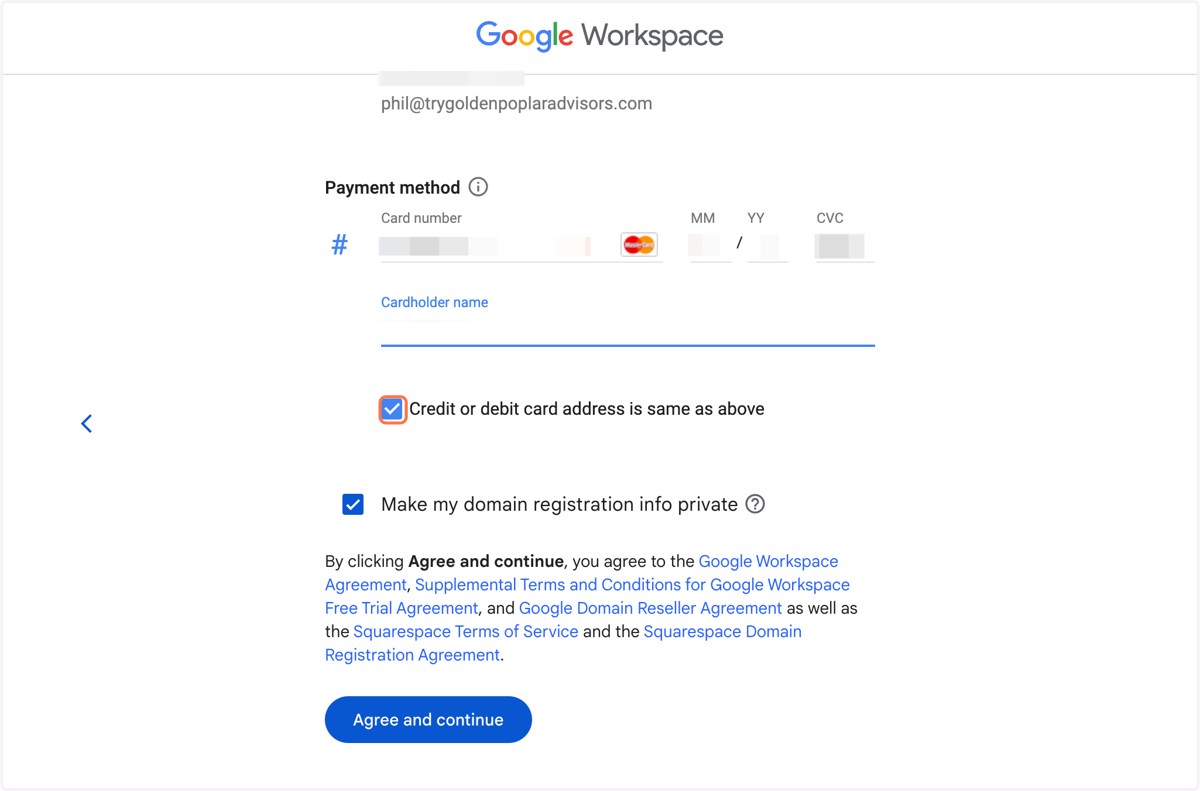
14. Review your account information and enter payment method
Review the account information displayed for accuracy
Type in your credit card number
Type in your credit card expiration date
Type in your credit card CVC
Type in your cardholder name
Check the "credit or debit card address is same as above" box if your business address and card address are the same. If they are different, uncheck the box and type in your card's address information.
Check the "Make my domain registration info private" box
Click "Agree and continue"
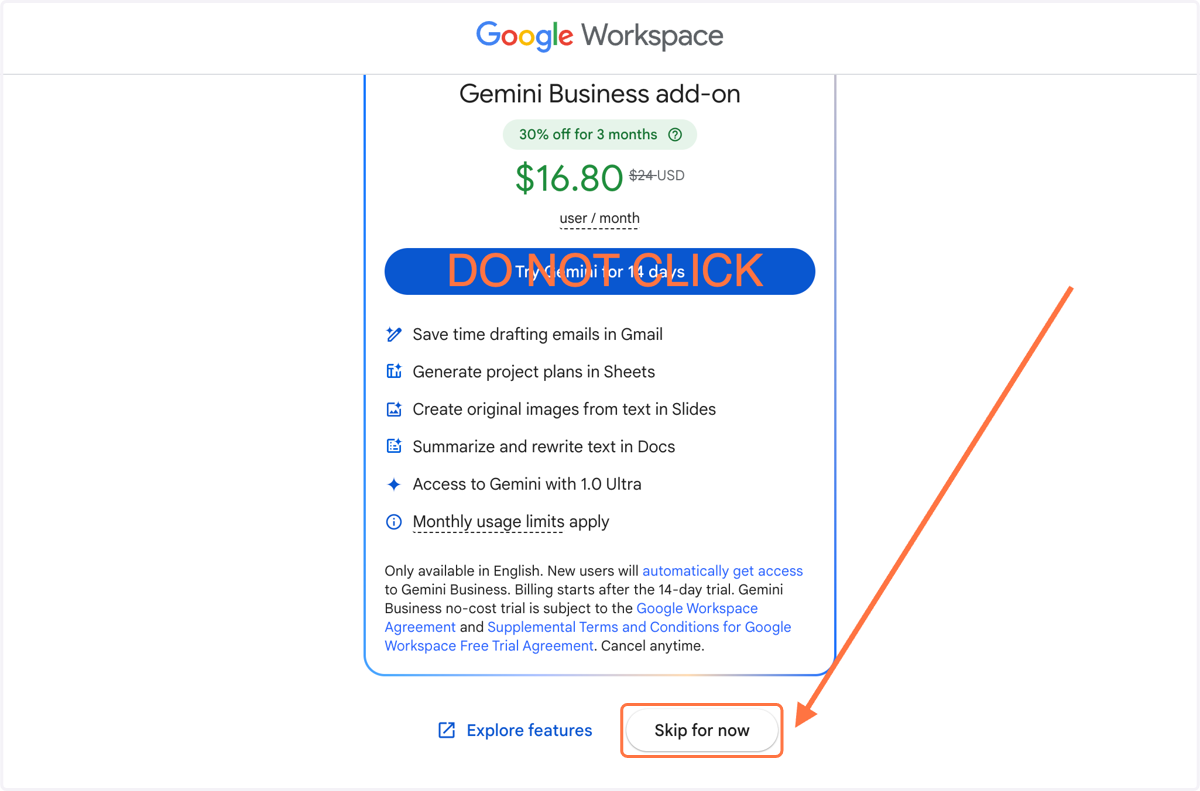
15. Decline Google Gemini Business add-on offer
Do NOT click "Try Gemini for 14 days"
Click "Skip for now"
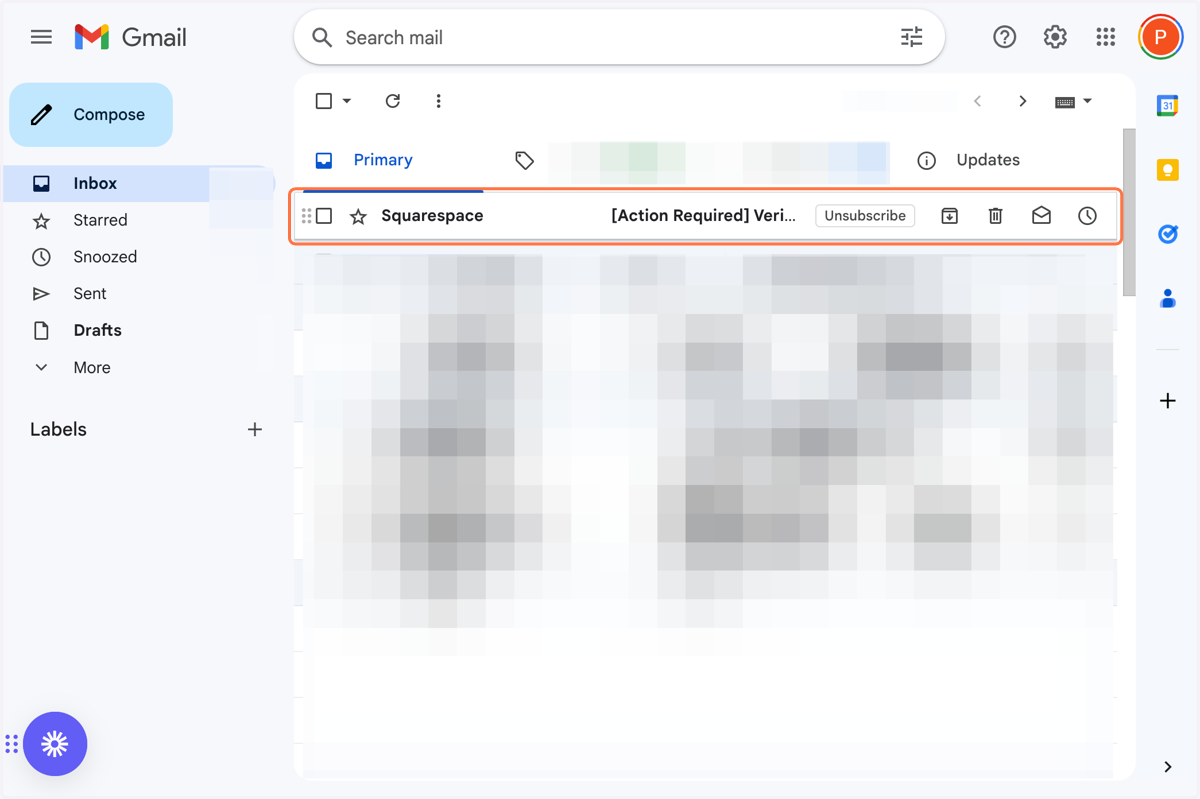
16. Find Squarespace domain confirmation email
Now that your new Google Workspace account is set up, there is one final step.
This final step is verifying your new domain. To do this, you will receive an email from Squarespace, the domain partner used by Google.
First we will need to find the confirmation email.
It will arrive in the inbox of the email address you provided in Step 2 of this walkthrough.
This confirmation email will NOT be sent to your new email address you just set up.
Please be sure to look for it in the correct inbox.
The Squarespace domain confirmation email usually arrives within 5 minutes of completing your Google Workspace setup.
To find the email in your inbox:
The email will be sent from "no-reply@squarespace.com"
The subject line will be "[Action Required] Verify your Squarespace domain contact"
17. Verify your new domain via confirmation email
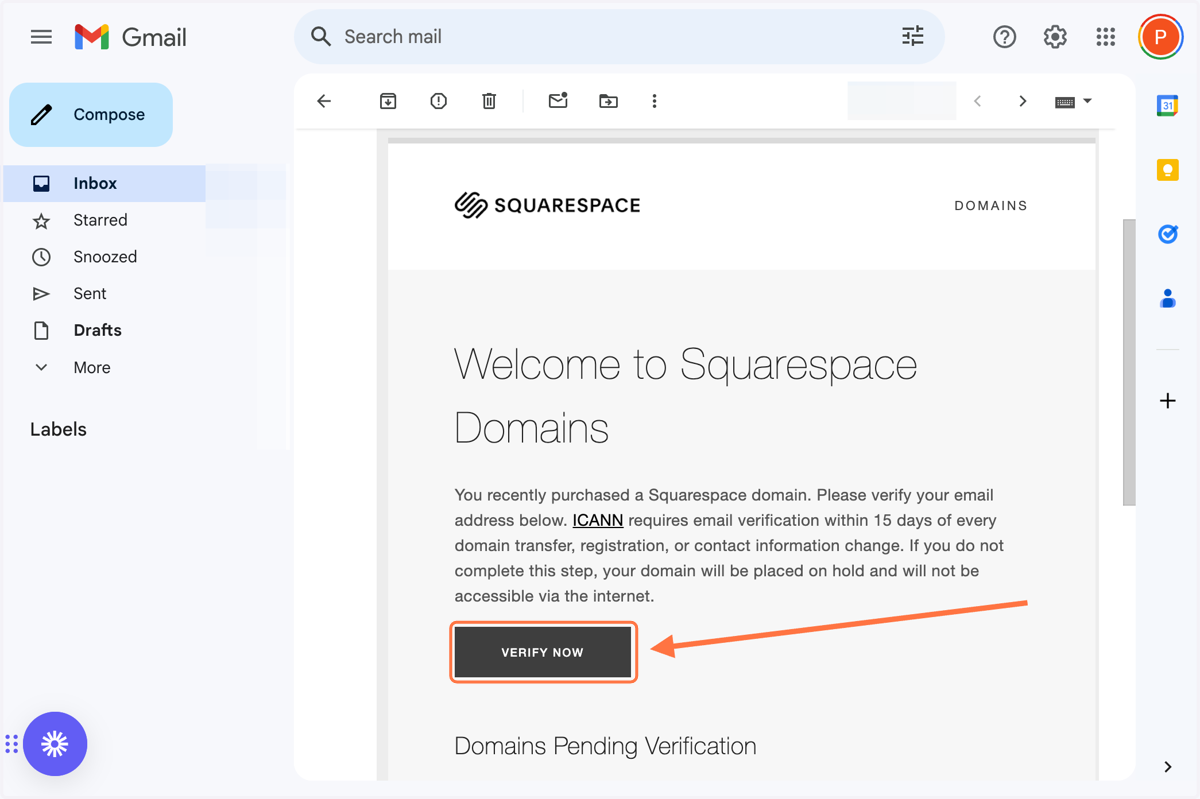
Once you have found the confirmation email from Squarespace, open it
Click "VERIFY NOW" in the email
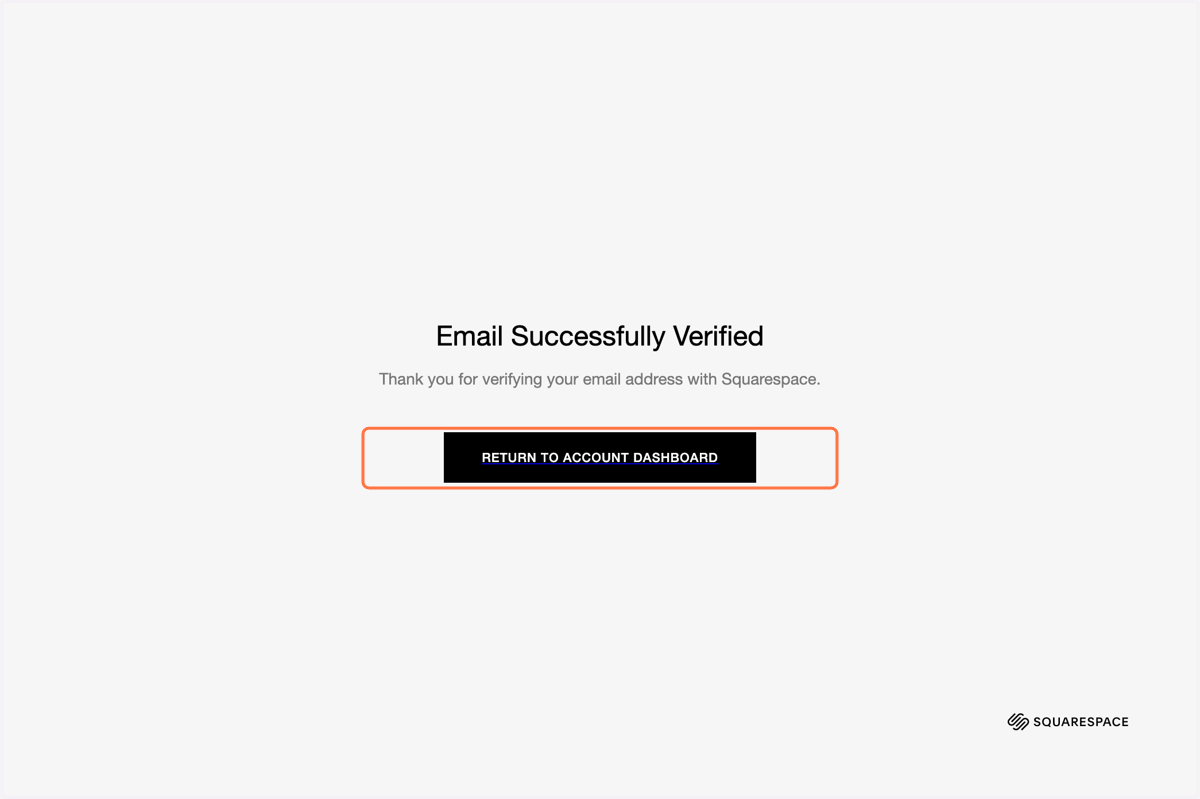
18. "Email Successfully Verified Confirmation" Page
Once you have clicked the "VERIFY NOW" button in the confirmation email from Squarespace, you will be redirected to the confirmation page. This page will show "Email Successfully Verified."
You do not need to click "Return to Account Dashboard" as this will redirect you to Squarespace, not Google Workspace
19. Log in to your new Google Workspace Account to confirm domain verification
Navigate in your web browser to workspace.google.com
At the top of the page click "Admin console"

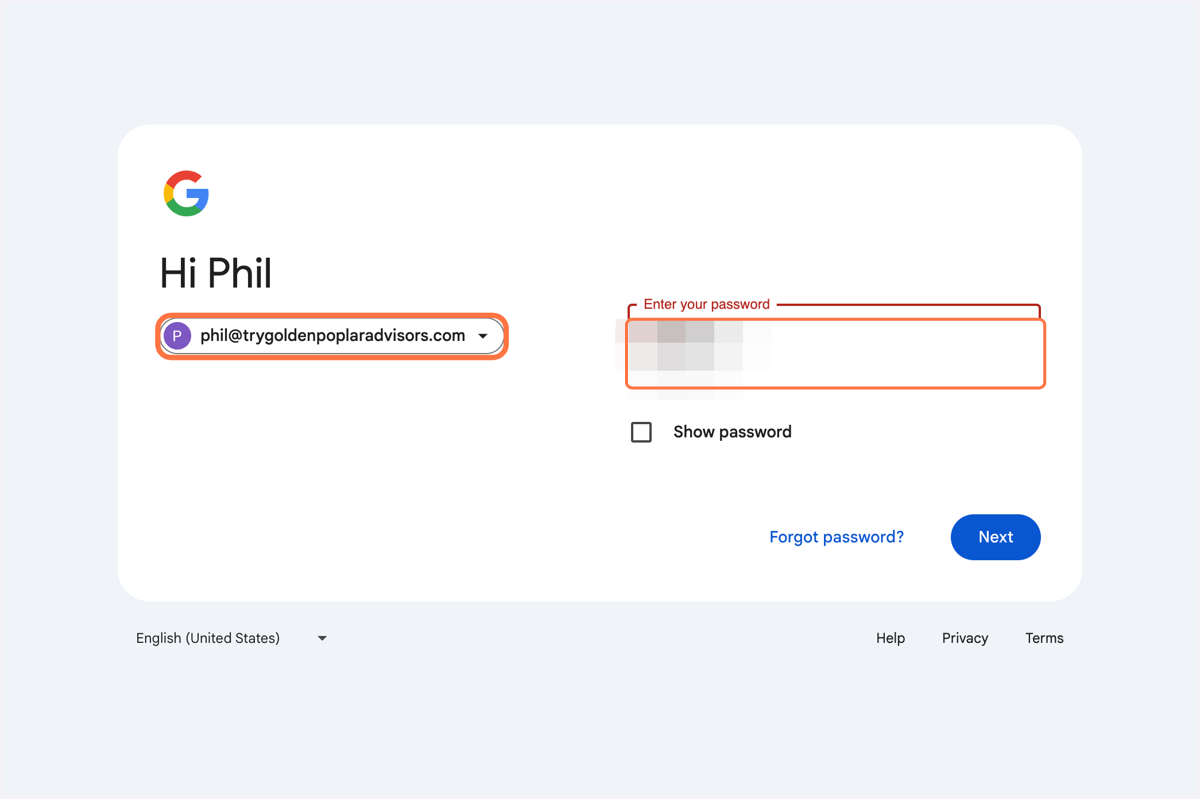
20. Provide your new Google Workspace email address and password
Select your new Google Workspace email address e.g. phil@trygoldenpoplaradvisors.com
Type in your new Google Workspace password
Click "Next"
21. Confirm domain verification status in your Admin Console
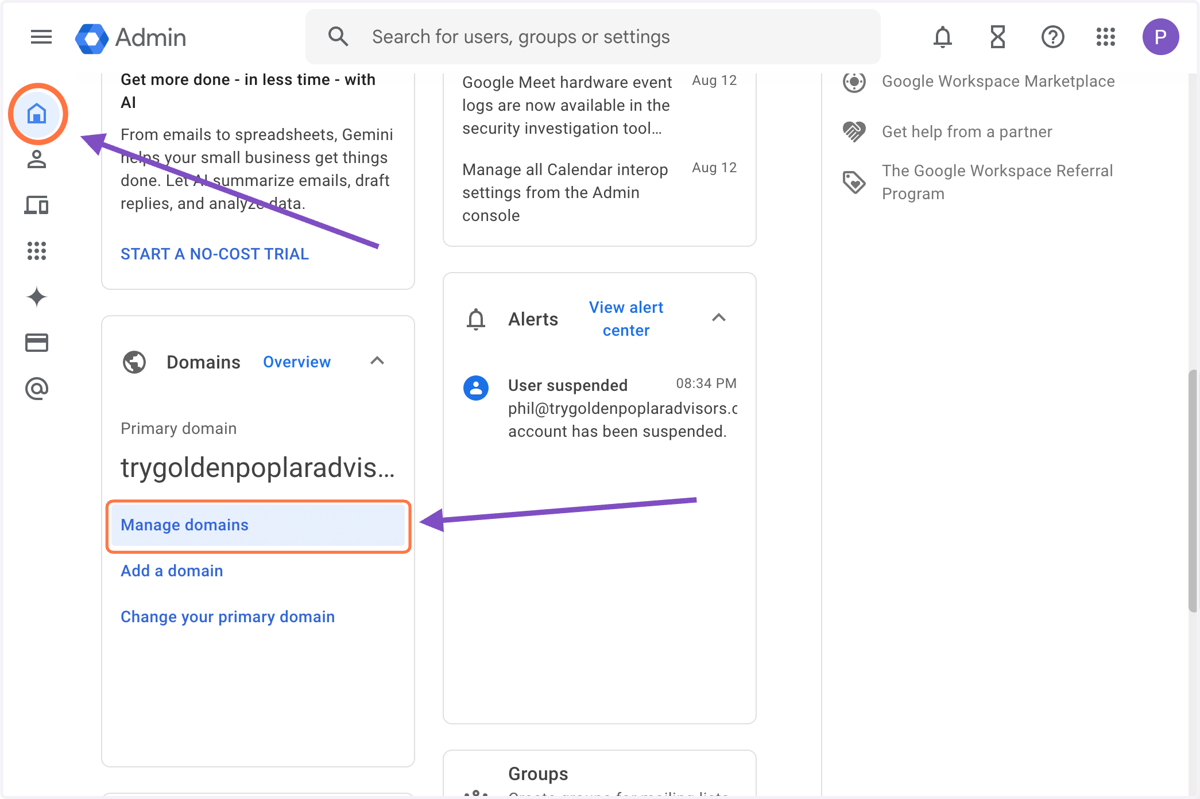
Once logged in to your Google Workspace Admin Console, navigate to the "Domains" section of the home page (you should automatically be on the home page, you will know you are on the home page if you see a house icon on the left side selected with a blue circle around it)
Click "Manage domains"
22. Confirm domain verification status in your Admin Console
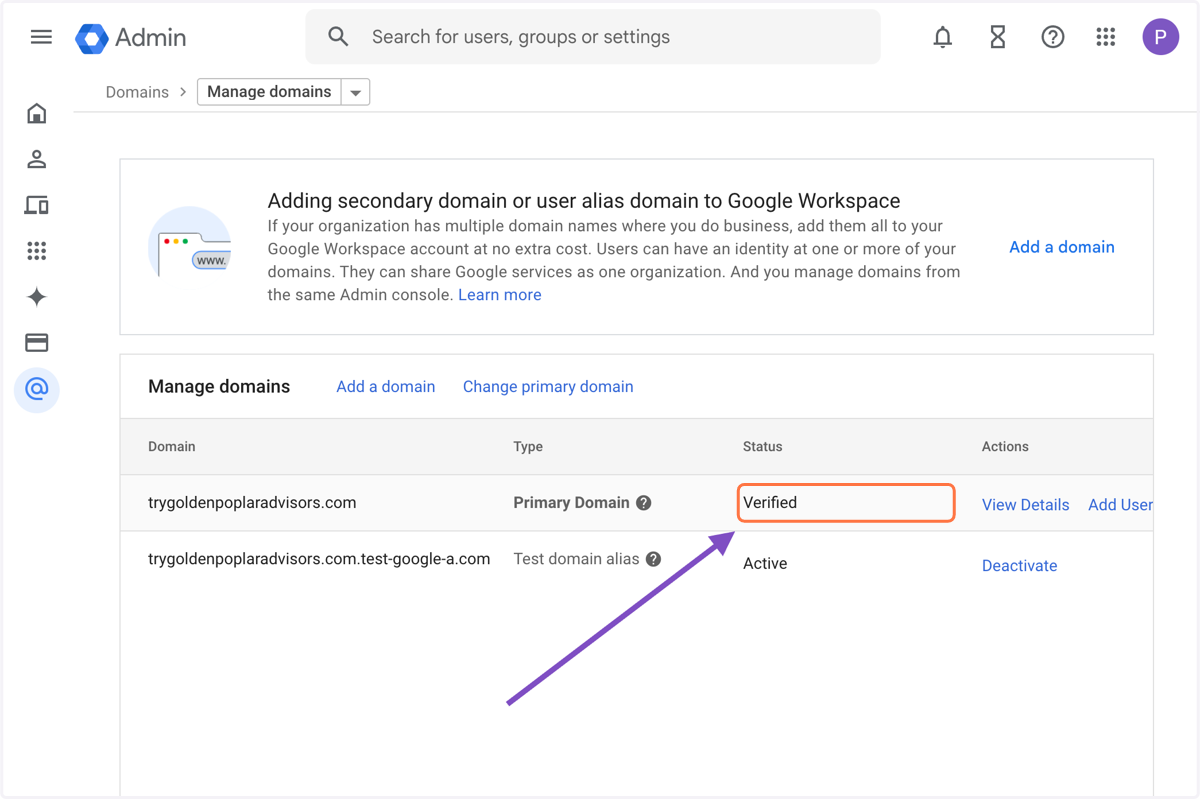
In the "Manage domains" section of this page, you should see "Status" as "Verified"
If you see this, it means you are officially ready to start using your new Sender Email address in MagicSet!
Congratulations on successfully completing this very important initial step!