Process a Batch of Vendor Invoices
This process behaves differently depending on if you are working in FileMaker Pro or WebDirect. These steps are for WebDirect.
CMIS
1. Click on Actions
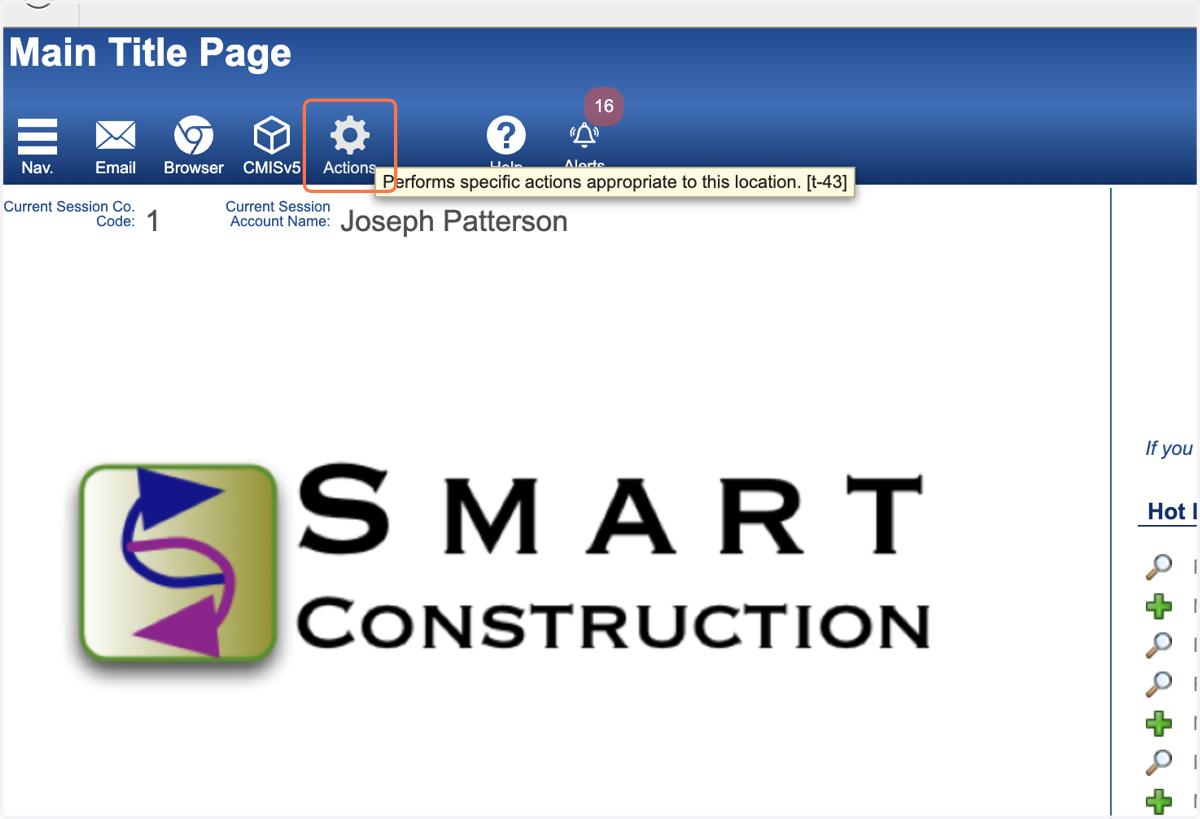
2. Select Process a Batch of Vendor Invoices
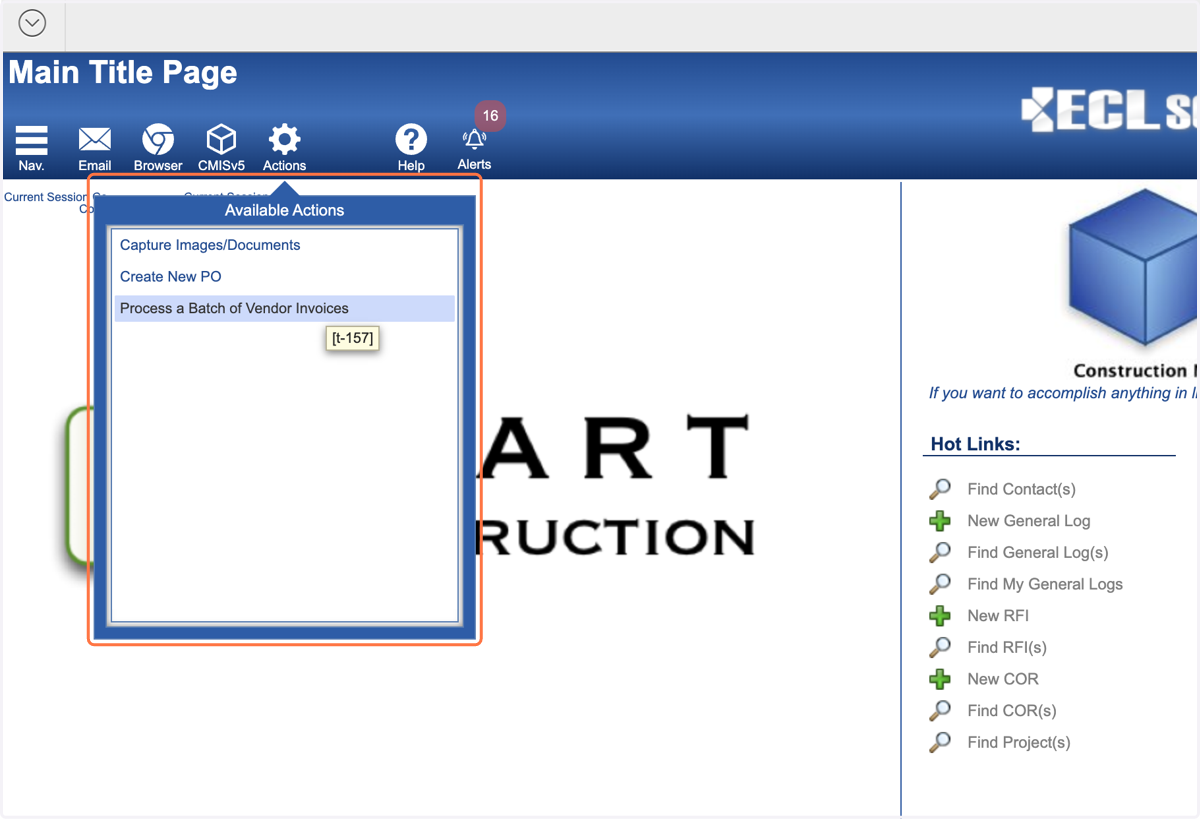
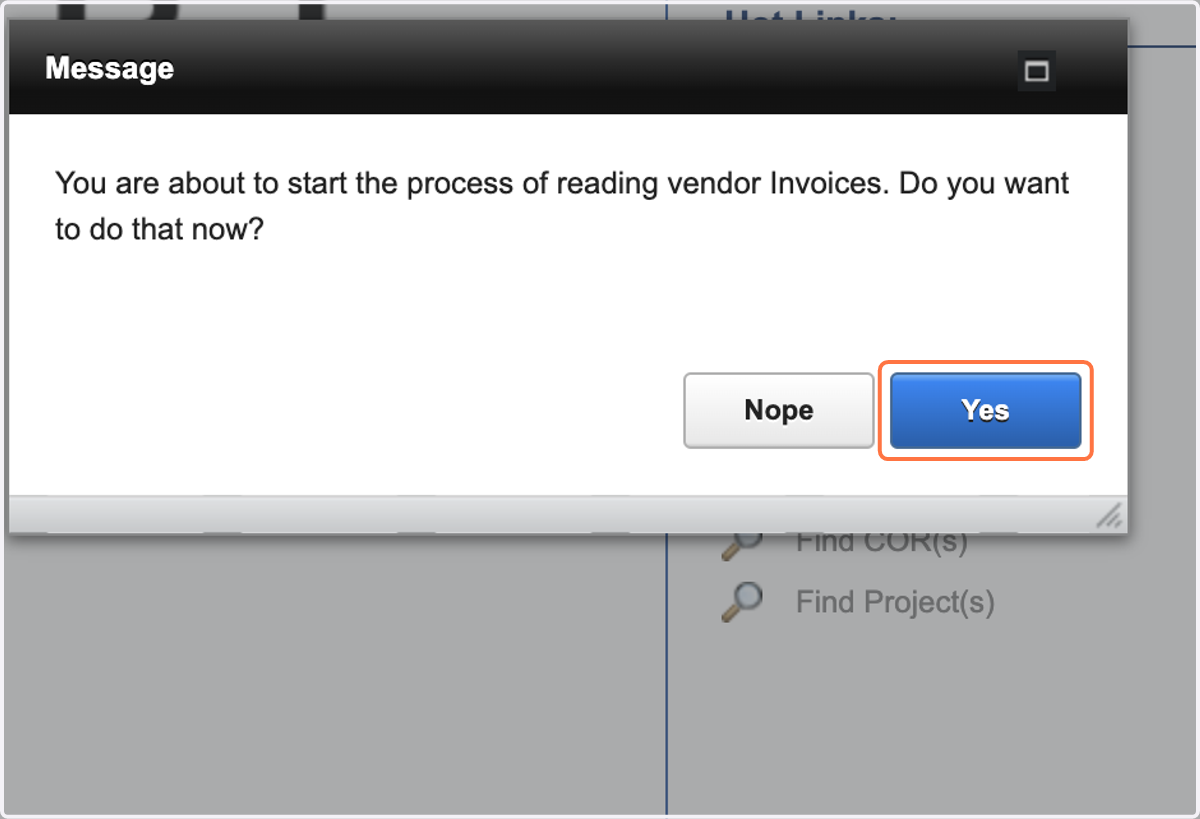
3. Click on Yes
4. Click on OK
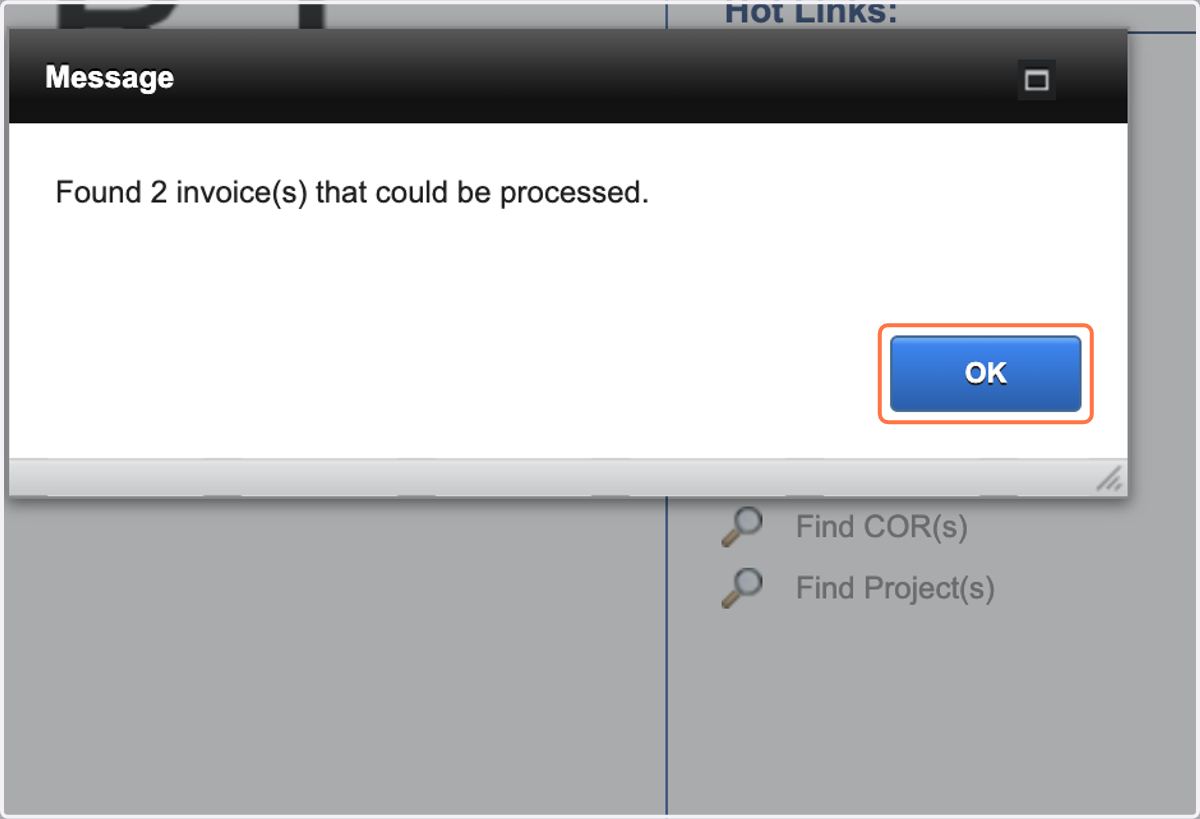
5. View Found Set
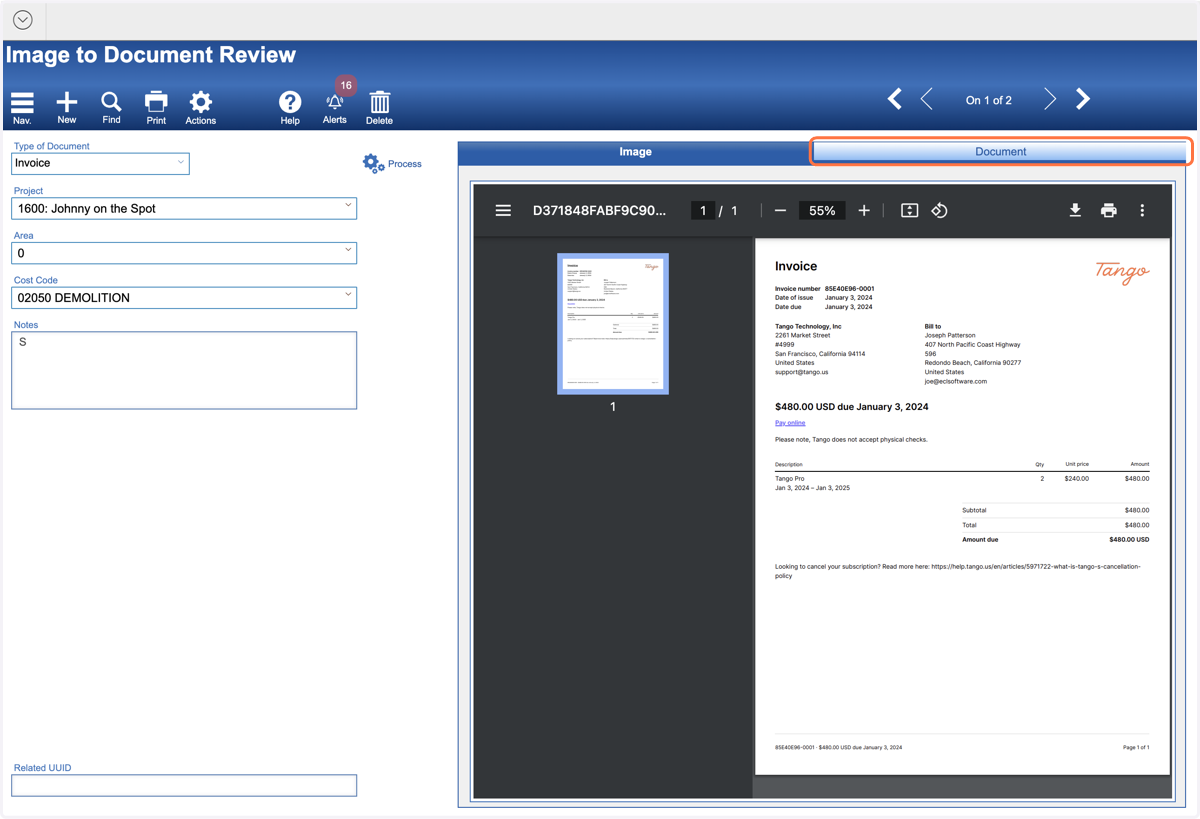
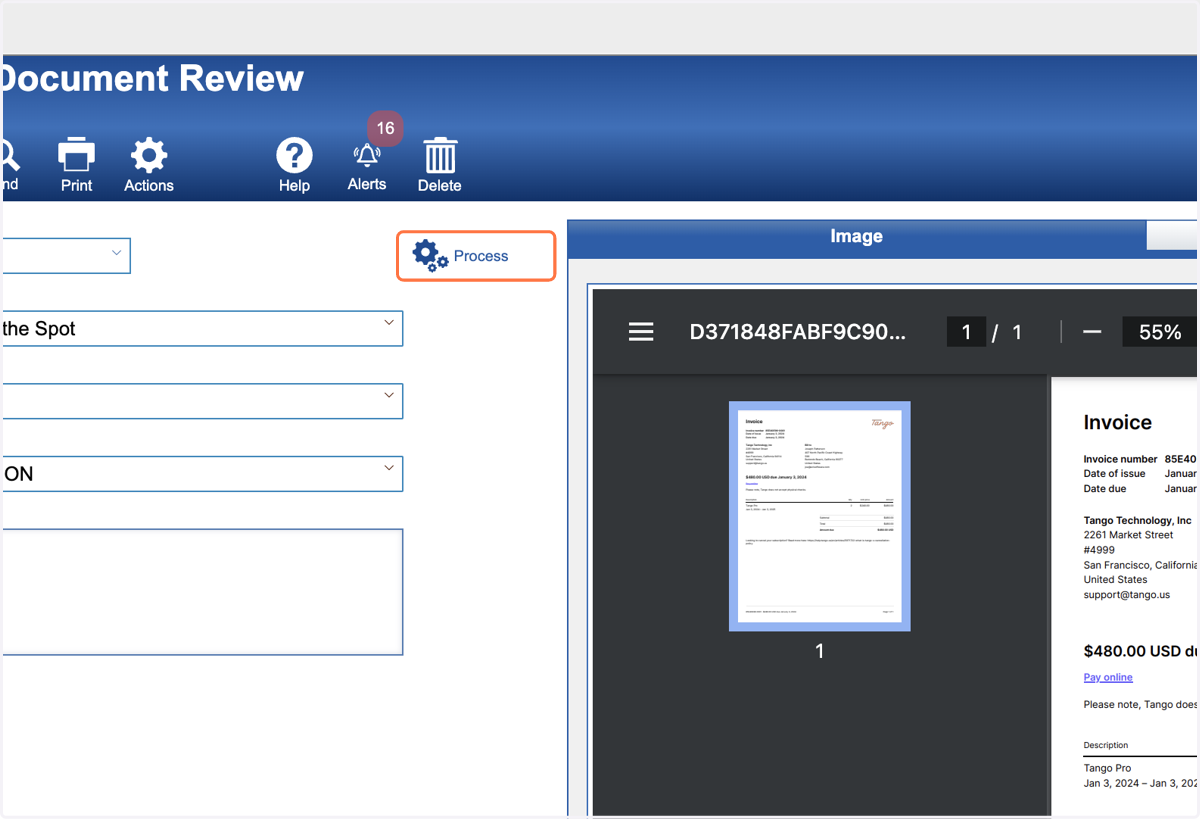
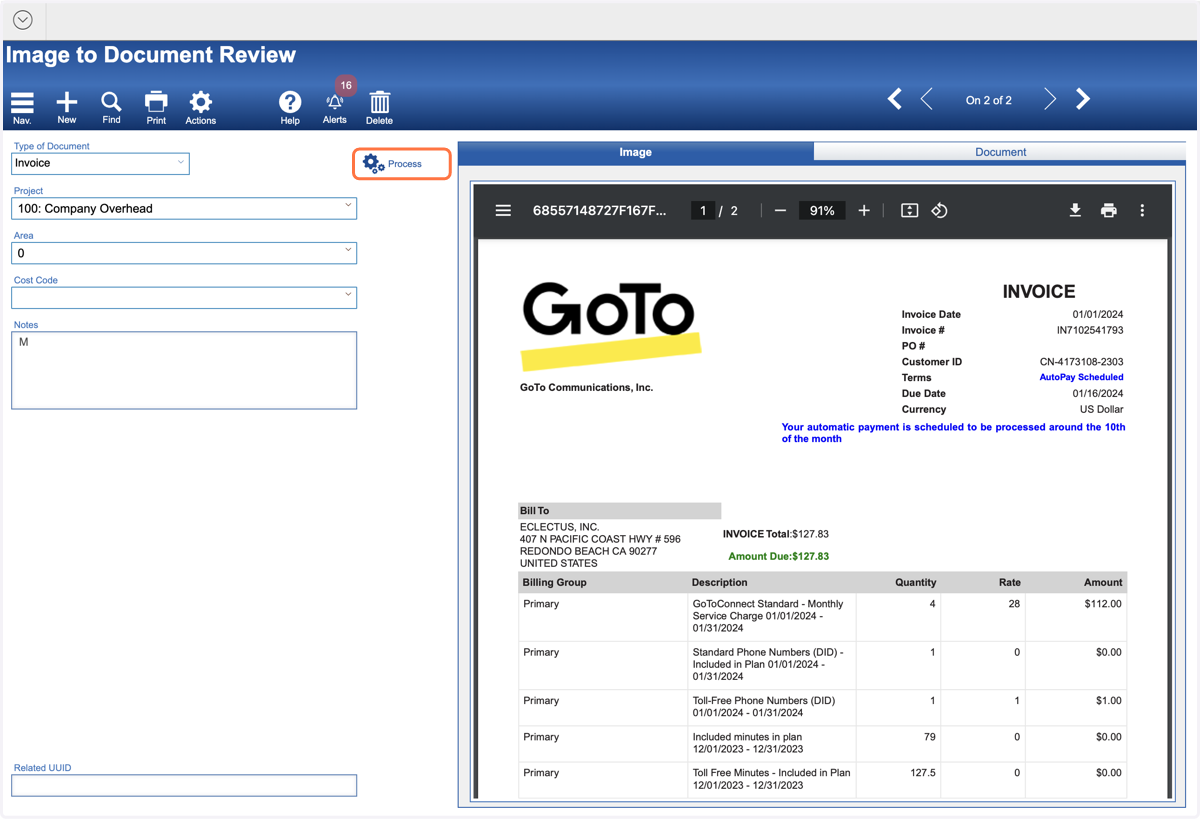
6. Click on Process
This will process this current Invoice.
7. Click on Yes
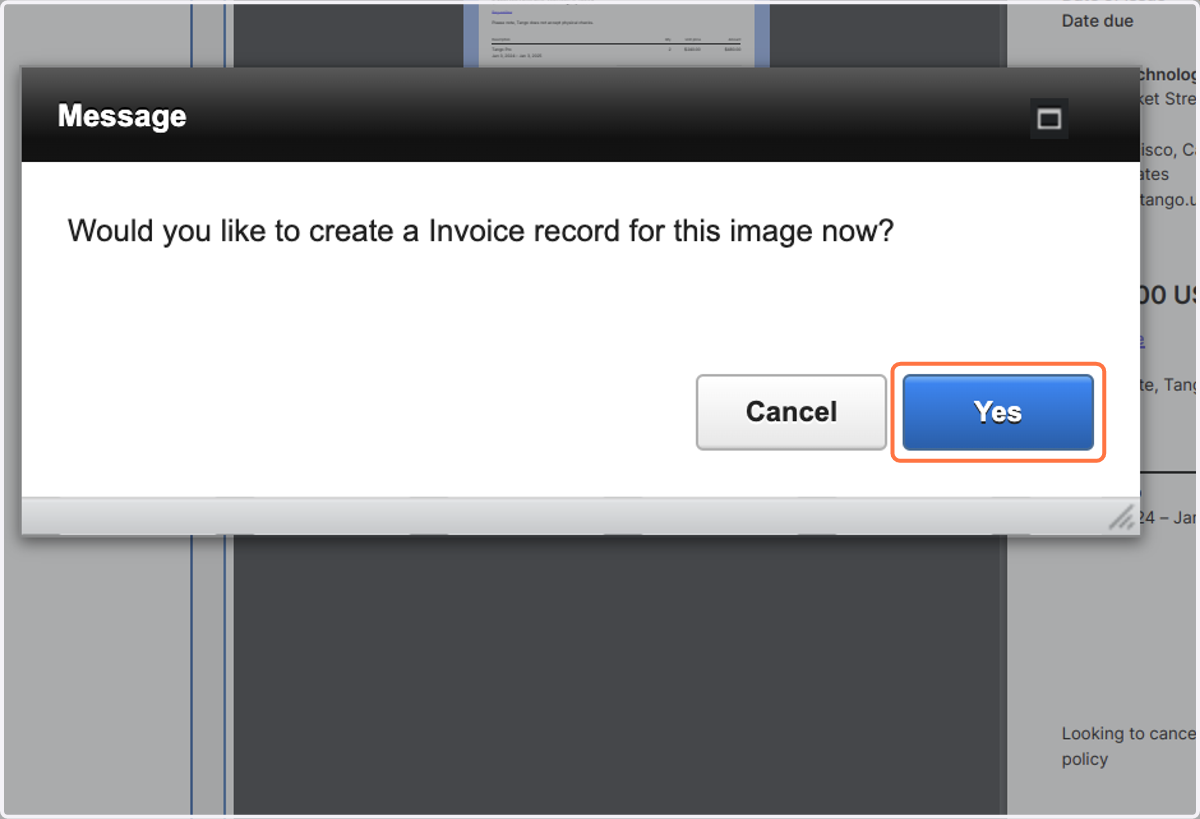
8. Click on Yes
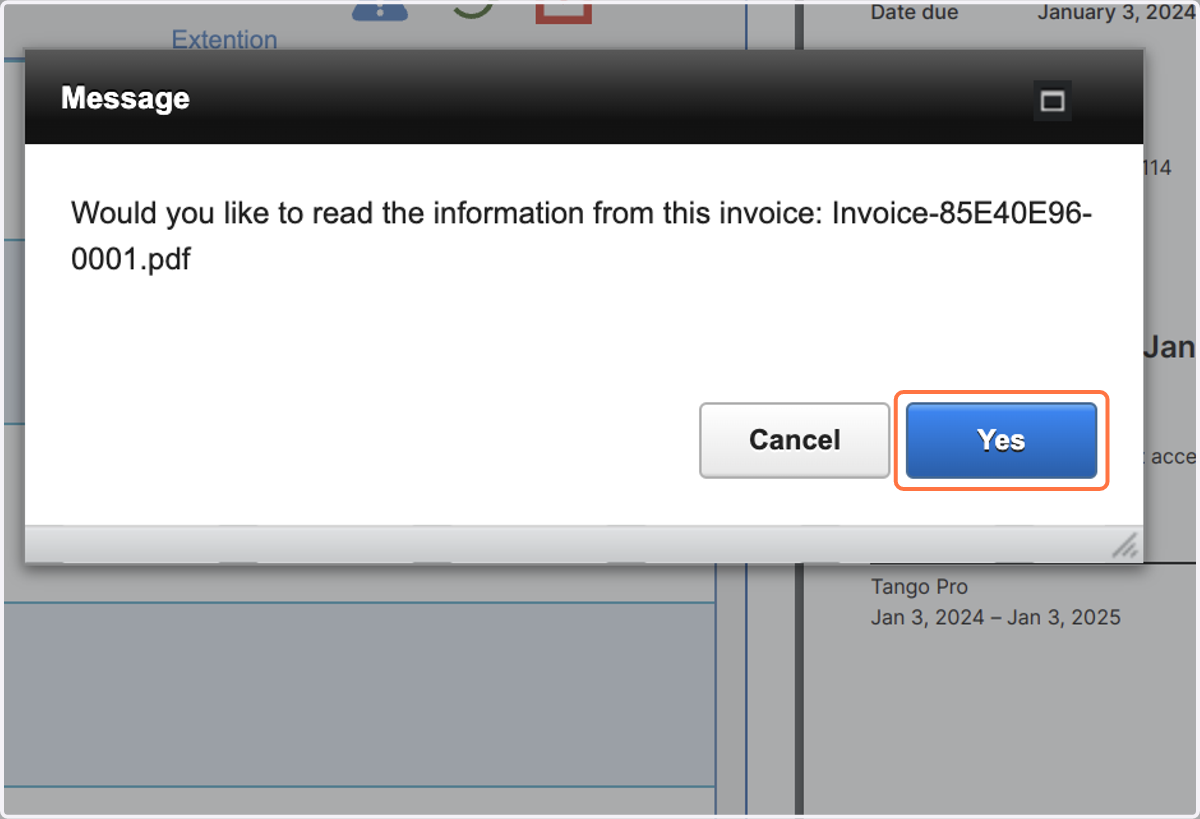
9. Click on the Plus icon to add the job information.
This Plus button shows if this image was assigned to a job and there is no current Job Number in this area
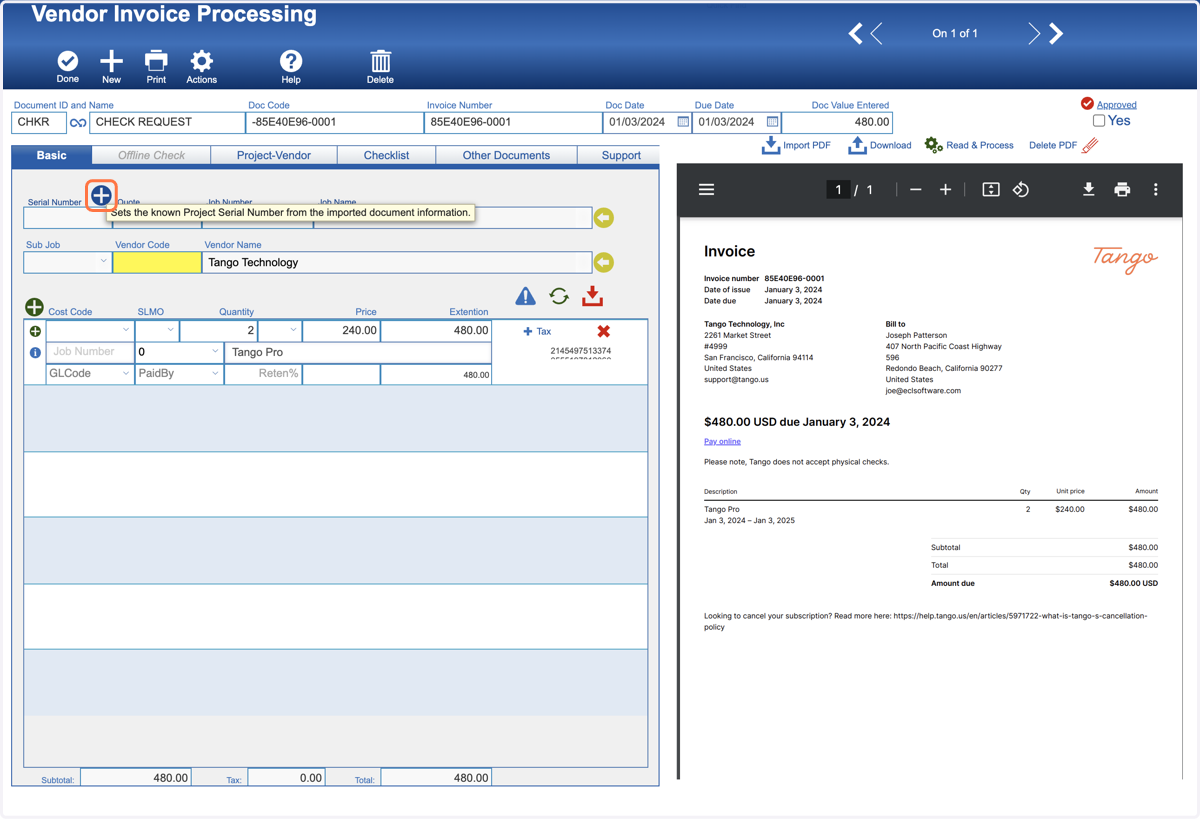
10. To add the Vendor Code.. click in the Vendor Name field and hit TAB.
Note: if this is a new vendor, the Vendor Code will be yellow.
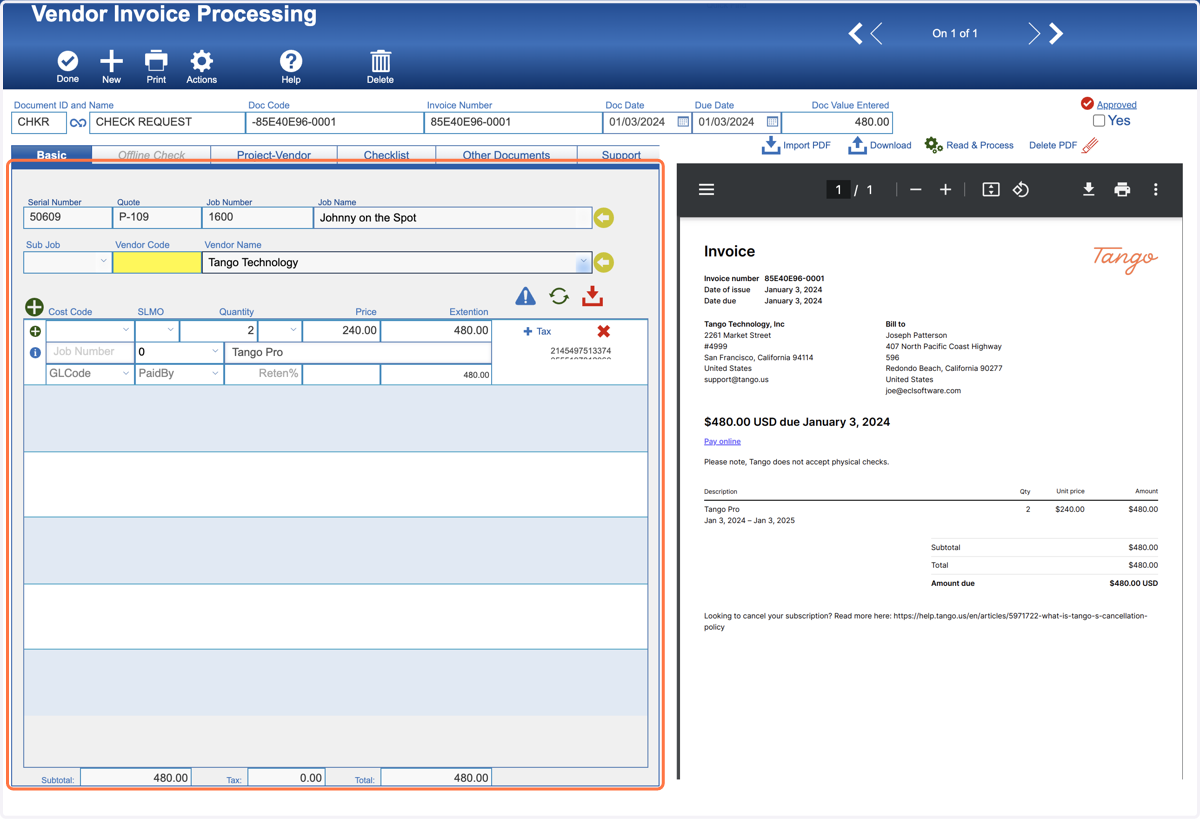
11. Click on Add or Search
If you know this is a New Vendor, you can click Add; otherwise, if you think this could be a misspelling click on Search.
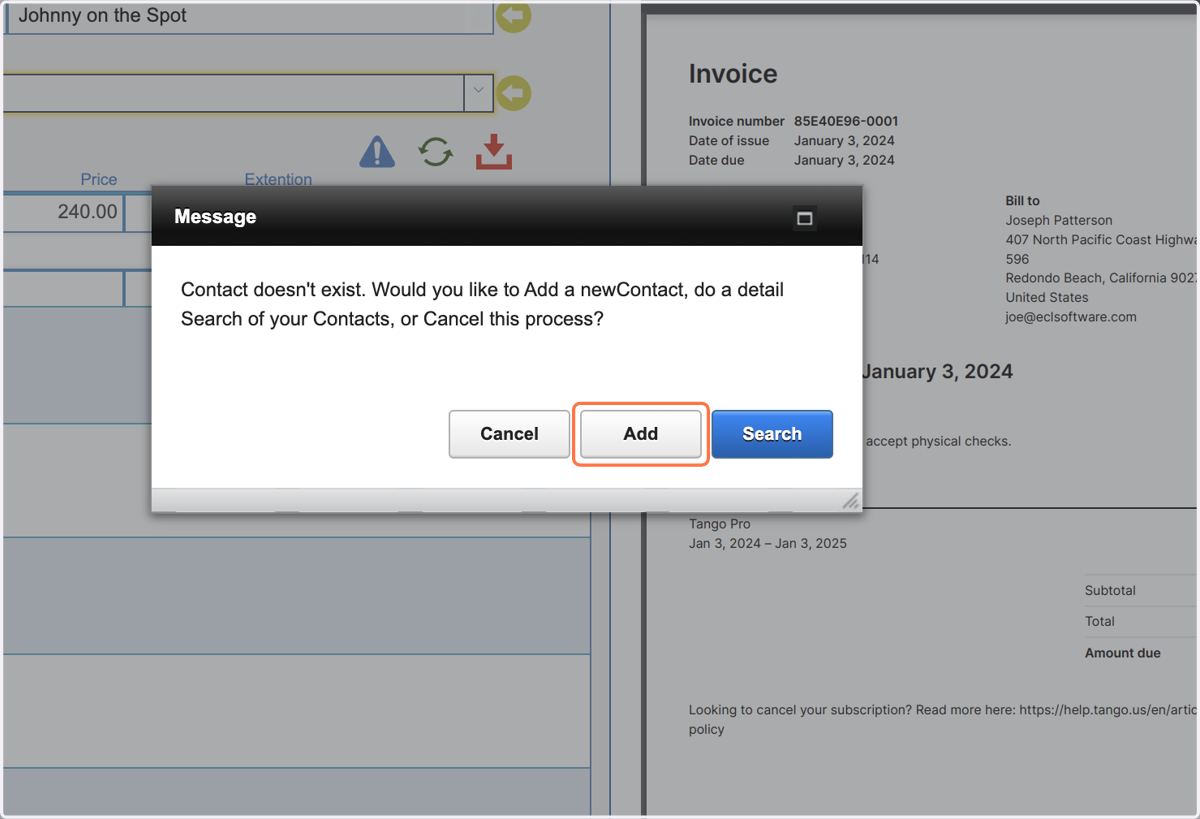
12. In the Contact New Screen, fill in what information you know.
Note: if the invoice had vendor information, that information would be auto-filled in.
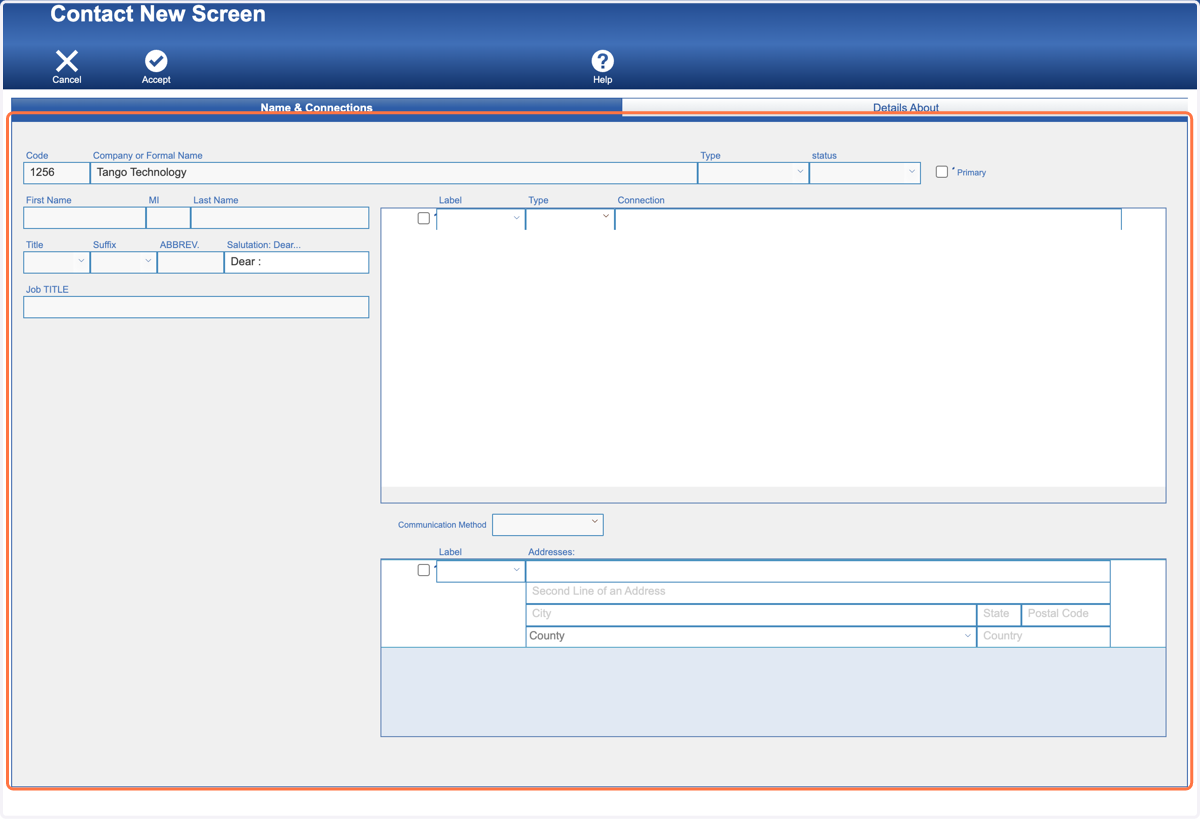
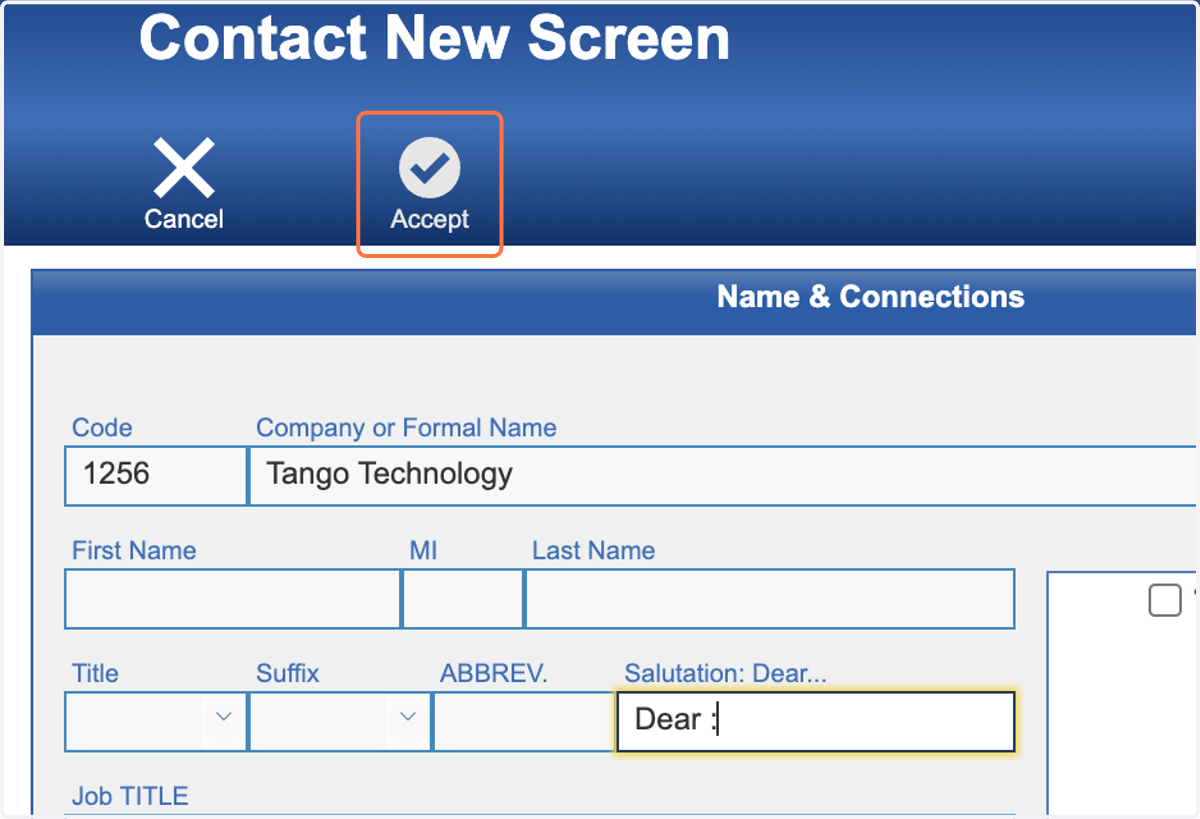
13. Click on Accept
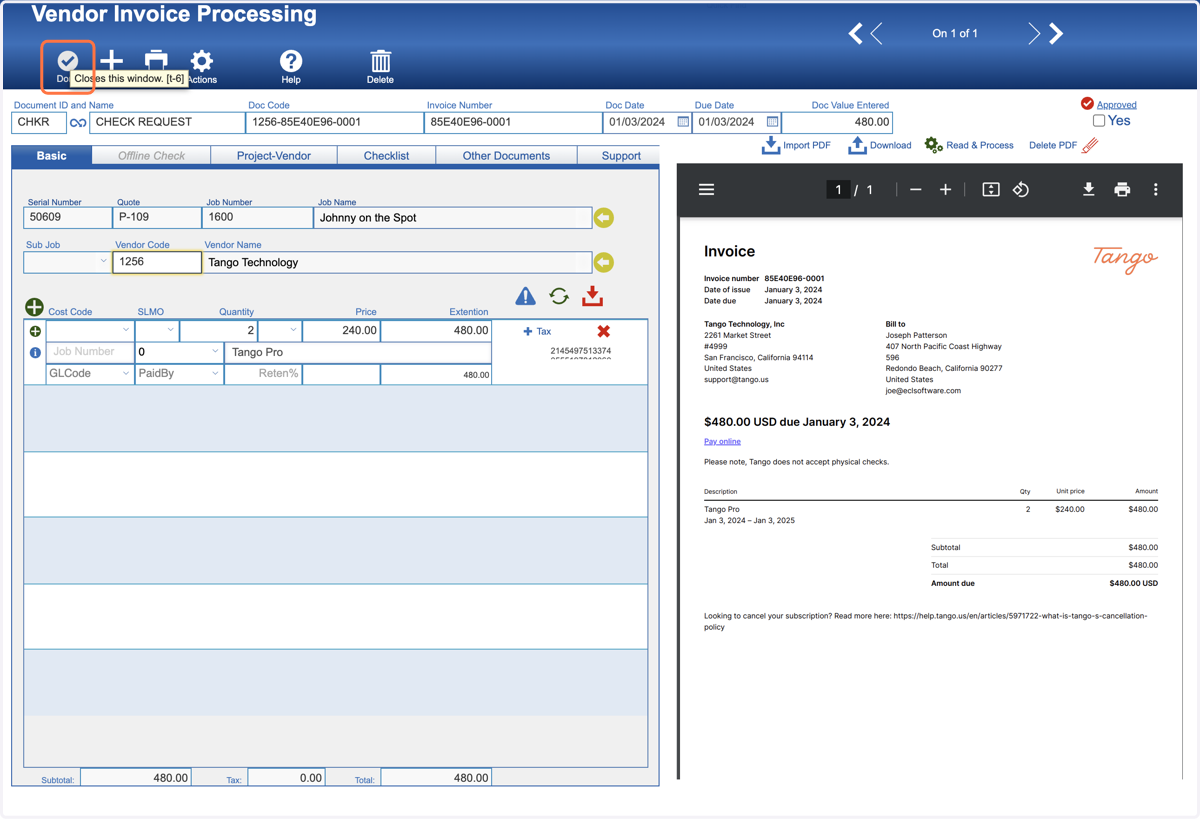
14. If everything looks good, Click on Done.
Note: you may have a policy that you must "Approve" this invoice first before clicking Done.
15. Back at the Image to Document Review
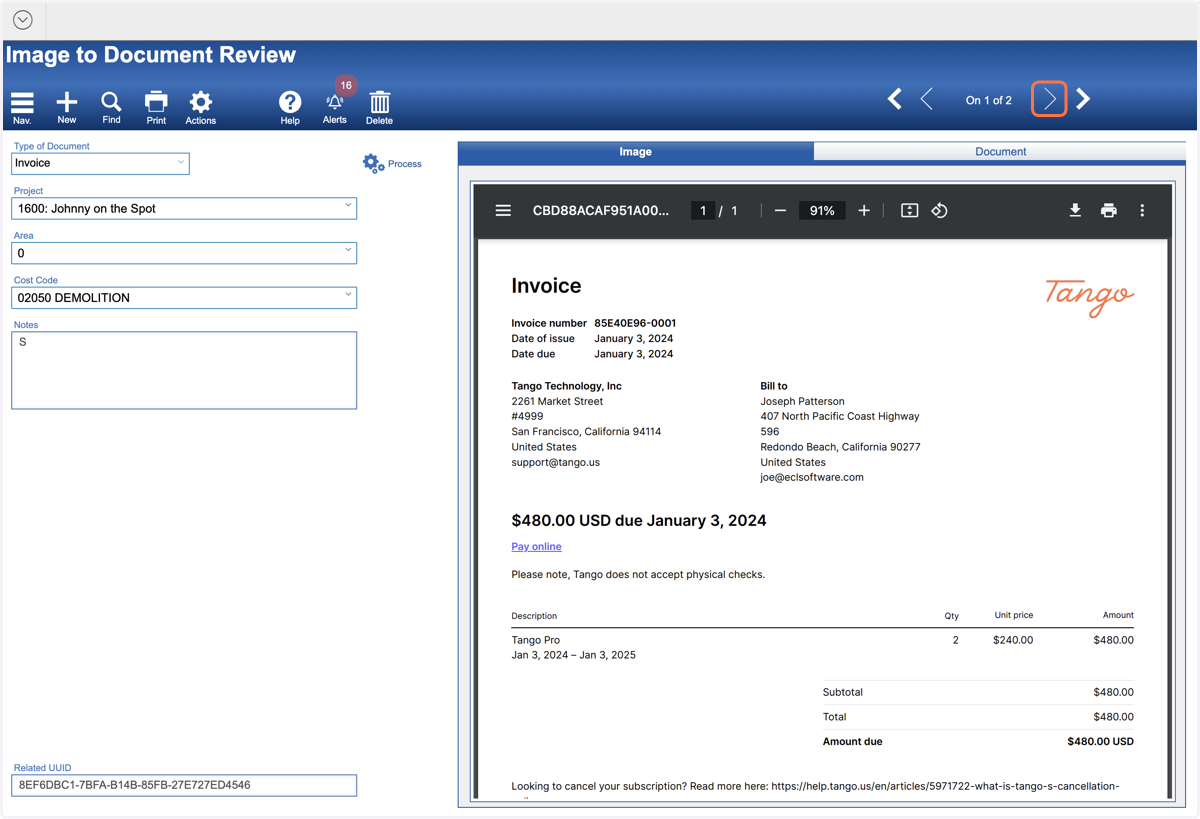
16. Move to the next record, Click on Process, and follow the prompts as before.
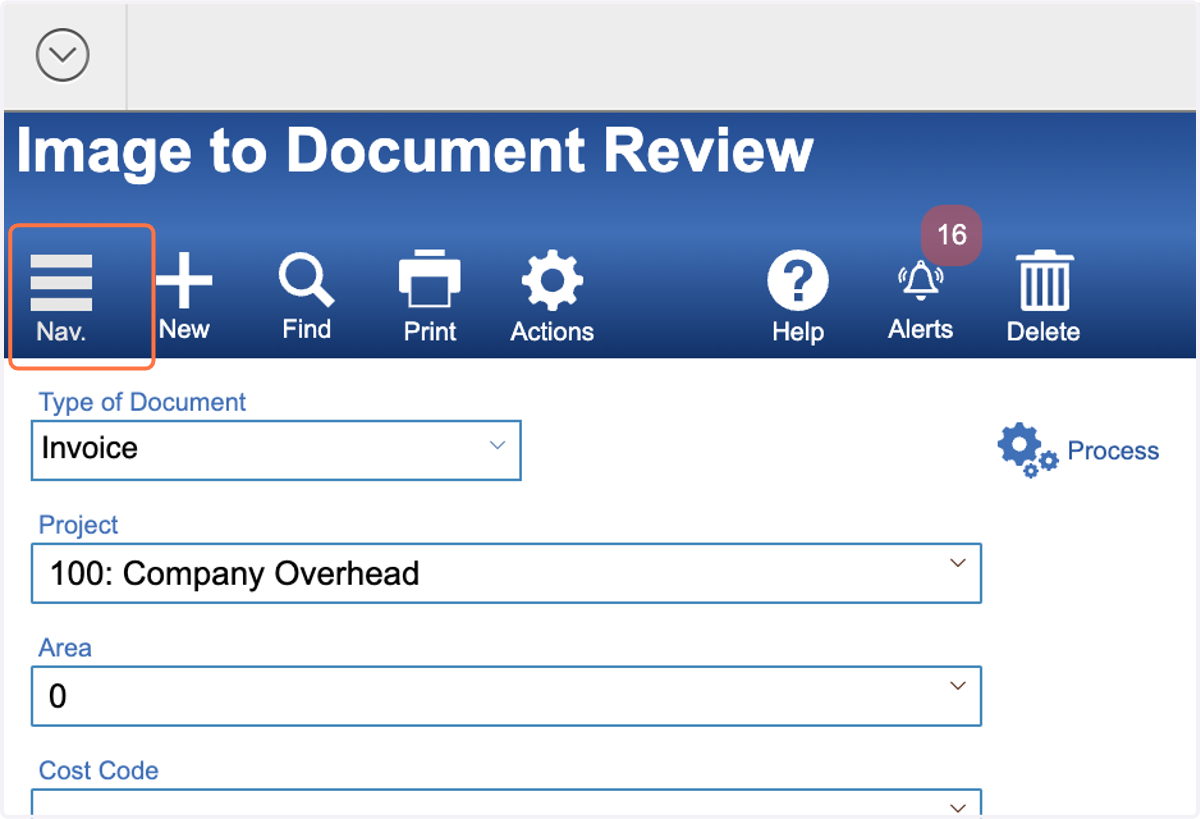
17. When all Images are Reviewed, click on the NAV button.
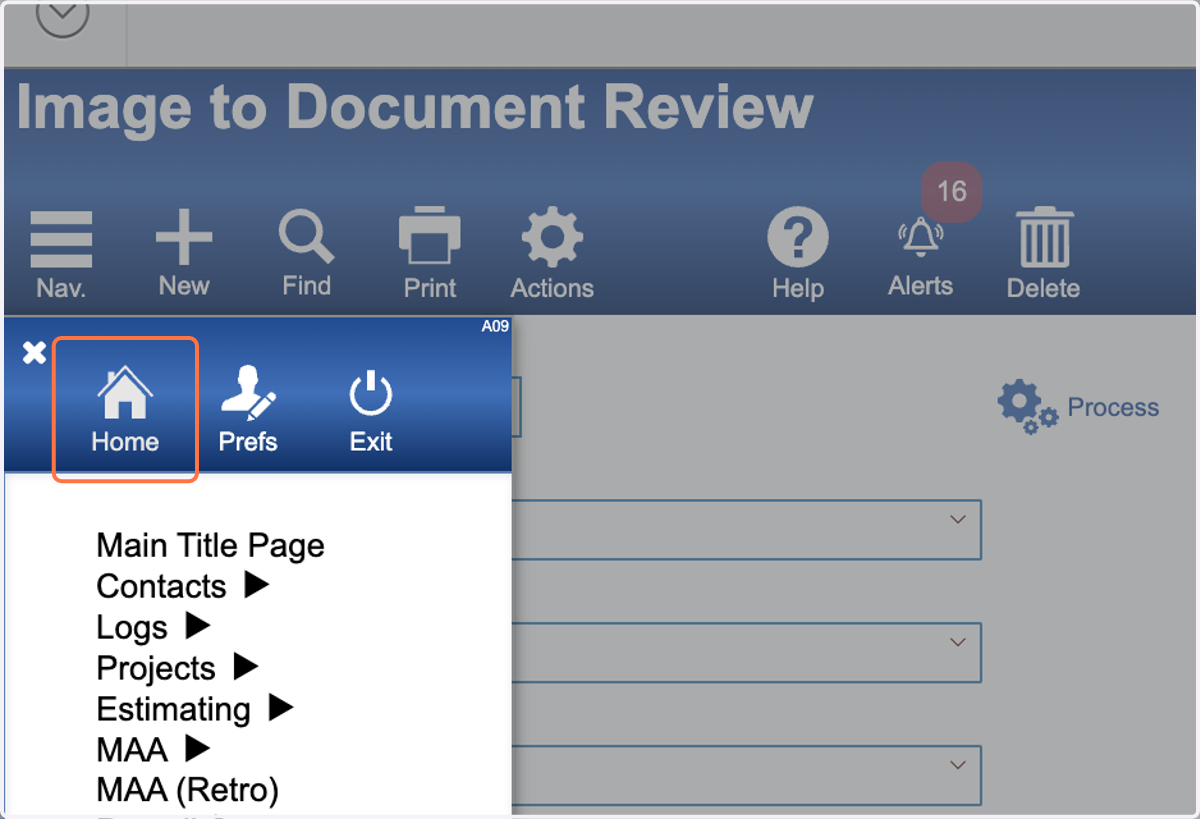
18. Click on Home or where else you would like go
19. Done