CRM Apartment Transfers
This guide shows Business Office Directors how to process an internal transfer in the CRM leasing workflow.
IMPORTANT NEW STEPS
A unit transfer must be scheduled and performed for all transfers, even in the same level of care
Updated as of 5/2/2025
Yardi Systems, Inc. - Yardi Voyager
1. Click on Functions under the residents profile to schedule the unit transfer

2. Click on Schedule Unit Transfer

3. Click on the unit the resident will be moving into

4. Click on Done

5. Fill out the transfer date, and any other changes that need to placed in the unit transfer, then hit Save
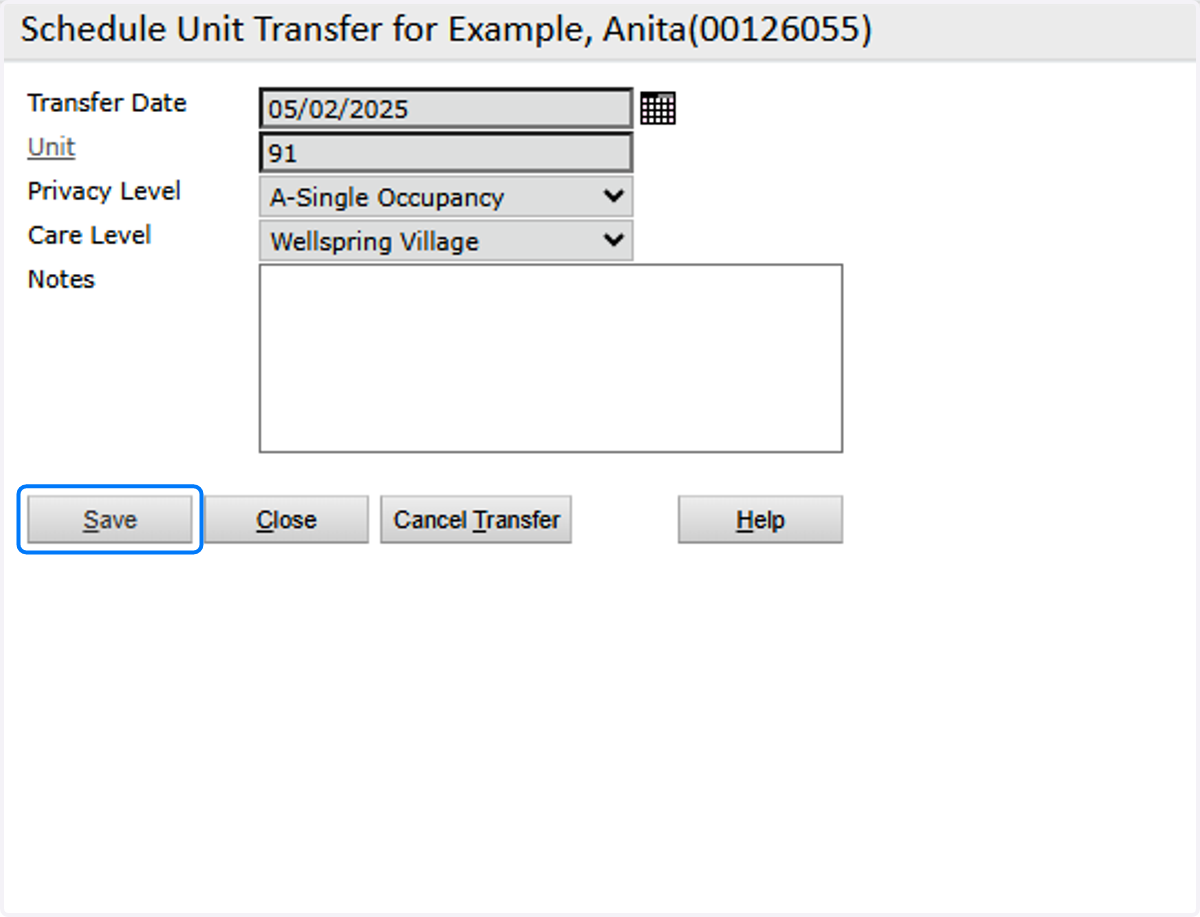
6. Click on Close, we will perform the transfer at a later step

🏡 Yardi Senior CRM
7. Open Resident Profile
Search for the resident from the CRM dashboard based on their status. Click the link on the resident's name to open the profile.

8. Proposals
Open Proposals from the left side menu.

9. Add Proposal
Click Add Proposal to start a new lease document.

10. (1) Proposal
Enter relevant header data.

11. (2) Term
On the term step, ensure the appropriate care level is selected for the transfer.
Enter new term dates.

12. (3) Unit
Click on the Units Filter to find the new apartment. To show all results, remove all filters and select Show all units.

13. (3) Unit
Select transfer unit.

14. (4) Accommodation
Enter the financial move in date as the Start Date.
Verify the correct rate is pulling into the proposal.

15. (4B) Accommodation isnt the correct amount
When a unit transfer is scheduled, sometimes the old apartment price will stick and not show the new unit rate. To fix this, simply click the X off of Services, and then add the service back on and it should resolve itself.

16. (5) Levels of Care
Enter appropriate Service where applicable. If an assessment has been completed, click the available Apply Recommendation button to auto-select the recommend service package.

17. (9) Review Quote
On the Review Quote step, verify that all required data has been entered correctly, paying particular attention to rates, payers, and dates. If anything needs to be updated, return to those steps in the workflow and make corrections.

18. View Quote
Click View to download a PDF copy of the quote sheet.

19. Accept Quote
Click Accept Quote to proceed to the Lease step.

20. Signing Roles
Select the appropriate signing role for each contact.
Applicant: Resident signer
Representative: POA signing on behalf of resident
Not Required: Not a signer
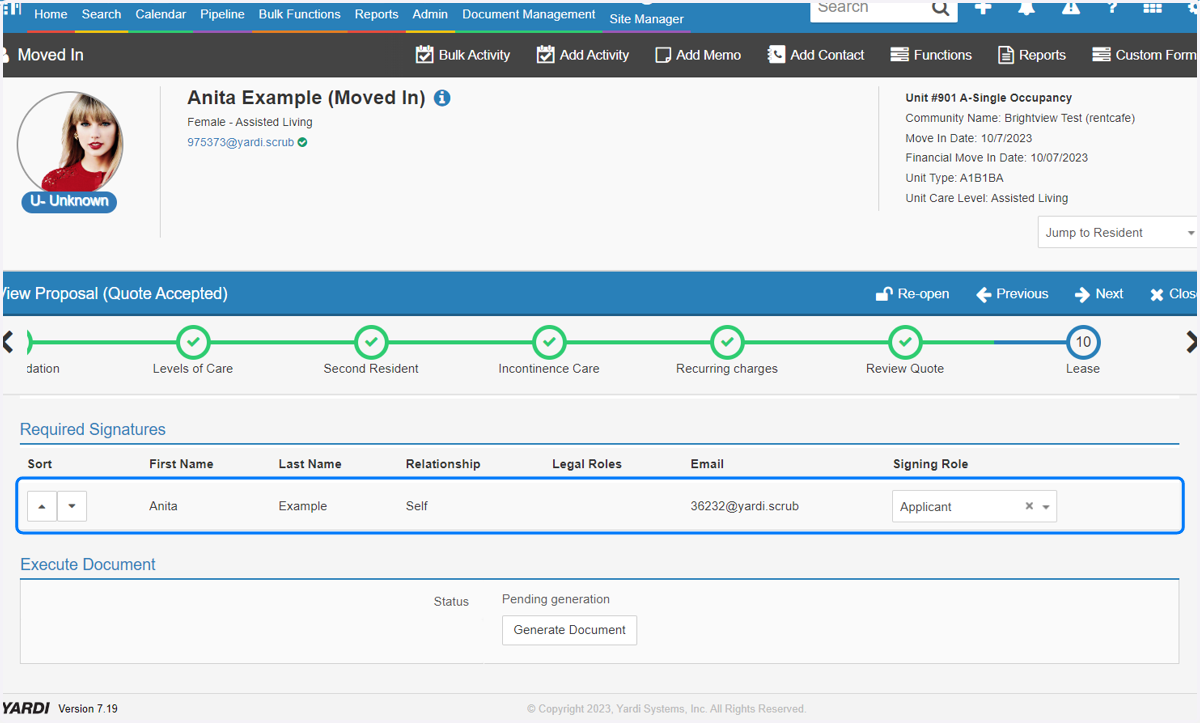
21. Generate Document
Click Generate Document to create lease agreement. This will take a few minutes to run. DO NOT DO THE MOVE IN BATCH YET!
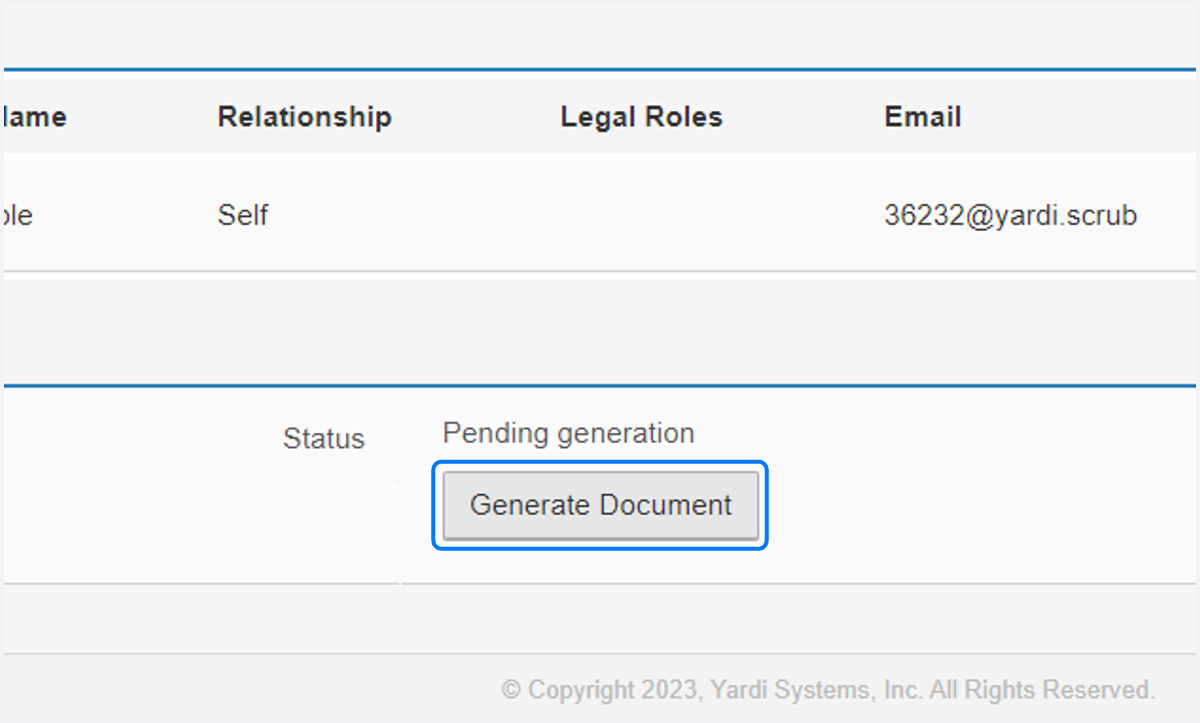
22. **STOP*** Do not perform the Move in Batch in CRM yet!
**IMPORTANT STEP***
The unit transfer must also be performed in Voyager first or else the old accommodation may be restarted!
23. Click on Unit Transfer in Voyager

24. Click on Perform Transfer

25. Click on Next> through each step, double check your effective date as this will pull in todays date, not the date this may have occurred.

26. Click on Preview
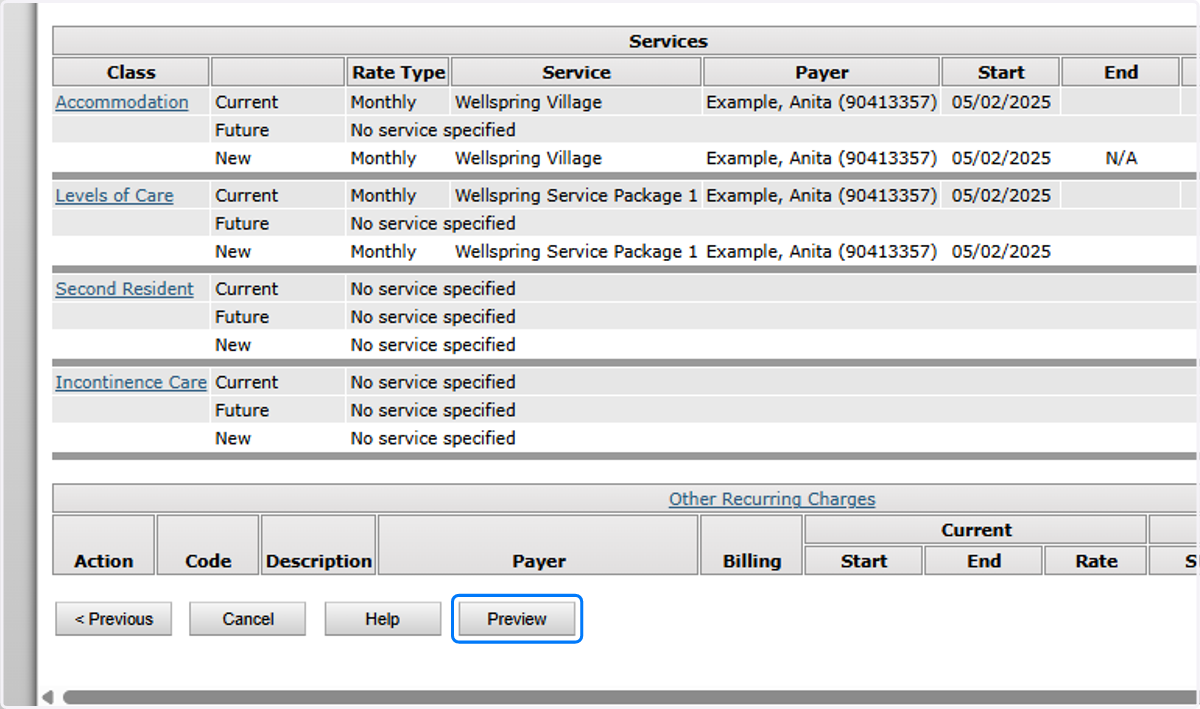
27. Click on Save and Post the batch
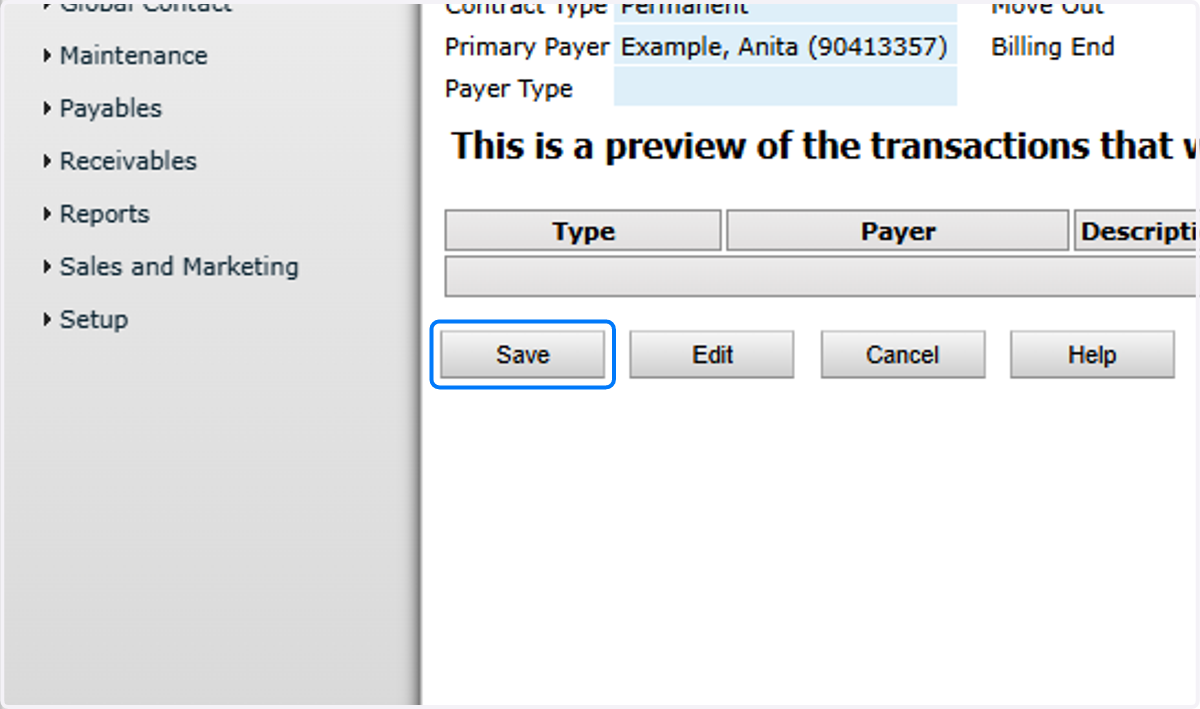
28. Now go back into CRM and do the manage services/move in batch. It should be a zero dollar batch
29. Click on Find to locate any open charge batches that need posting for the transfer. Remember only 1 needs to be posted, delete the other if one was created in CRM
