4.0 How To Set-up Analytic Accounting
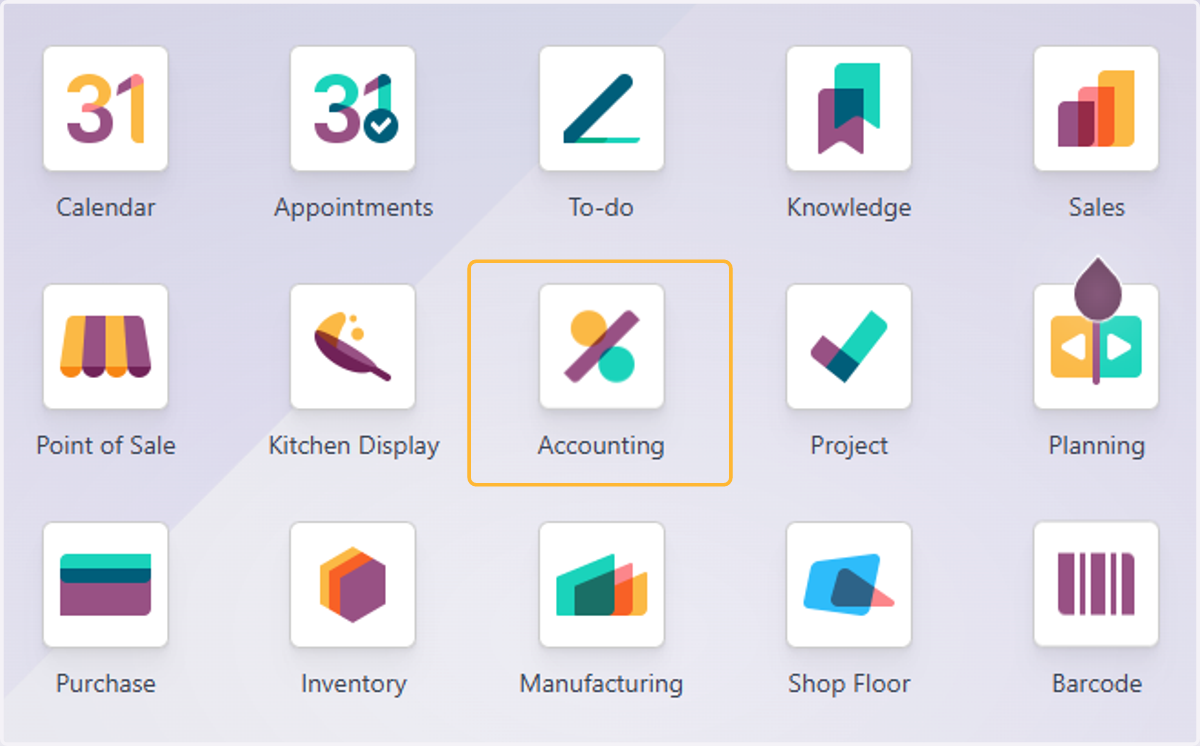
1. Click on Accounting
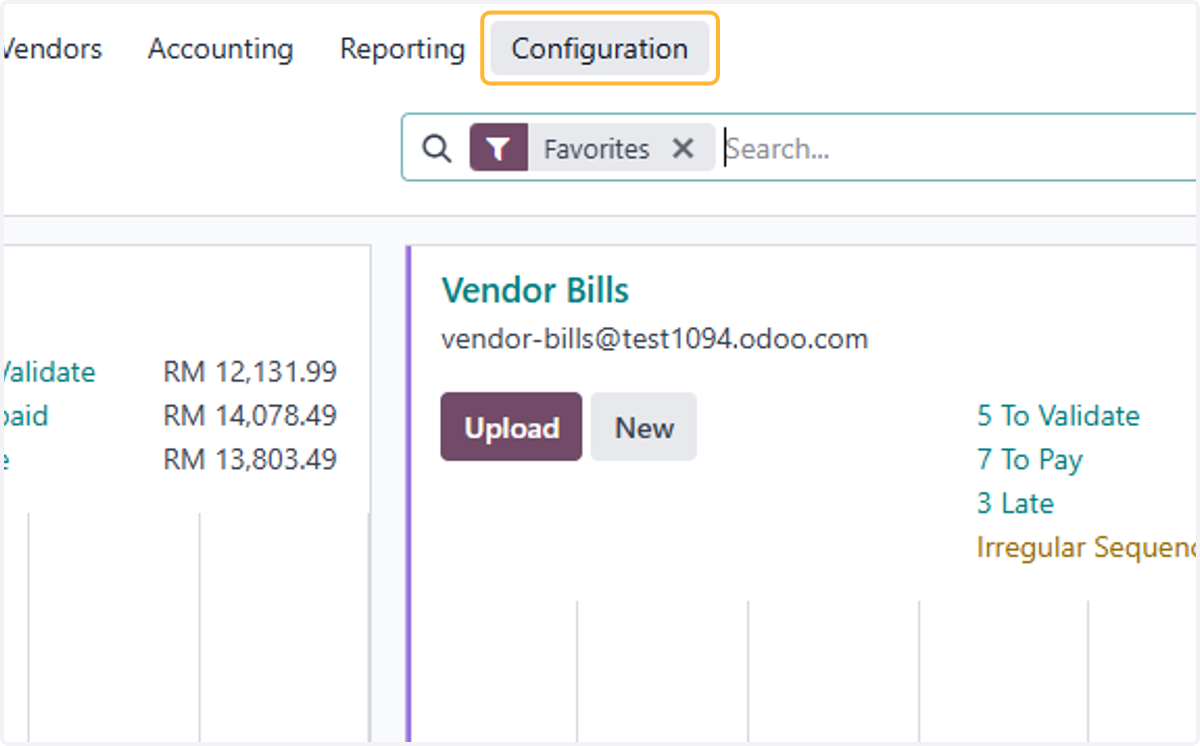
2. Click on Configuration
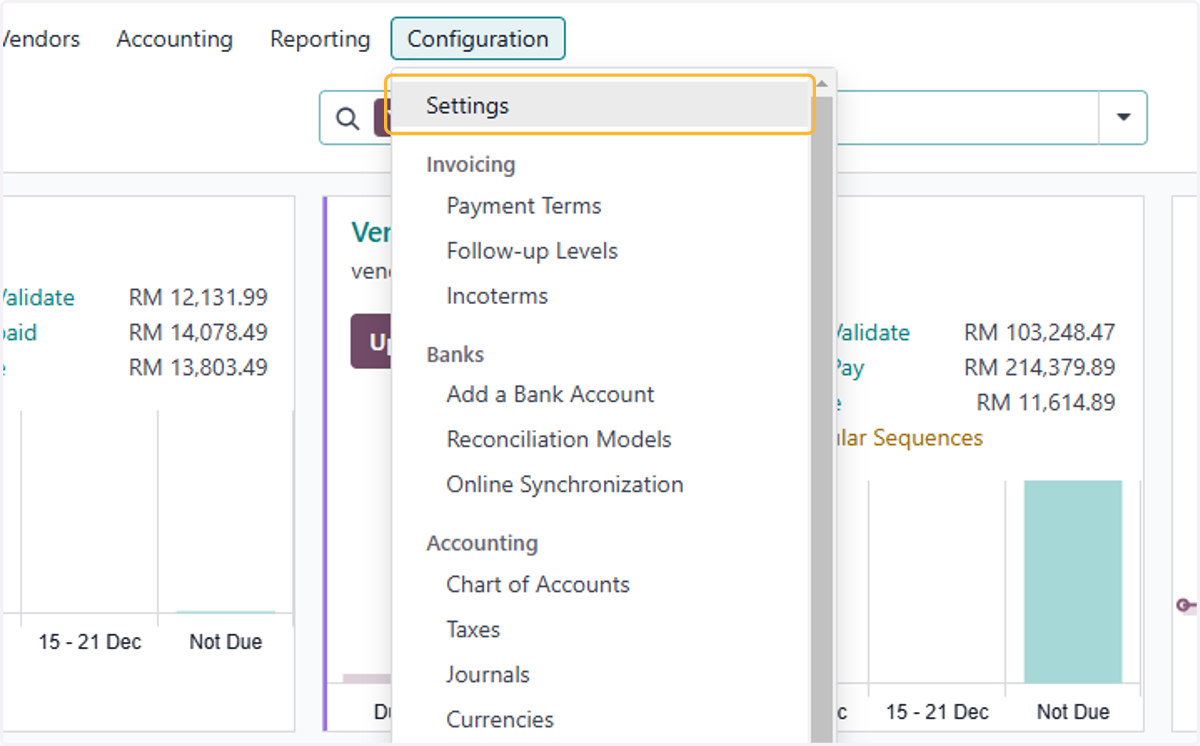
3. Click on Settings
4. Search Analytics
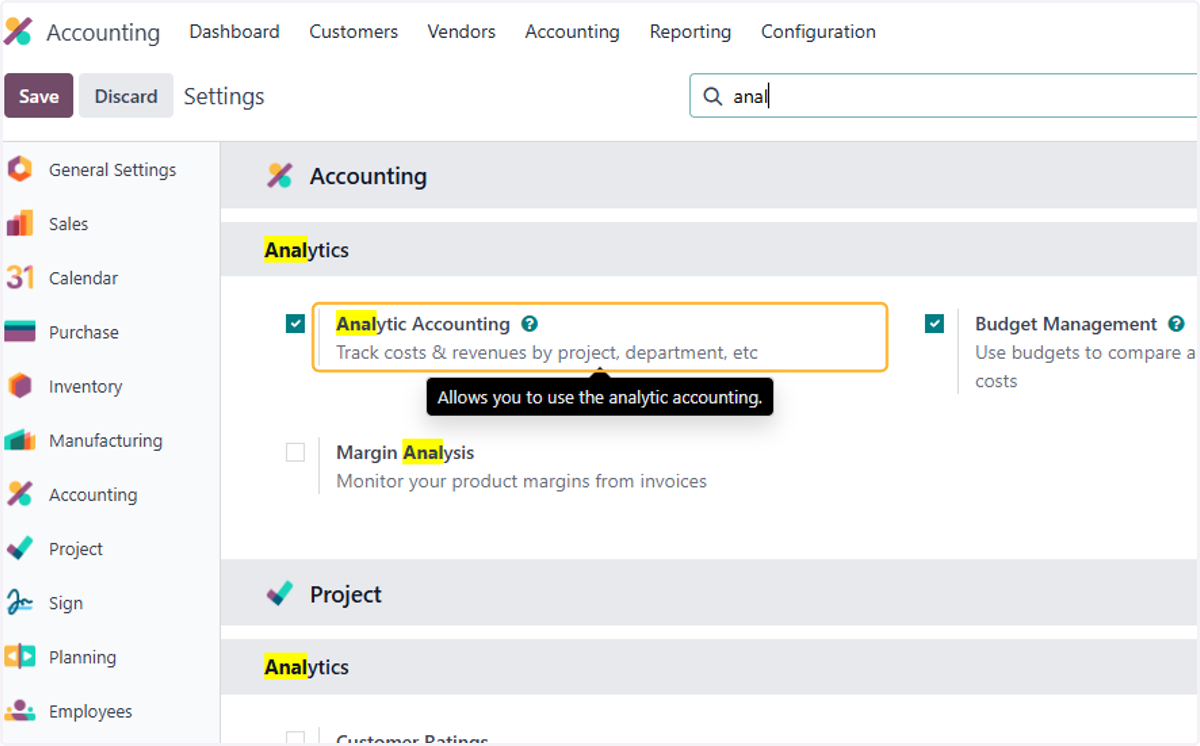
5. Click on Save
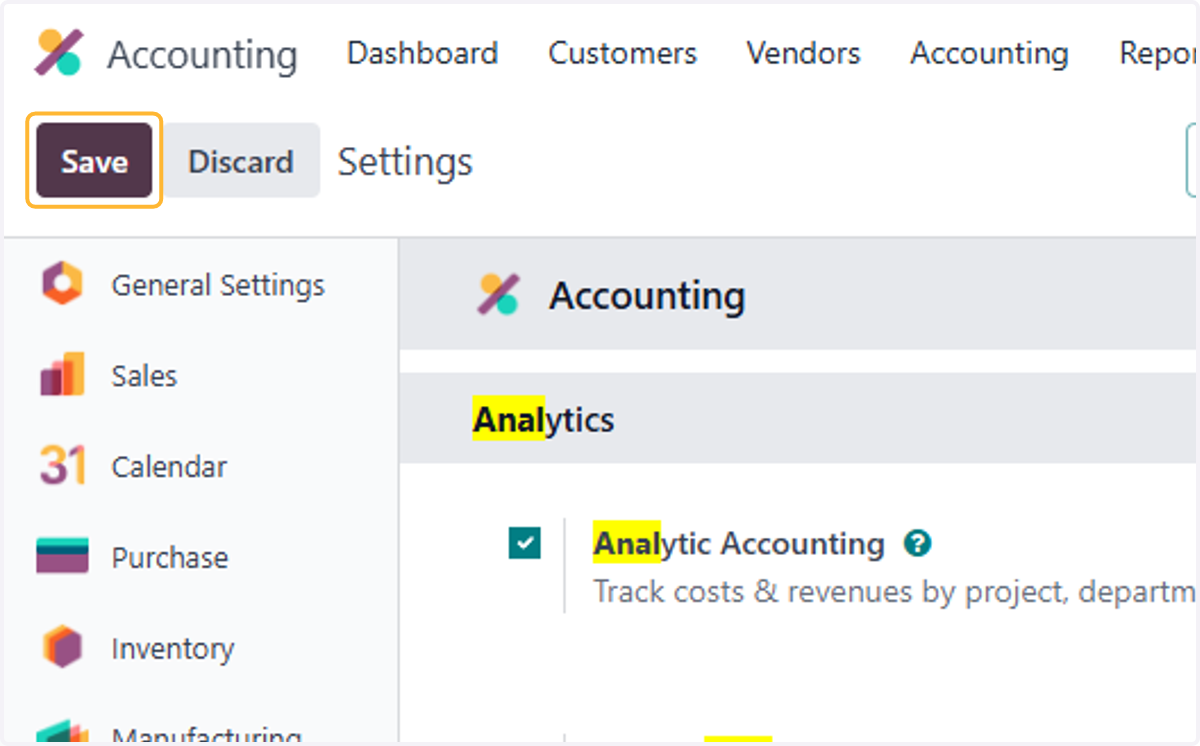
6. Click on Configuration
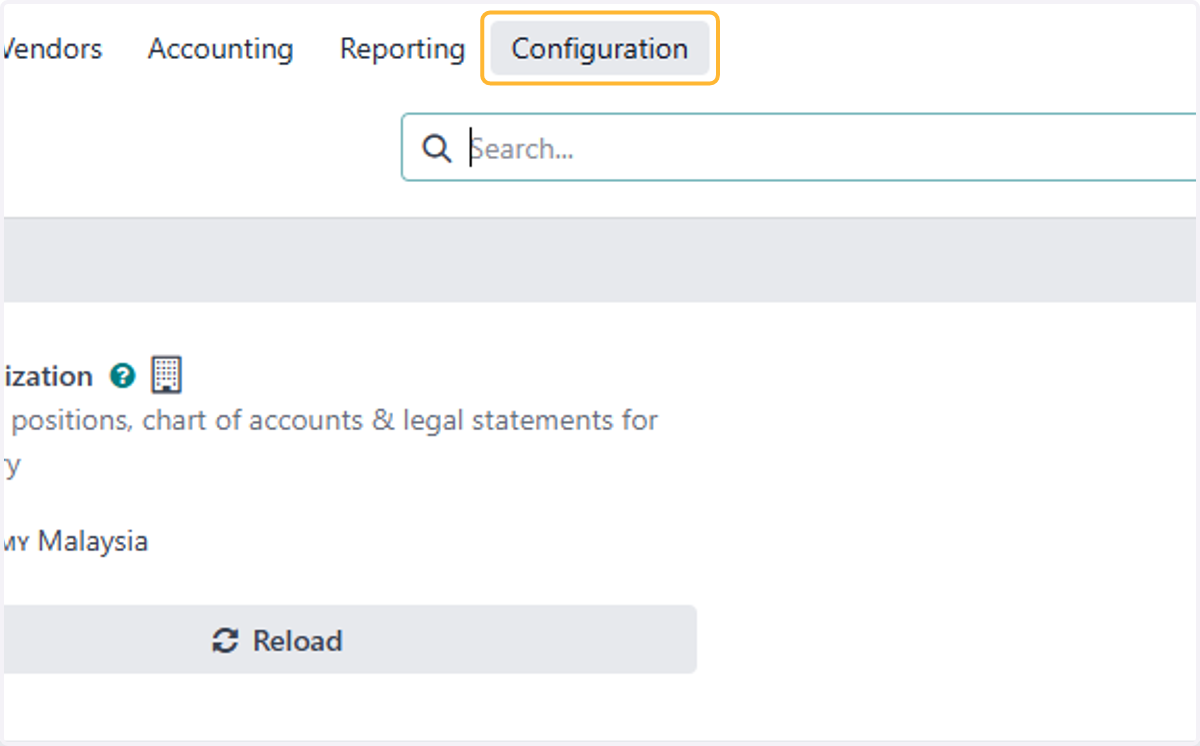
7. Click on Analytic Accounts
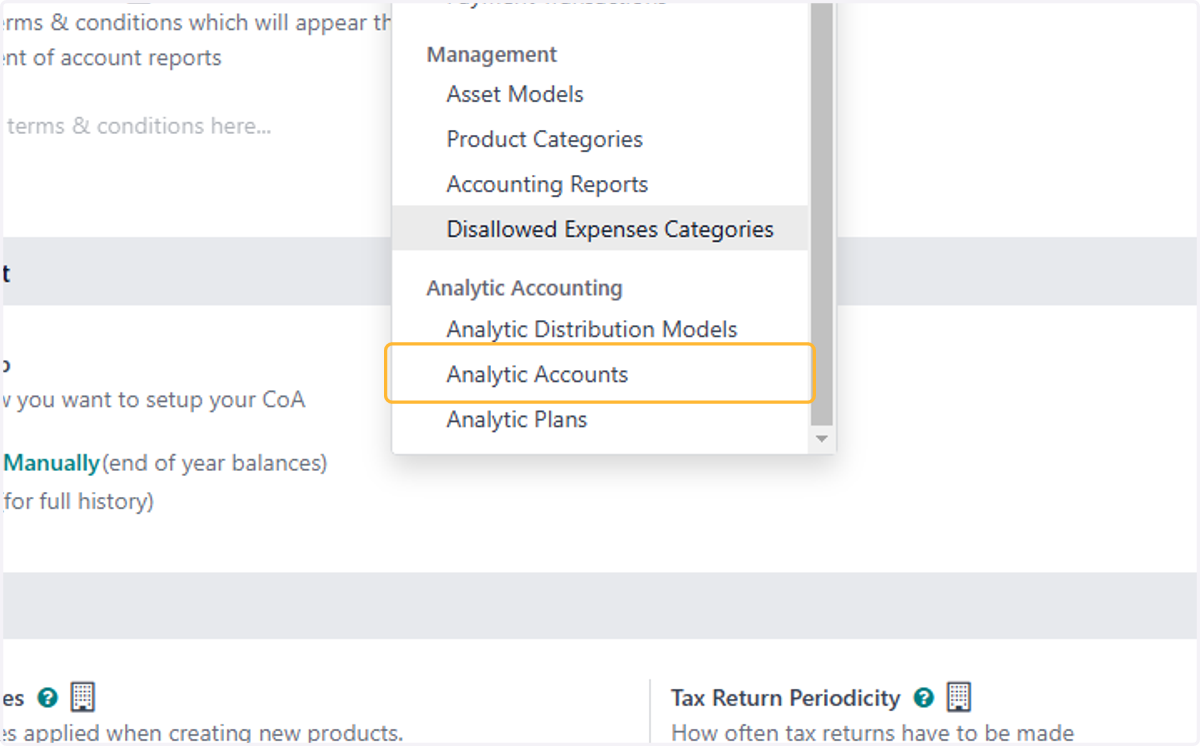
8. List of Analytic accounts
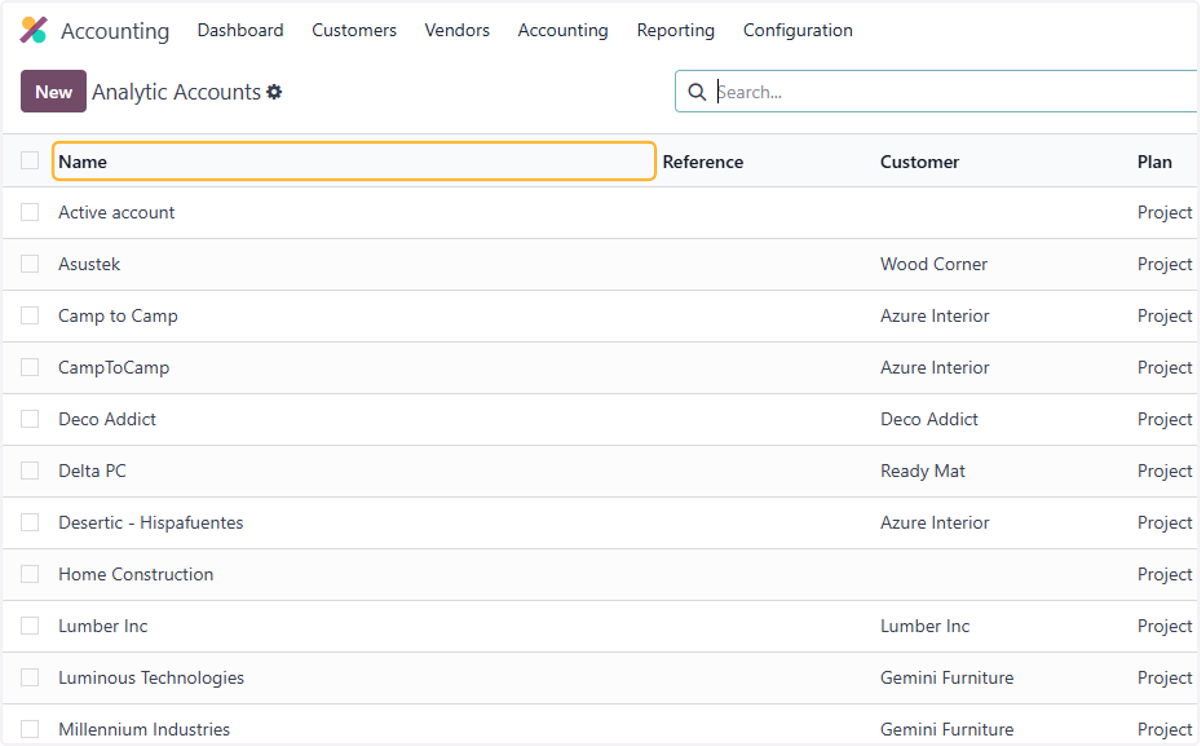
9. Click on Configuration
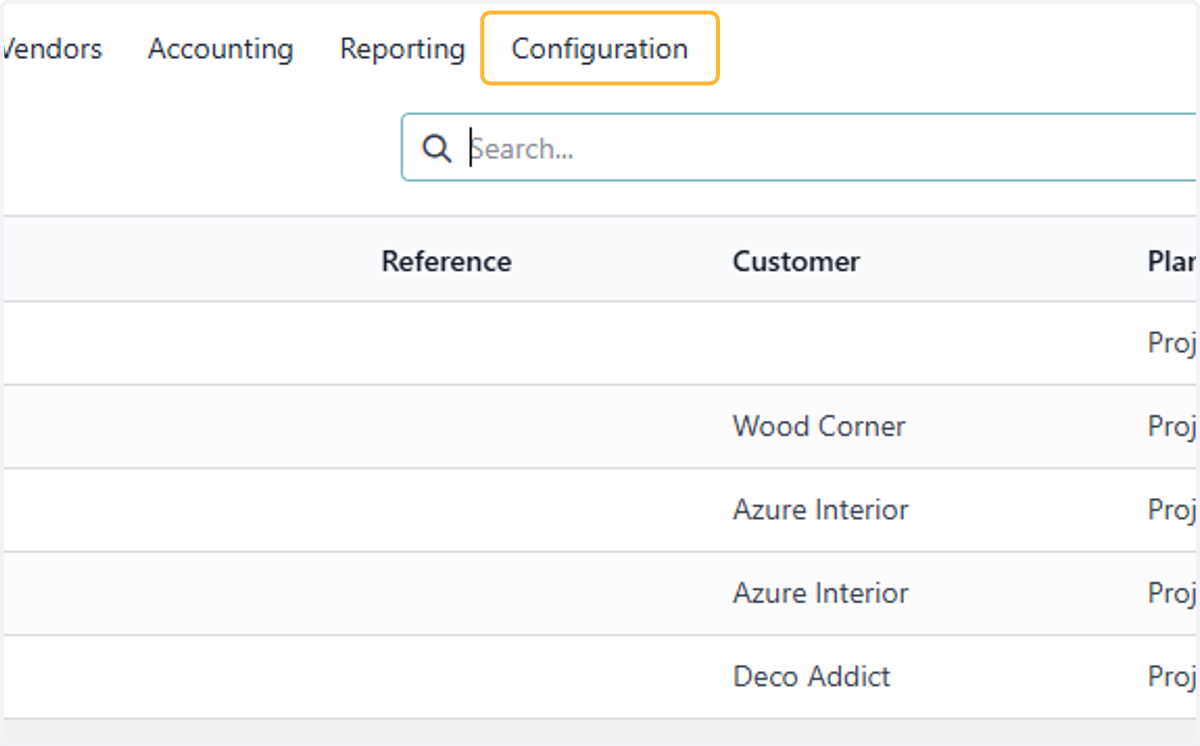
10. Click on Analytic Plans
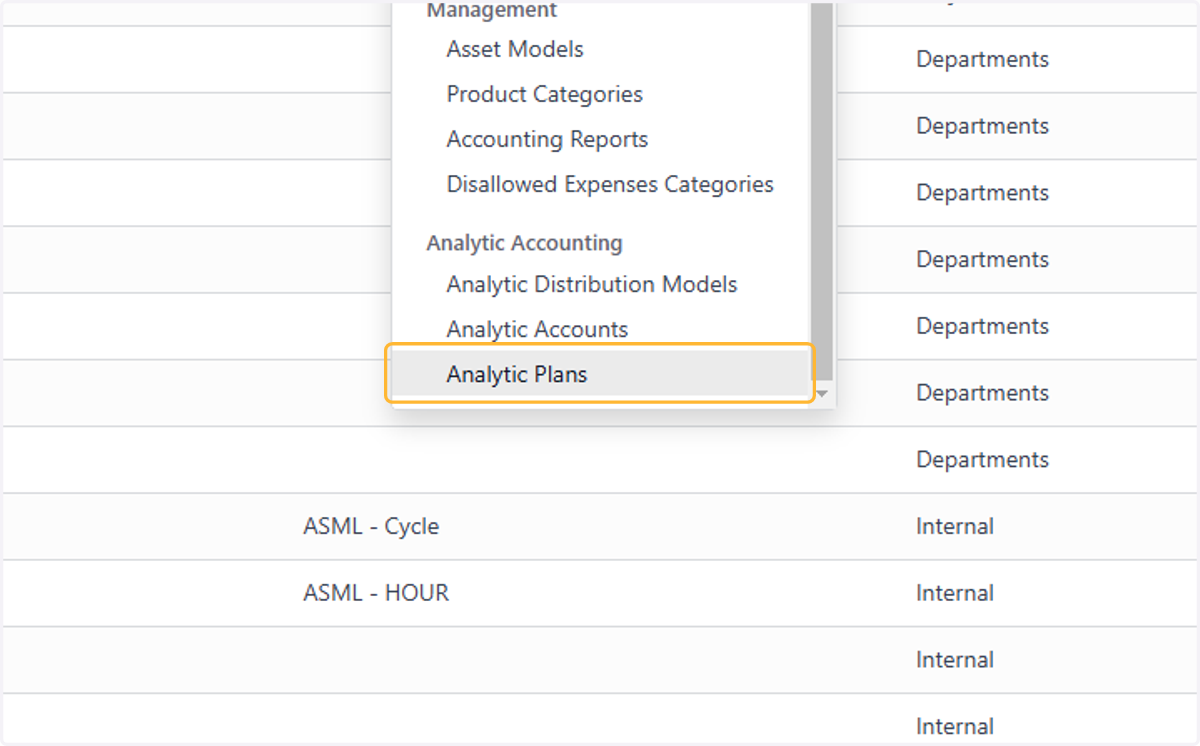
11. Click on New
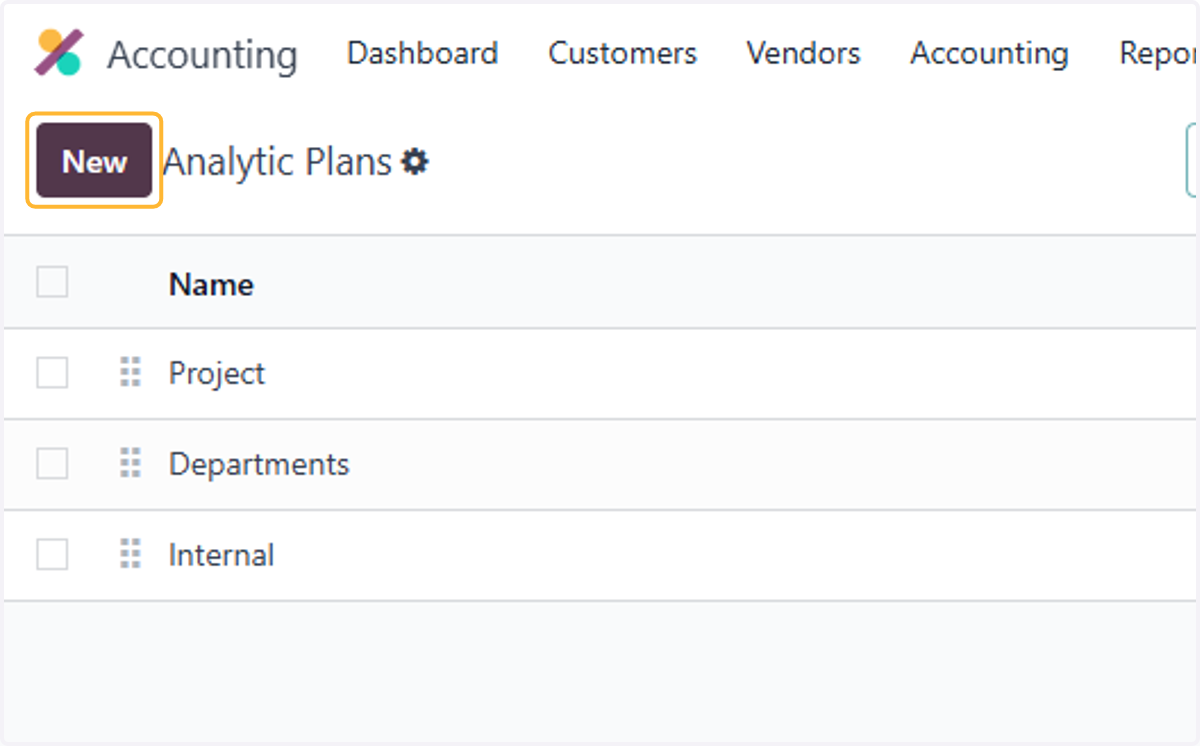
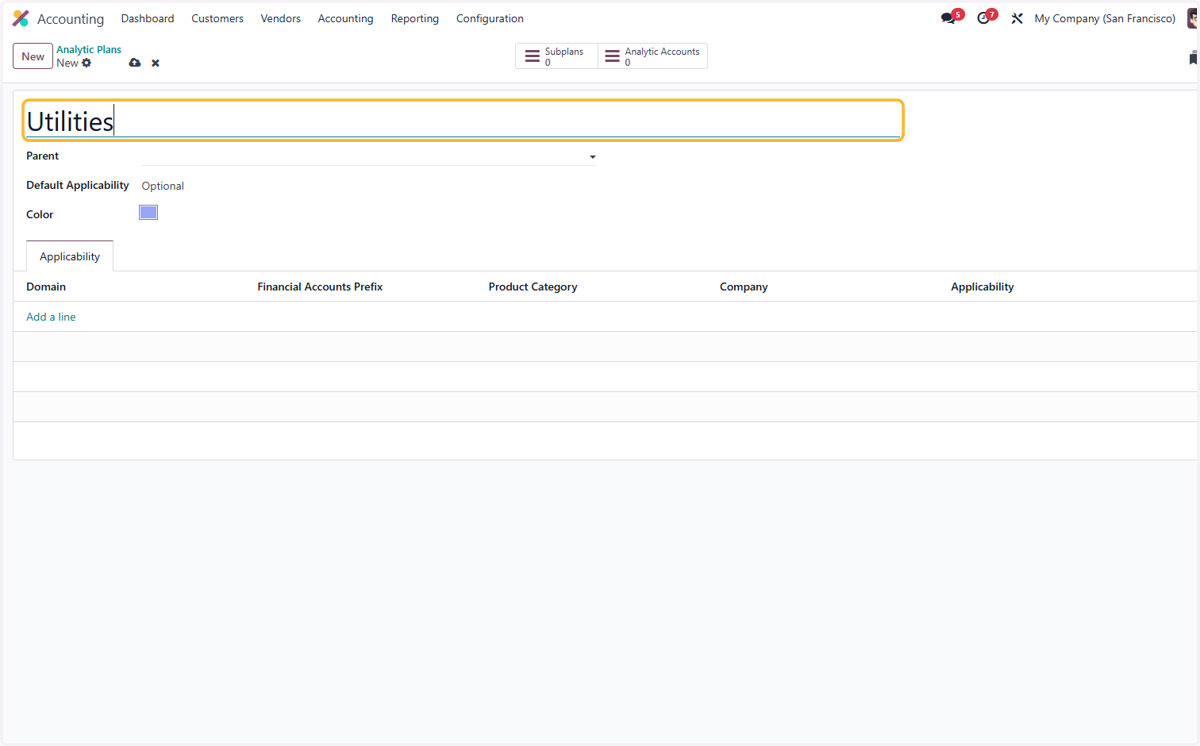
12. Type "Utilities"
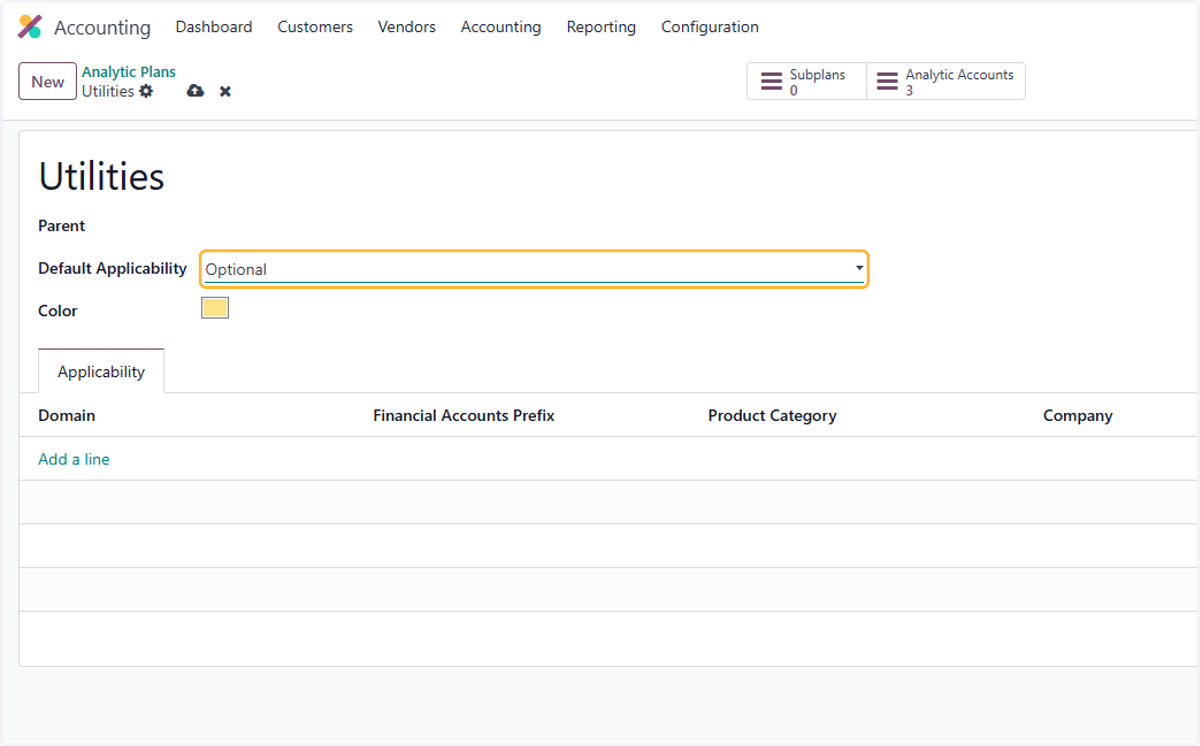
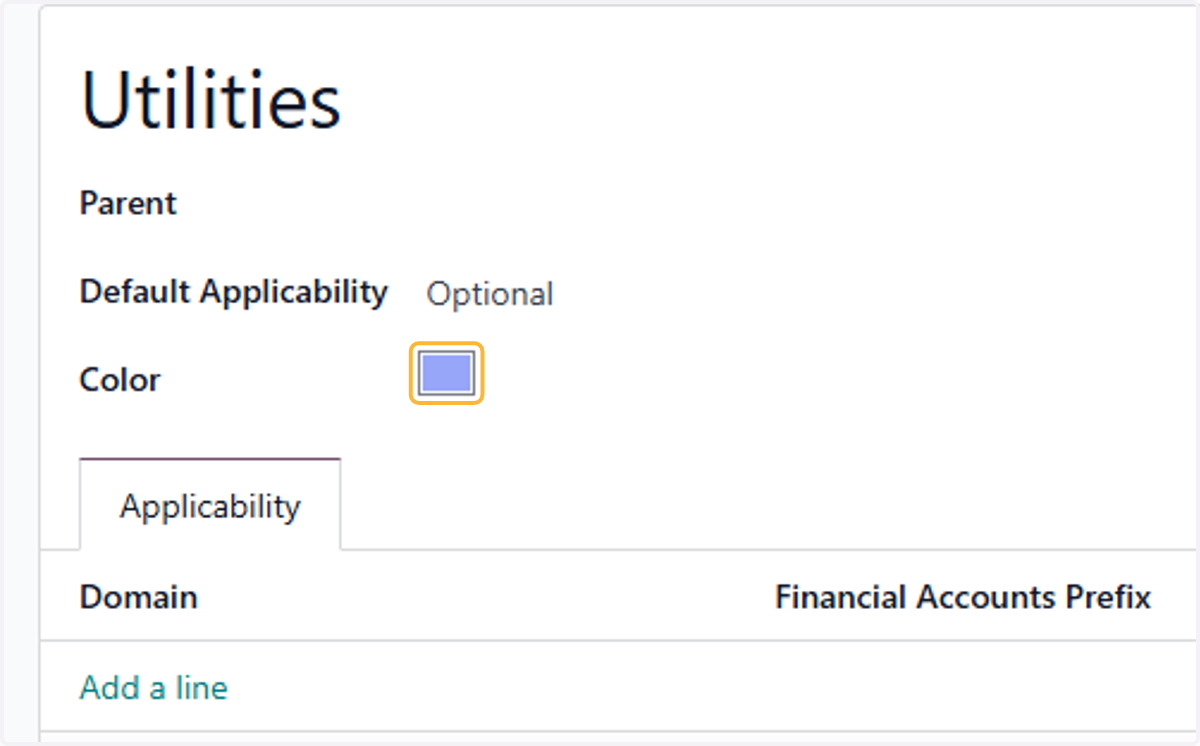
13. Select Optional from Default Applicability
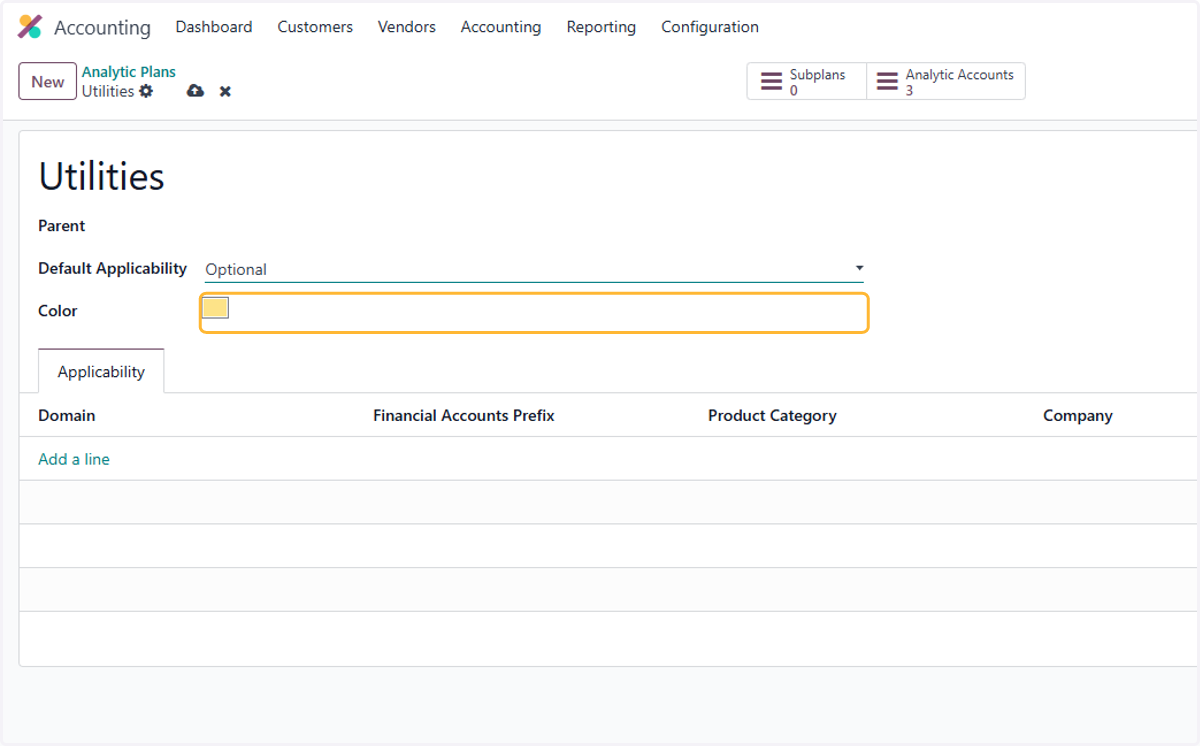
14. Click on Color
15. Click on Add a line
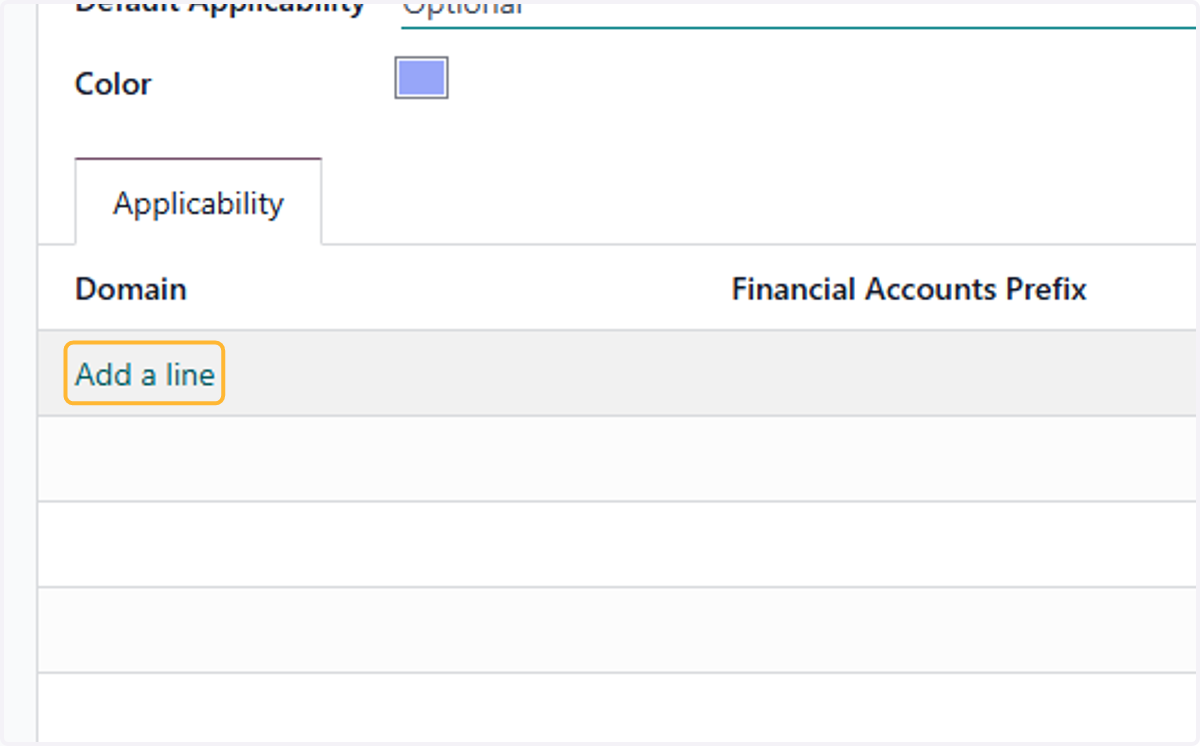
16. Select the relevant domains
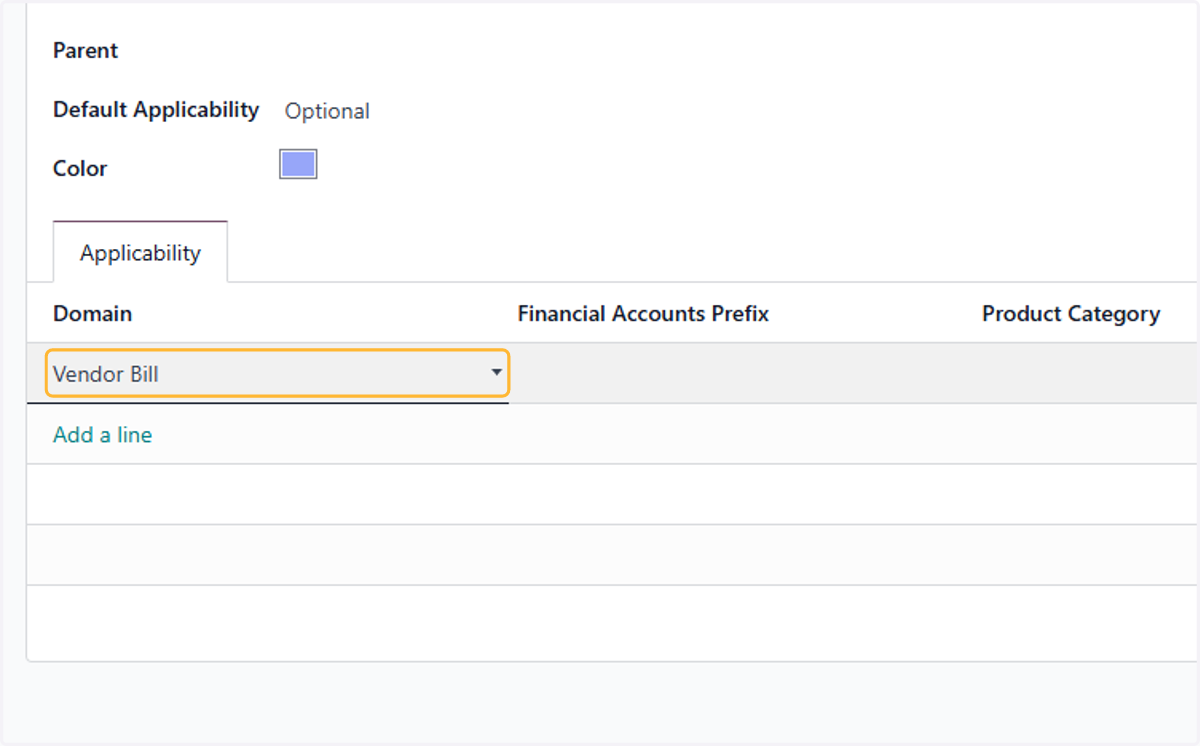
17. Filling in restricts the accounts able to be added
Financial Accounts prefix is based on Account Codes
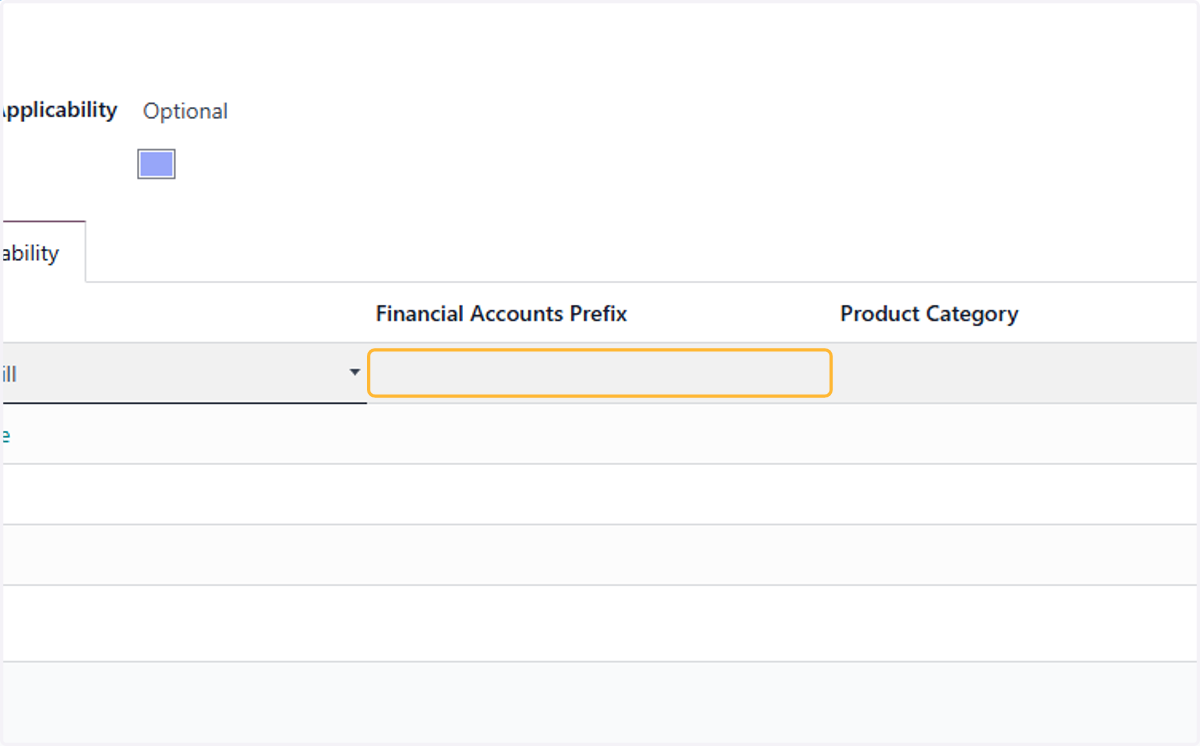
18. Filling in restricts the Products able to be added
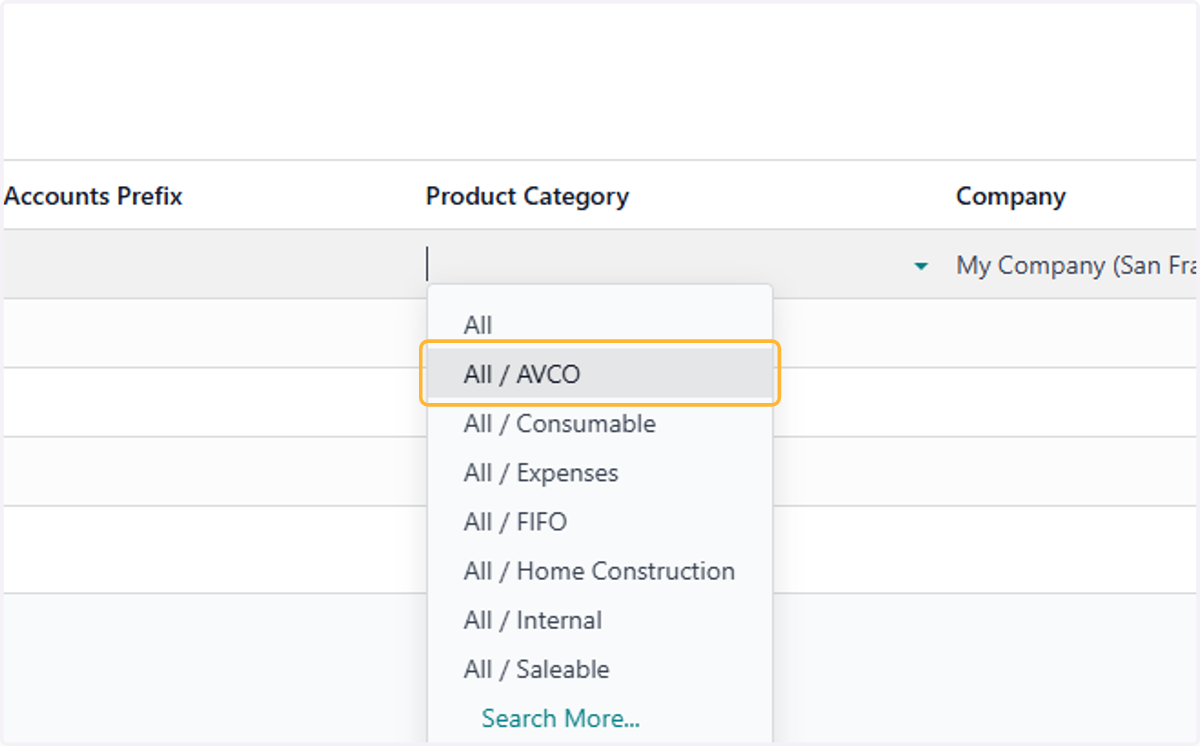
19. Same as above. Select Optional makes the analytics optional
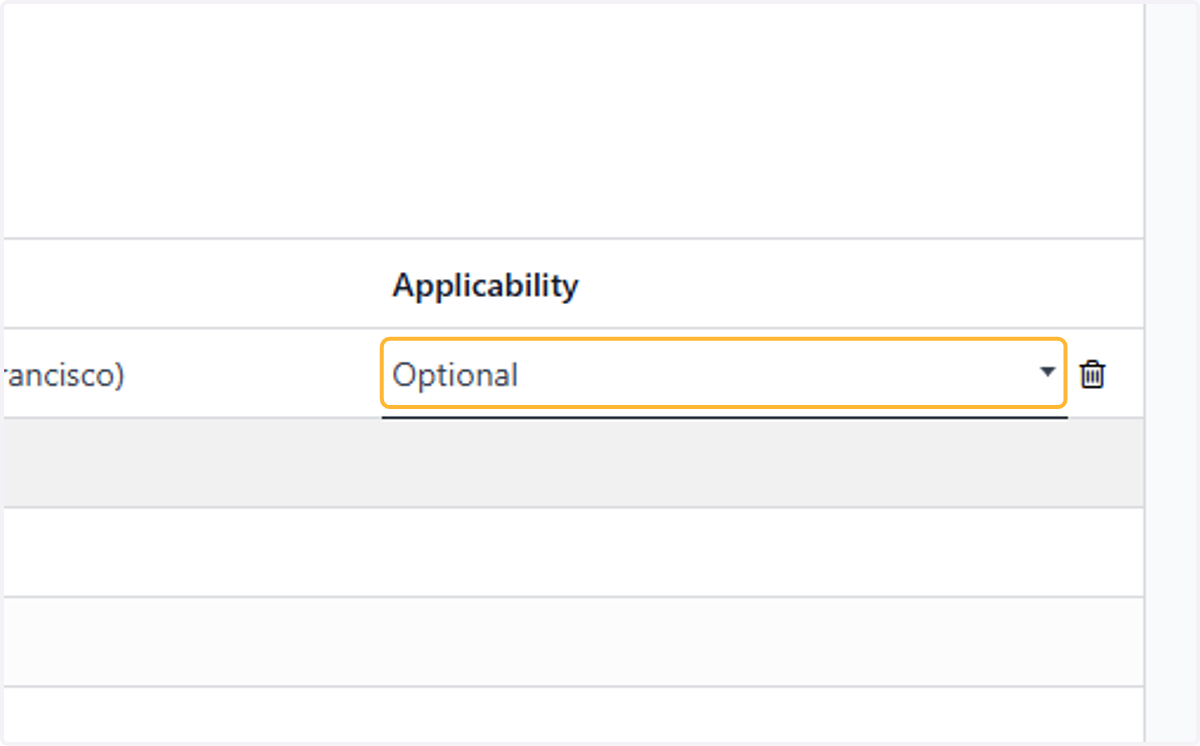
20. Click on Blue
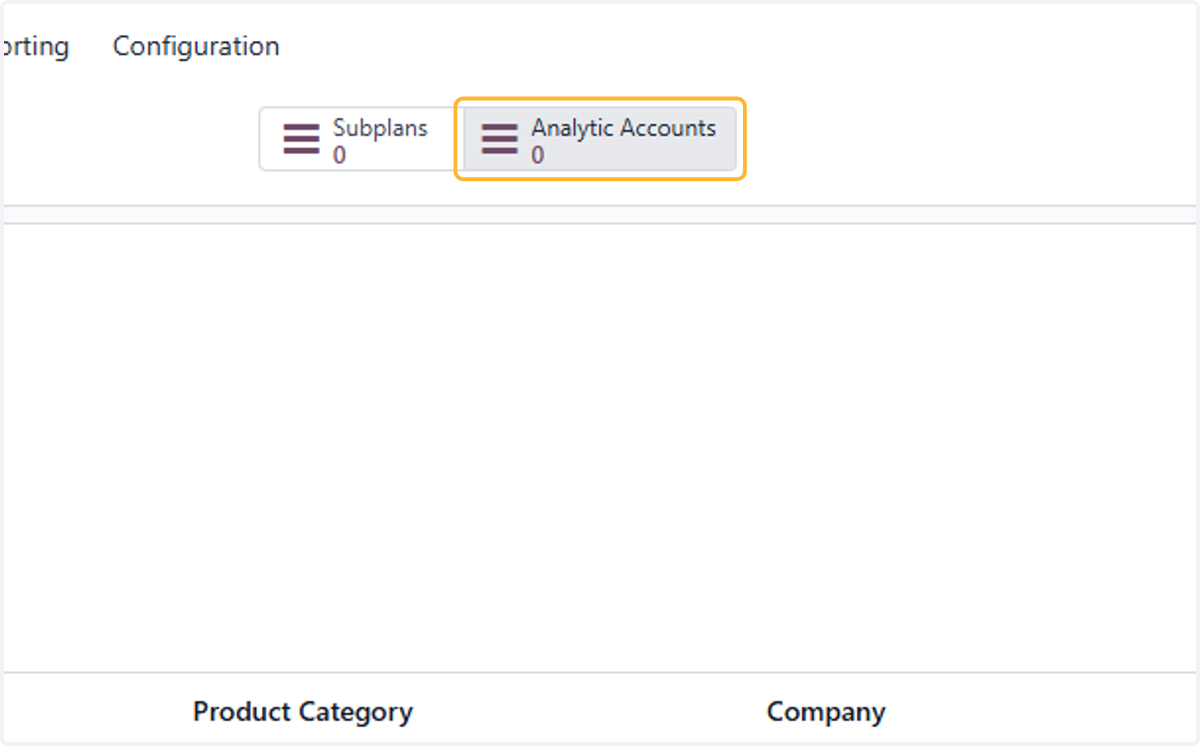
21. Click on Analytic Accounts
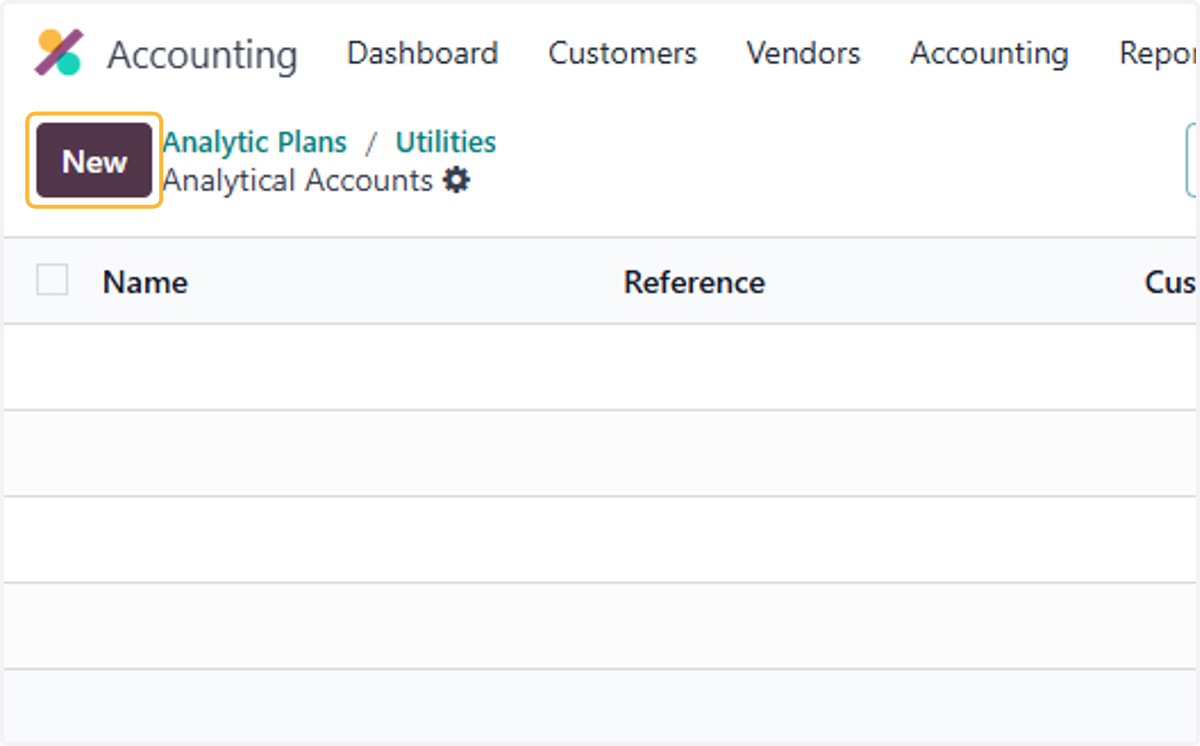
22. Click on New
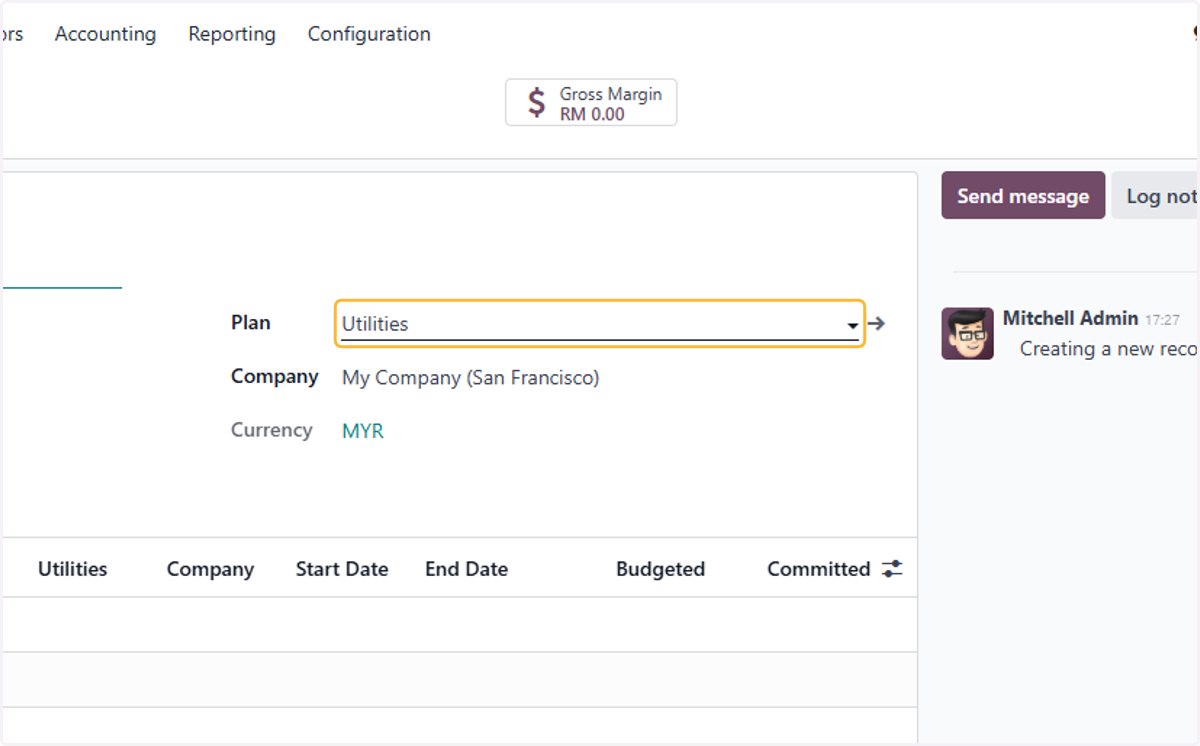
23. Fill in relevant Analytic accounts
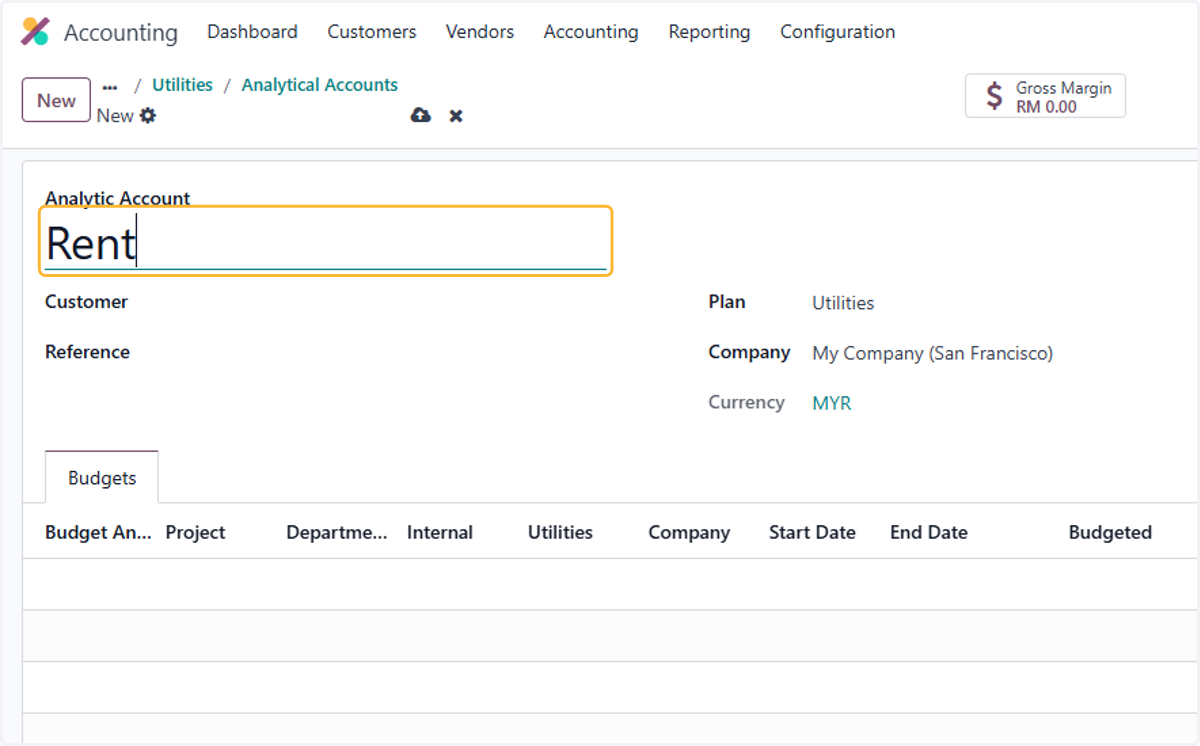
For Example, Electricity & rent will be created
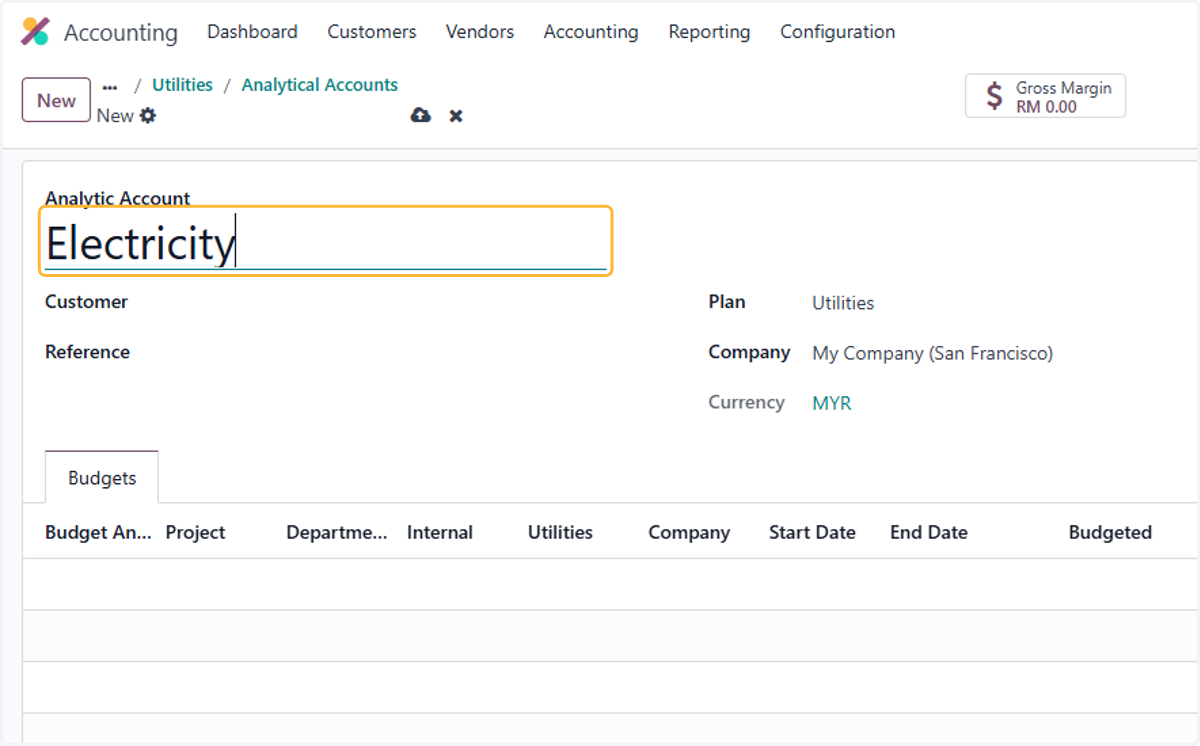
24. Creating the analytic account from within the plan automatically selects the plan. Amendable
25. Select a relevant customer if they are specific
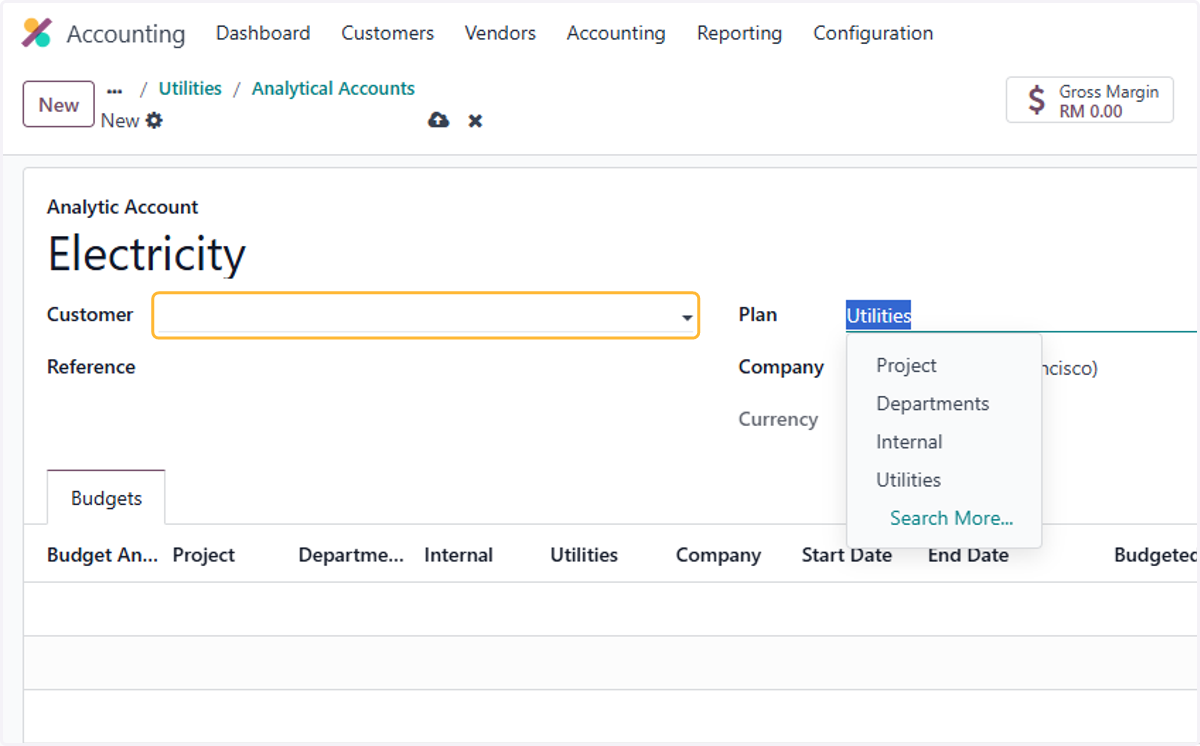
26. Repeat of step 22-24
Creating a bill with analytics
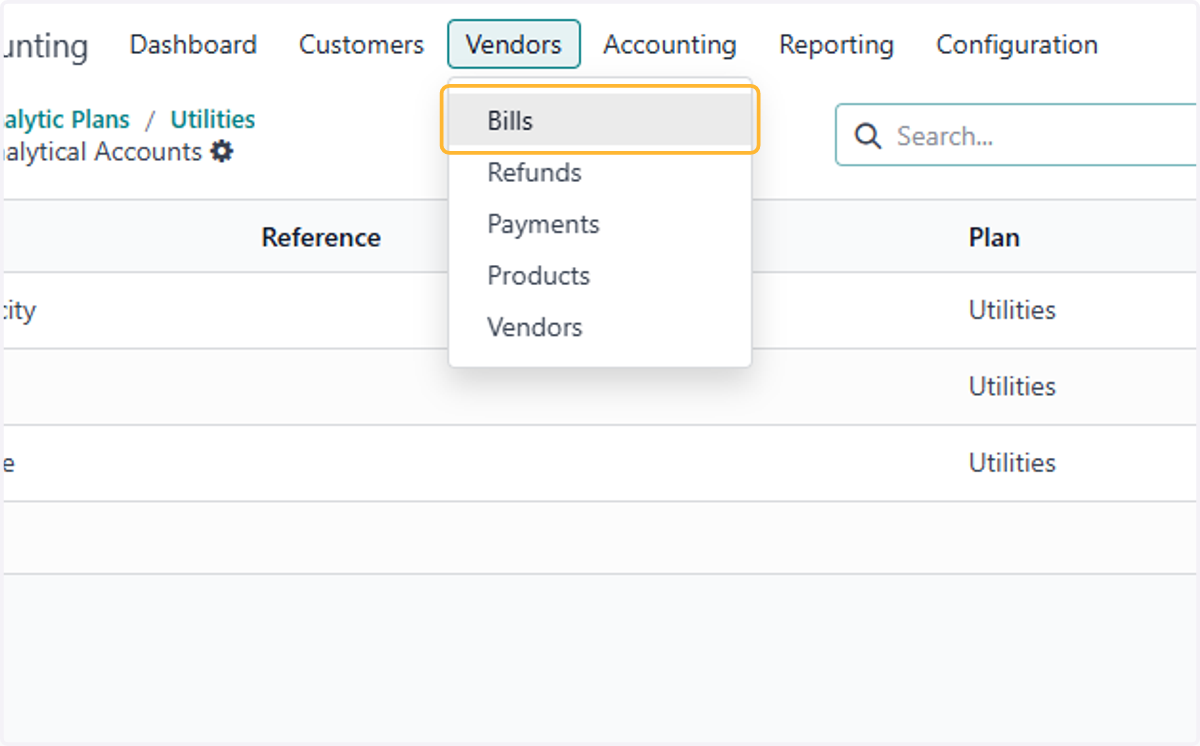
27. Click on Bills
28. Click on New
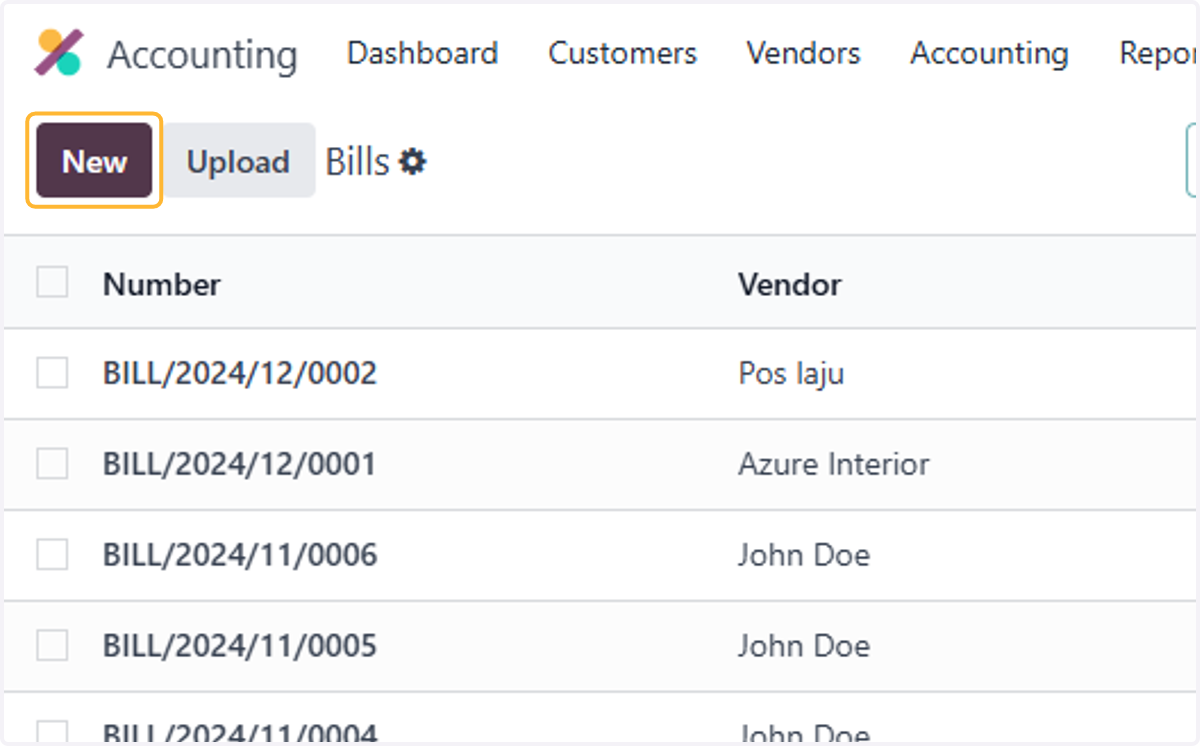
29. Select relevant product
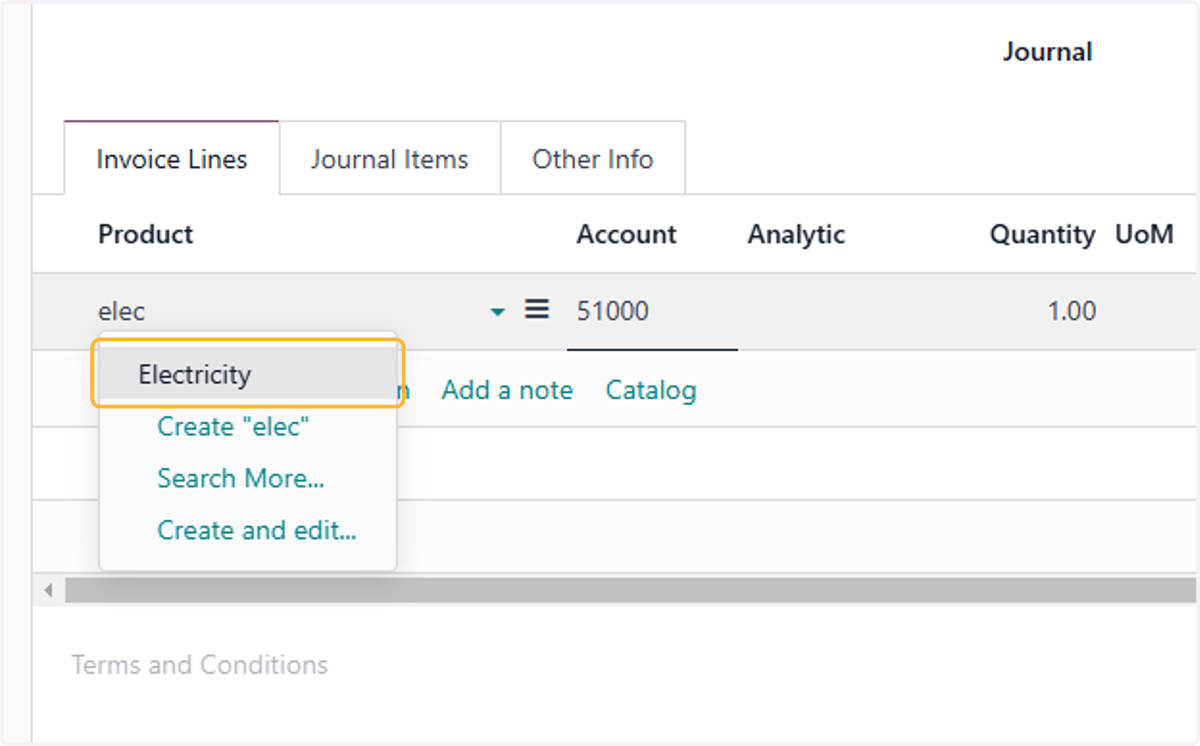
30. Select Analytic distribution
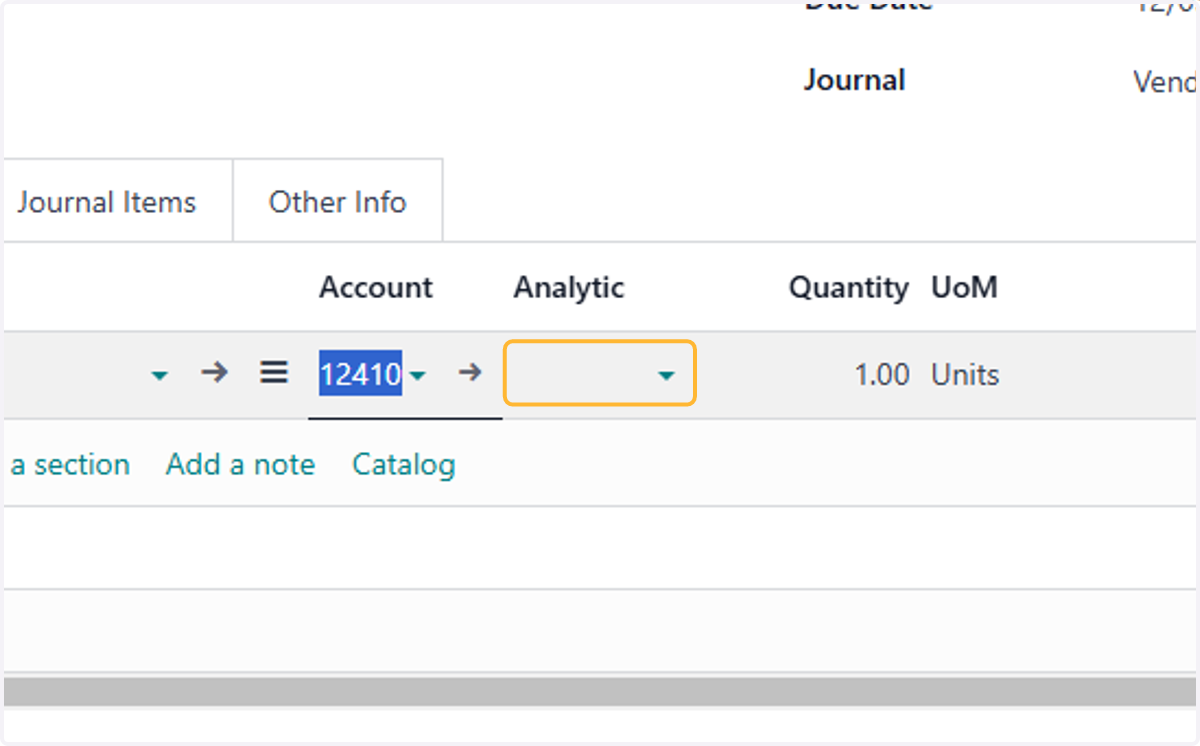
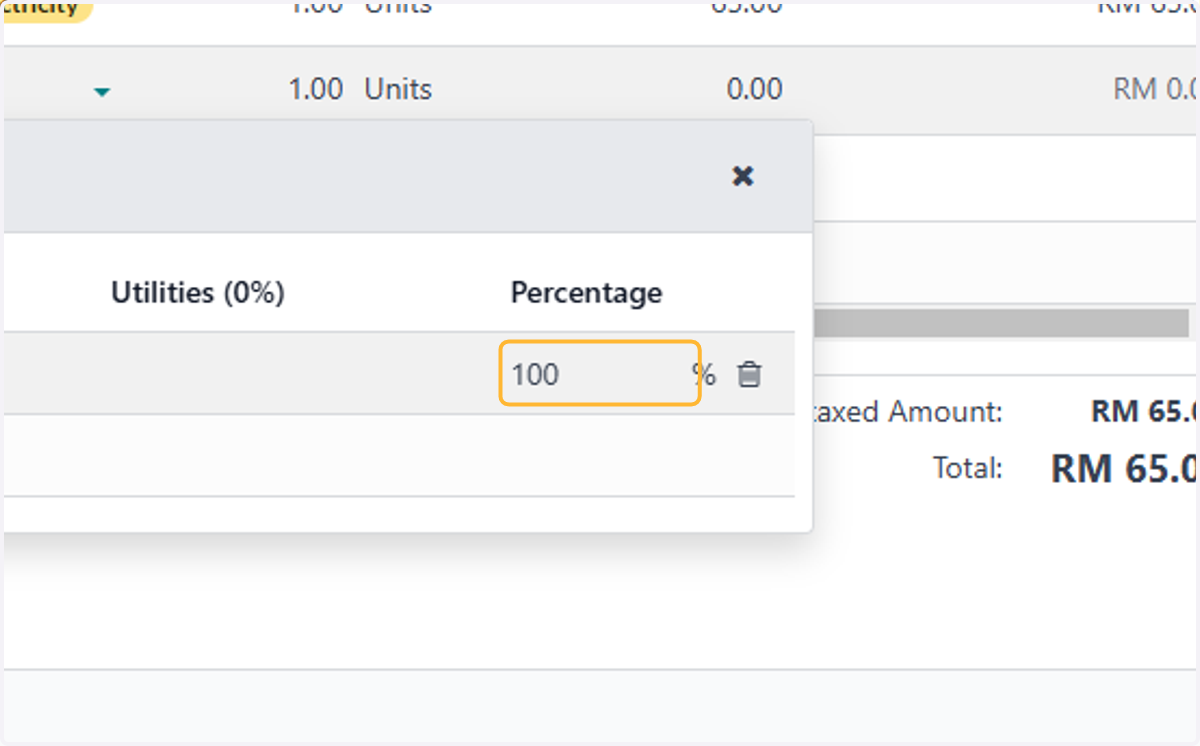
31. Multiple can be selected
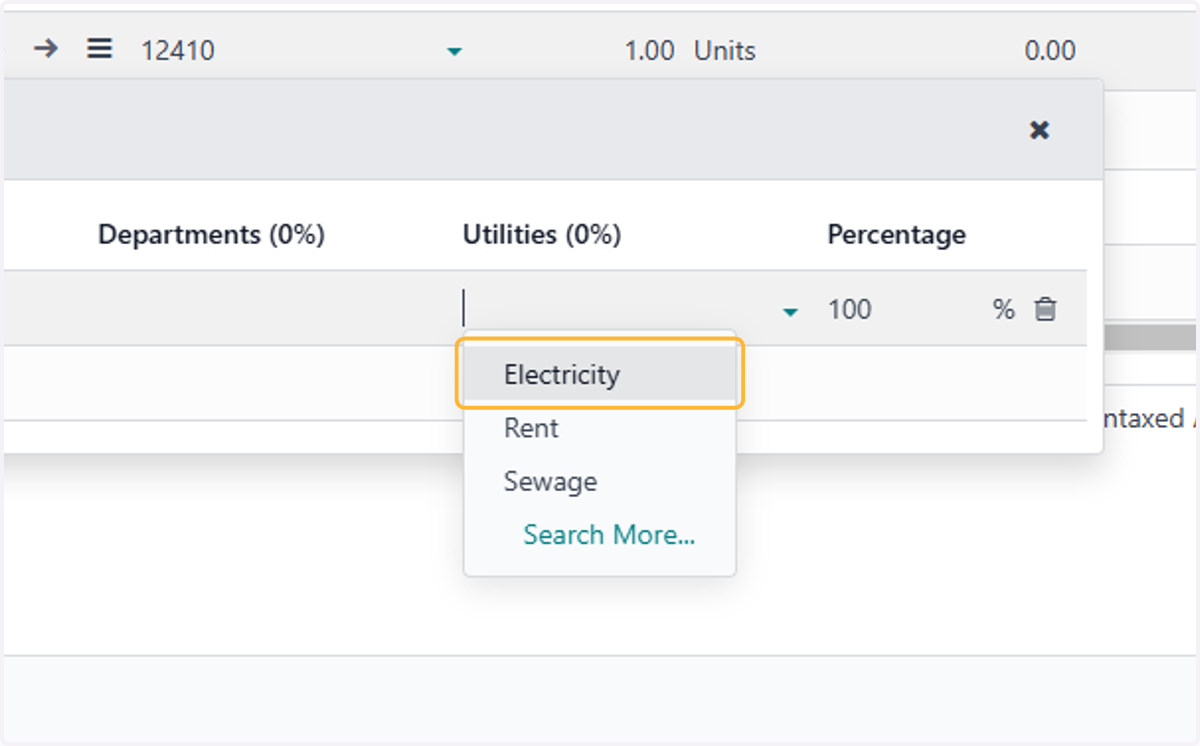
32. percentage assigned to distribute the cost across bill account
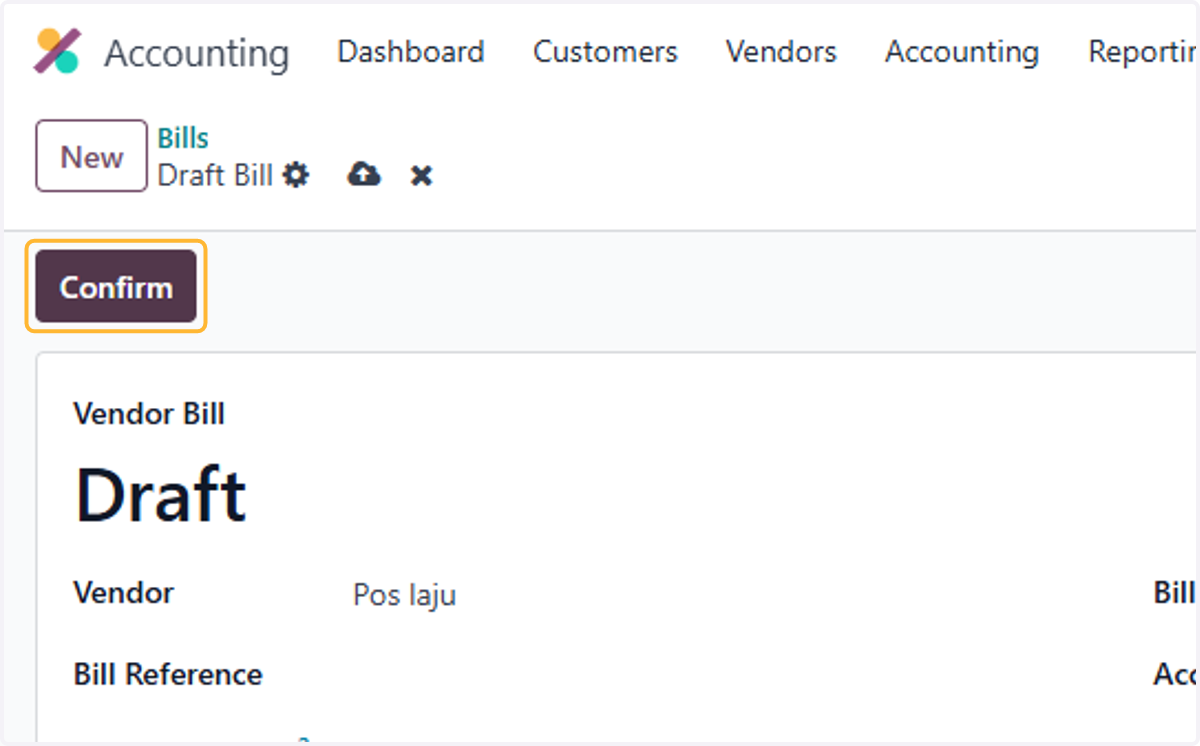
33. Click on Confirm
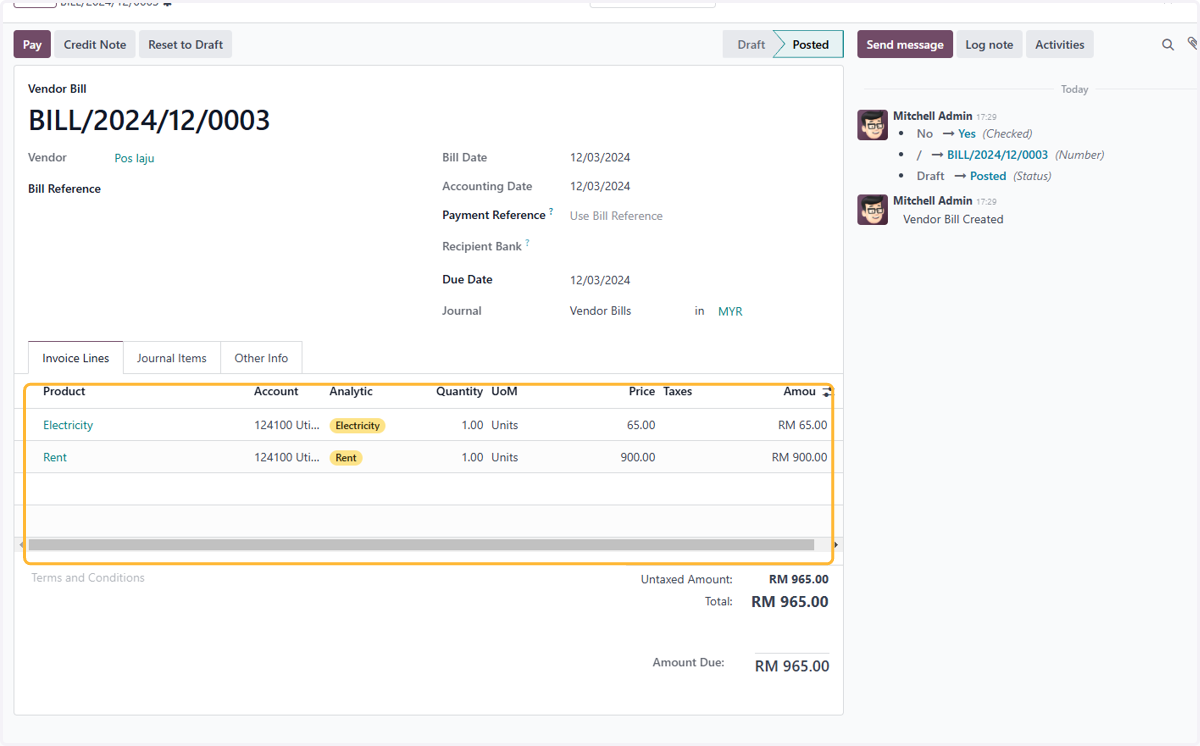
34. Details of the product with the analytic Items
Applying Analytic accounts to already posted invoices
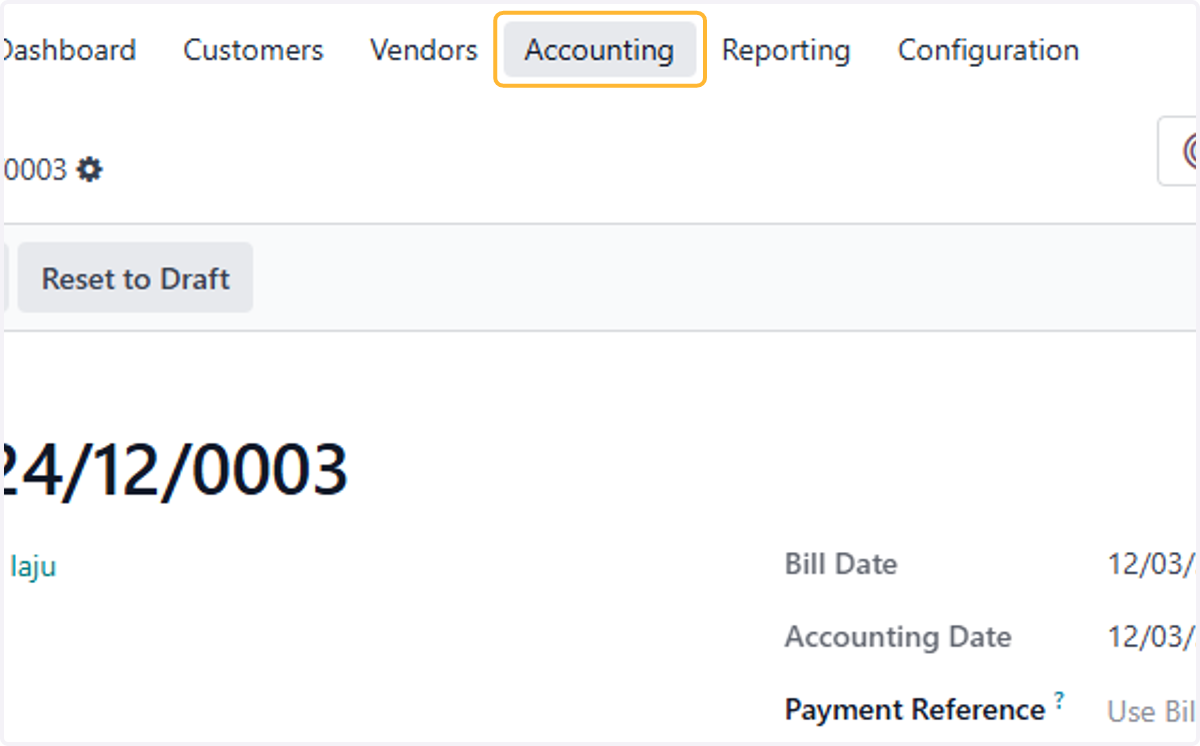
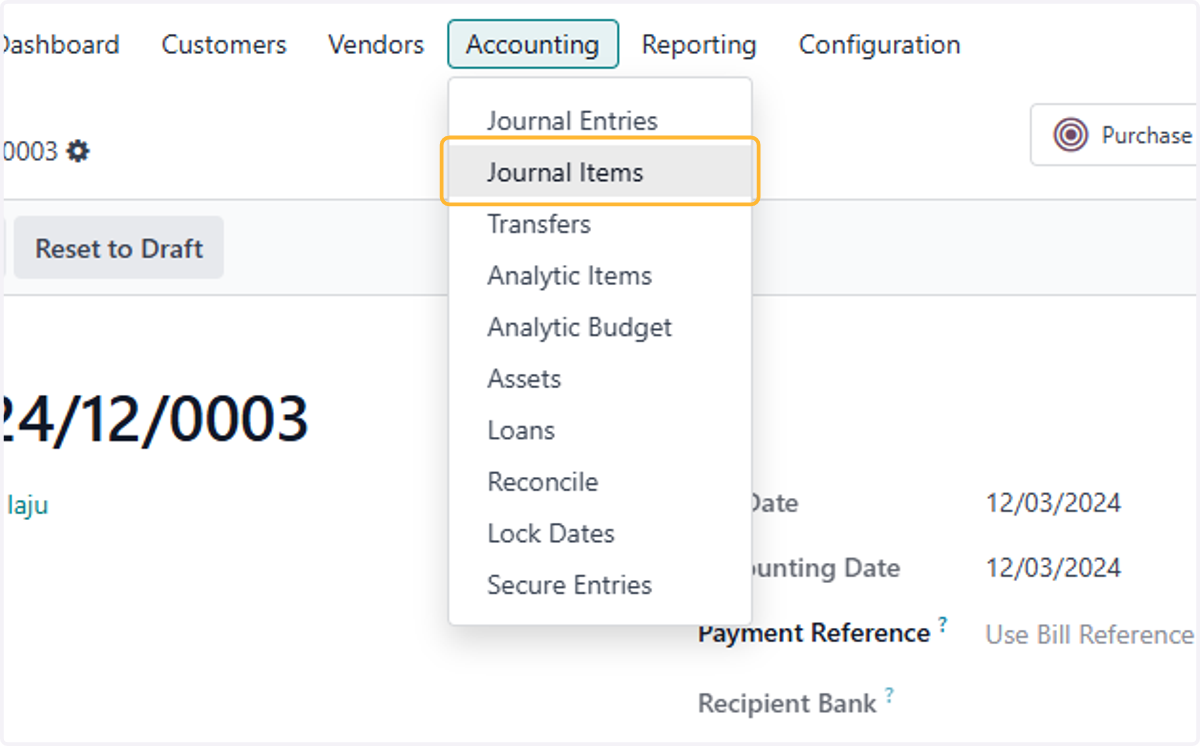
35. Click on Accounting
36. Click on Journal Items
37. Search the relevant details of the entries
For example, Vendor & Account code
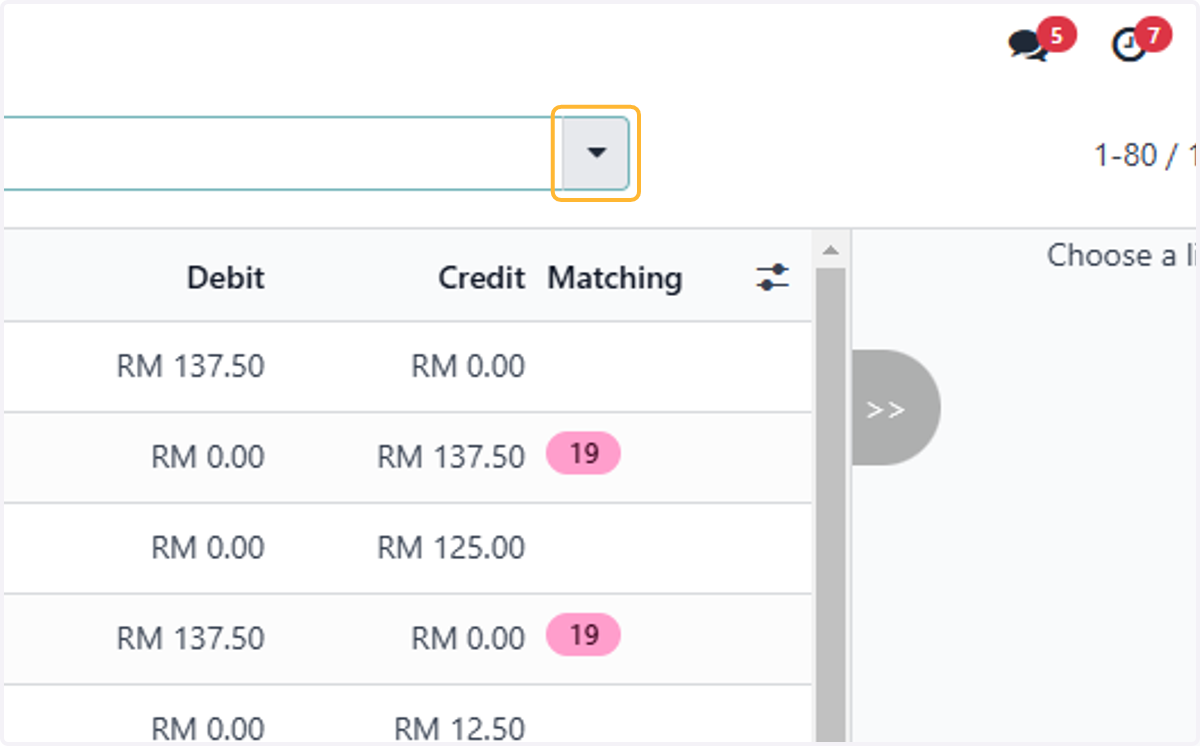
38. Uncheck on
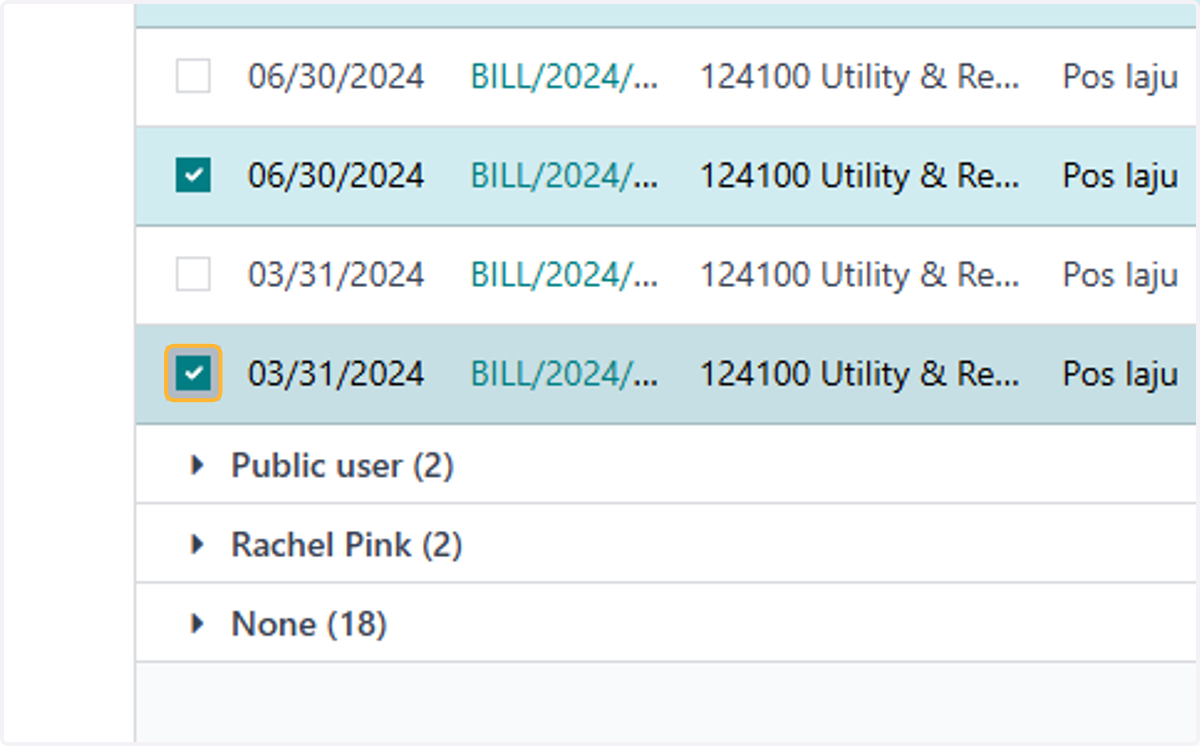
39. Click on Analytic Column
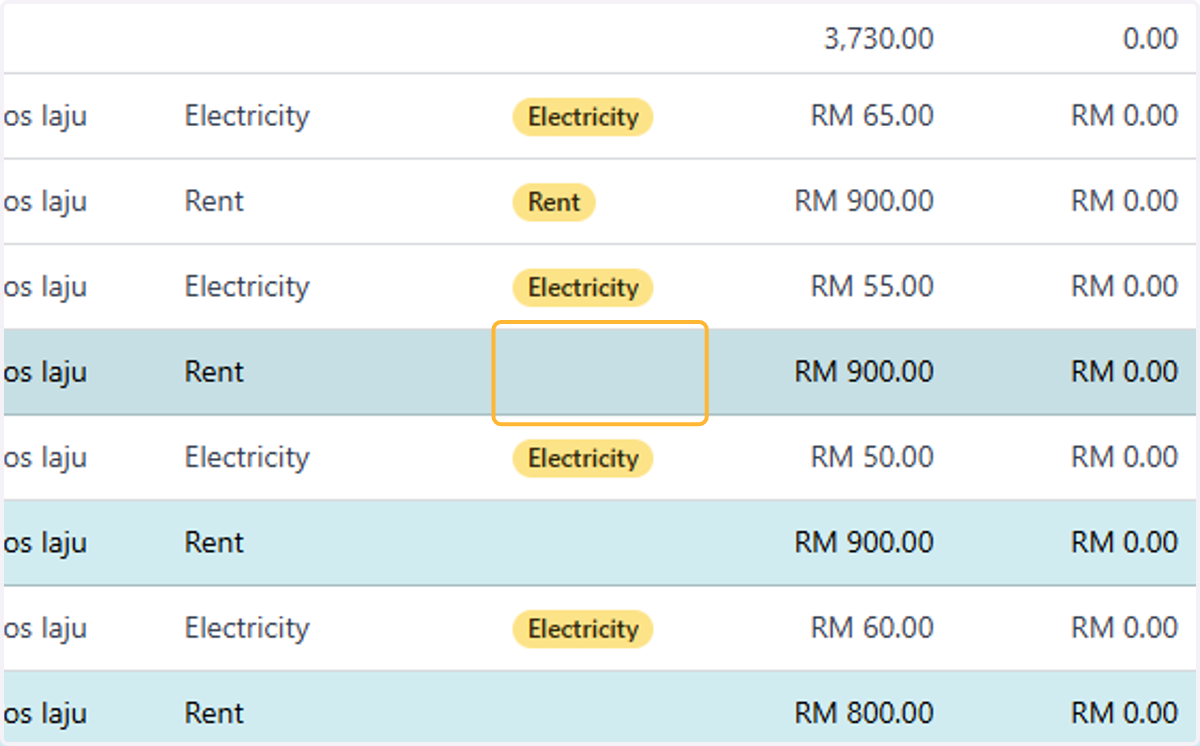
40. Select the relevant analytic account
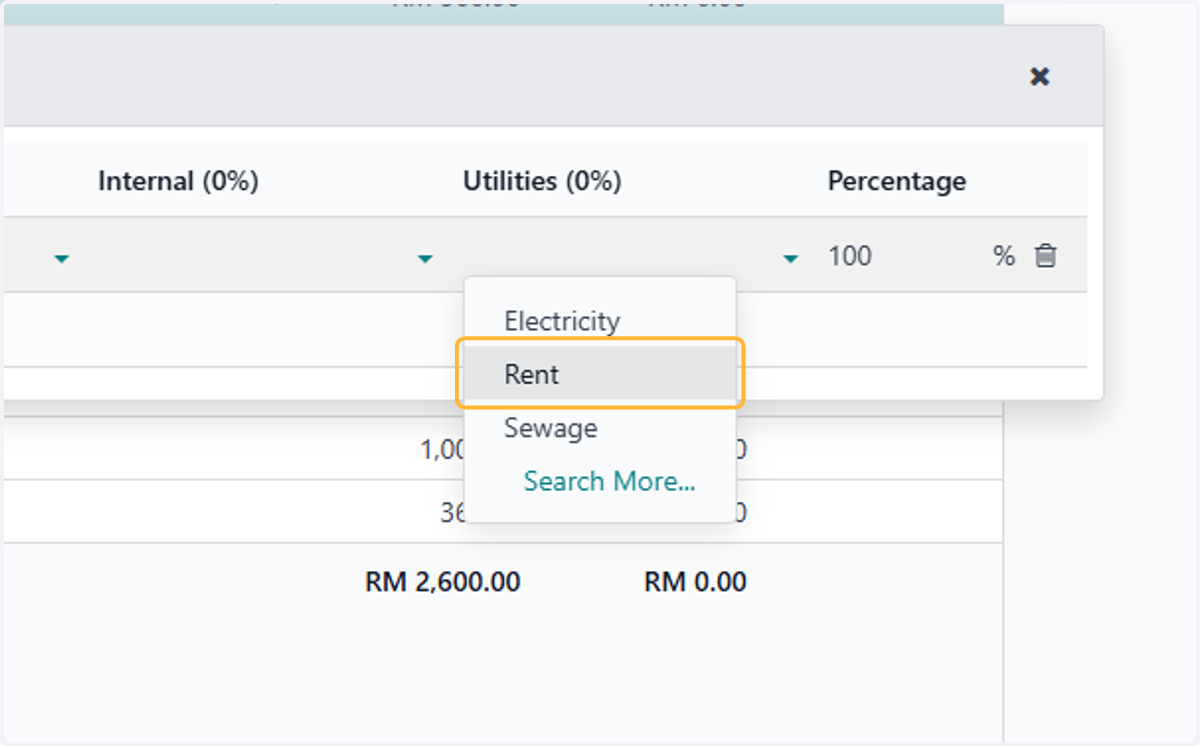
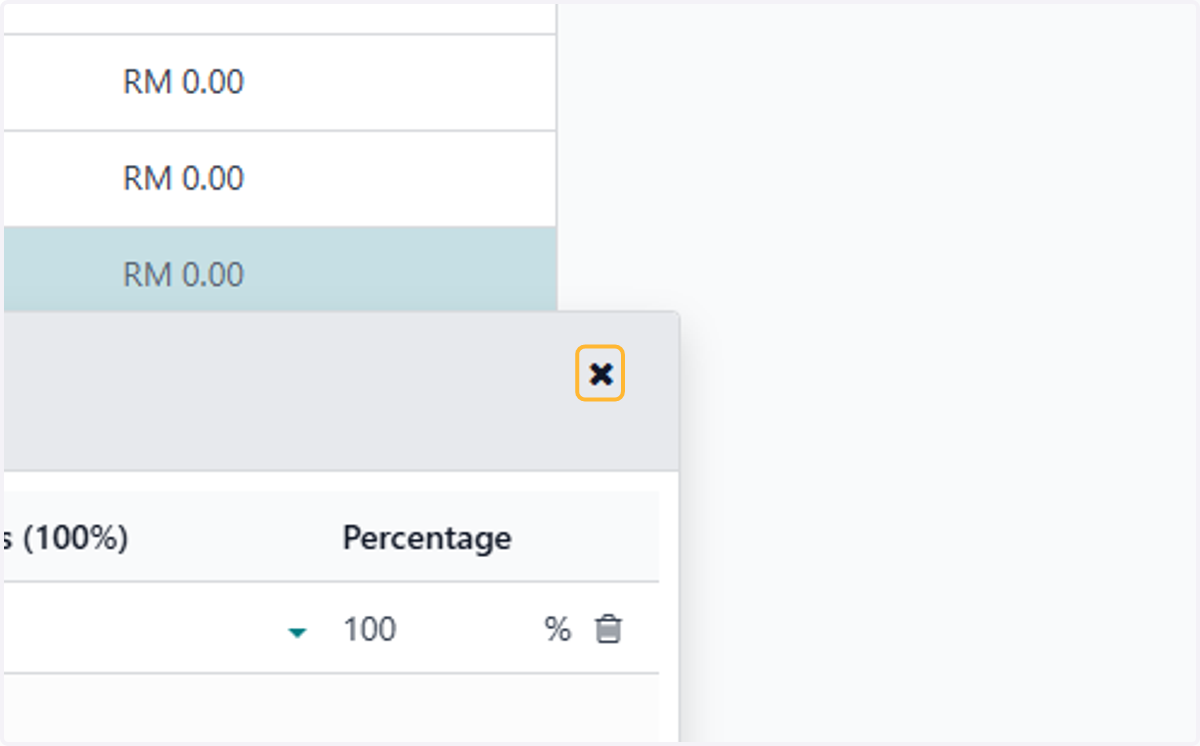
41. Click on Close
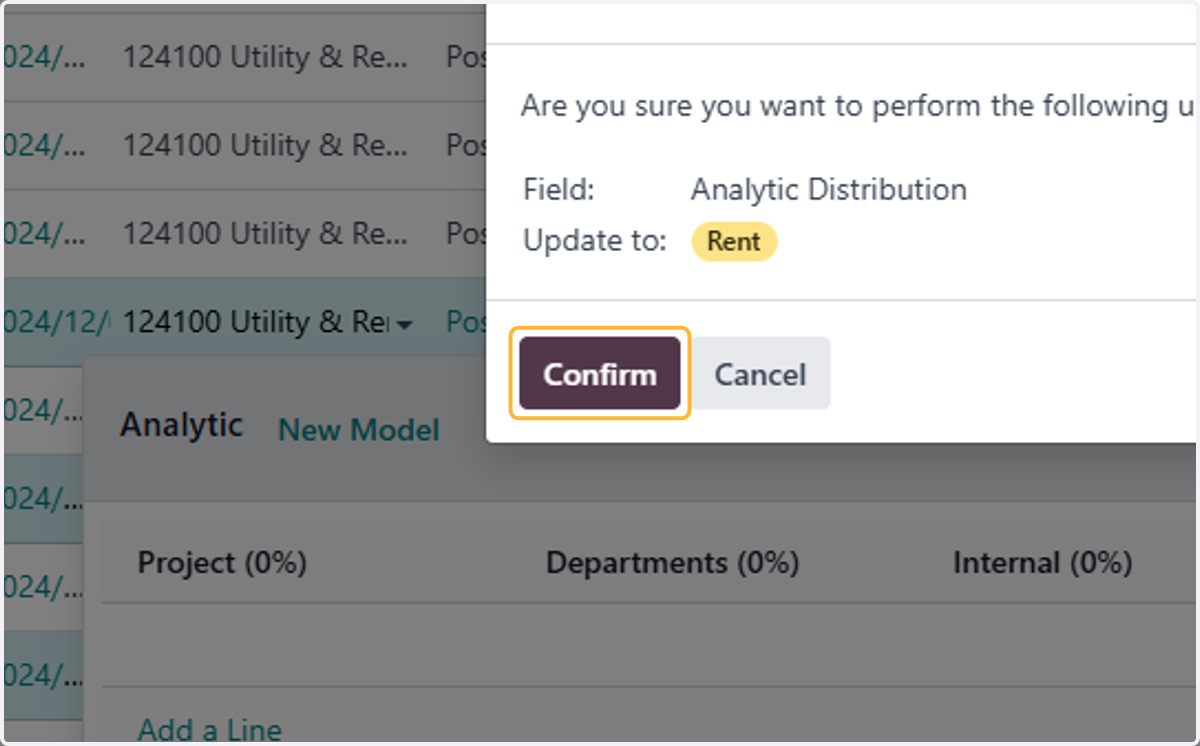
42. Click on Confirm
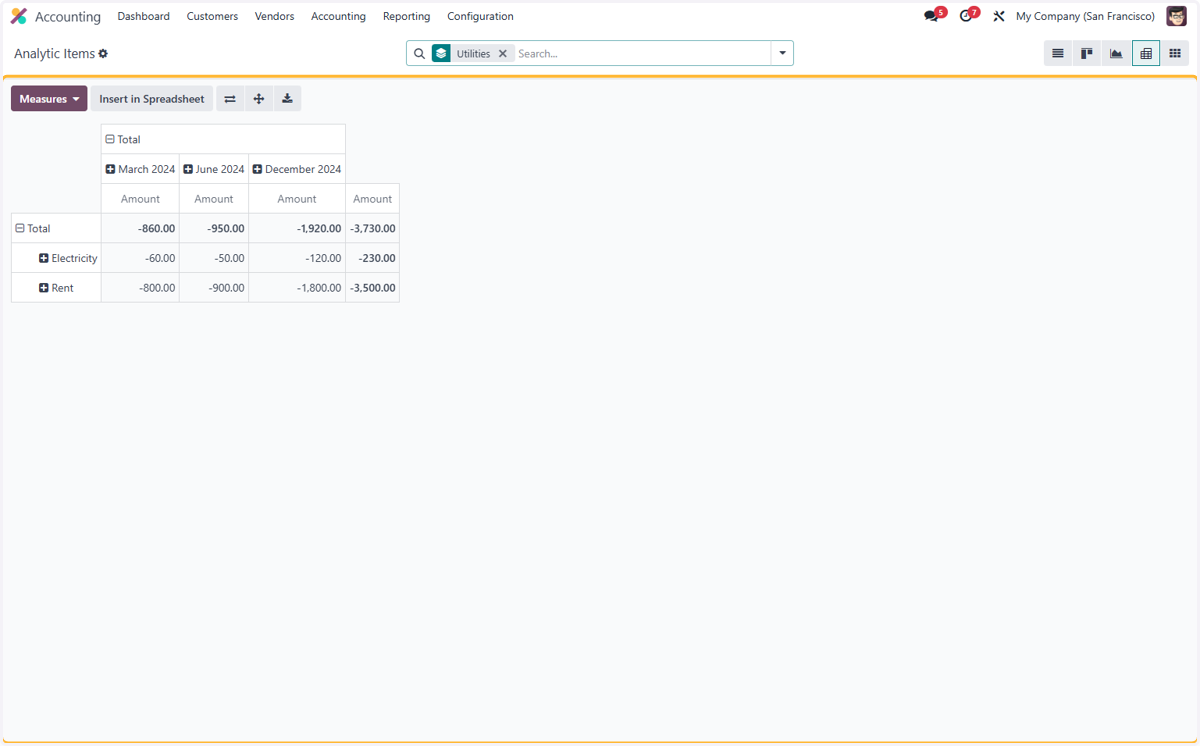
Reviewing all the analytic items
43. Click on Accounting
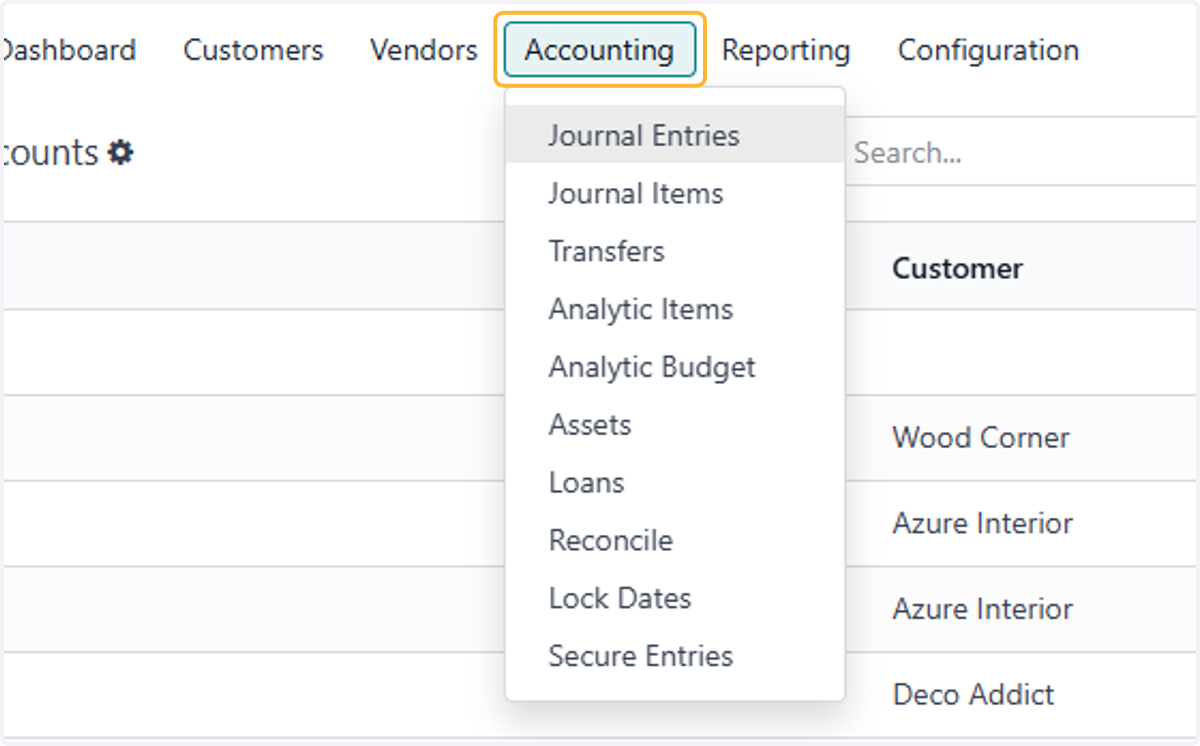
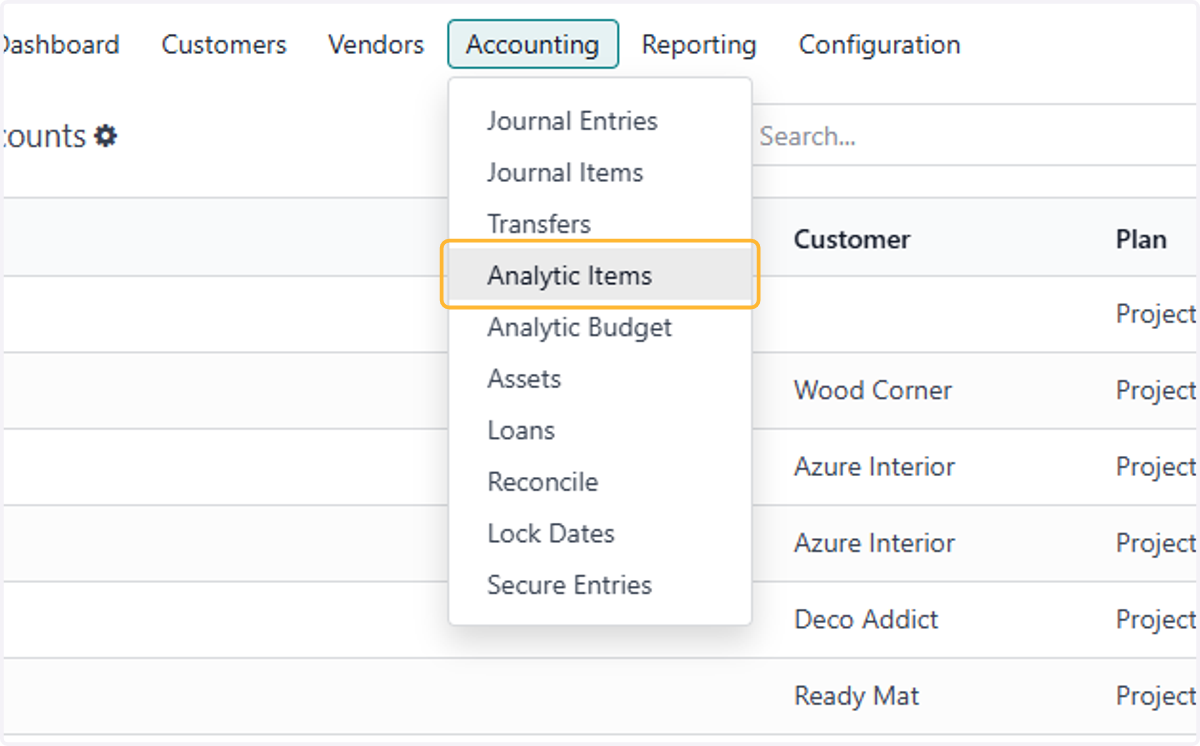
44. Click on Analytic Items
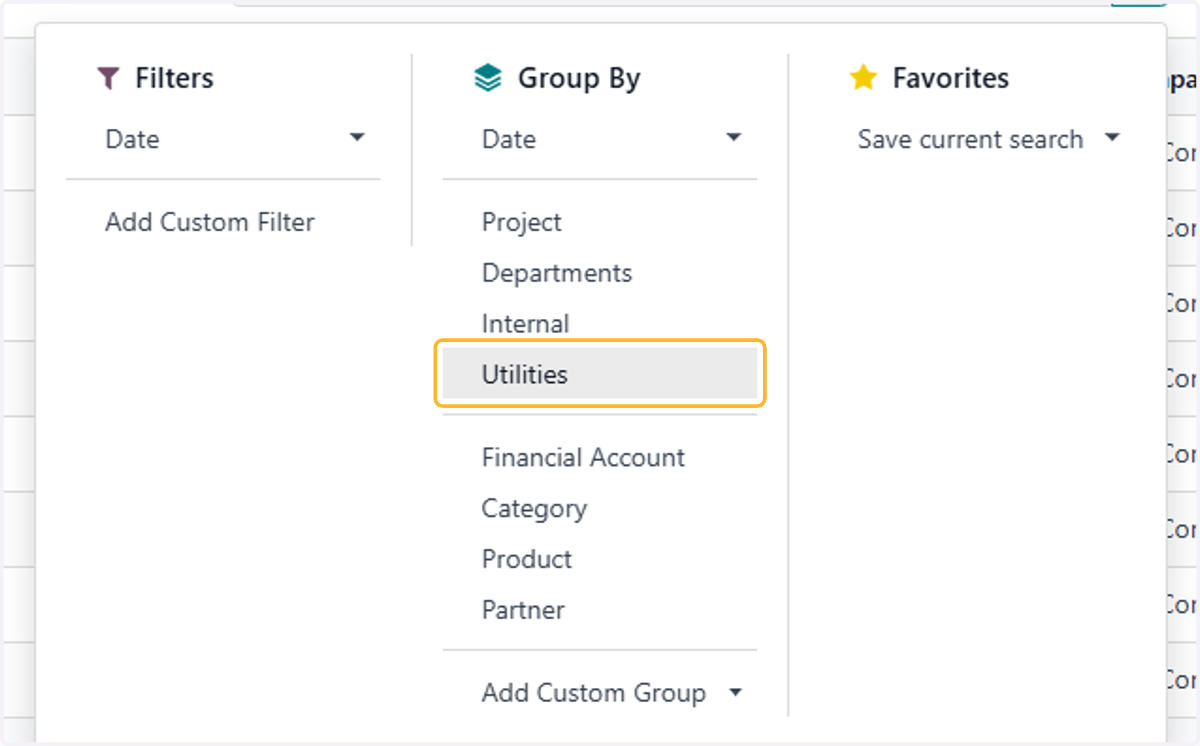
45. Search relevant properties
For example, analytic plan "Utilities"
46. Switch the pivot mode for easier viewing
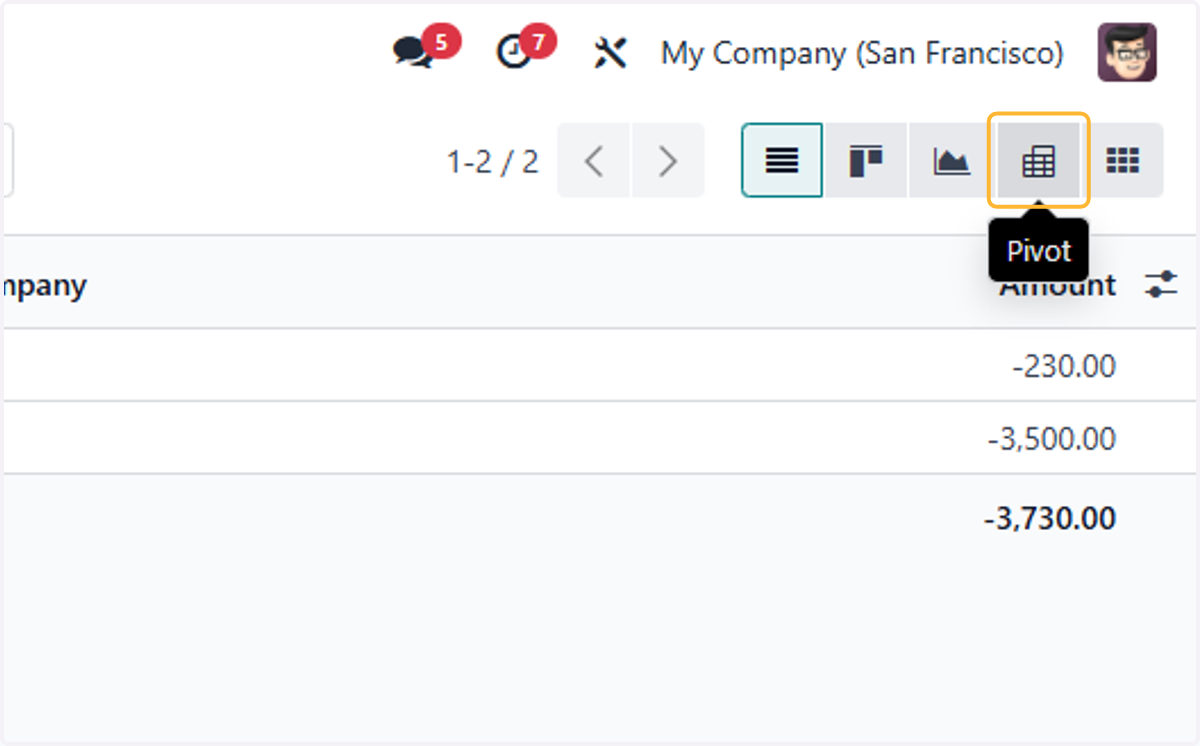
47. Pivot Table of analytic accounts in Utility plans