HOW TO SUBMIT AN EXPENSE CLAIM (REIMBURSEMENT IN MOSS)
Moss
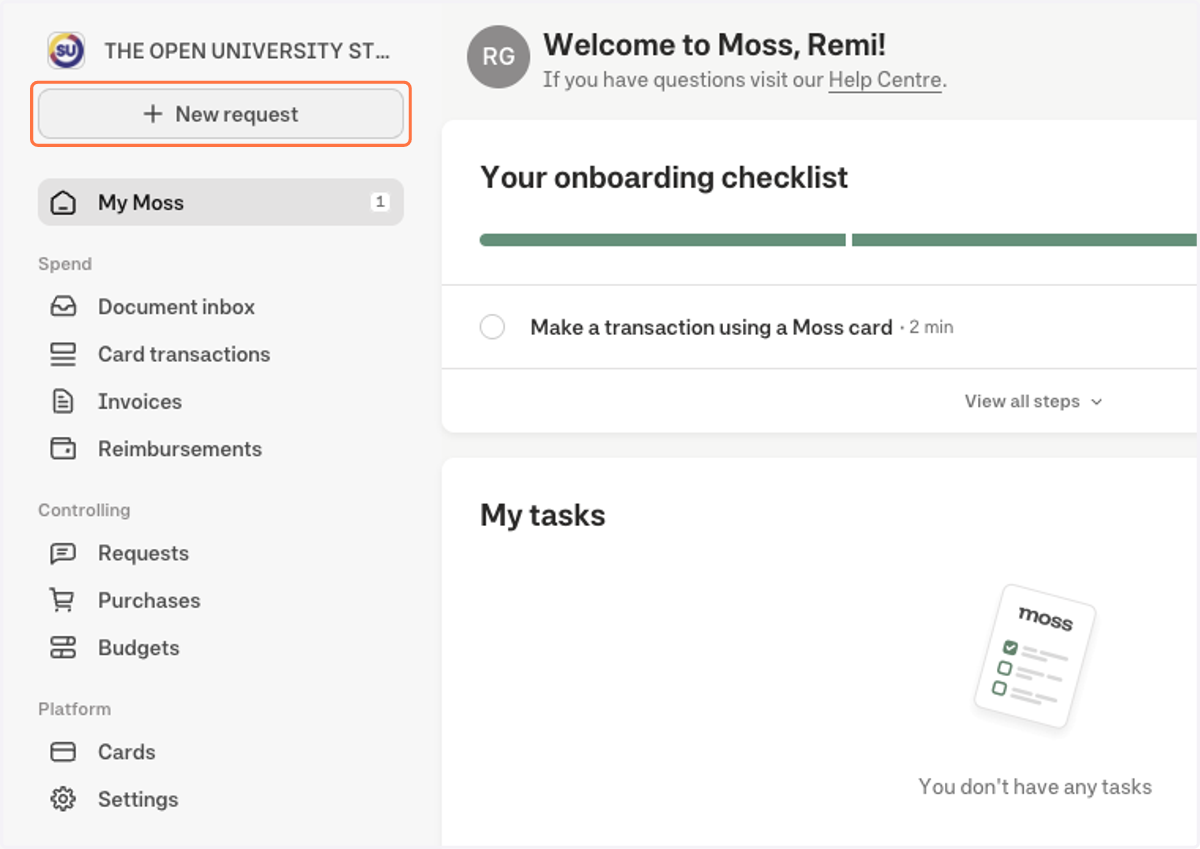
1. Click on New request
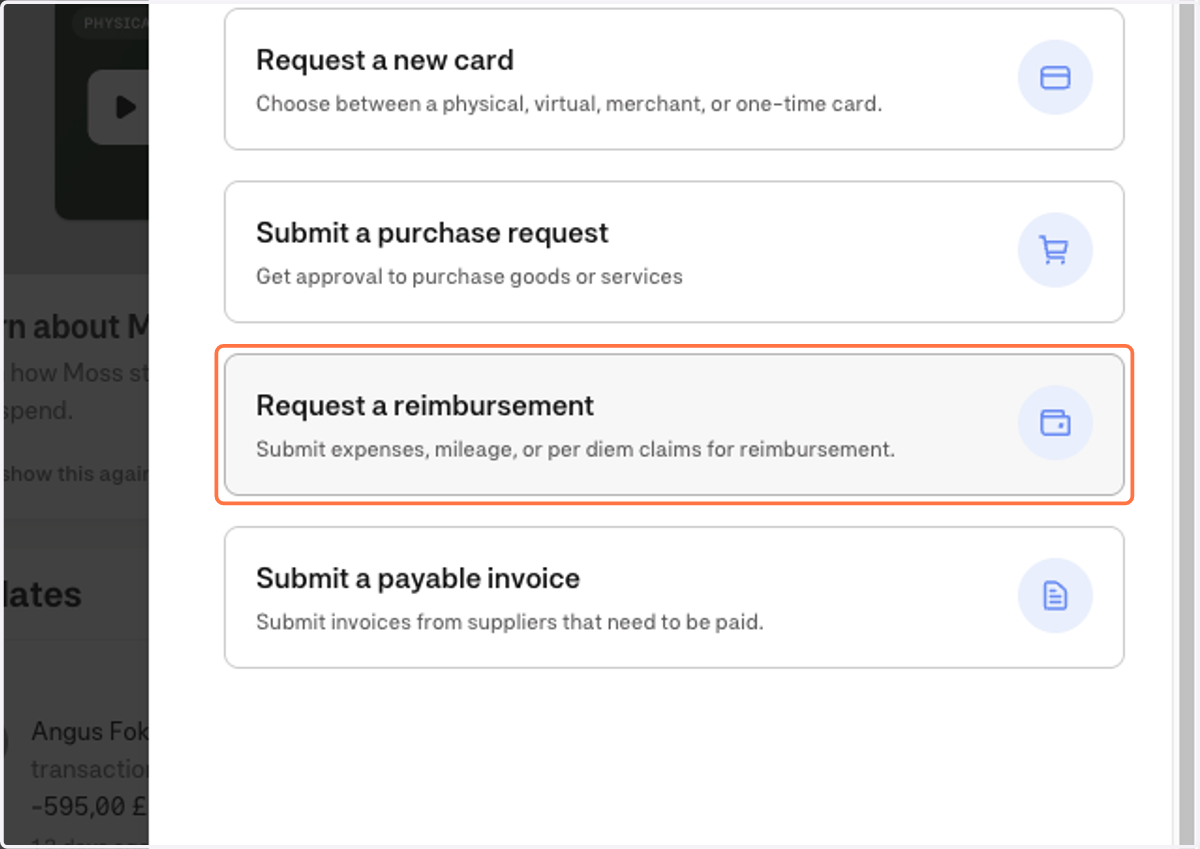
2. Click on Request a reimbursement…
3. If you have not already entered your bank details into Moss you will be prompted to do this at this point. This will allow us to pay you directly.
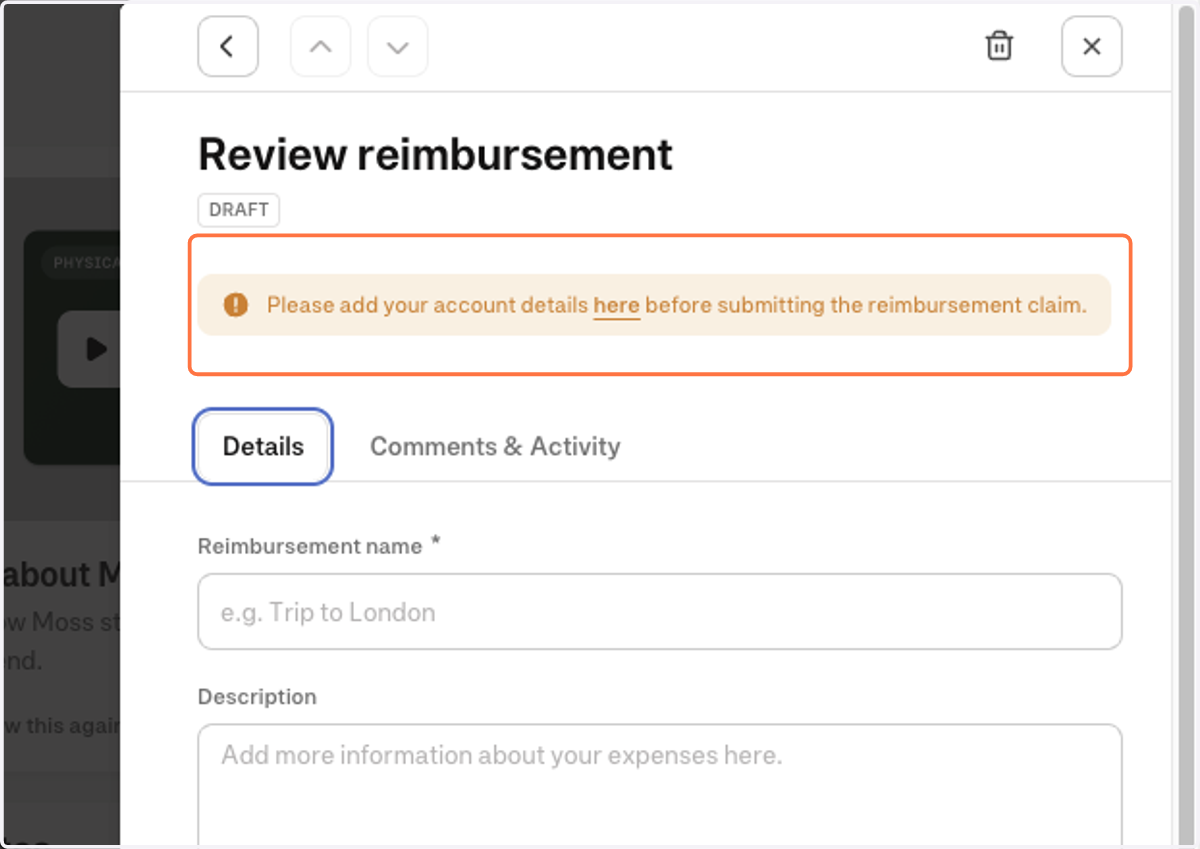
4. First I need to enter in the name of the expense, this is my reason for the reimbursement. My reimbursement can have multiple expenses attached to it!
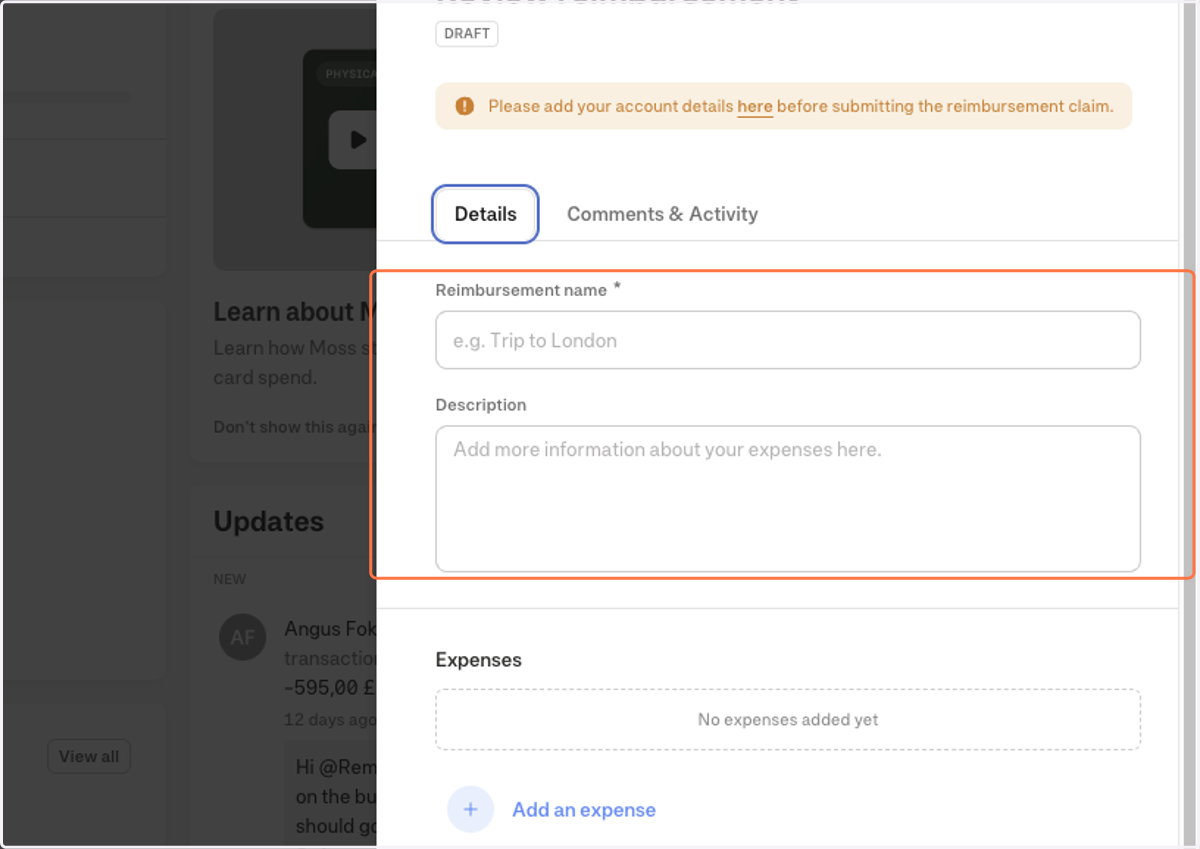
5. Enter in the reason for the reimbursement, in this case its an SMT Meeting that I went to.
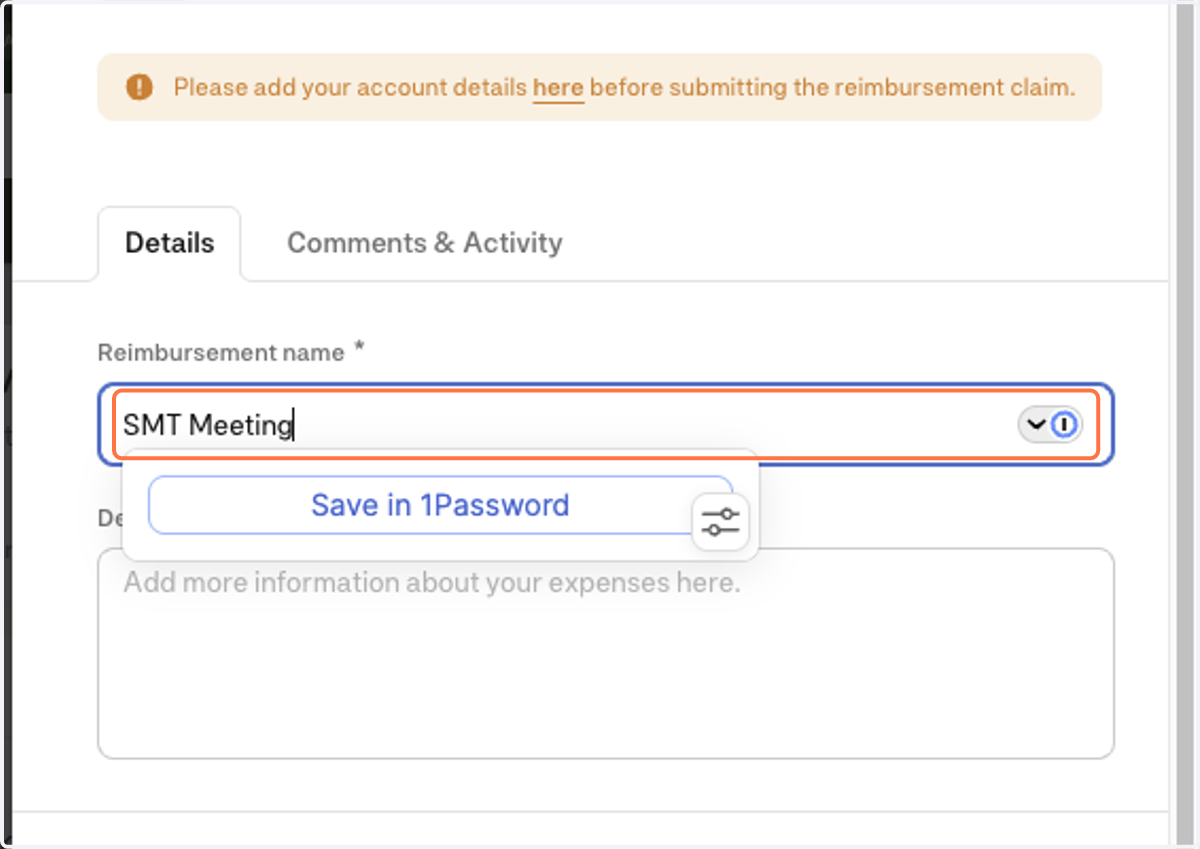
6. Here I can start entering my individual expenses and mileage claims if I have them.
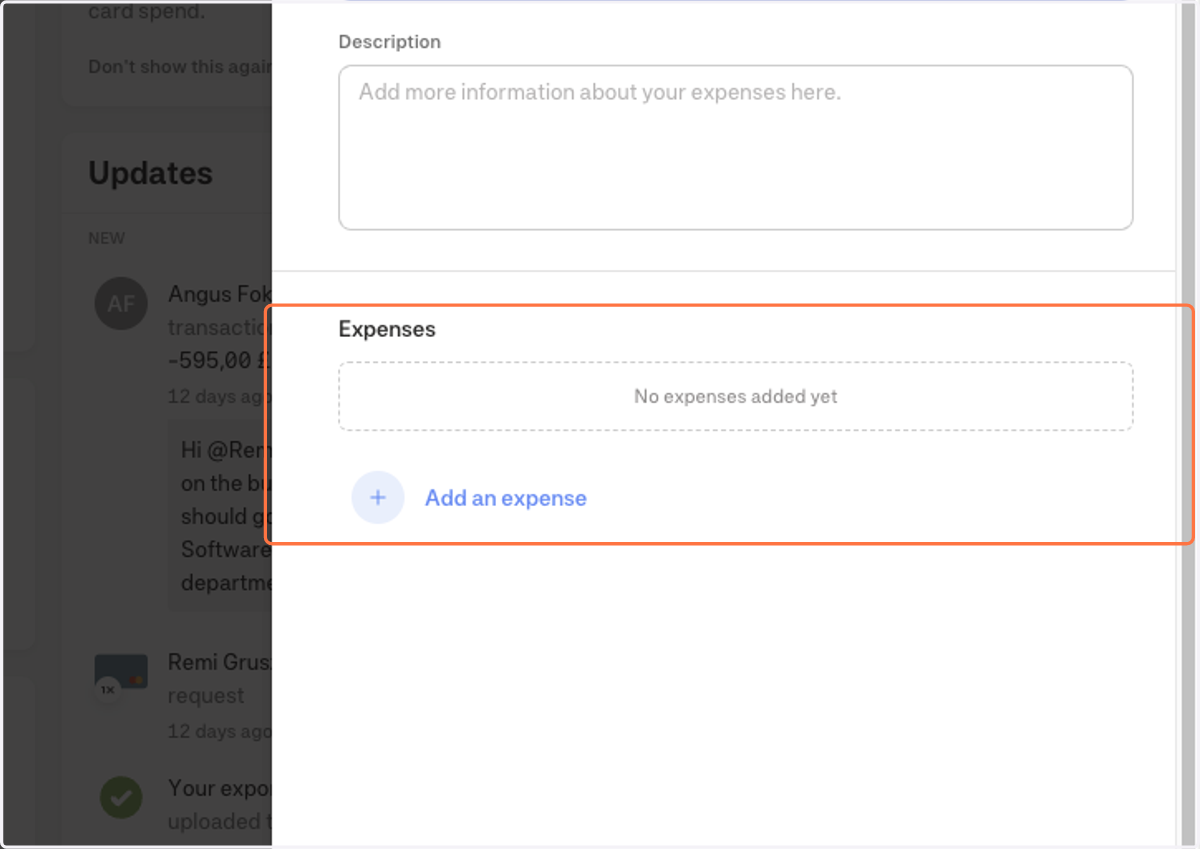
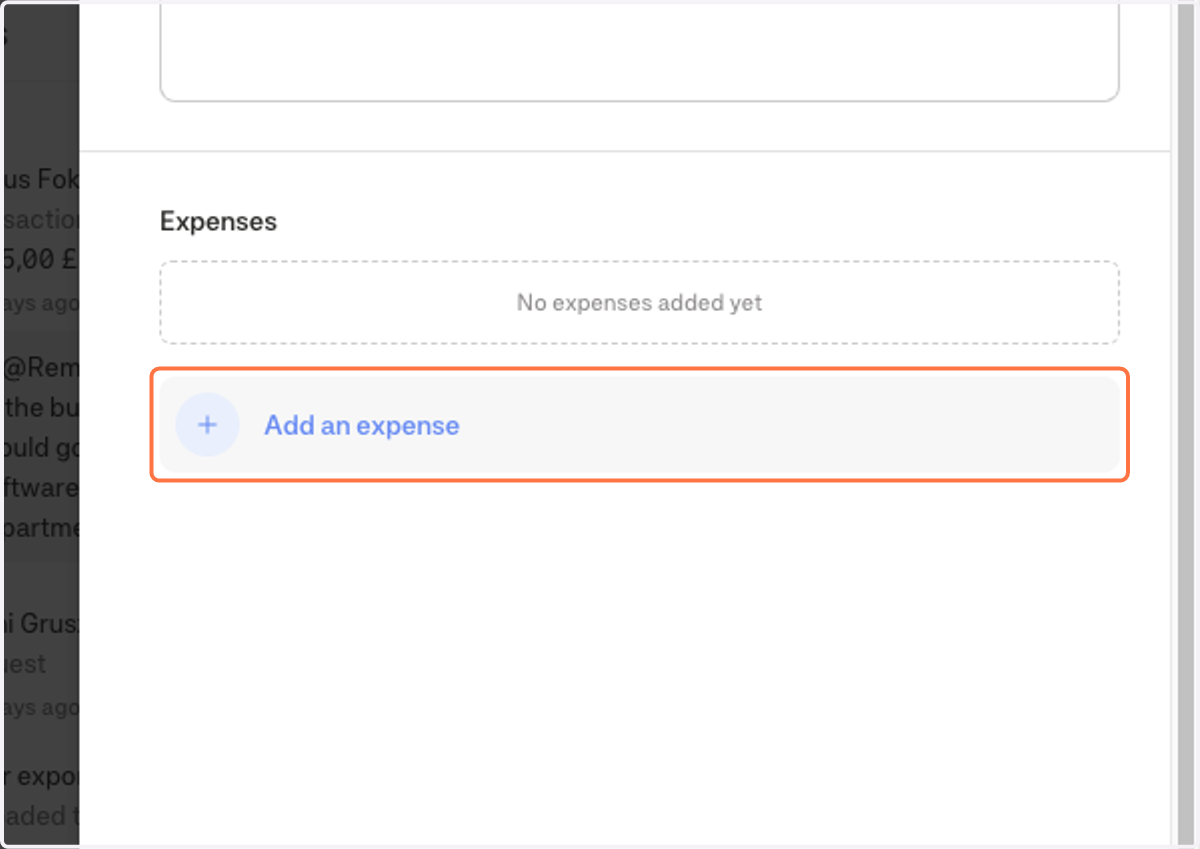
7. Click on Add an expense…
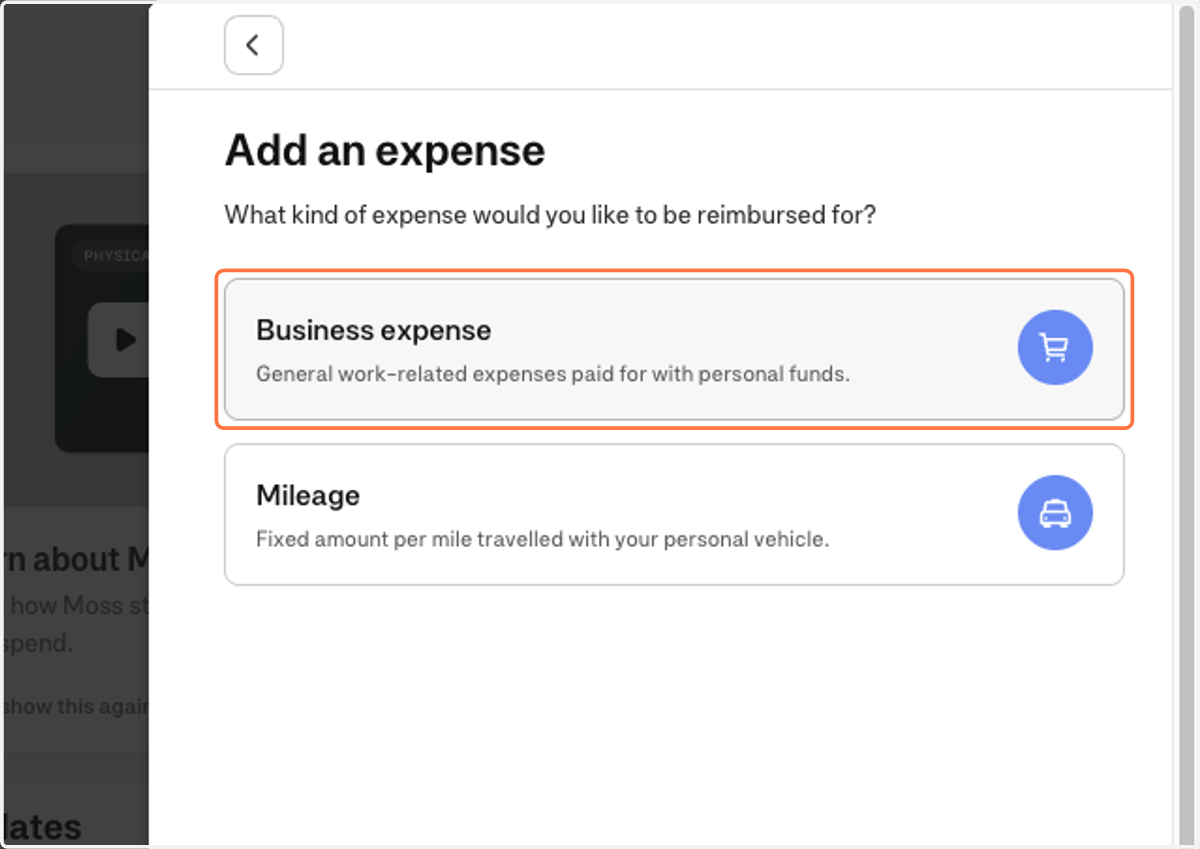
8. Click on Business expense…
9. As this expense has already occurred I need to upload my receipt
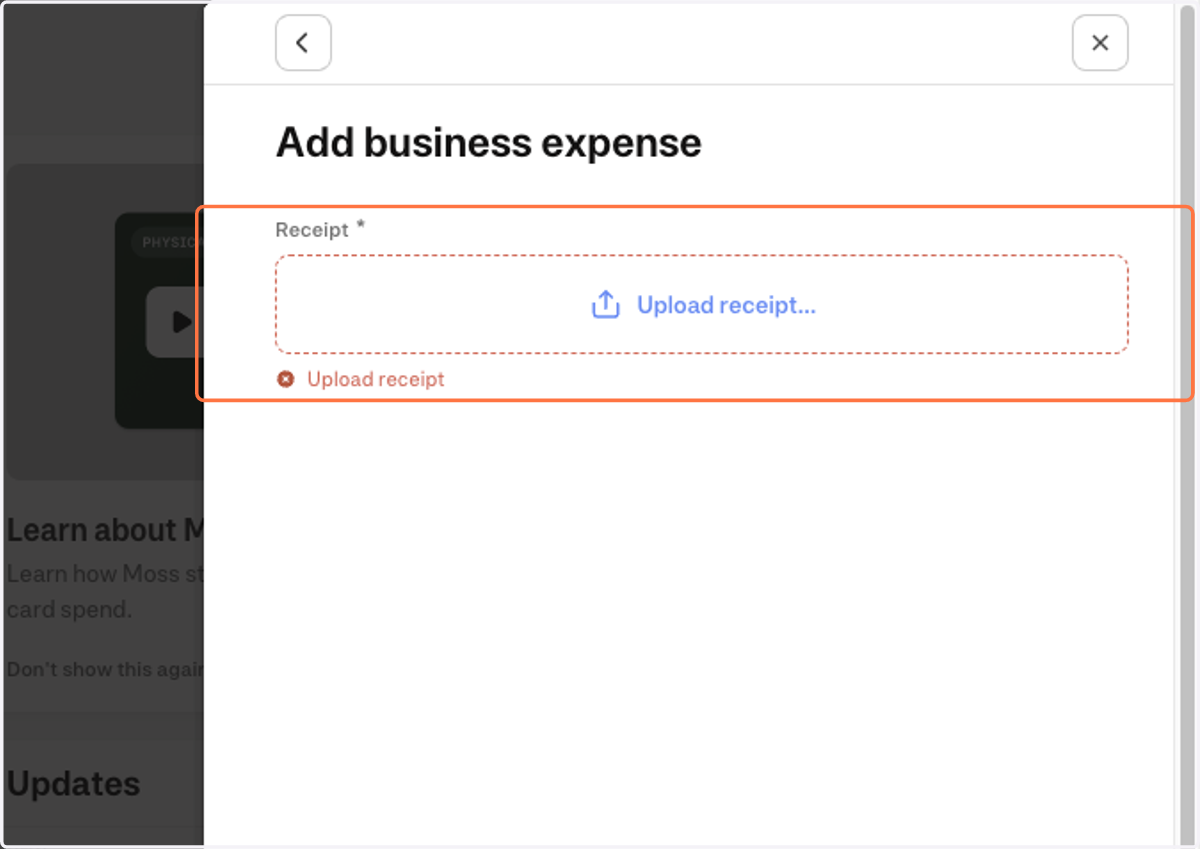
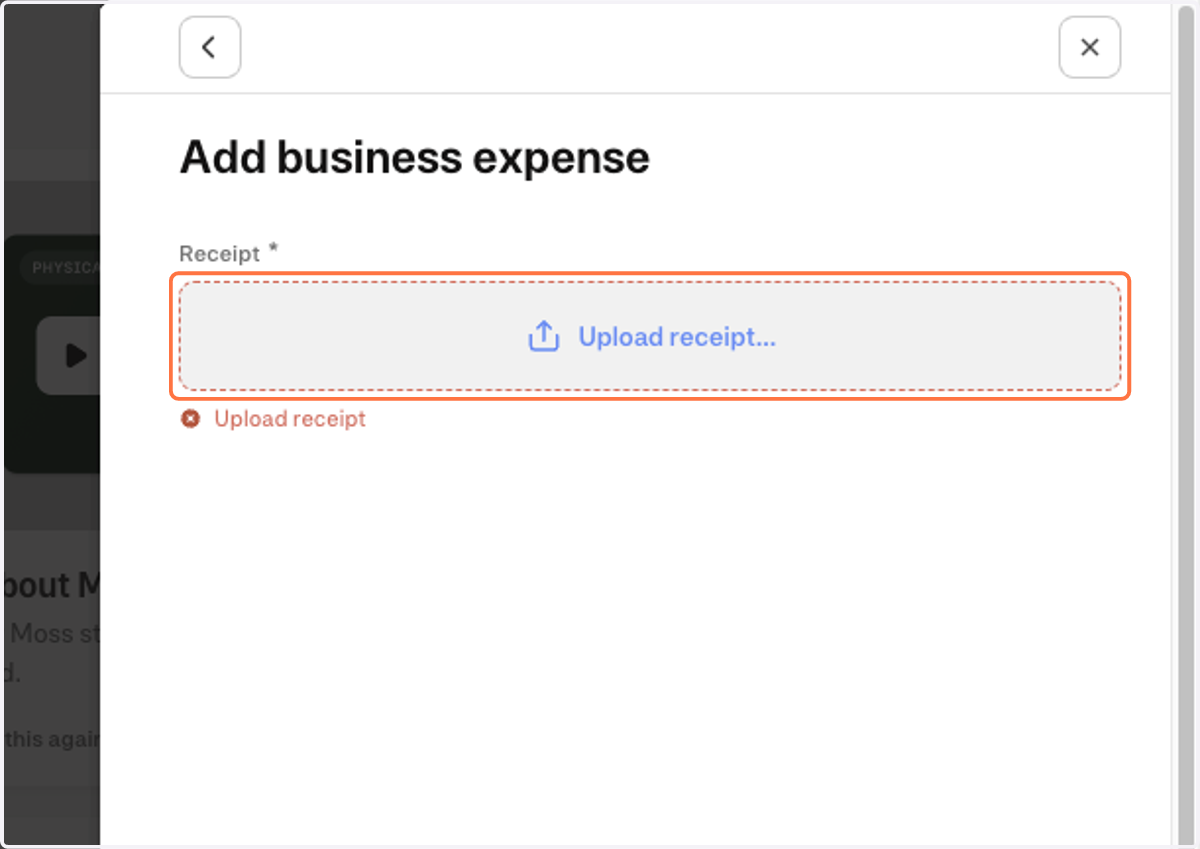
10. Click on Upload receipt...
11. Once uploaded I can see it here, if I have more than 1 receipt say an invoice and a receipt I can then go ahead and add another one here
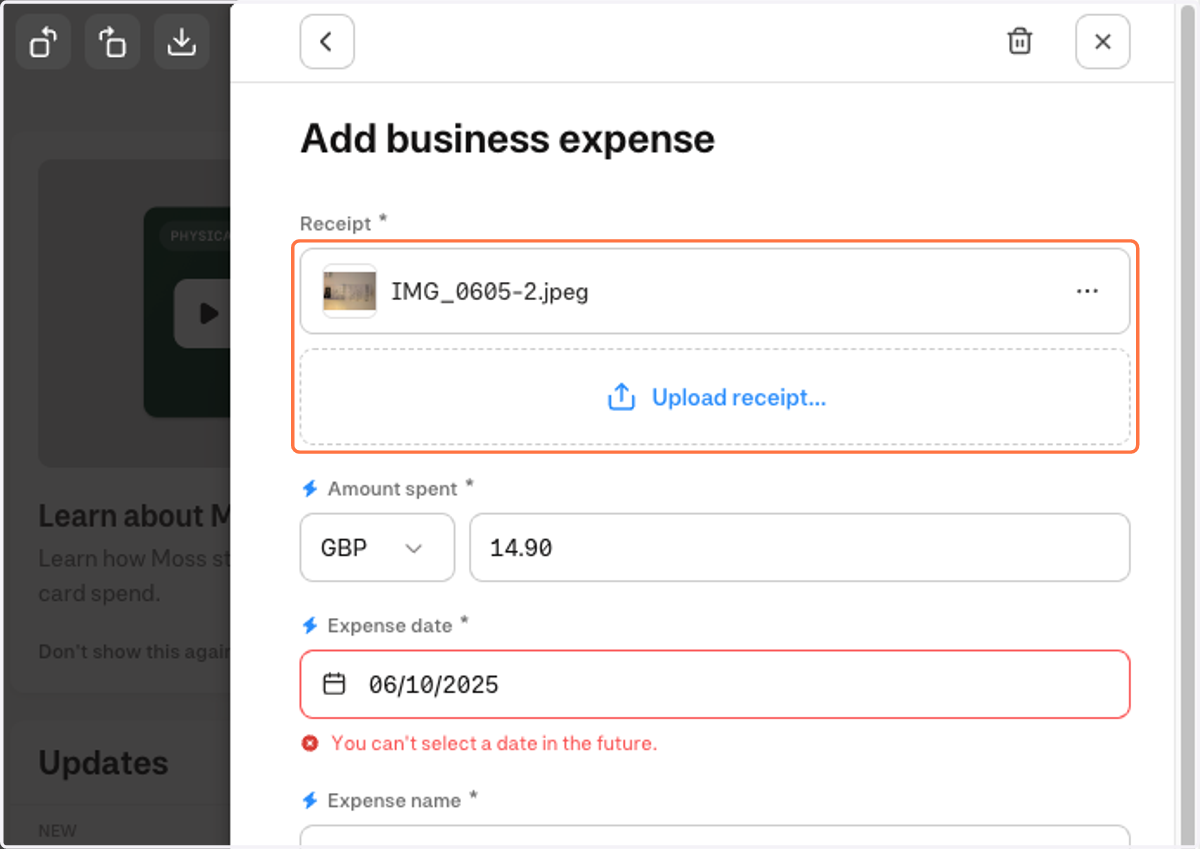
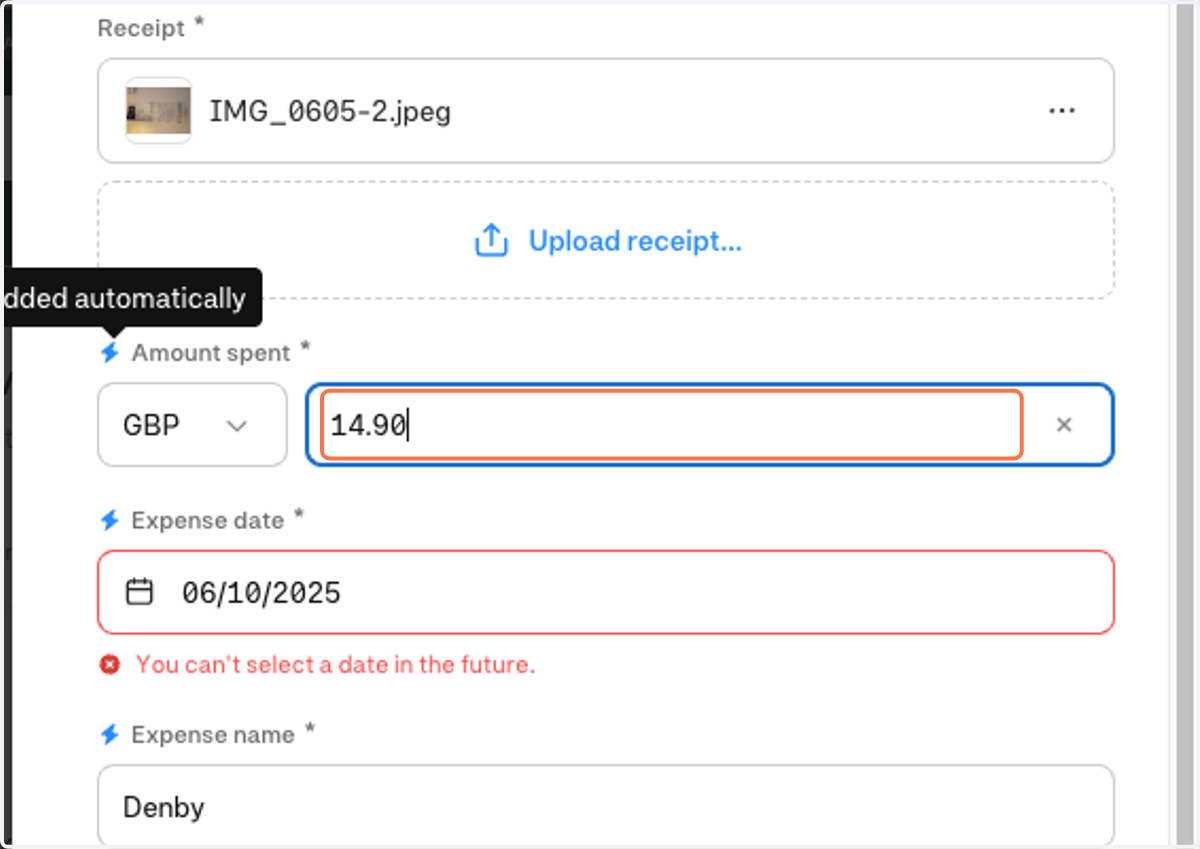
12. I can enter or check the amount and if it corresponds to that of the amount on the receipt
13. I can check against the actual receipt which opens up next to the expense claim form.
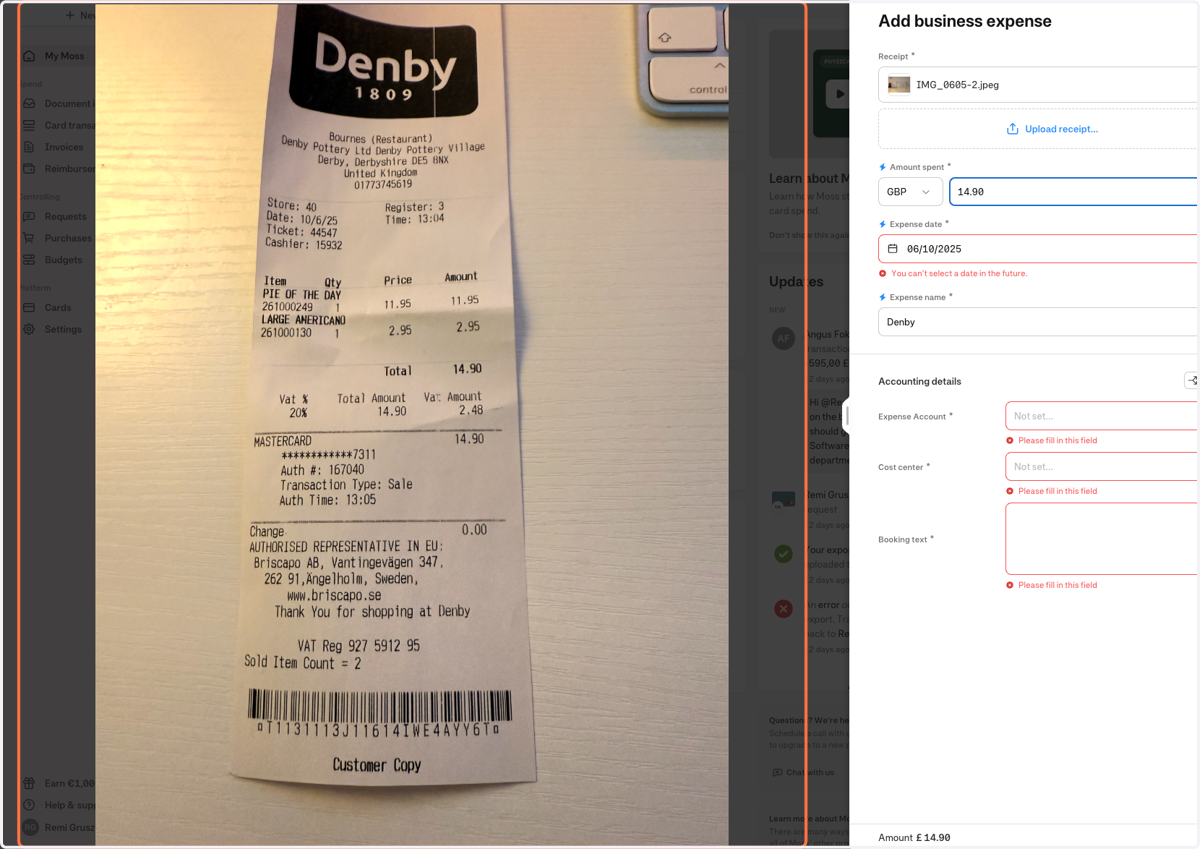
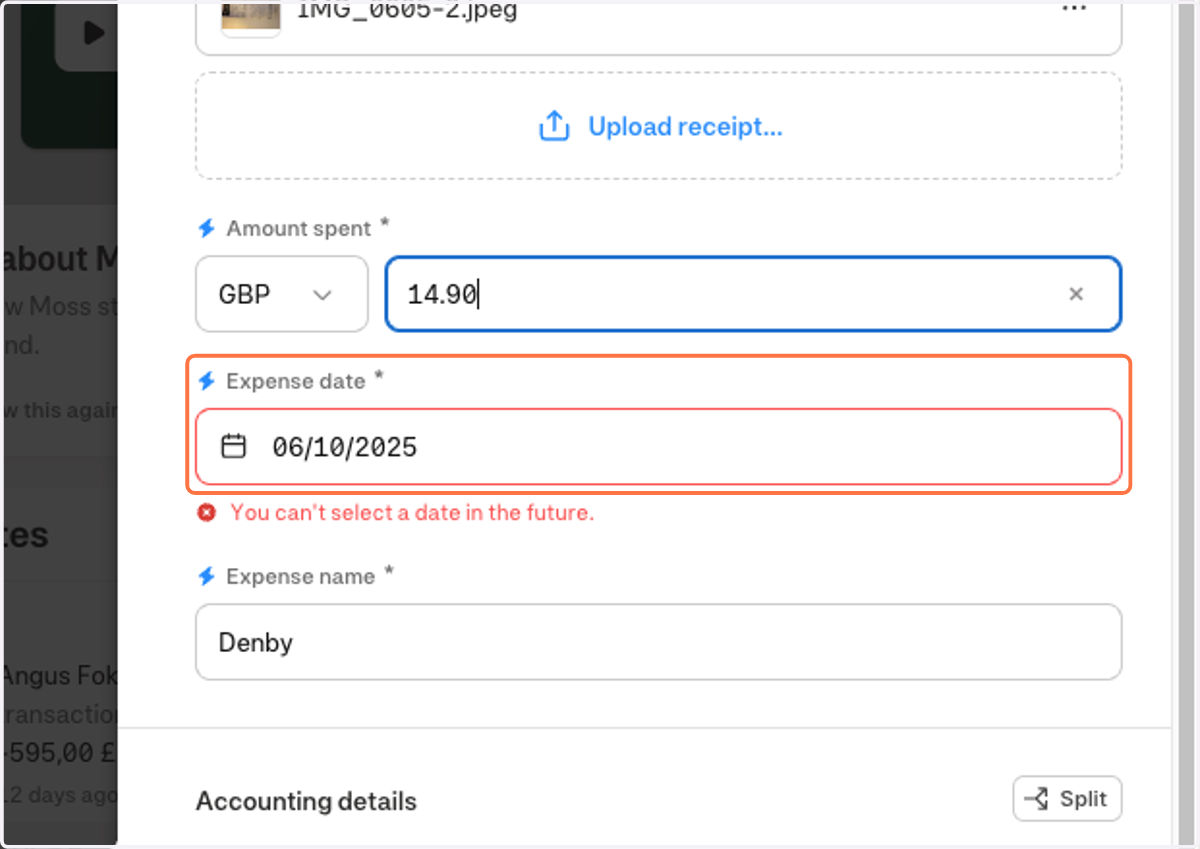
14. As we can see the date extracted is incorrect so I will need to click it and change it manually.
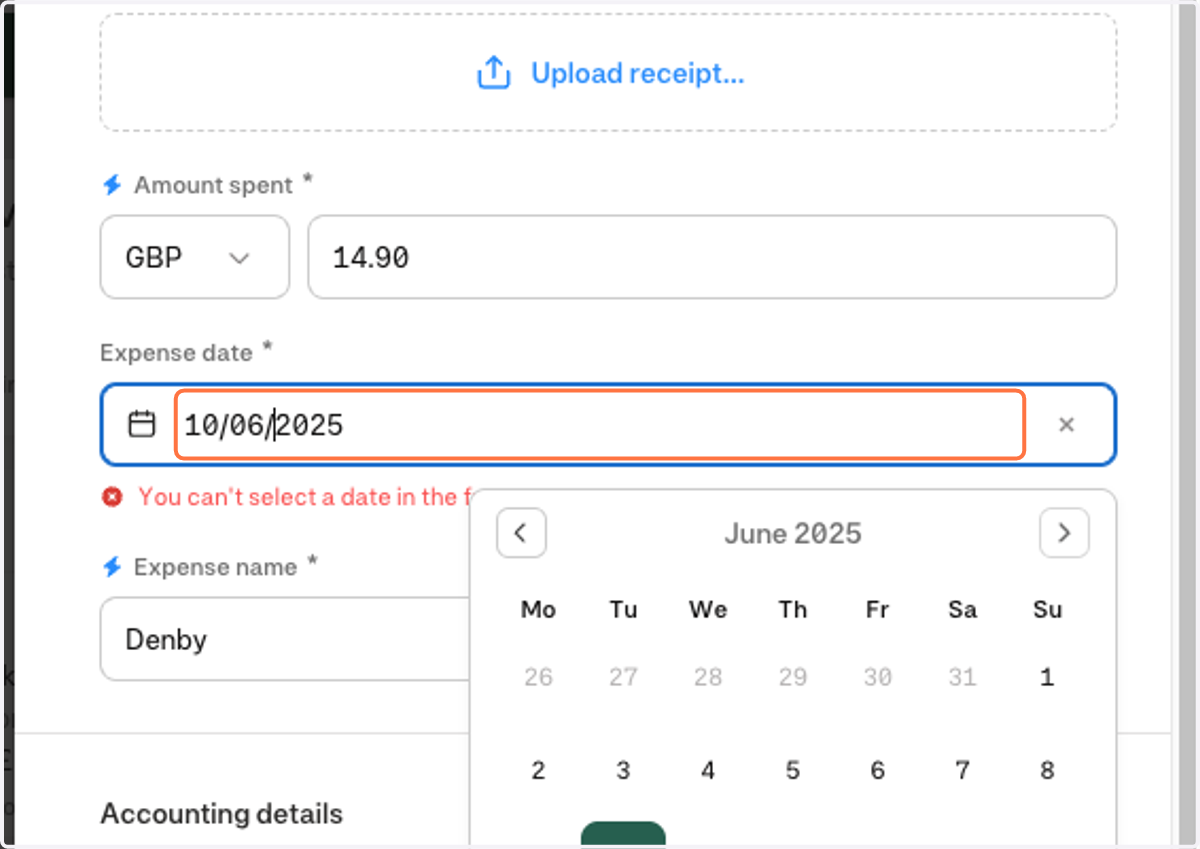
15. After clicking the field I can either type the date or select from within the box. You can also select a range of dates if the expense happened over a few
16. Now I need to check the supplier name is correct here.
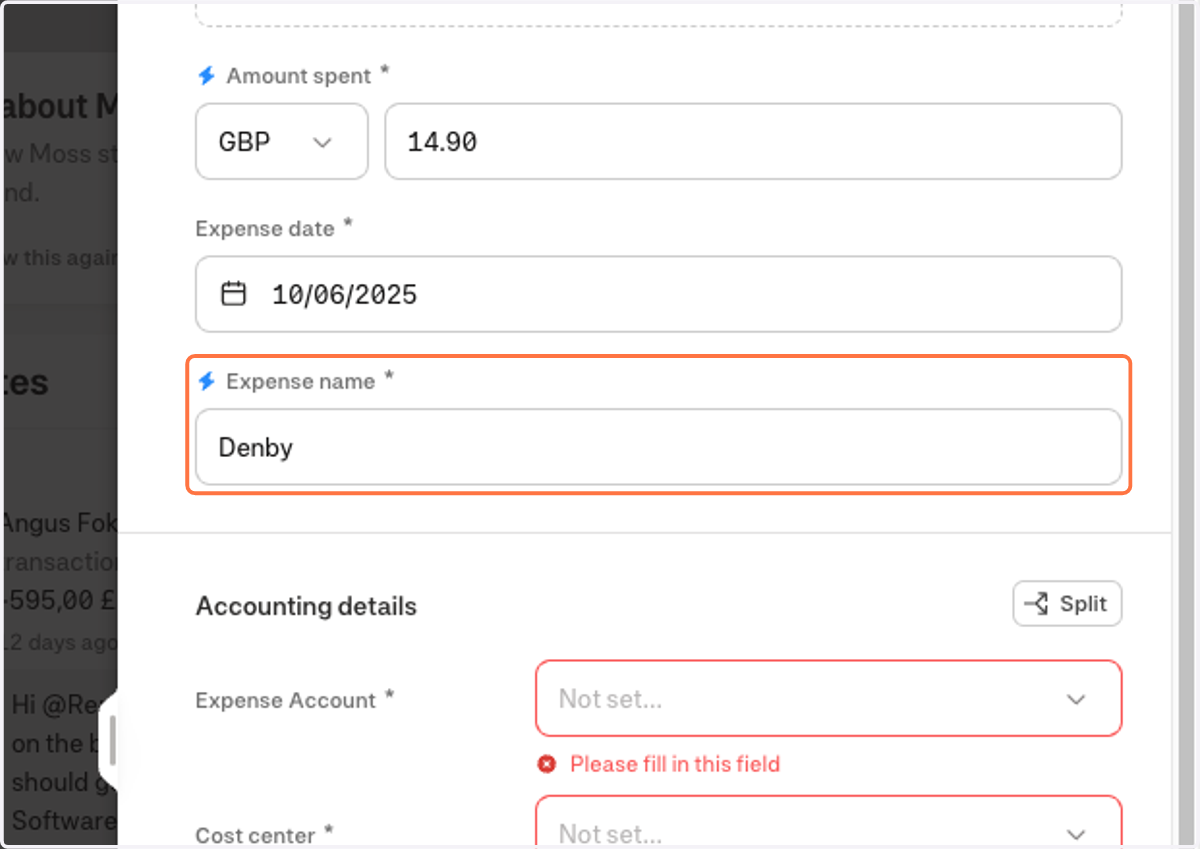
17. Lastly I need to add my expense account and cost centre.
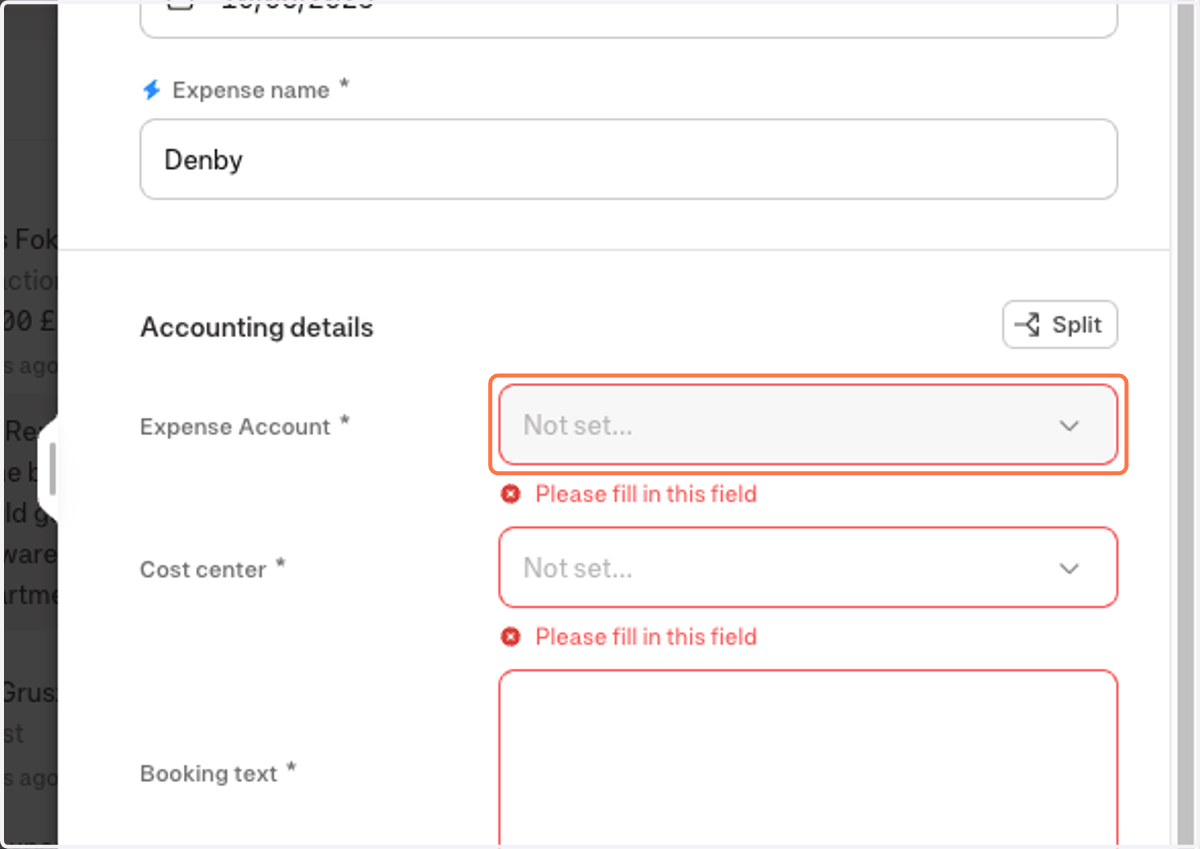
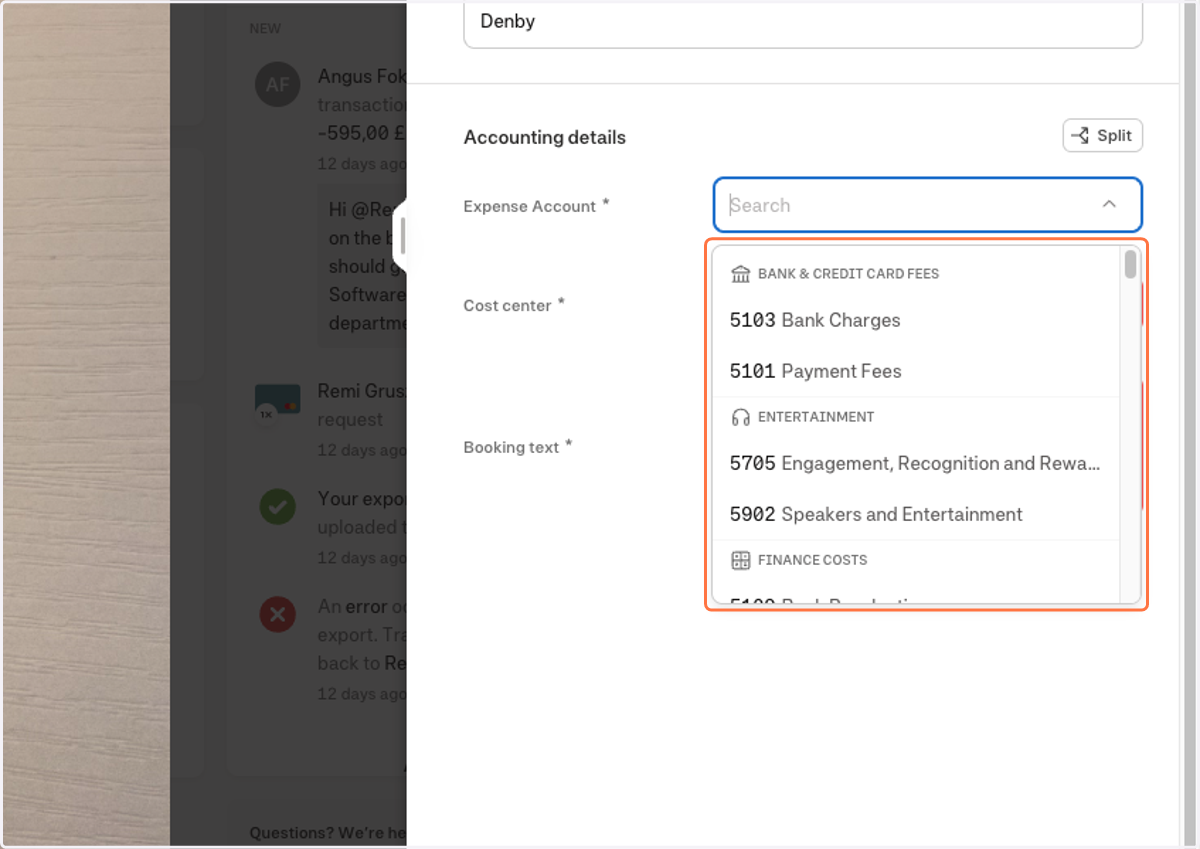
18. I need to select my expense account from the list
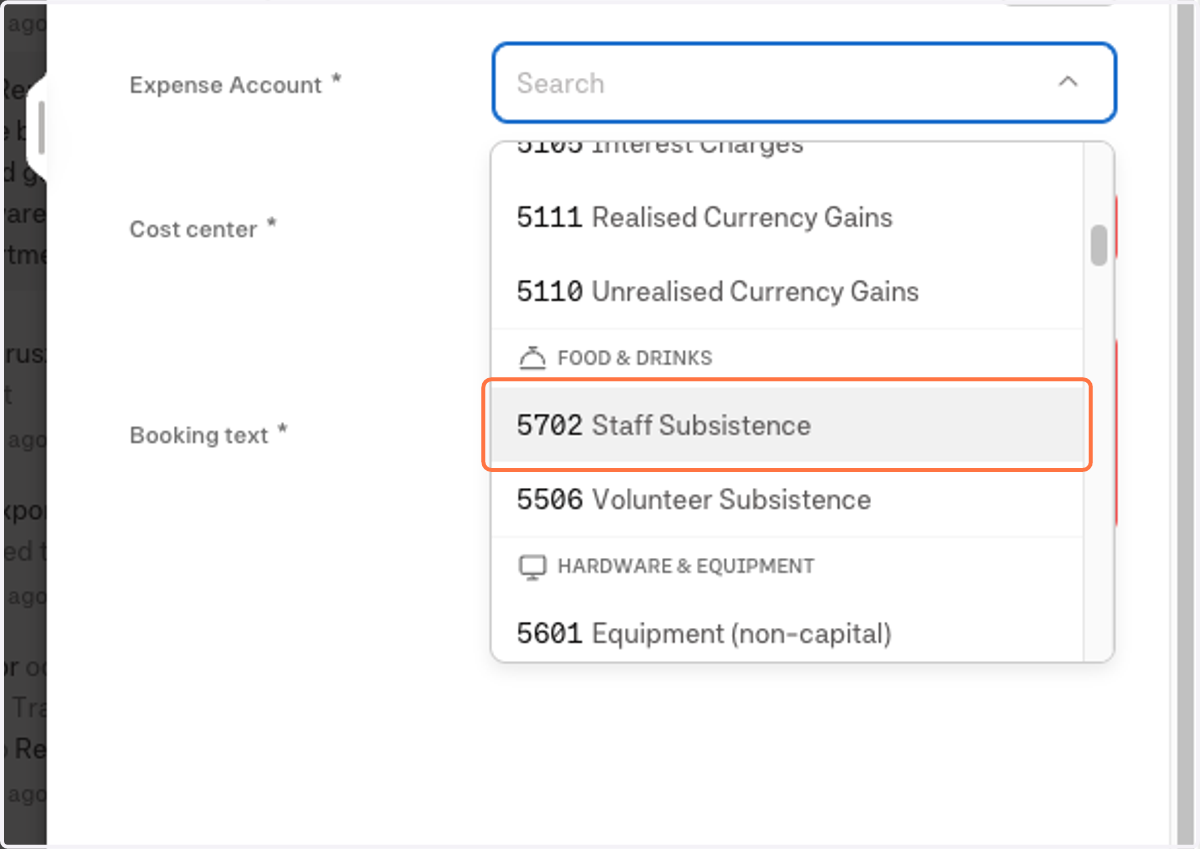
19. In this instance I will select 5702 which is Staff Subsistence
20. Now I need to enter my department, this is know as the cost centre.
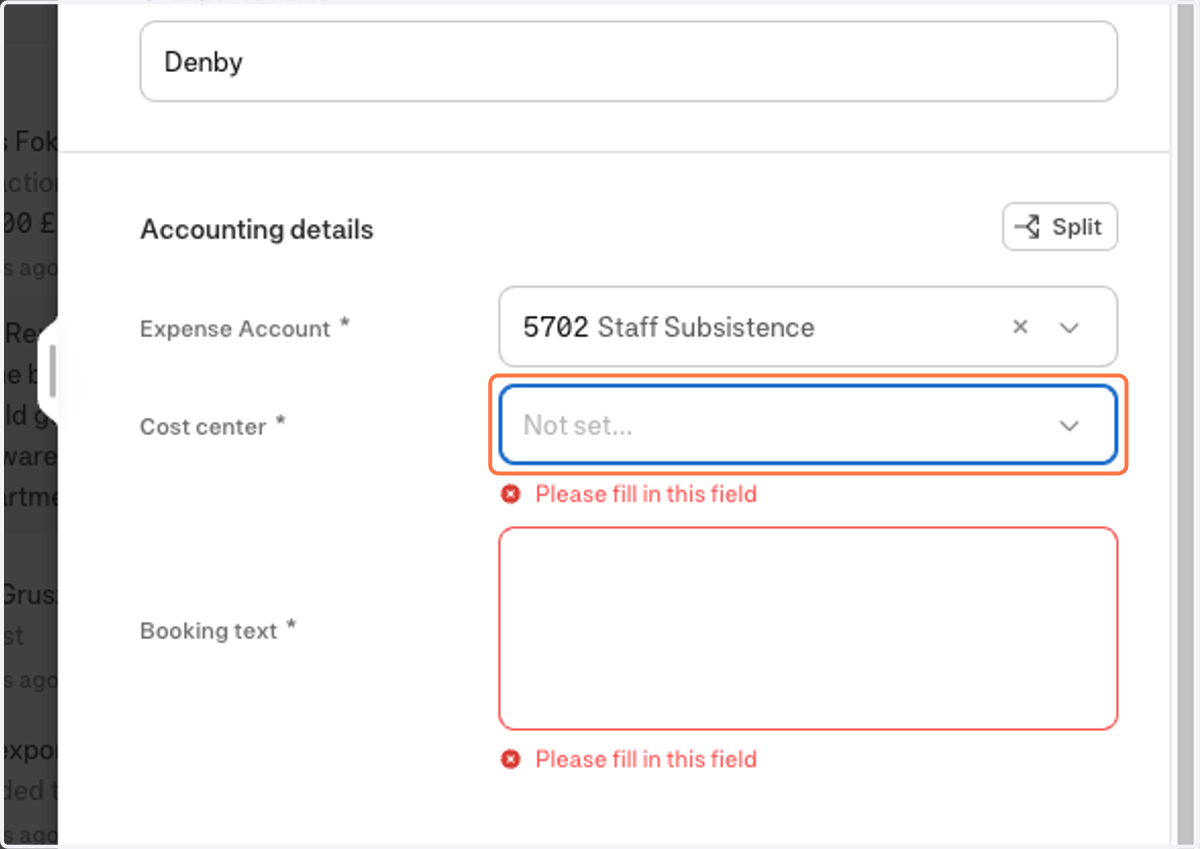
21. Select it or search it from the list.
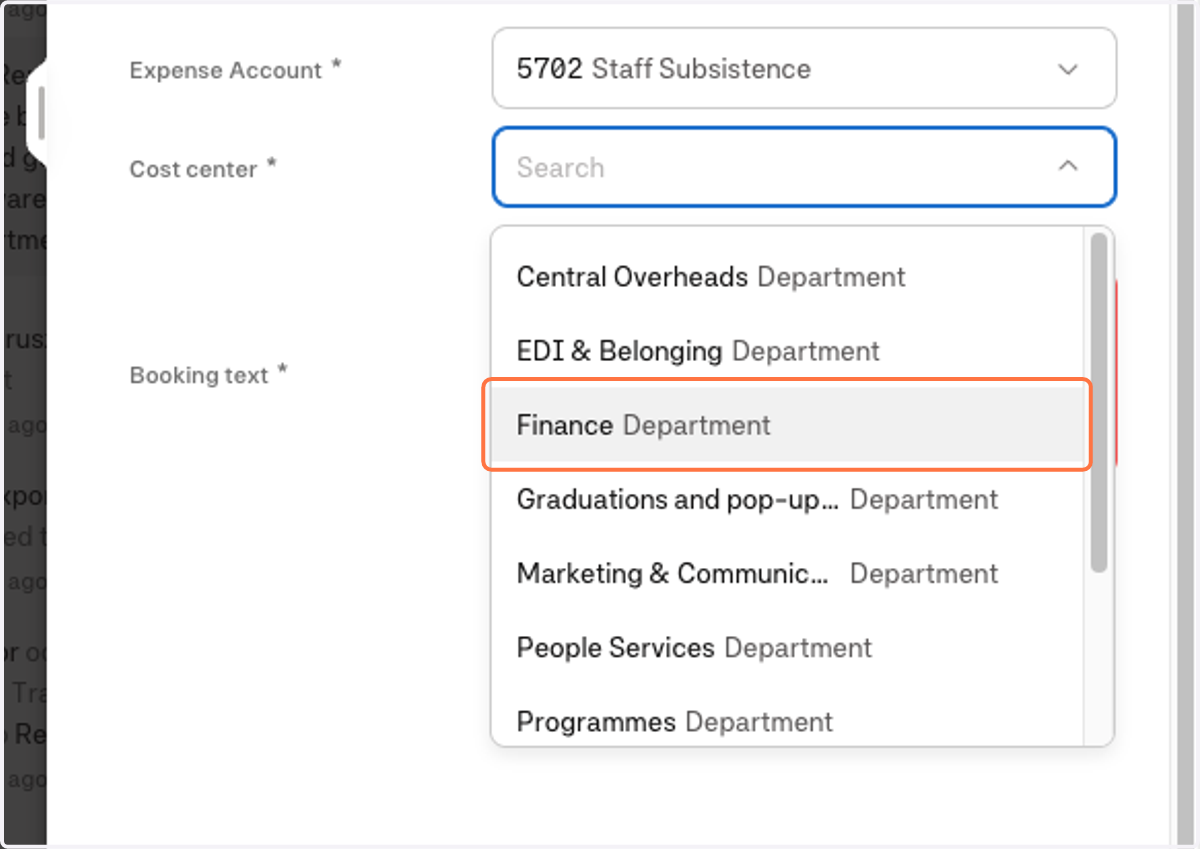
22. Now I need to justify this expense and type out why I have incurred it in the Booking Text box.
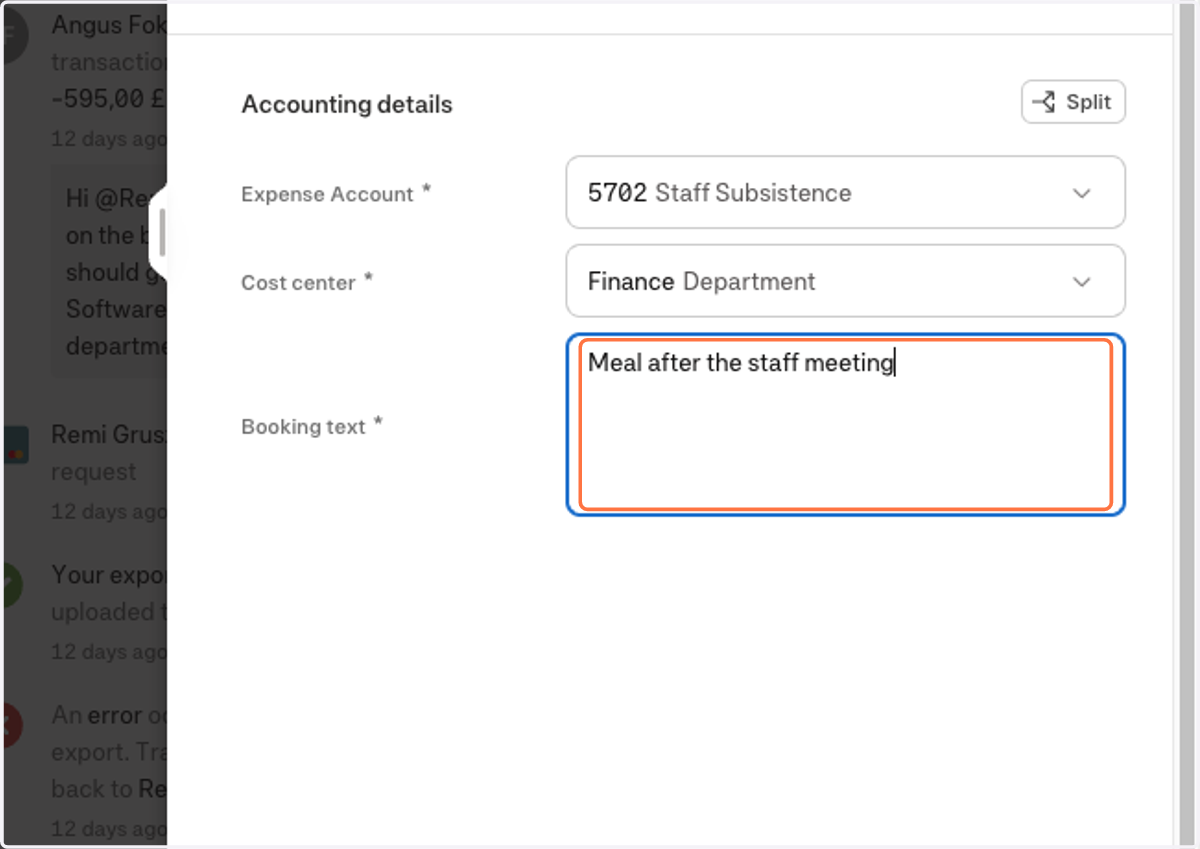
23. Once I have added all the relevant information to save it and add it to the overall claim I need to click the back arrow at the top.
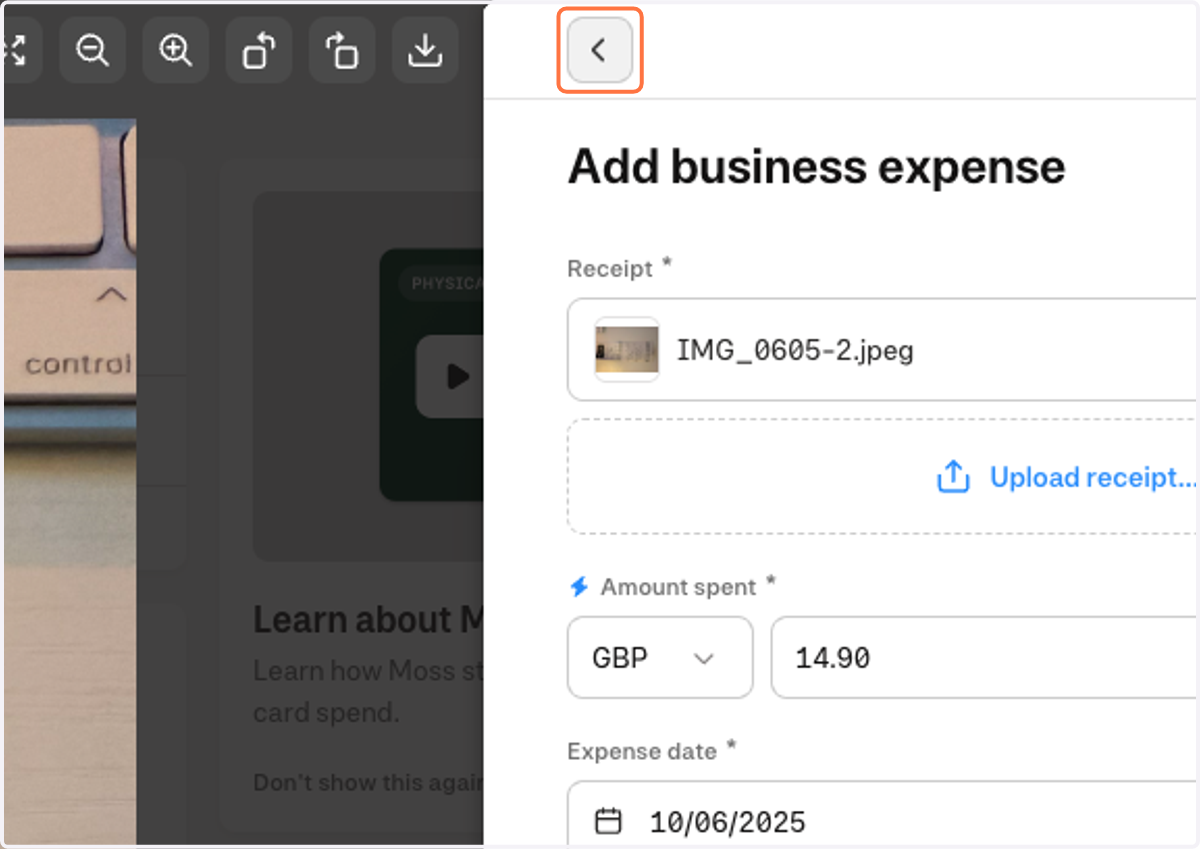
24. I can see that the receipt of £14.90 has been added and now I can add further expenses against this claim.
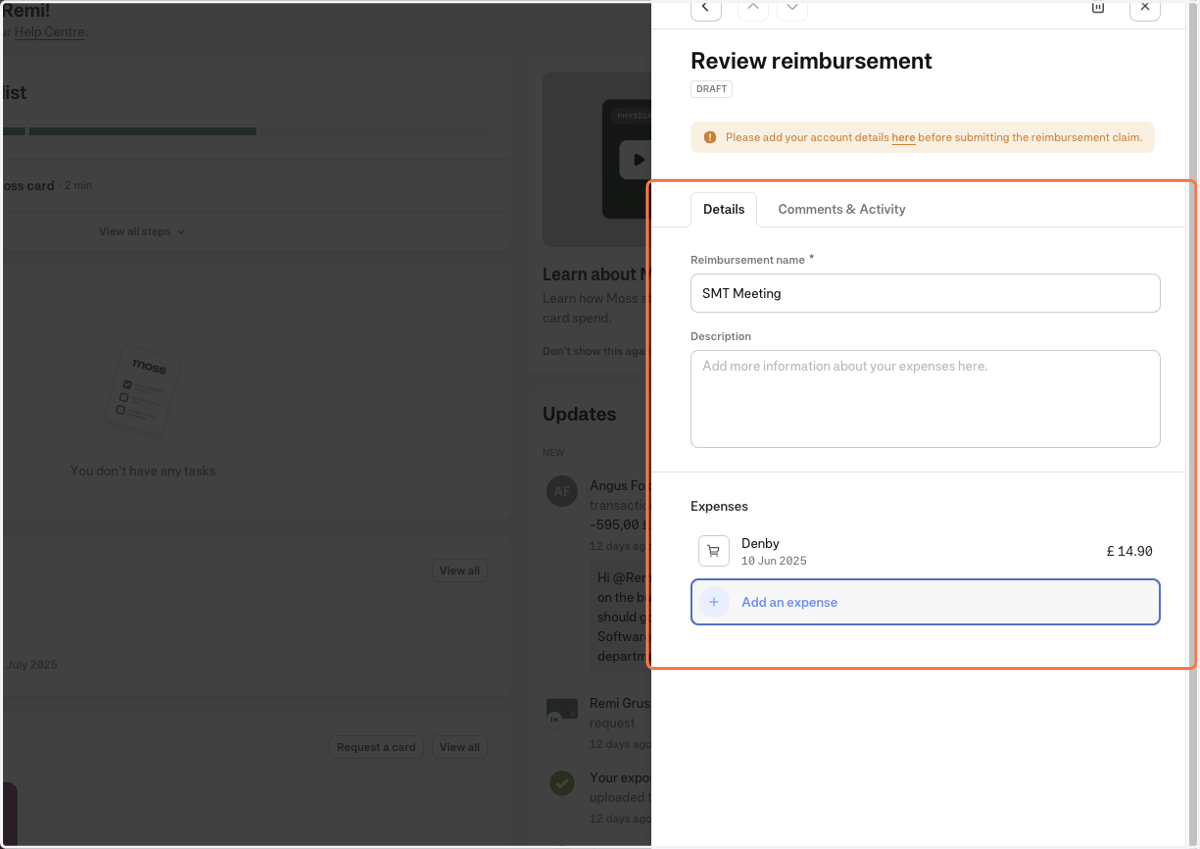
25. I also want to add mileage to the claim, I can again click Add an expense
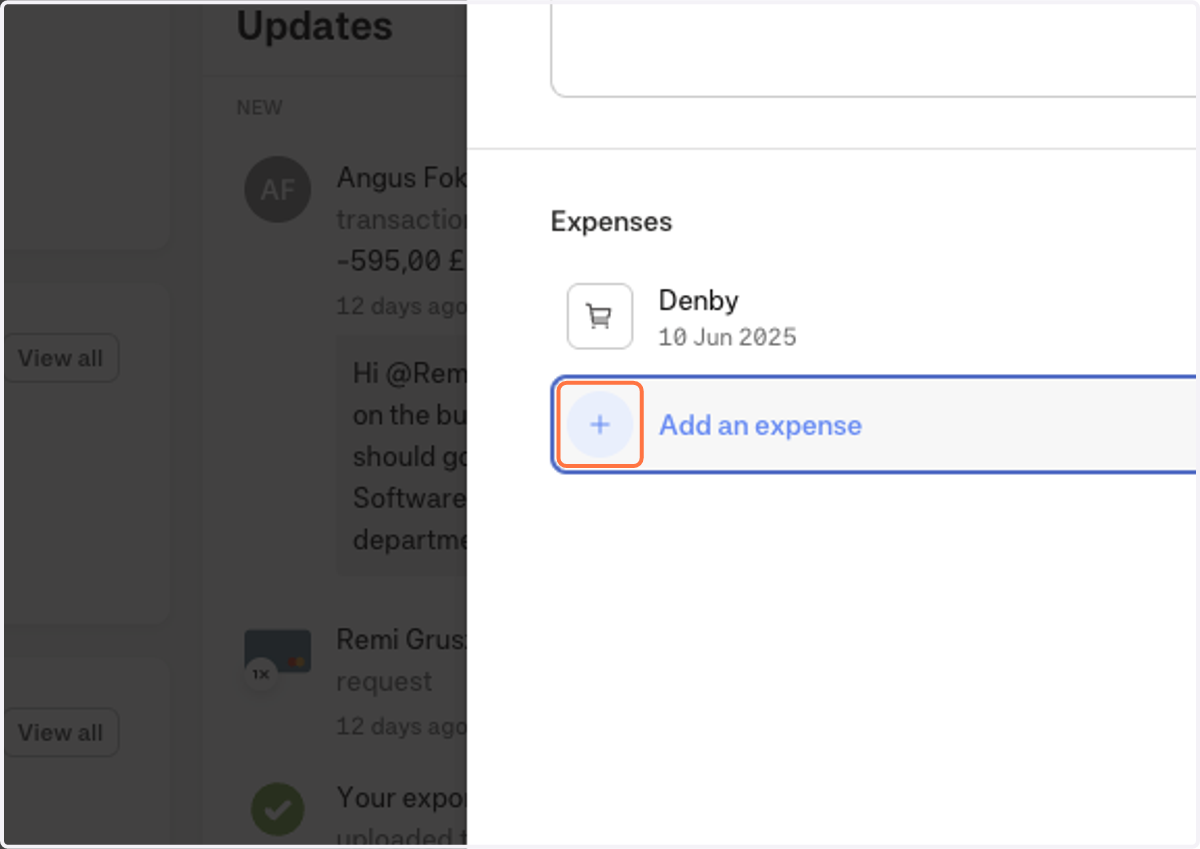
26. Click on Mileage…
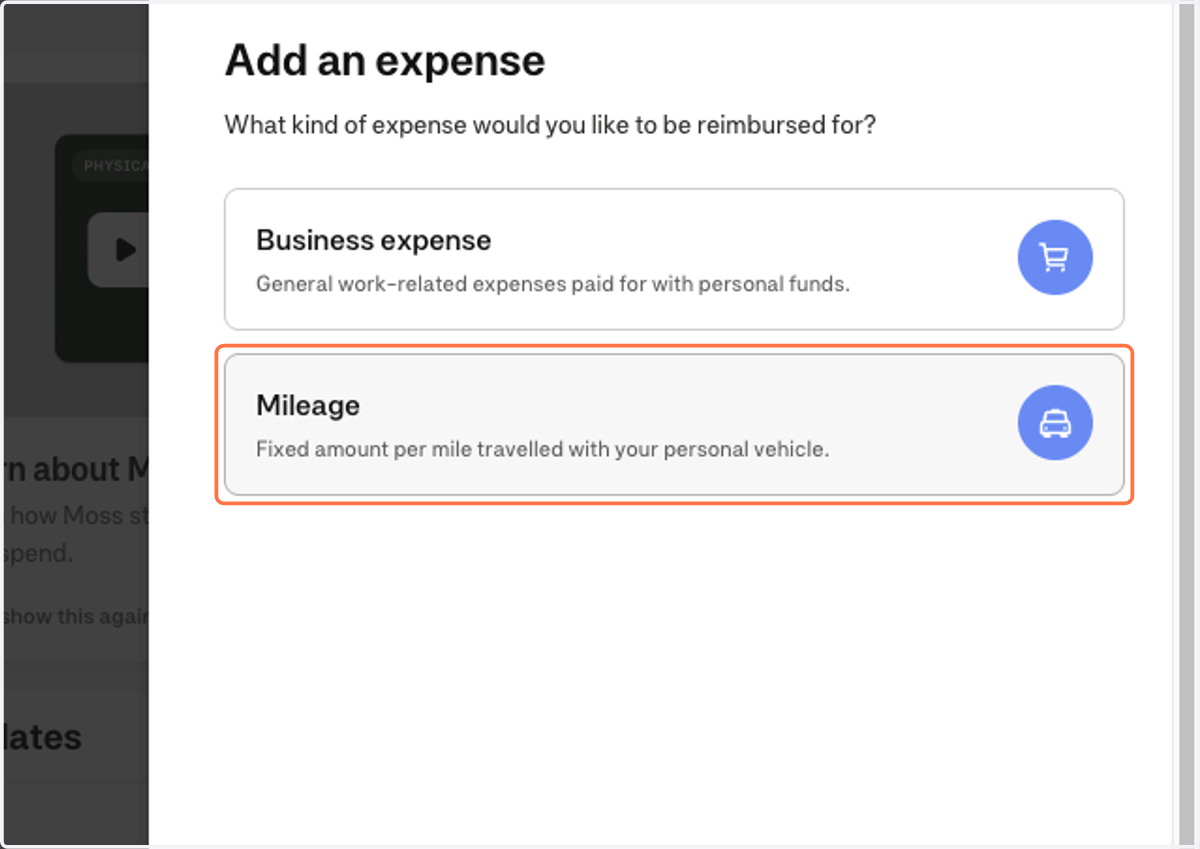
27. Select the rate that I will be claiming against, either the Car rate or the Bicycle rate
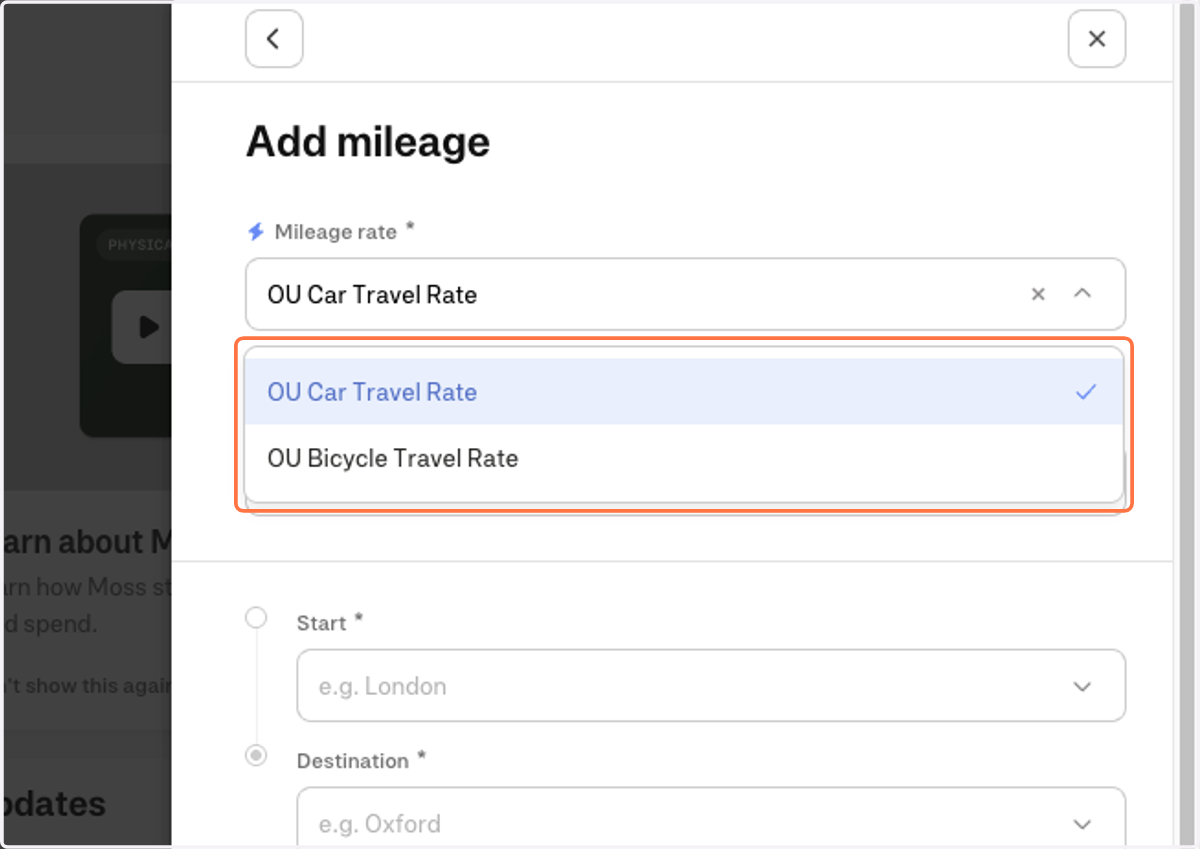
28. Enter in the date of the travel (this may span over a few days as it can include a return trip)
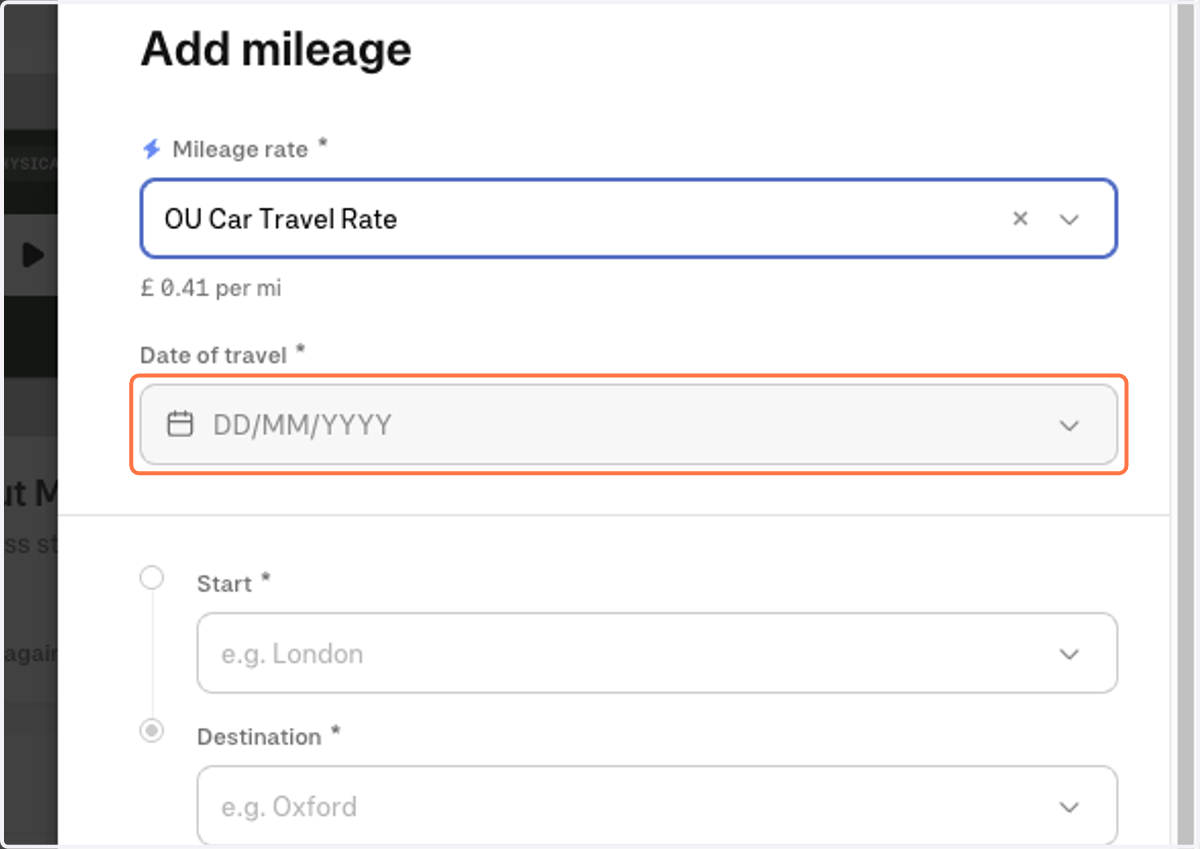
29. Select your date
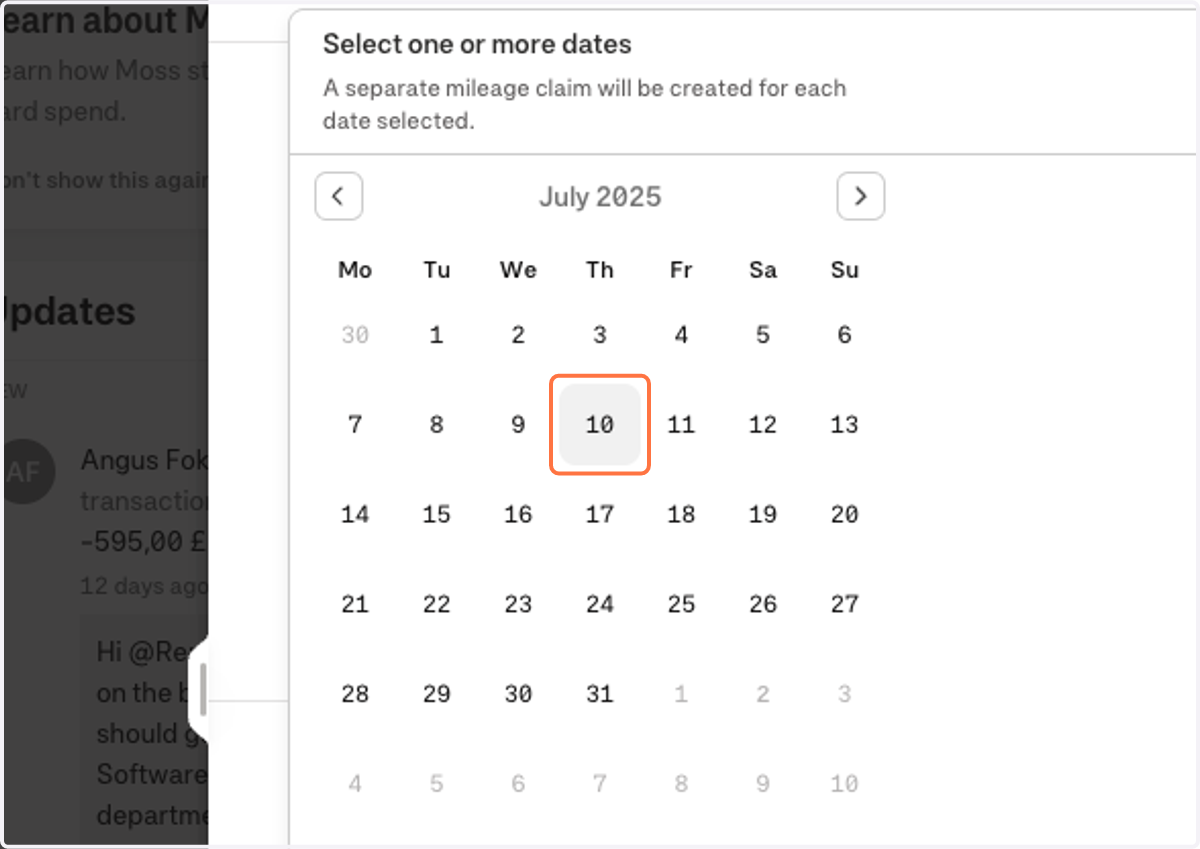
30. Click on Apply
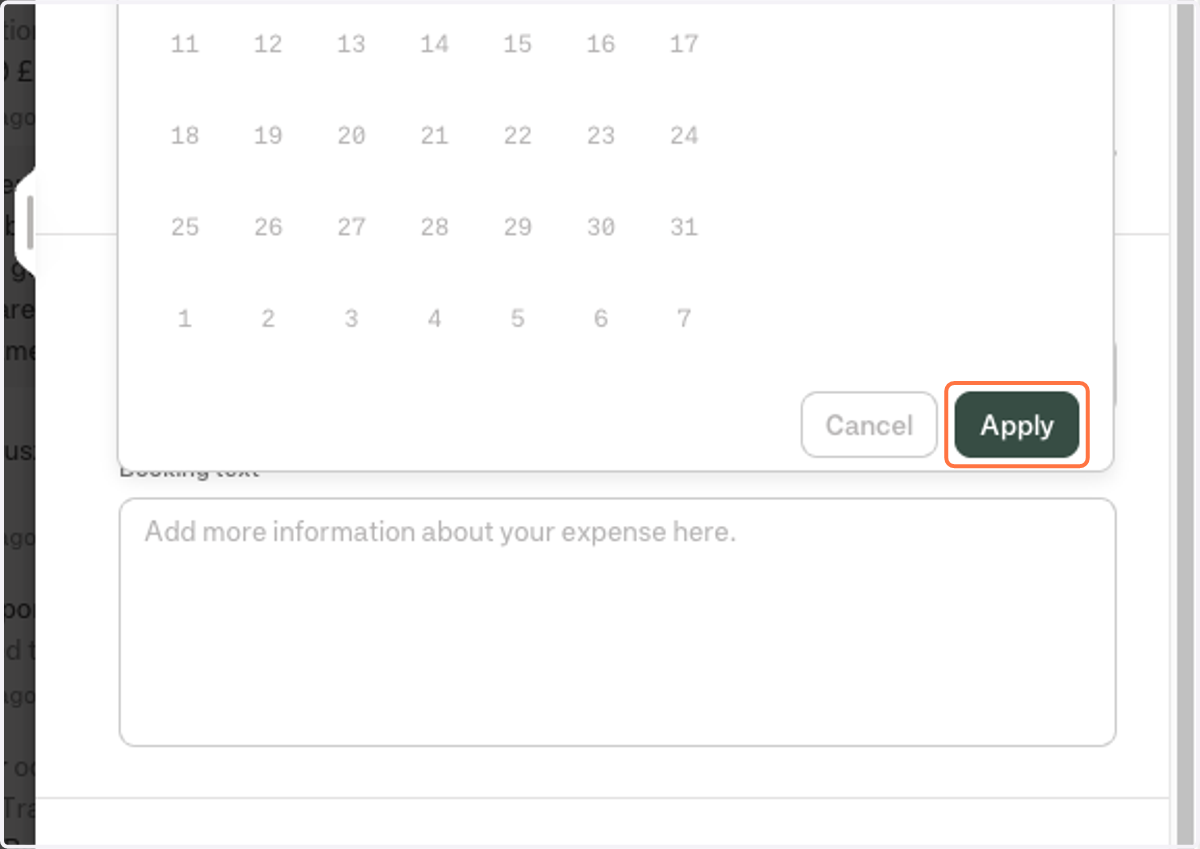
31. As you can see the date got added, as mentioned if it spans a few days the whole range would appear here.
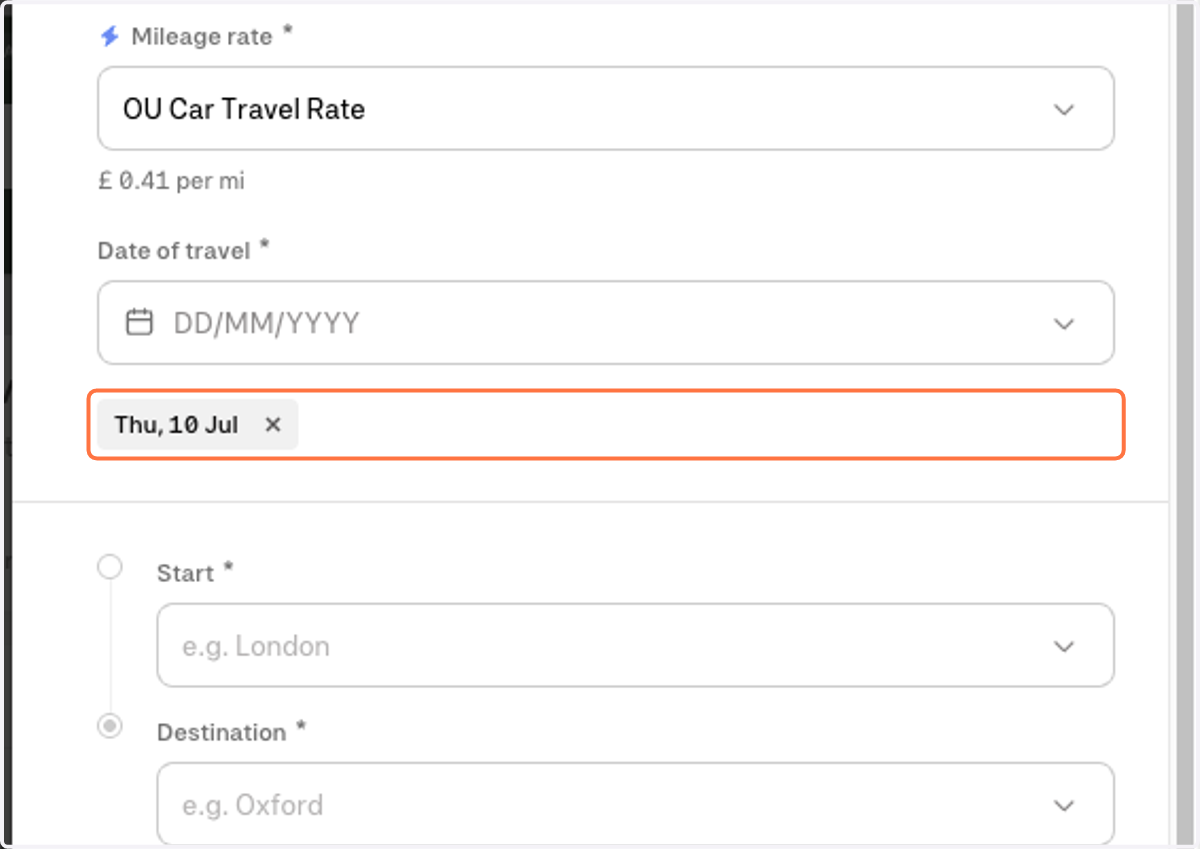
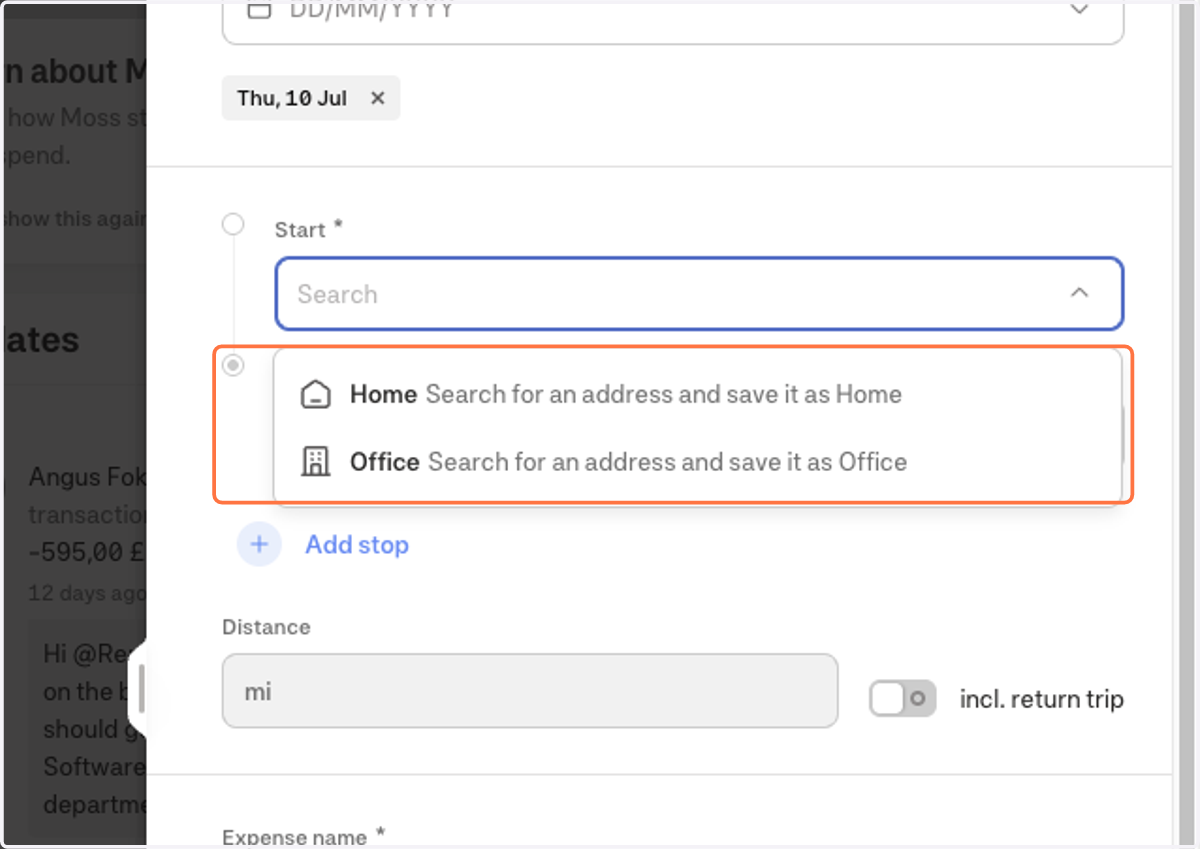
32. Now enter the starting point.
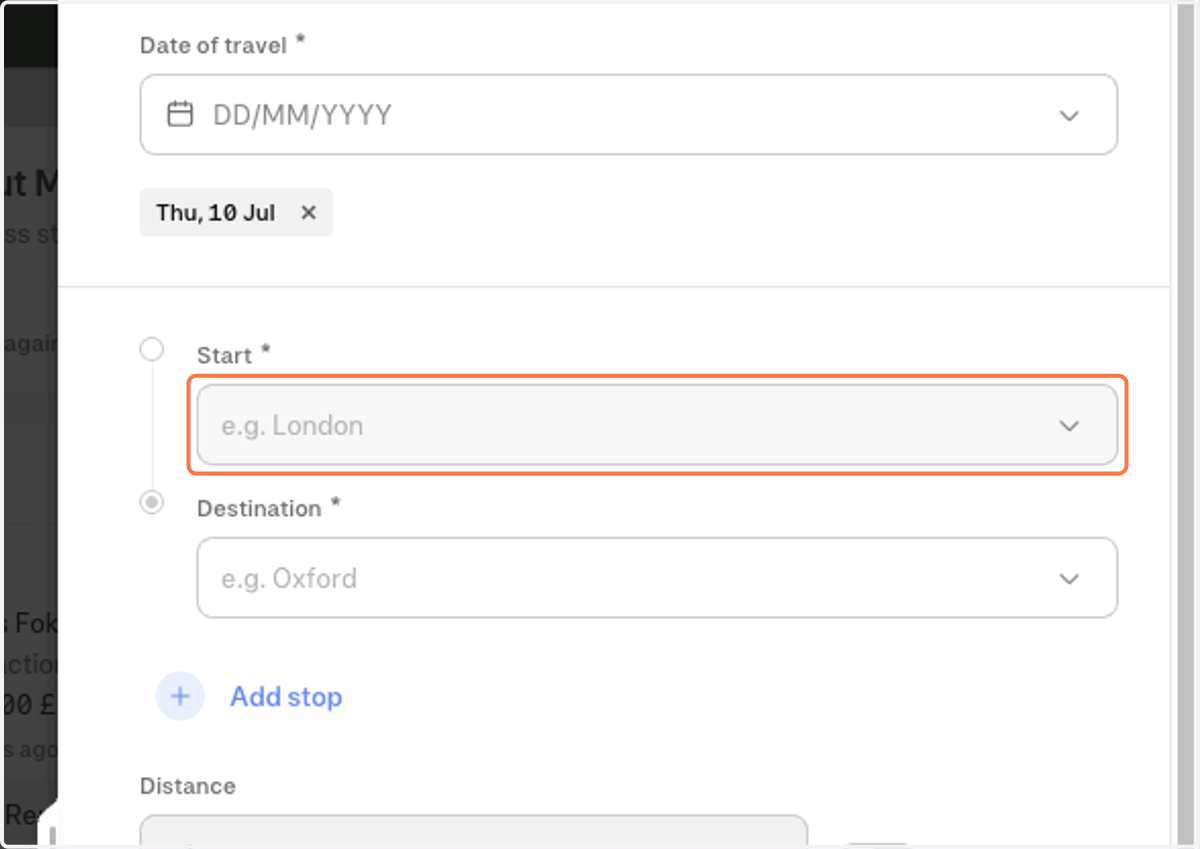
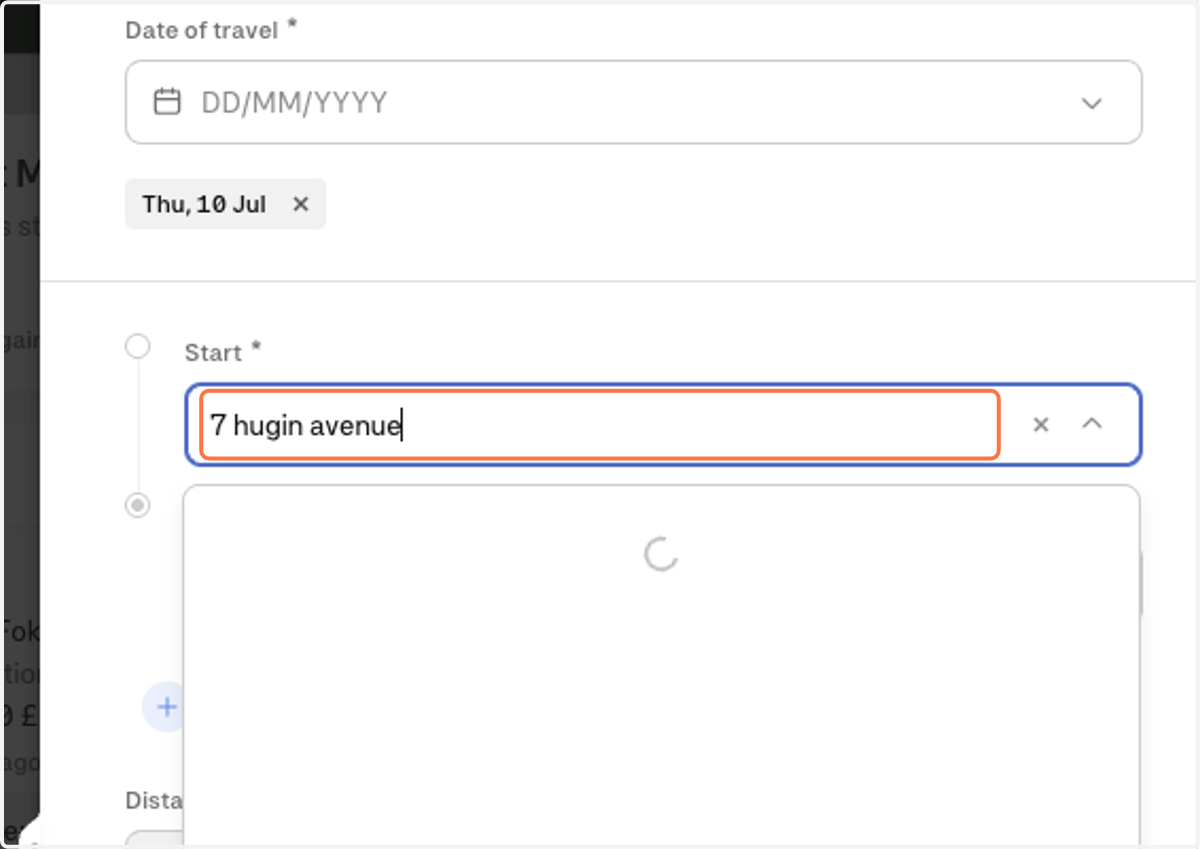
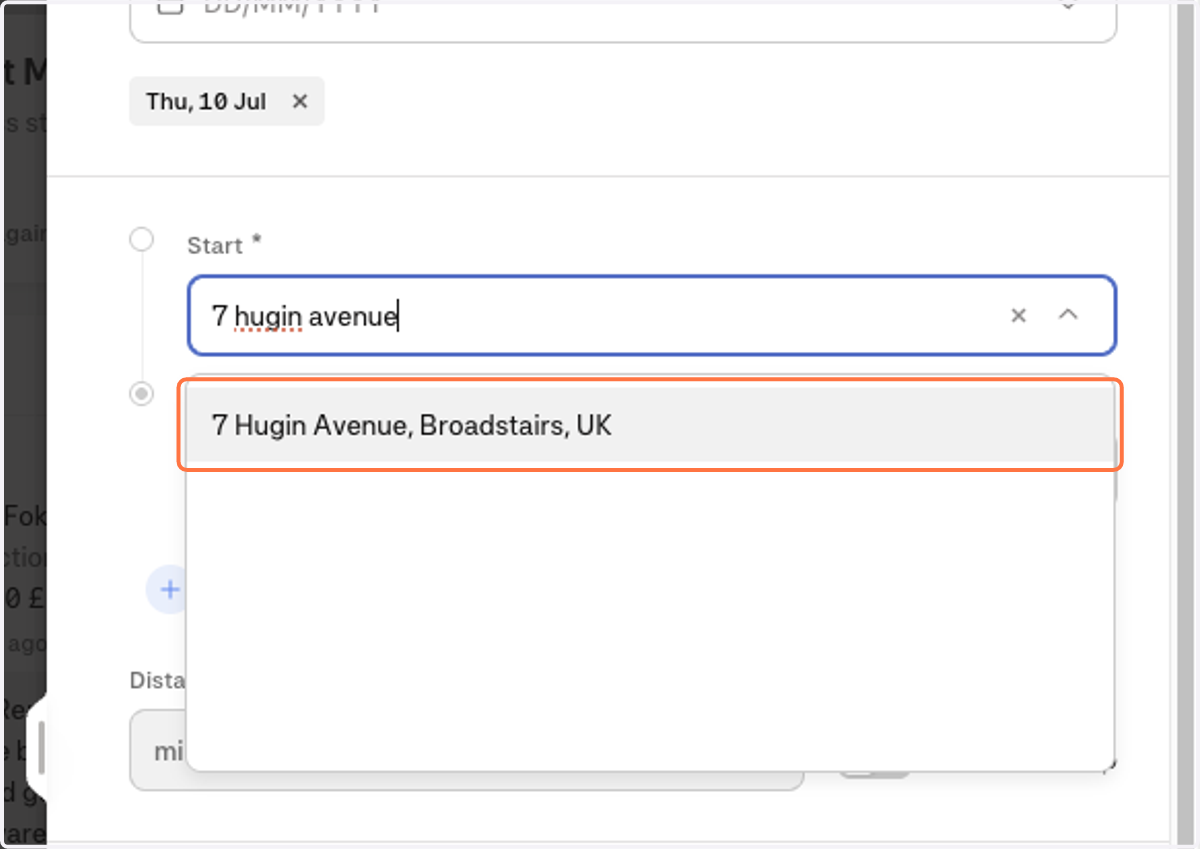
33. If you have pre-set your home address you will be able to select it from the list here.
34. Otherwise you will need to enter the address here. As I start entering the address Moss will auto-populate the closest matching one from google for me to select from.
35. Click on the matching address
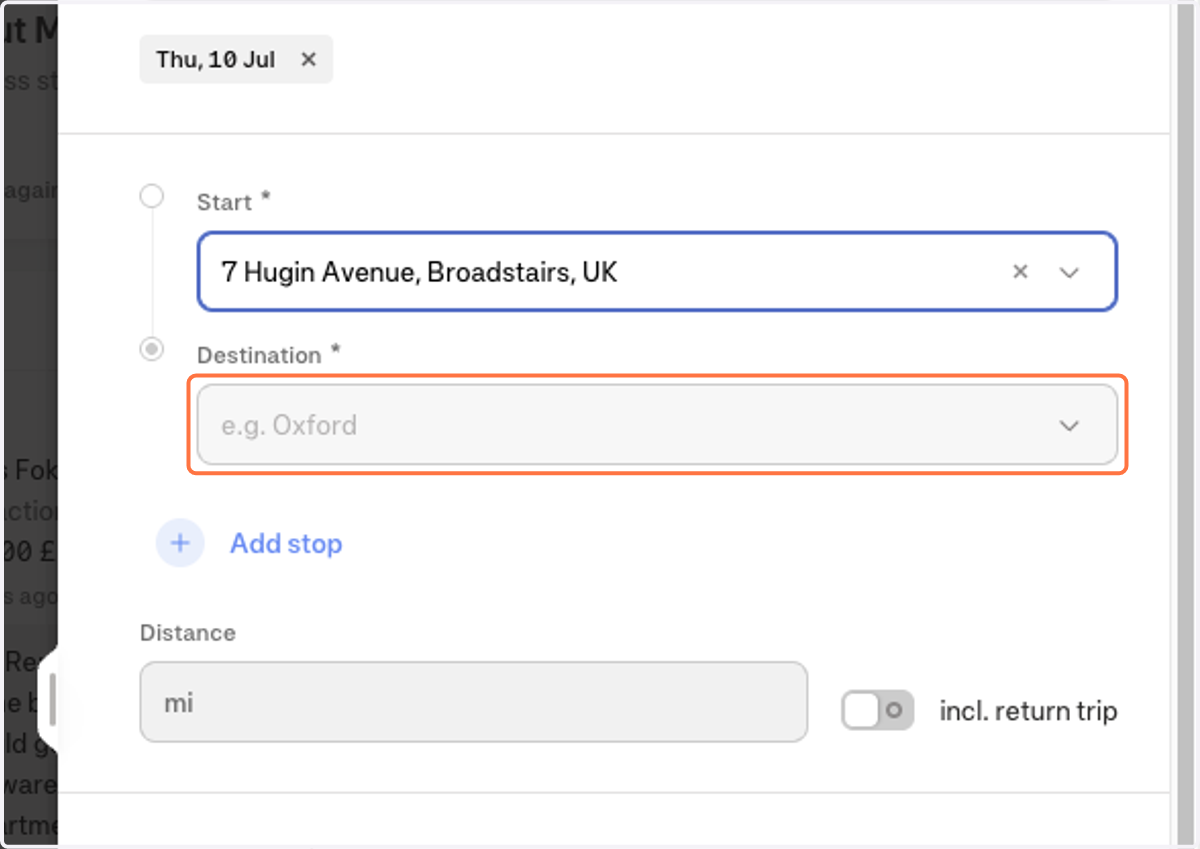
36. Now I want to add my destination here
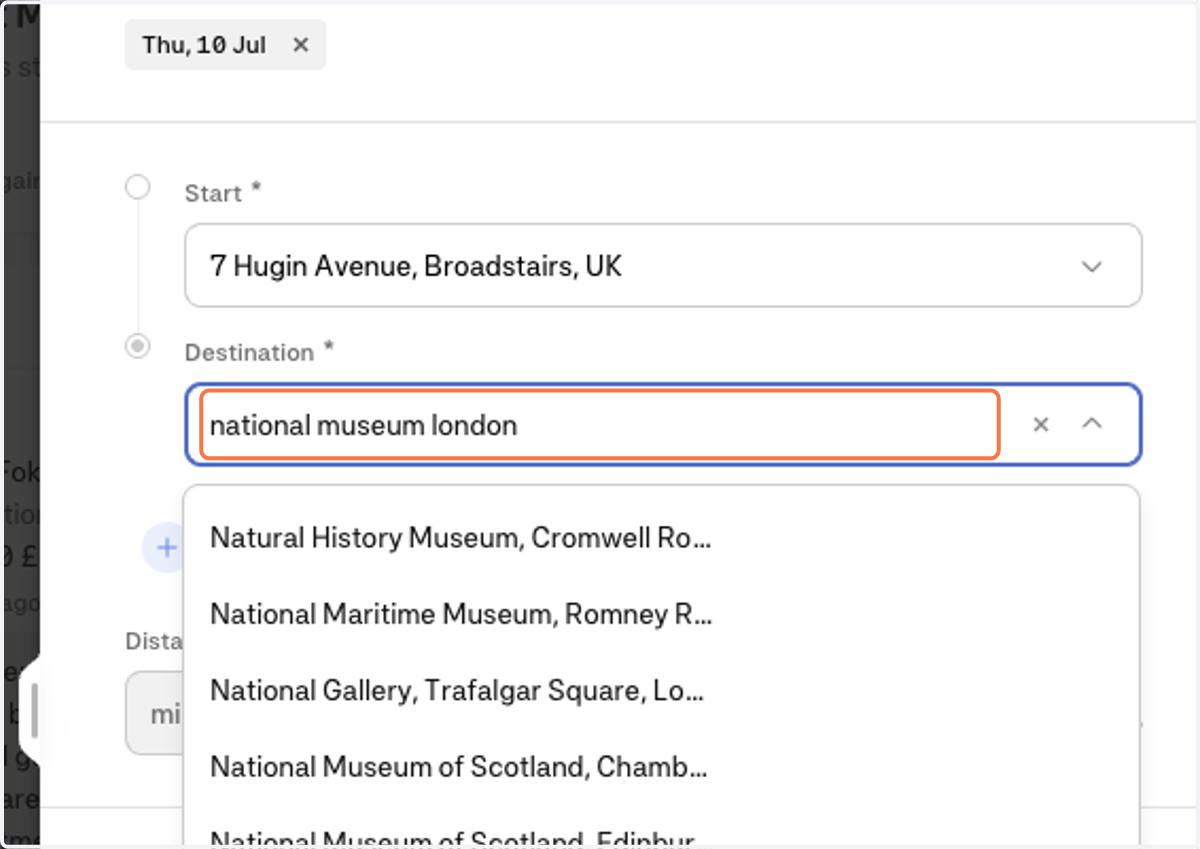
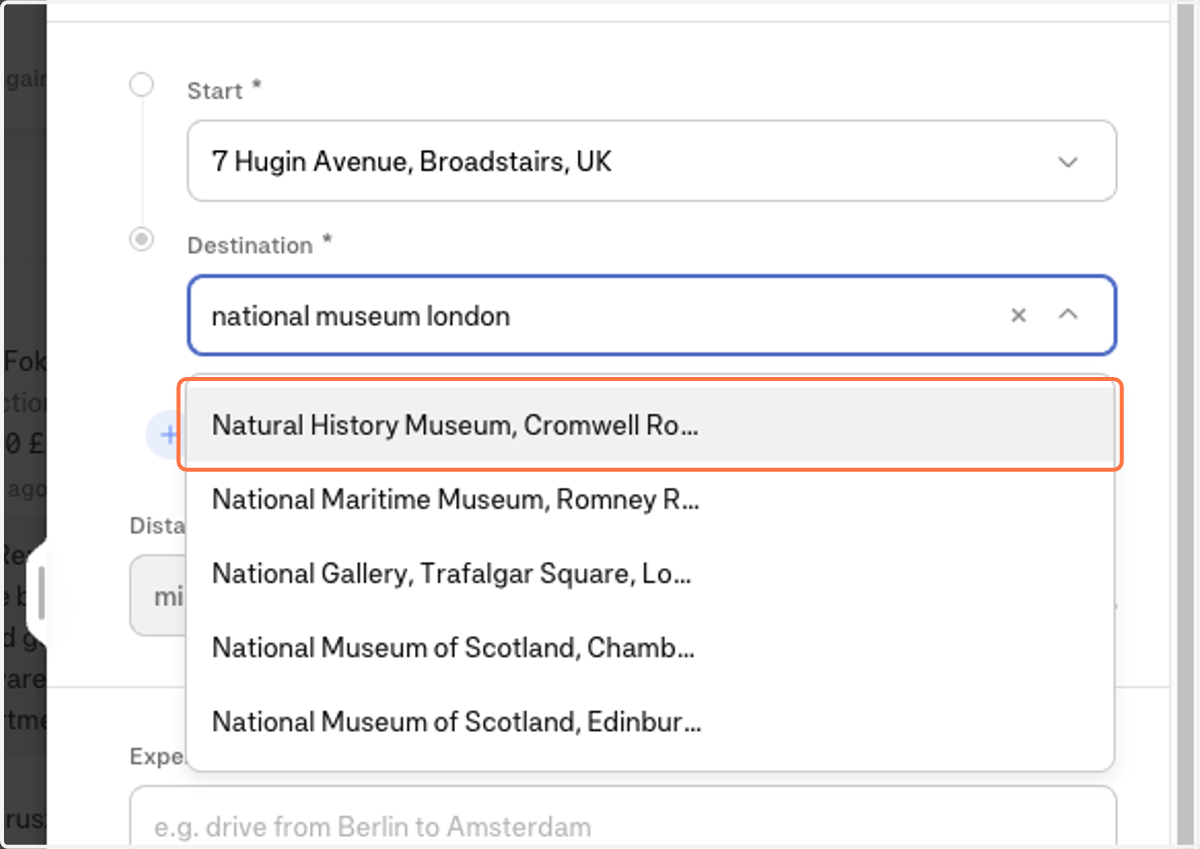
37. Enter in the name of your destination
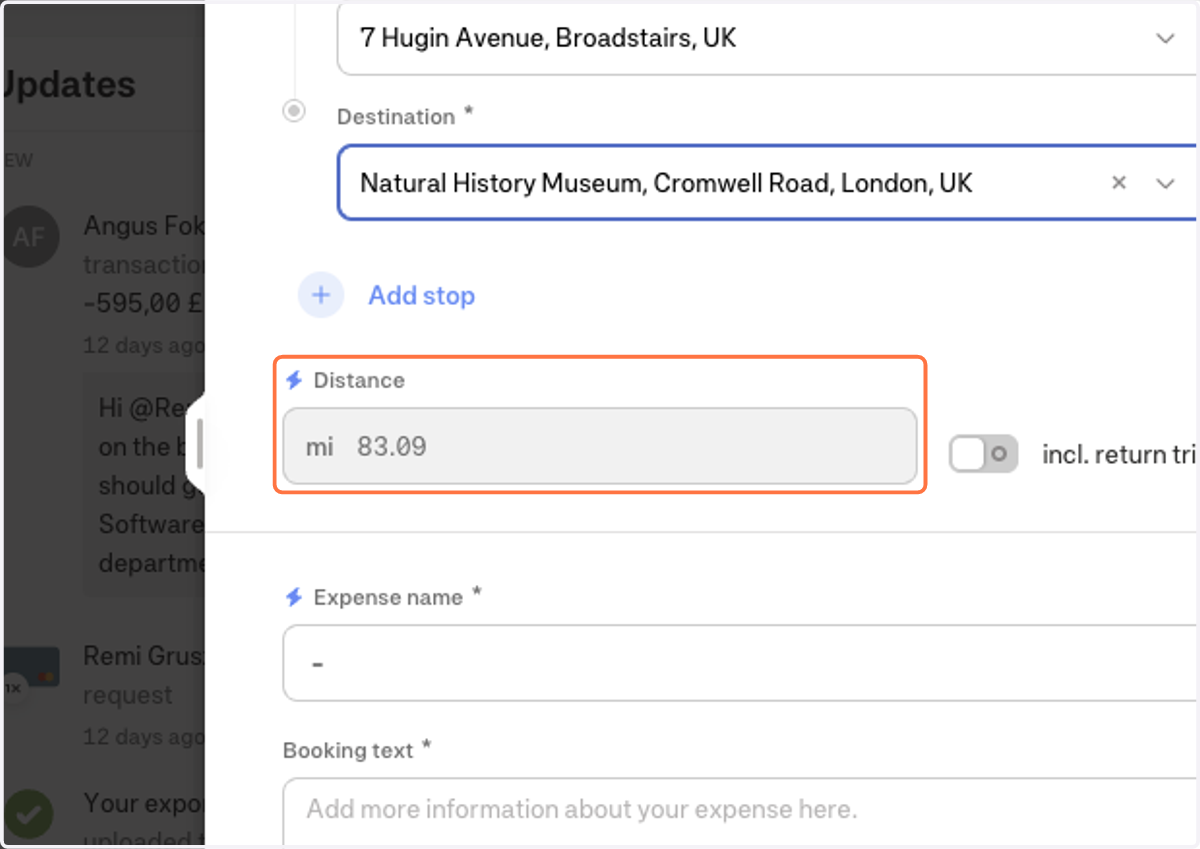
38. Select the matching one from the list
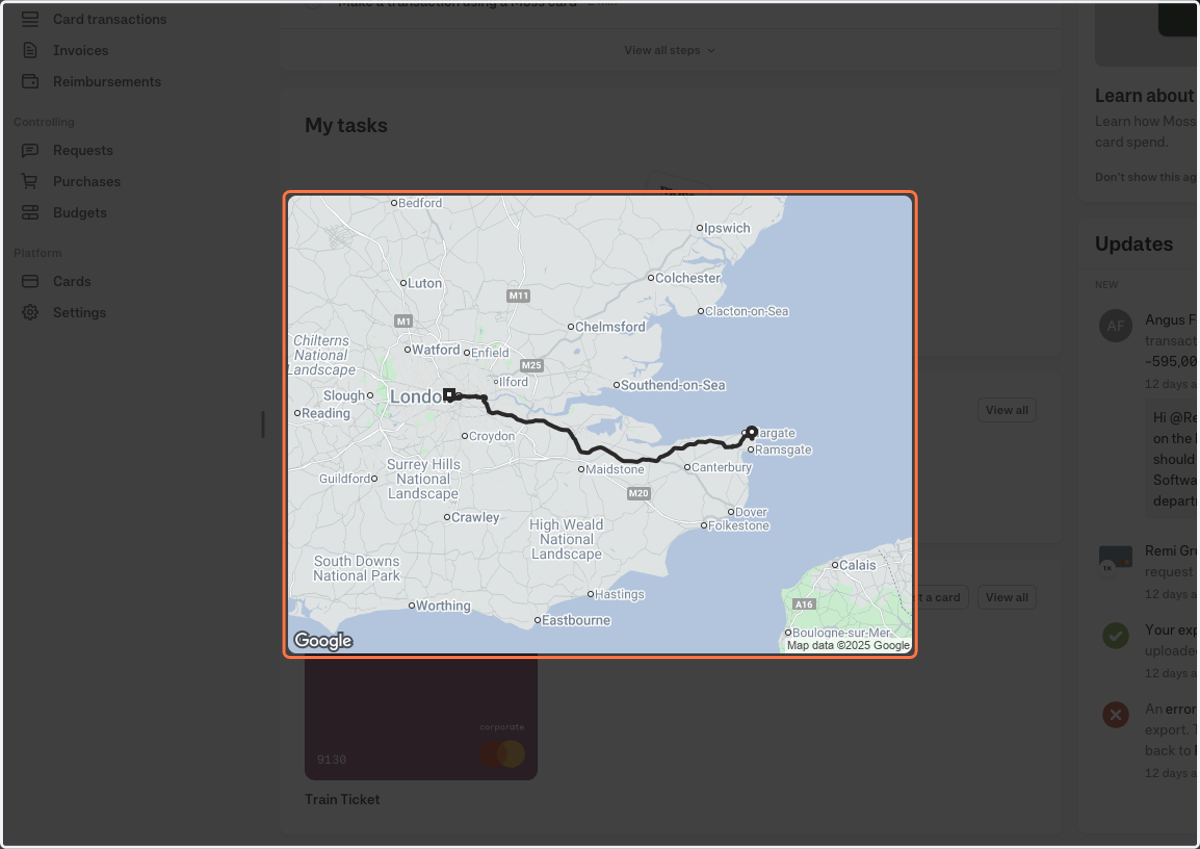
39. As you can see the mileage amount is calculated automatically based off google maps routing.
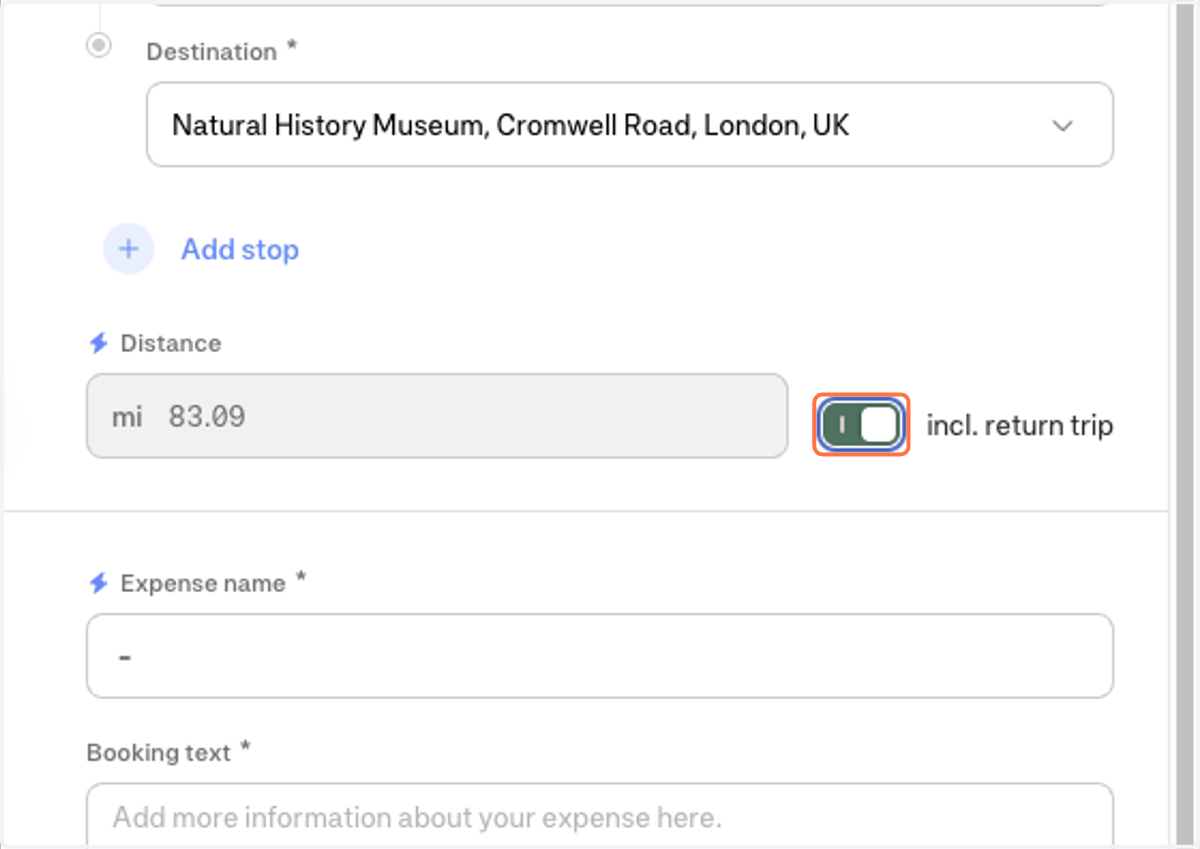
40. The map on the left also shows me the route that I have entered in.
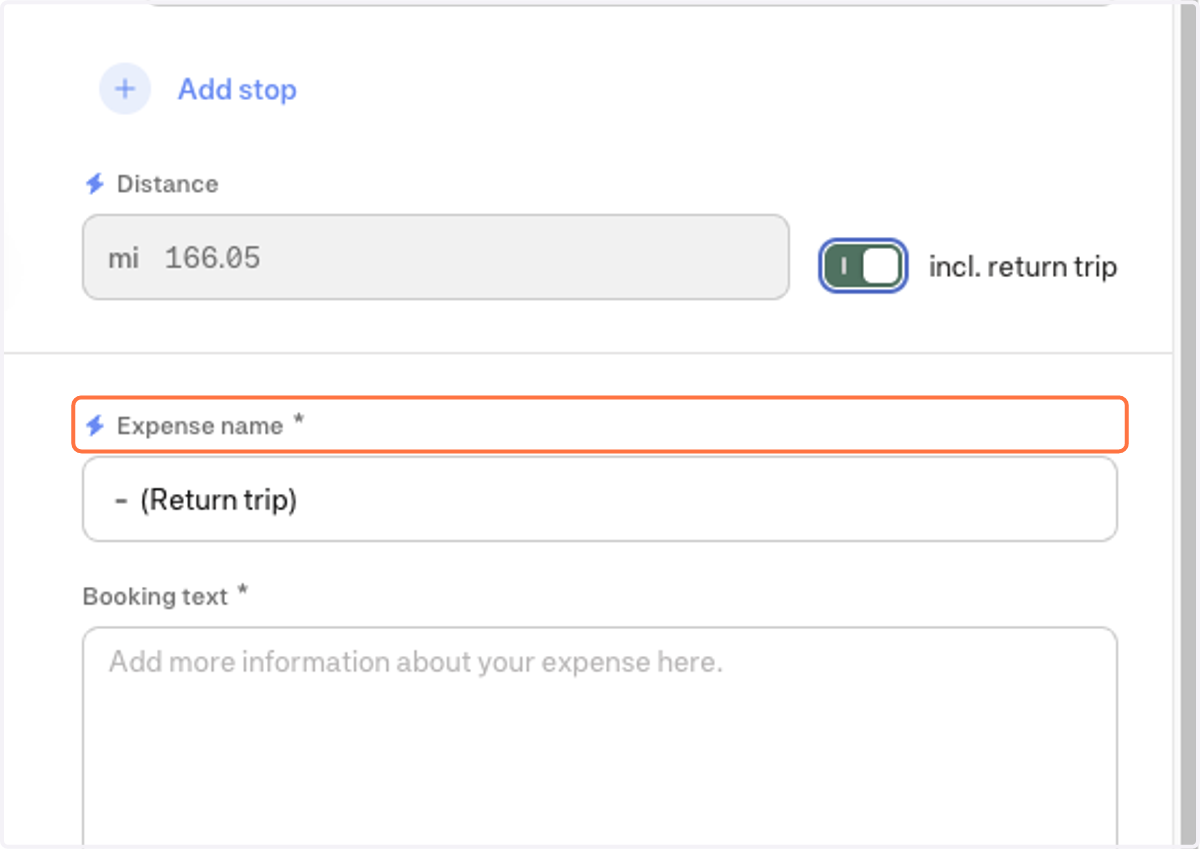
41. If this is a two way return trip, all I have to do is select the incl. return trip for it to automatically double up.
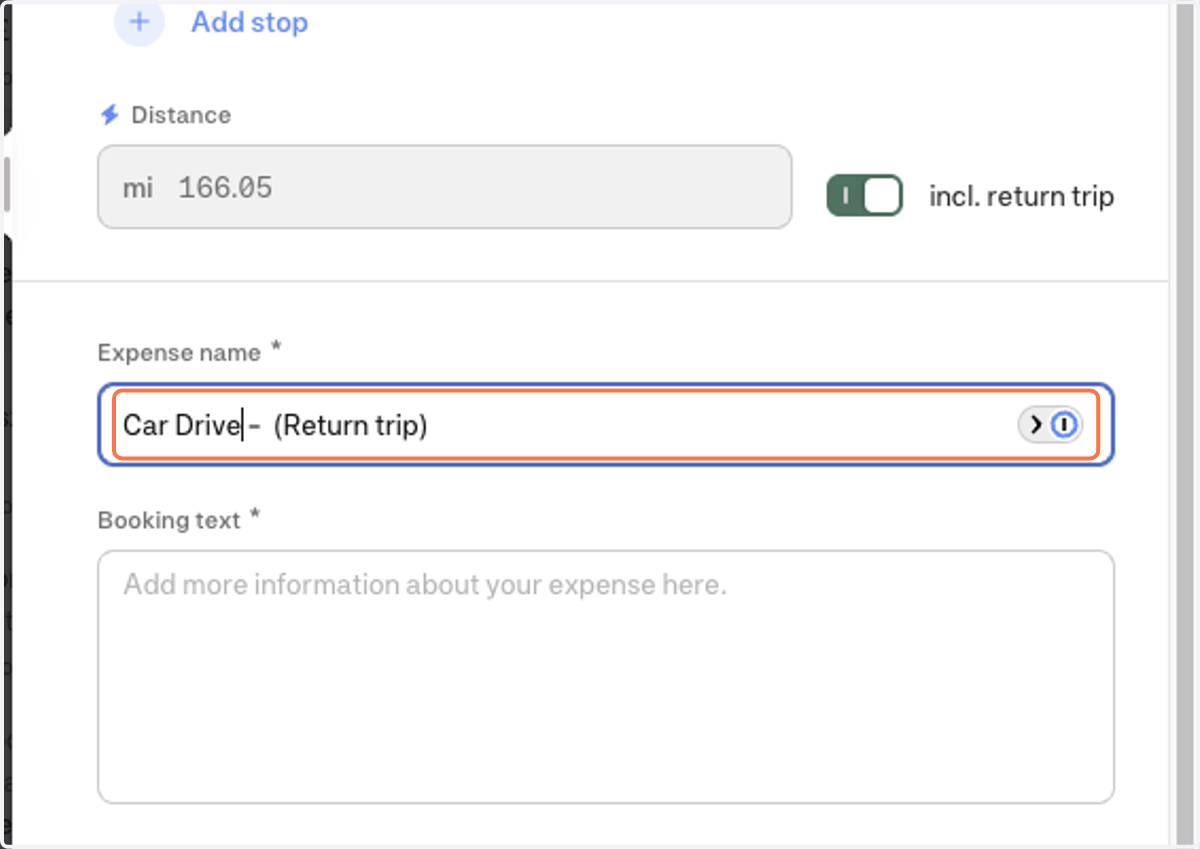
42. I still have to enter in an expense name
43. This can be as simple as Car Drive
44. Now I also need to include my Booking Text here.
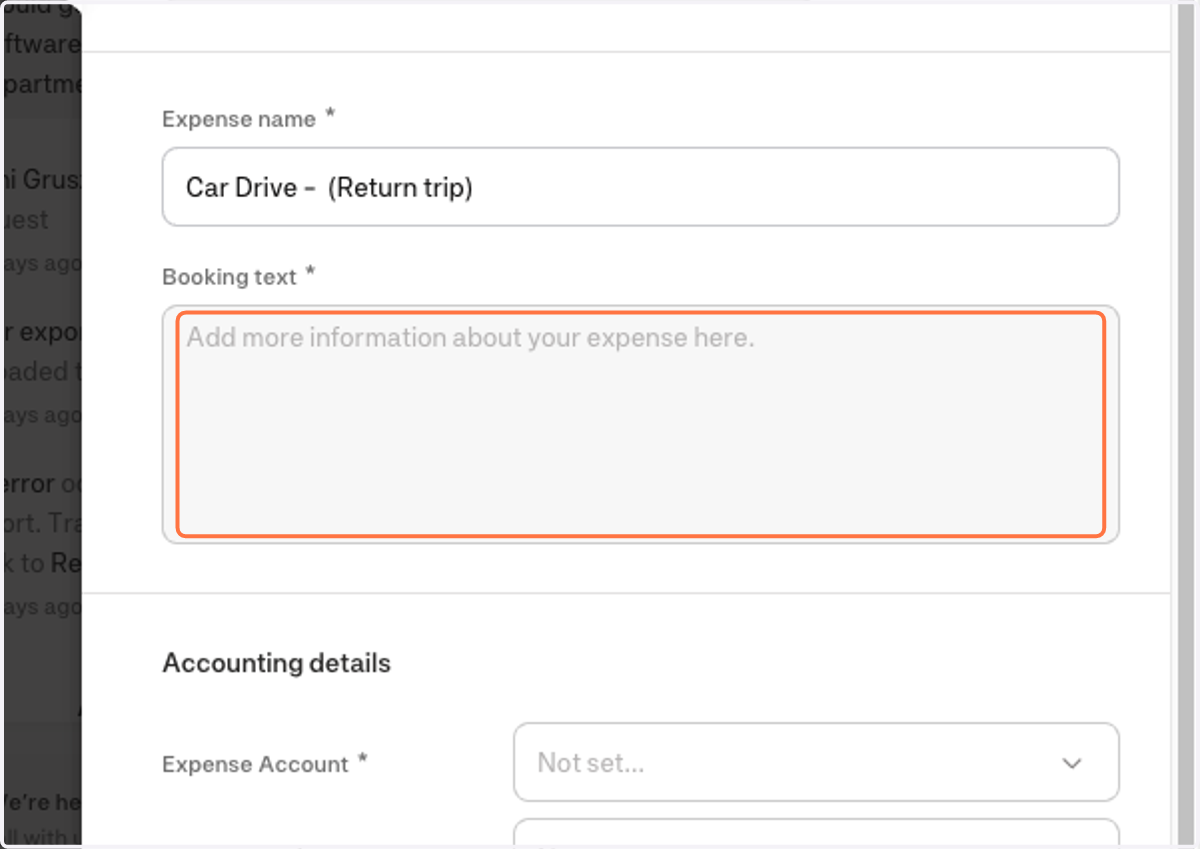
45. Type the reason for the journey into this box.
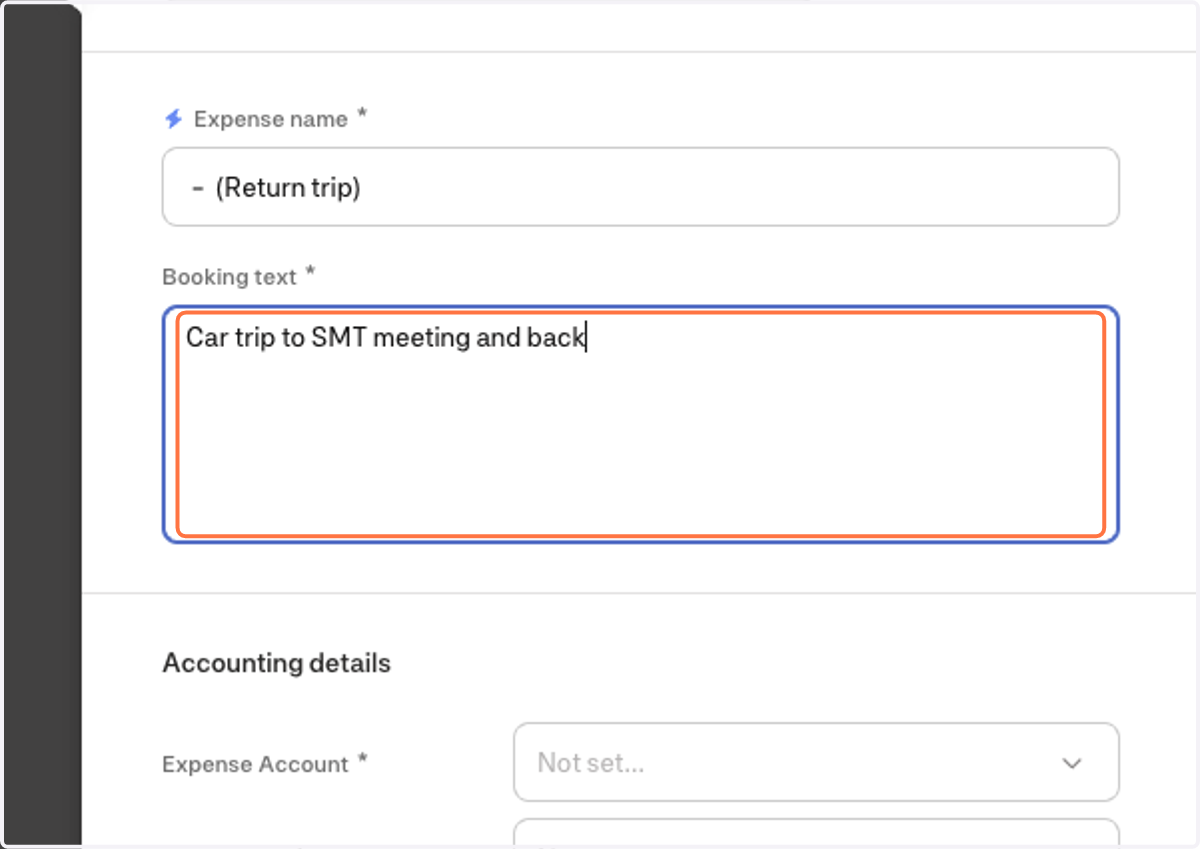
46. I now need to enter in the Expense account here.
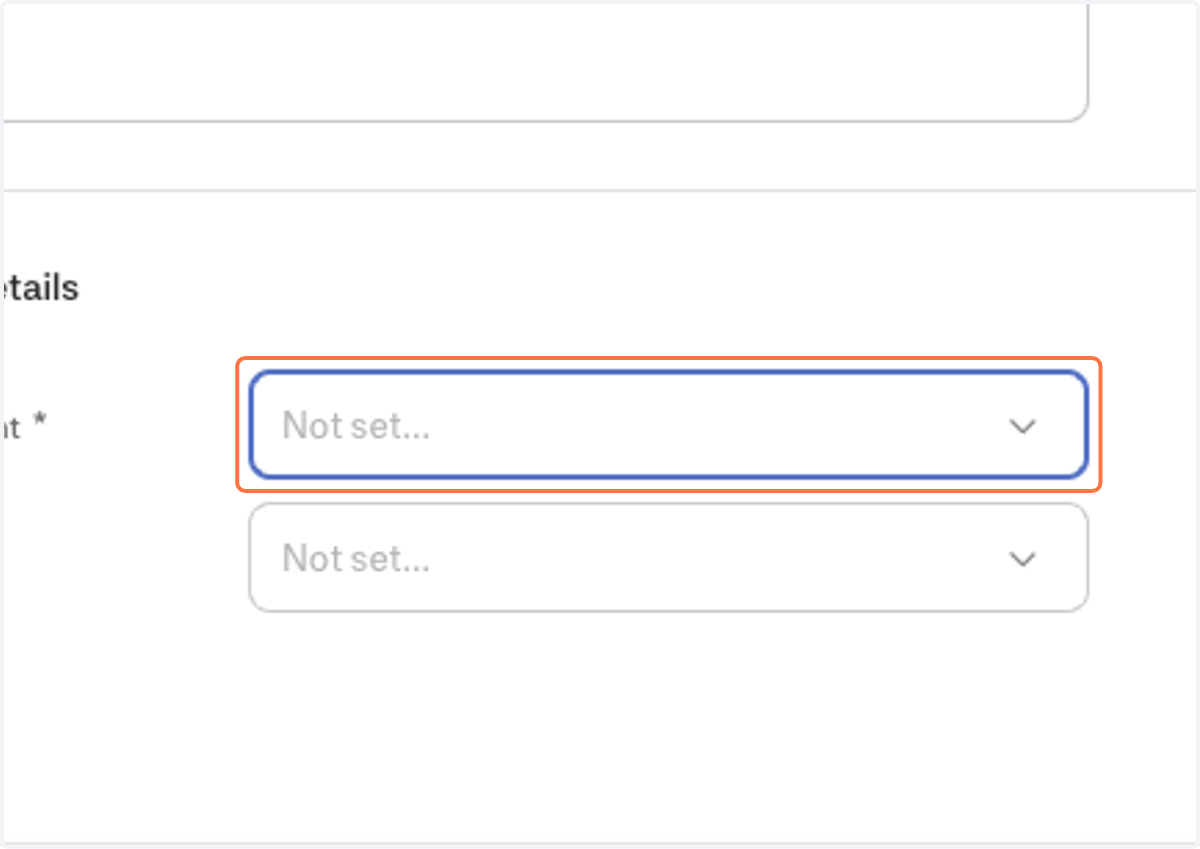
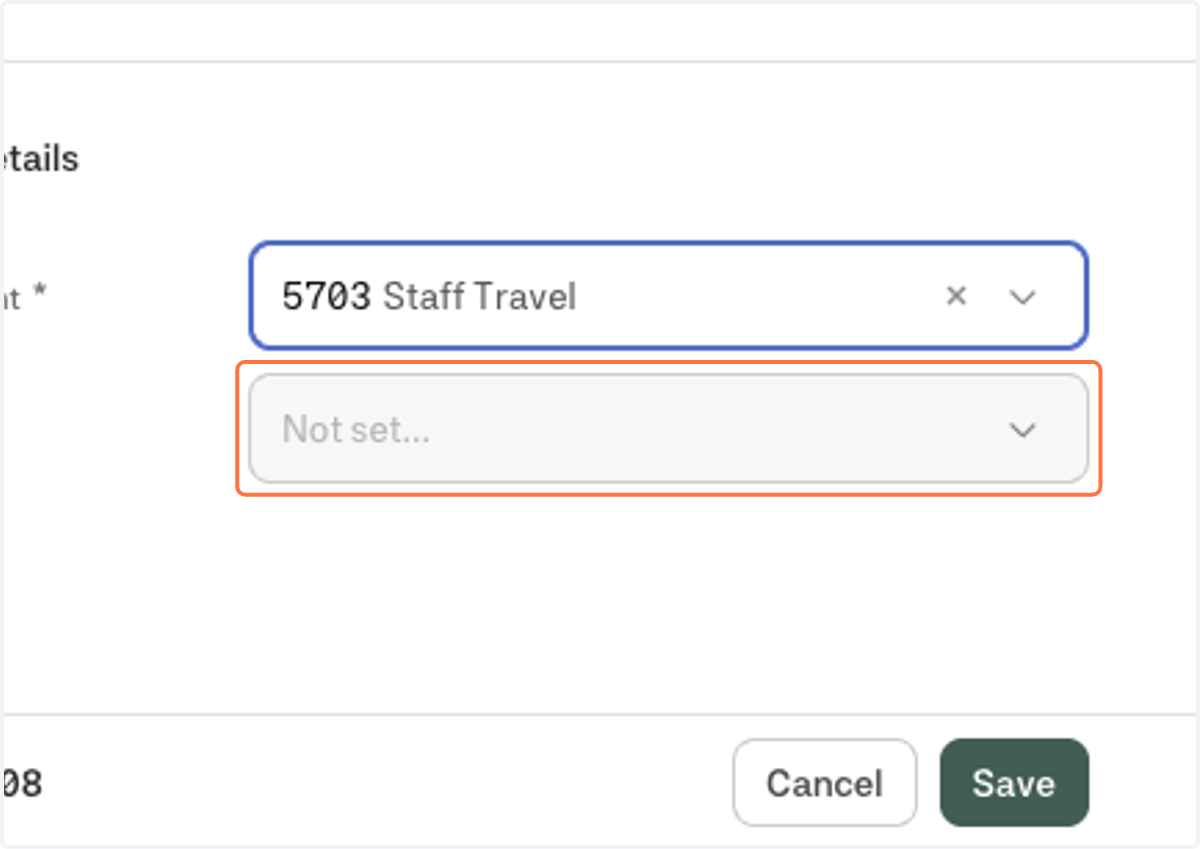
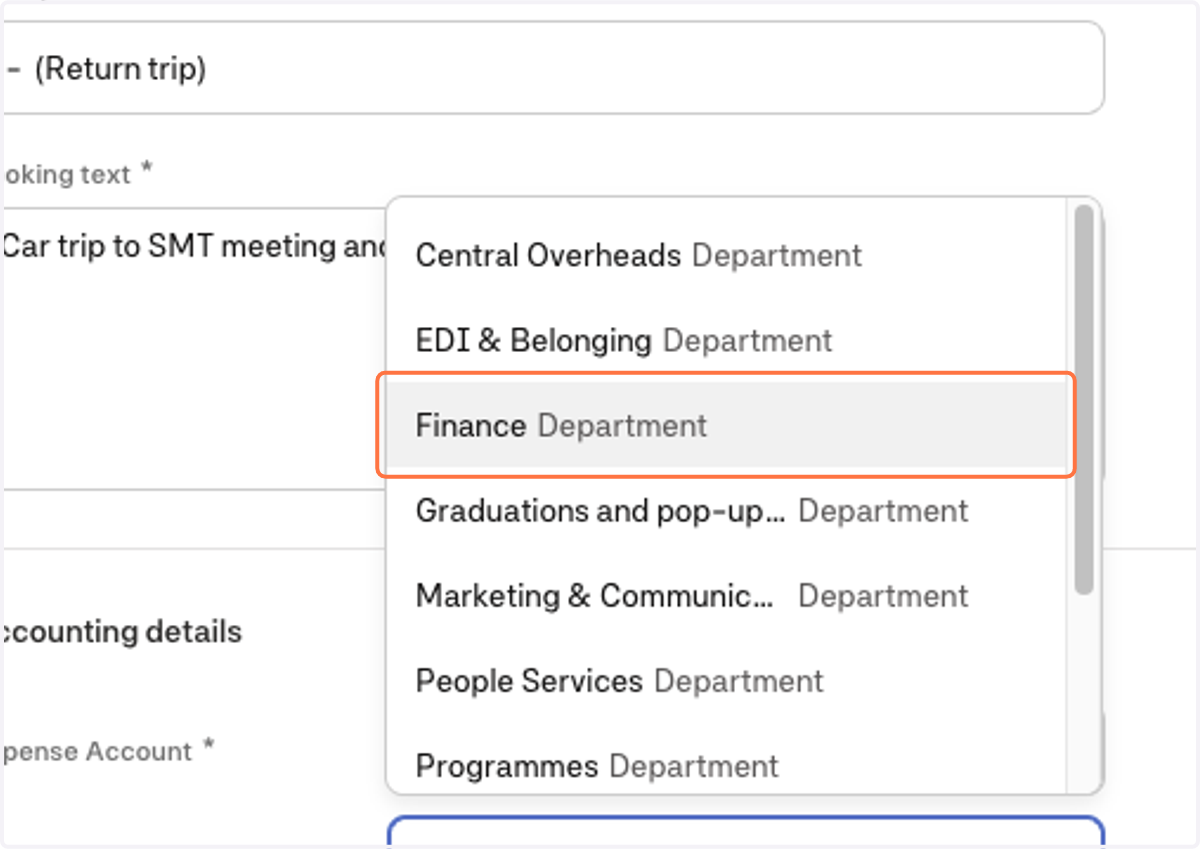
47. Select the one that you require from the list.
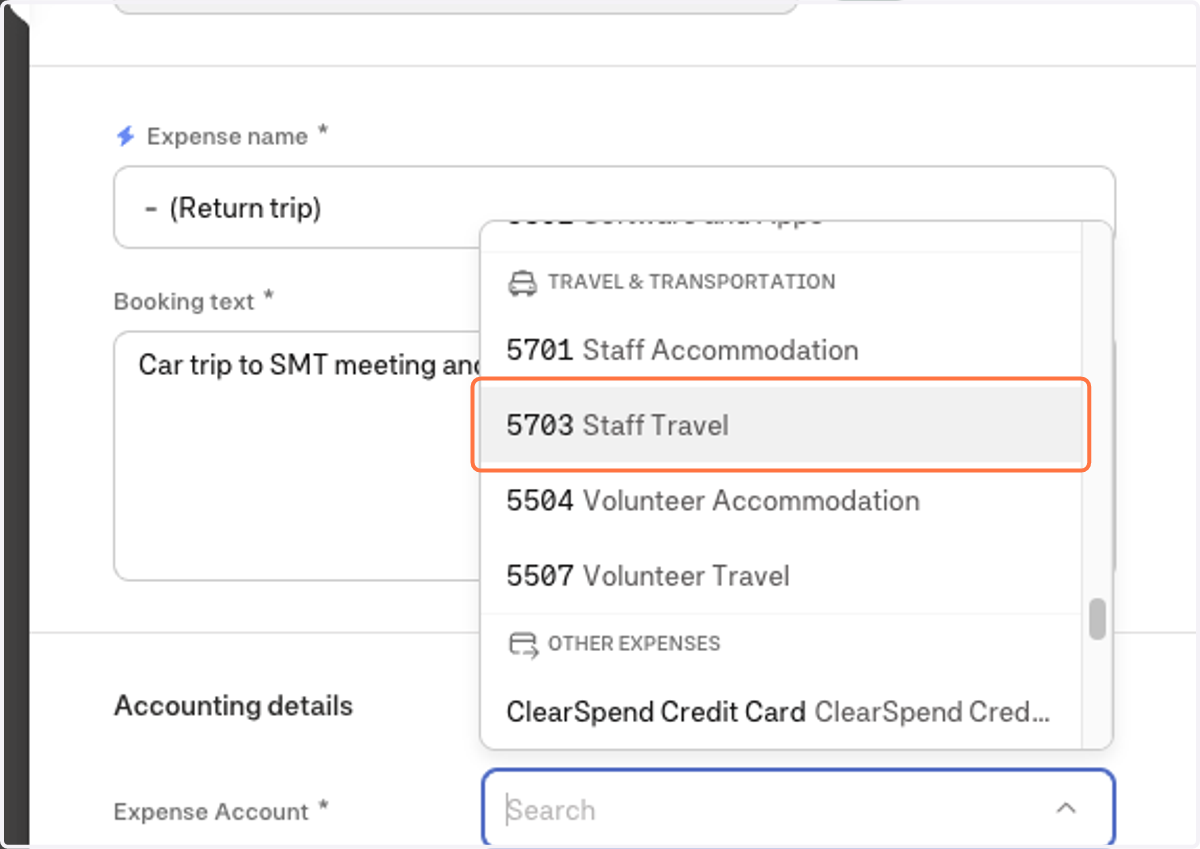
48. I also need to select my department by selecting it from the list.
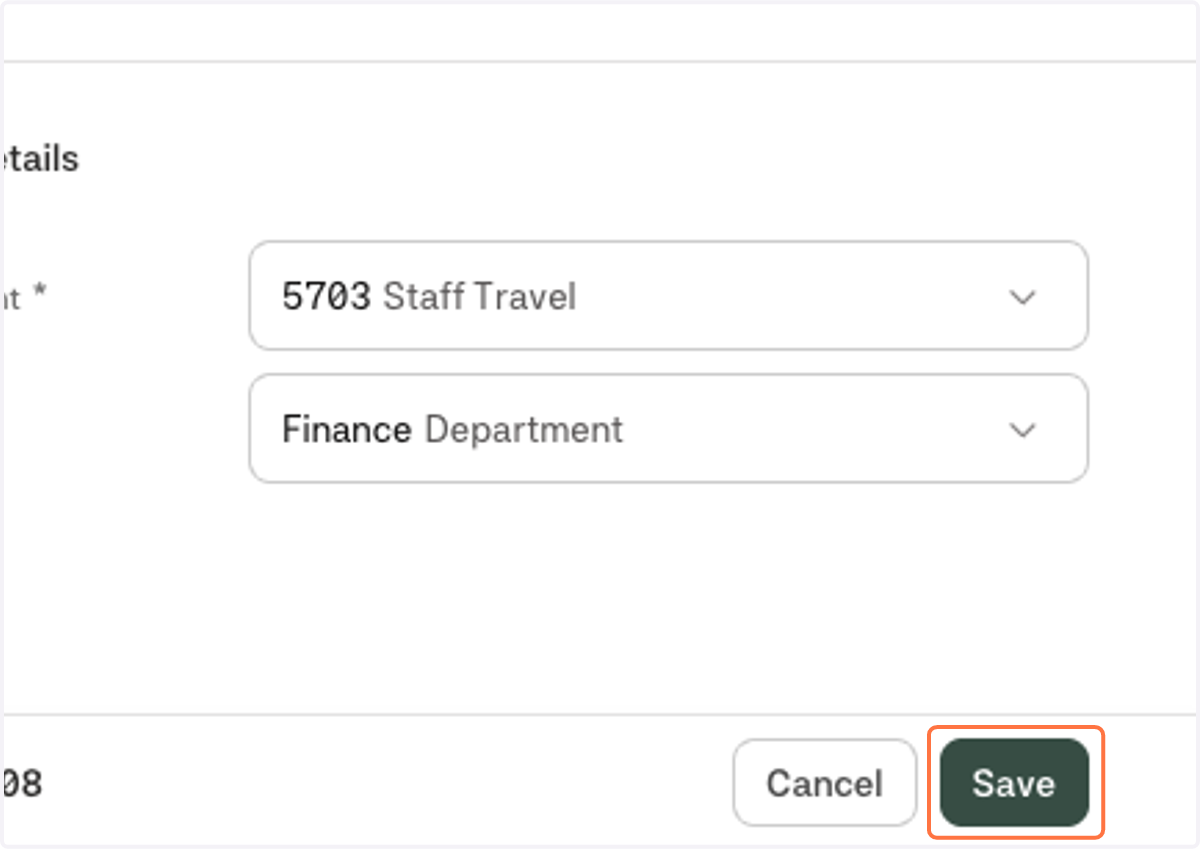
49. Select your department.
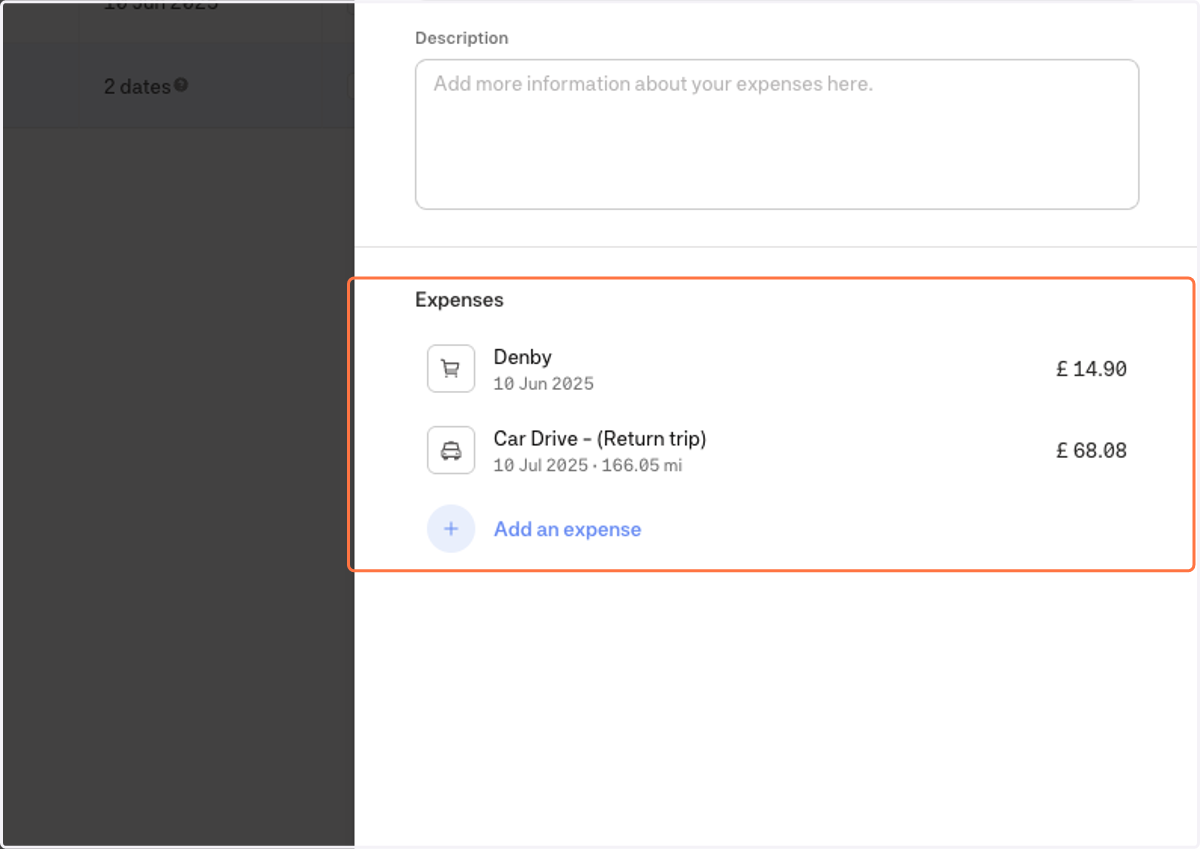
50. One I am happy with the mileage claim I need to click Save
51. I can now double check all the expenses that I will be claiming for the reimbursement
52. Once I am happy I can double check the full amount that I will be claiming.
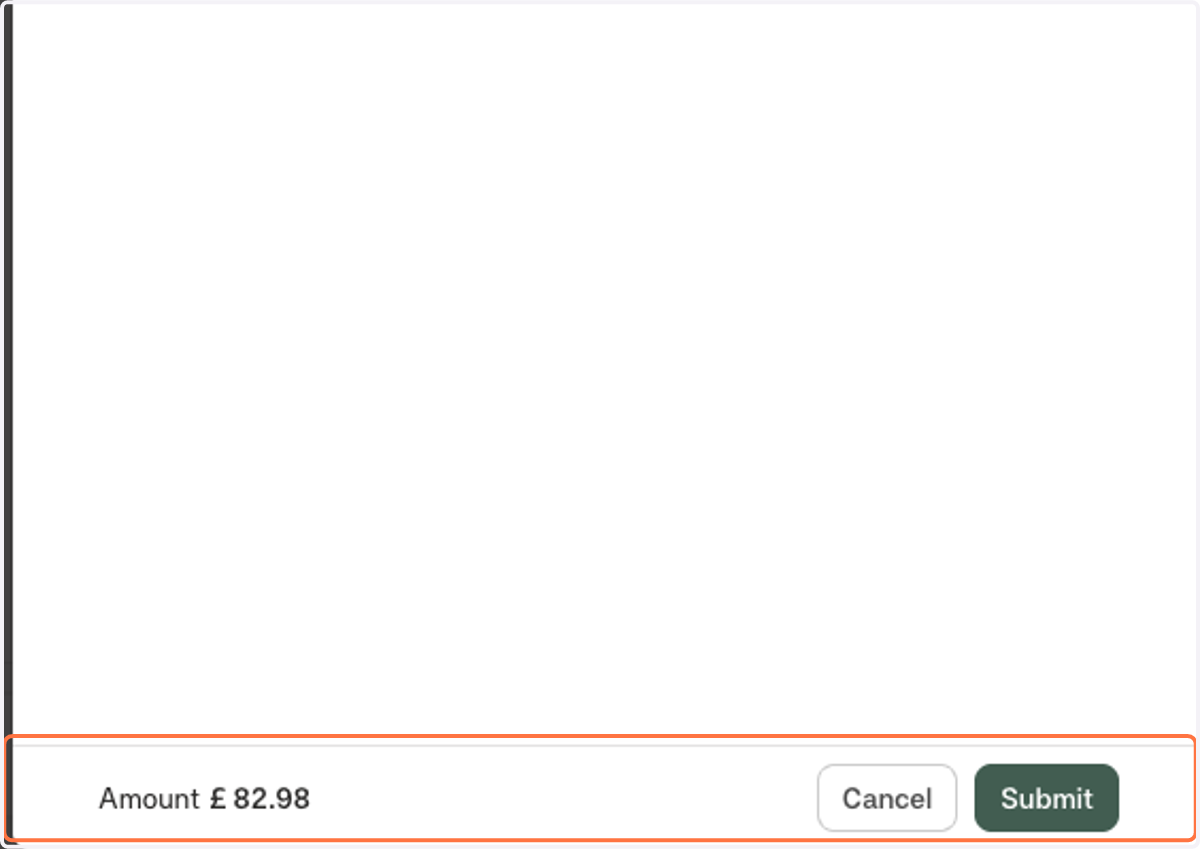
53. Click on Submit