How to Configure Club Registration
Log into Club Director
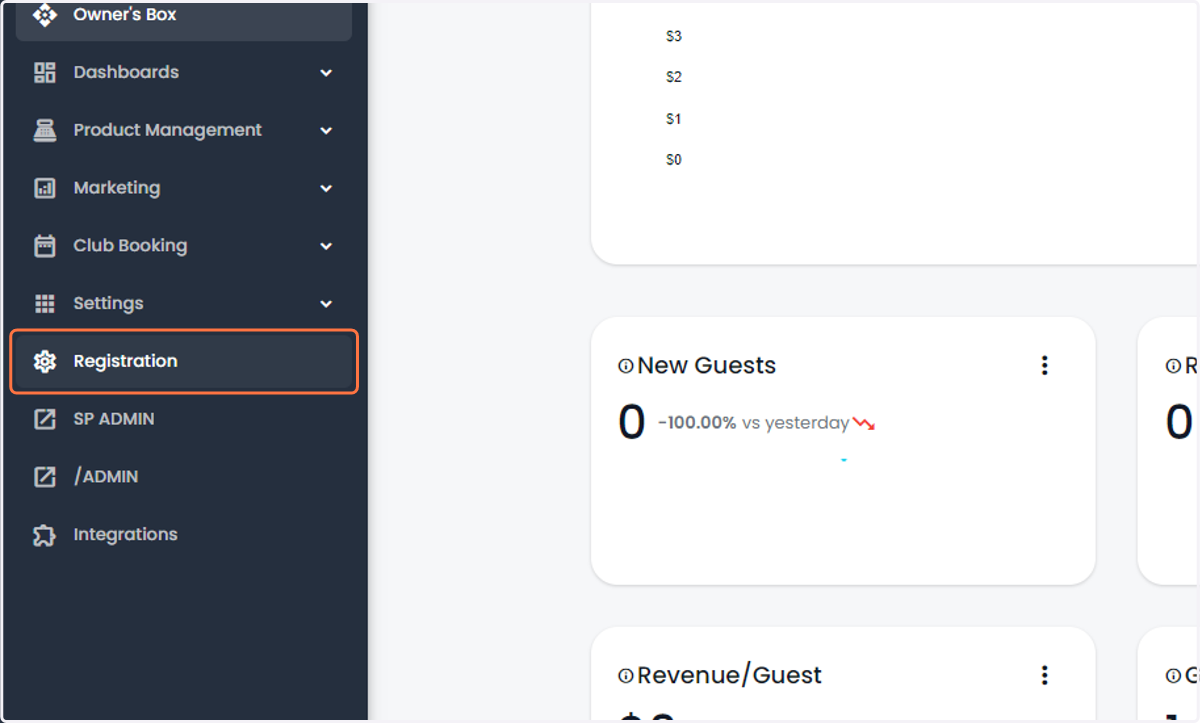
1. Click on the "Registration" Tab on the left
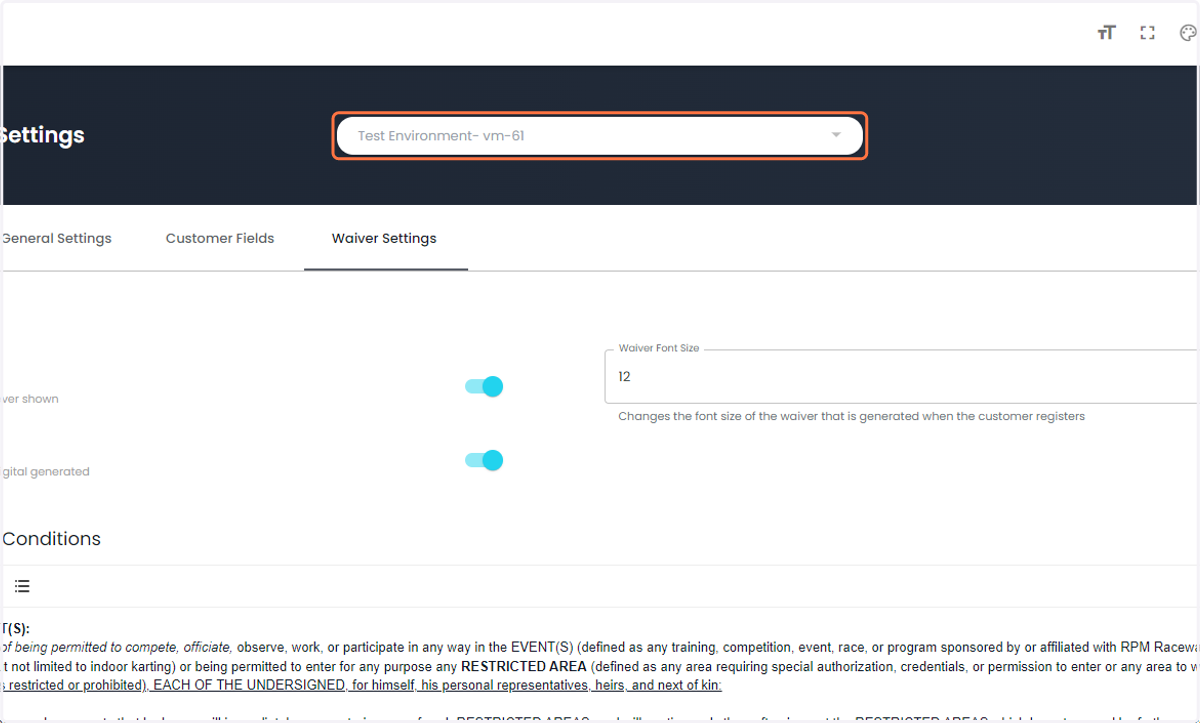
2. Select the location at the top (if you have multiple locations)
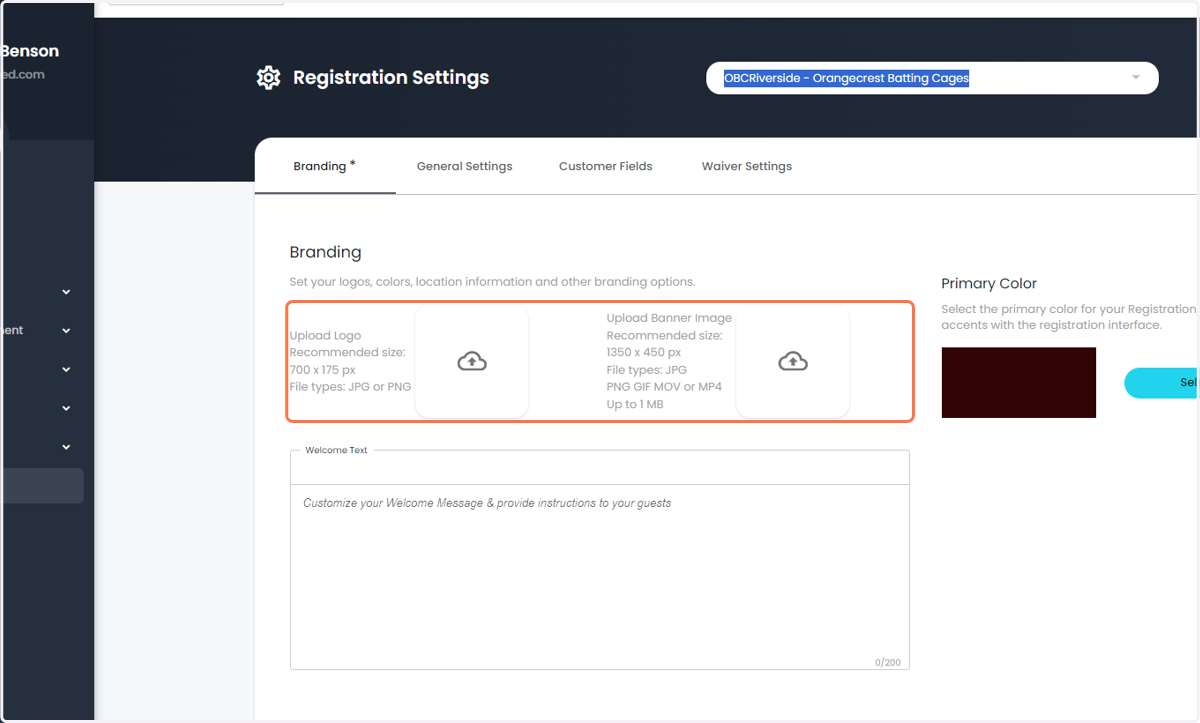
3. Upload a Logo and Banner Image
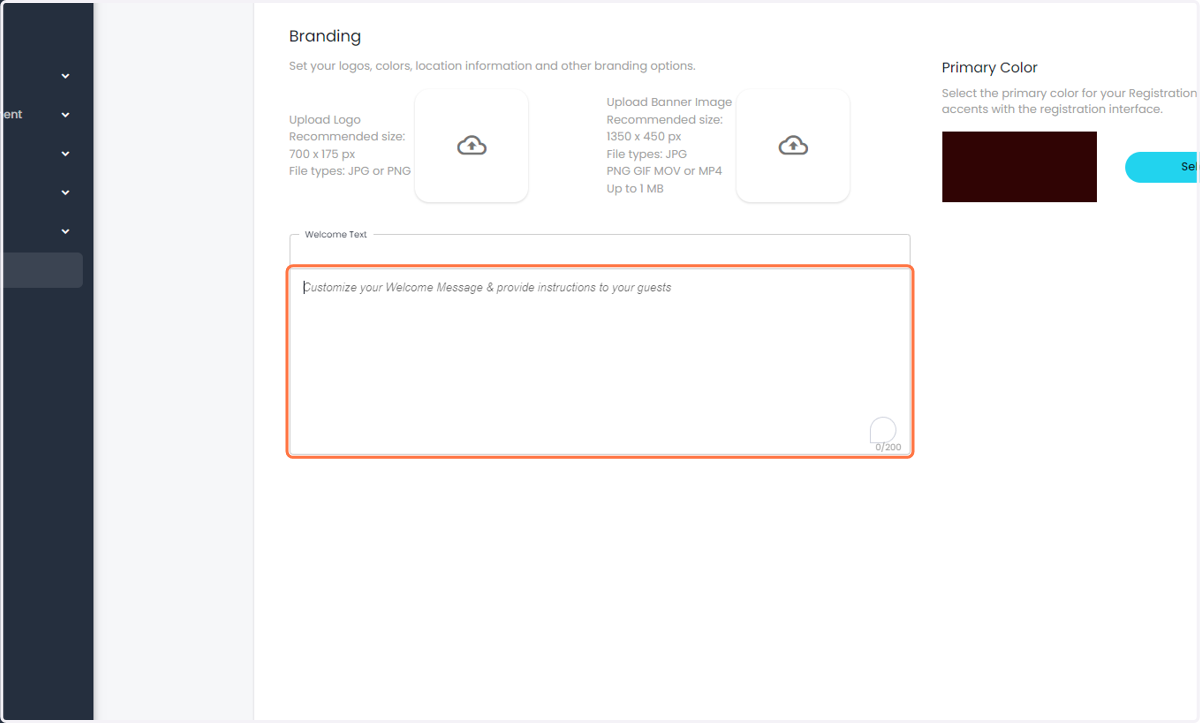
4. Enter a Welcome message for your guest
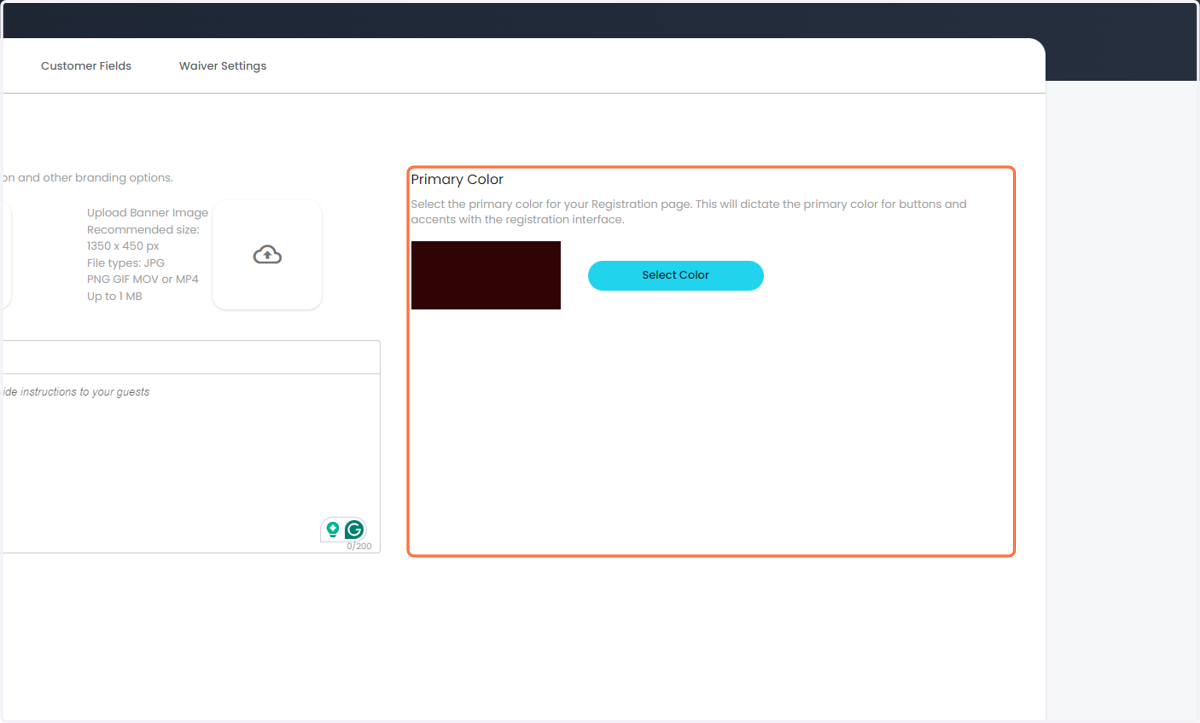
5. Select your business color
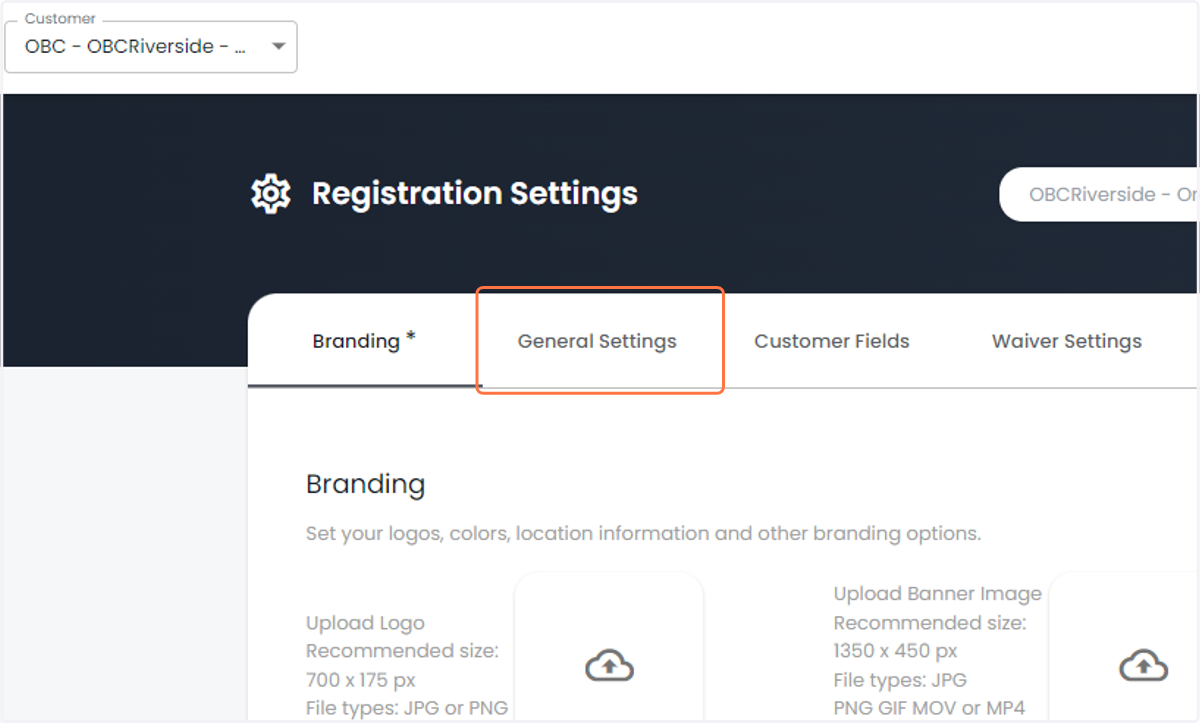
6. Click on General Settings
7. Configure the standard registration settings
Capture Profile Picture: Enabled the guest to take photos on mobile devices such as iPads and Phones
Enable Check-In: Allows for guest to automatically be checked in if they enter the information of an existing profile.
Enable Signature: Enabled the ability for the guest to sign during the waiver step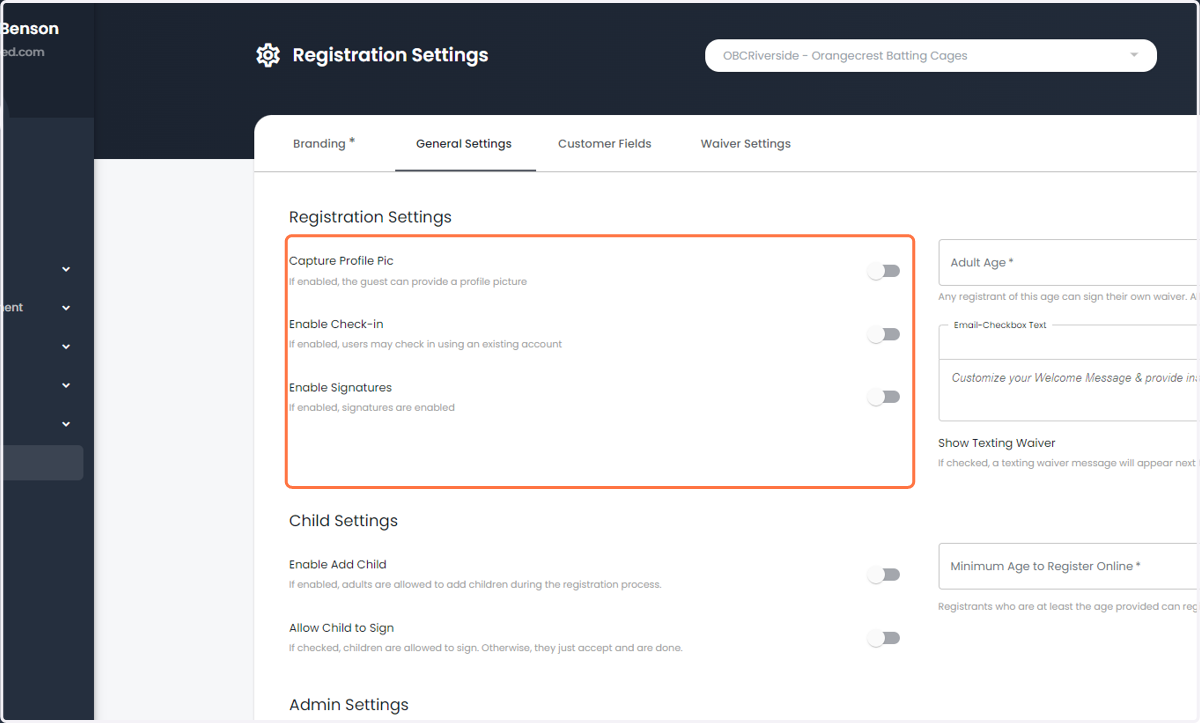
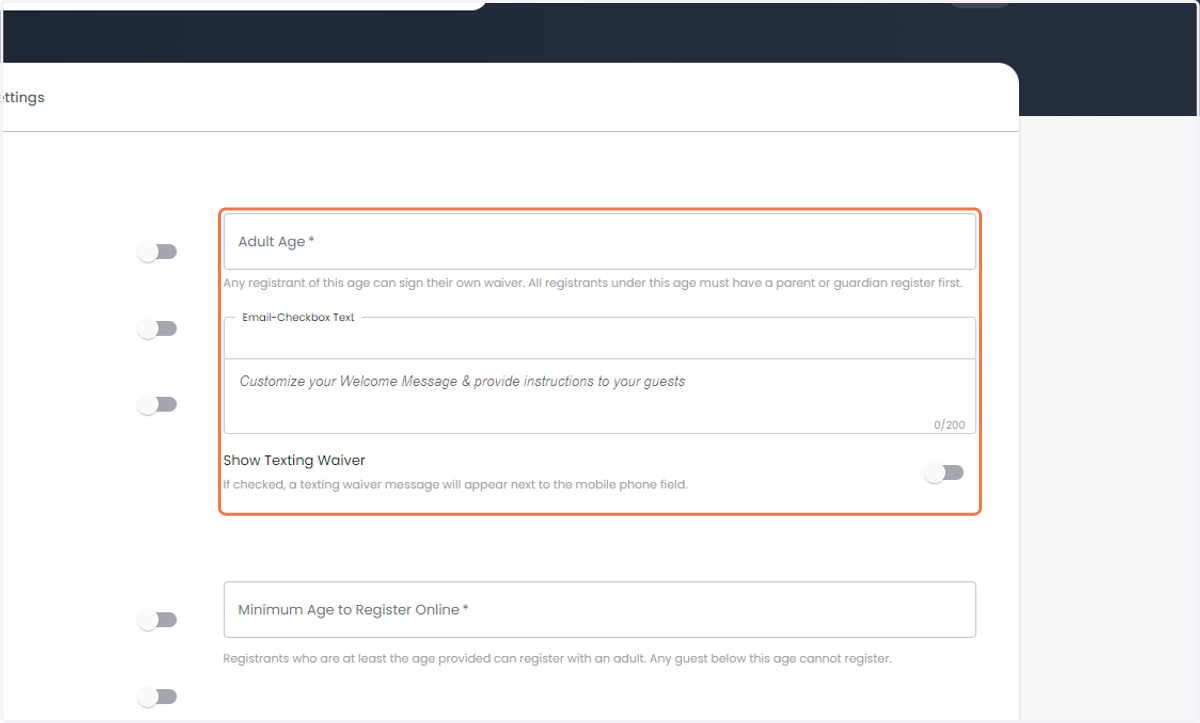
8. Configure addtional settings
Adult Age: Age that guest are considered adults in the system and will be presented the adult waiver
Email Checkbox Text: The message that will be next to the email communication check-boxShow Texting Waiver: Enable or disable a message to show underneath the phone field letting guest know they may receive text messages.
9. Configure Minor Settings
Enable Add Minor: Allows for adults to add minors to their profile during registration
Allow Child to Sign: Enabled the ability for minors to sign during the registration process for the minor waiver, in addition to the guardian
Minimum Age to Register Online: Minimum age for minors that would be added through registration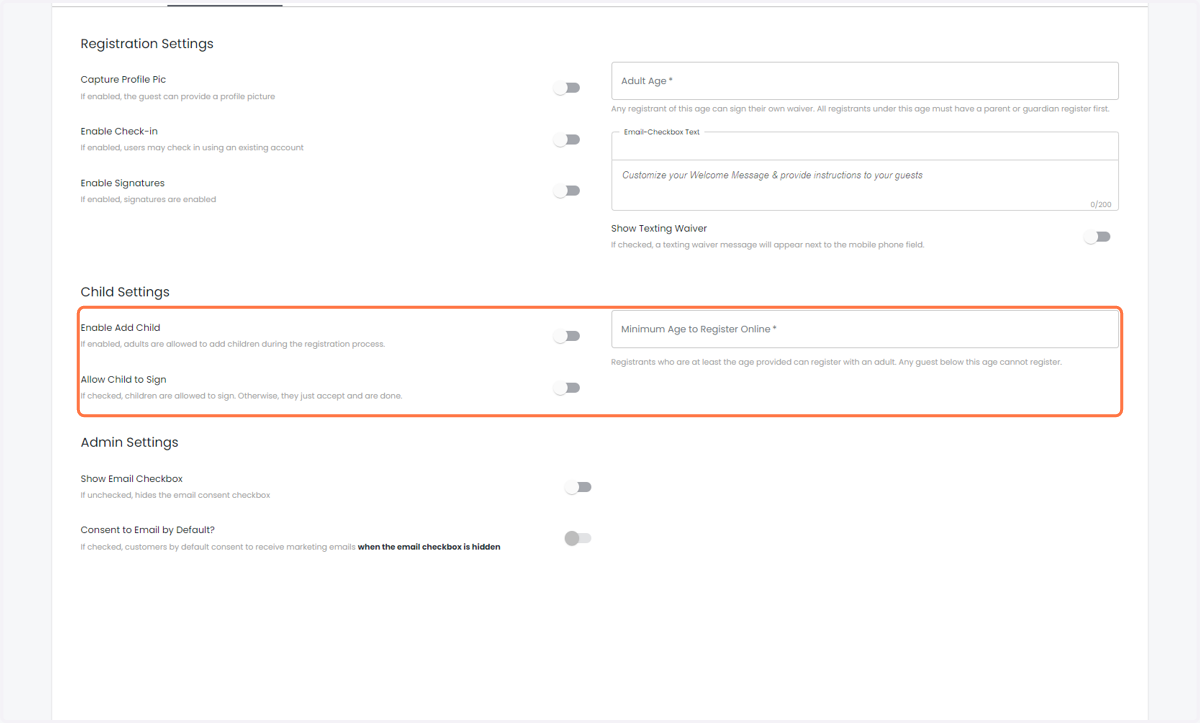
10. Update additional email settings
Show Email Checkbox: Enables the email check box so guest can opt in or opt out of email communication
Consent to Email by Default: If enabled, the email checkbox is selected by default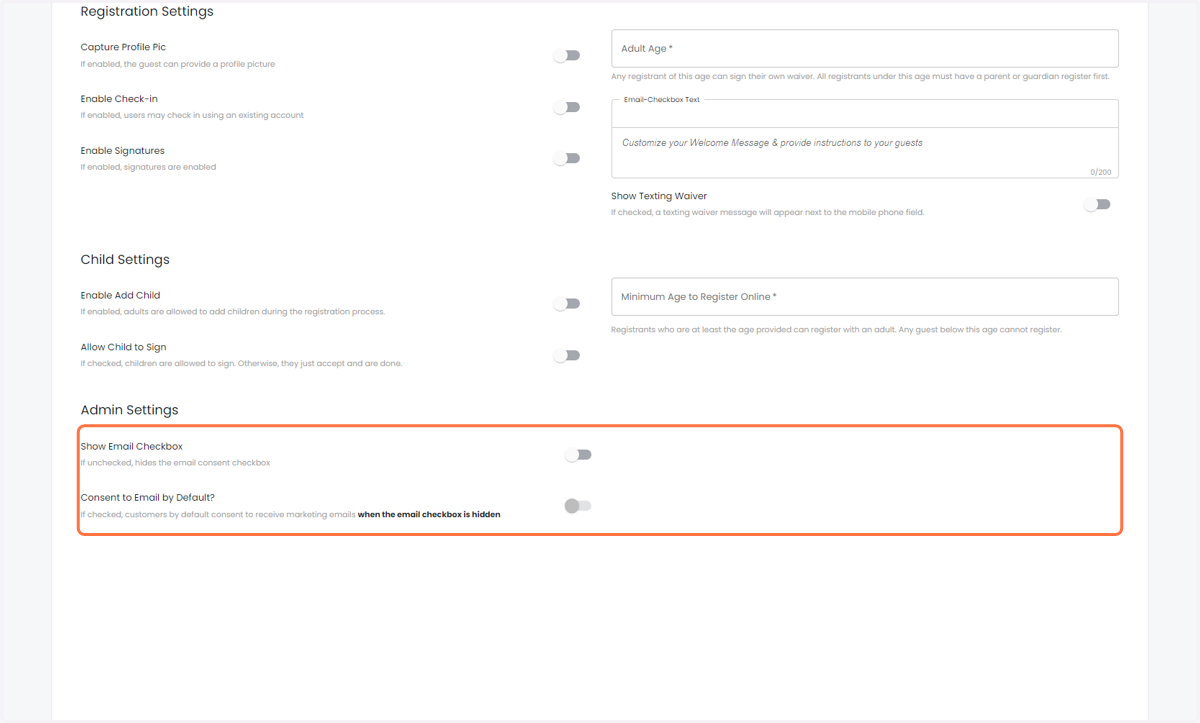
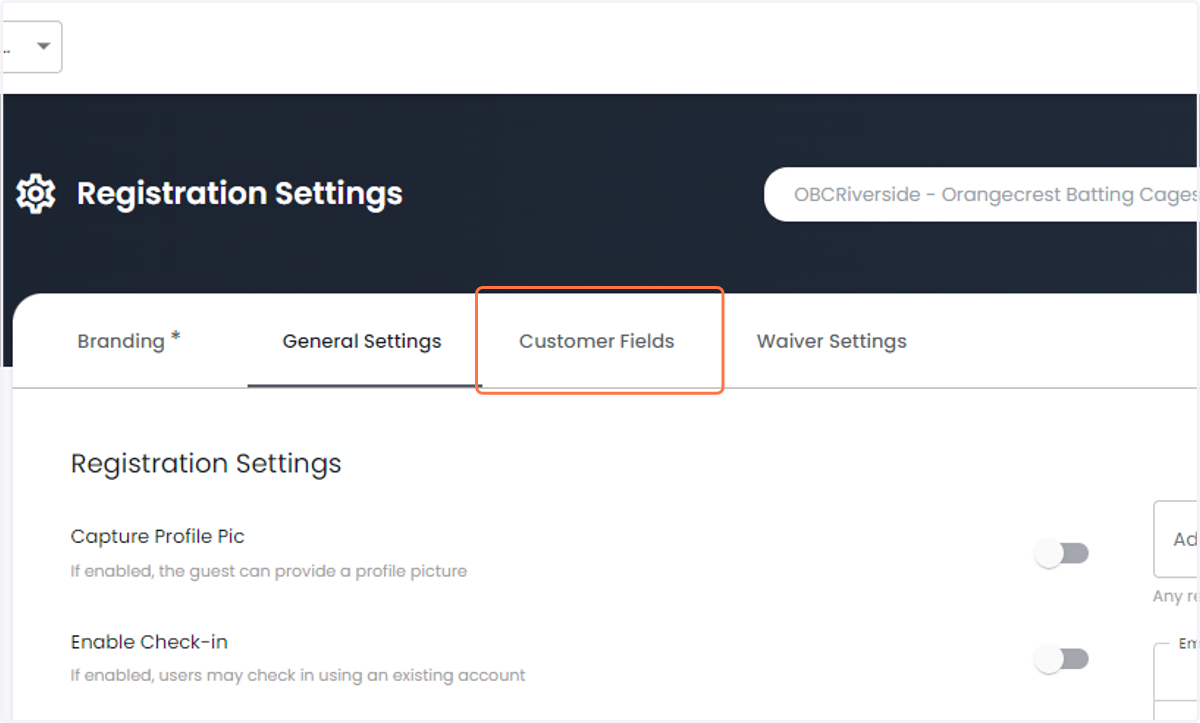
11. Click on Customer Fields
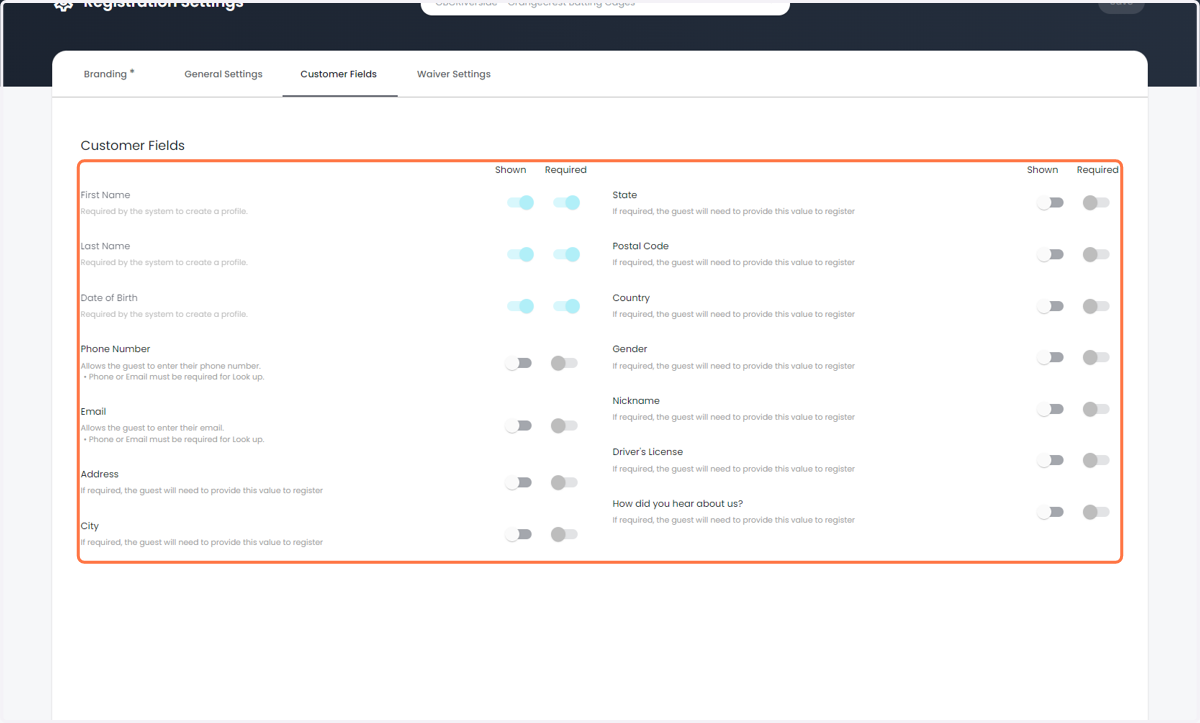
12. Check of the fields you want to collect and show during the registration process
Special Note: Phone and Email need to be required for check-in to work properly.
13. Click on Waiver Settings
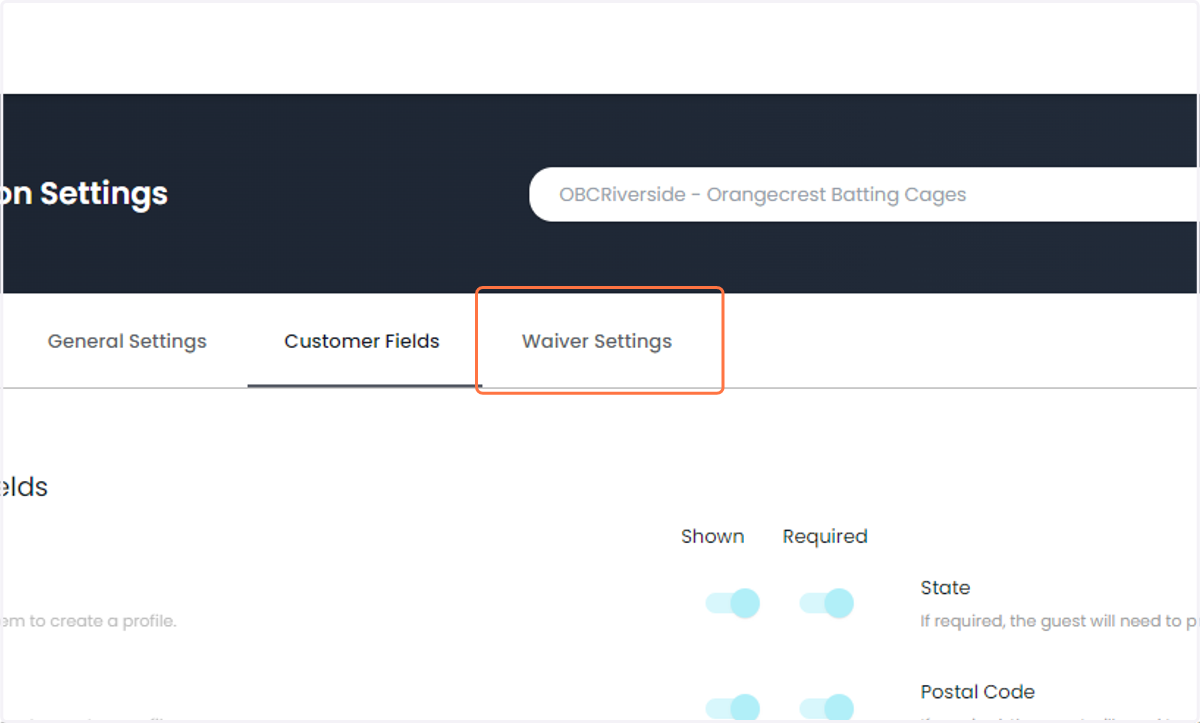
14. Choose to enable the waiver step
Enable Waiver Step: Shows the guest the waiver and gives them the option to agree.
Enable E-Signature: Replaces the signing option and instead allows them to check a box that will generate an e-signature.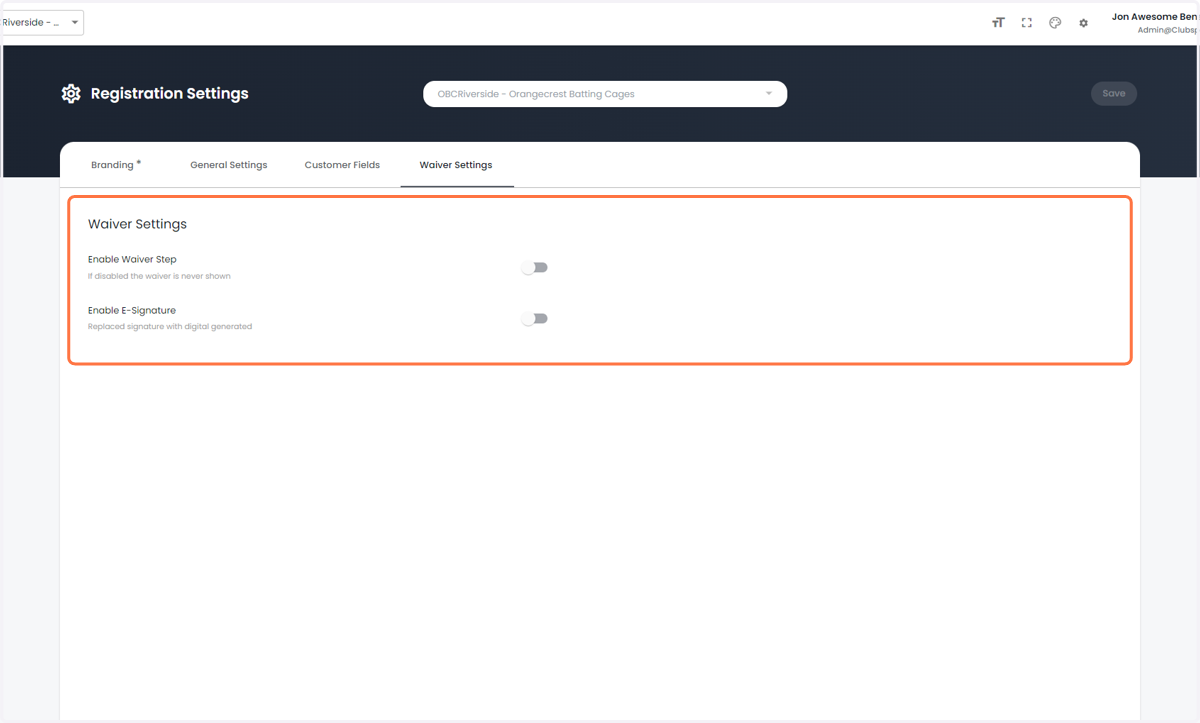
15. Enable the Waiver Step (If your business will collect through registration)
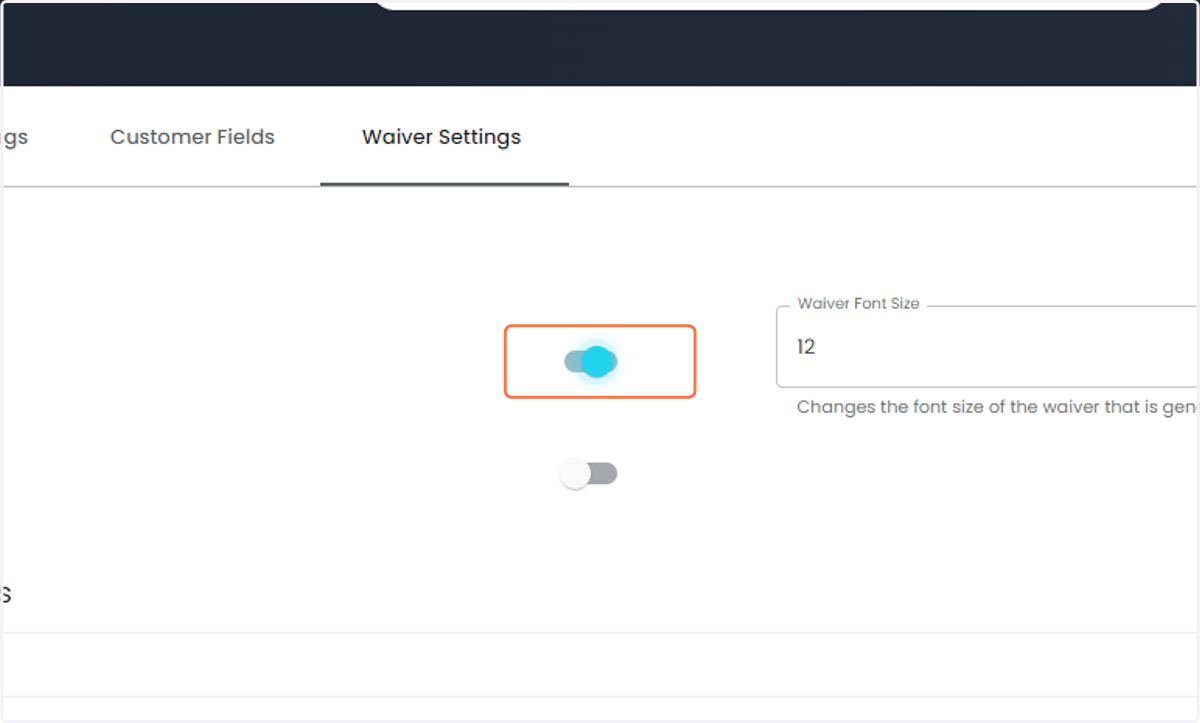
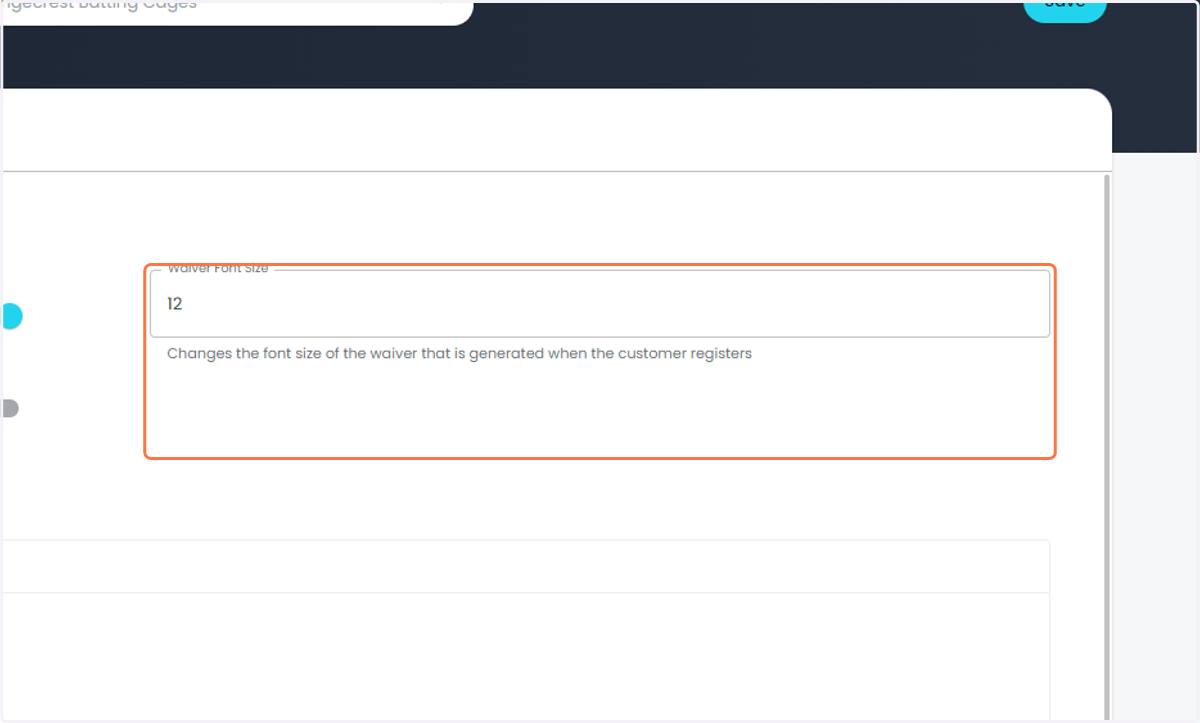
16. You can update the display font size they guest will read
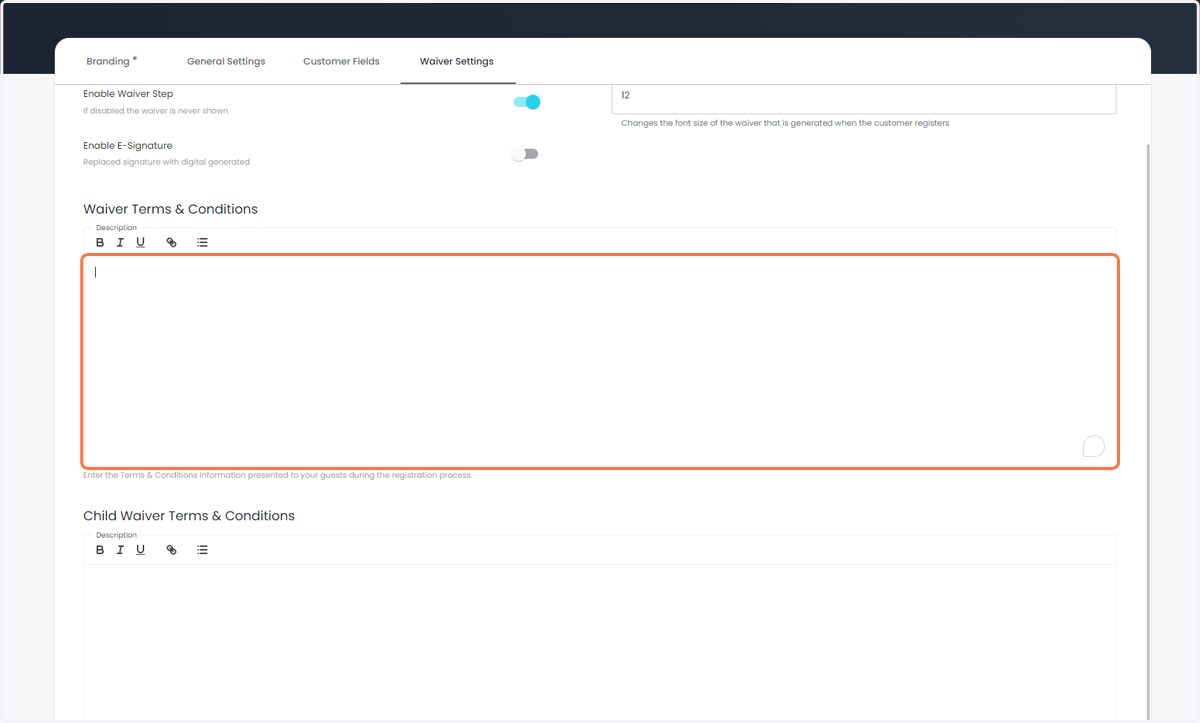
17. Upload your Adult waiver text (Just the legal text)
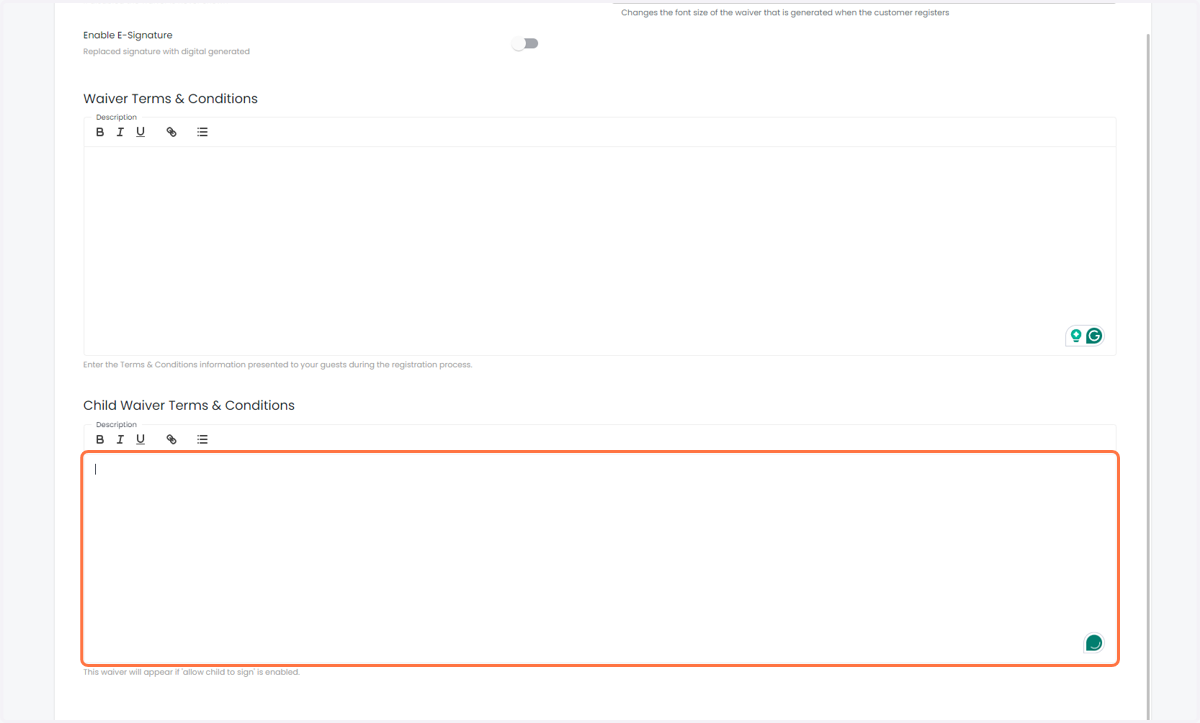
18. Upload your minor waiver text (Just the legal text)
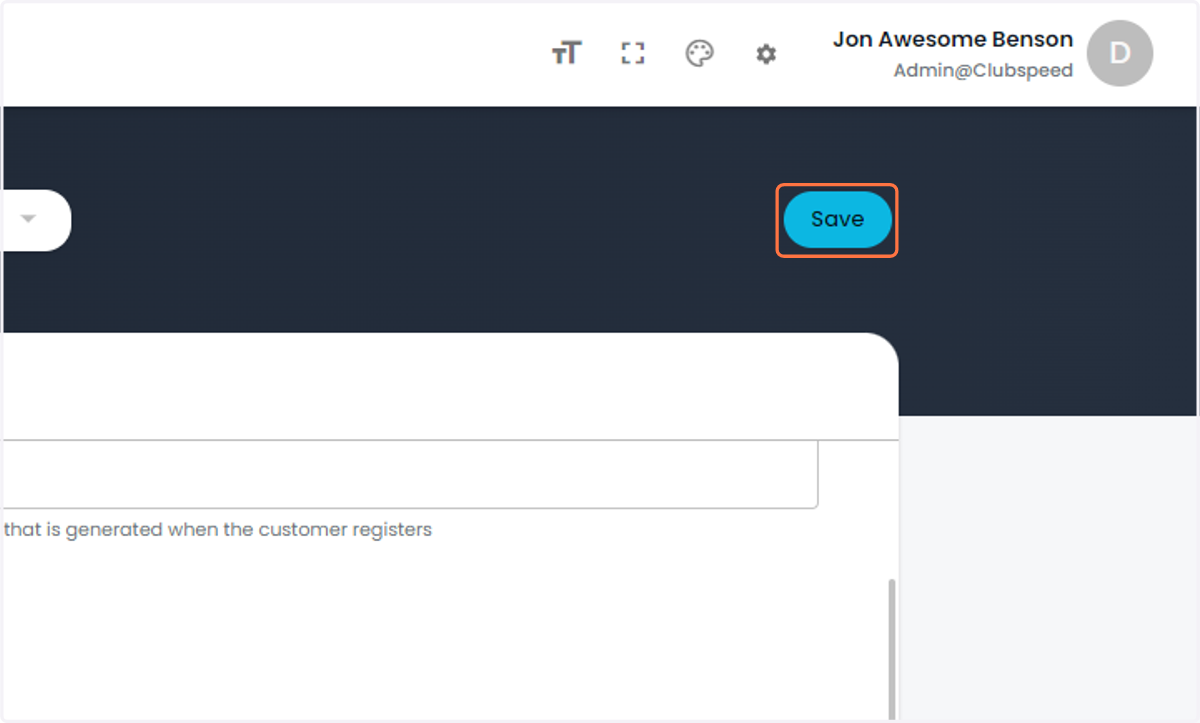
19. Click on Save
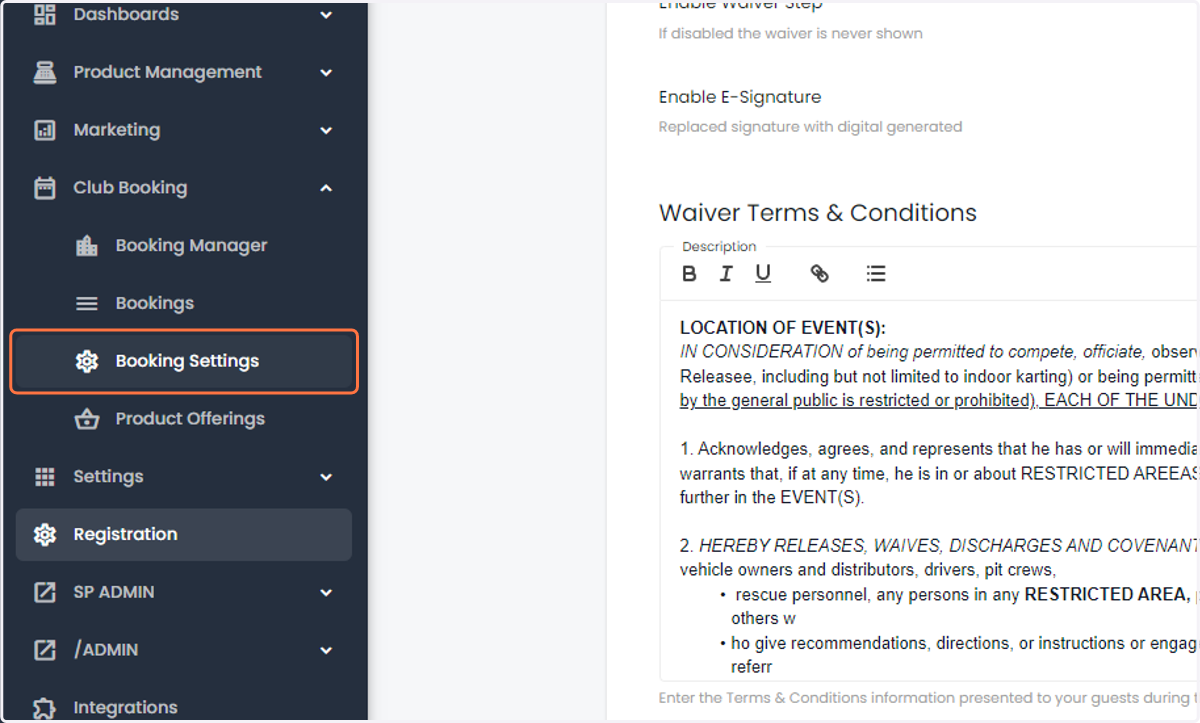
20. To Preview your site, go to Club Booking
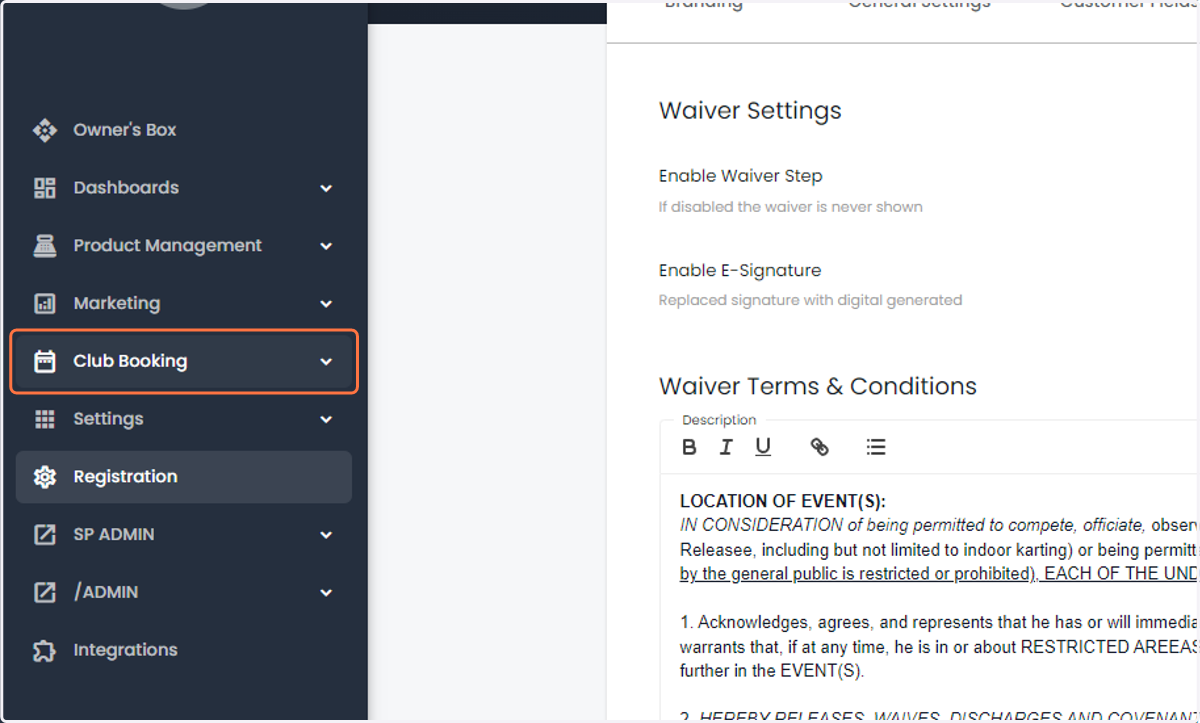
21. Click on Booking settings
22. Click on View Guest Shop
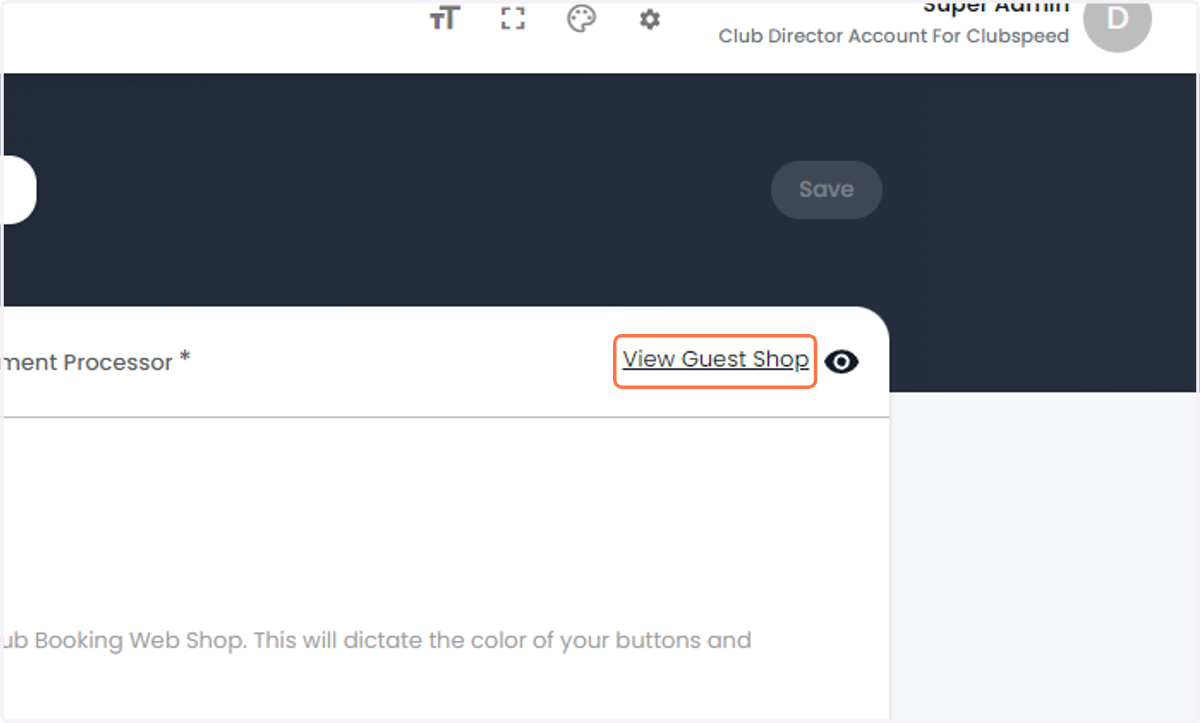
23. Your site should load