Add a new application in Cledara
For US customers
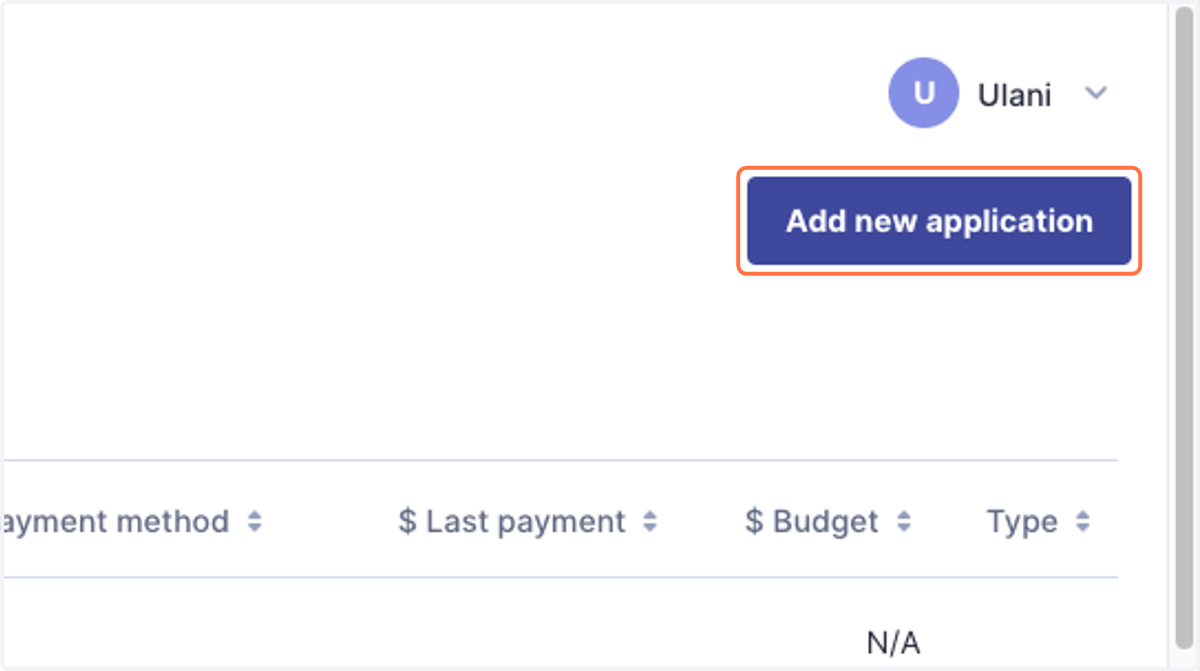
1. At the top right of your Applications tab, click on Add new application.
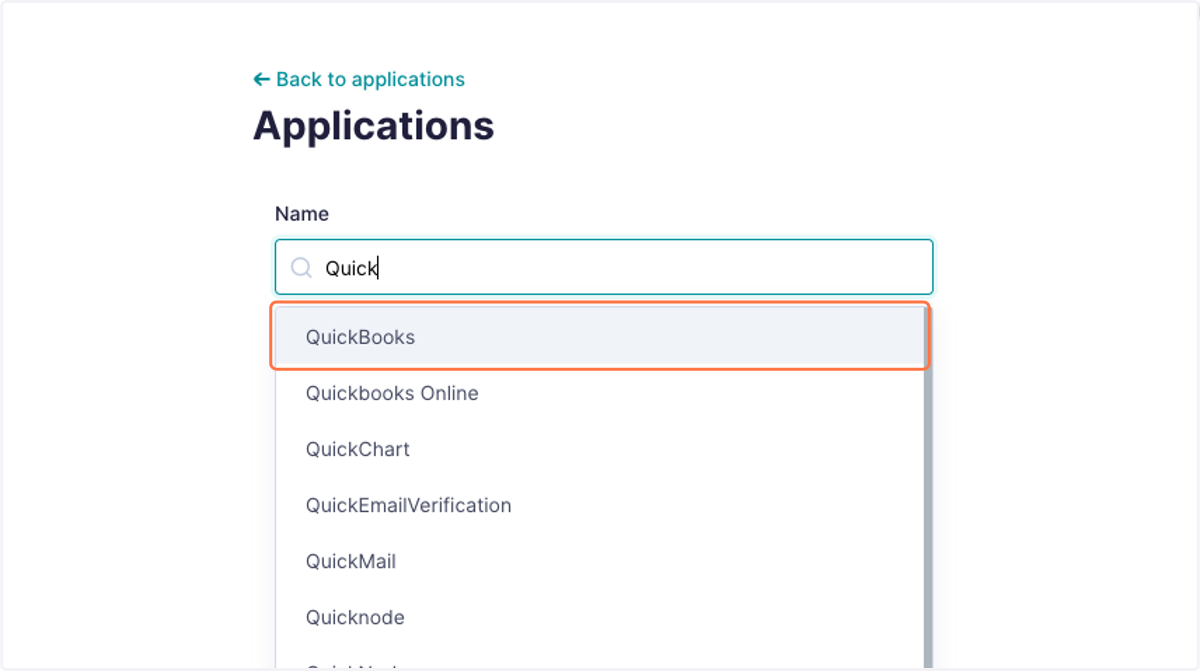
2. Type the name of your software, or how you'd like to call the app. Even if you don't see your software in the dropdown list, the app will be created regardless and we will match the app to a known SaaS provider once the first transaction comes through.
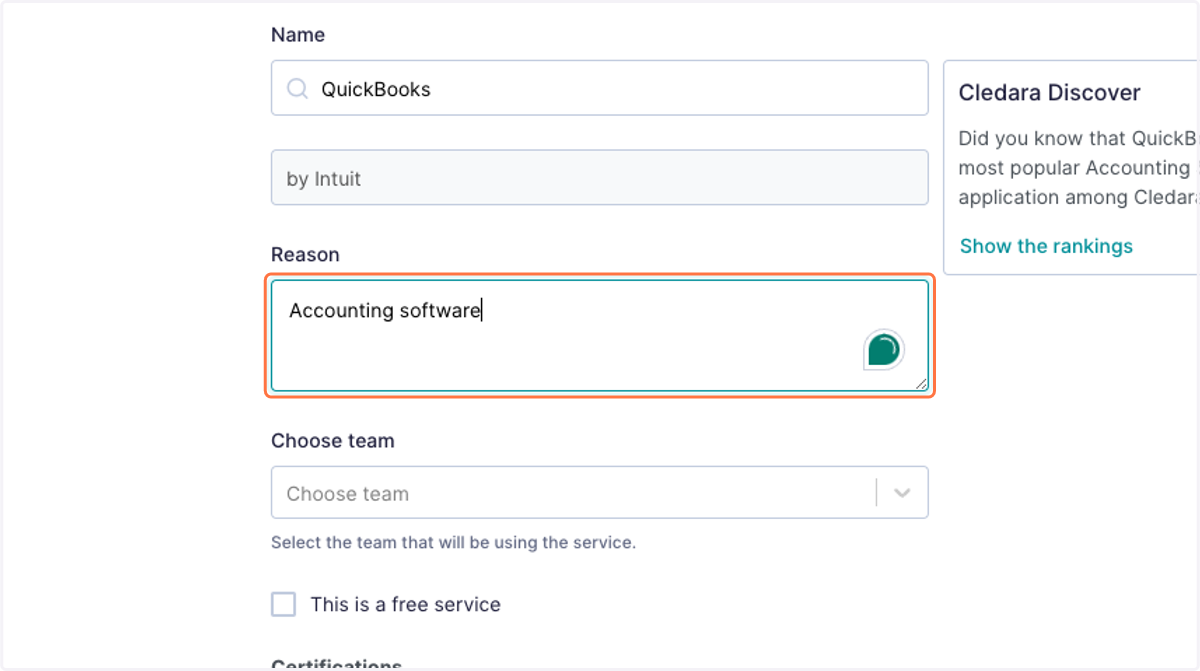
3. Type in the reason why your team needs this provider.
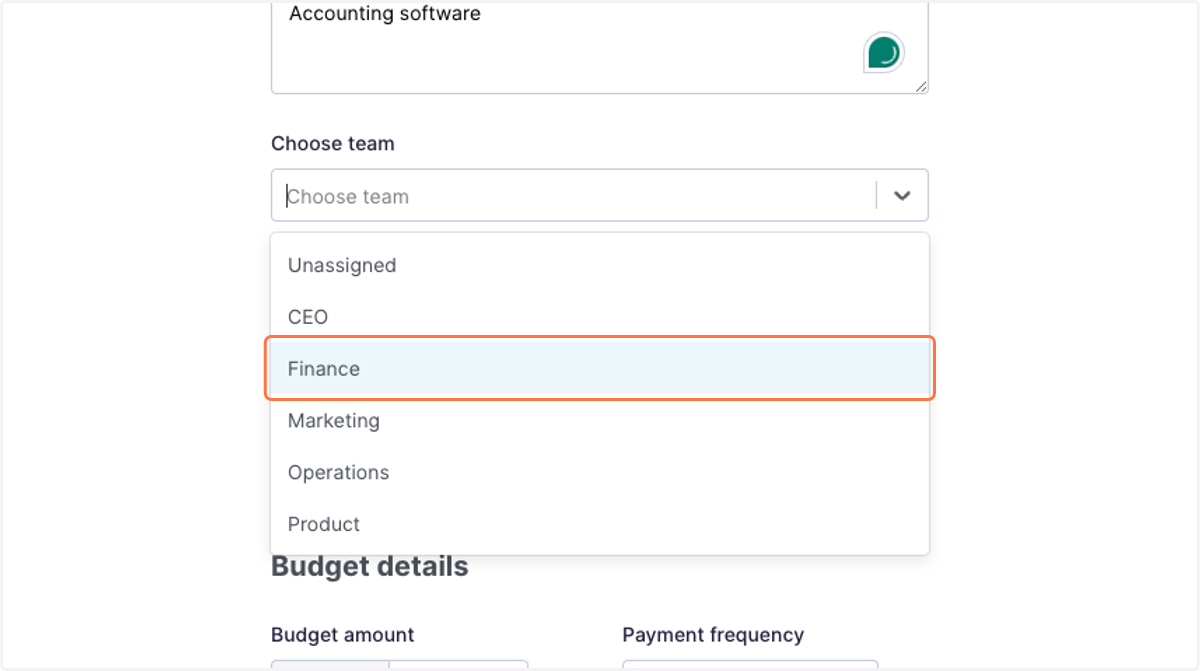
4. Choose the team that the budget goes under. You can change teams, select more teams, and allocate budget percentages later.
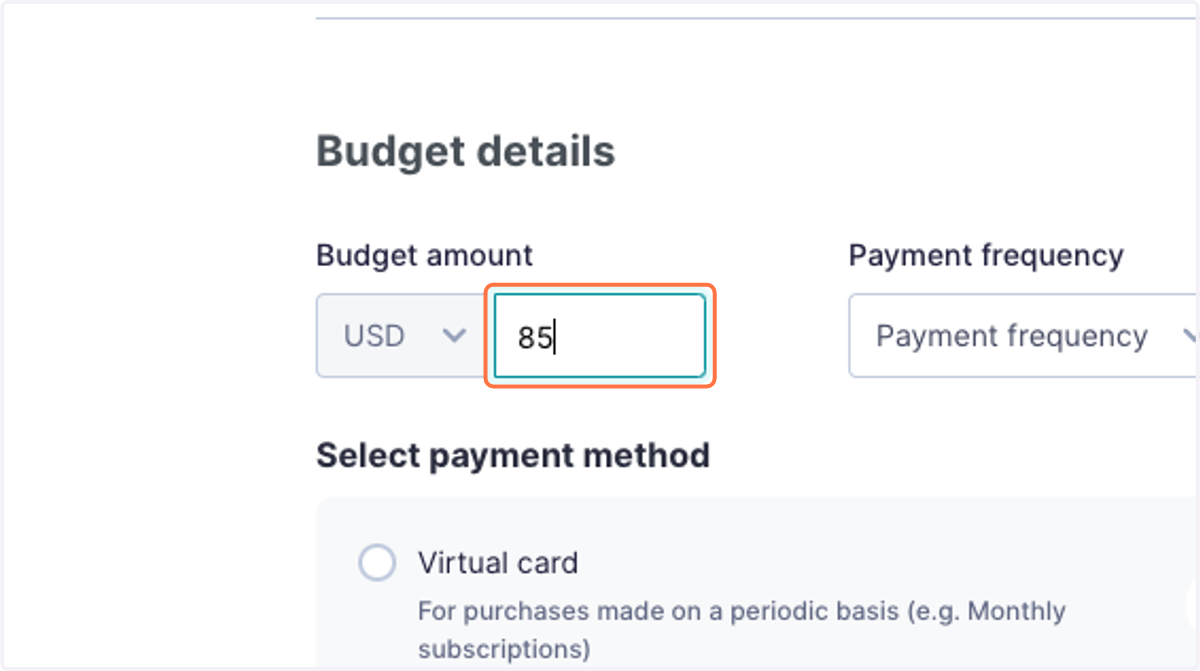
5. Select budget currency and amount.
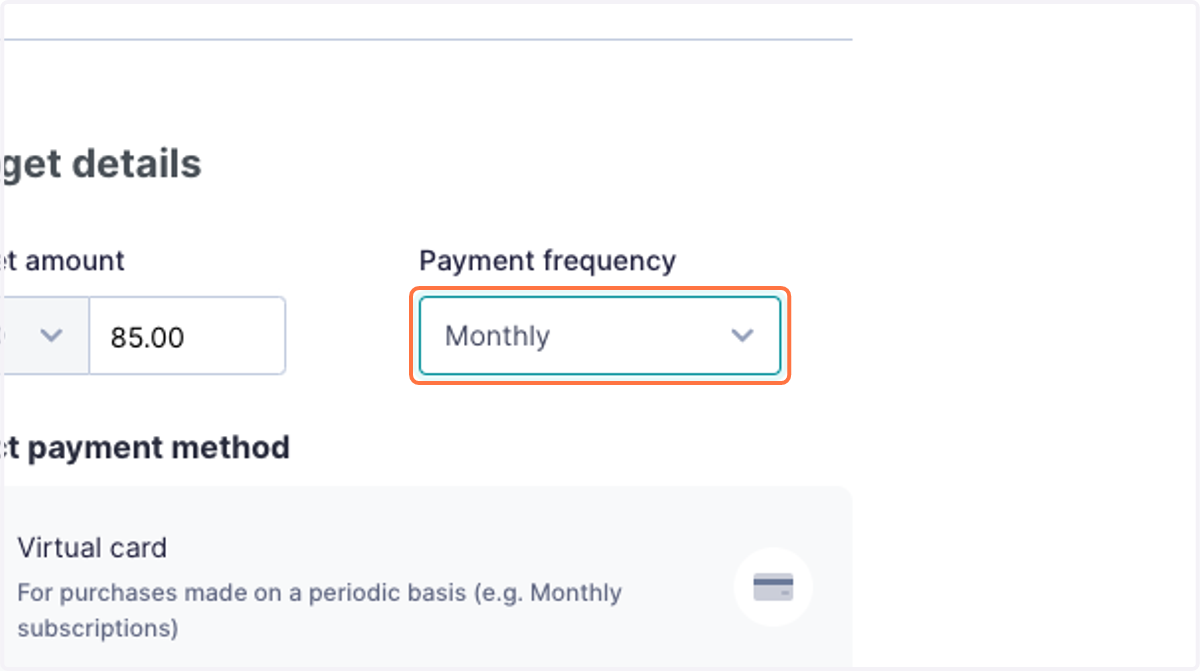
6. Select payment frequency. If it is a one-off payment, this option does not matter. You will have the option to disable the automatic top-up function later.
7. Select payment method. If Virtual card is selected, a new card will be generated once the application is approved and/or created.
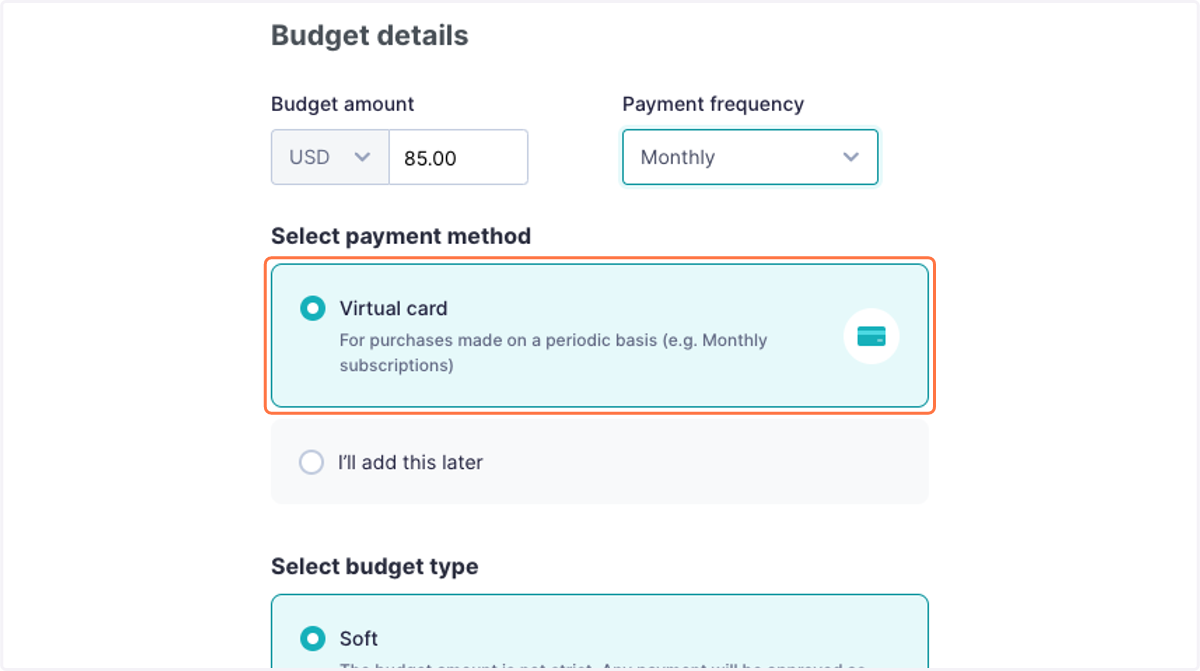
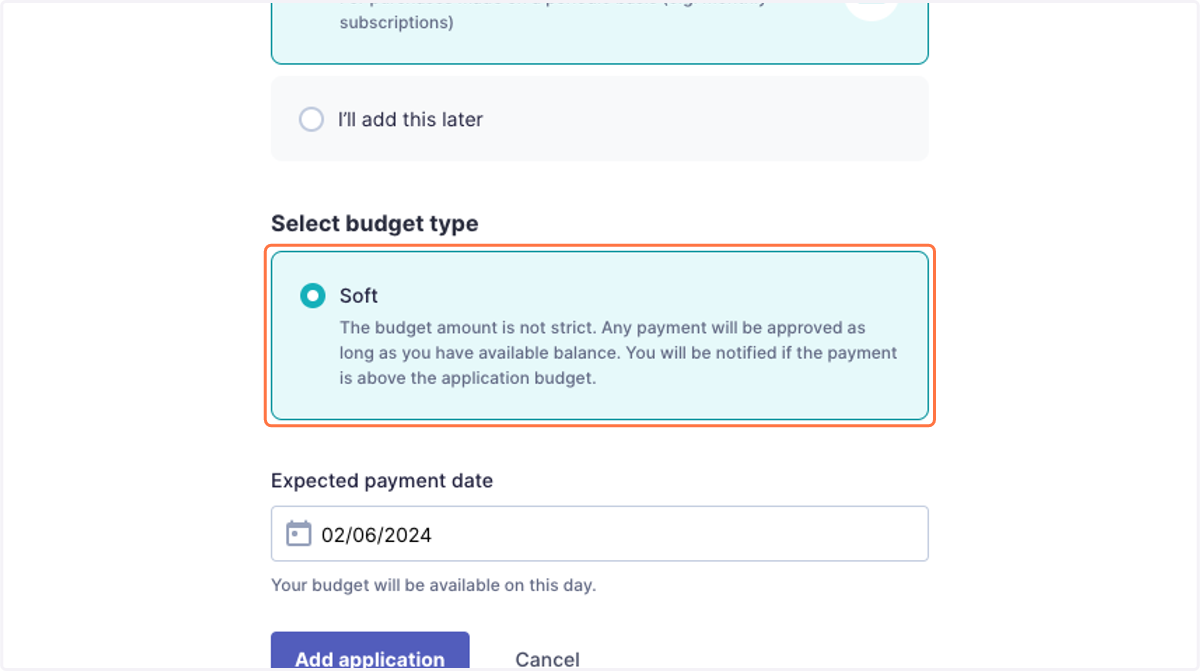
8. Your applications all have soft budgets. This means that payments will go through as long as you have a sufficient available balance. You will be notified if the payment exceeds the set budget.
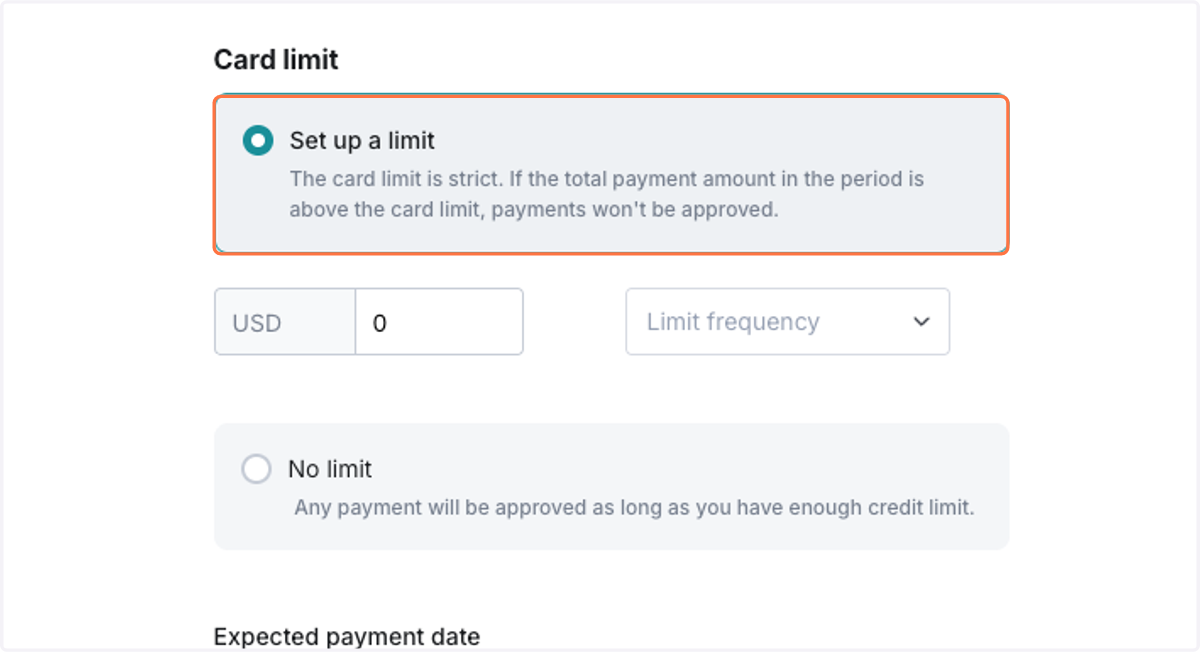
9. Optional: you can set up a card limit to ensure your payments never exceed your desired threshold. If a transaction exceeds the set limit for a given period, the payment will be proactively blocked.
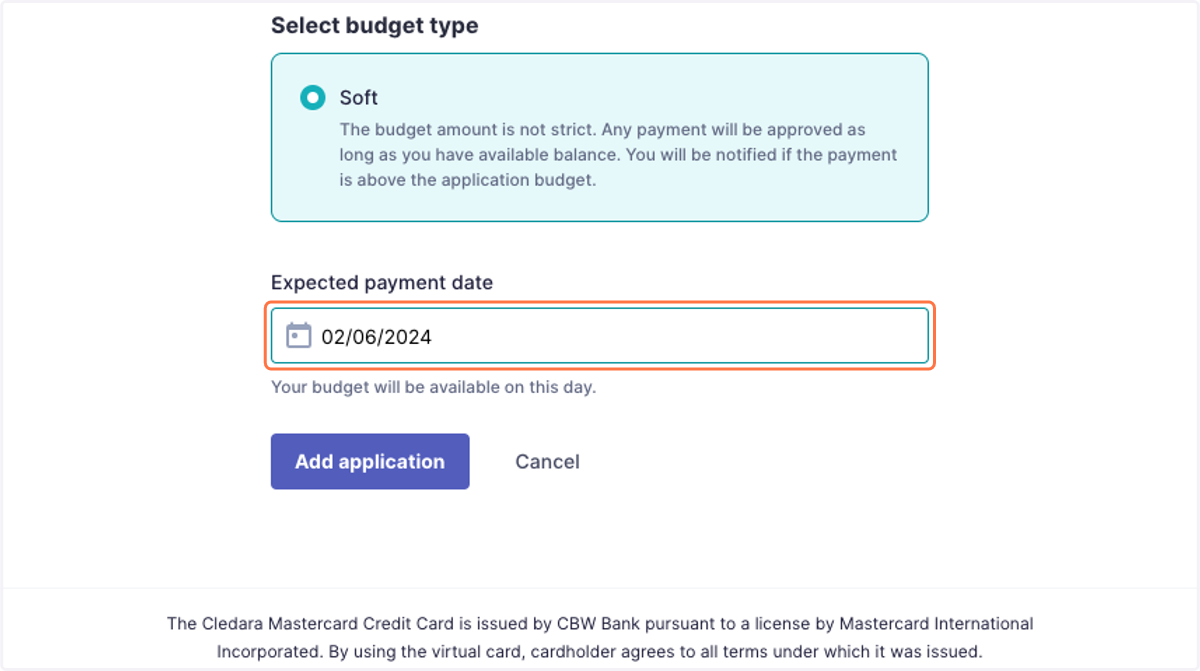
10. Select the expected payment date.
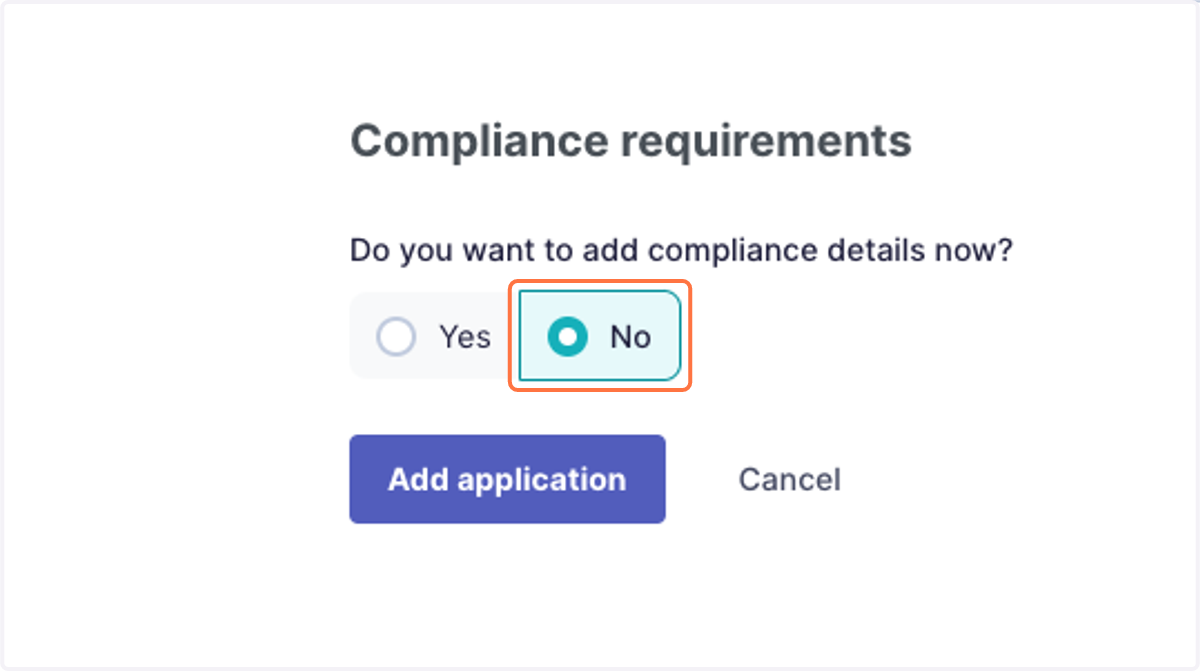
11. If your workspace has a Compliance module, you can either answer the pre-selected questions now, or -
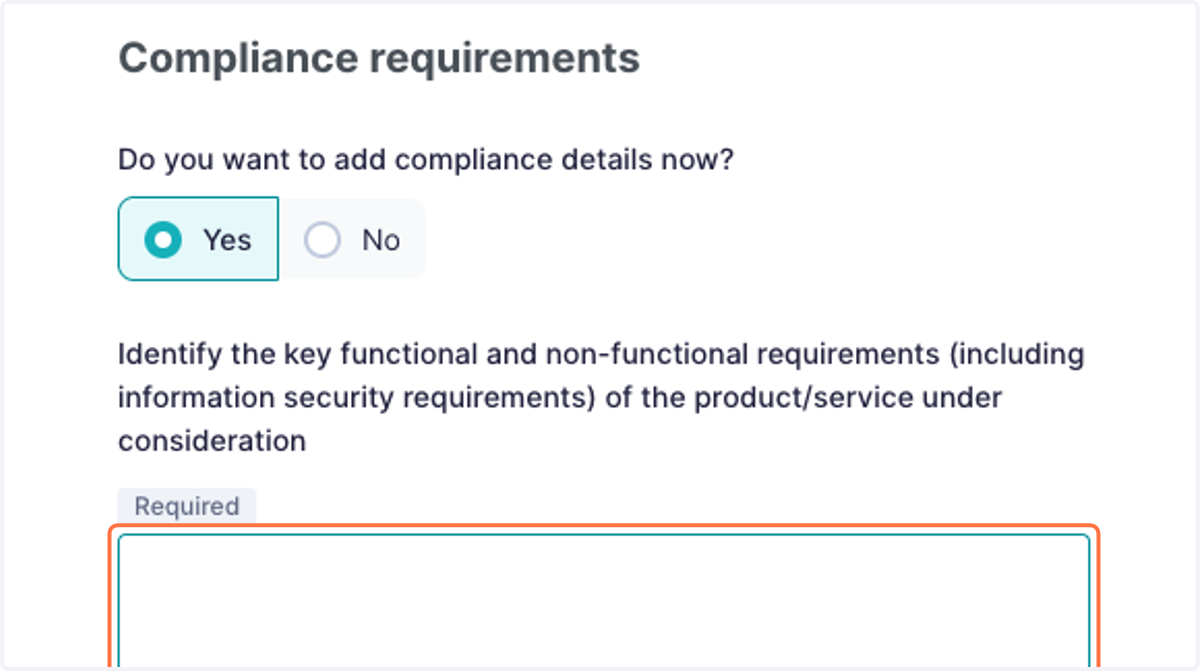
12. Click No to fill in the Compliance questionnaire later.
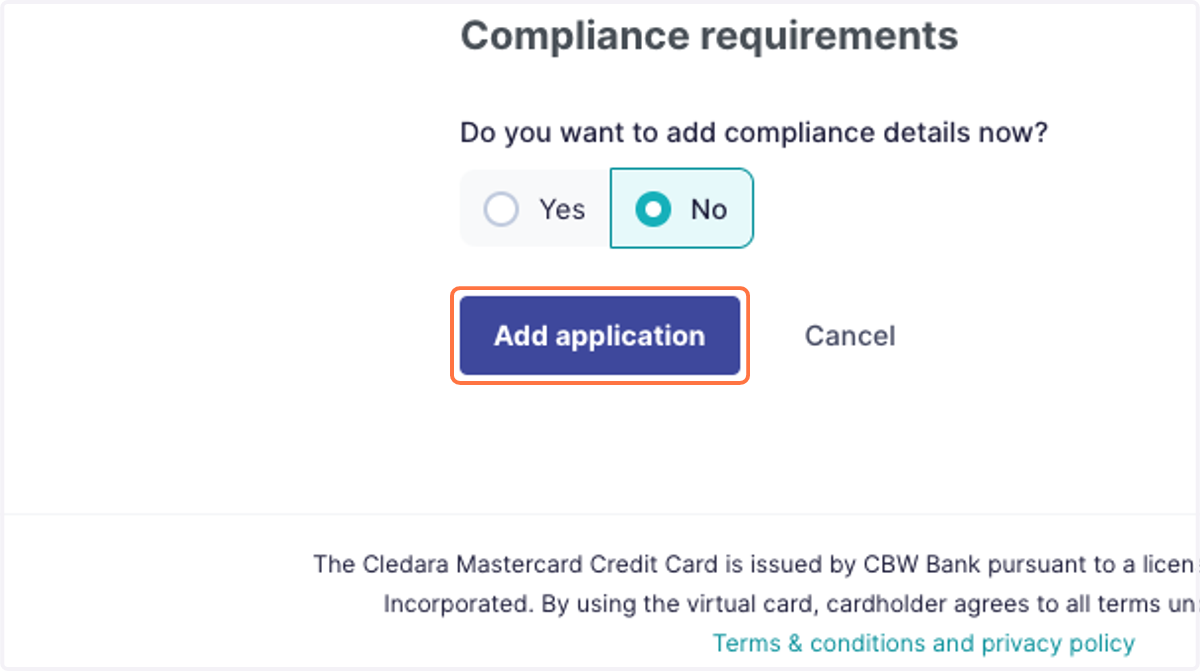
13. If it all looks good, click on Add application.
14. Click on Create to confirm.
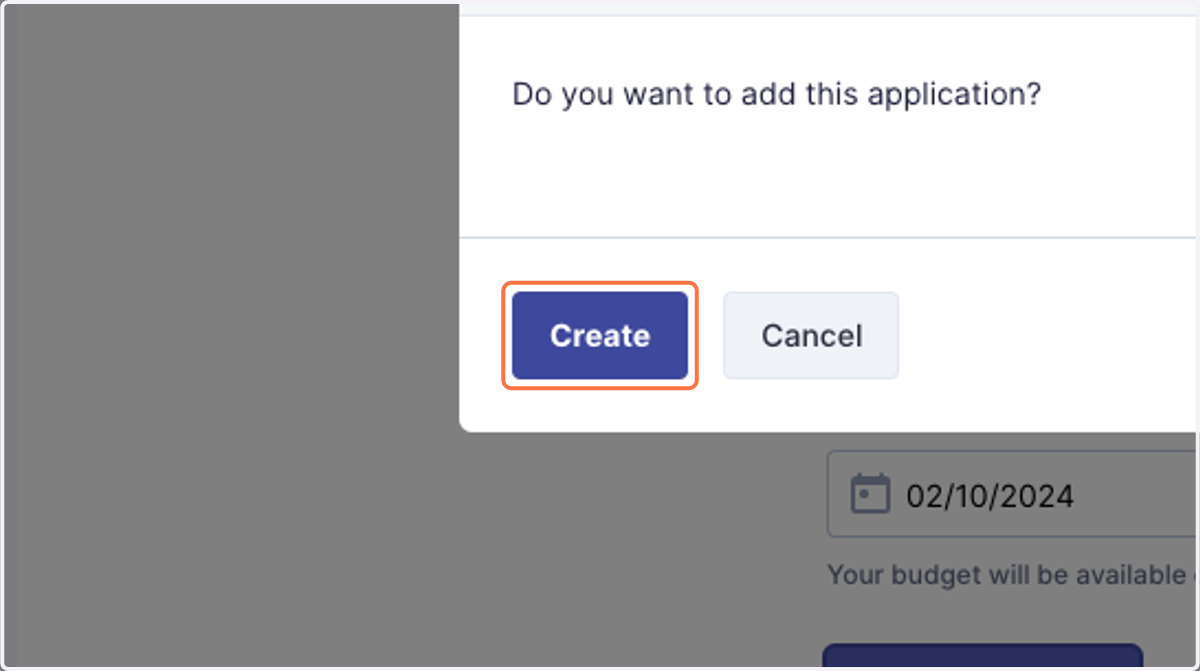
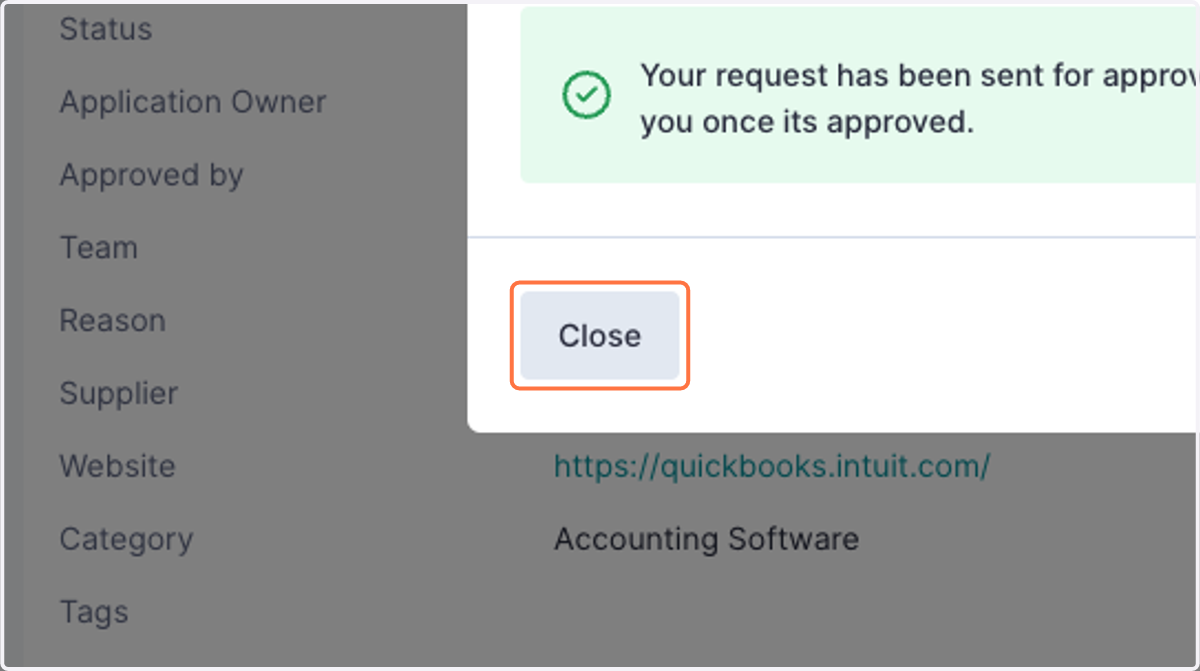
15. If Approval flow is enabled for your workspace, your request will be sent to your Approvers. Otherwise, your app will be created right away.