Running and customizing your first Check-in
How to run your first Student Check-in, this covers both an Instant Check-in and how to Customize.
Verso
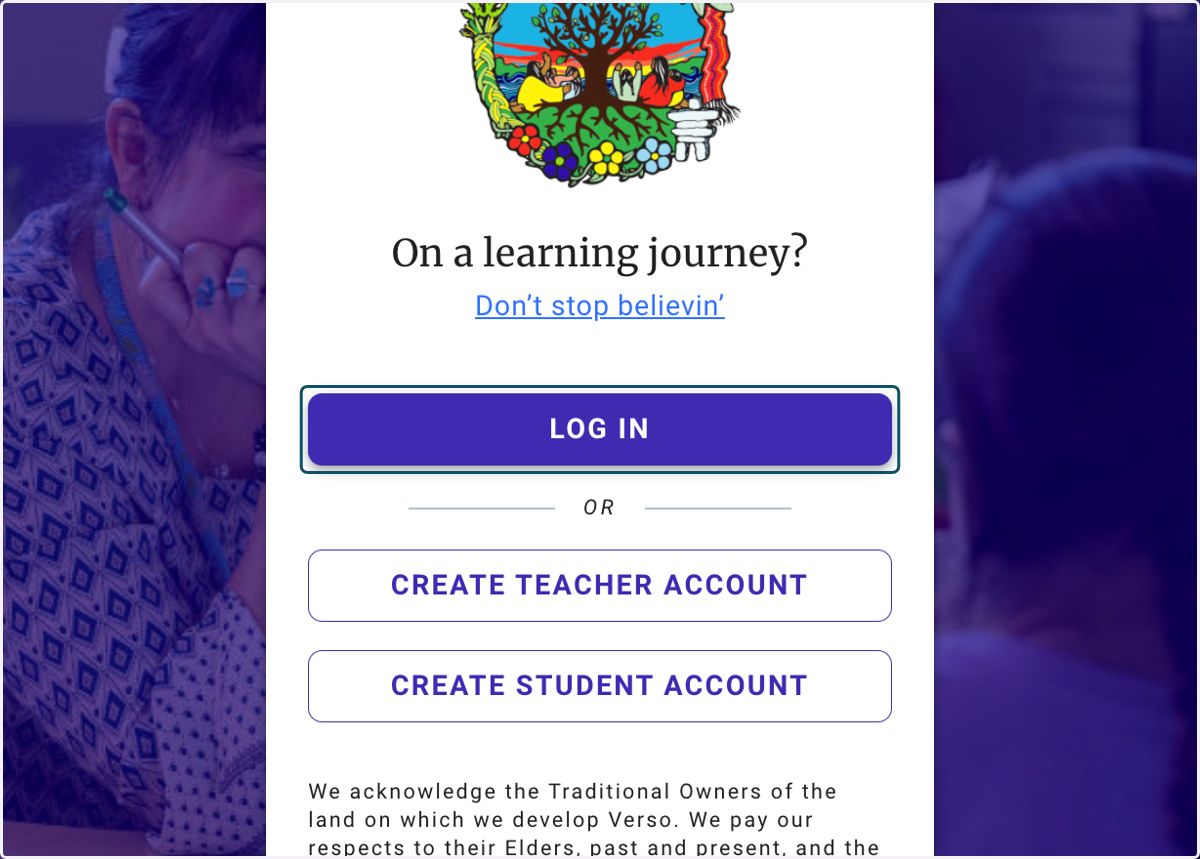
1. If you already have an account, click on LOG IN
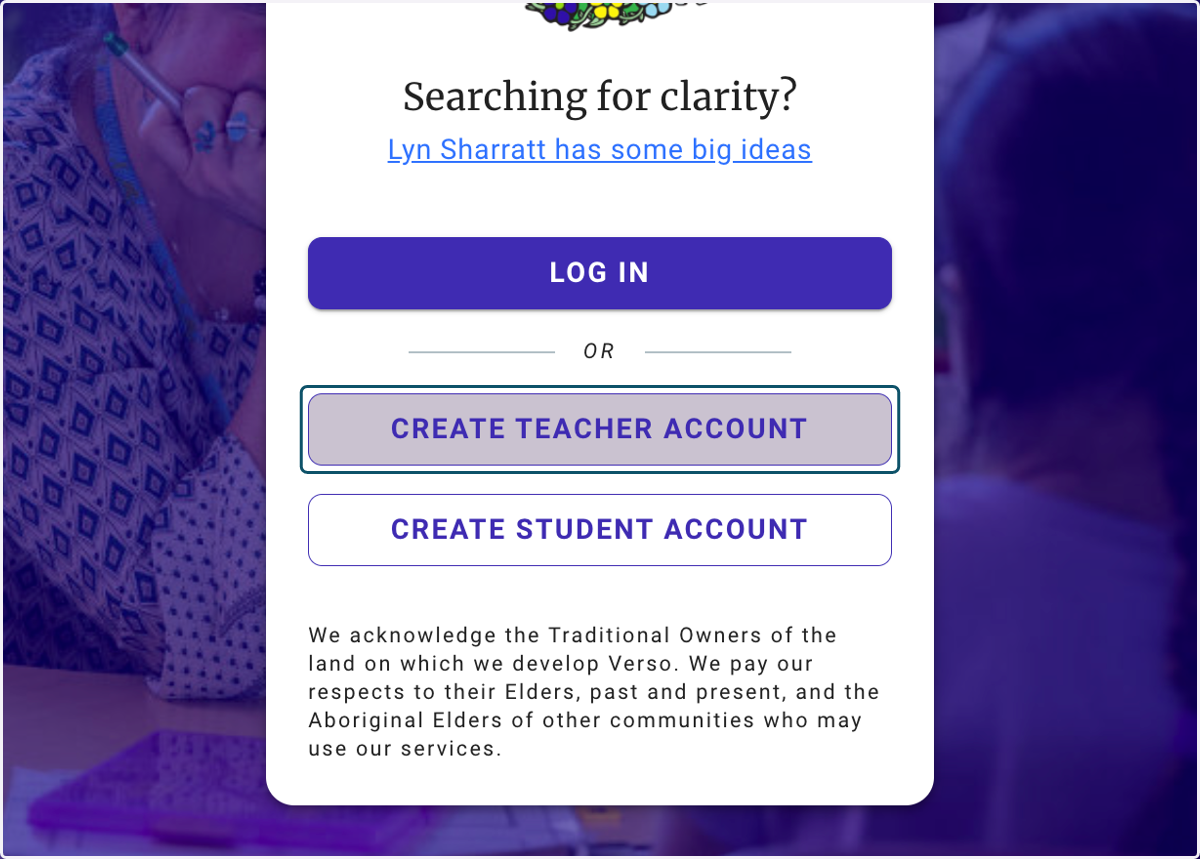
2. If you haven't already created an account, click on CREATE TEACHER ACCOUNT
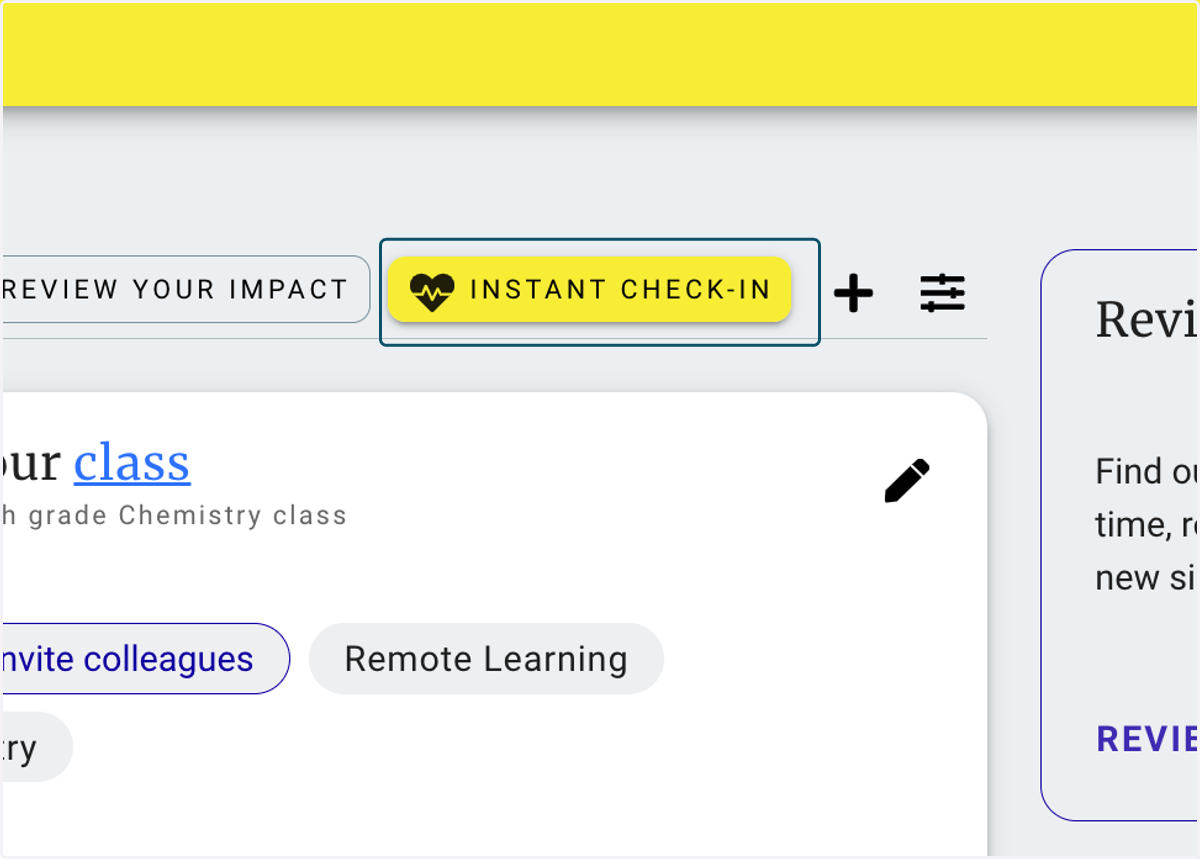
3. Once you're logged in, on your home page click on the yellow INSTANT CHECK-IN button
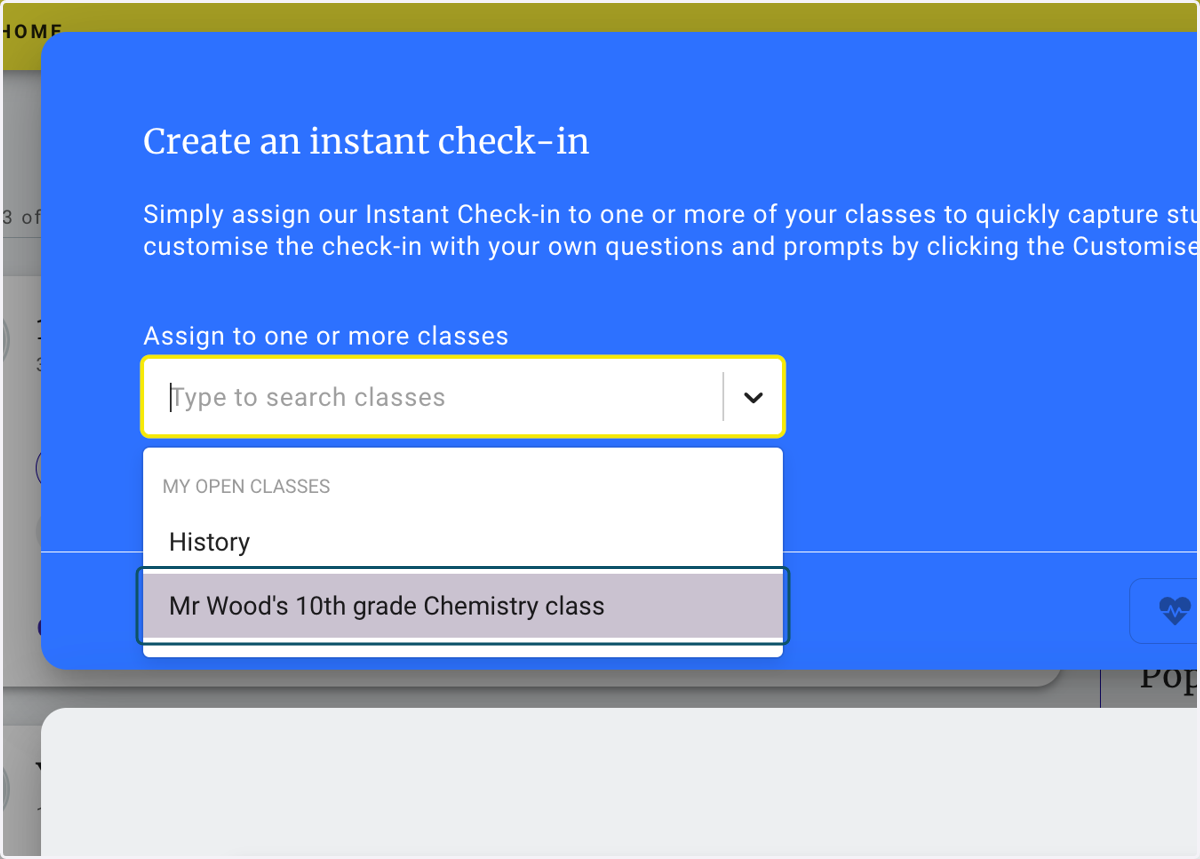
4. Click on your list of classes to assign the check-in to one or more classes.
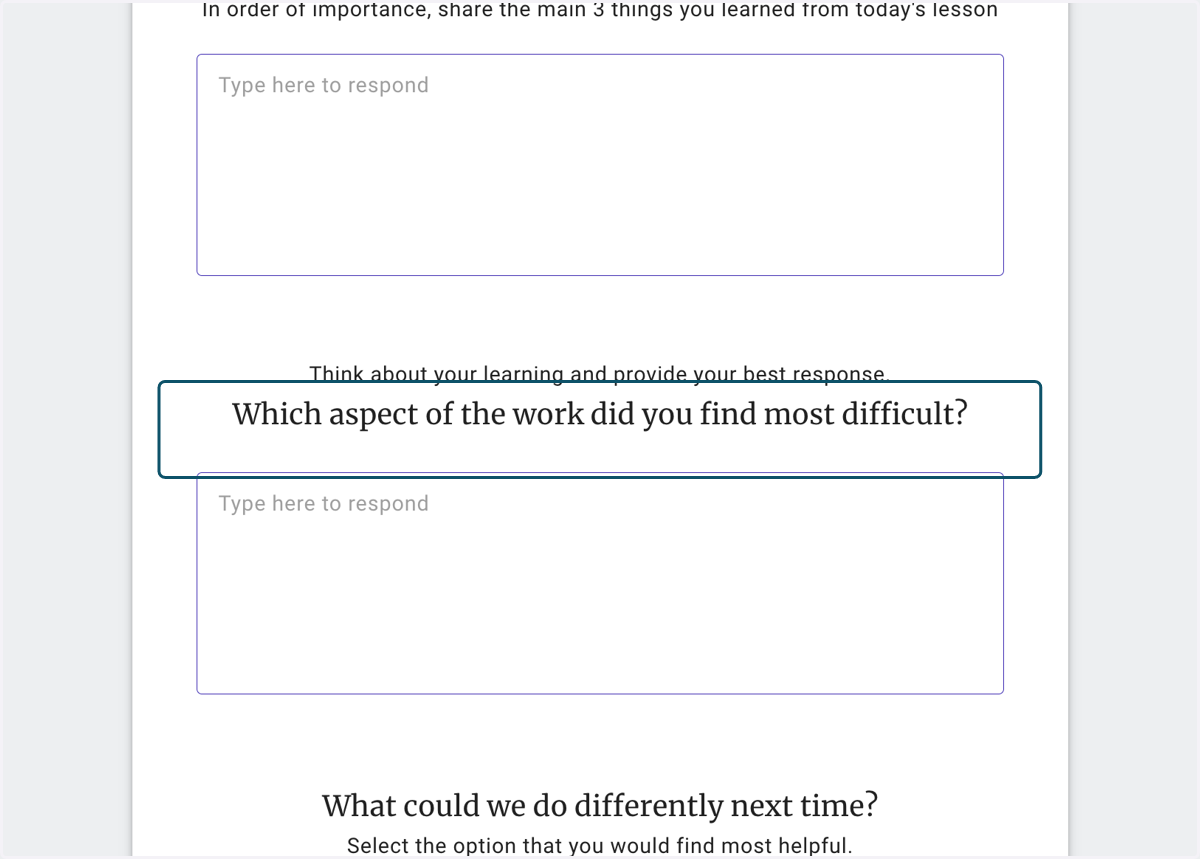
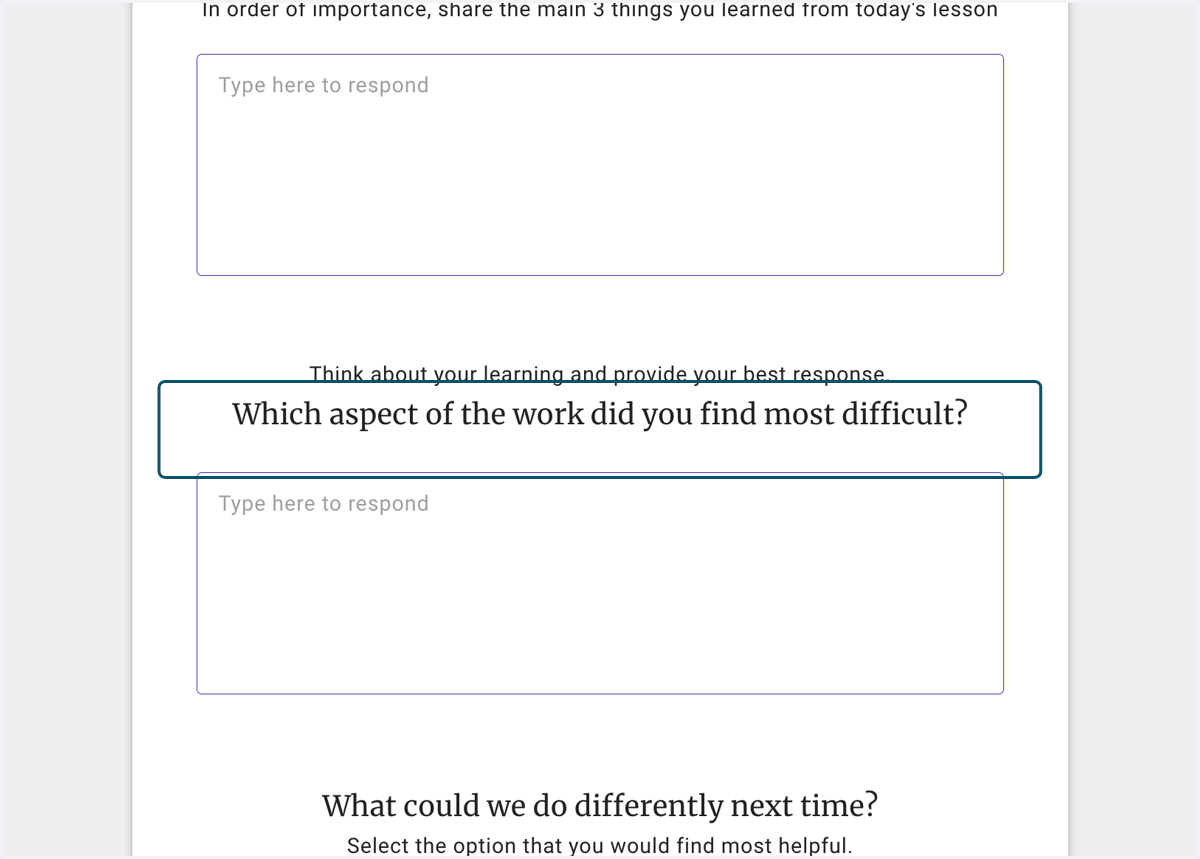
5. Scroll down to see the Check-in form as your students will see it. If you
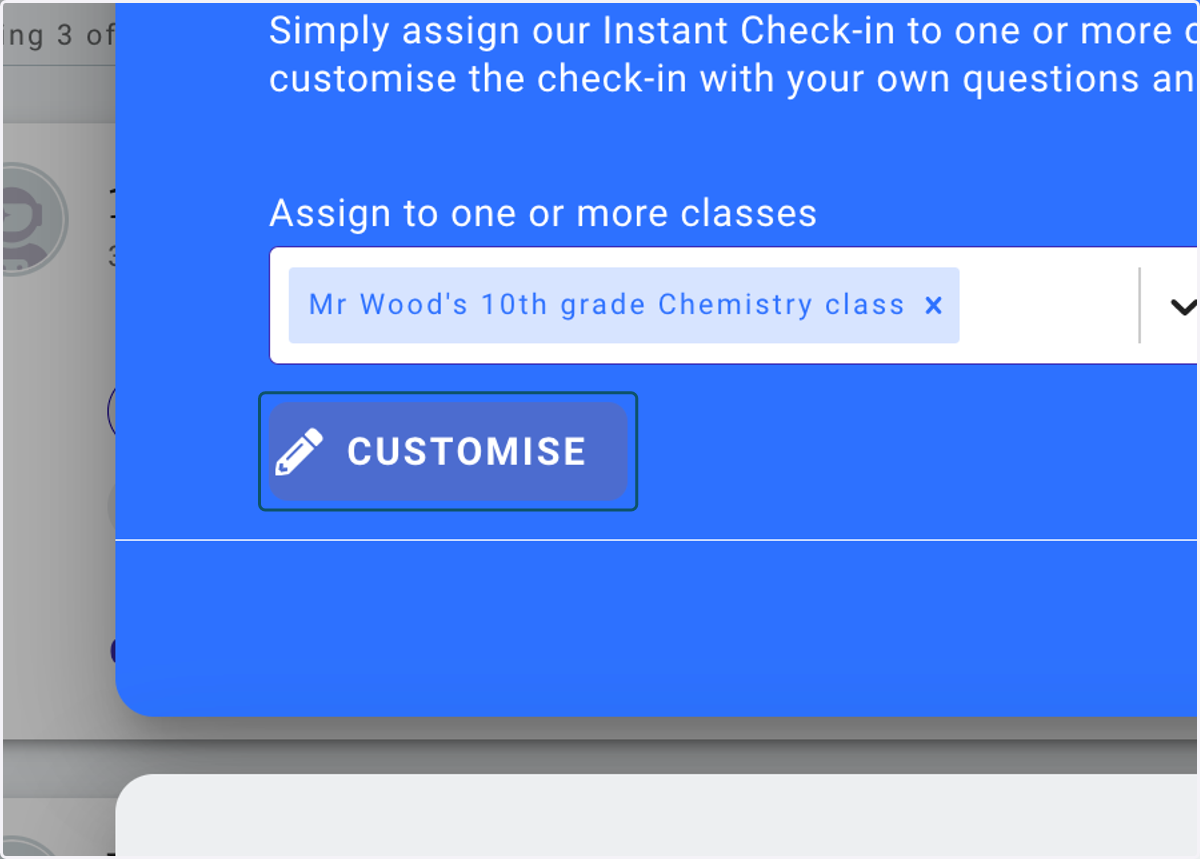
6. To Customize this Reflection Prompt, Scroll up and click o the CUSTOMIZE button
7. Click on CUSTOMIZE
8. When Customizing the Student Check-in you can add a Title
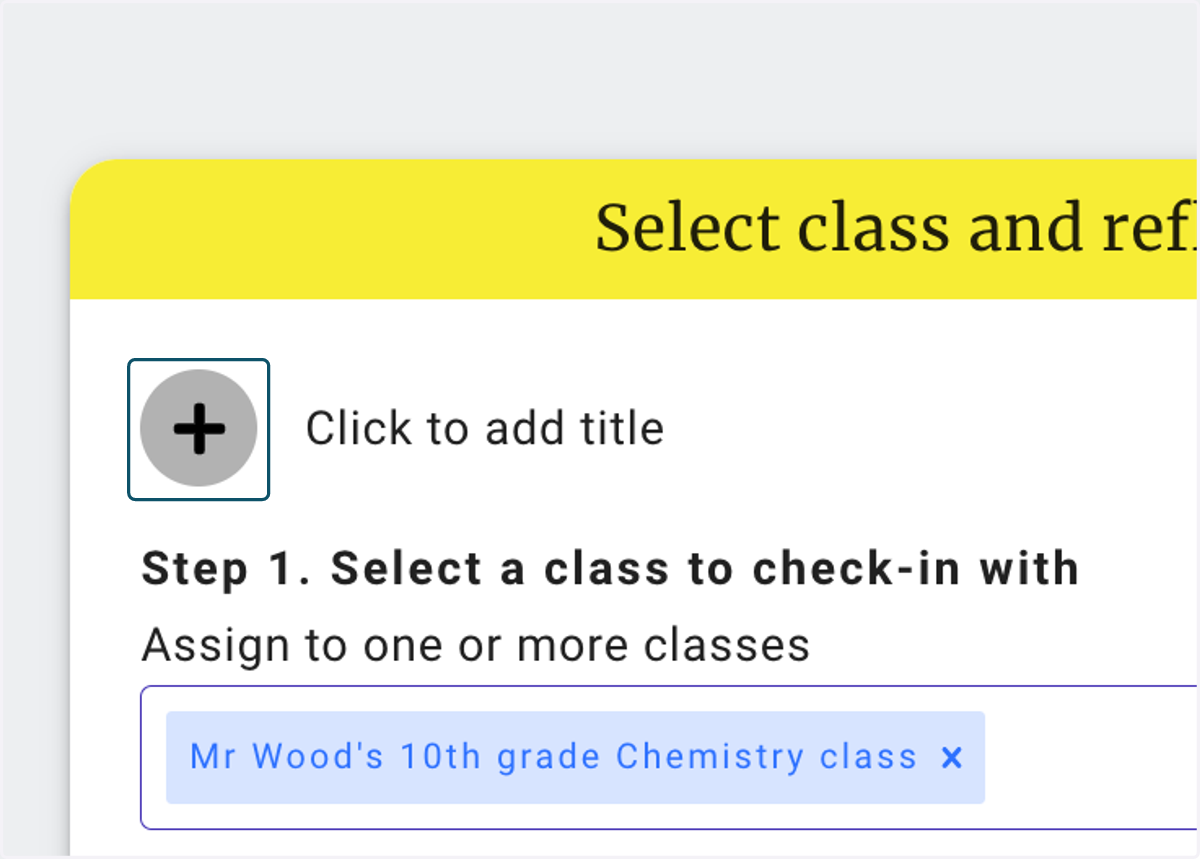
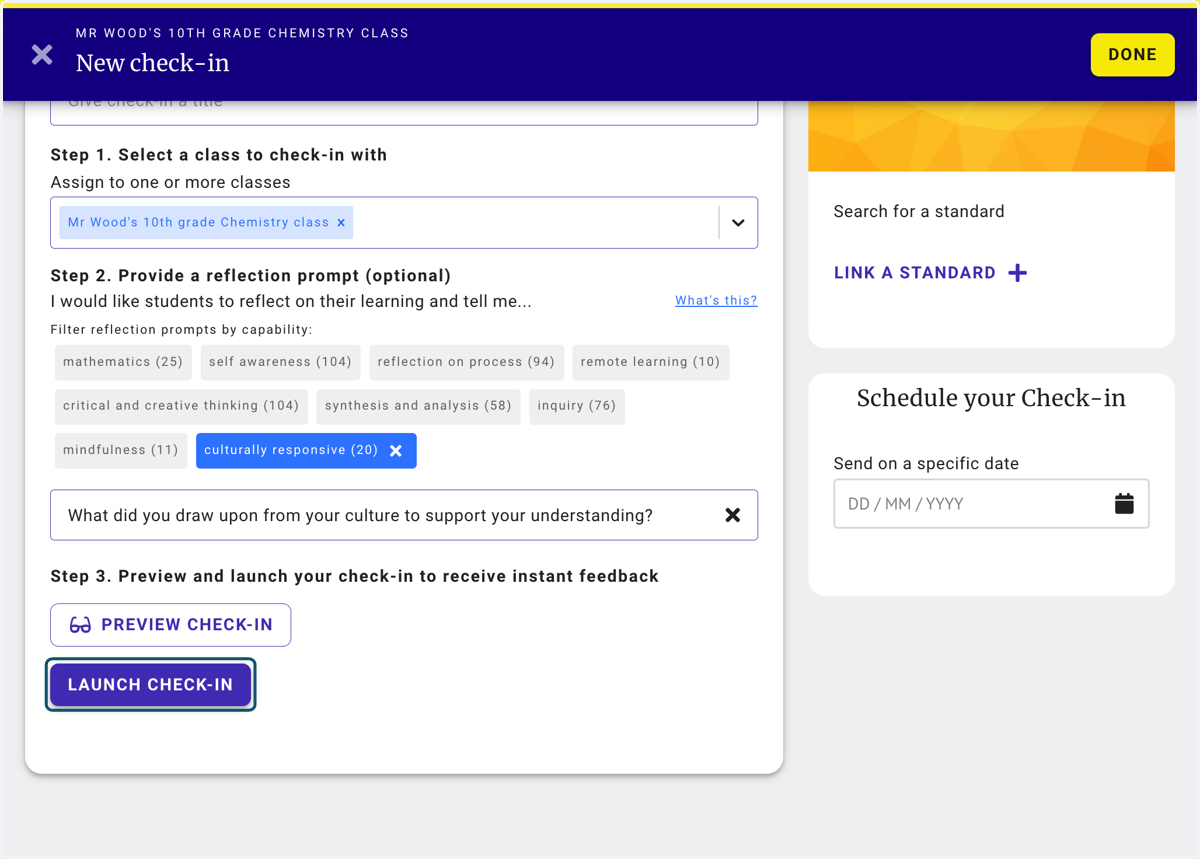
9. Over 250 already made reflection prompts are in the library split into 9 categories. Select a category and then click on the dropdown box to view the prompts.Click on culturally responsive (20)
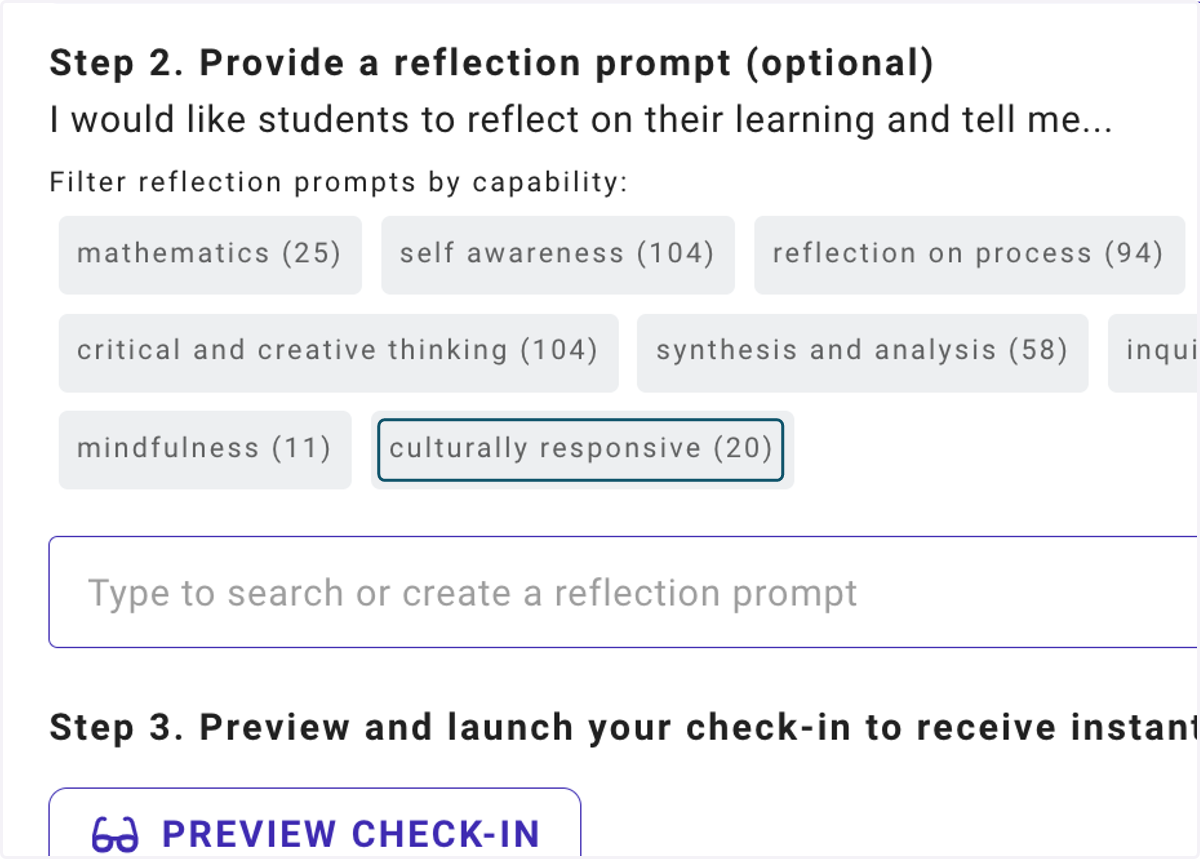
10. Select one of the provided prompts or type one of your own
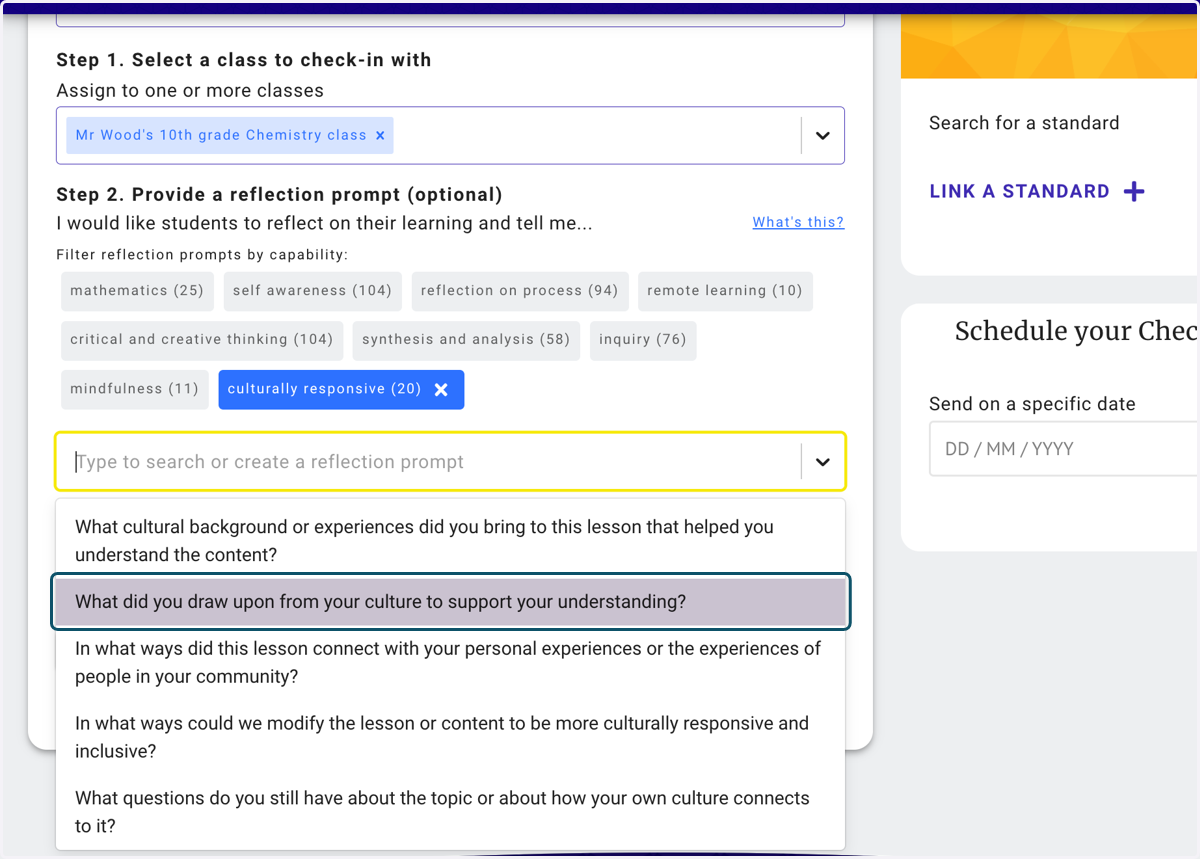
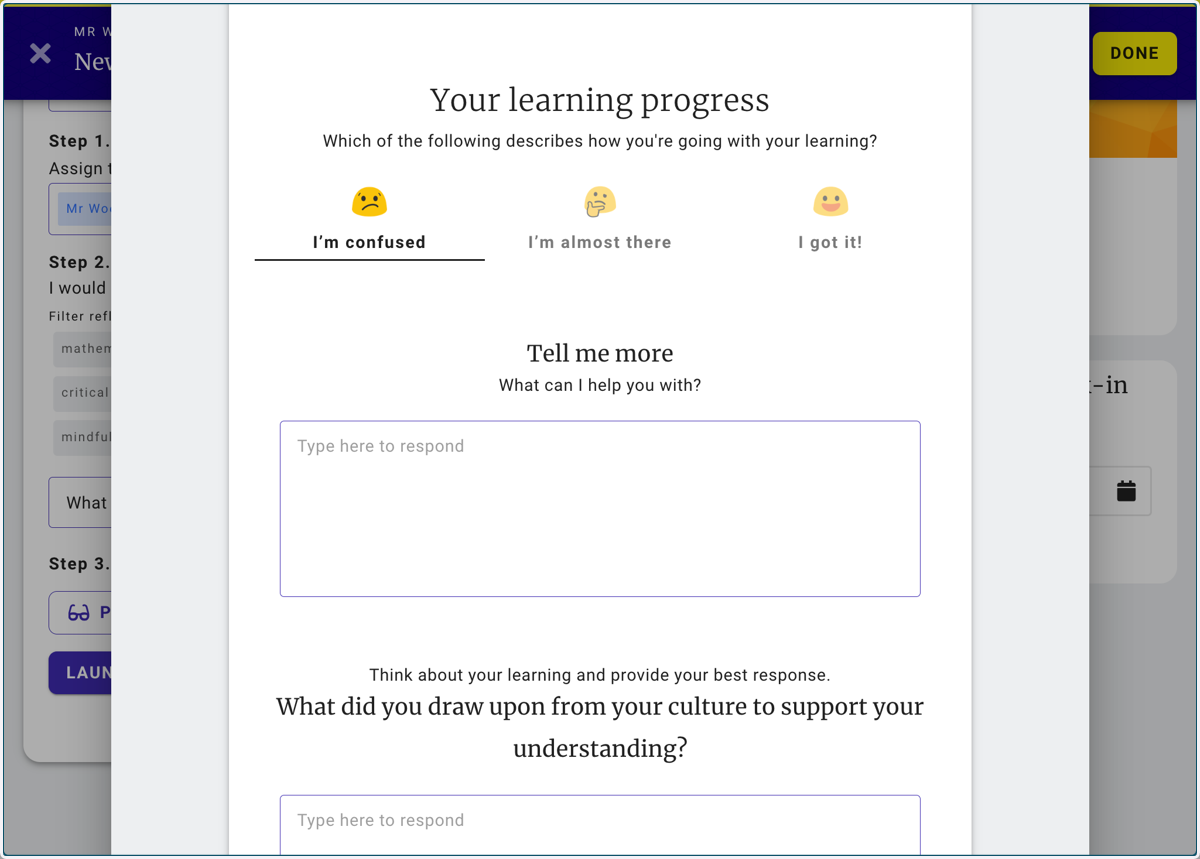
11. Click on PREVIEW CHECK-IN to see what the customized form will look like for your students
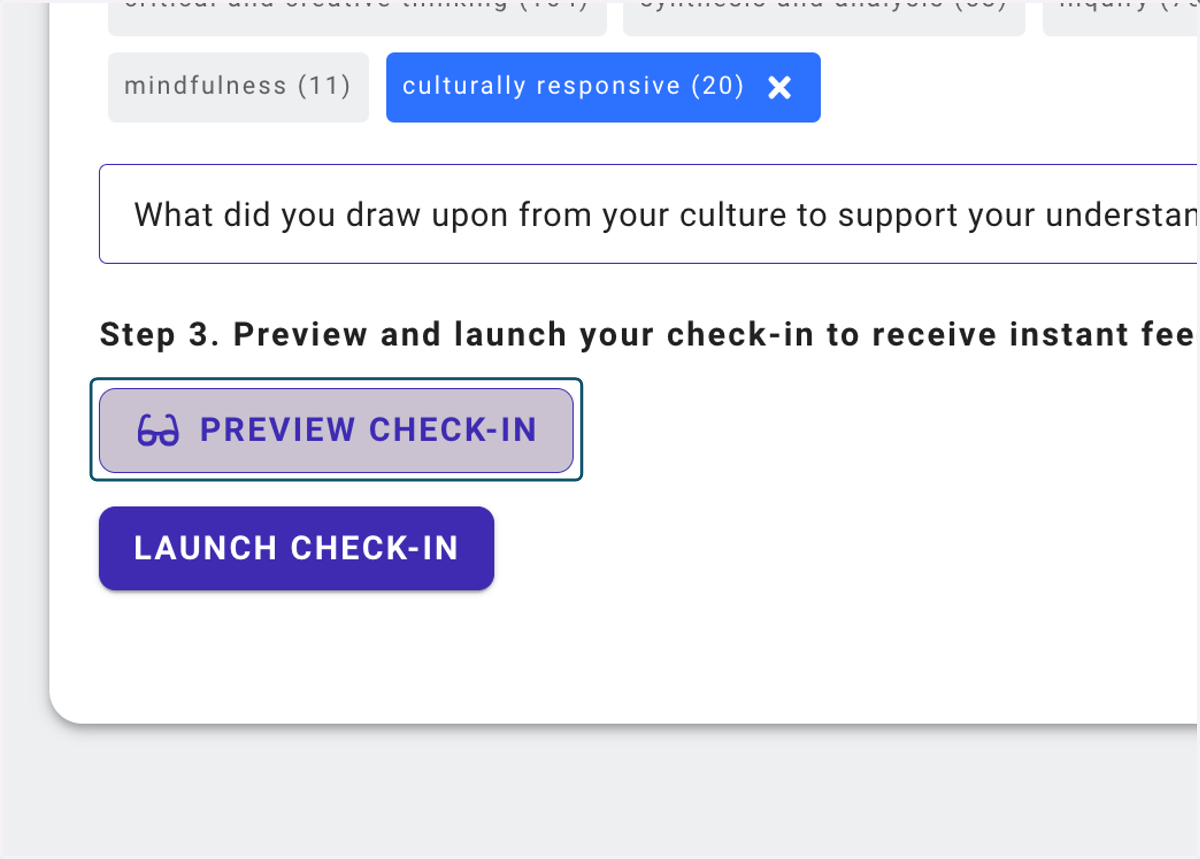
12. Scroll down to see you new prompt
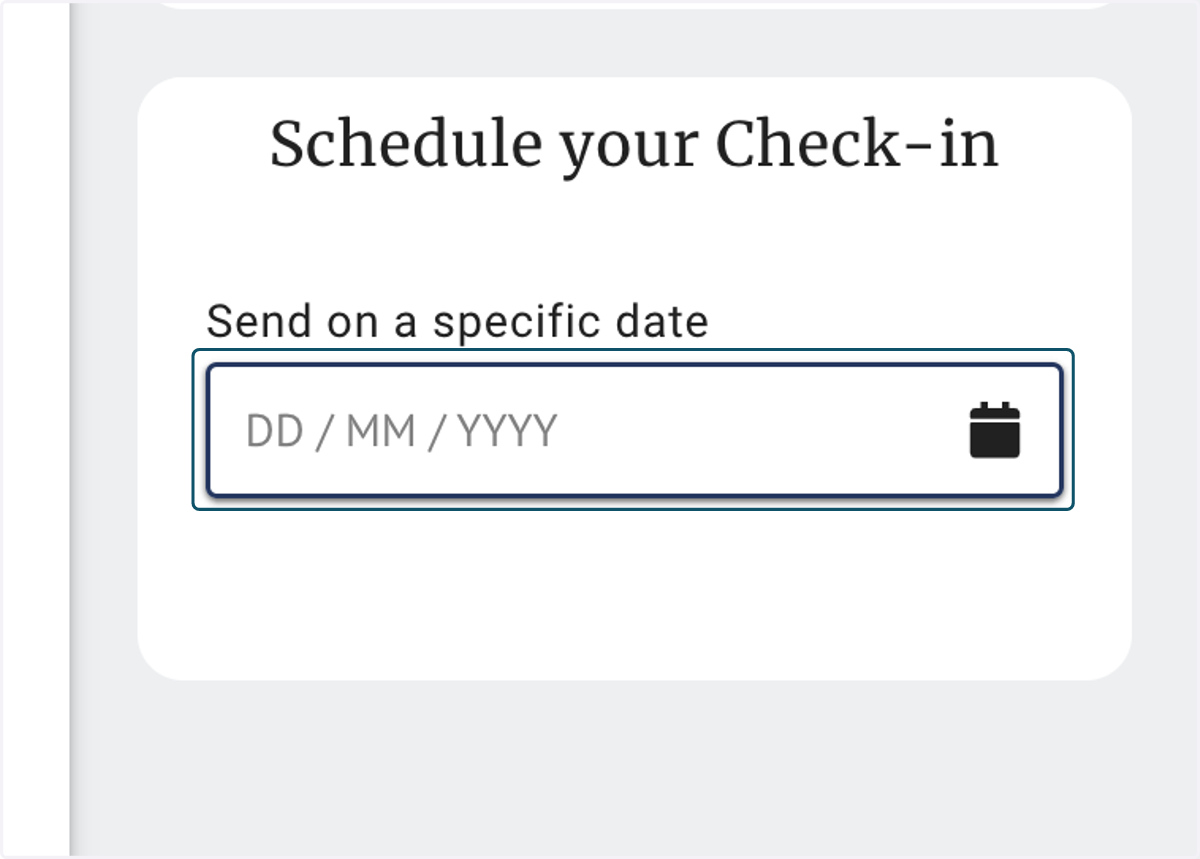
13. Enter a date to schedule the release of your Check-in to your students at a future date.
14. When satisfied with your changes, click on LAUNCH CHECK-IN
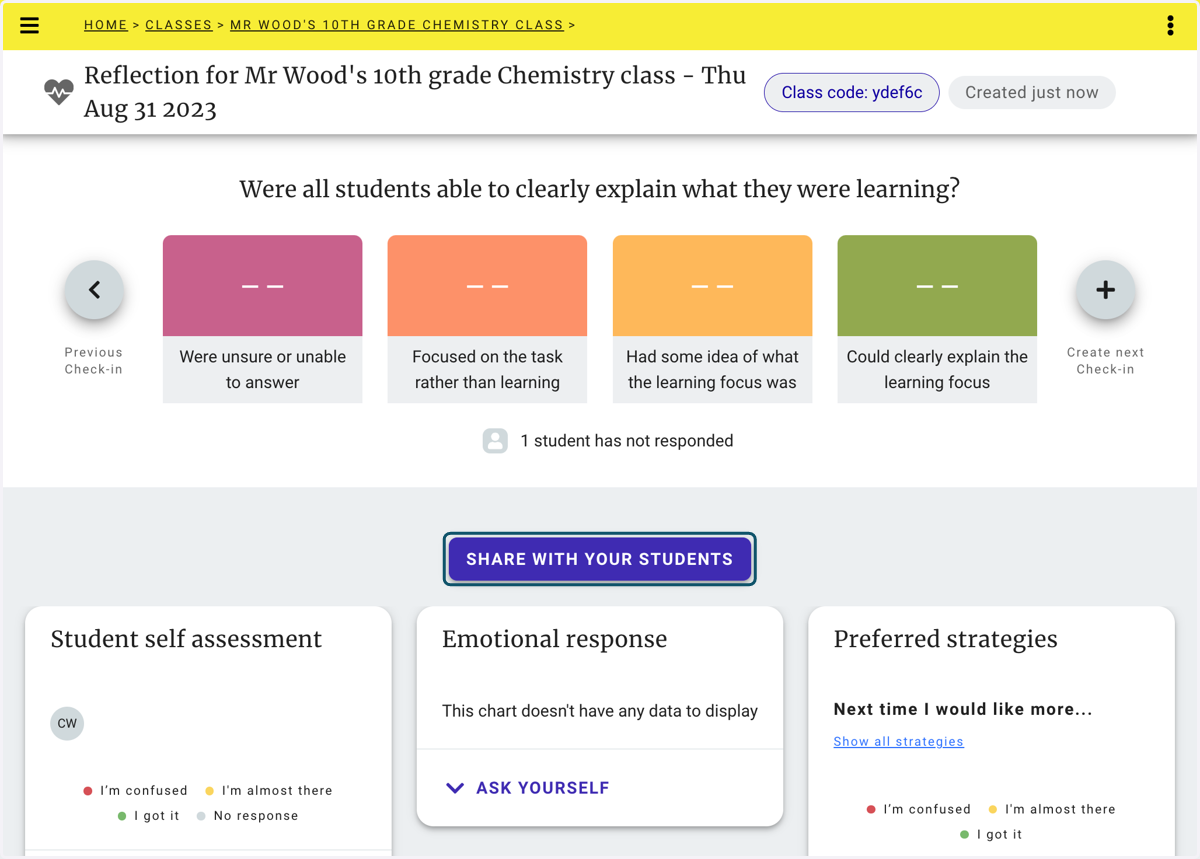
15. The Check-in is created, next click on the SHARE WITH YOUR STUDENTS button.
16. Direct Your student to the Student Check-in tool or click on Share to Google Classroom
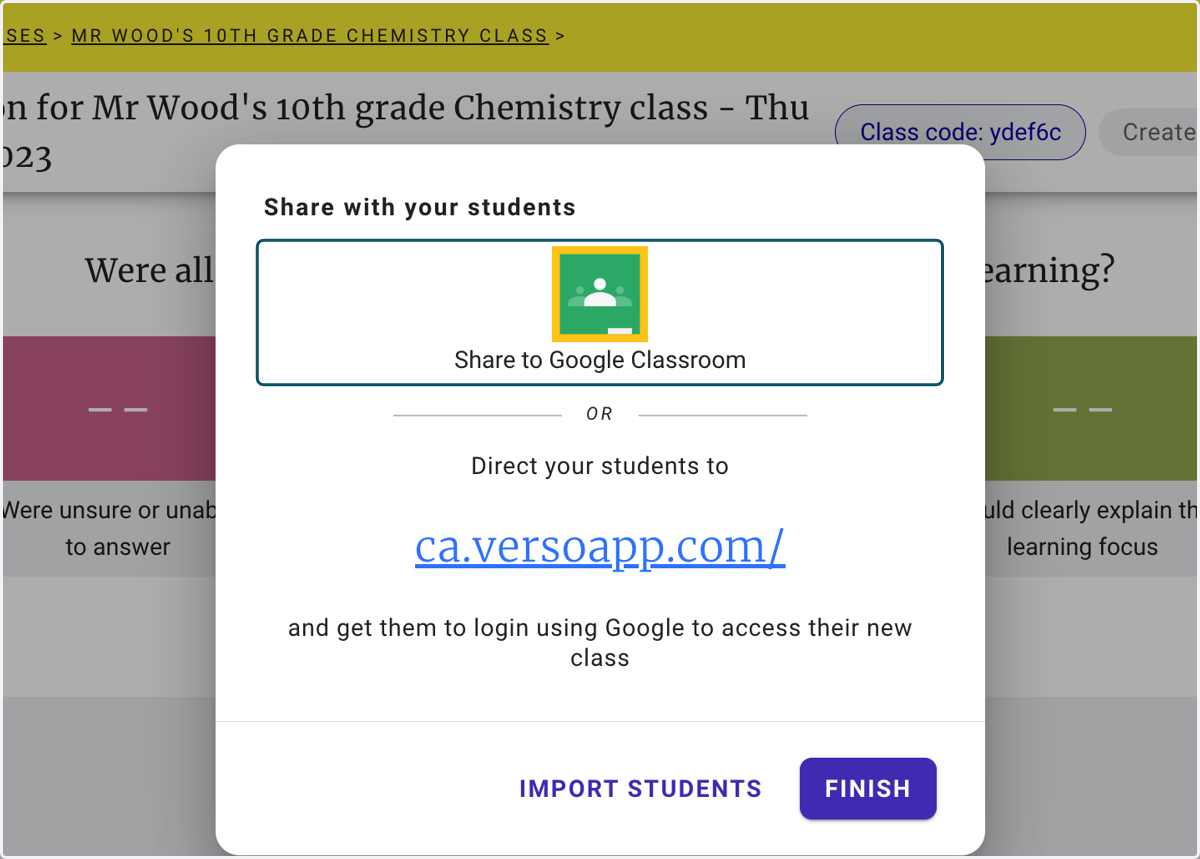
Classroom
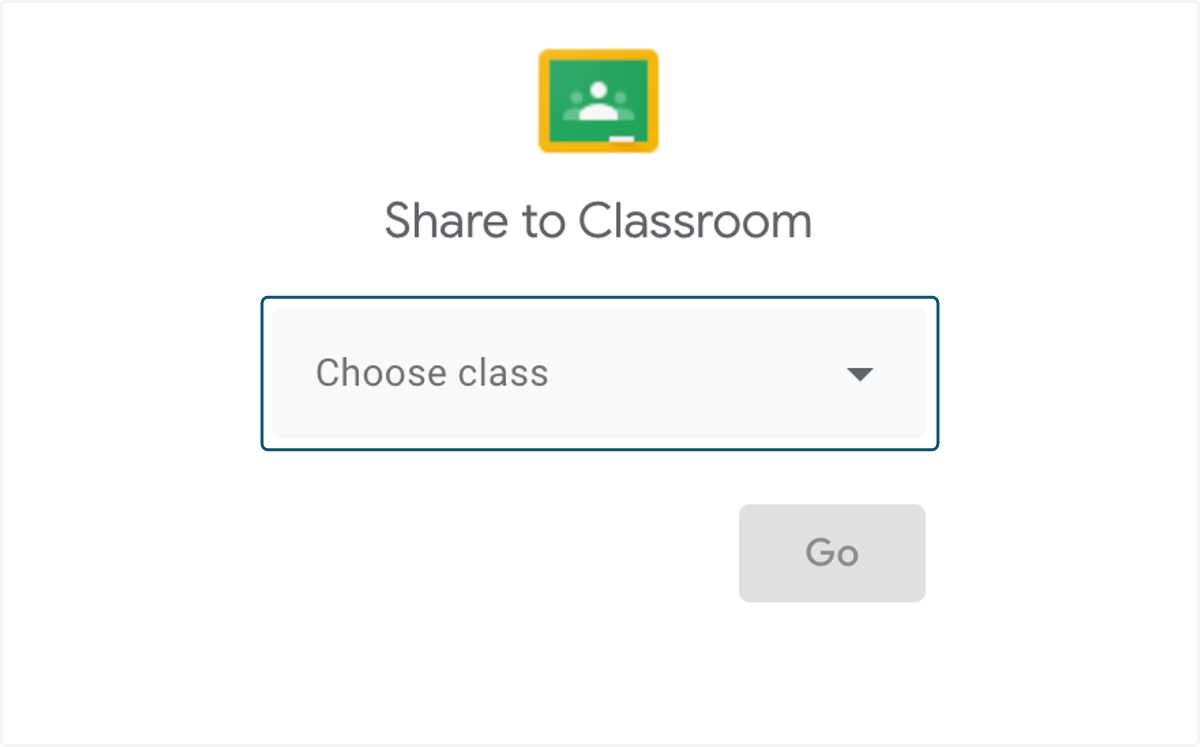
17. Choose a class in your Google Classroom that you wish to share the Check-in with
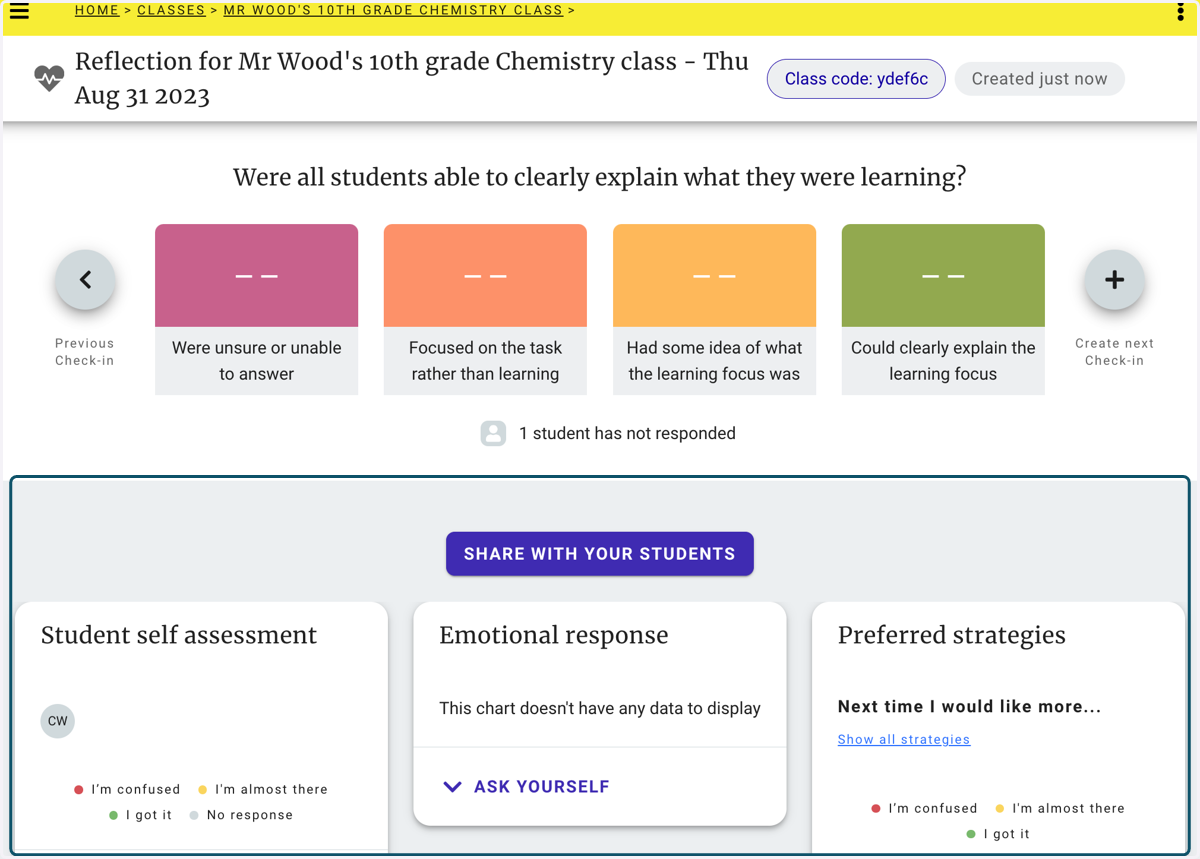
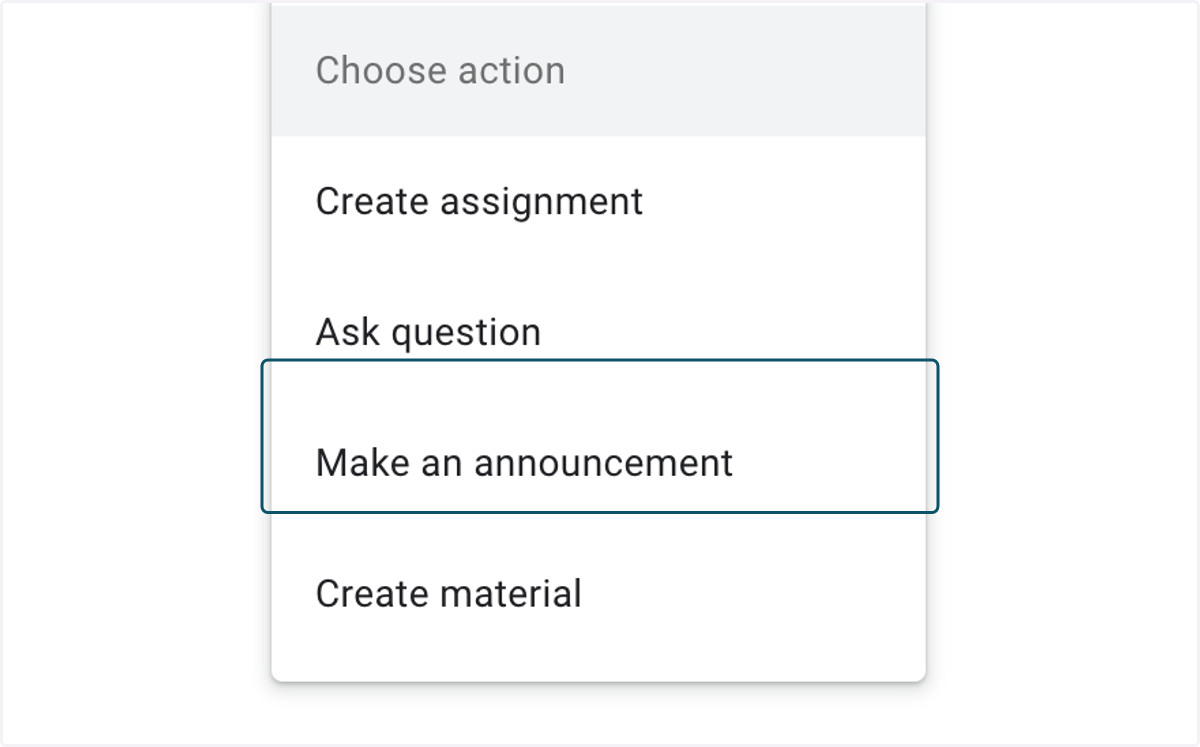
18. You can choose how you want the Check-in to appear
Verso
19. If you do not yet have students in your Check-in tool class then click on IMPORT STUDENTS
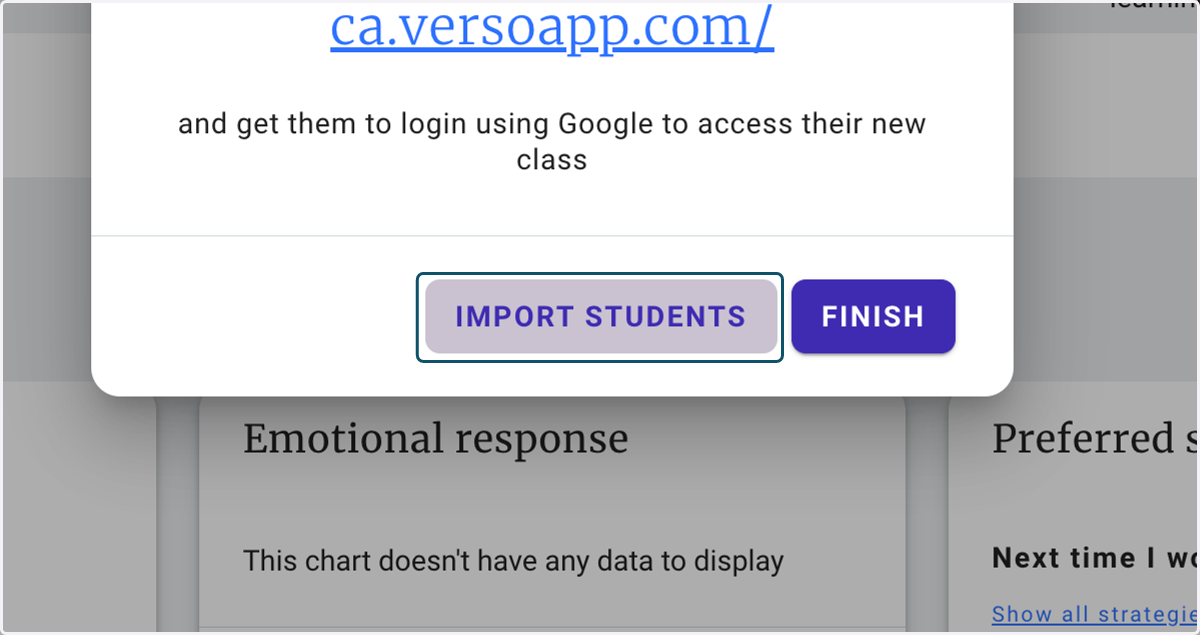
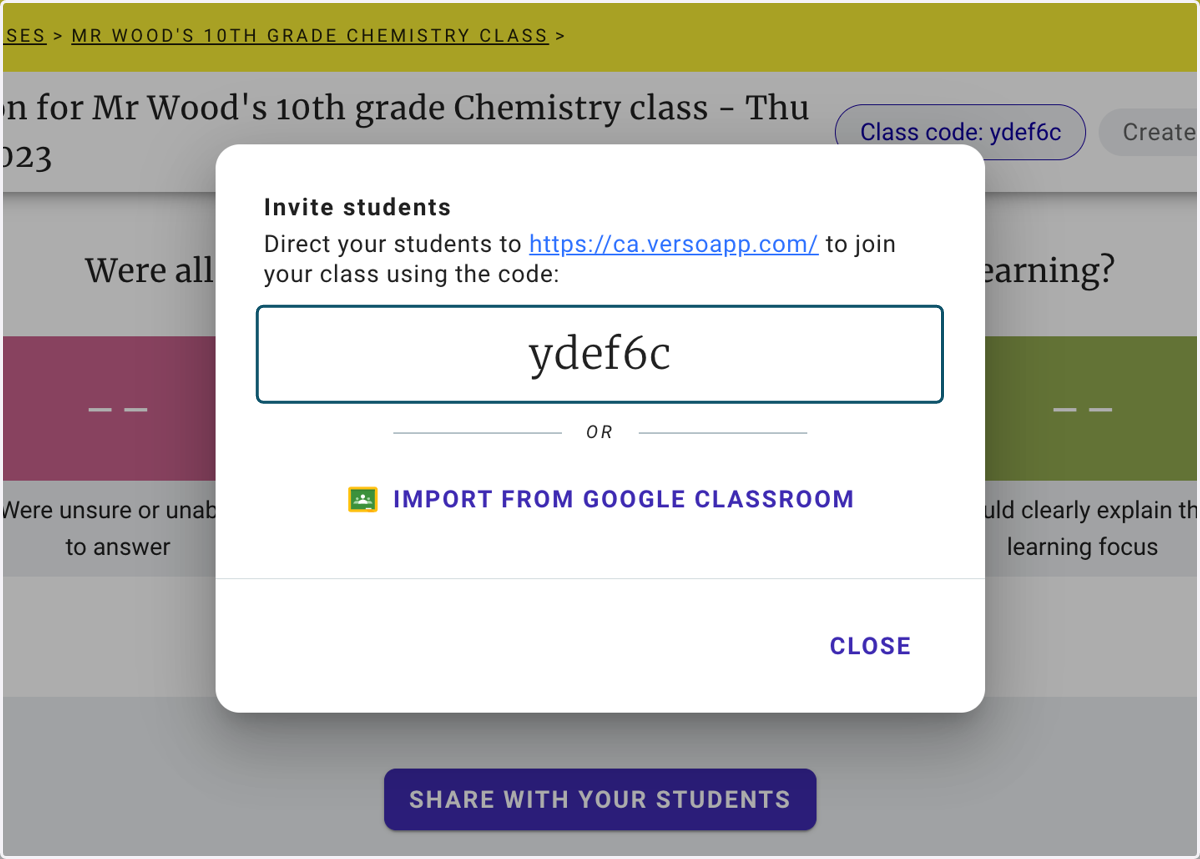
20. You can direct your students to the Student Check-in Tool and use the highlighted Class code or import your students from a Google Classroom.
21. As your students reply, the Check-in Dashboard will start to poluate with their responses and the data in charts.