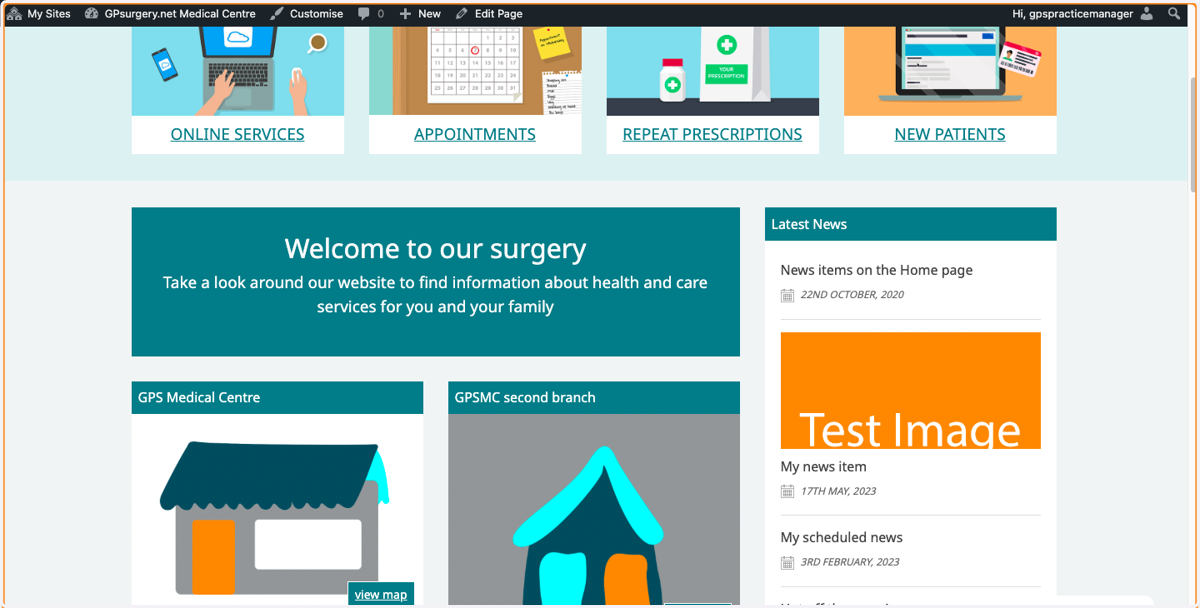
How to add a featured image to a news item
This tutorial shows you how to add a news item with a featured image to your website. You can move through the tutorial at your own pace using the NEXT button below.
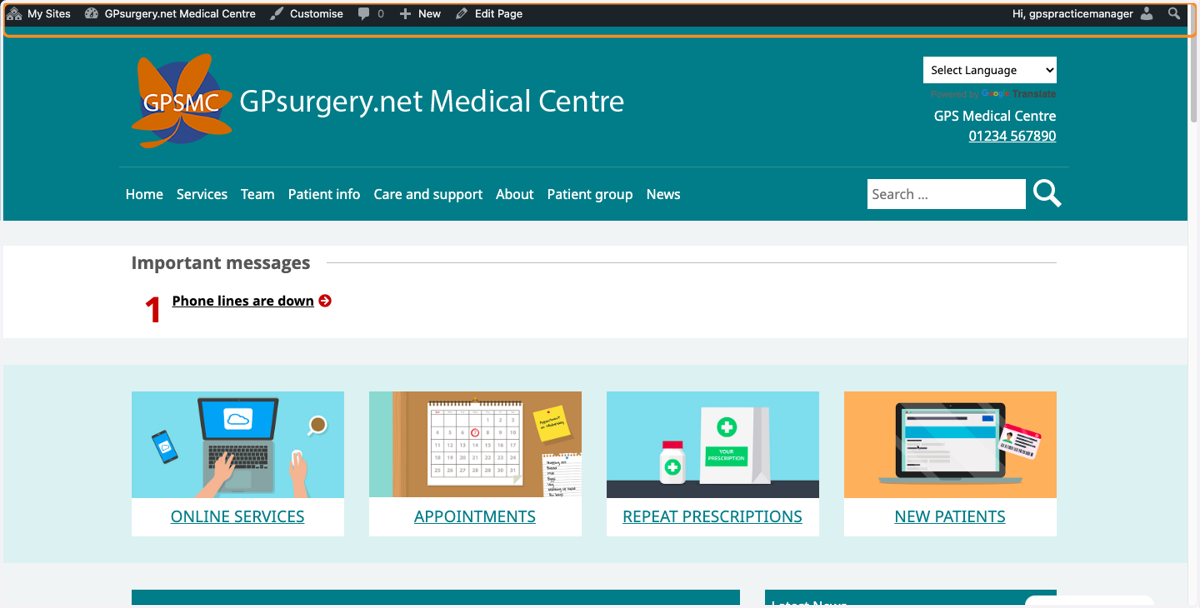
1. Ensure that you are logged into your website. The black admin toolbar should be visible at the top of the screen.
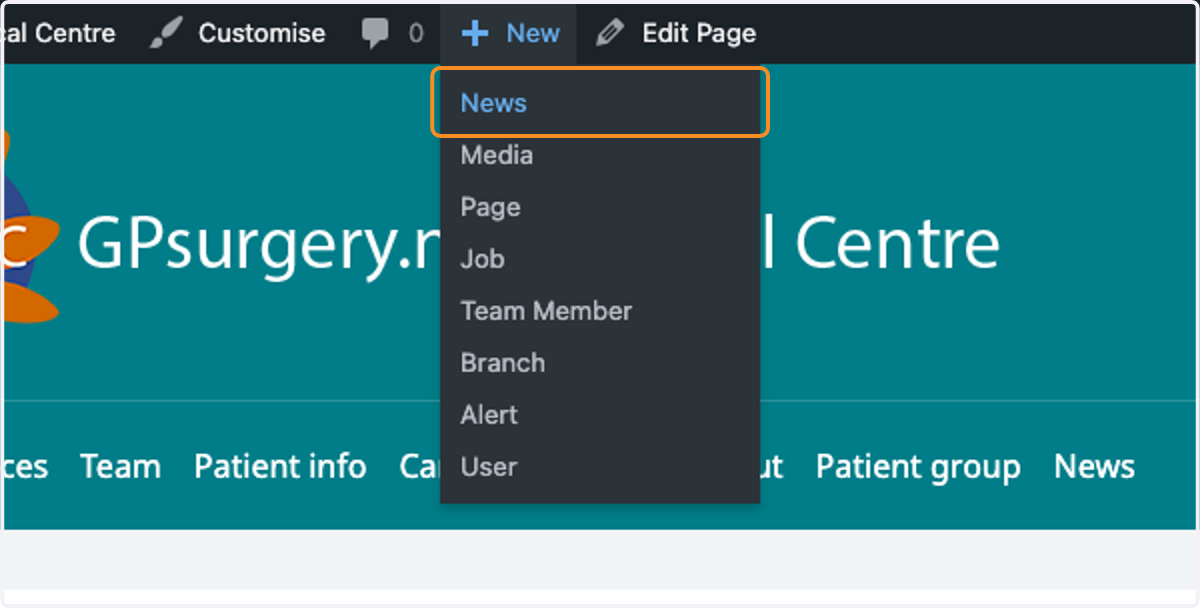
2. Hover your mouse over the + New menu in the admin toolbar. Select News from the drop-down that appears.
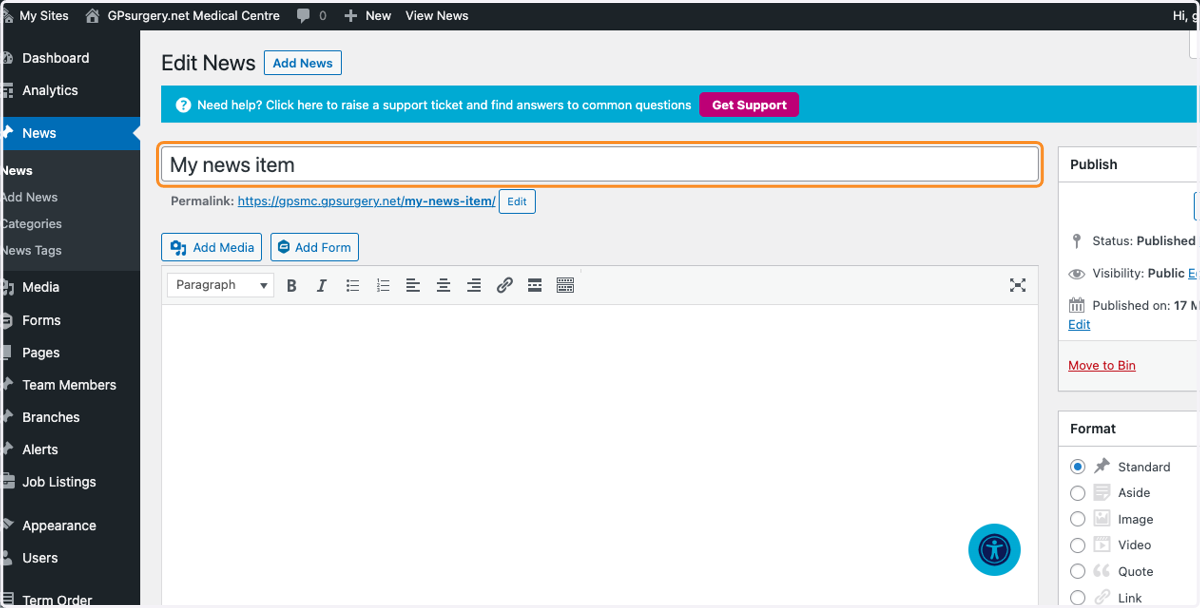
3. Add a title to your news item
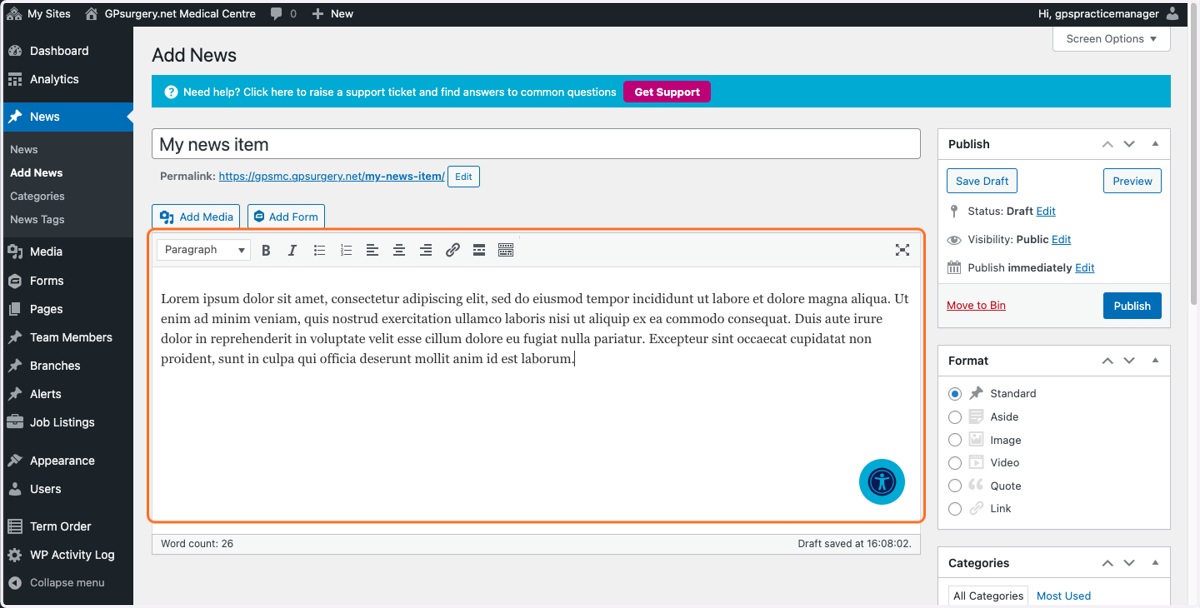
4. Add your information to the main text box.
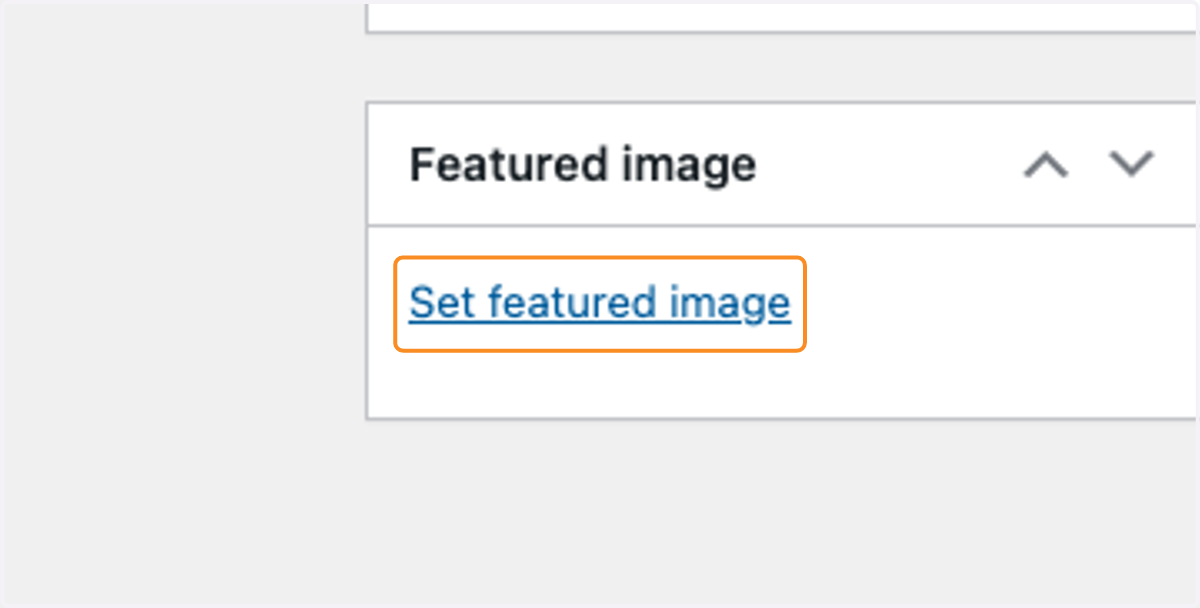
5. Scroll down to the Featured image box, and select the Set featured image link.
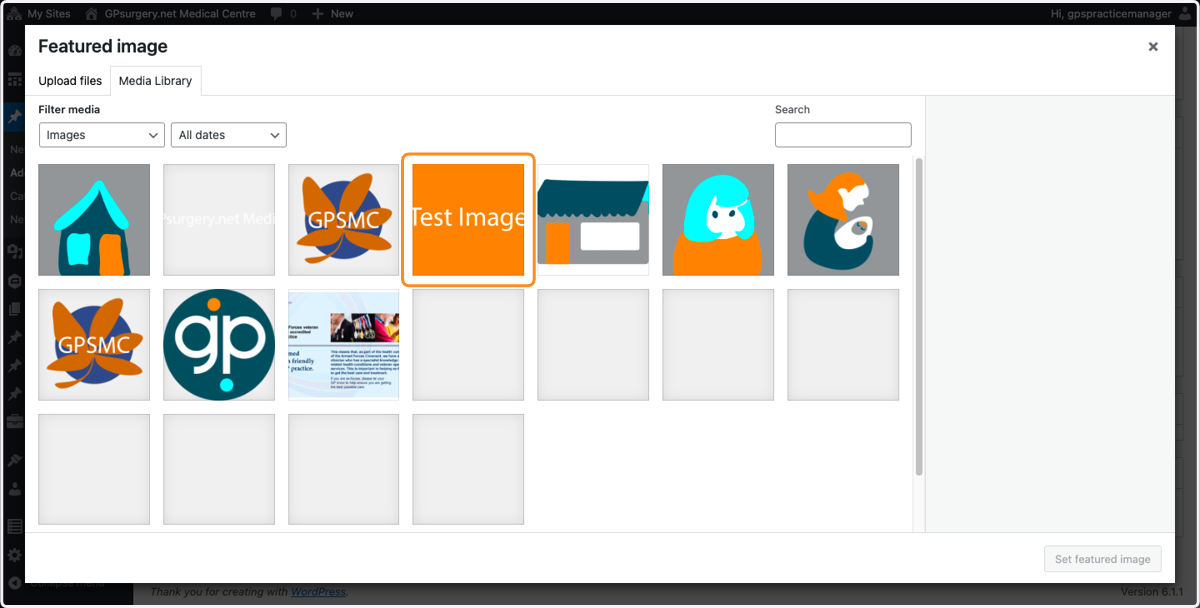
6. From the set Featured image screen, select the image you'd like to set as featured image.
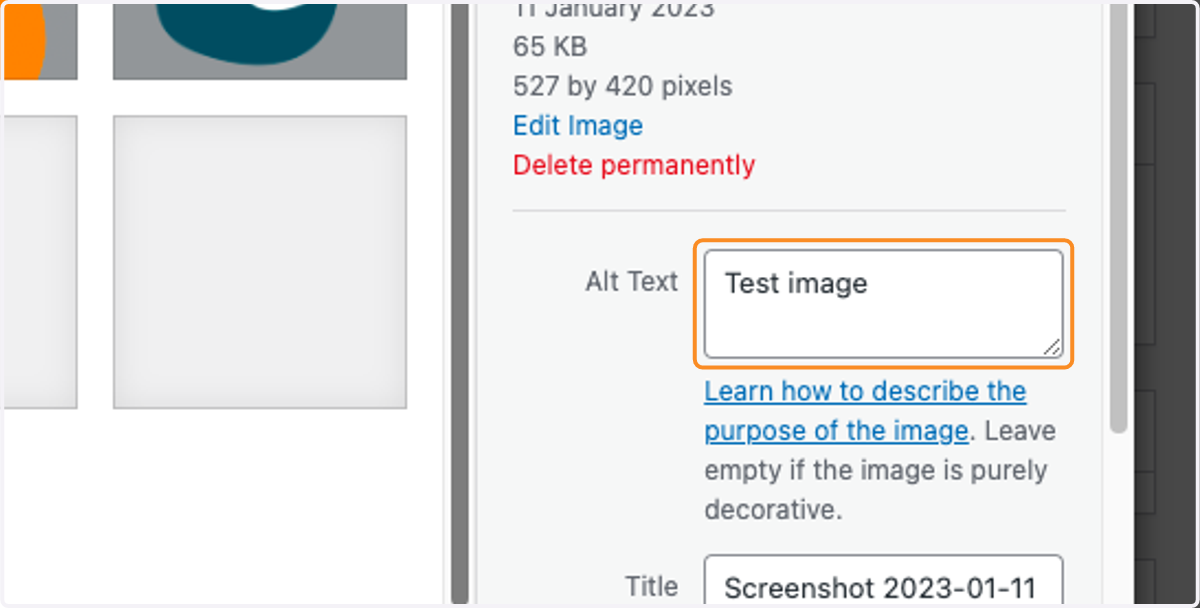
7. Ensure that you set alt text that explains the purpose of the featured image.
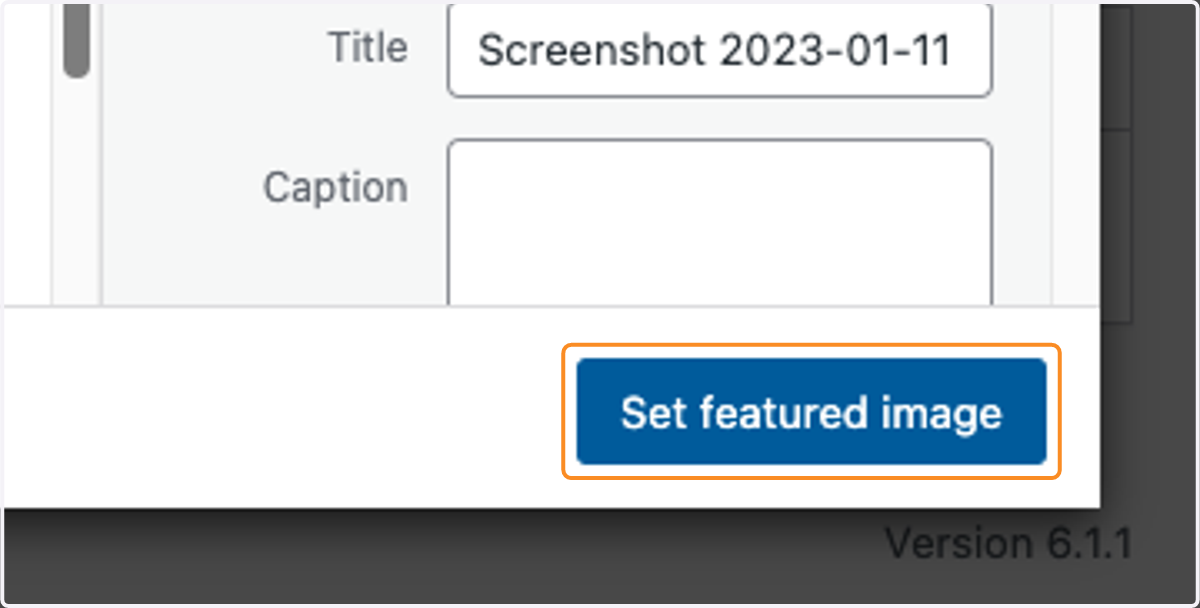
8. Once you are happy with your image and alt text, select the blue Set featured image button.
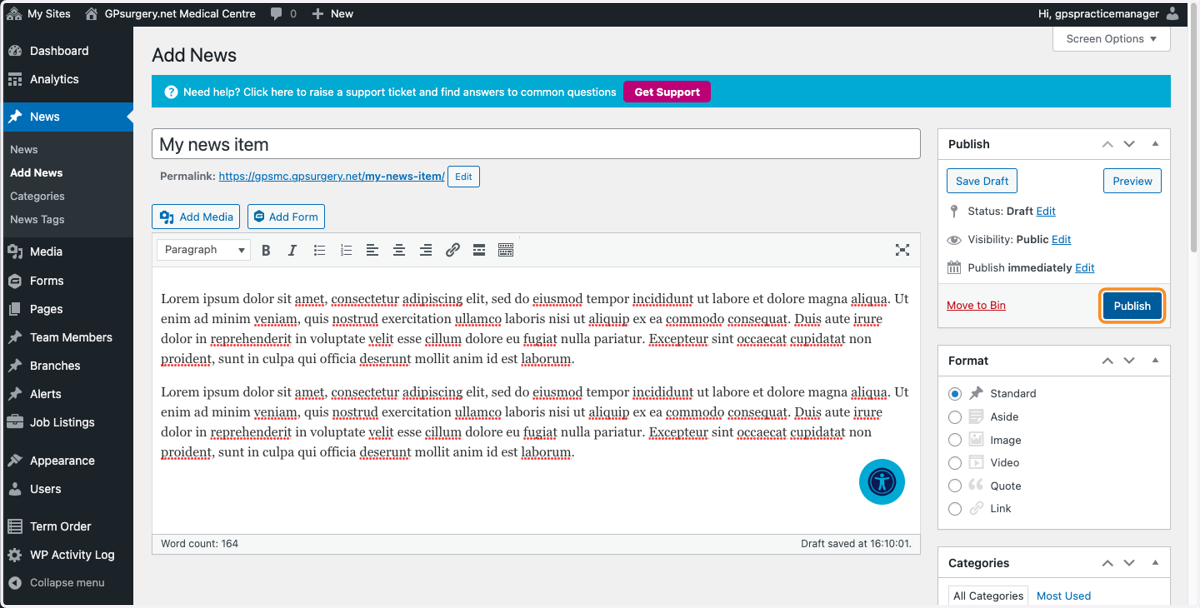
9. Once you are happy with the news post, select the blue Publish button in the publish box.
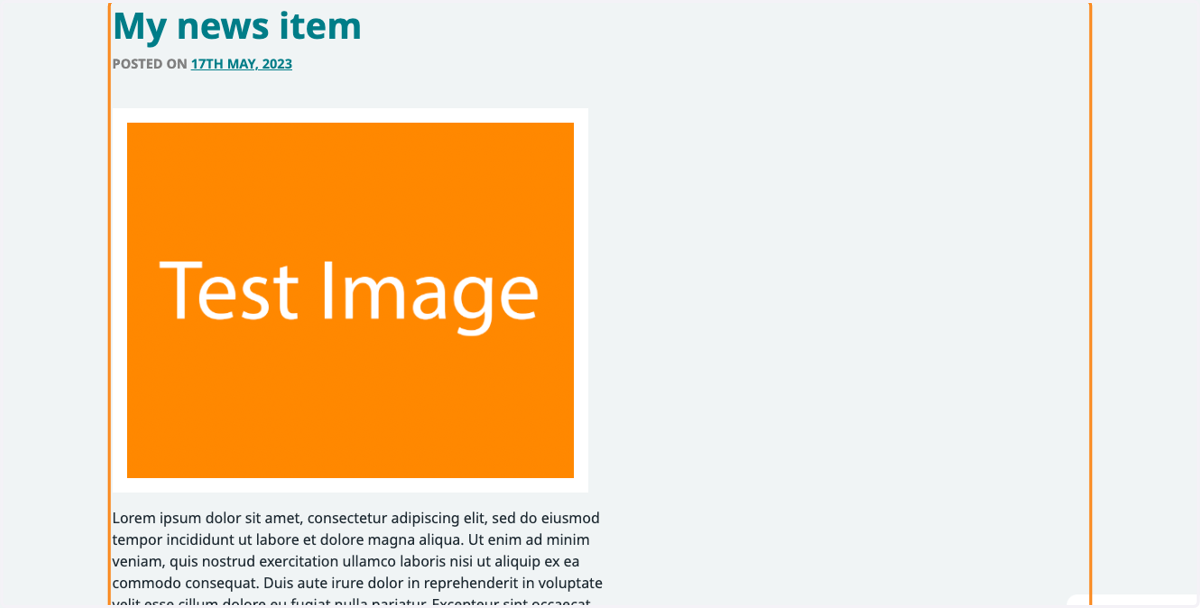
10. Your news item will now be published, with the featured image at the top of the article.
11. It will also display on the news page...
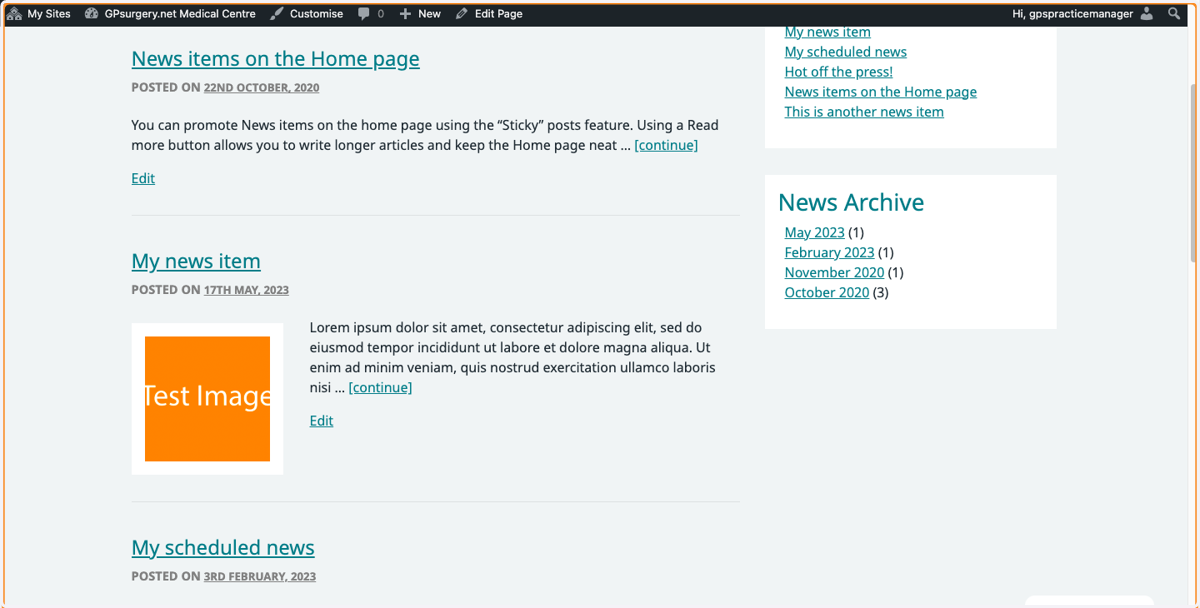
12. ...and the news box on the Home page.
If the featured image is not showing fully, you can follow this tutorial to make the image display correctly.