Add a document
You can add documents to your Navigator website. The steps are the same for all Navigator items. This includes news, alerts, clinics, services, policies, common questions and jobs.
Where possible avoid adding documents, add the text from the document. It is more accessible and faster for your website visitors.
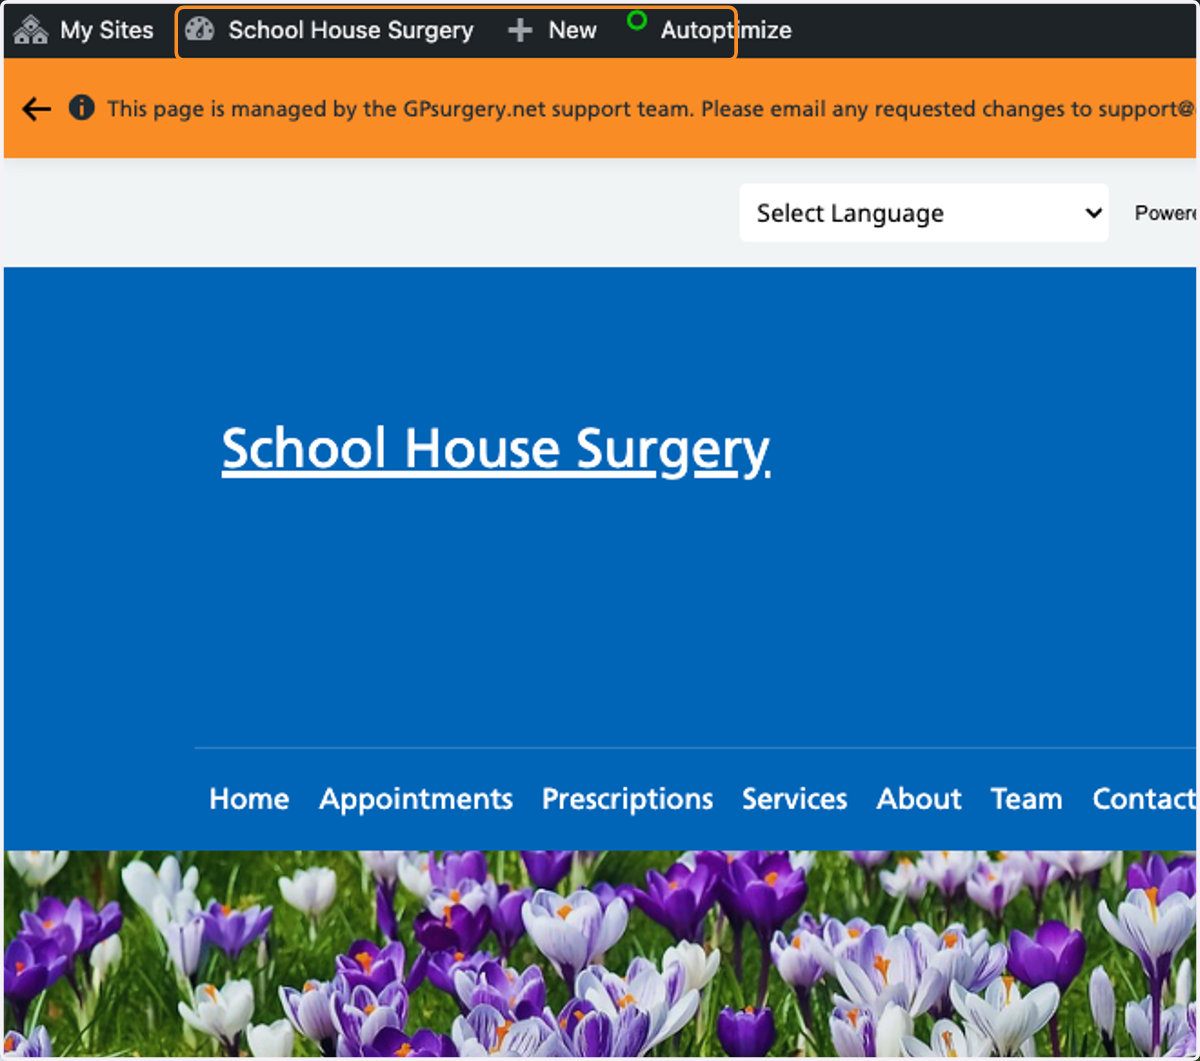
Login to your website dashboard to create or edit an item. In this example we will add a document link to a new Alert.
1. The black bar at the top of the page confirms you are logged in.
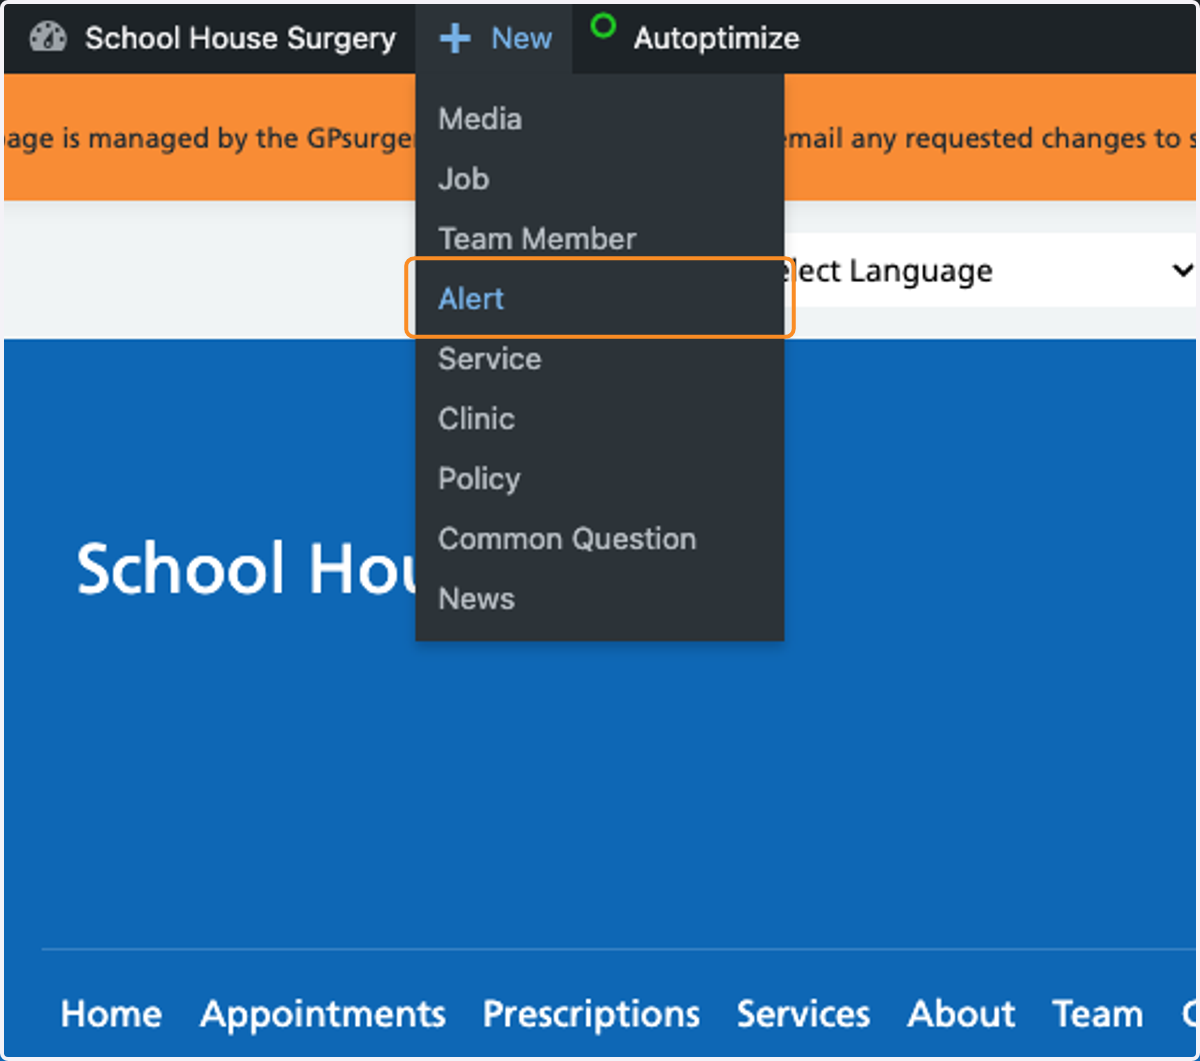
2. Hover your mouse over +New and select Alert
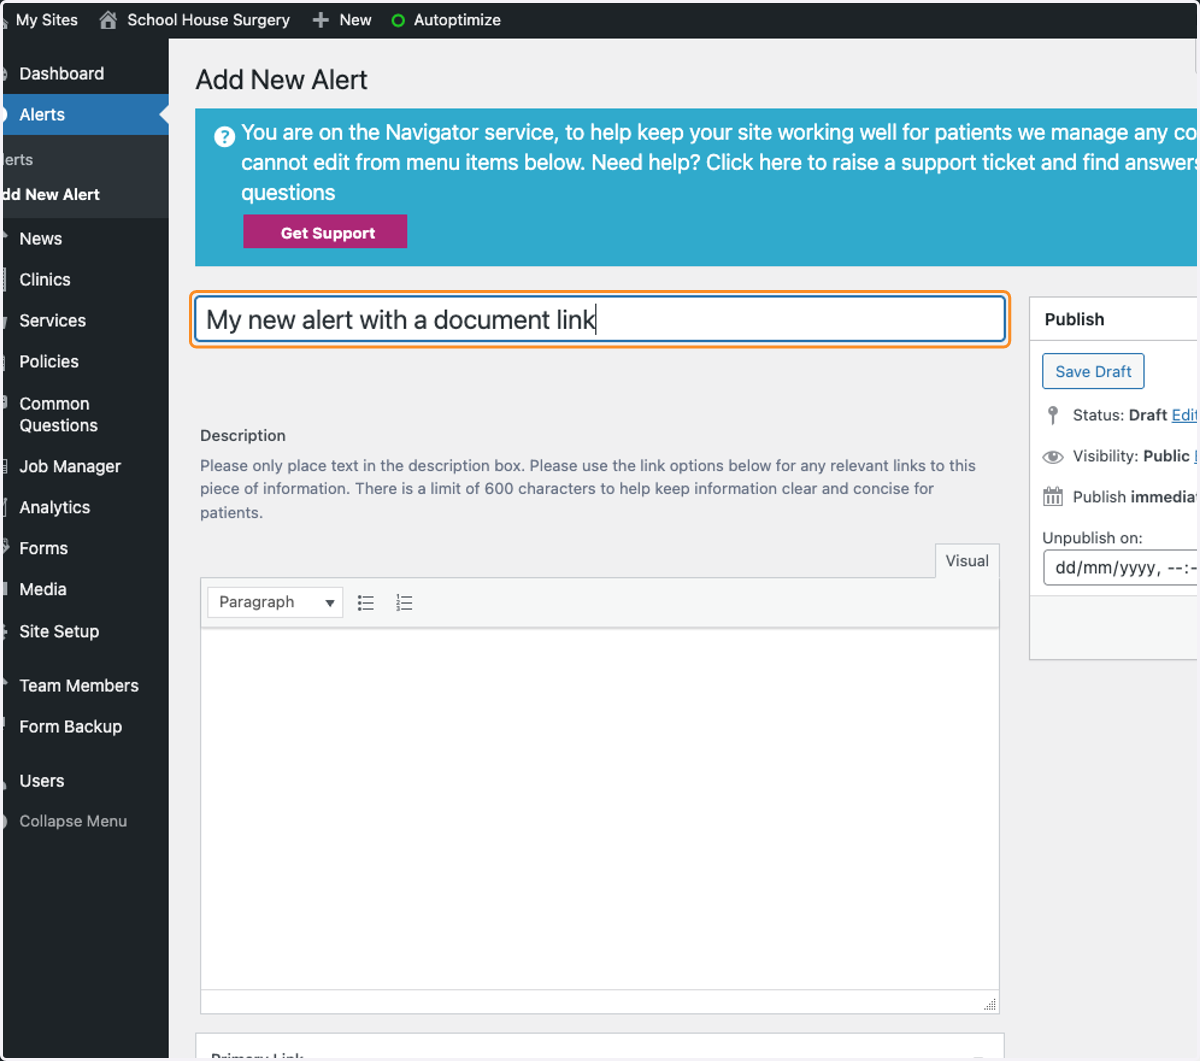
3. Add a title for your alert
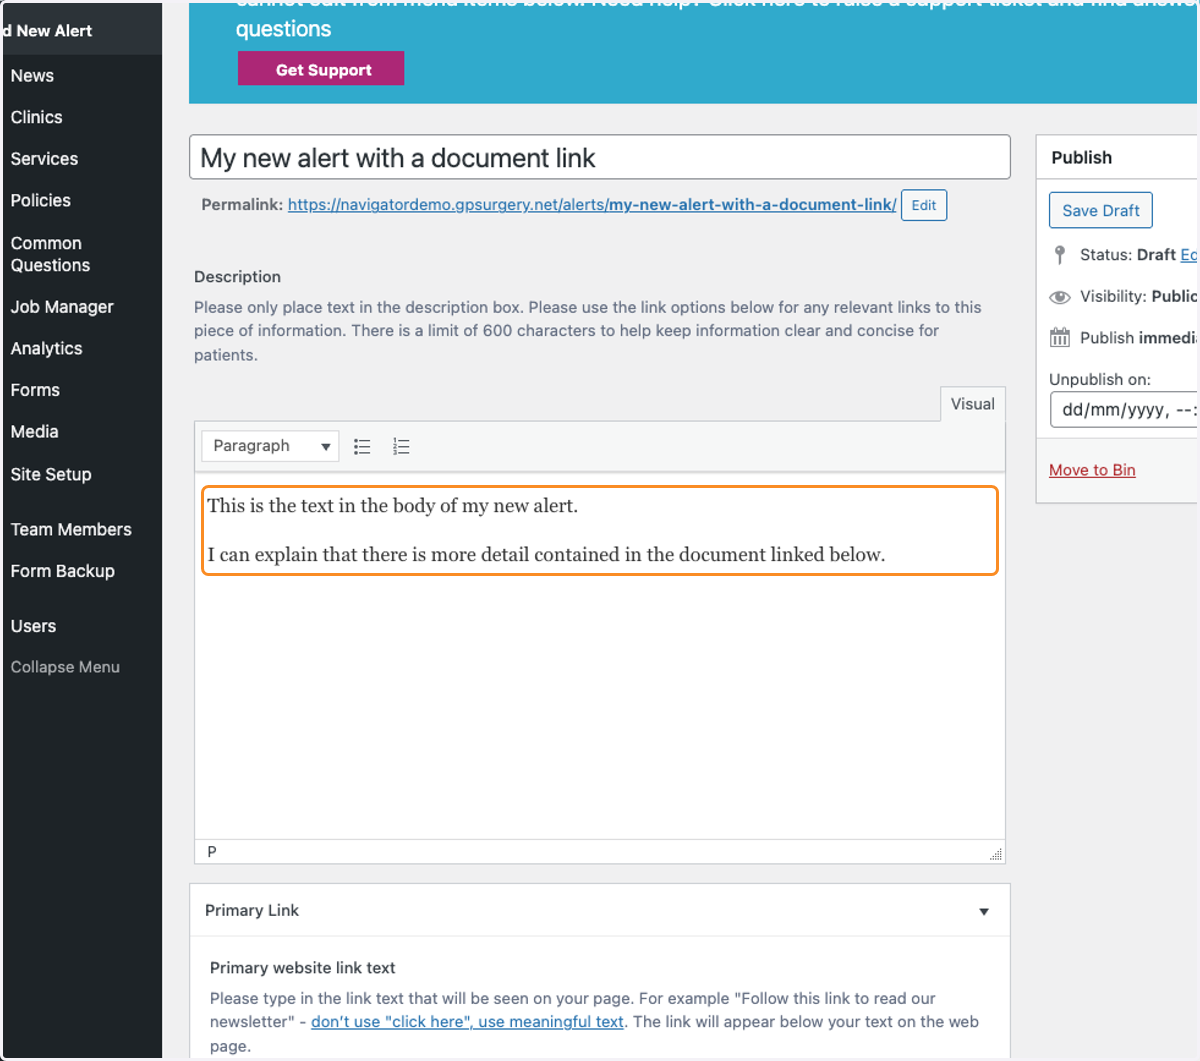
4. Add the main information by typing into the large text box. You can include headings and bullet points here.
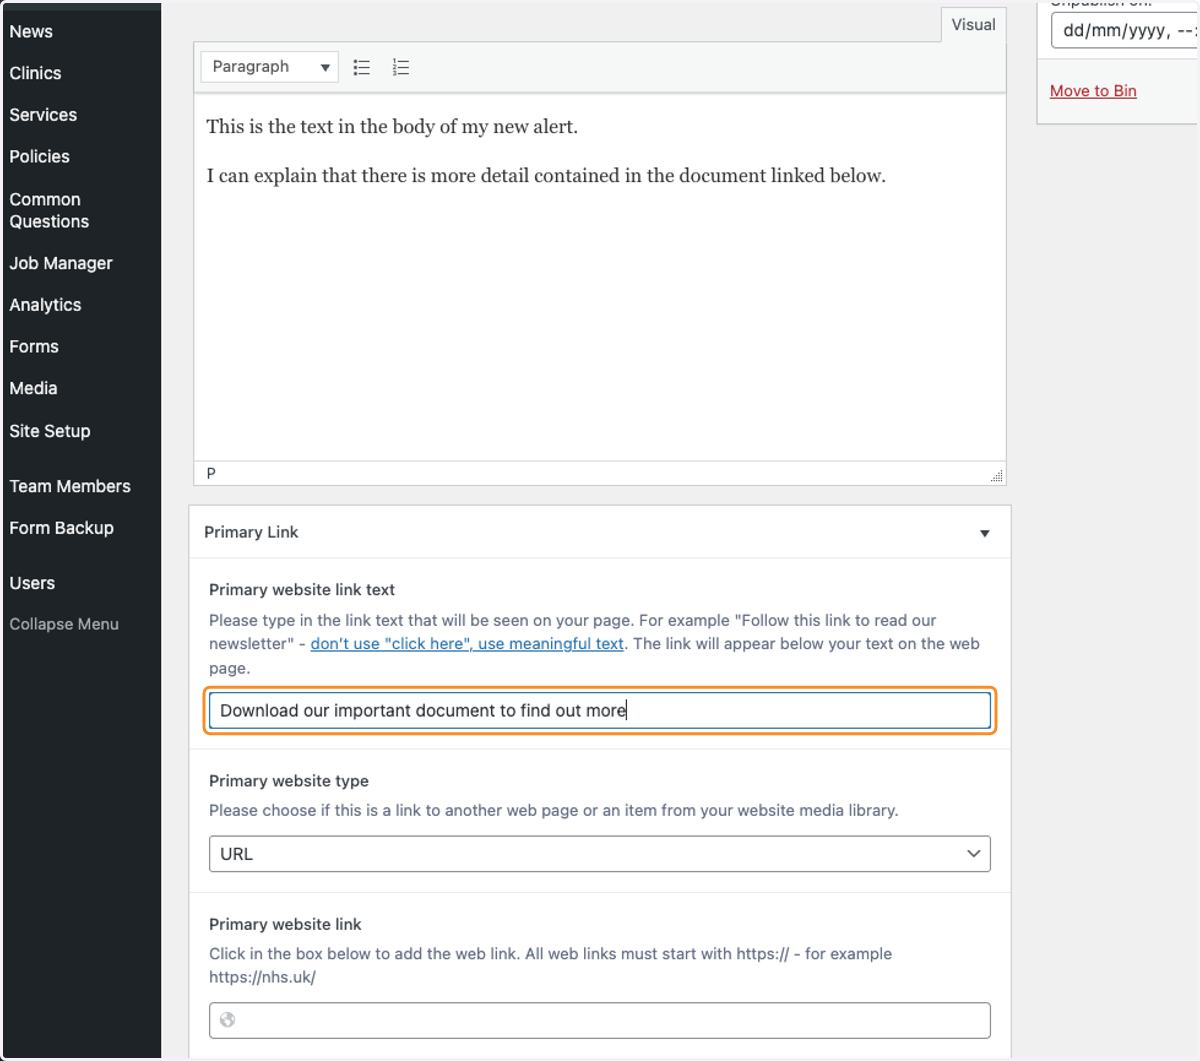
5. Scroll down to the Primary Link section. Add the text that will become a link to your document. Don't use "click here". Your link text should explain what the document is for. In this example we are adding more detailed information than could be contained in an Alert.
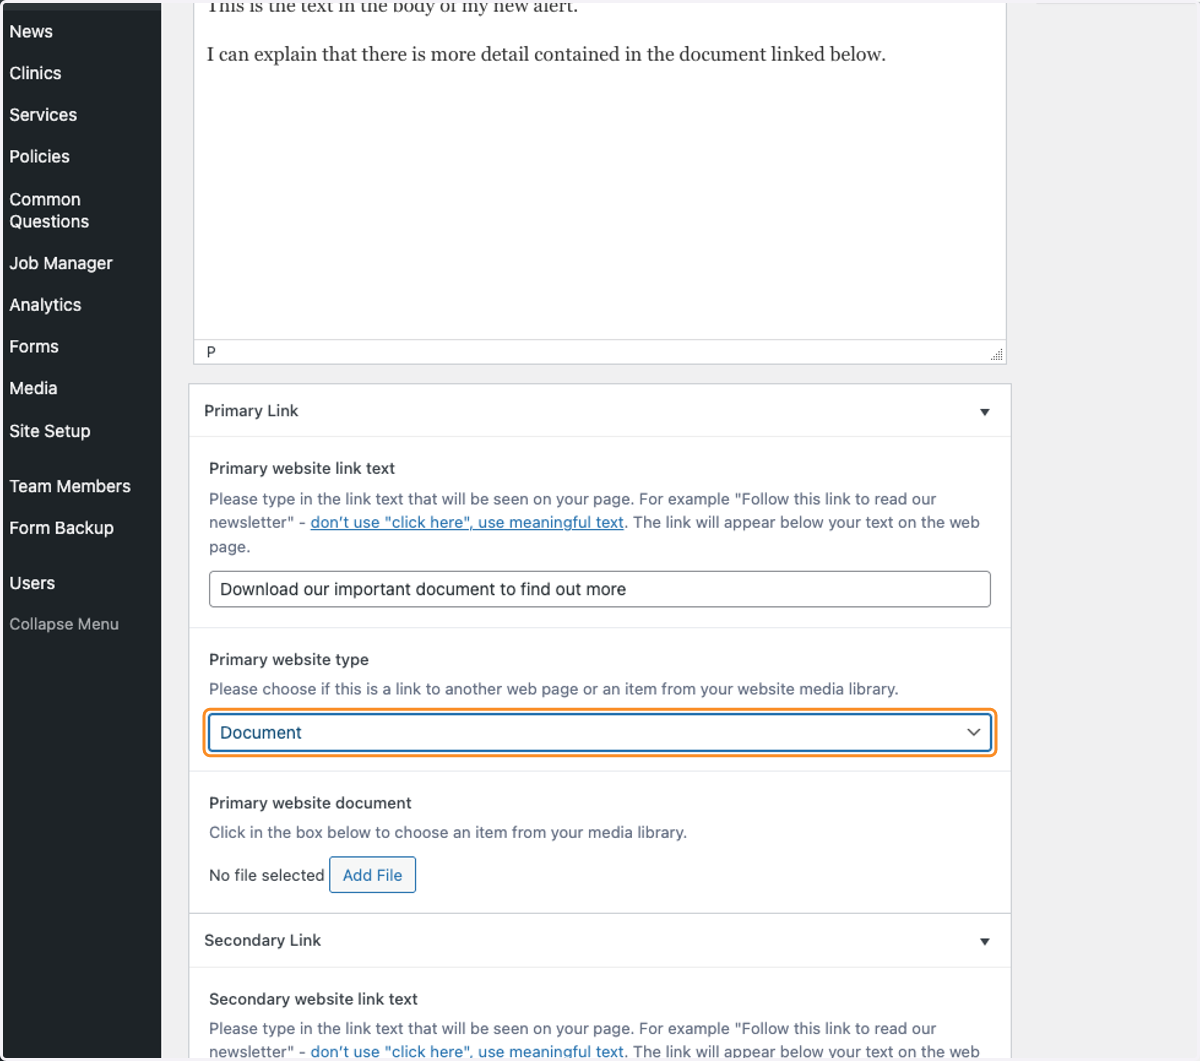
6. Choose the type of link from the drop down options. In this case select Document as we are adding a link to your document.
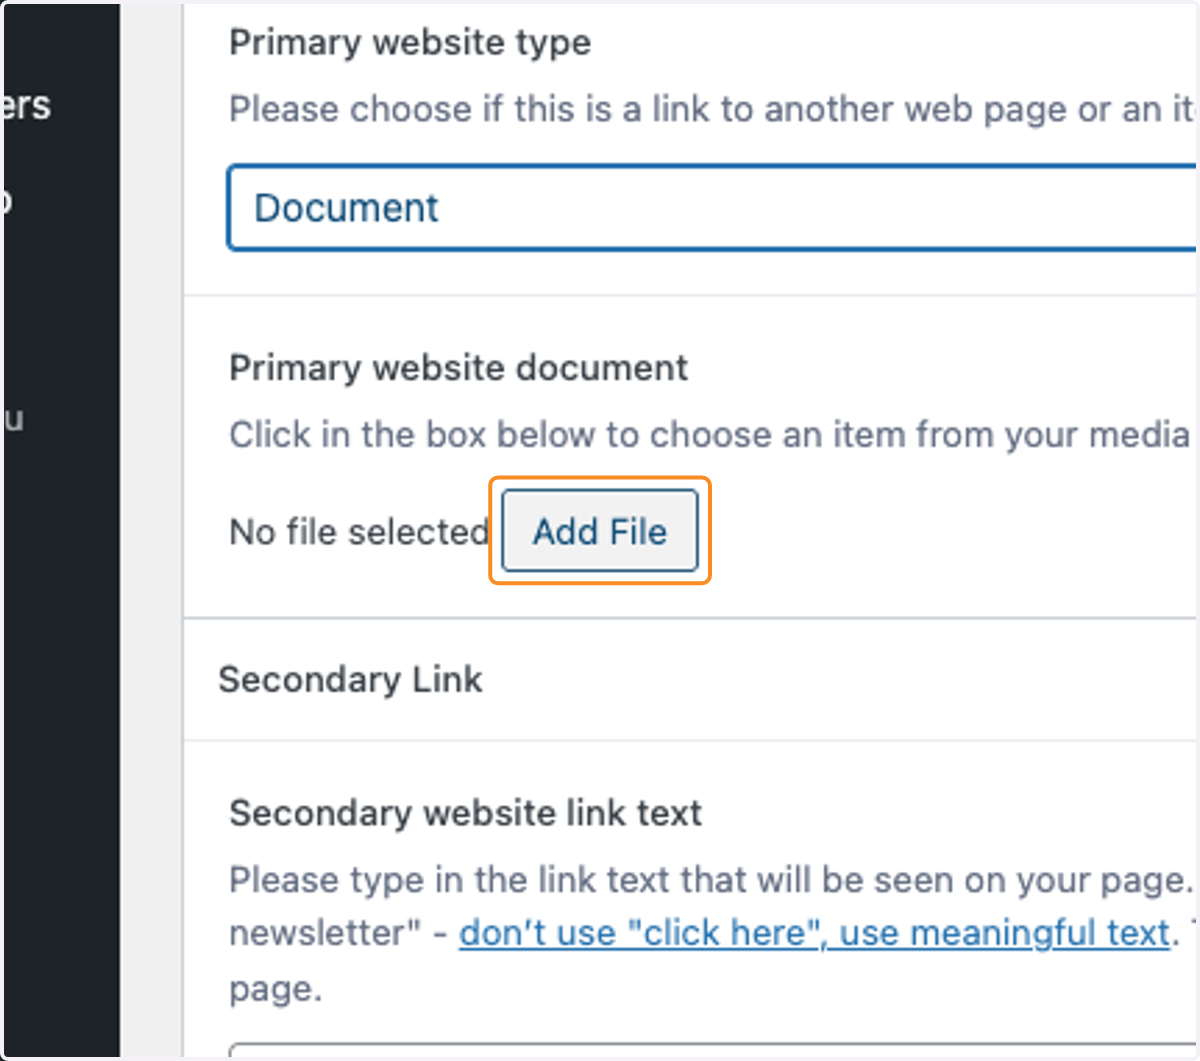
7. Click on the Add File button
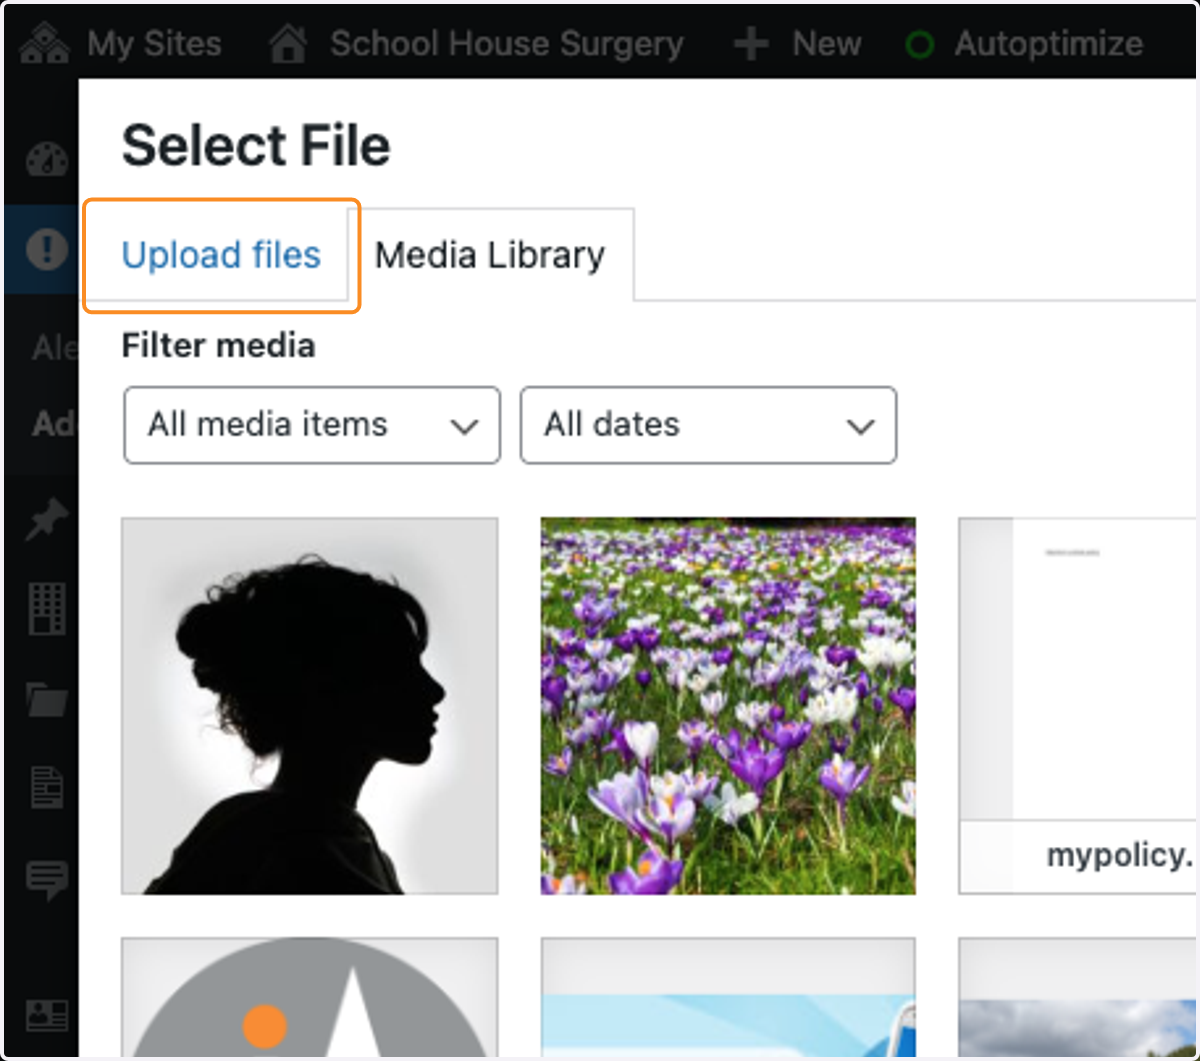
8. Click on the Upload files tab
9. Click on the Select Files button
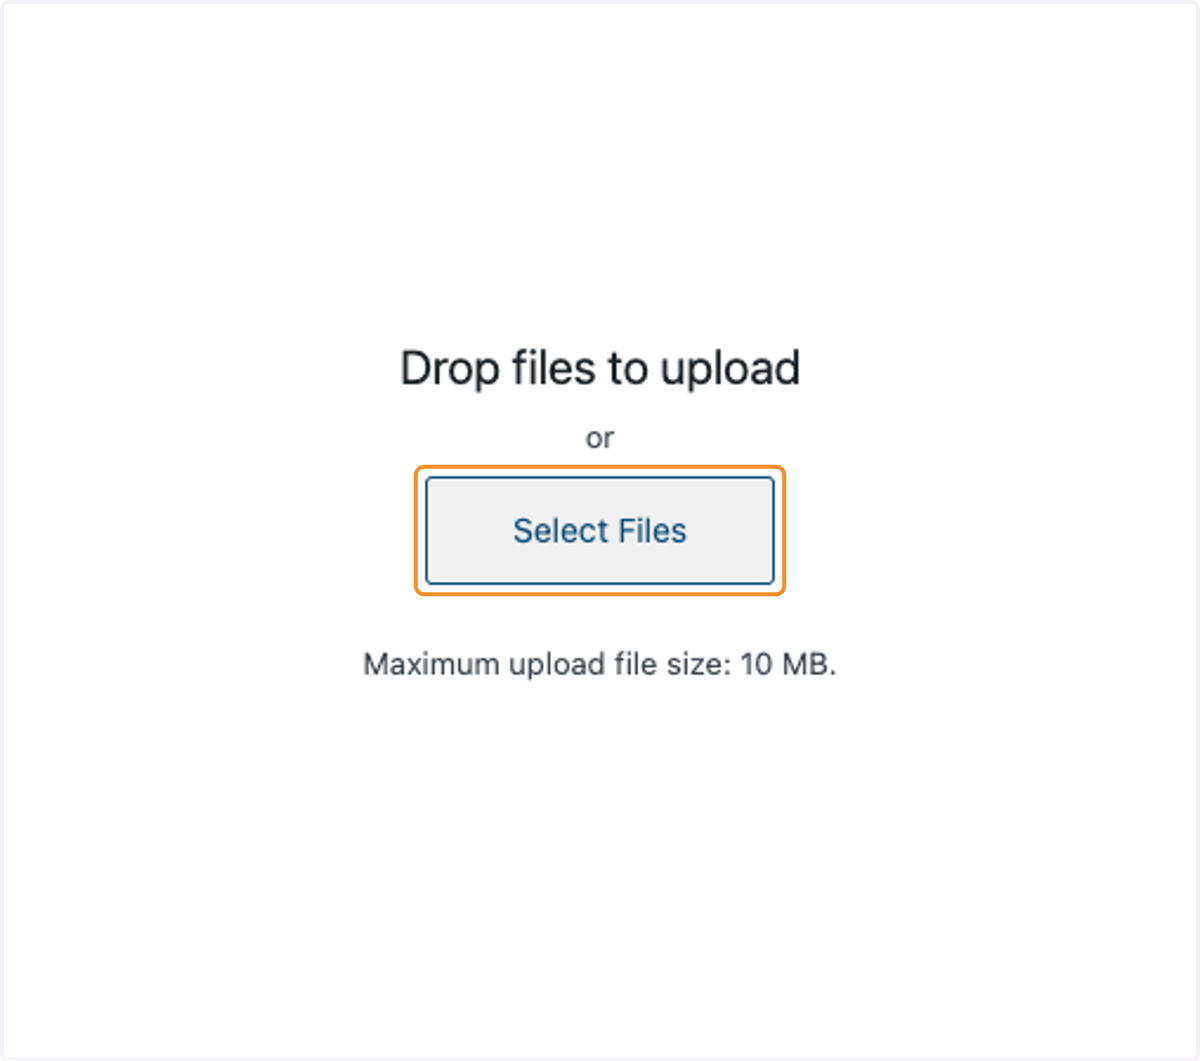
10. Select a file to upload from your computer. Wait for the document to finish uploading (the blue bar seen below will show progress).
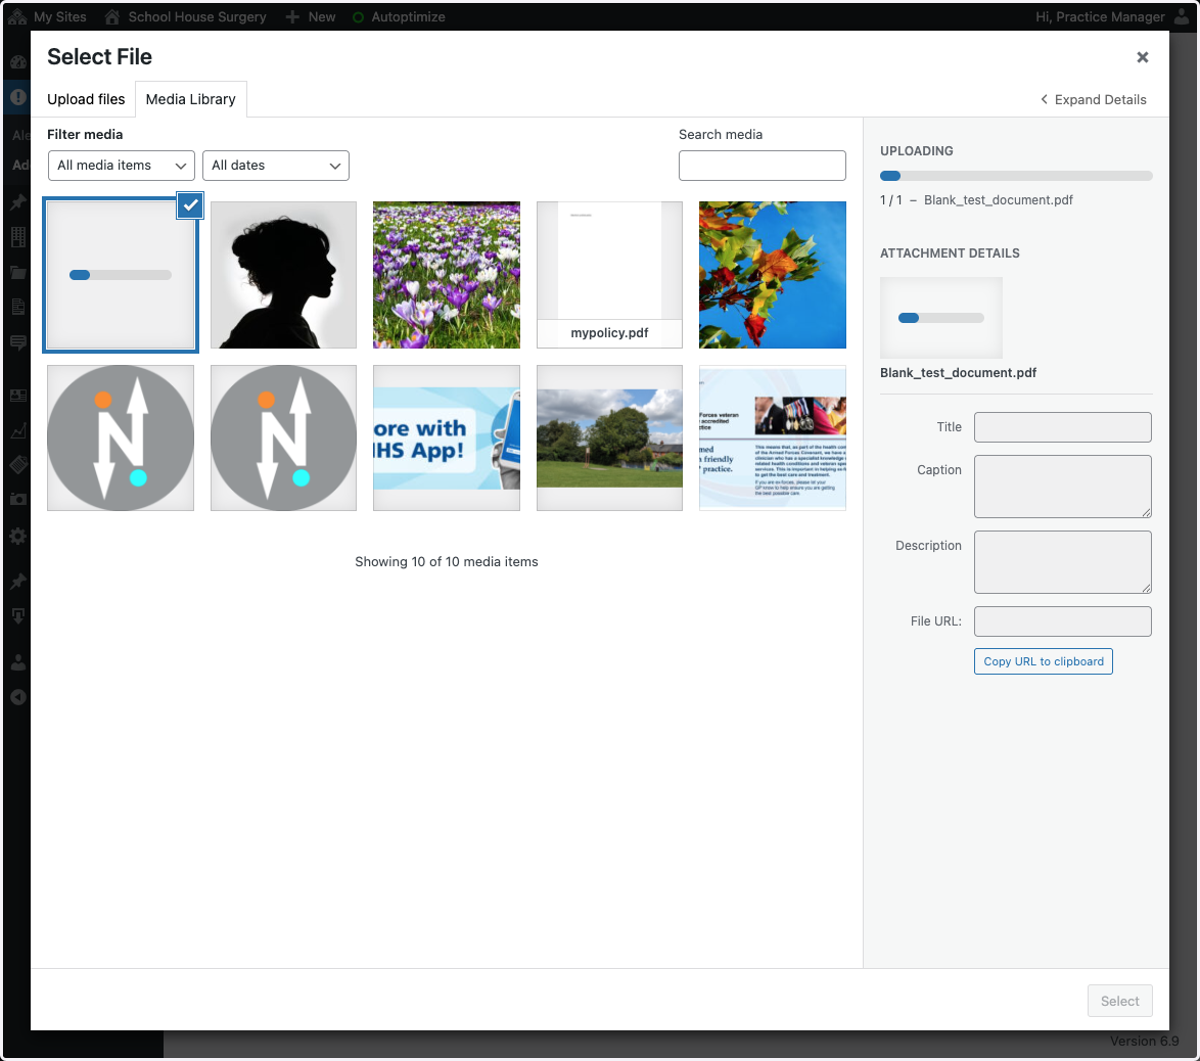
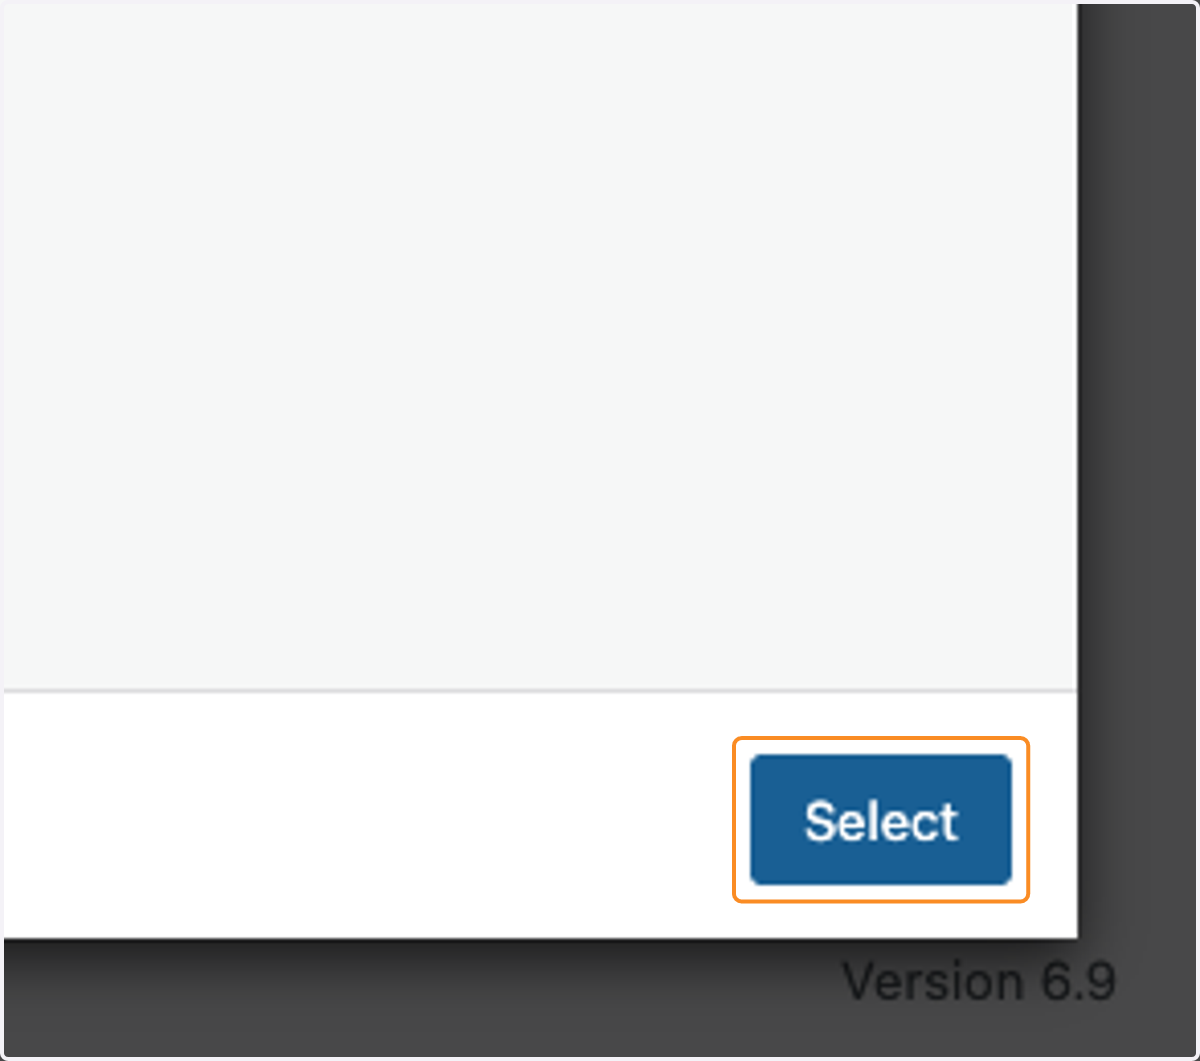
11. Click on the Select button in the bottom right corner to complete this step.
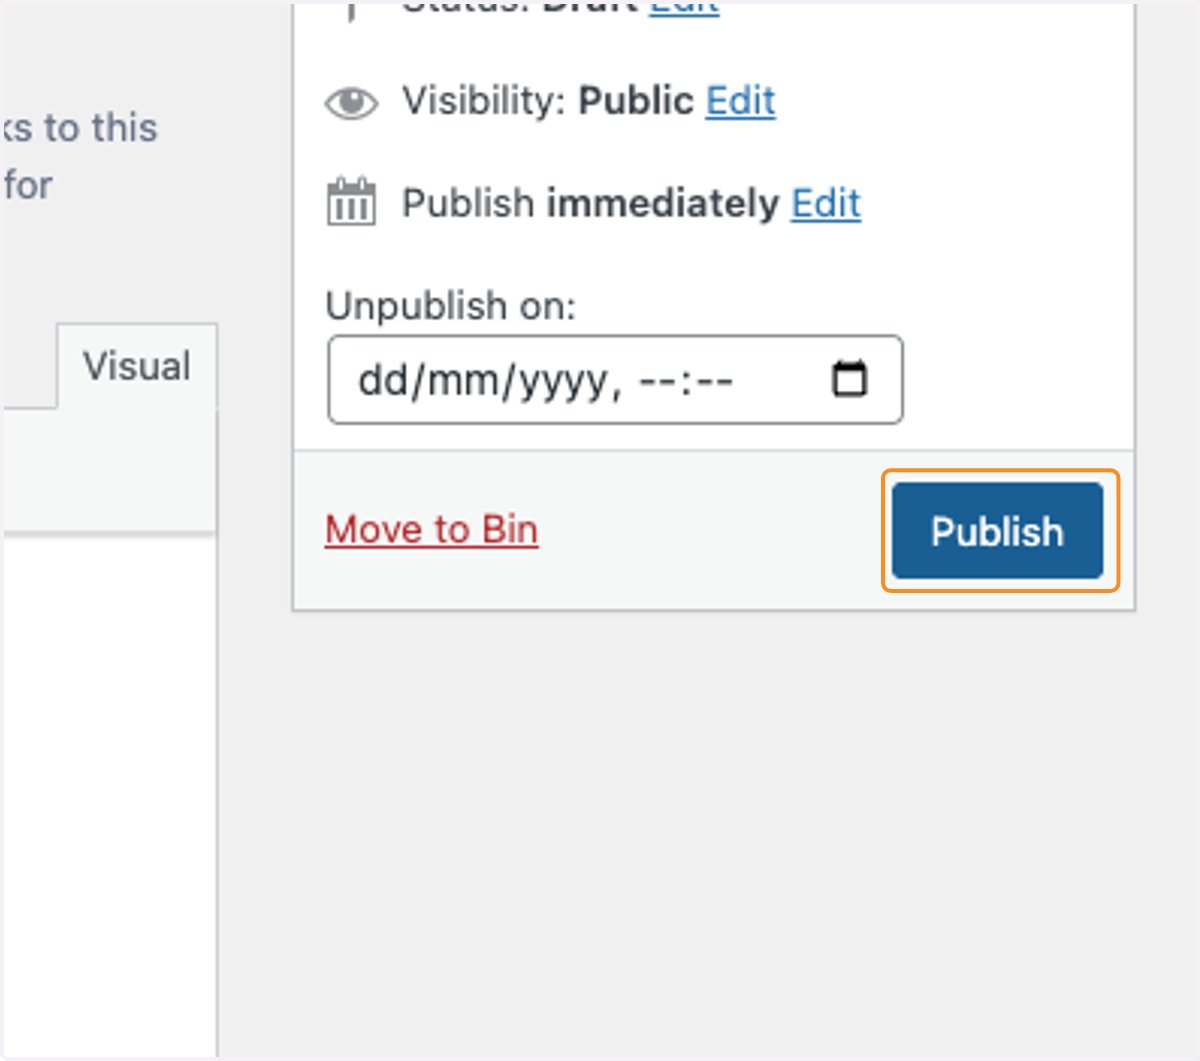
12. Click on Publish to make your alert visible on your website.
13. View your item and test the link(s). You can repeat this process if you wish to add a second document.
Note you can have a maximum of two links. They can be a mixture of website links and document links.