Introducing Prepaid vs Onsite Inventory Management
This guide walks you through setting up your onsite inventory in Legacy Portal, followed by how to manage and monitor that inventory during live events, helping you track availability and prevent overselling in real-time.
To set up Onsite Inventory:
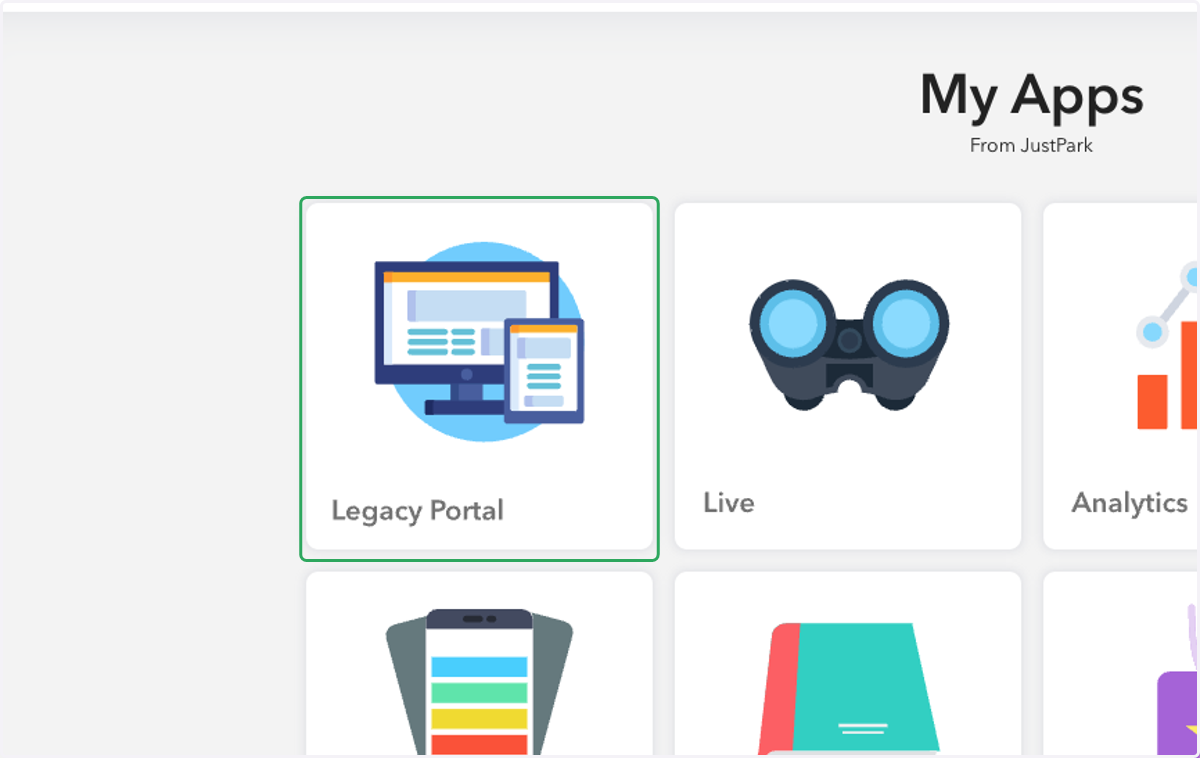
1. Open Legacy Portal.
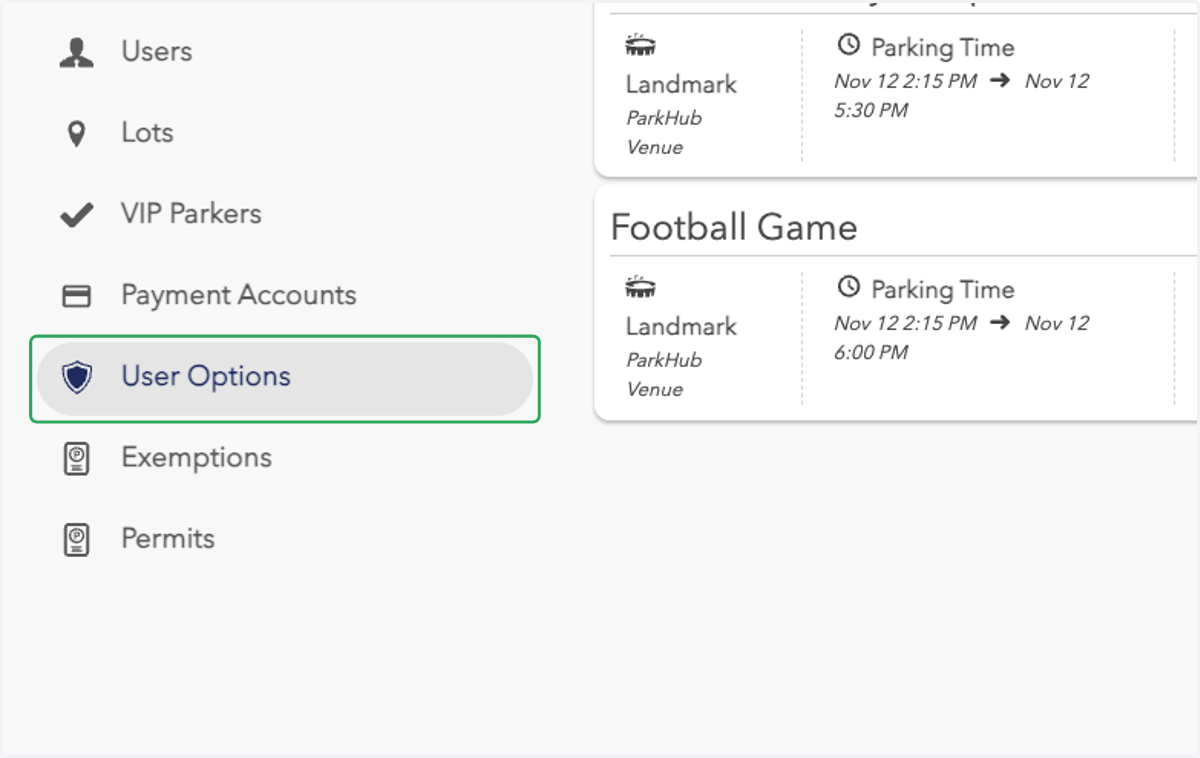
2. Navigate to the left-hand sidebar and select User Options.
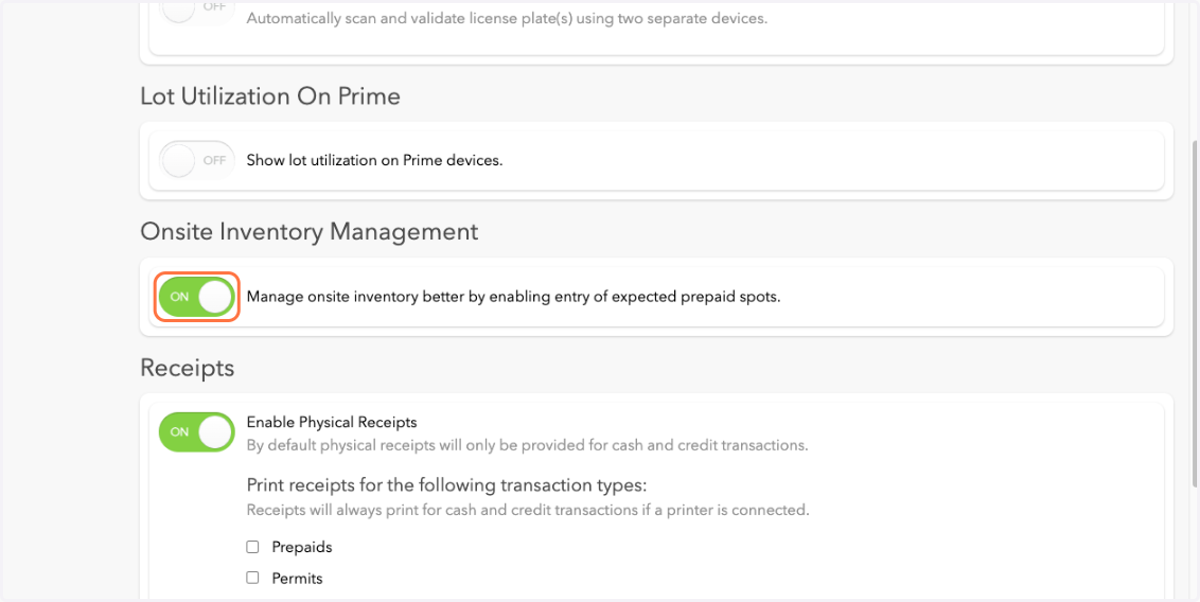
3. Scroll down until you reach Onsite Inventory Management options and switch the Onsite Inventory Management toggle on to enable the feature.
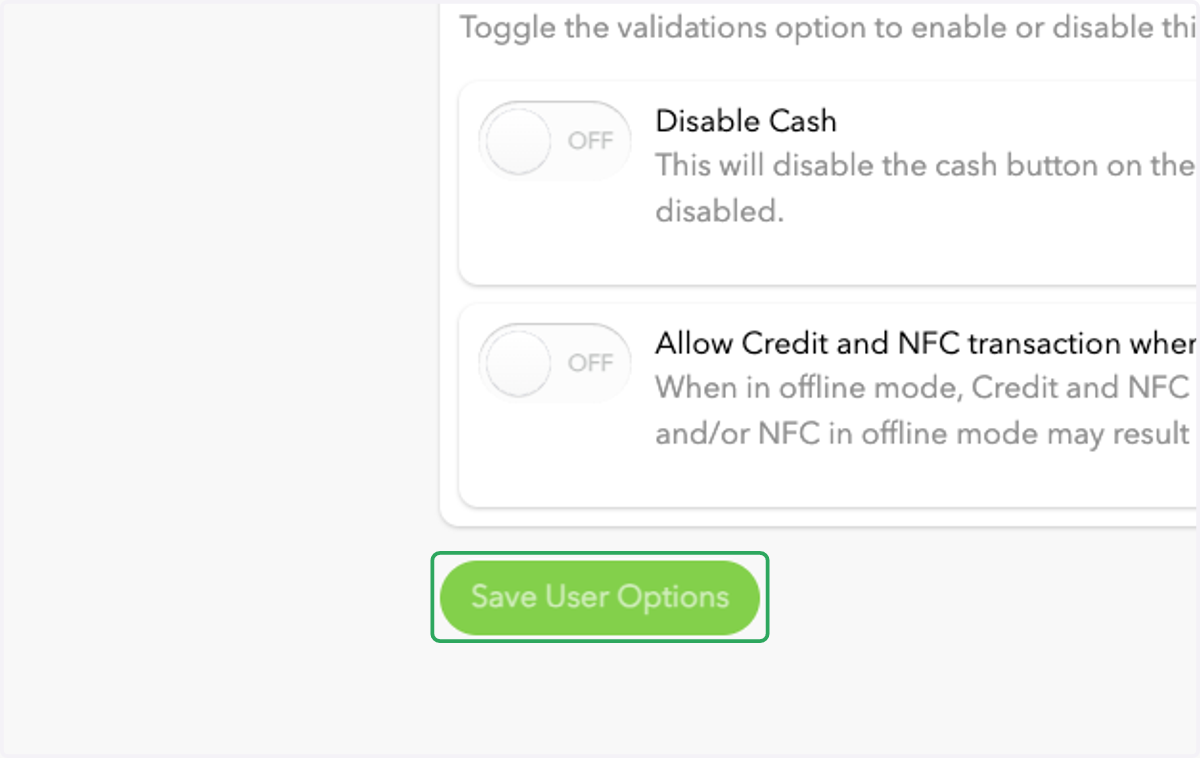
4. Scroll down until you reach the Save User Options button and click to save changes.
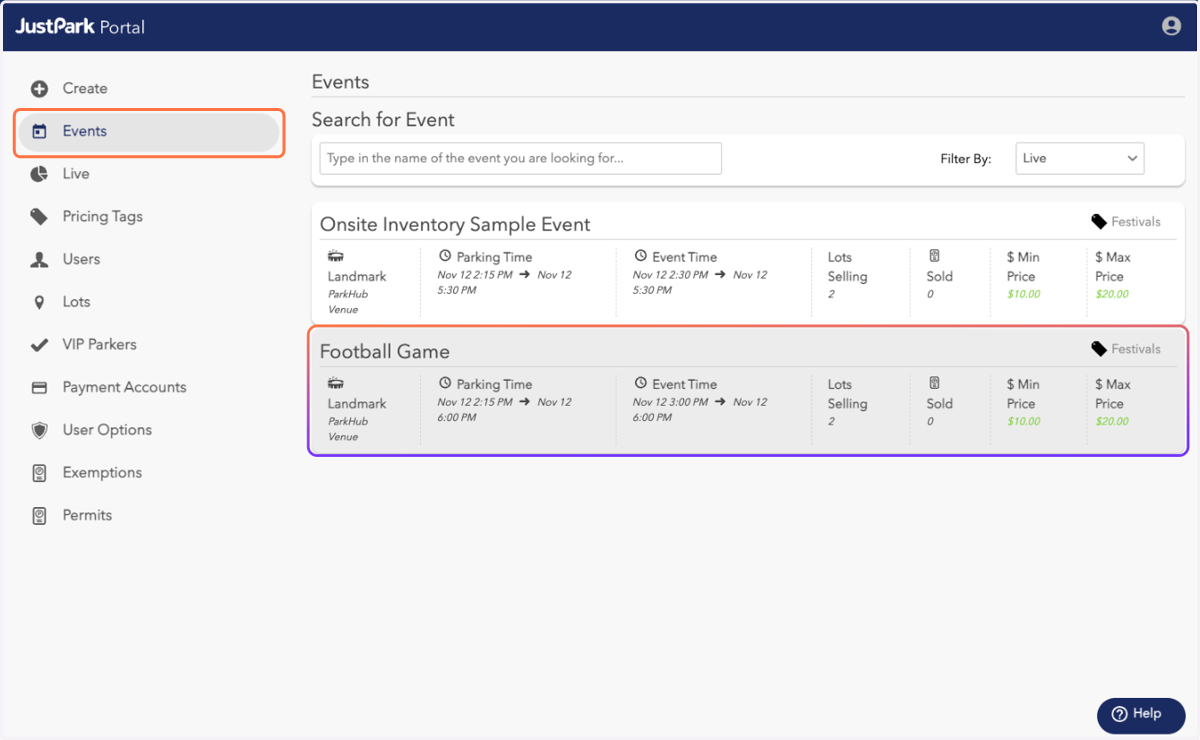
5. Navigate back to the left-hand sidebar and select Events, then choose the event you would like to edit.
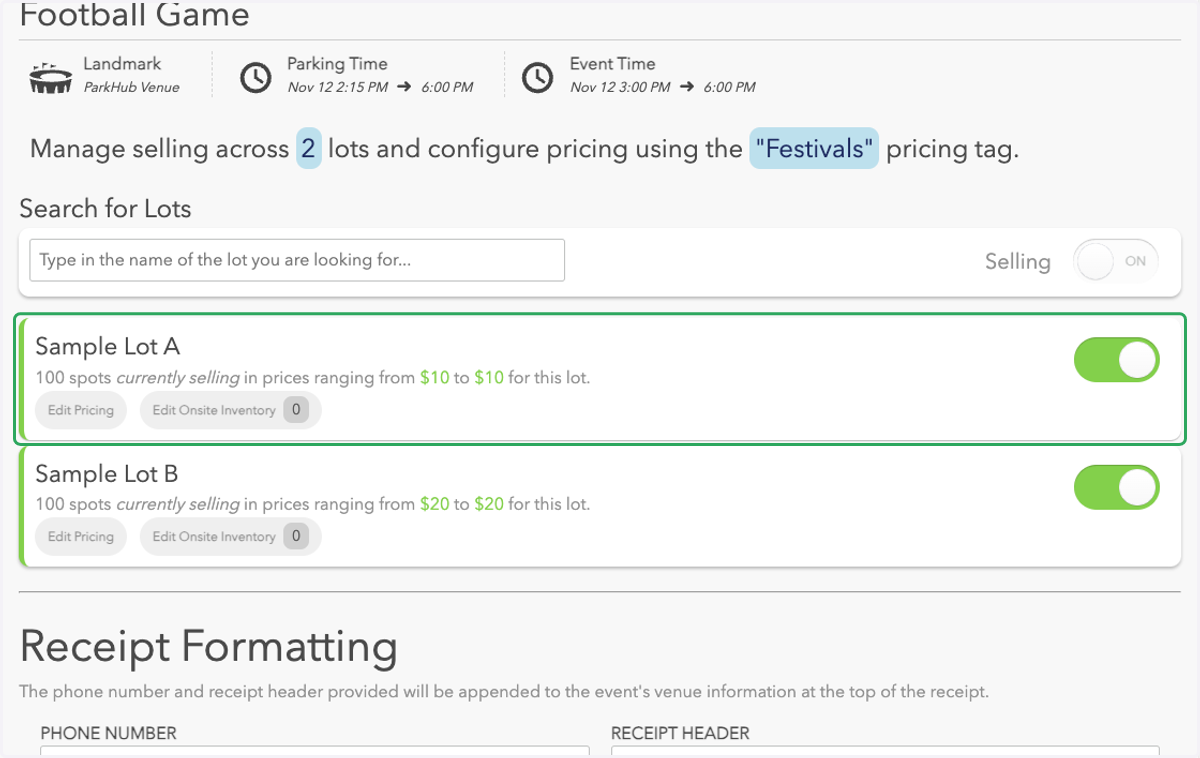
6. Identify the lot you would like to edit and ensure selling is enabled for the desired lot.
You will not be able to edit the onsite inventory for your lot unless selling is enabled.
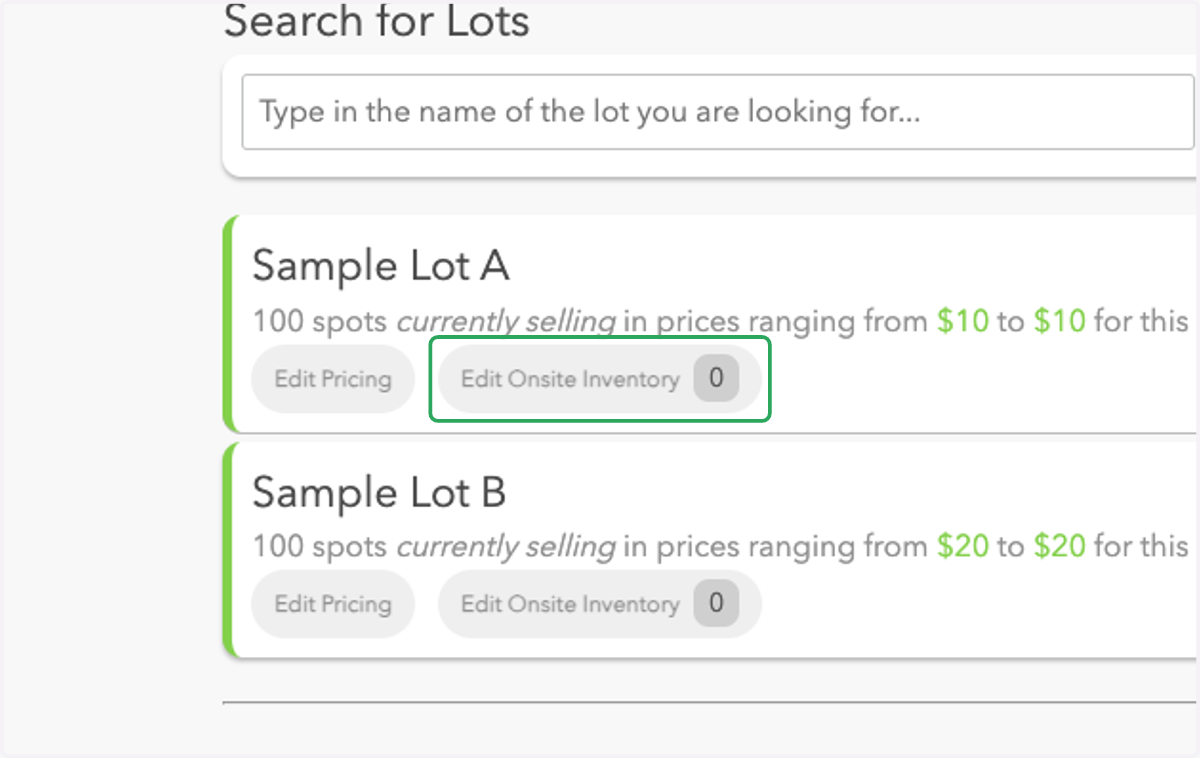
7. Click on Edit Onsite Inventory.
8. In the pop-up window, you will now see Total Inventory, Prepaids, and Onsite Inventory displayed.
Total Inventory: The total inventory available for your lot.
Prepaids: The number of prepaid passes you expect for the lot during this event.
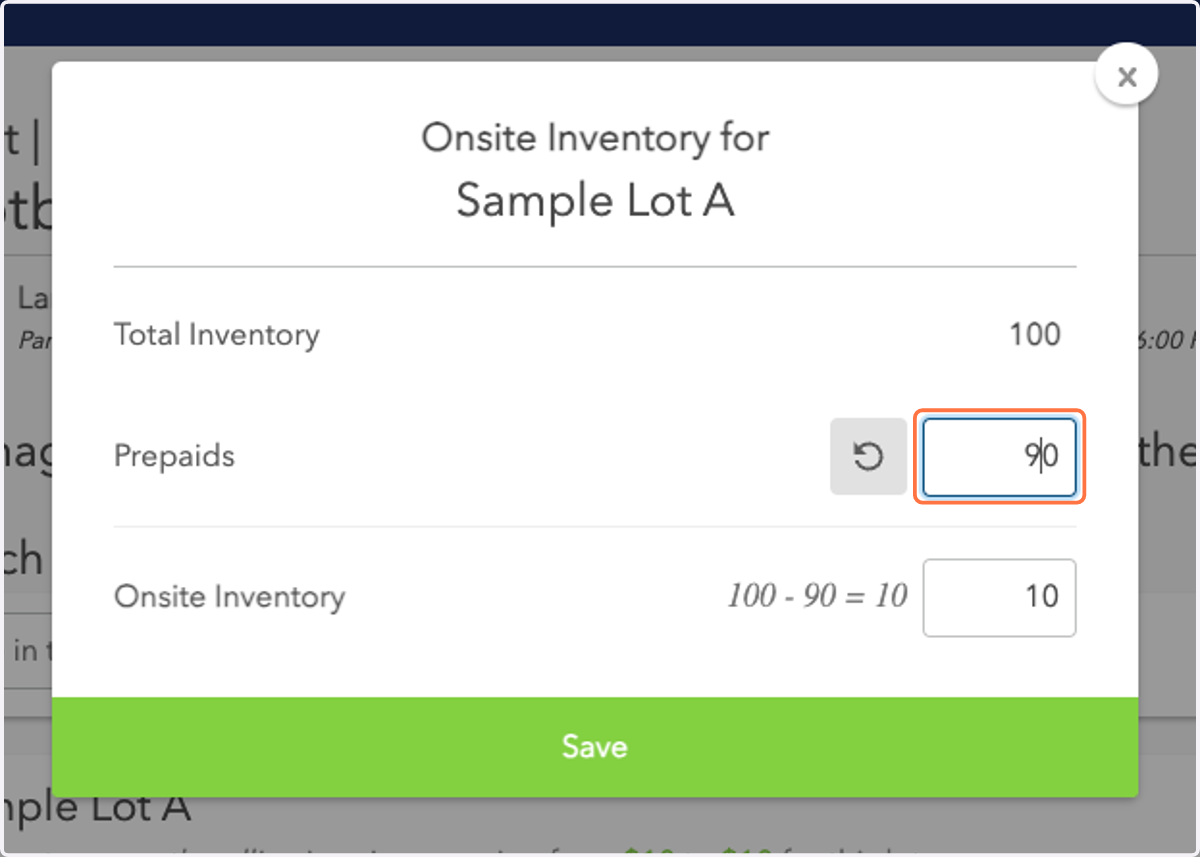
Onsite Inventory: This section automatically subtracts your expected prepaid passes from your total inventory, providing your estimated onsite inventory.
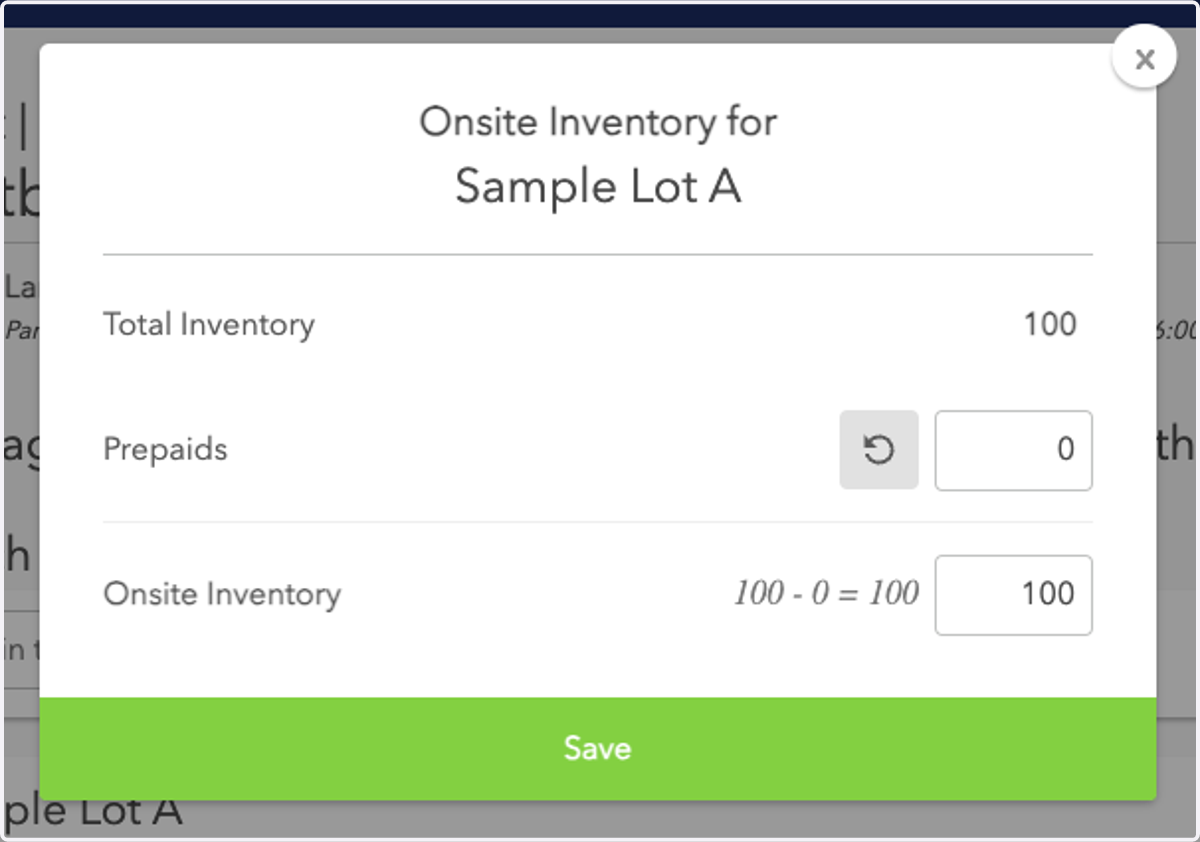
9. Enter your expected number of prepaid passes and click Save to ensure your changes are applied.
If the number of expected prepaids exceeds your total inventory, you will see a Potential Oversell warning. You will still be able to save your changes. Upon feature launch, you will not be able to edit the onsite inventory once parking has started.
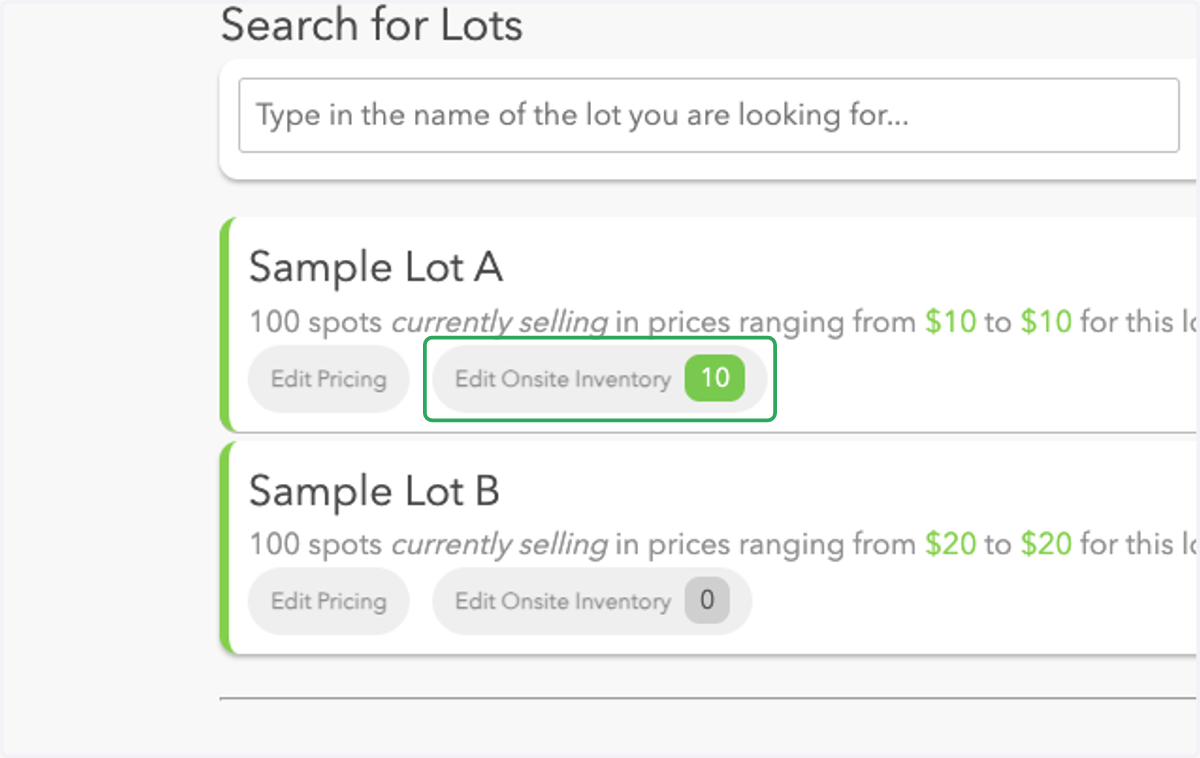
10. You will now see your expected onsite inventory for the selected lot.
Follow the same steps for each lot where you want to enable this feature.
To monitor Onsite Inventory:
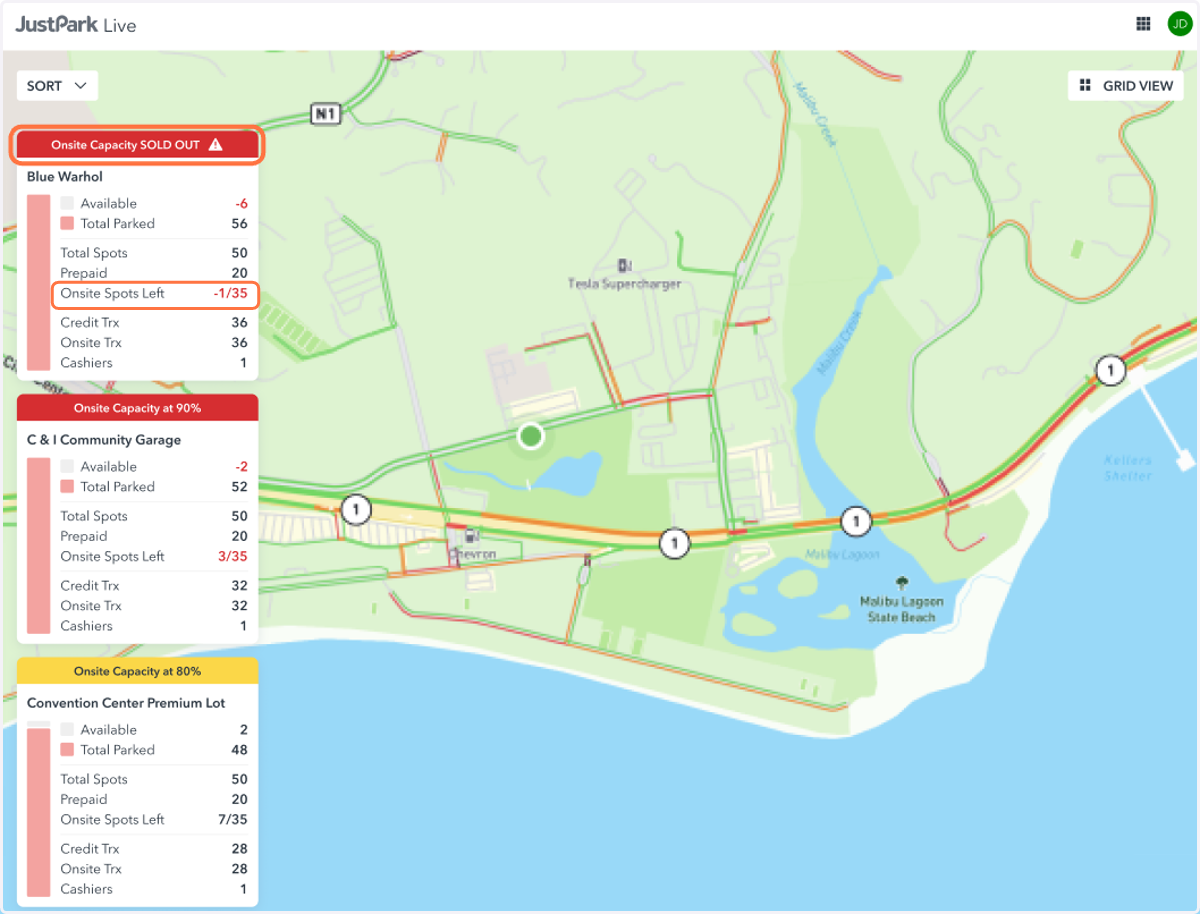
11. To view your onsite inventory, expand the Lots/Garages widget. You will see an additional row for all lots where you have set up onsite inventory management, displaying Onsite Spots Left / Onsite Inventory.
This represents the number of remaining onsite spots out of your designated onsite inventory.
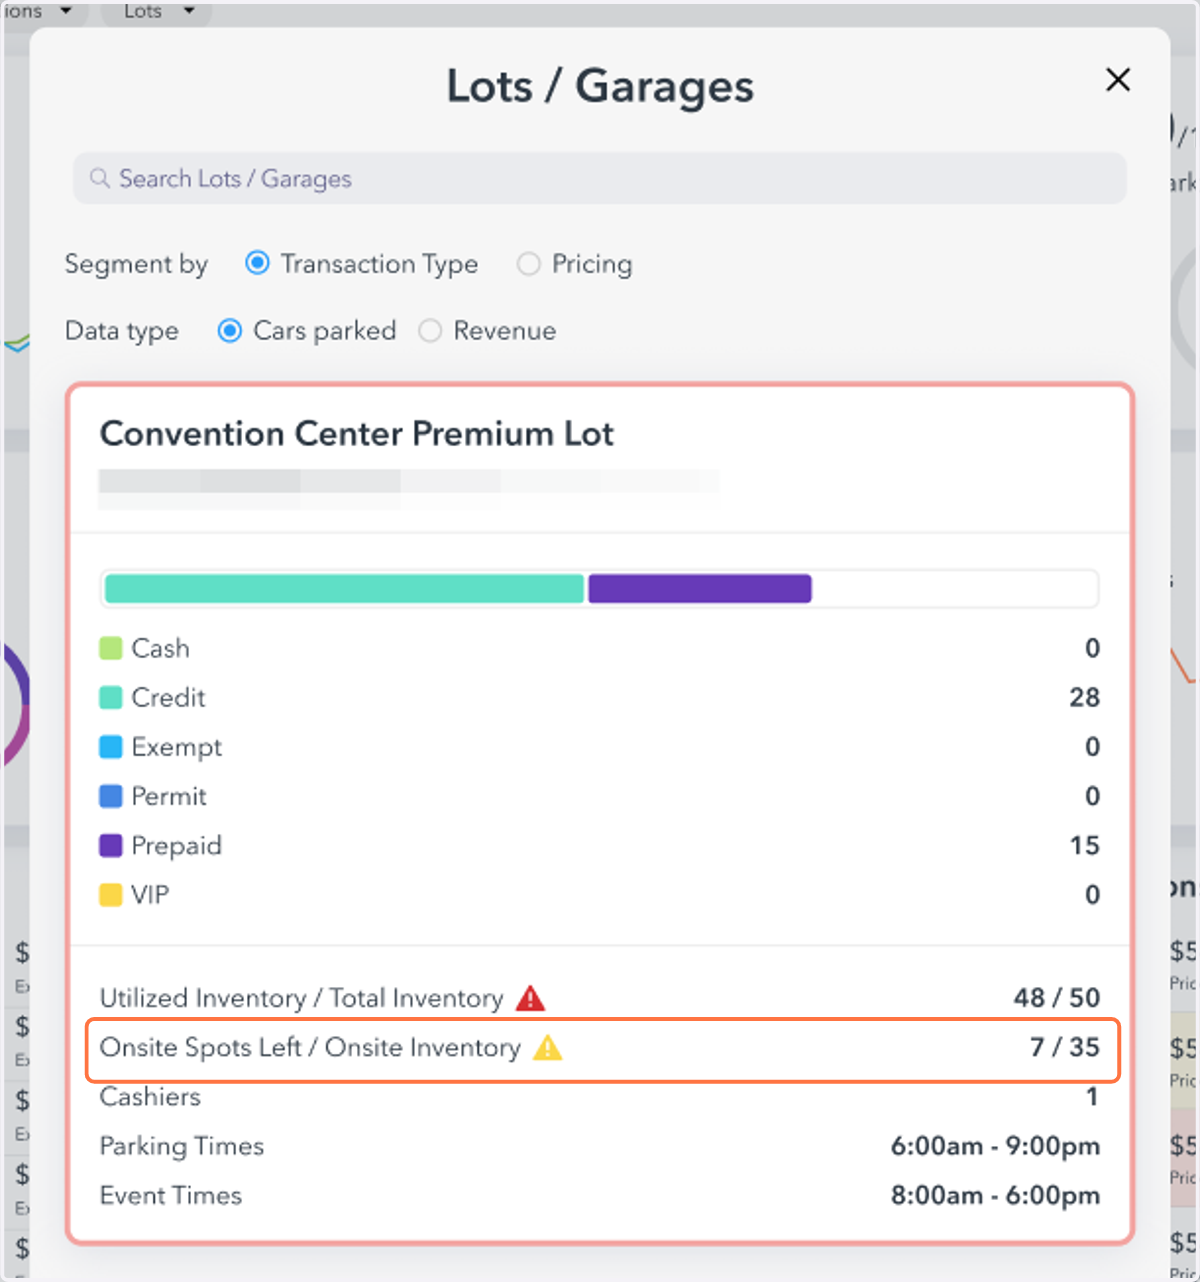
12. In Lots Command View, you will see the same row on each lot card displaying Onsite Spots Left for all lots where you have set up onsite inventory management.
As you deplete your designated onsite inventory, highlighted warnings will appear to show the percentage of remaining onsite capacity. Clicking into a lot card will display the same information as seen in Step 11.
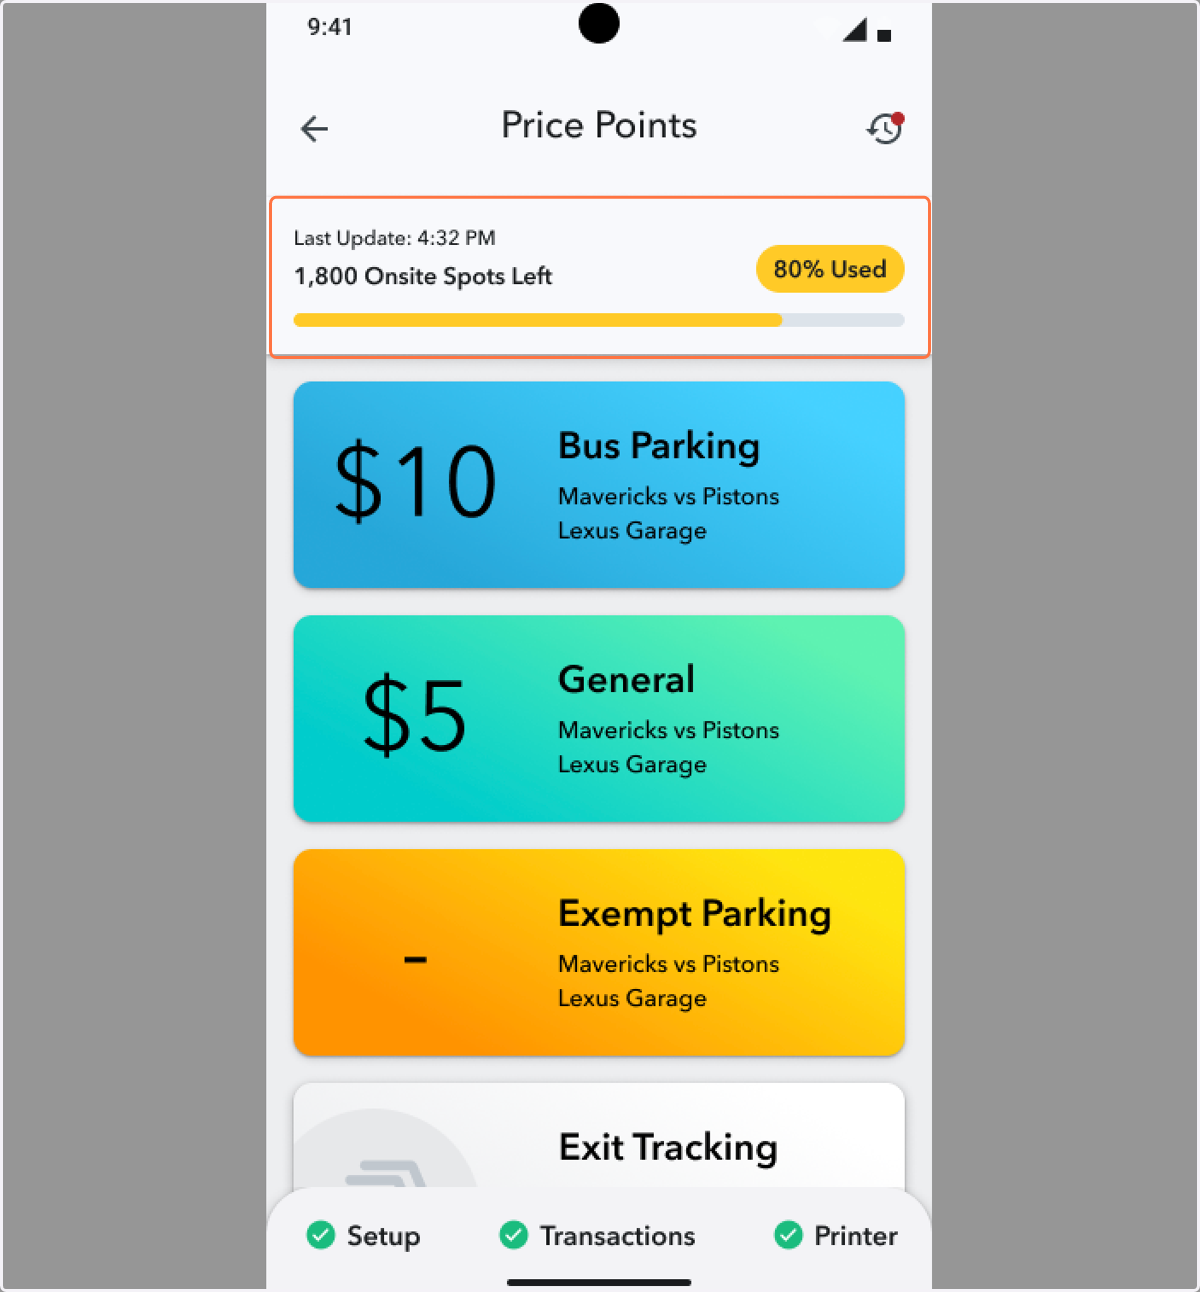
13. On your Prime device, attendants will see a comparable view at the top of the screen, with clear visual indicators reflecting the percentage of remaining onsite capacity.