Clarify: Creating rubrics with vocab', translation, check-ins and bump-it-ups.
This how to guide will walk you through the new Clarify features
Verso
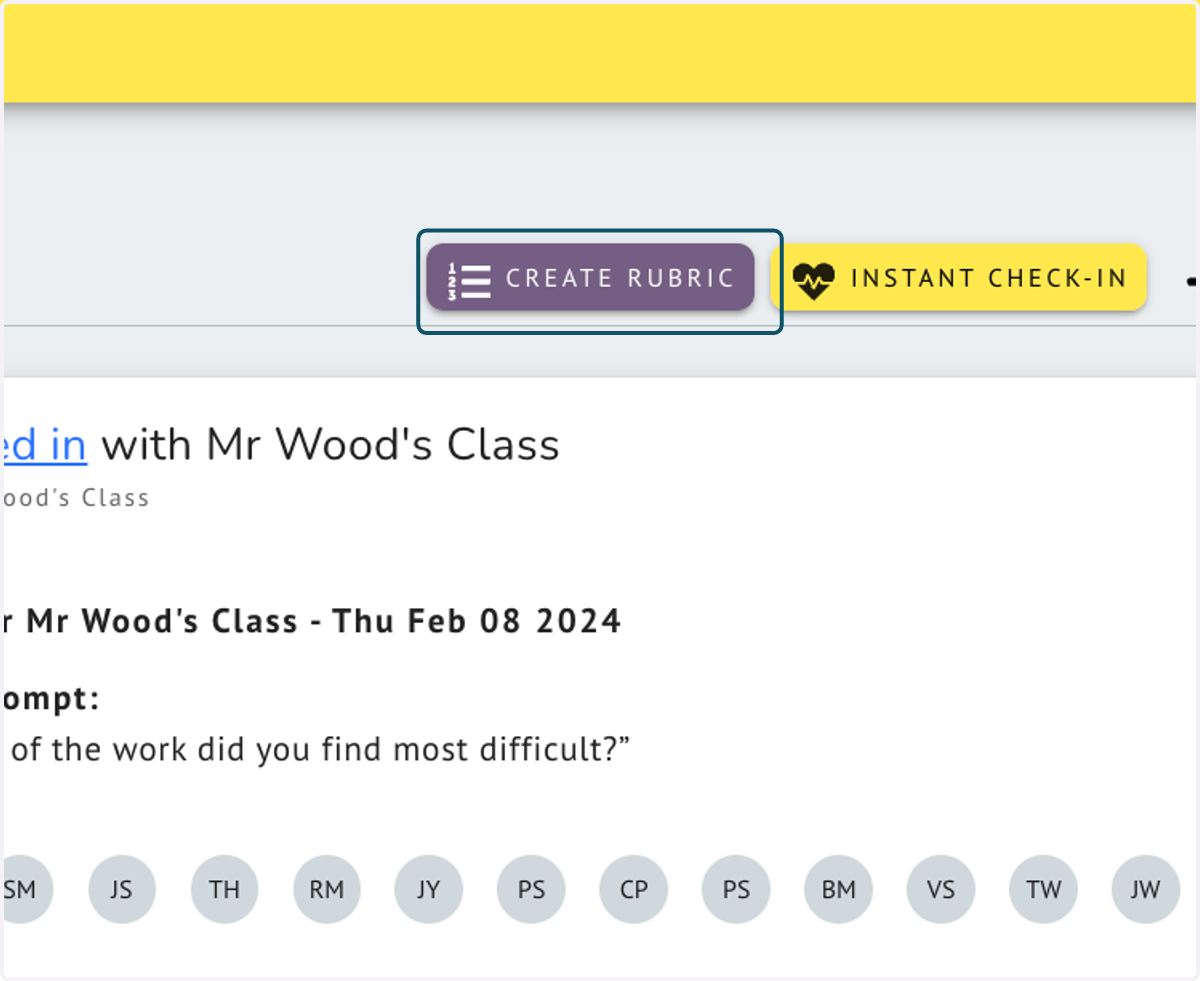
1. From the Homepage click on CREATE RUBRIC
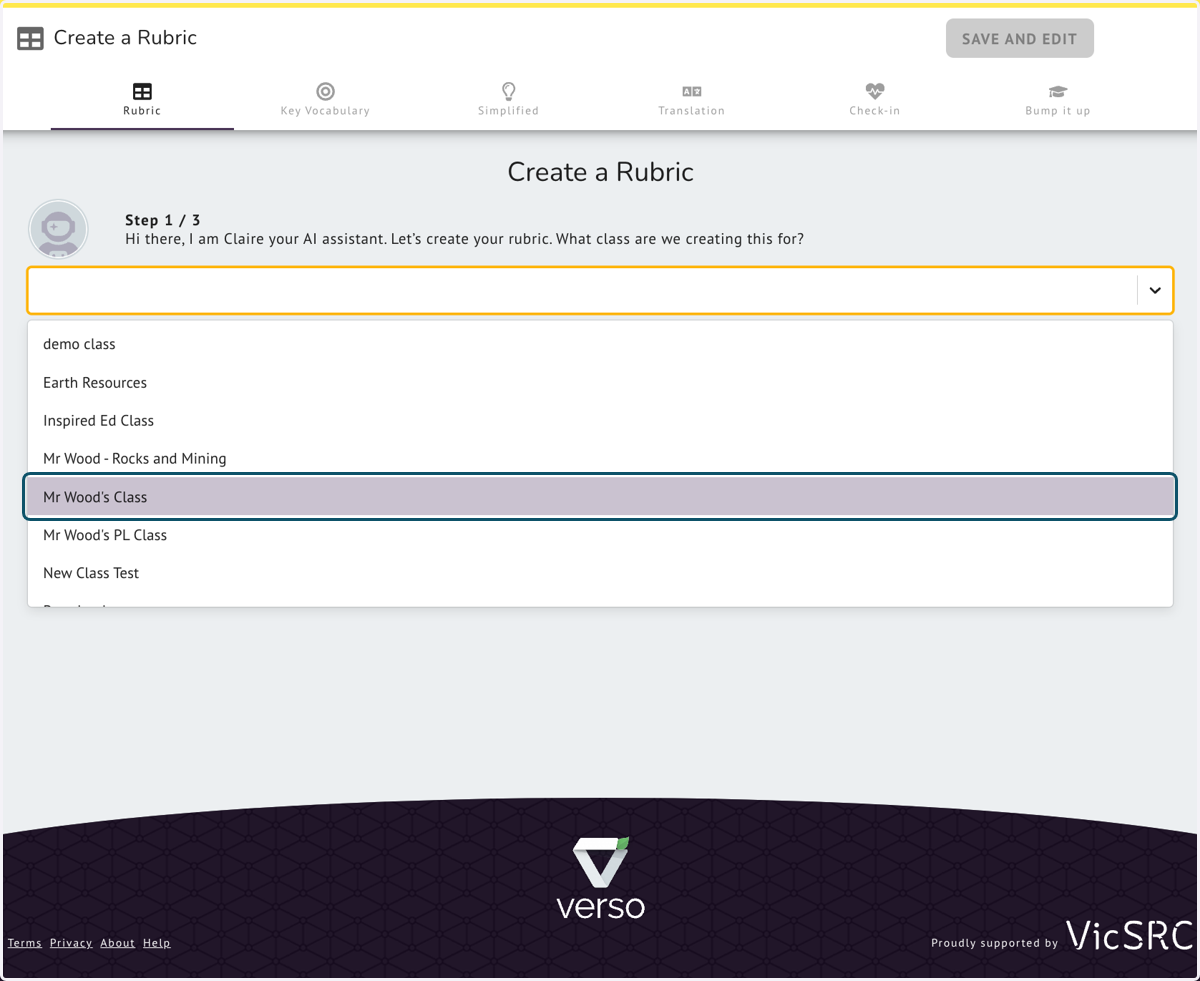
2. Select the Class you wish to add the Rubric too
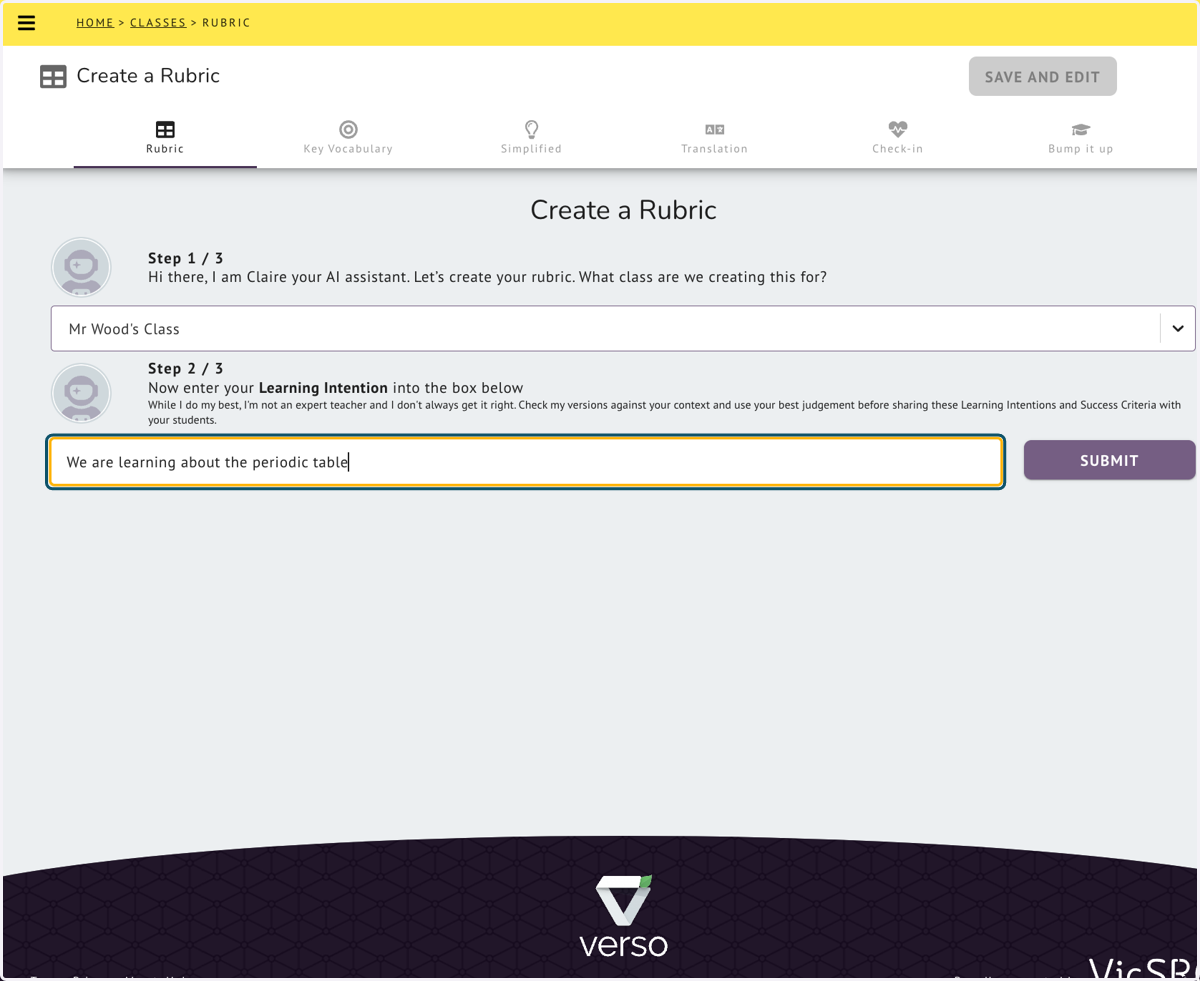
3. Complete the sentence, "We are Learning to"
Enter the learning outcome or intention and click submit
4. Clarify provides 3 options for an improved Learning Intention
If you would like Clarify to generate another 3 examples because non of these suit, click on GENERATE MORE EXAMPLES
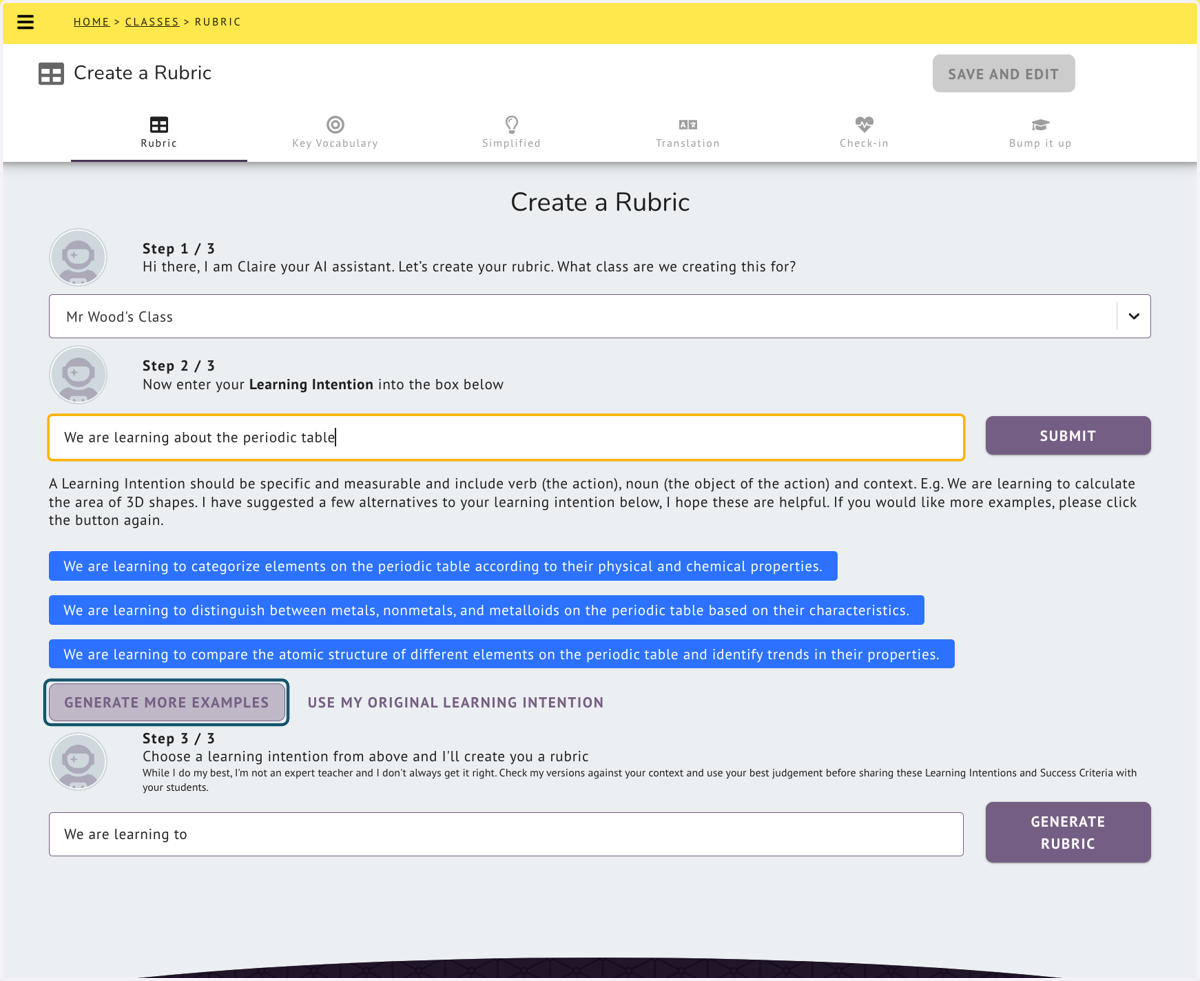
5. Click on the Blue Learning Intention
Pick the Learning Intention that fits your lesson or plan the best, it will appear in the field below
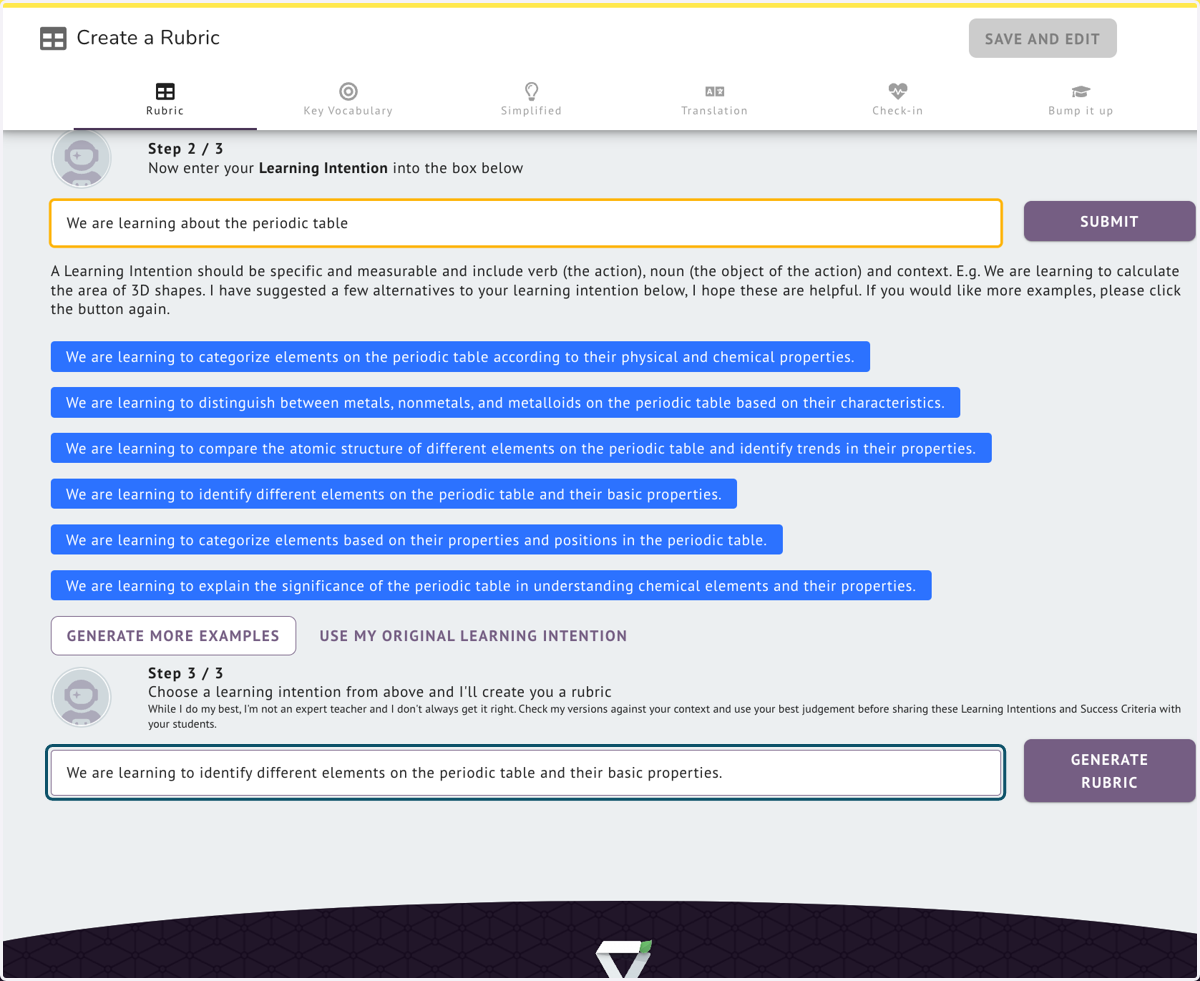
6. Click on GENERATE RUBRIC
You can still make edits to the Learning Intention once it appears in the field, when ready, click Generate Rubric
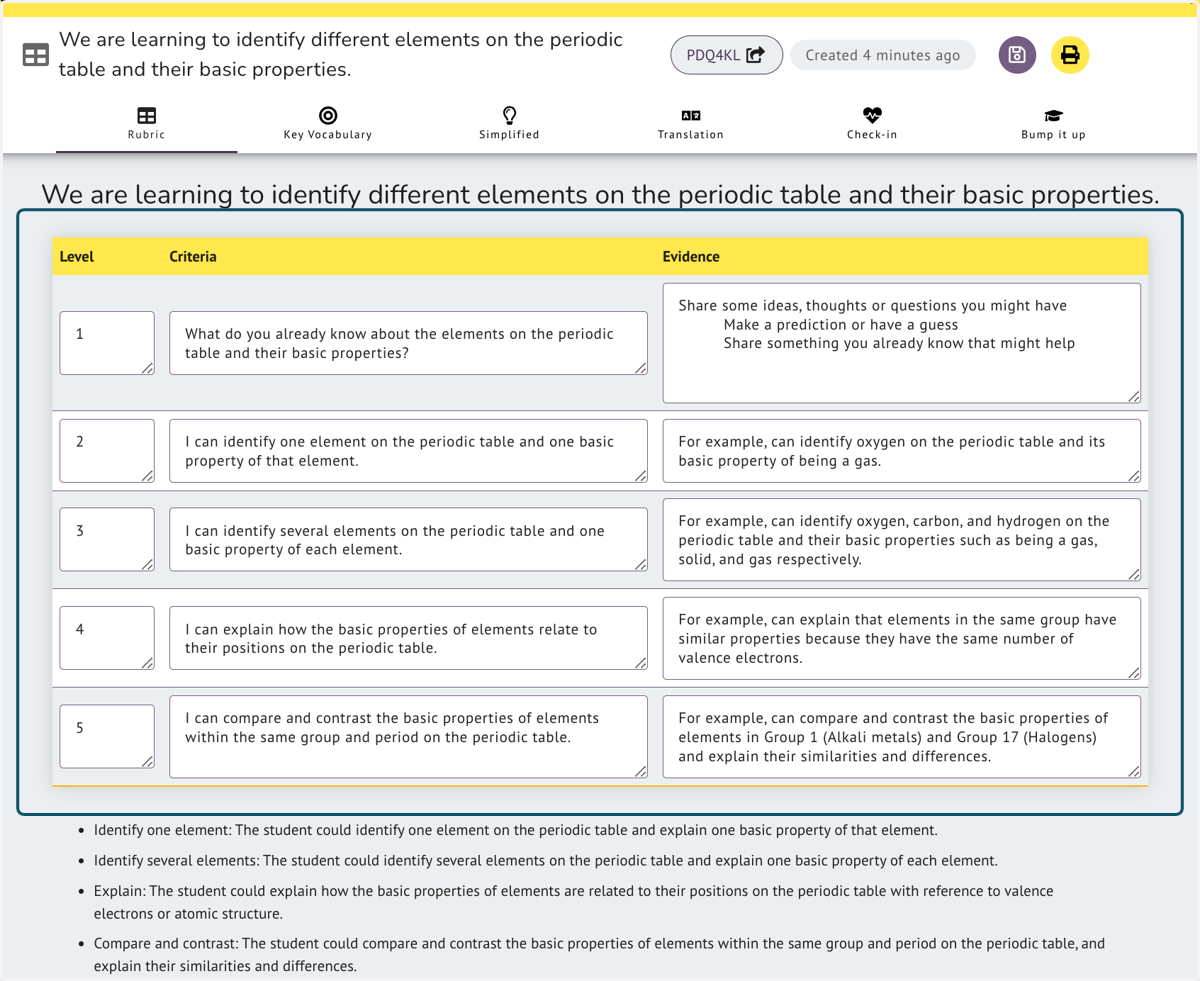
7. Level, Criteria and Evidence
All text in the rubric can be edited once saved.
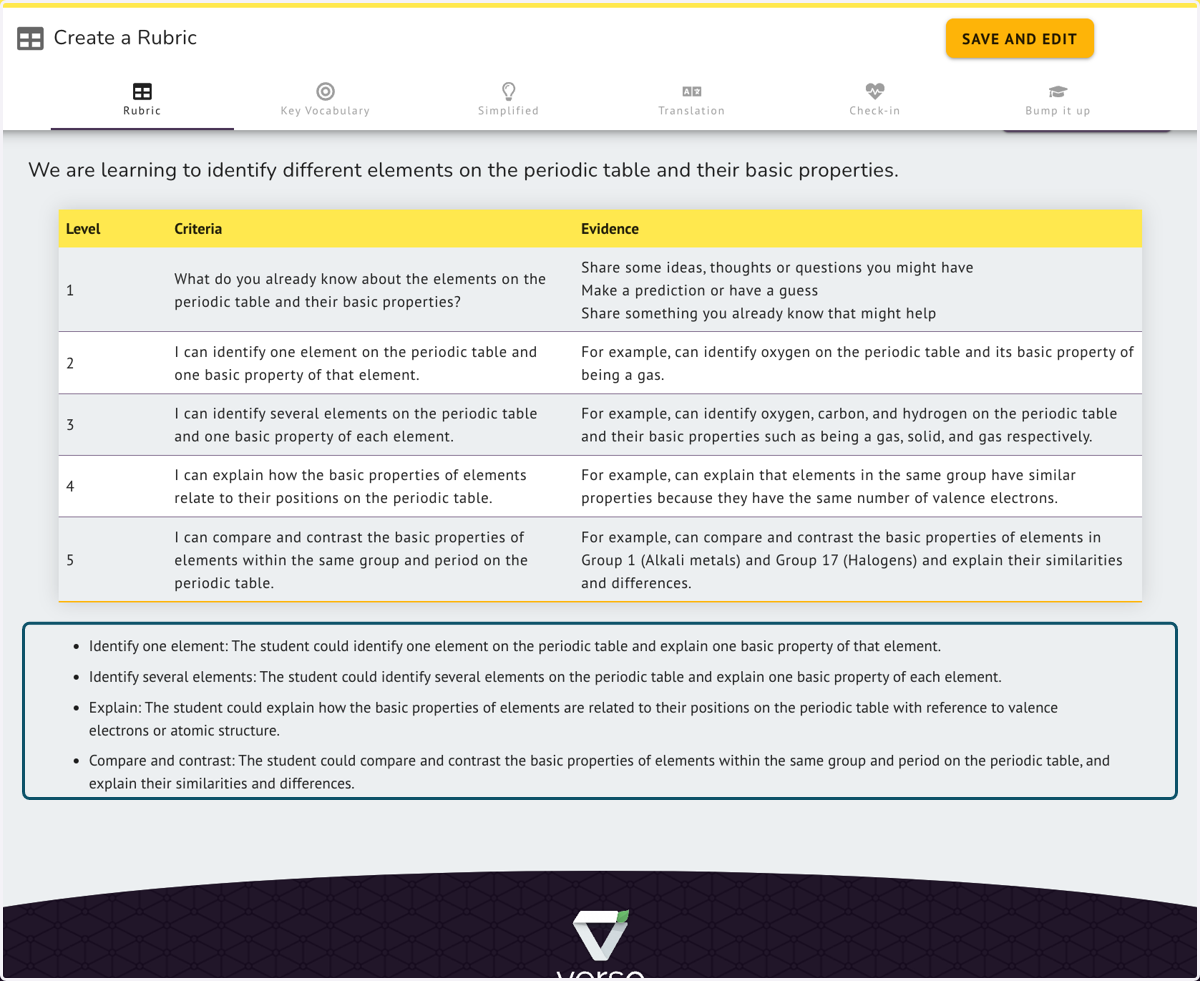
8. Click SAVE AND EDIT
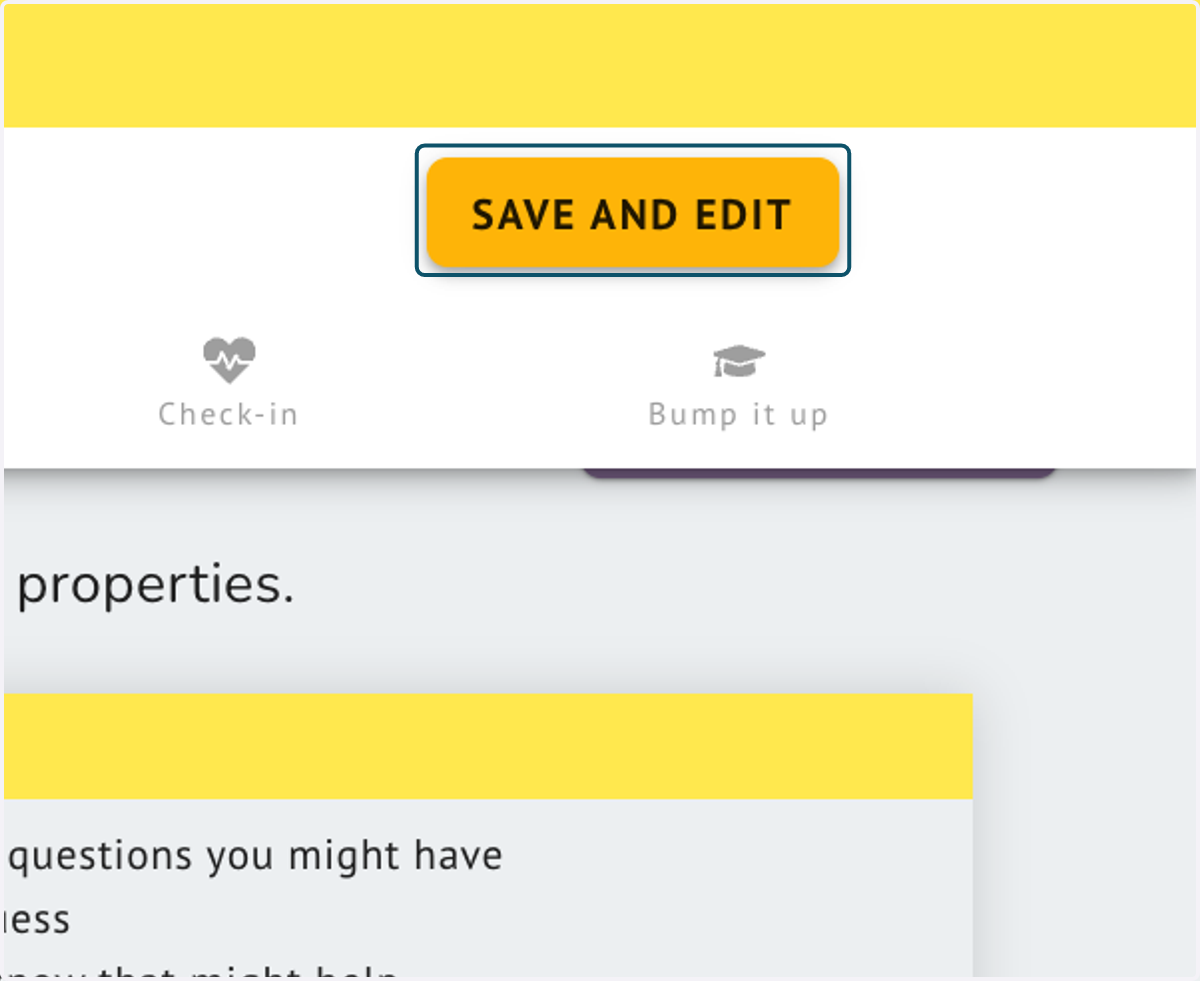
9. Auto-generating Vocabulary and a Simplified English Version.
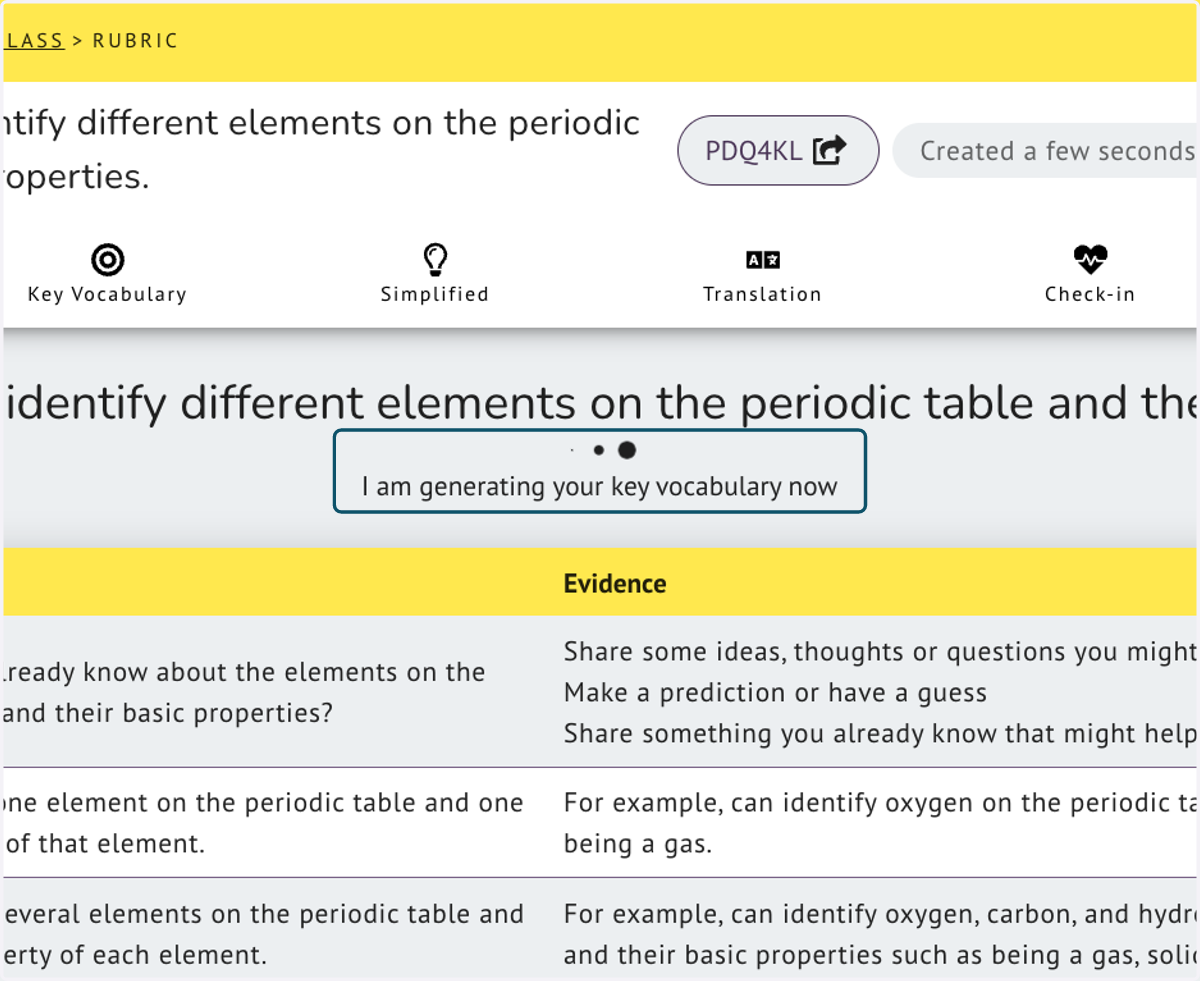
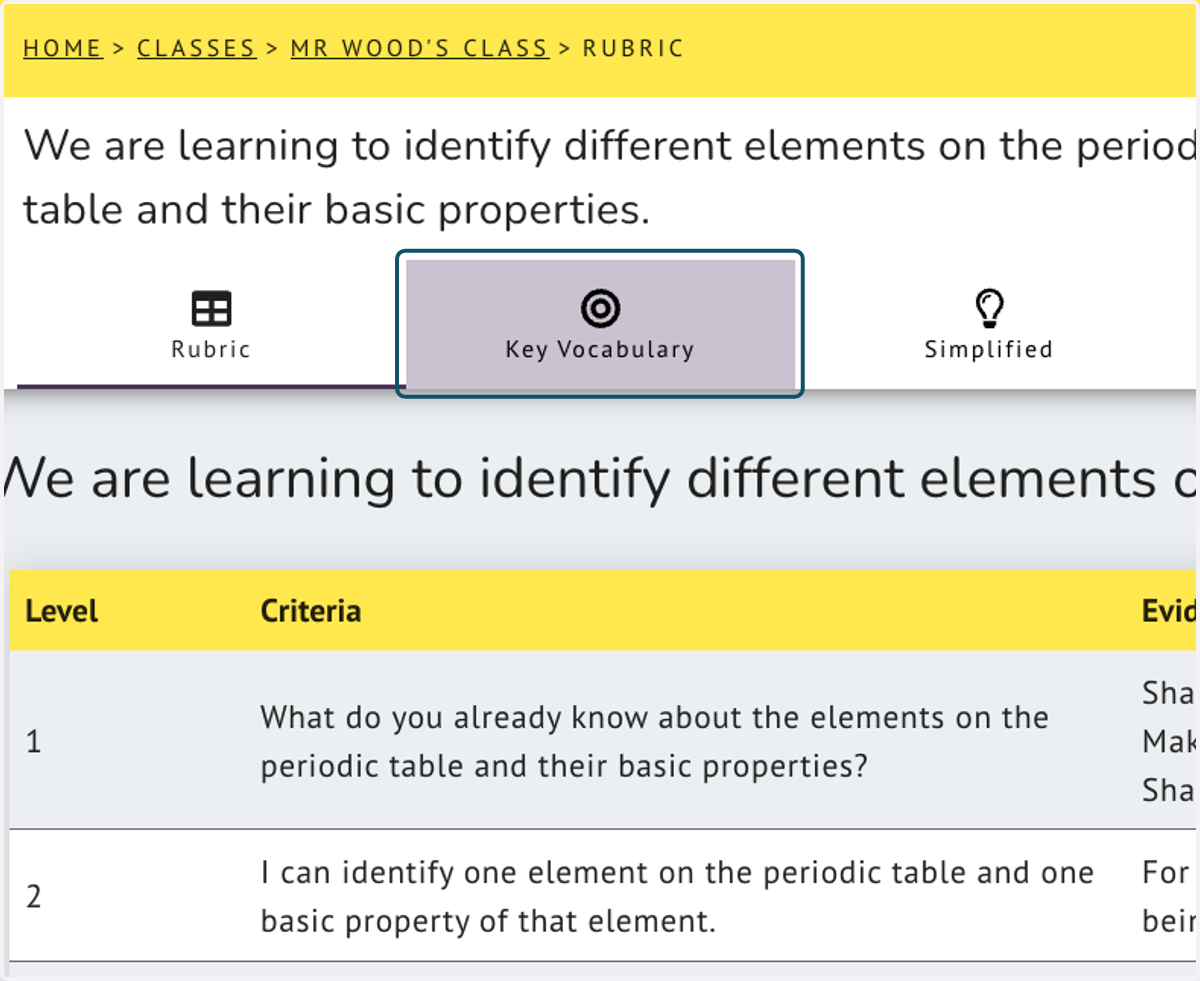
10. Click on the Key Vocabulary tab to see a list of essential vocab
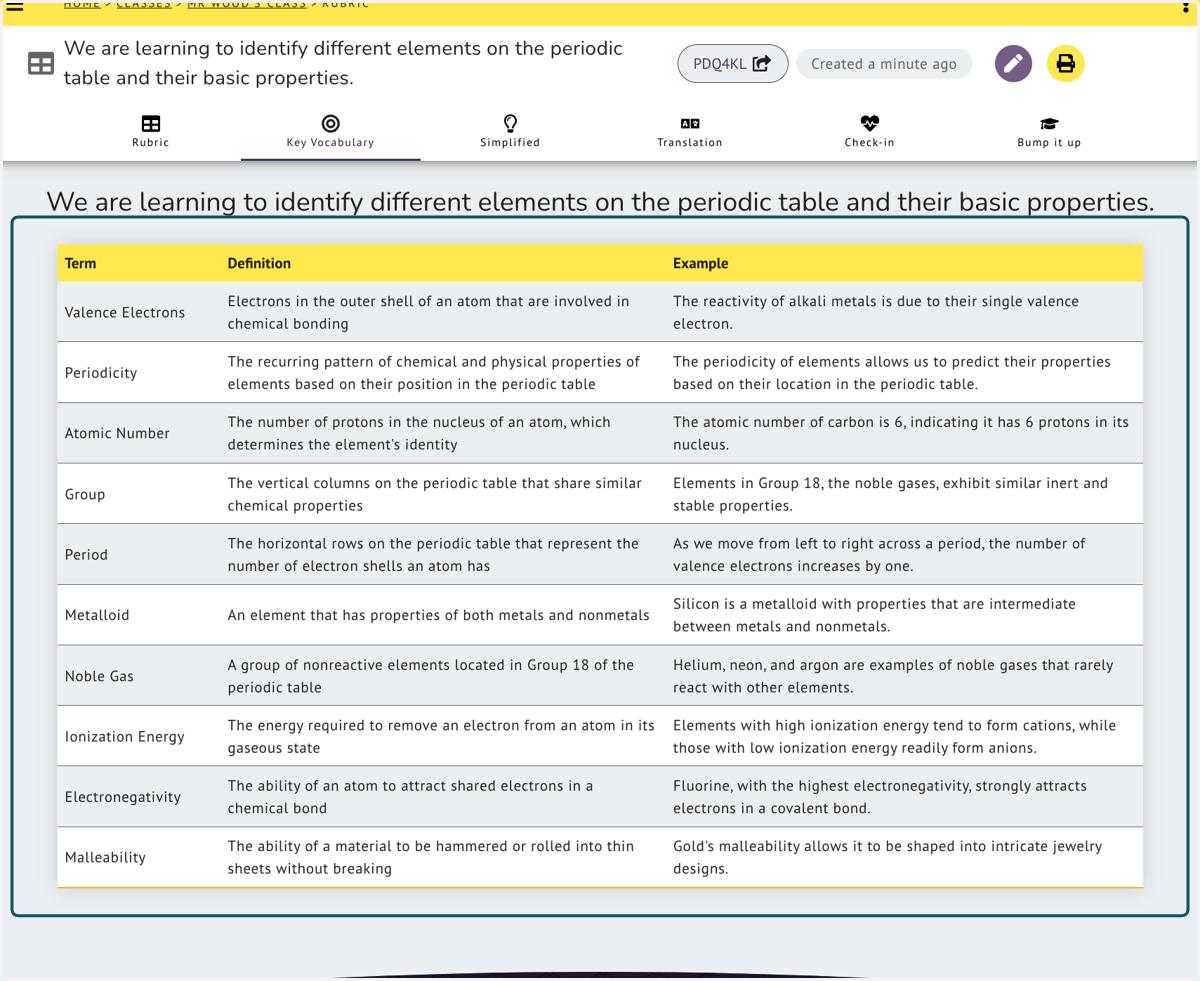
11. Term, Definition and an Example of the word being used
12. Simplified English version
The Simplified English version has been created by lowering the Lexile level and reading age.
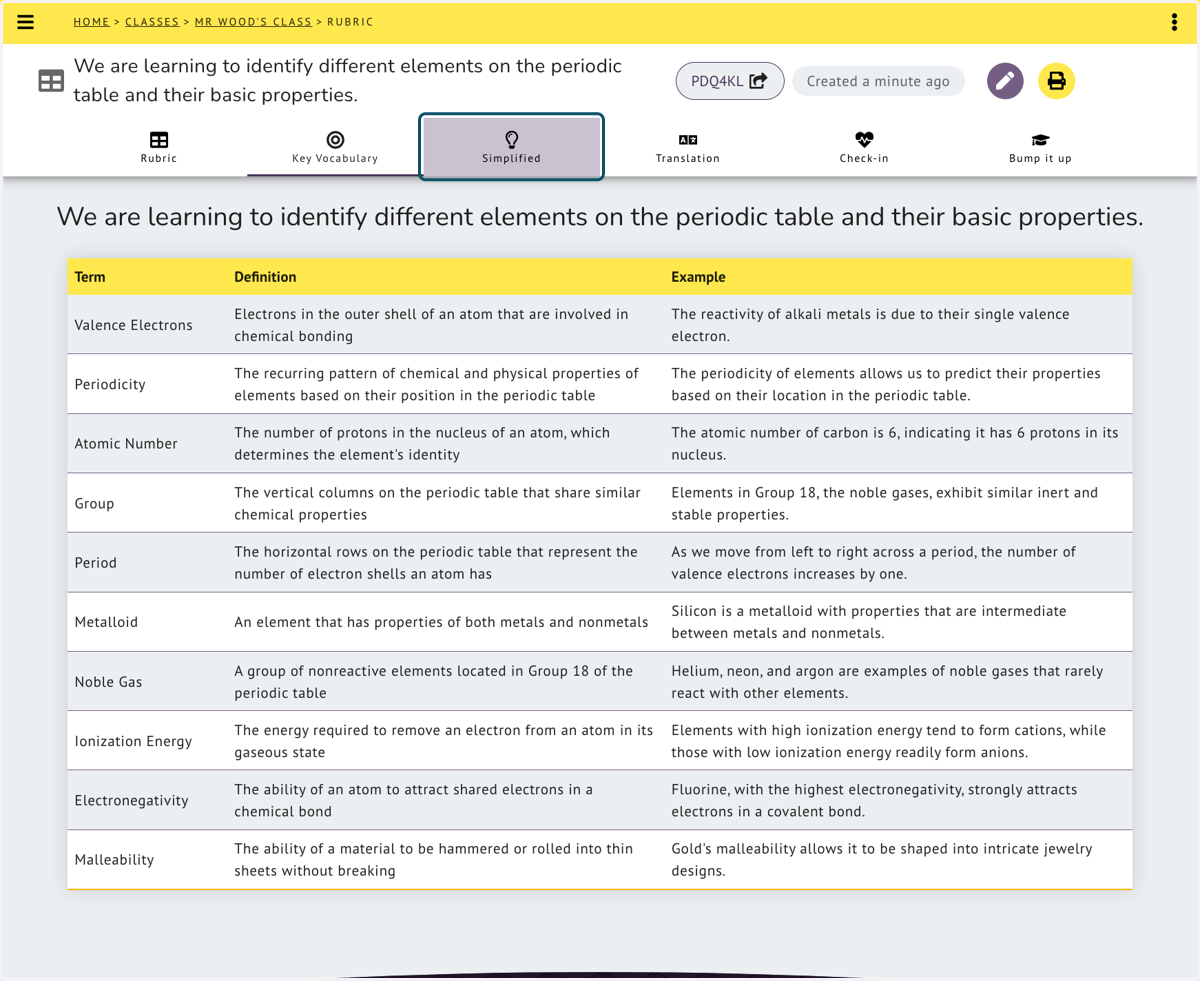
13. Click on Translation for Clarify to translate your Rubric into multiple of languages
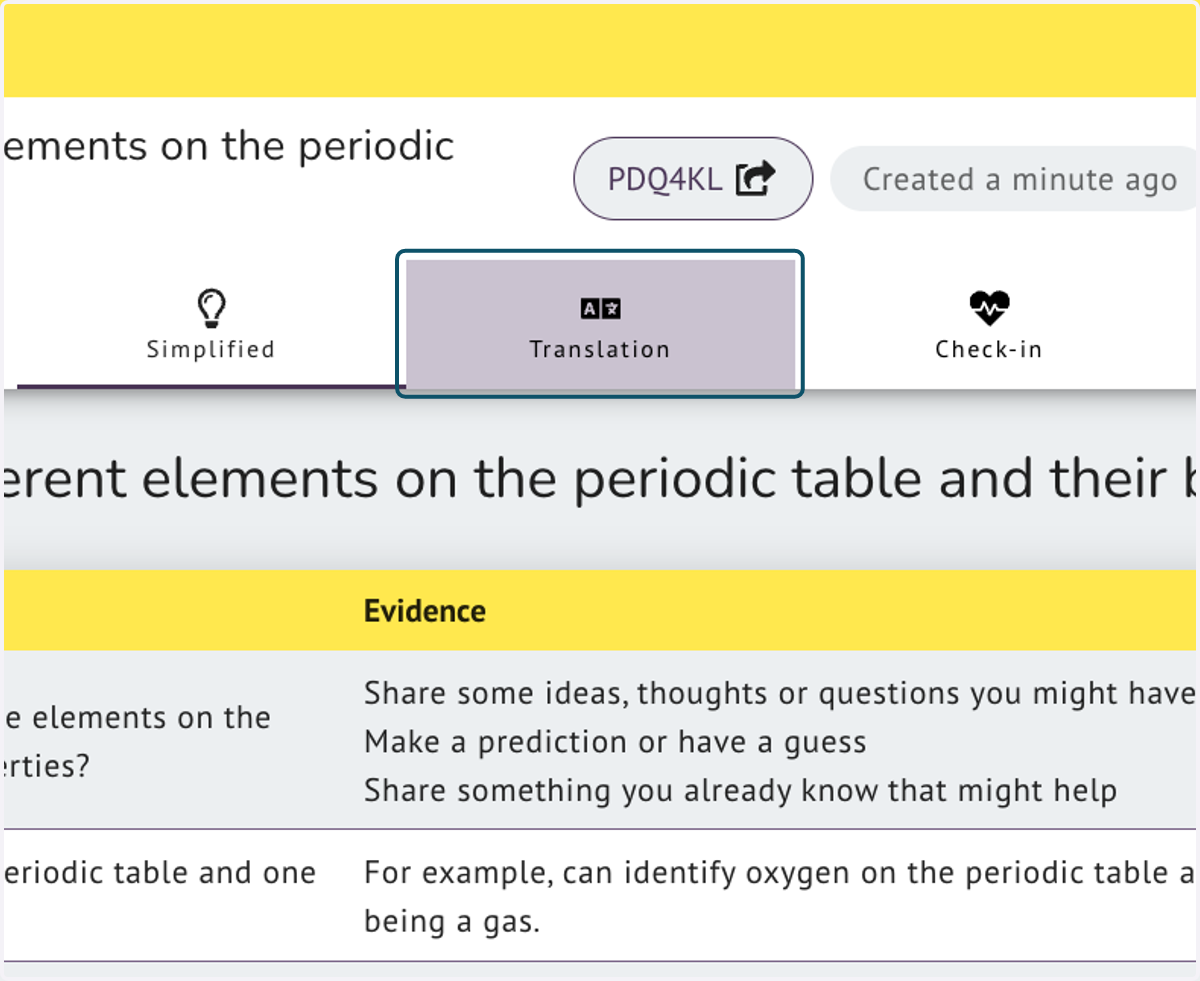
14. Select one of the available languages.
Select the language then click on GENERATE TRANSLATION
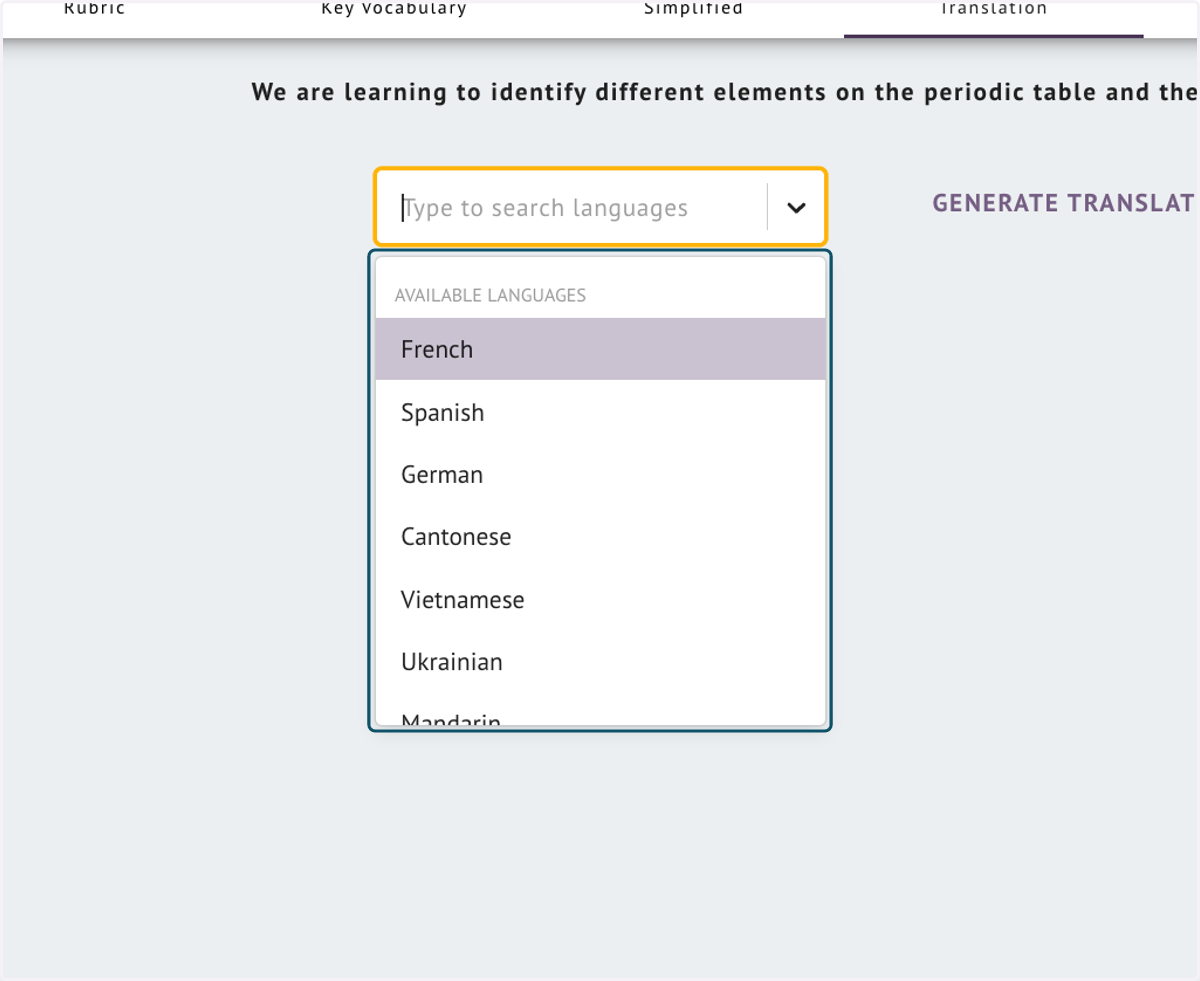
15. Click on French
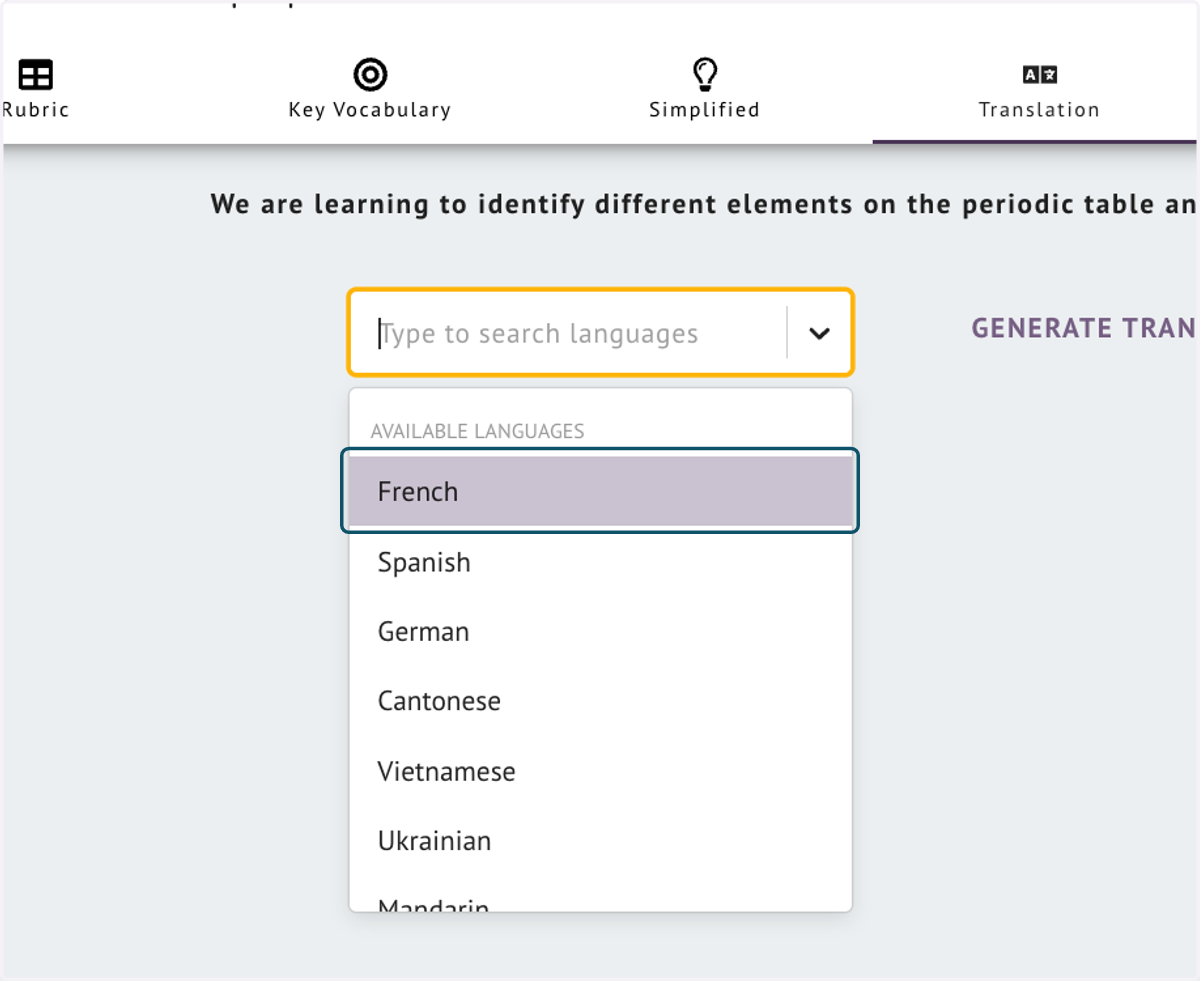
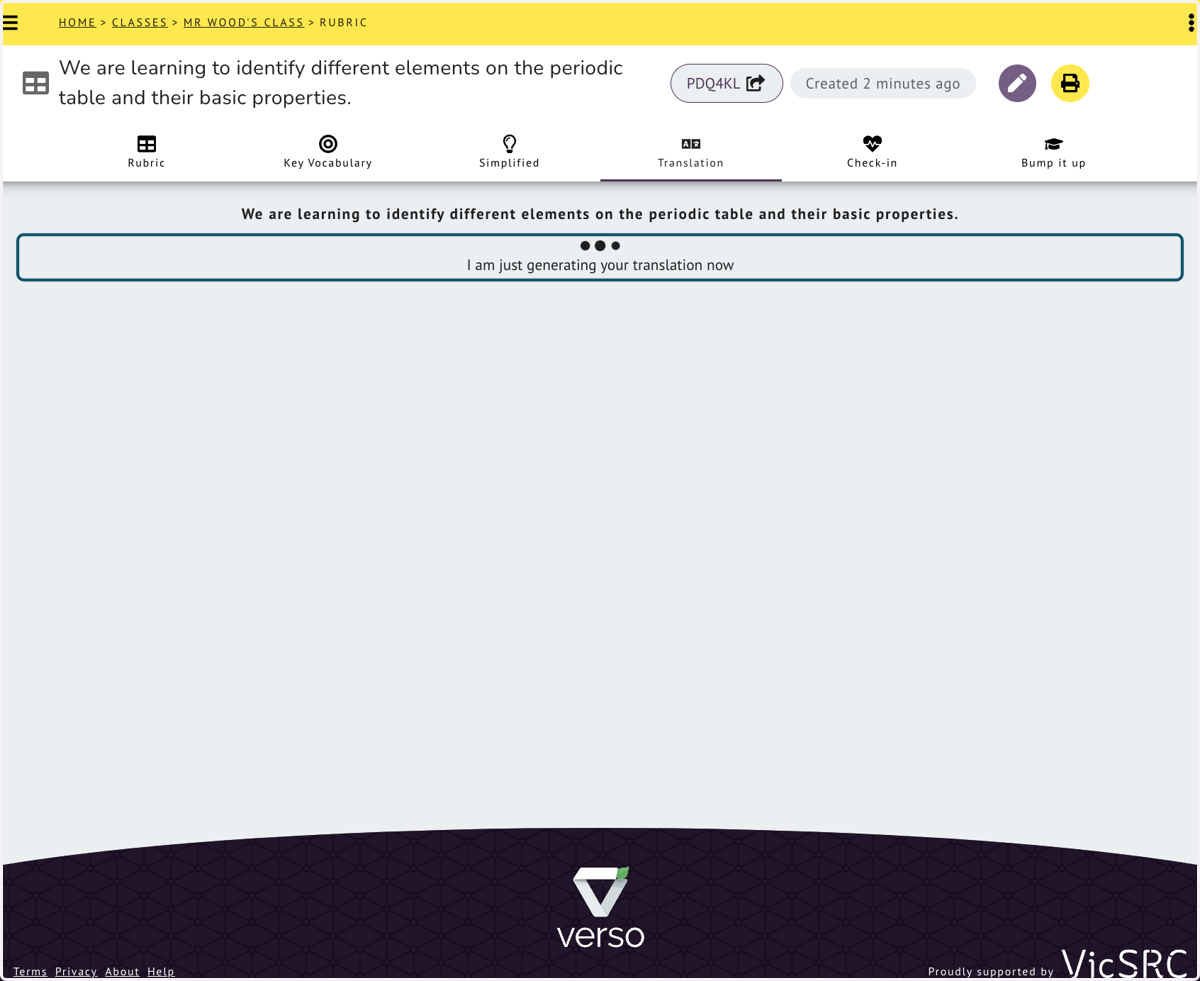
16. Wait while Clarify does the translation for you
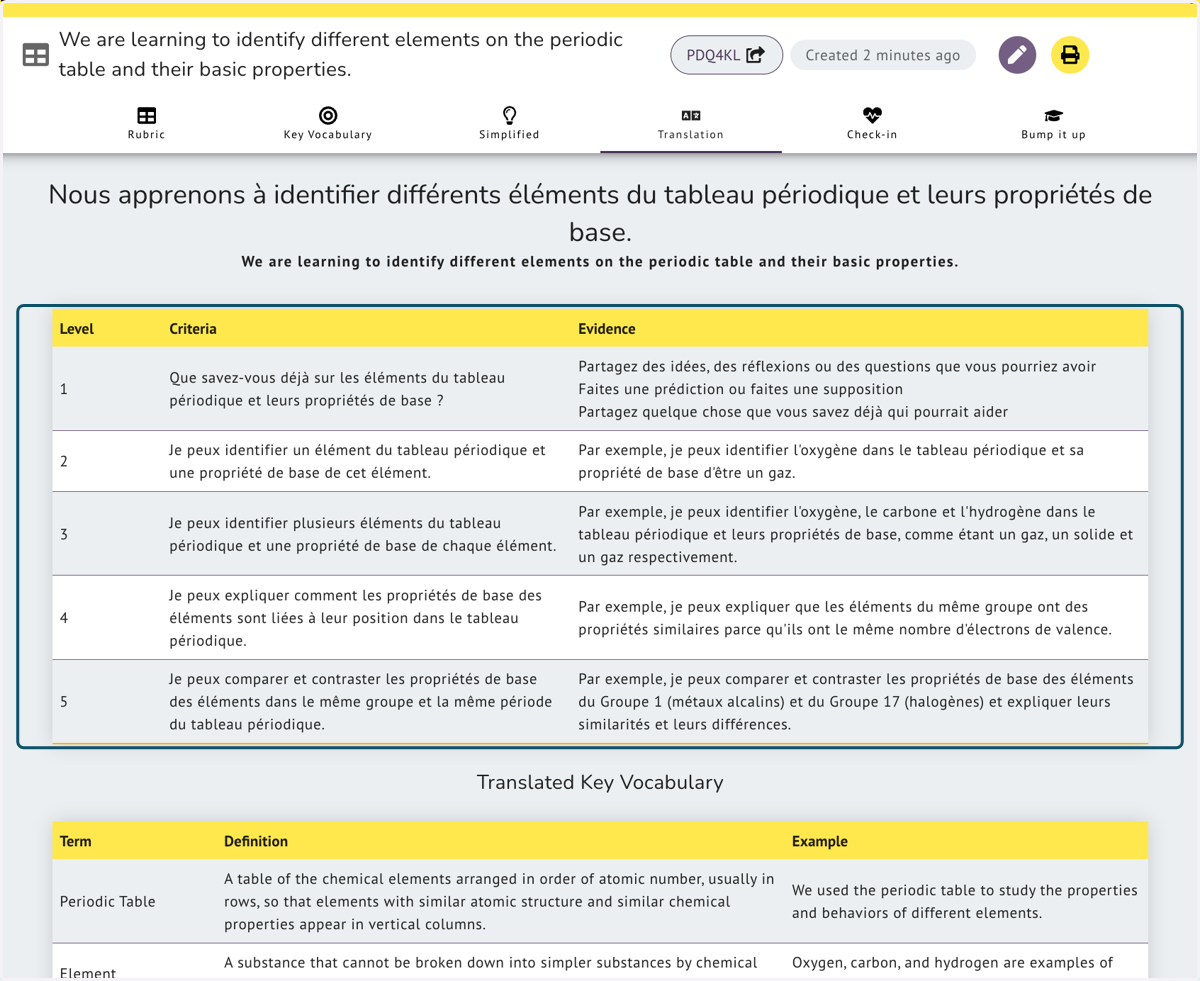
17. Rubric in French
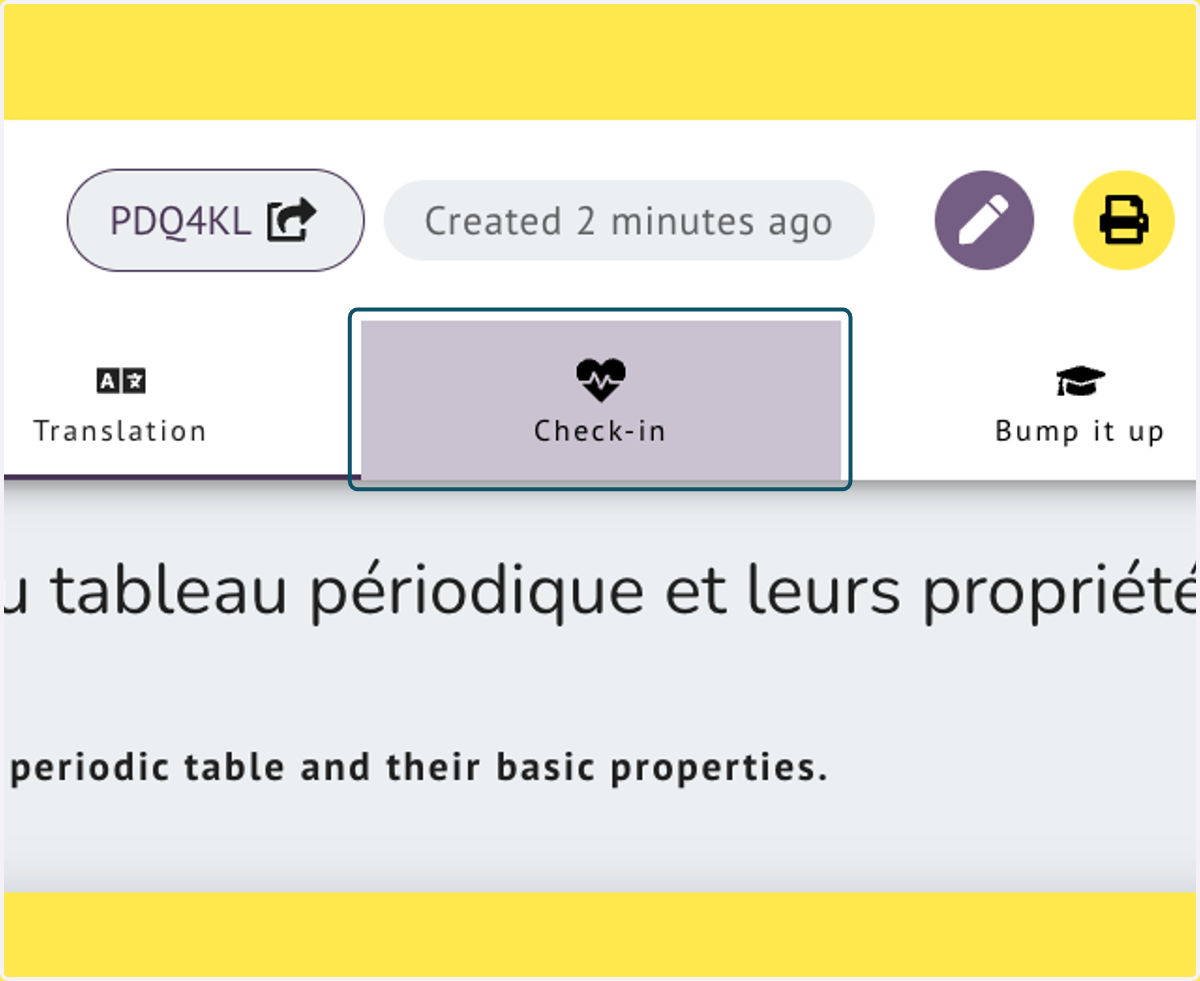
18. Add a student Check-in to your Rubric
The Check-in allows you to get feedback during the lesson from your students about where they are on their learning journey
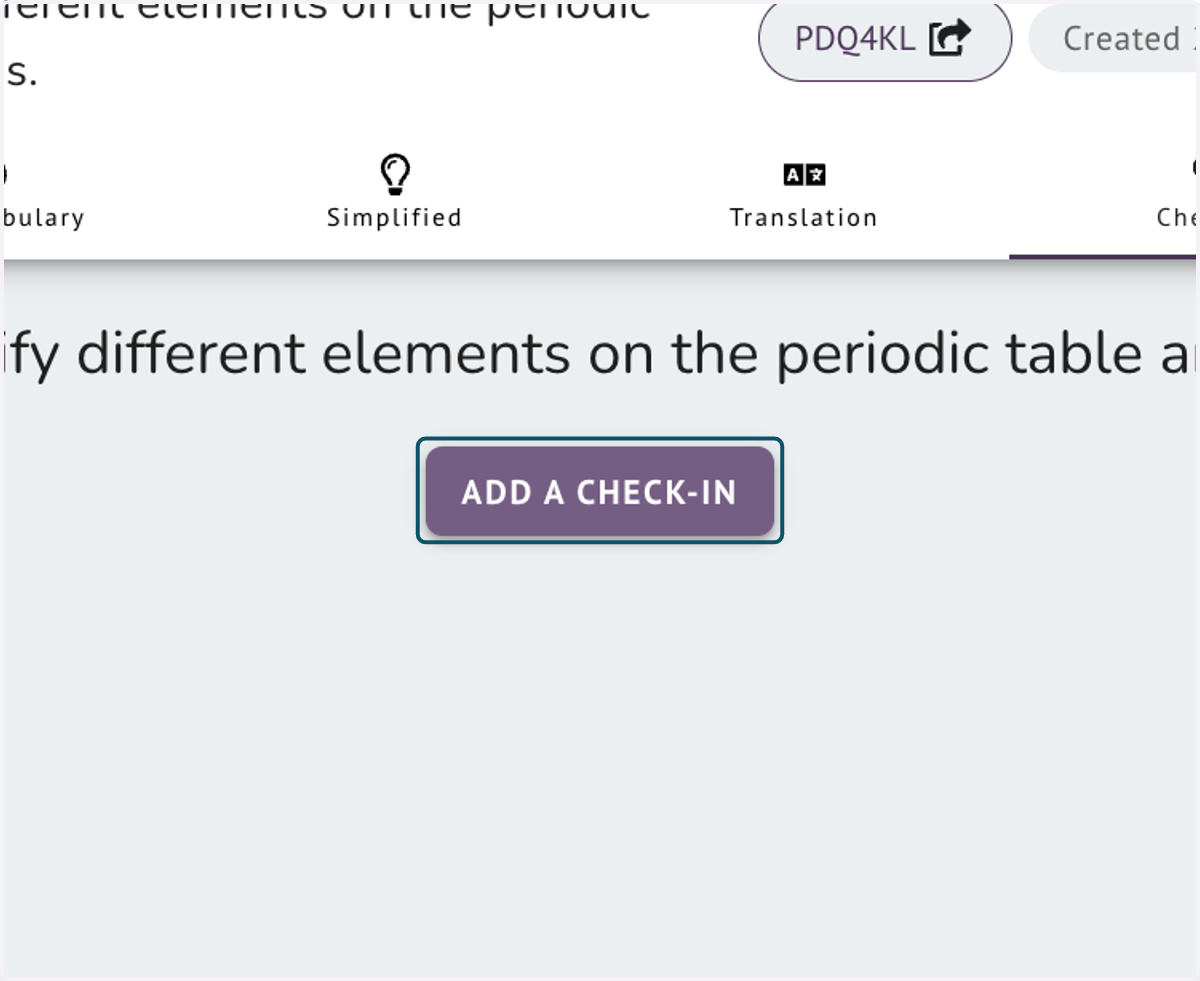
19. Click on ADD A CHECK-IN
20. The Check-in will automatically be attached to your class
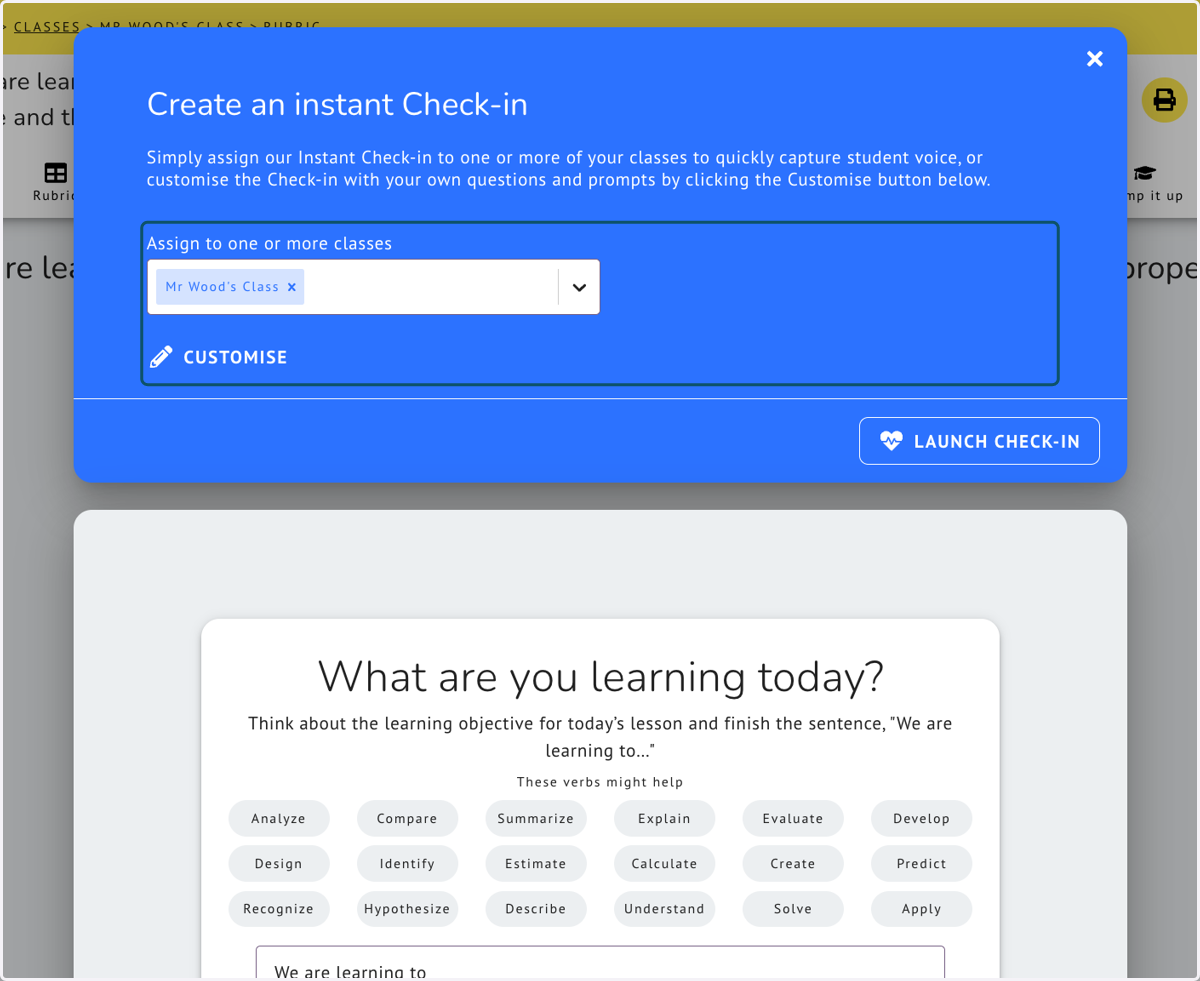
21. Q1. What are you learning today?
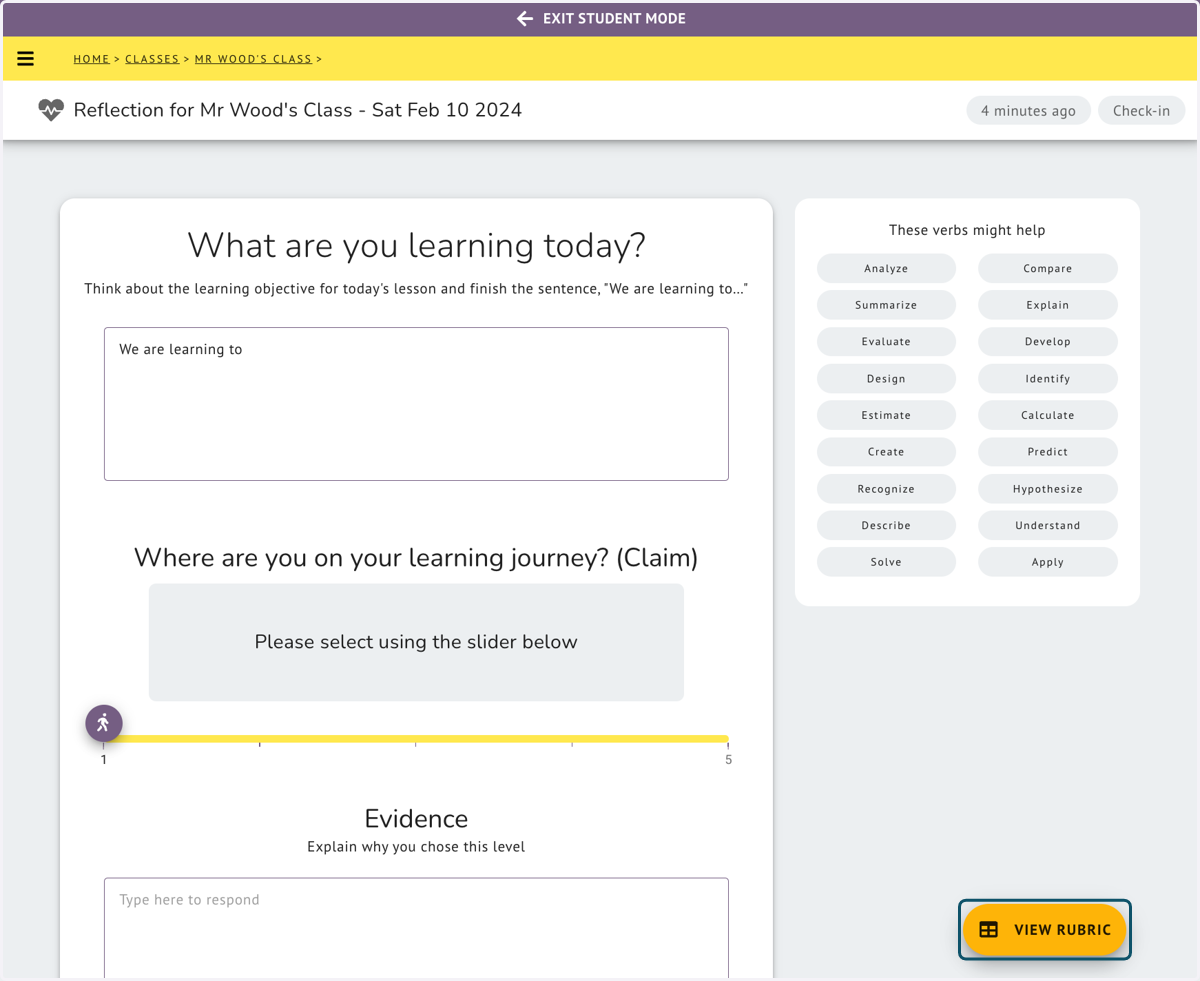
Students are asked to complete the sentence, "we are learning to" The verb list is provided to prompt the student to use a verb
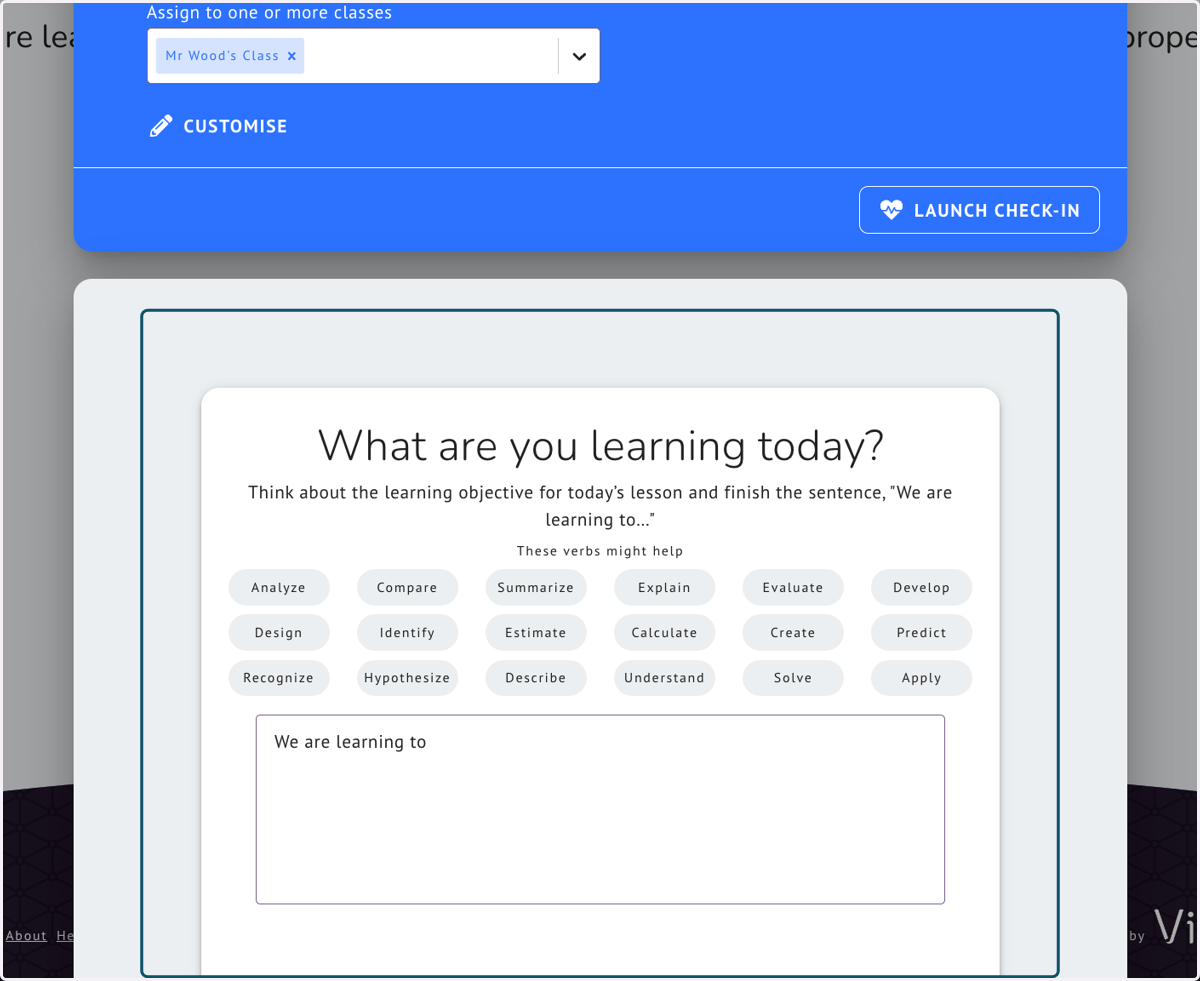
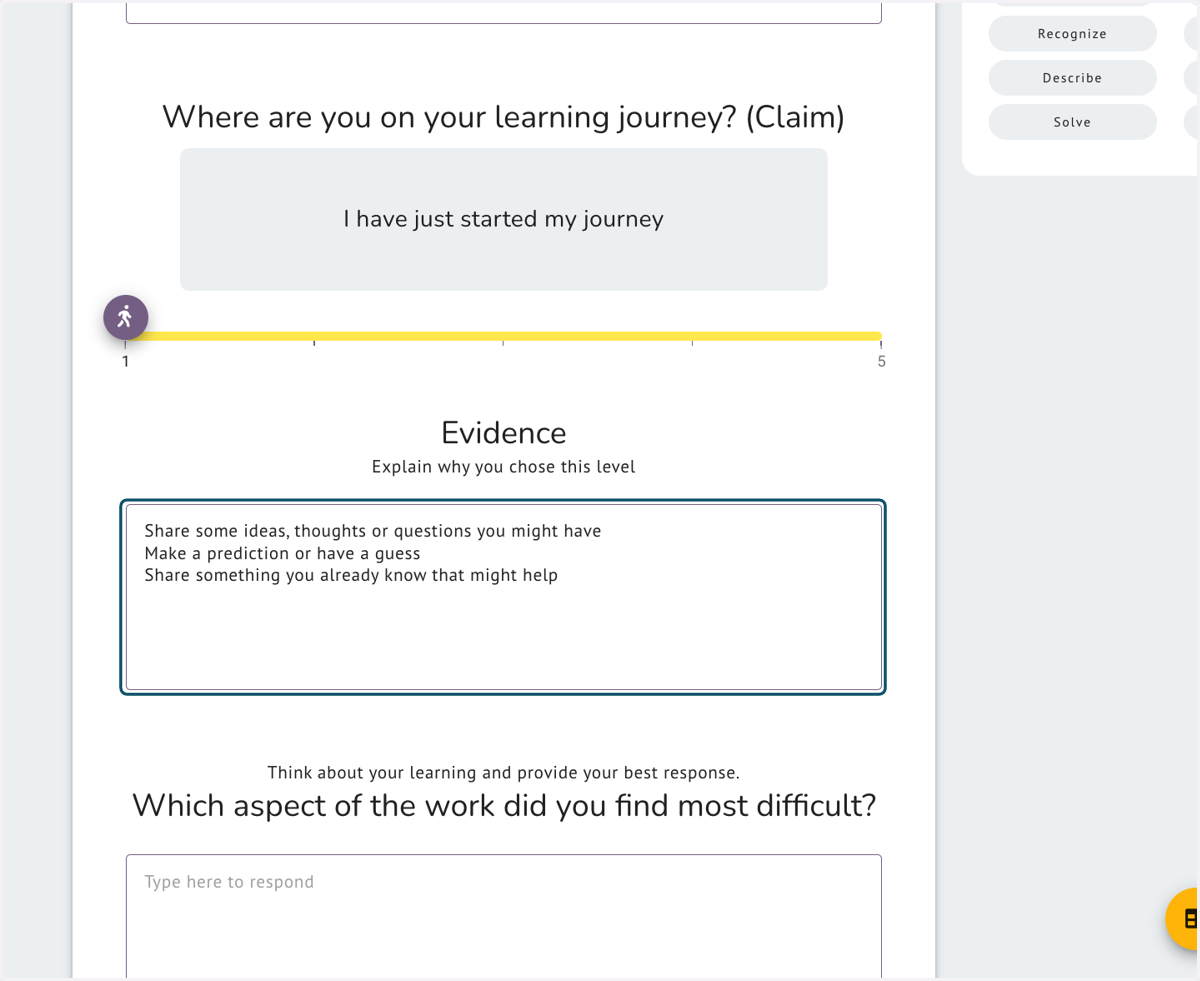
22. Q2. Where are you on your learning journey? (Claim)…
Students make a claim as to where they are at on their learning journey by using the 5 point slider. the slider matches up with the levels on the rubric and the students will have to evidence their claim in the box below.
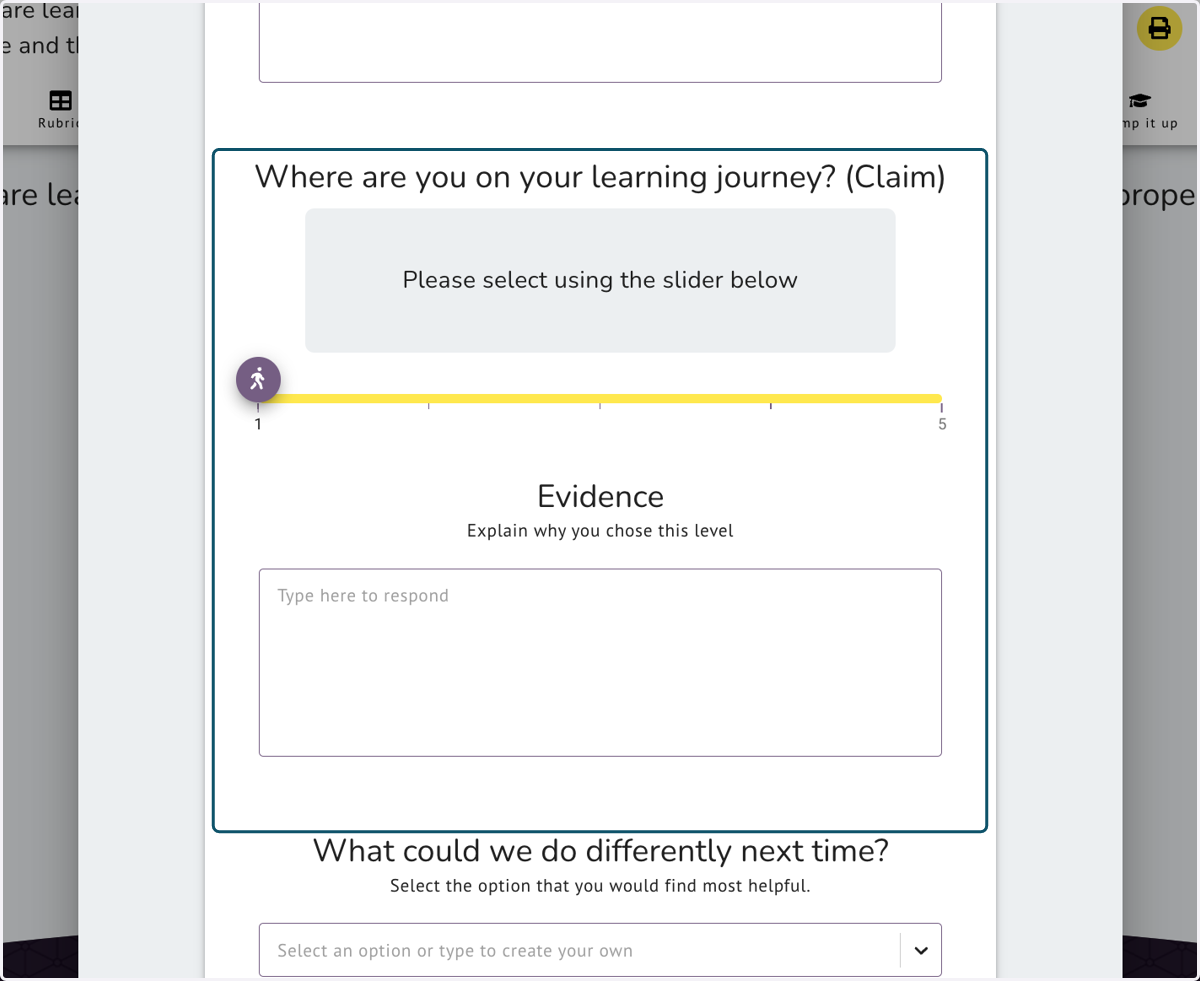
23. Q3 and Q4. What could we do differently next time? and How are you feeling about today's learning.
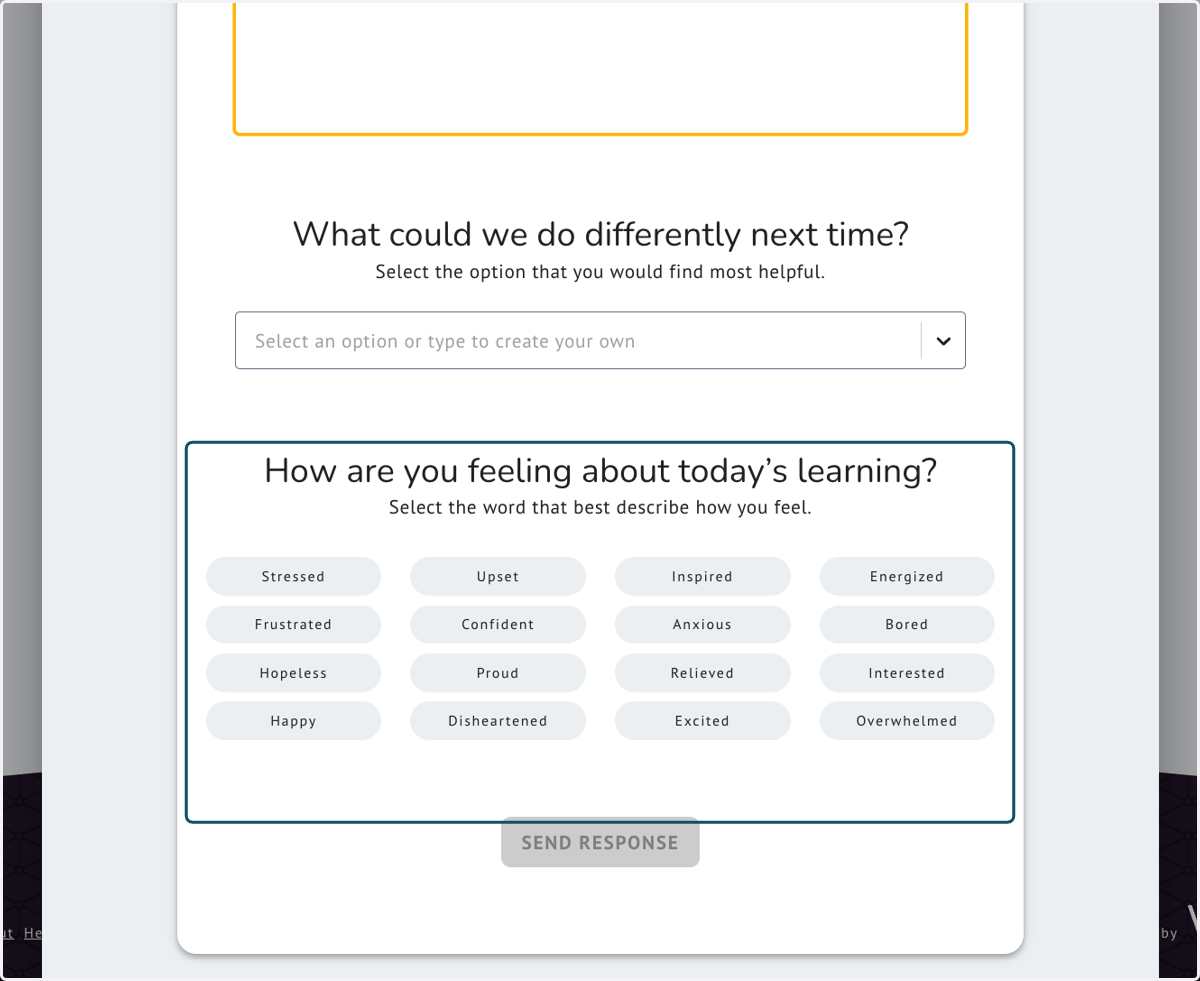
24. Click on LAUNCH CHECK-IN to share with your class
The Check-in will be pushed to their homepage. you can instruct student to complete it at the appropriate point in the lesson.
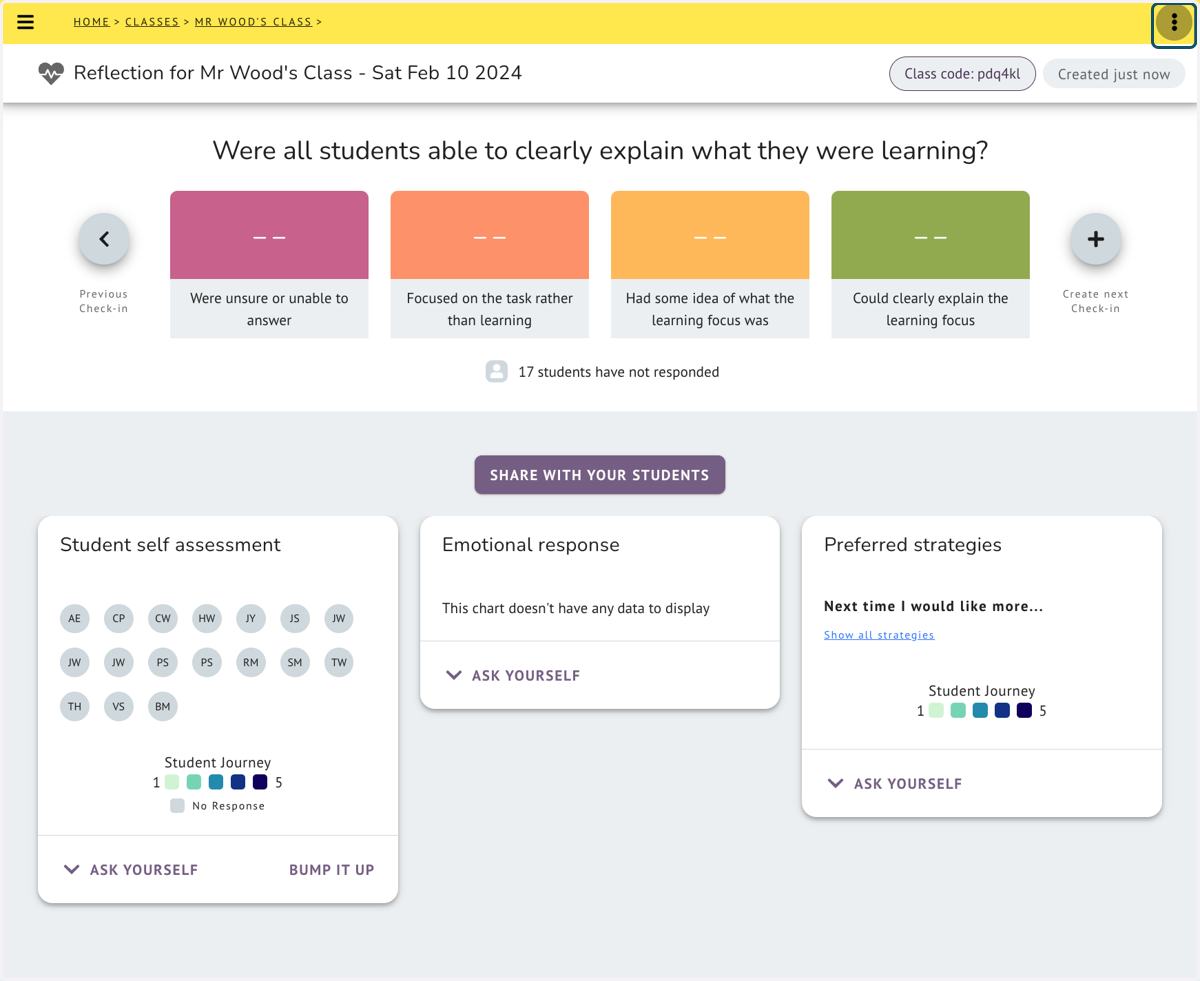
25. SHARE WITH YOUR STUDENTS will allow you to push to Google classroom or share a link.
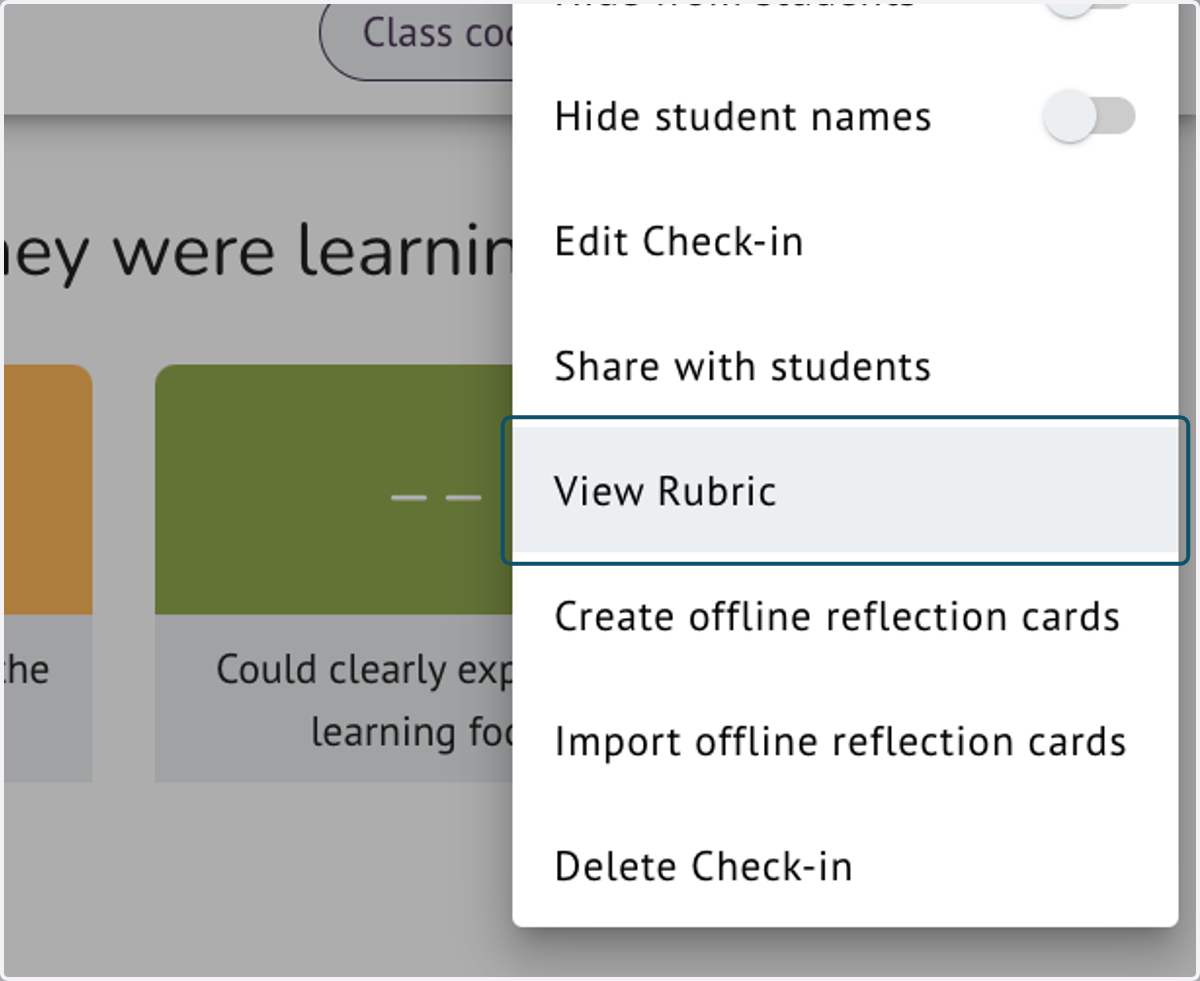
26. Top right menu (3 dots) View Rubric
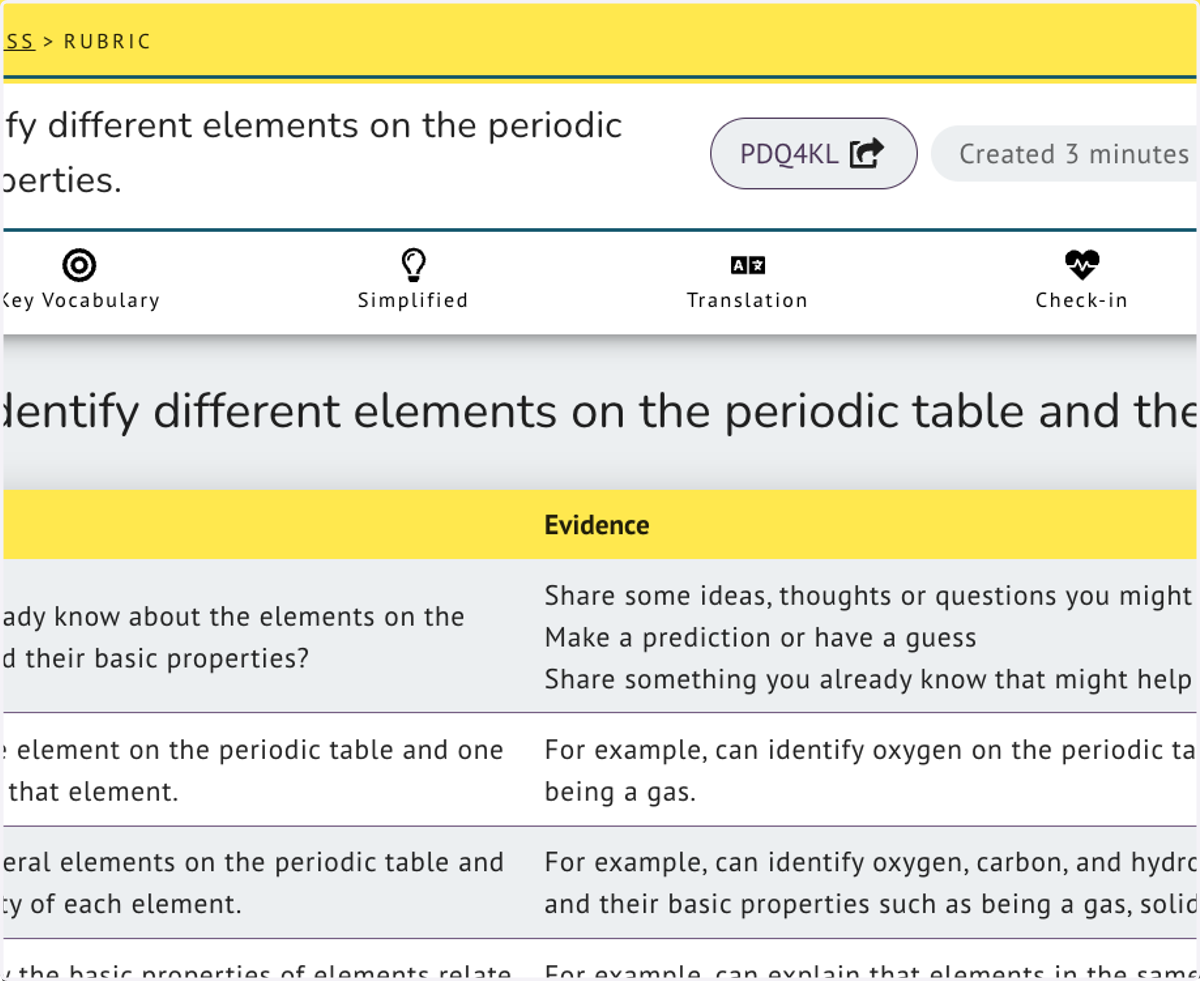
Click on View rubric to return to the Rubric page
27. At the top of the Rubric page you can Share, Edit and Print
28. Purple Edit Button - Click on the pencil
The edit button will allow you to change all text in the Rubric - The pencil will change into a floppy disk icon when editing.
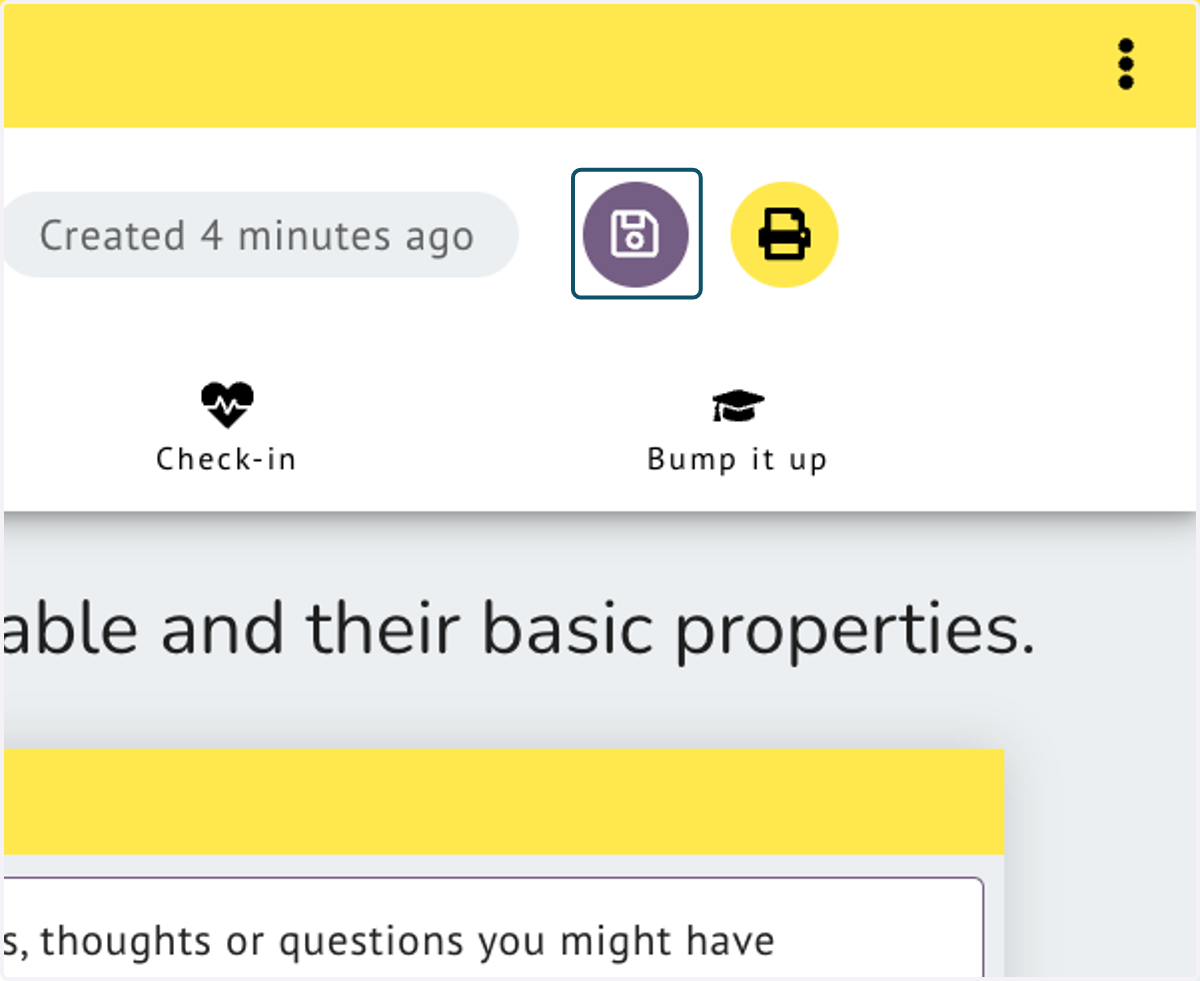
29. Click on the purple save button (floppy disk)i to save your changes
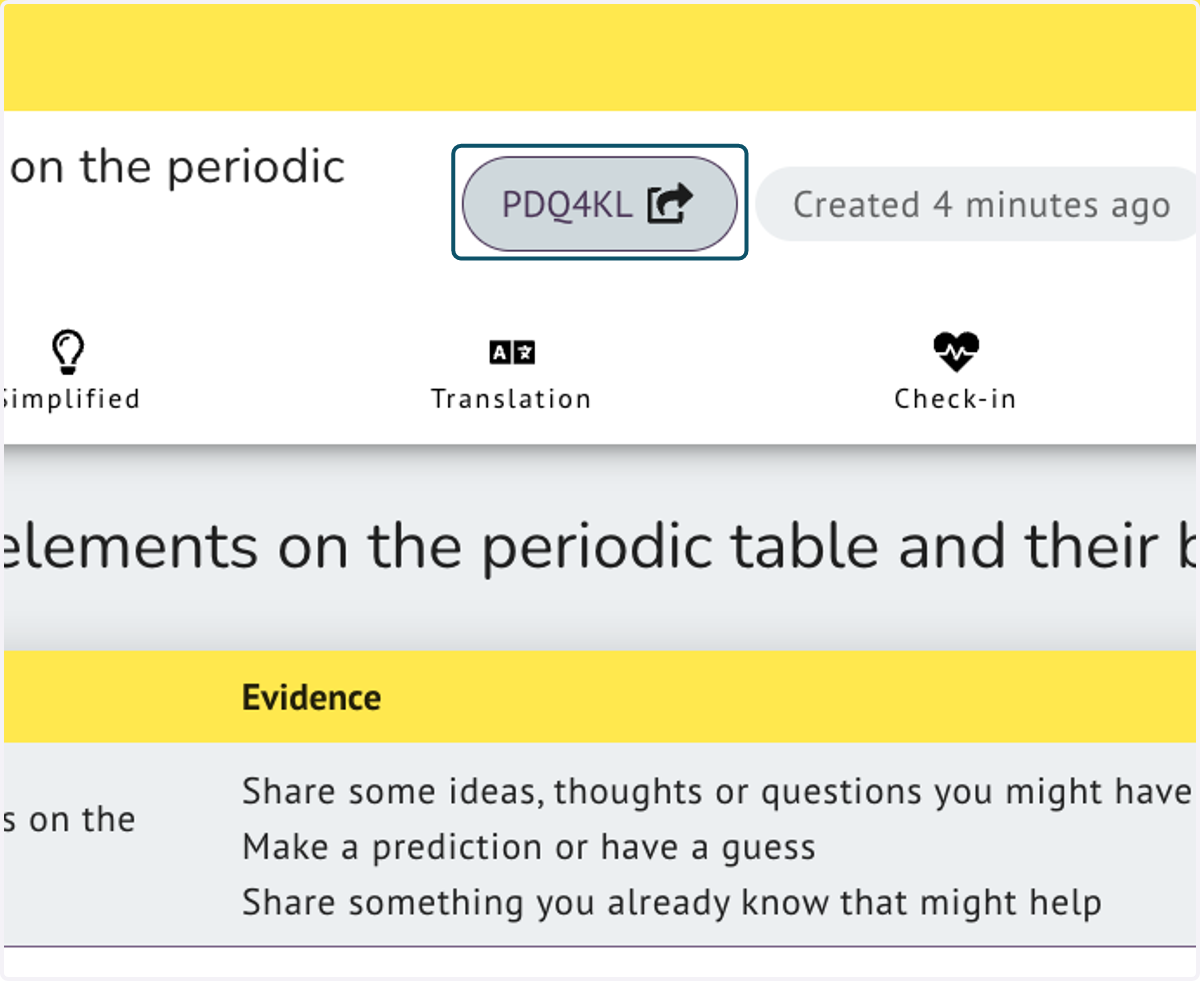
30. Click on the share button to share the Rubric with your students
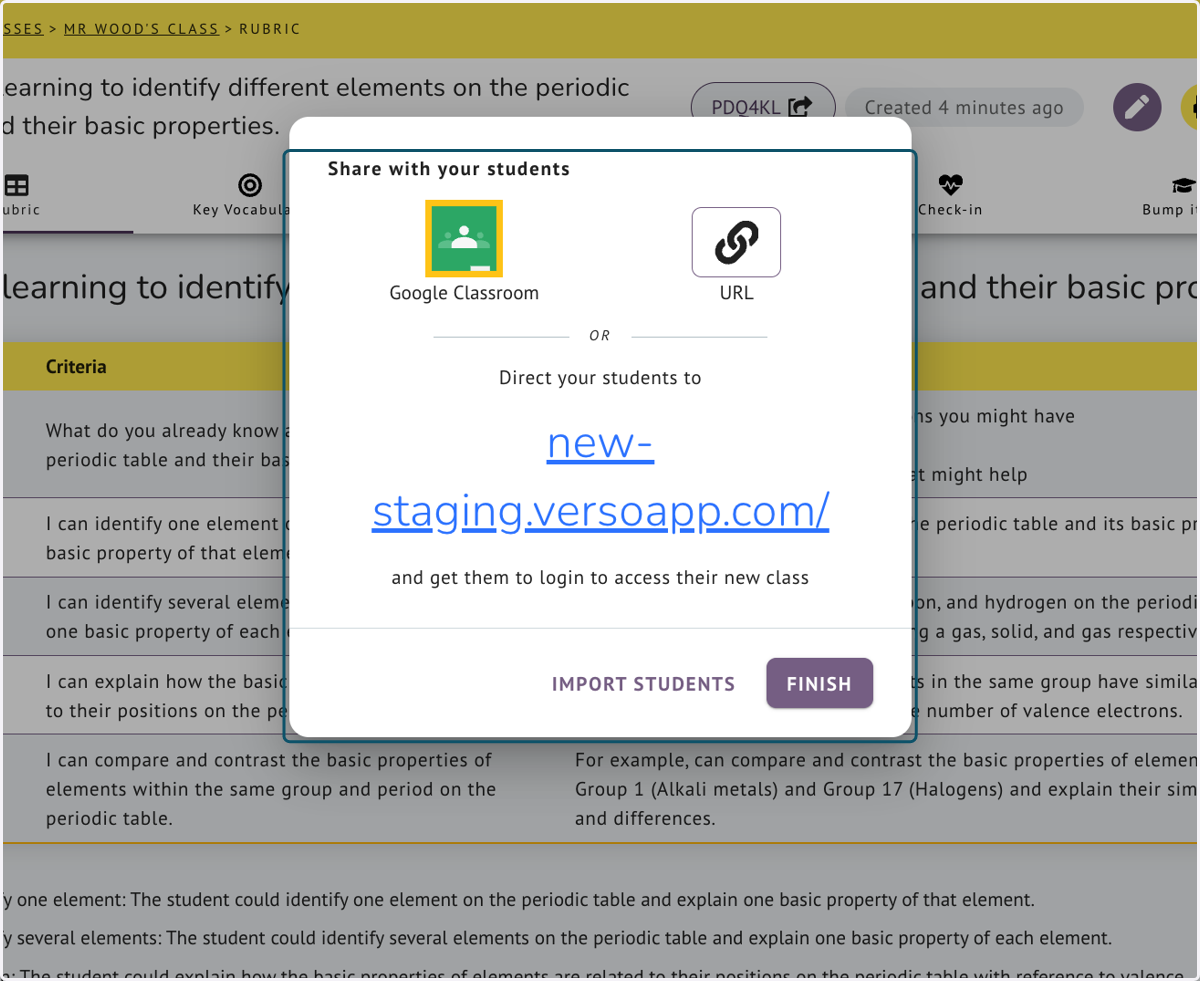
31. Google Classroom, URL or the direct link
Students will need to use the Class code if they are not already a member of your class
32. Click on Open main menu
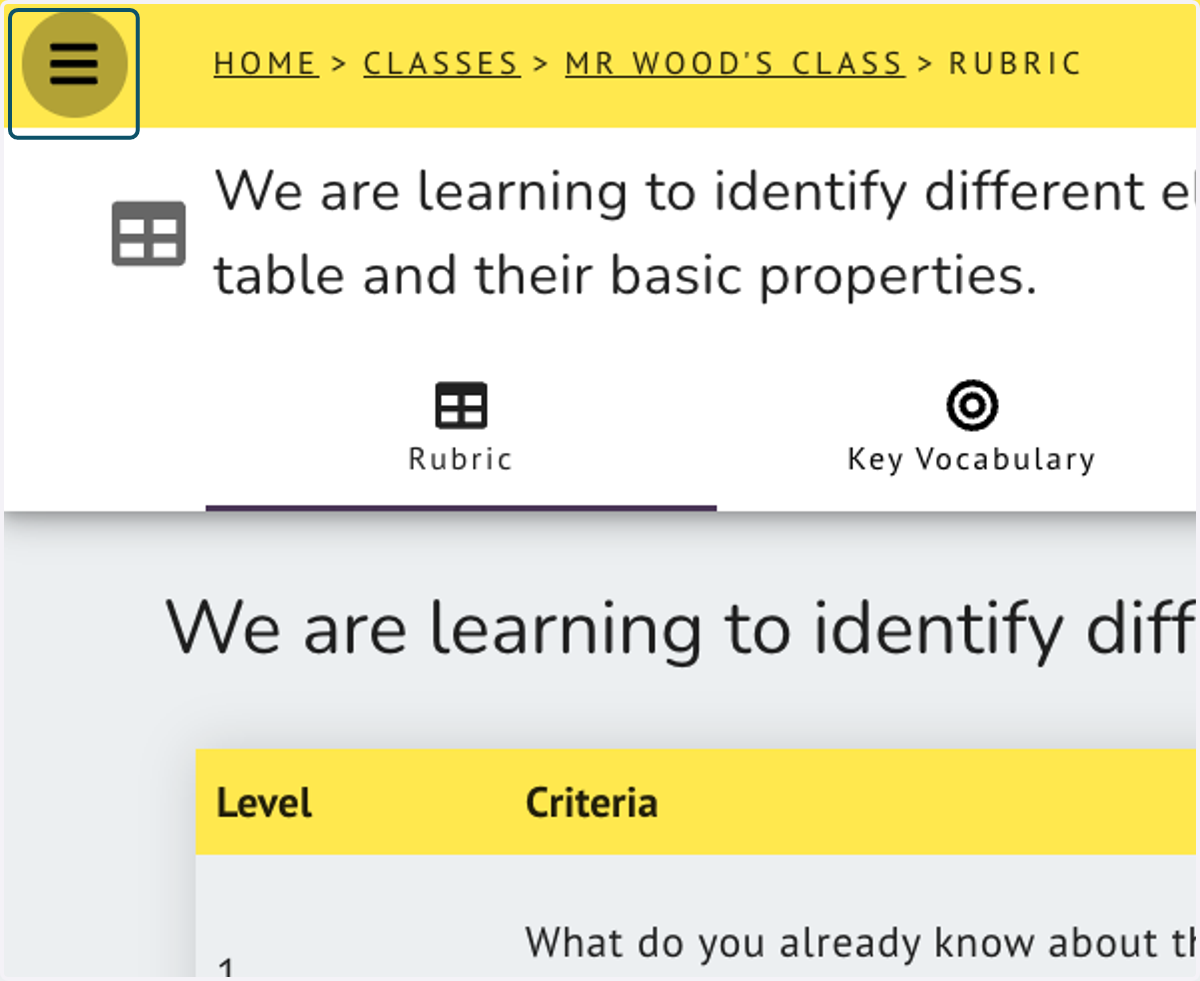
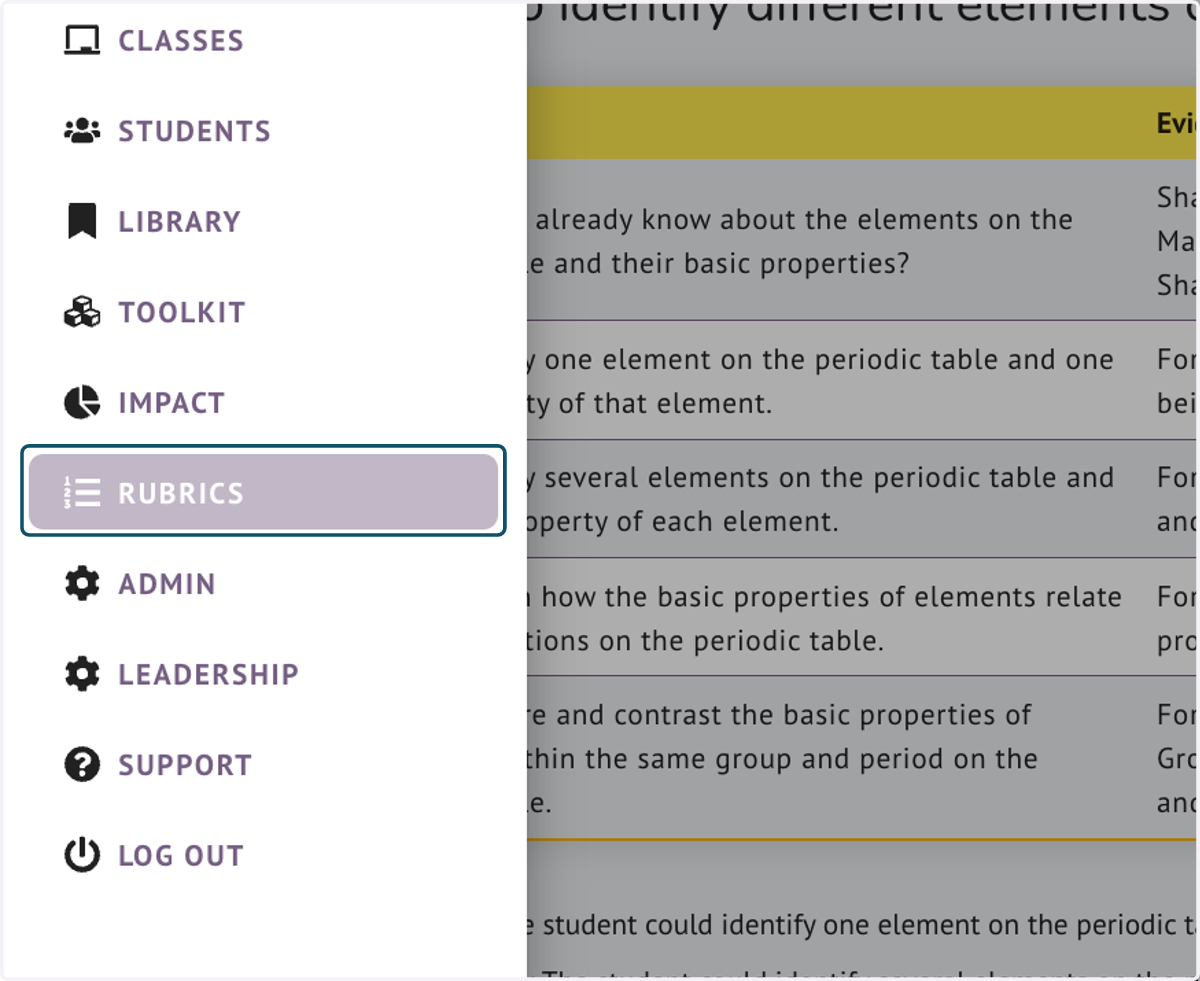
33. All Rubric can be accessed from the main menu
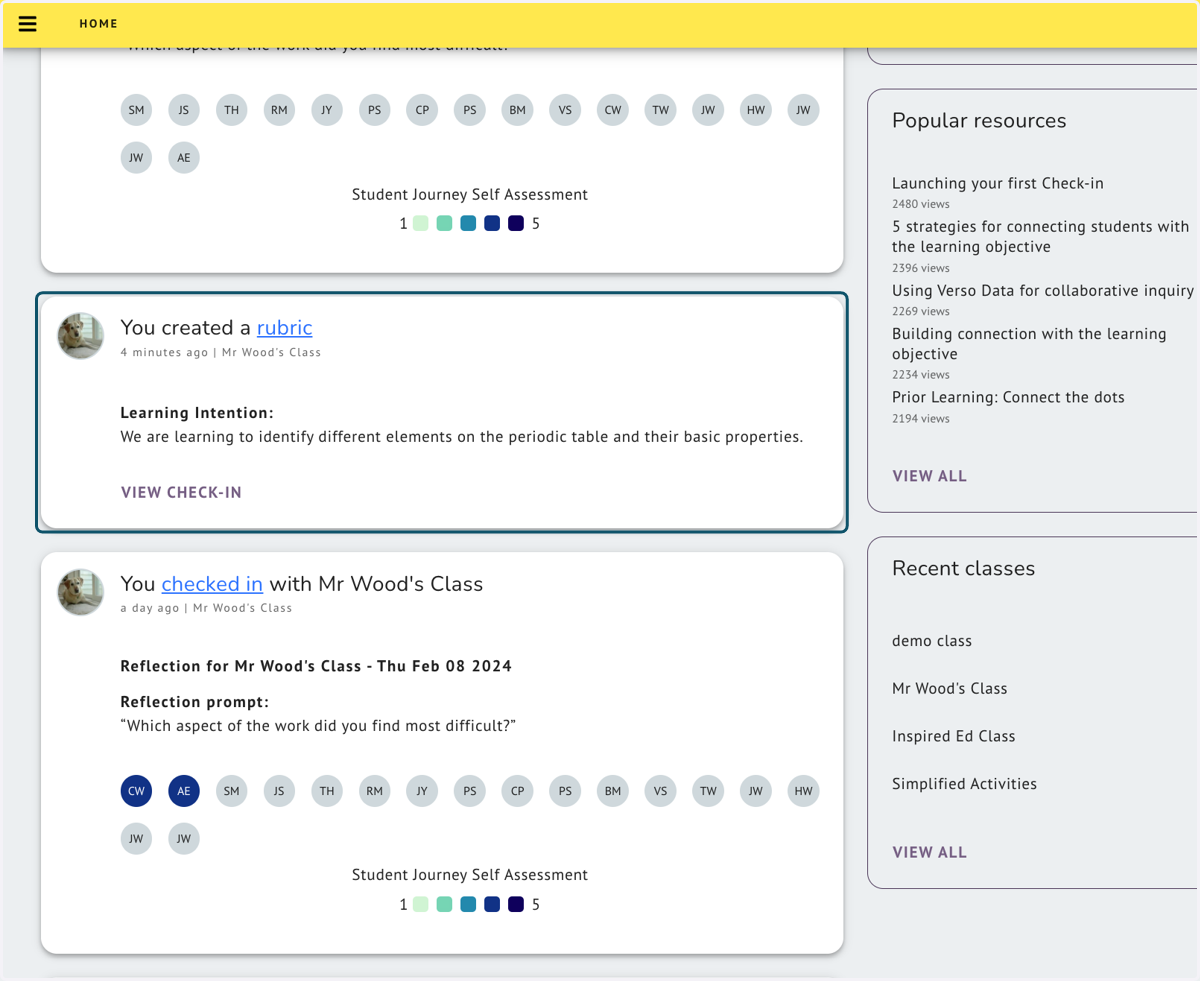
34. New Rubrics will appear on your homepage
You can click through to your Rubrics and the Check-in linked to them from the modal
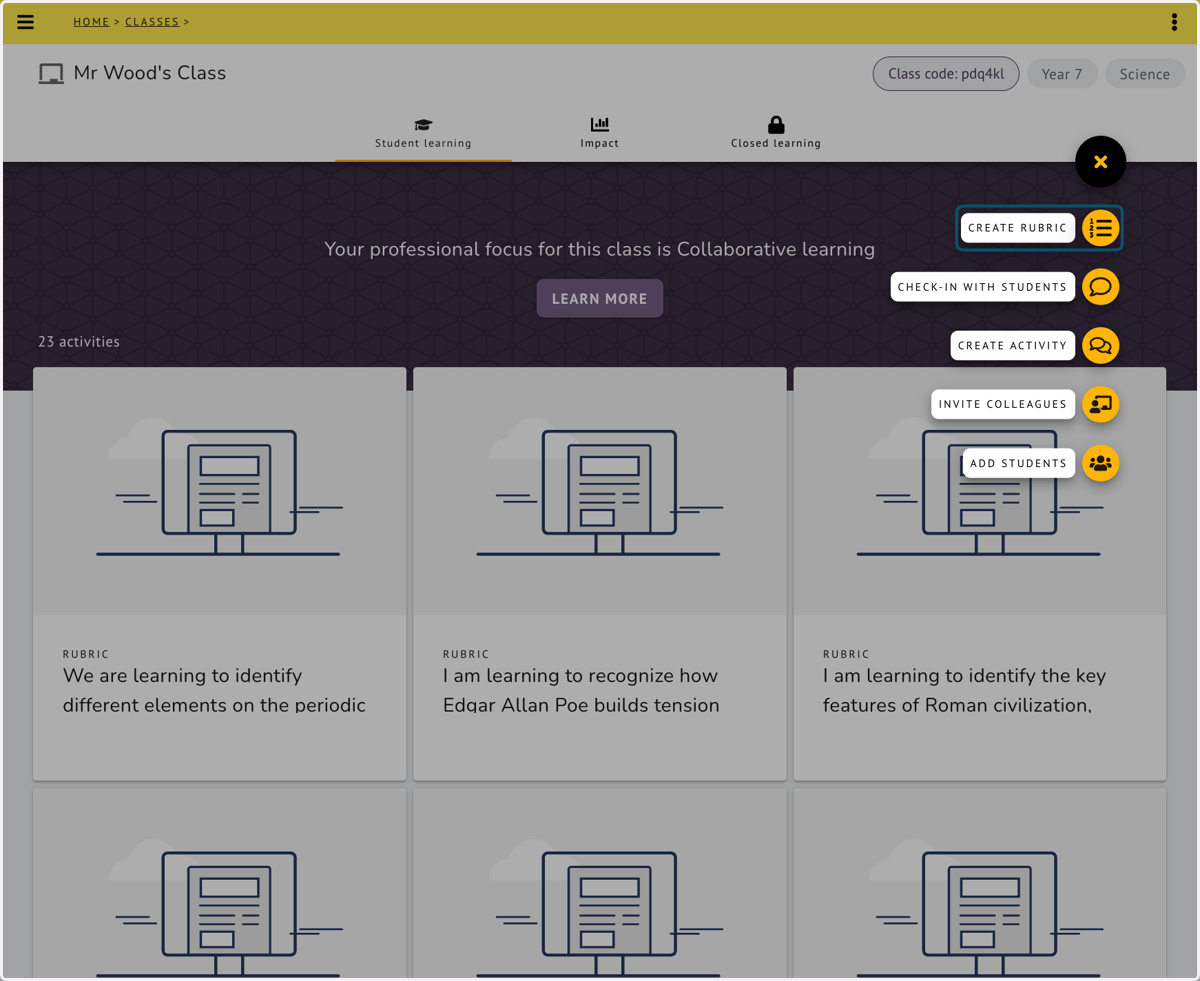
35. Rubrics can be accessed and created from your class page
36. Once your students respond to your check-in, Clarify can generate Bump-it-up questions and lesson activities
Click on the "Bump-it-up" button in the Student Self Assessment chart
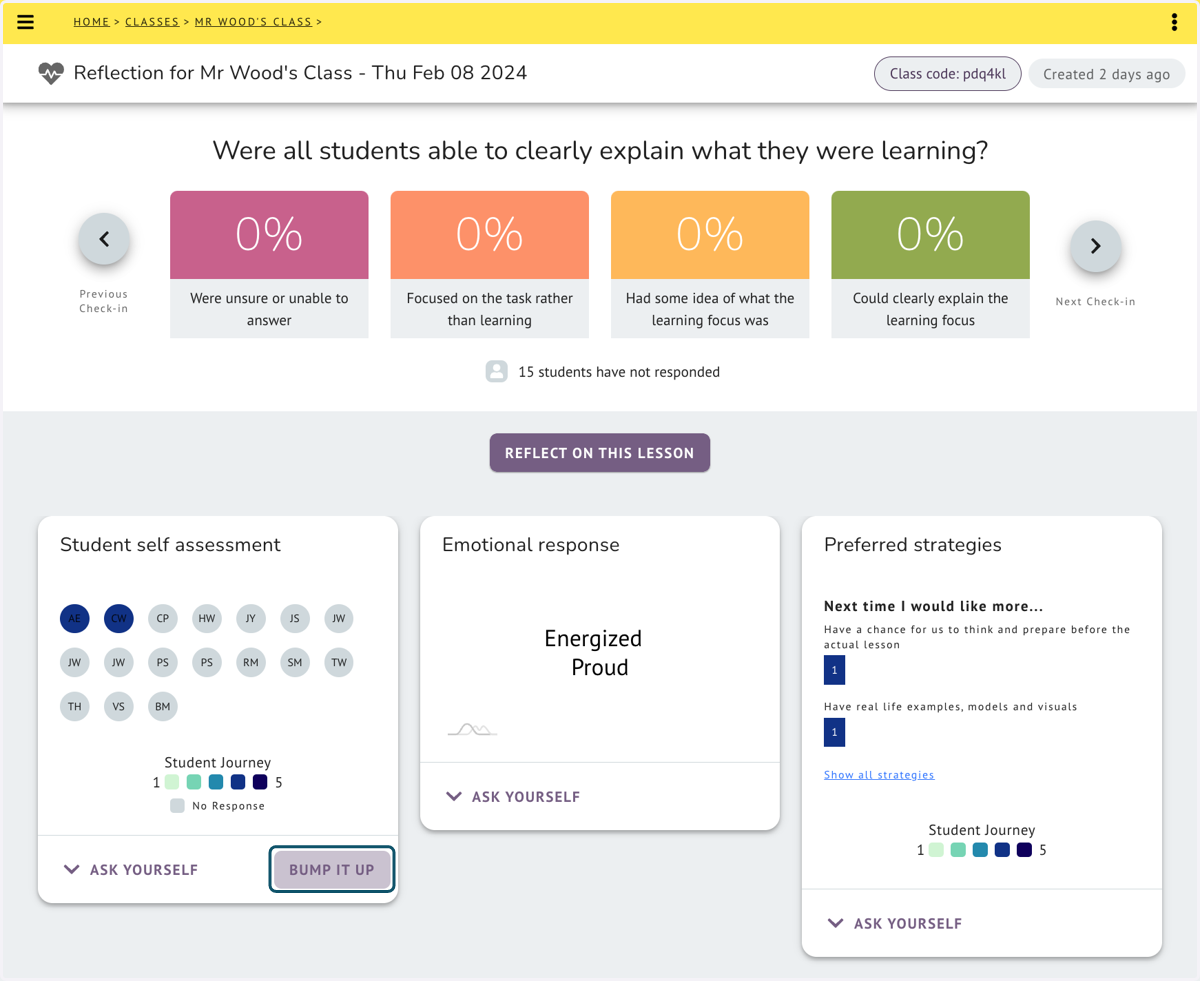
37. Bump-it-up Questions
Bump-it-up questions will be created for levels 3-4 and 4-5
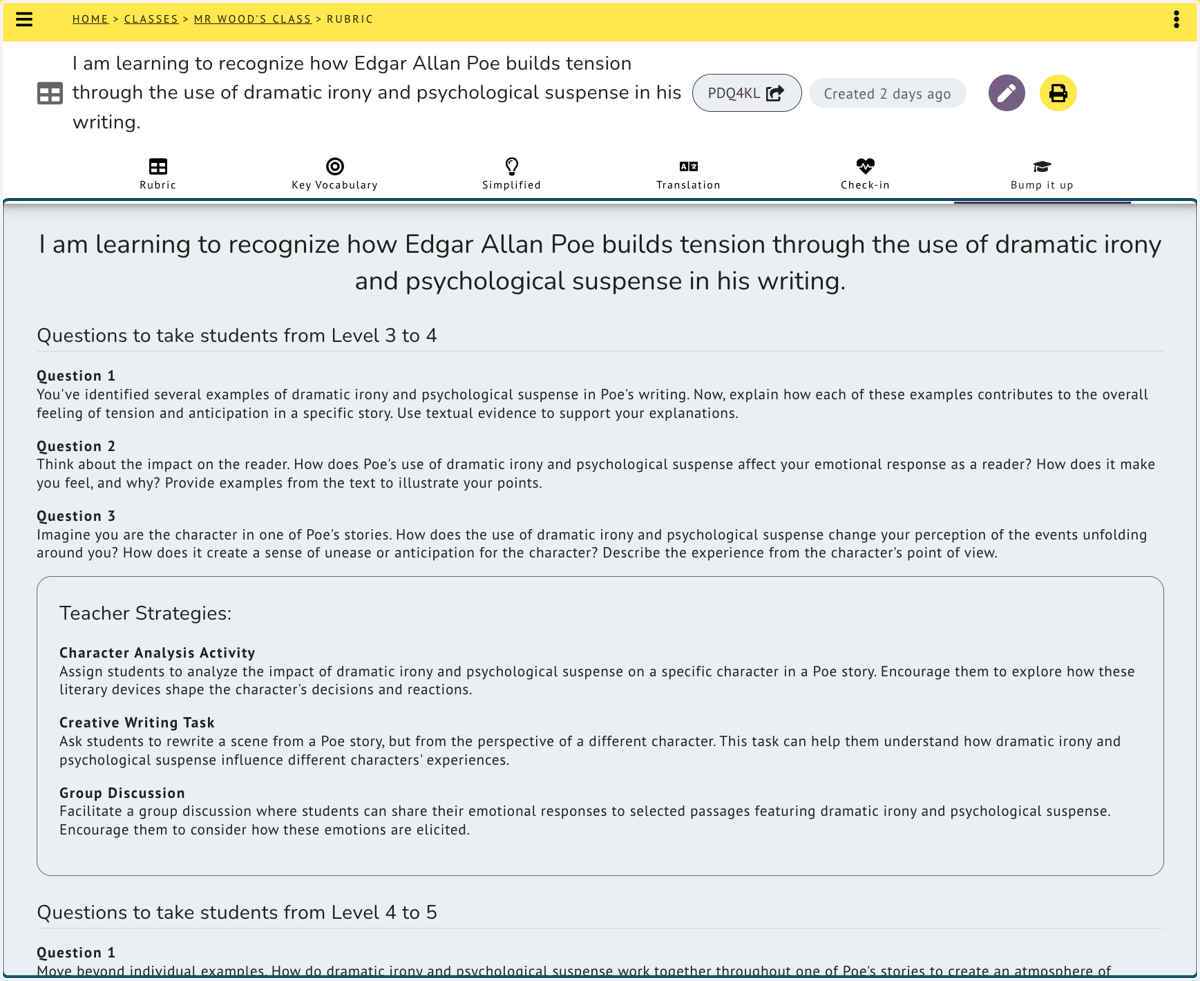
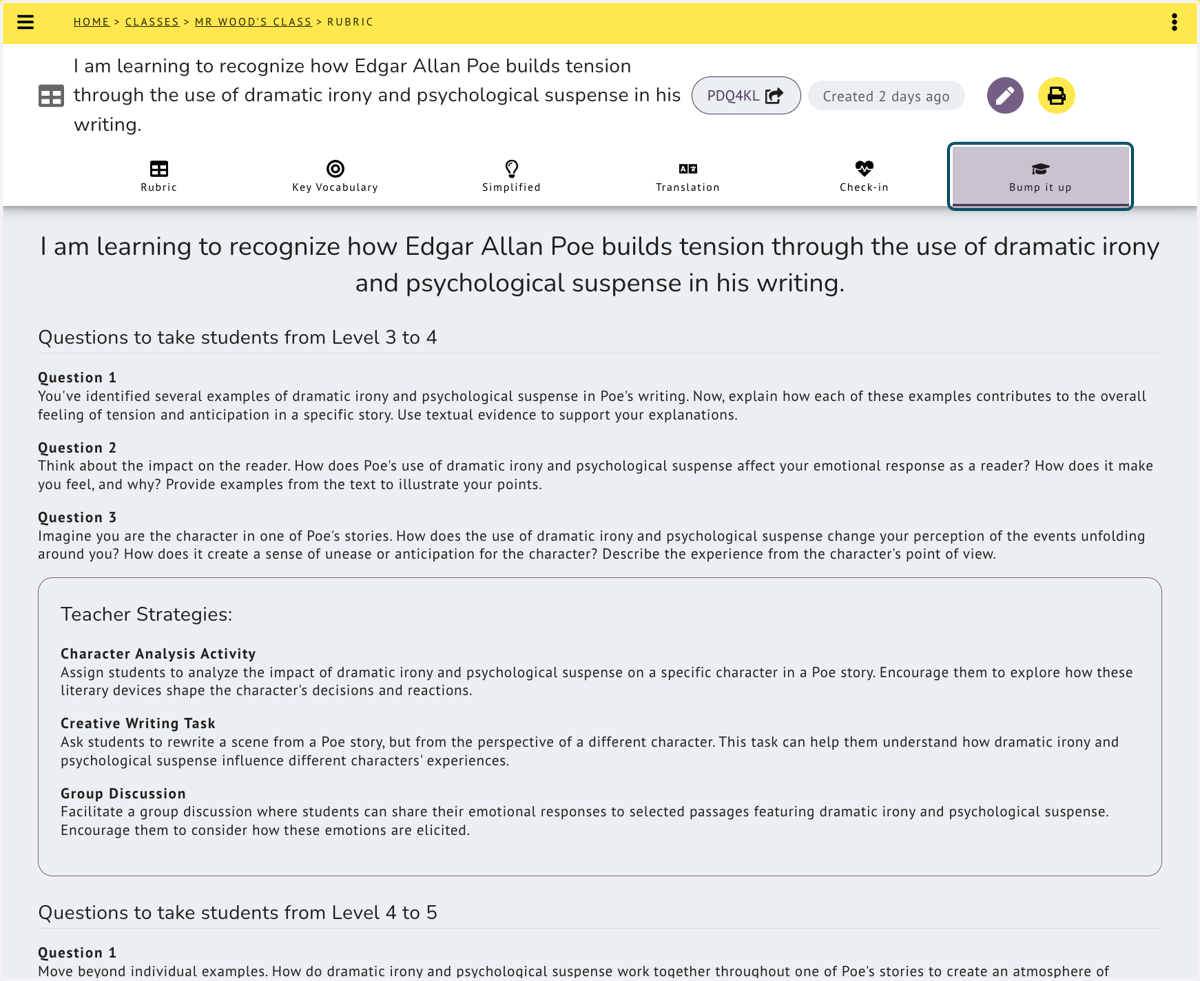
38. Bump-it-up tab,
You can access your bump it up questions from the Rubric homepage once your students have started to respond to you. You will not be able to generate Bump-it-up questions if you have not attached a Check-in
How do my students access their Rubrics?
39. Students access their Rubrics in two places
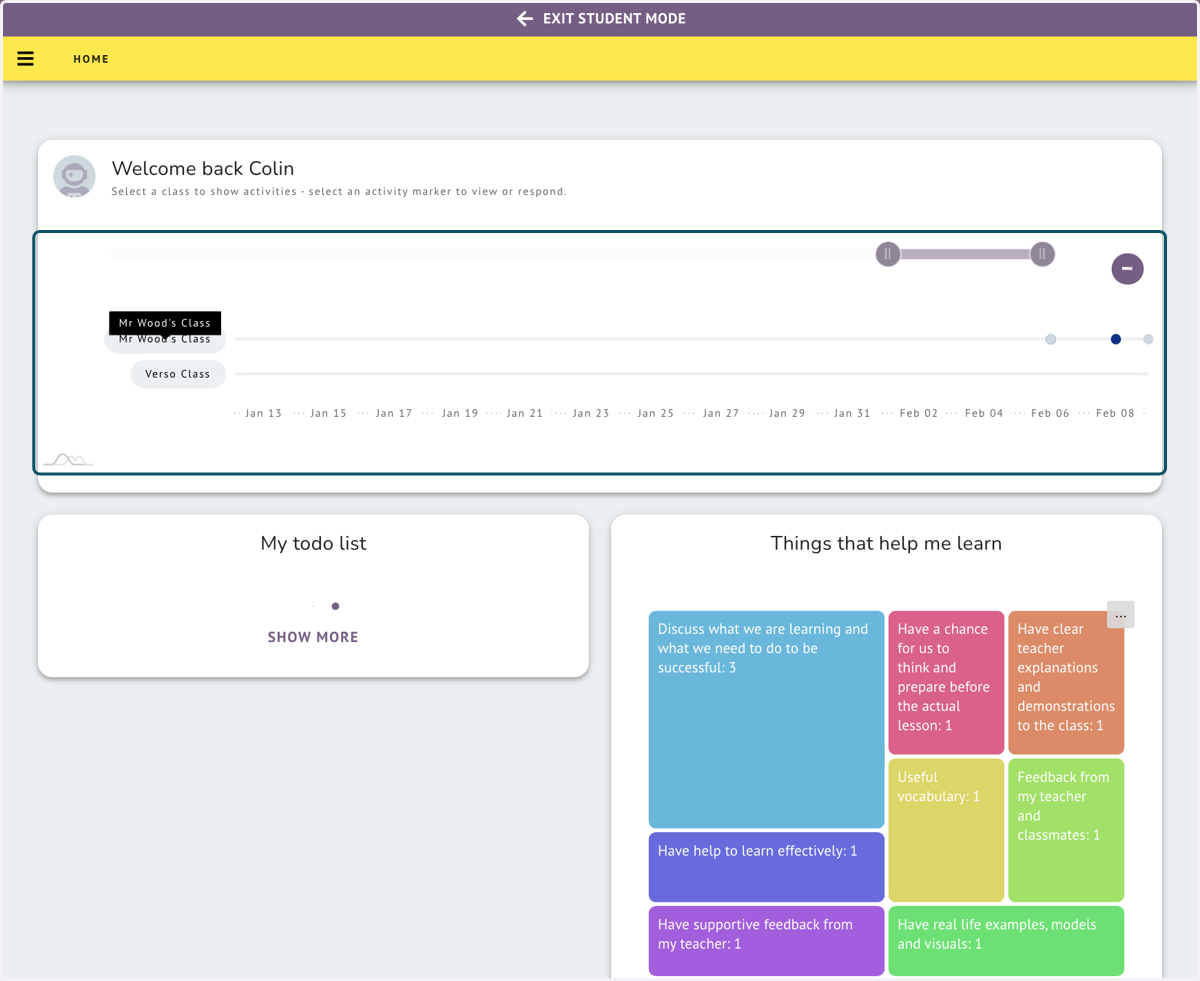
Students have a My To do list on their homepage and Rubric and Check-ins will appear here. They can also use their 'race track' chart.
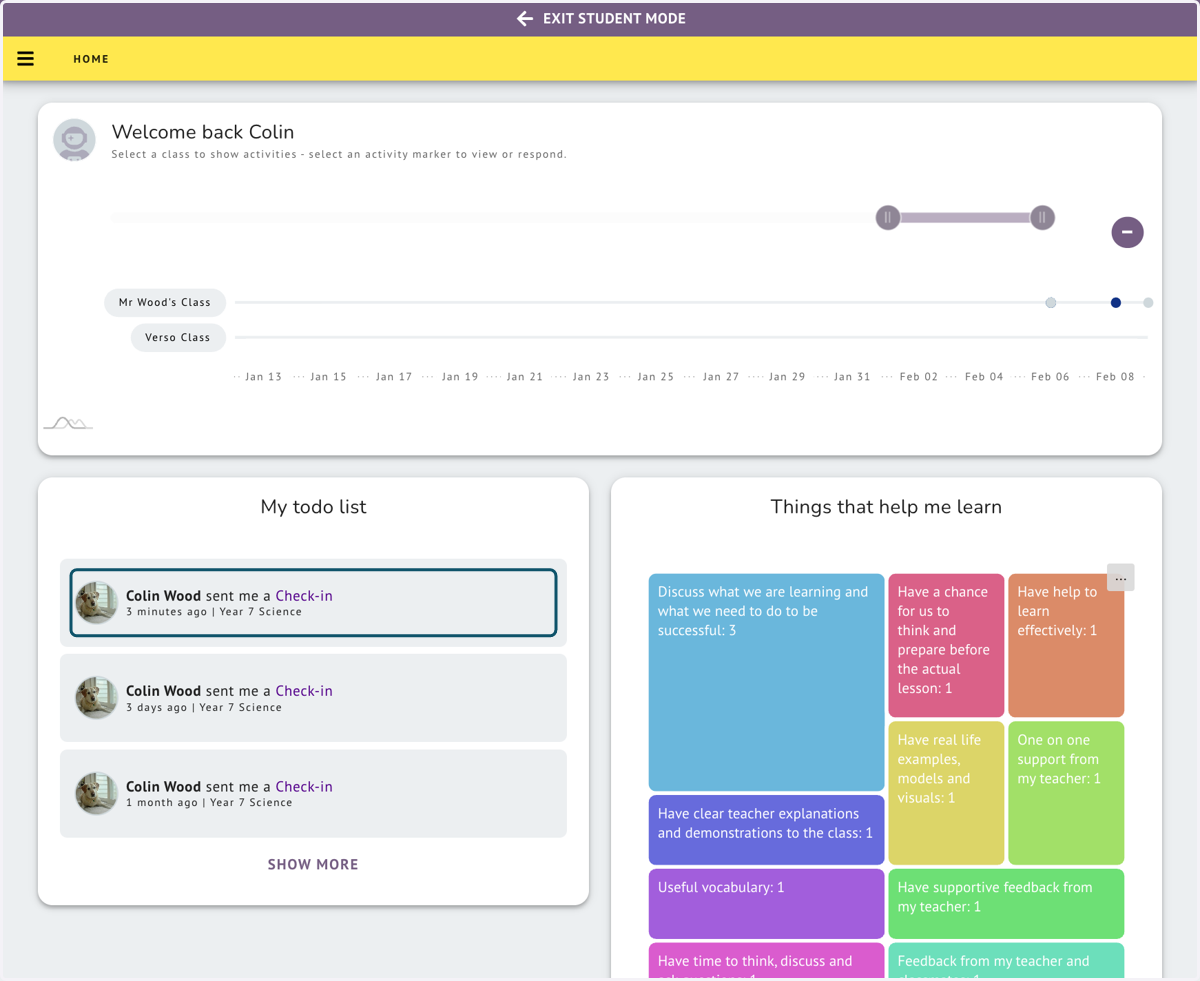
40. Using the 'Racetrack' chart
Click on the class name you wish to access, Check-ins and rubrics will appear along the track, the ones that have not yet been completed will be in grey.
41. VIEW RUBRIC When completing a Check-in
Students can access the Rubric from the floating yellow VIEW RUBRIC button
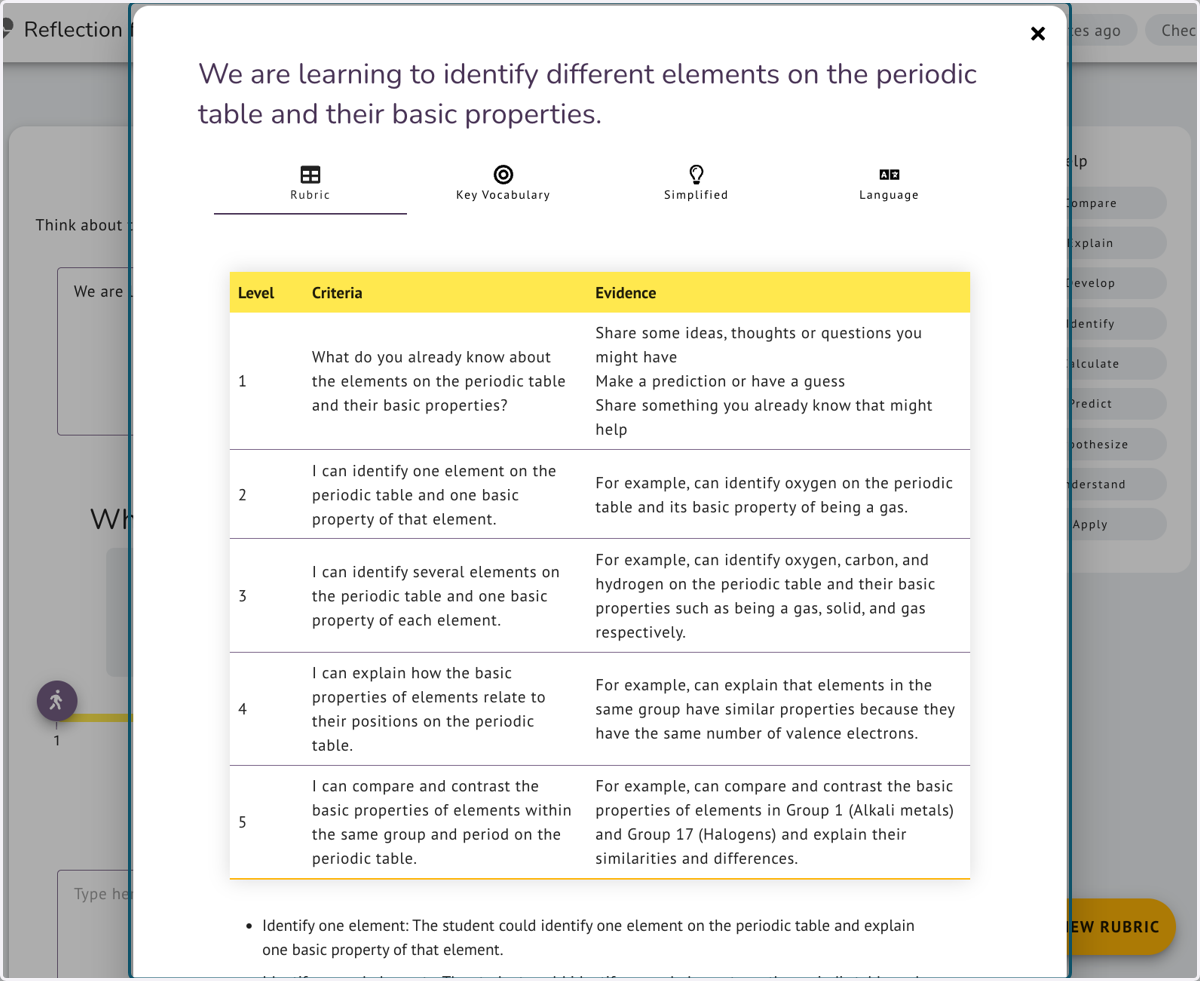
42. Students can navigate through all parts of the rubric
Students can use the tabs across the top to switch between the Rubric, Key Vocabulary, Simplified and Language.
43. When students evidence where they are on the slider
Clarify provides students with sentence starters to guide their thinking