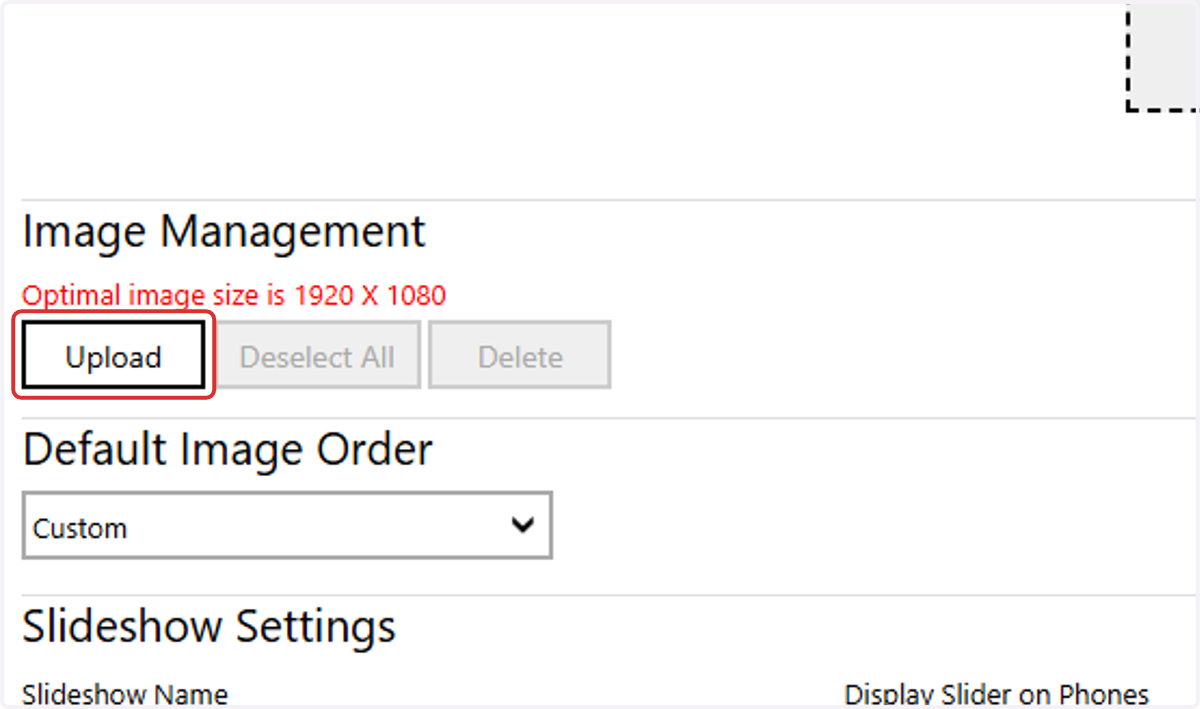
DX1 Image Uploader : The Basics
This article covers the basic functions in the DX1 Image Uploader. For more details, view the Image Uploader Tool Guide
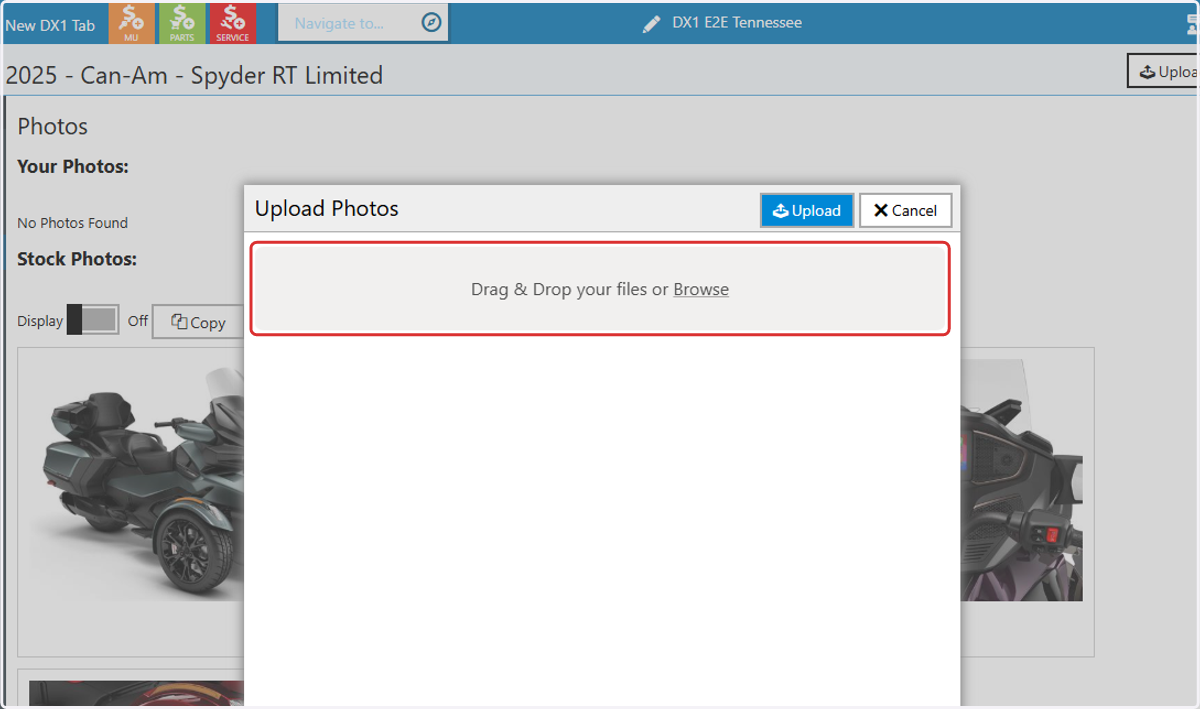
1. Drag & Drop your images into the uploader or Browse for files on your device.
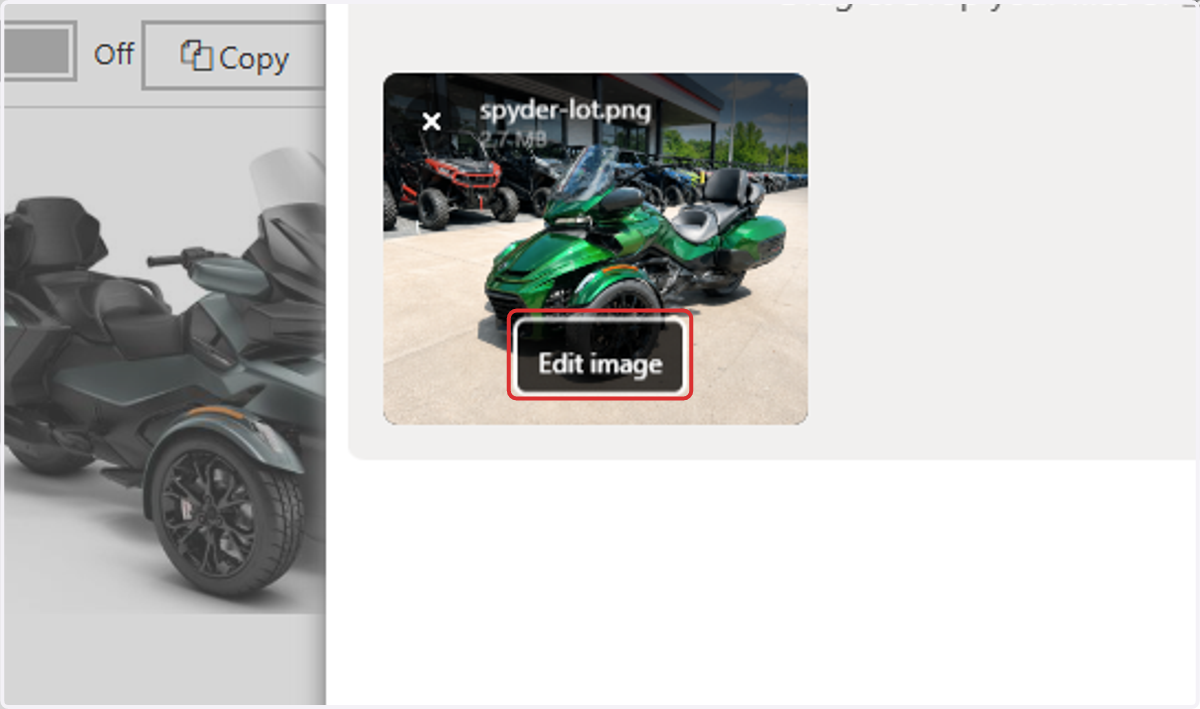
2. To make changes to images, select Edit image
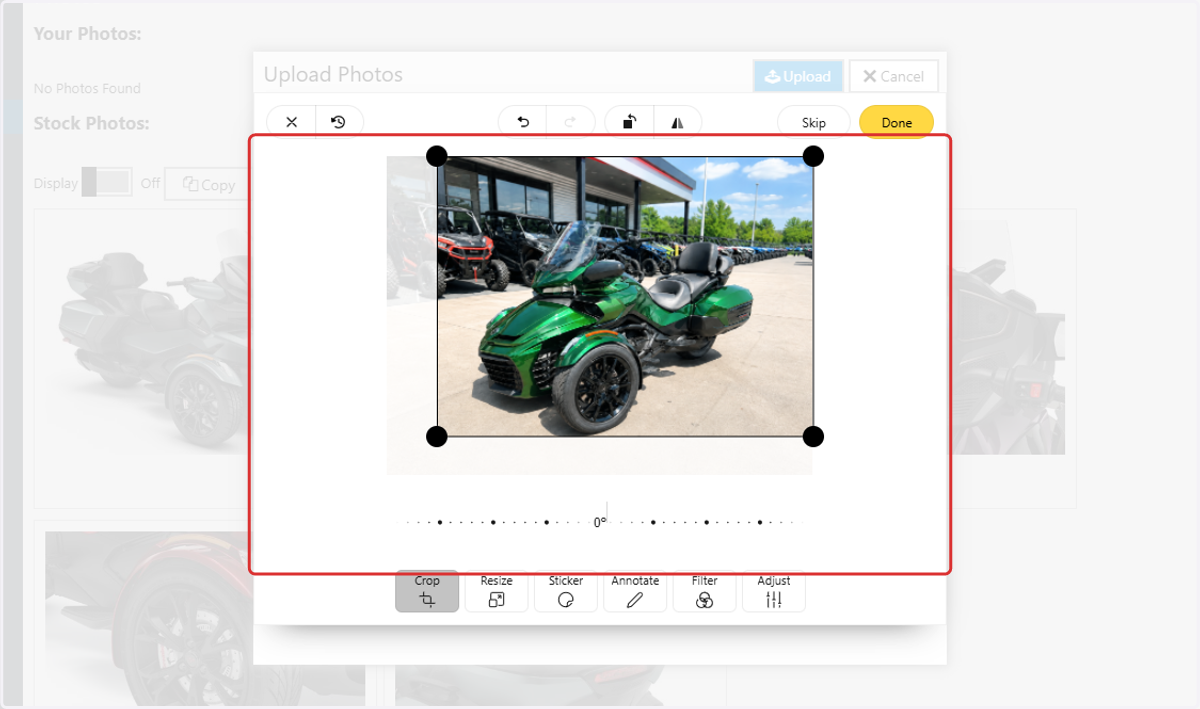
3. Use Crop to adjust the visible portion of the image
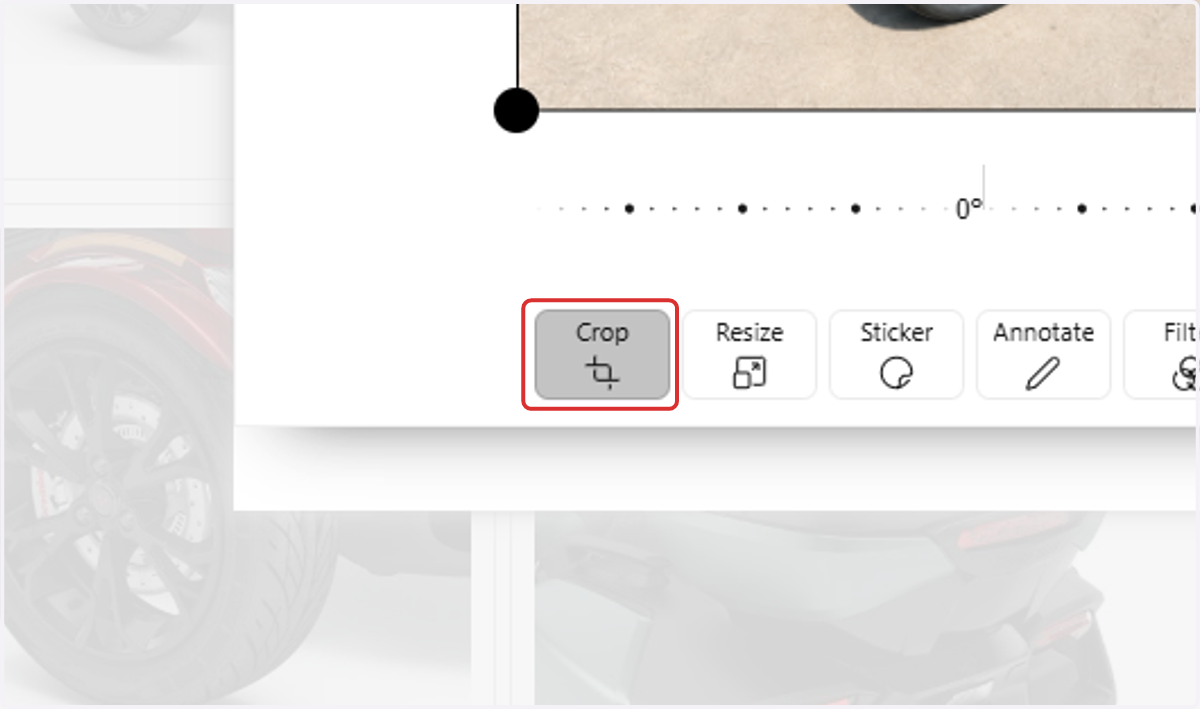
4. Drag the handles to change the visible area of the image
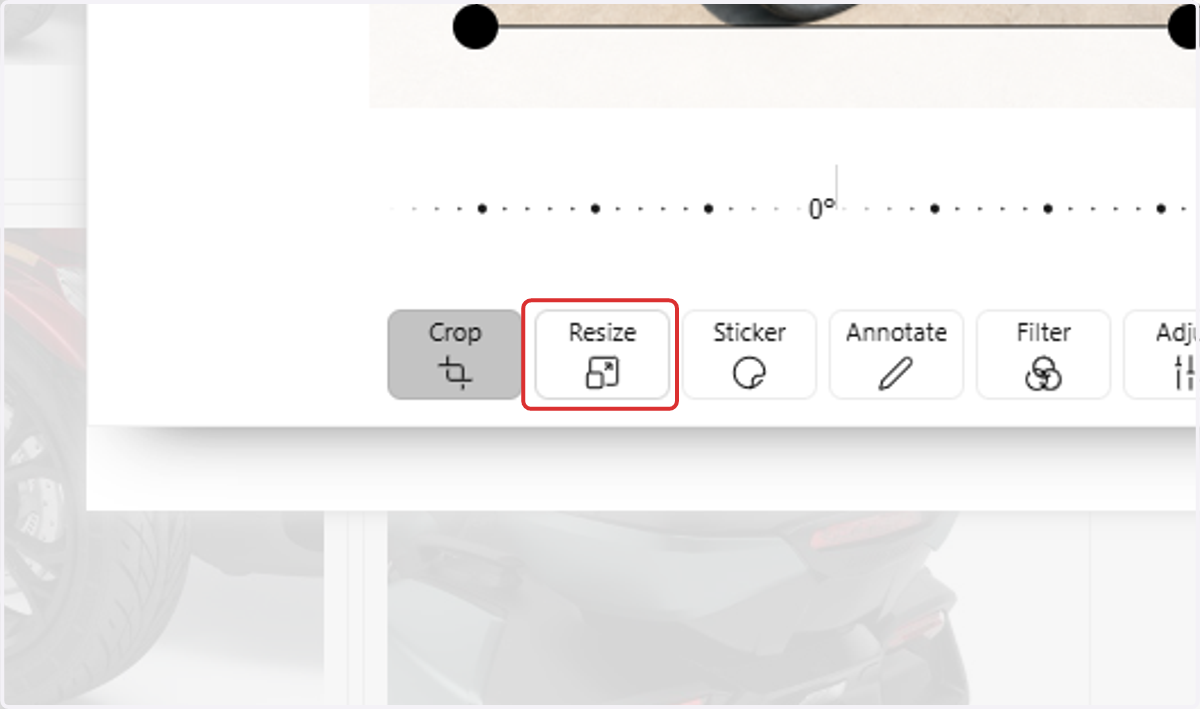
5. Click on Resize to change the dimensions of your image.
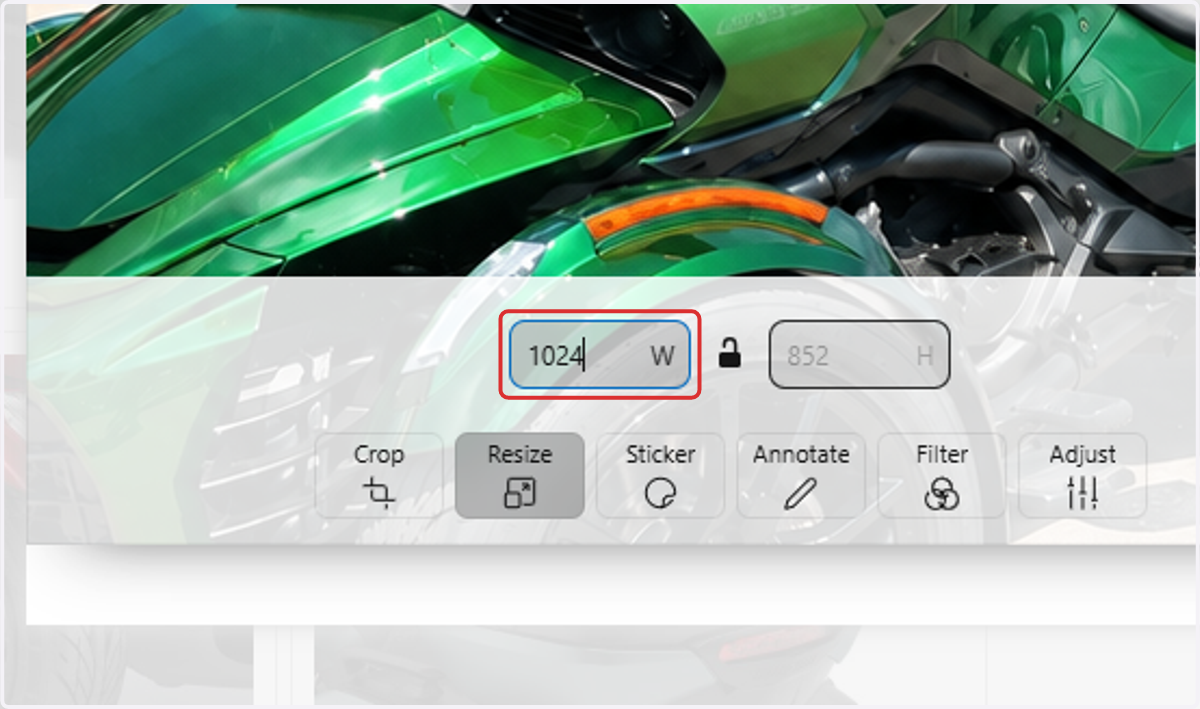
6. Enter the desired width and height.
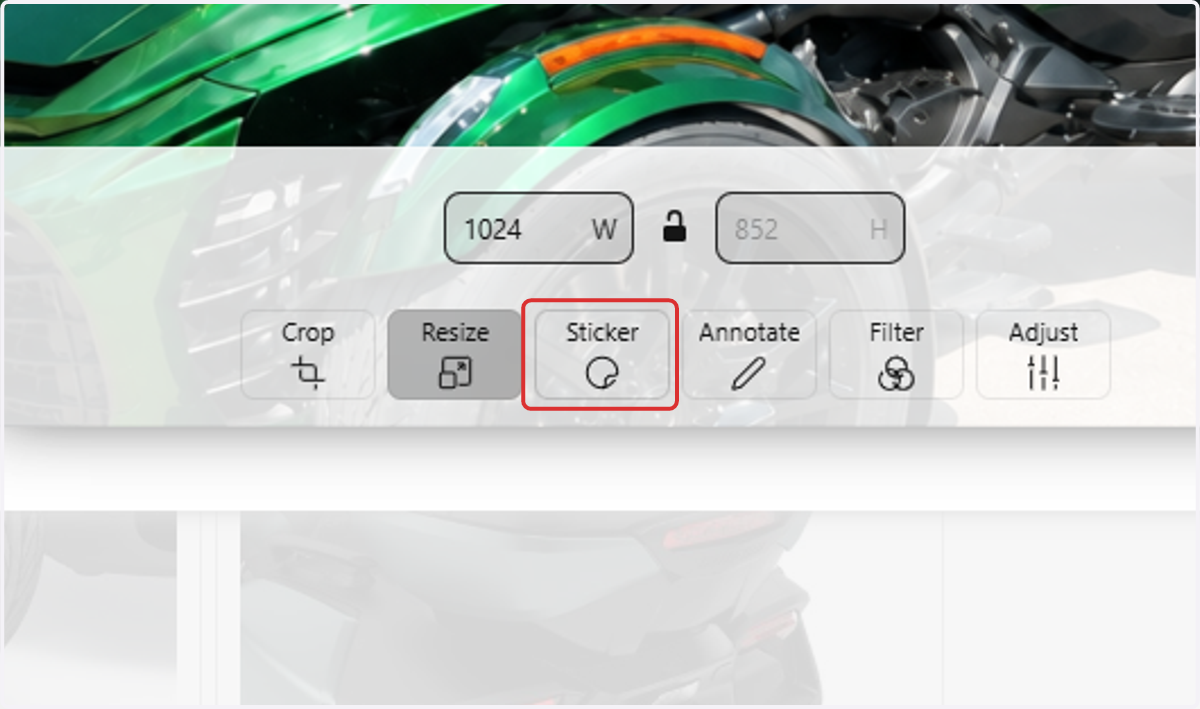
7. Choose Sticker to add a graphic element on top of the photo.
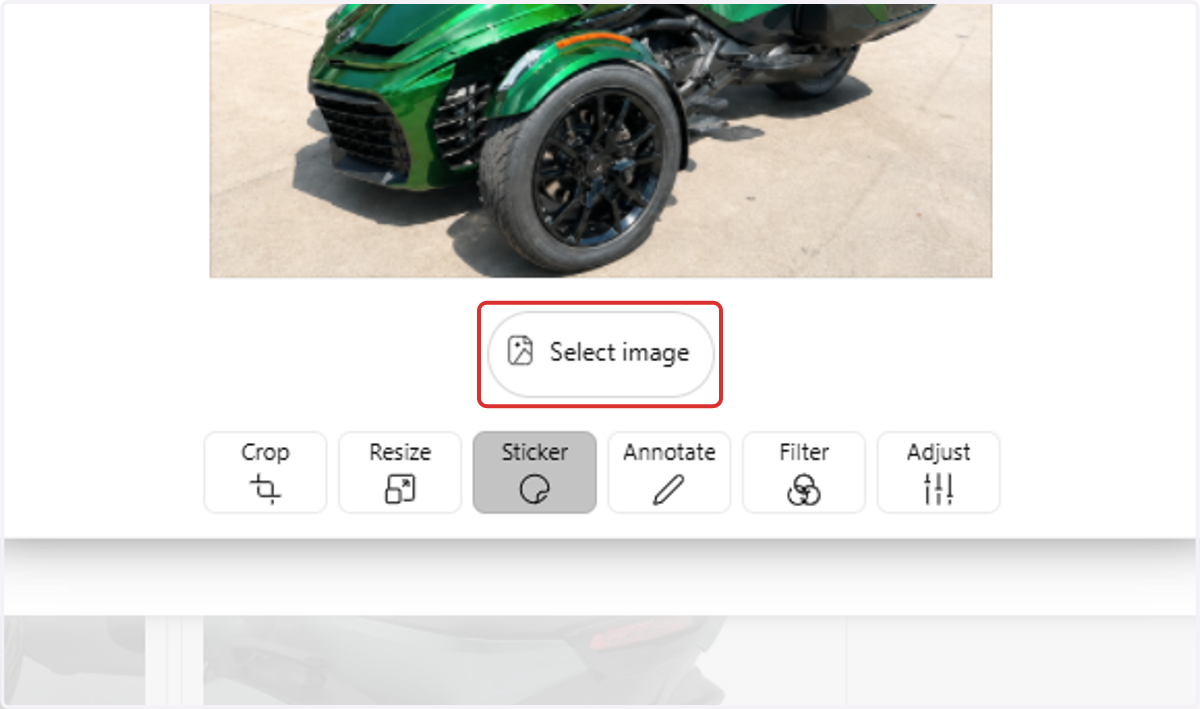
8. Click on Select image to upload an image from your device
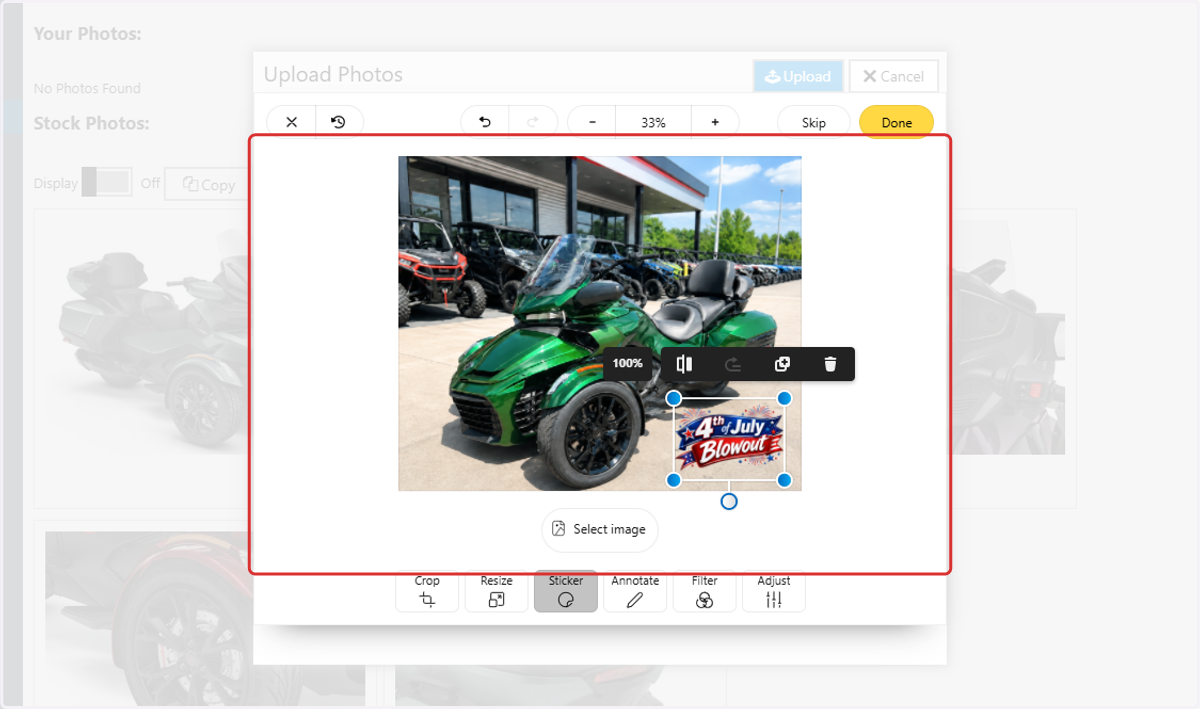
9. Position the image and resize to desired dimensions.
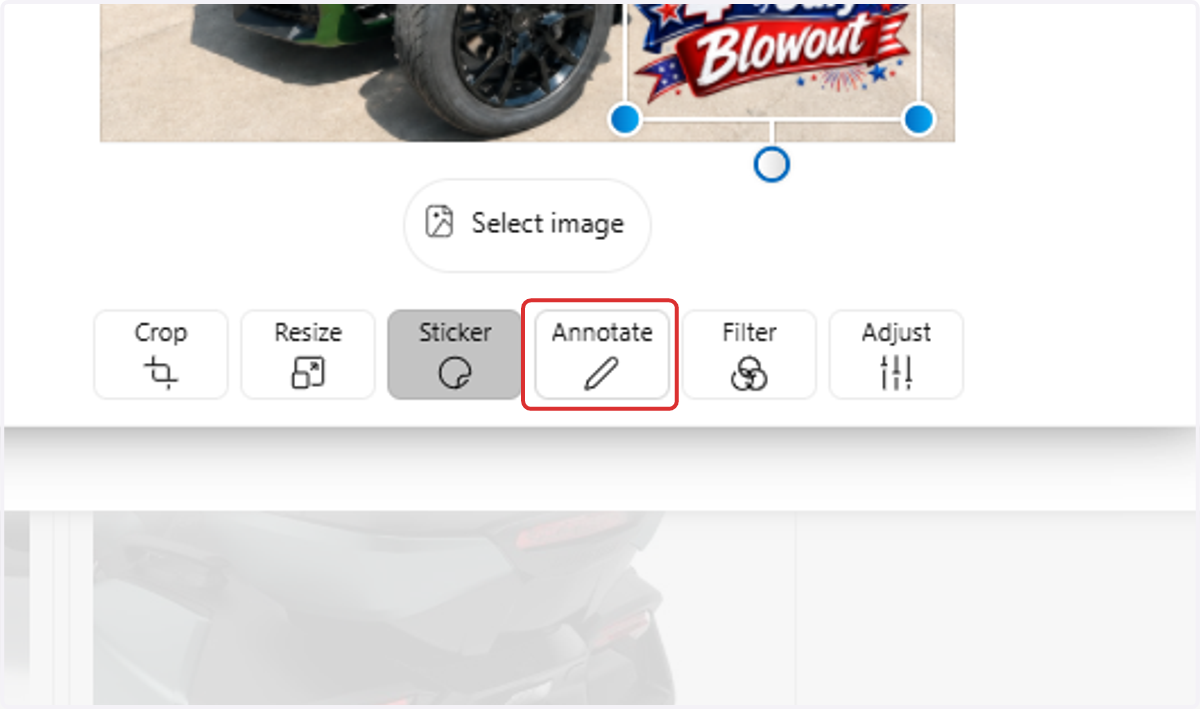
10. Click on Annotate to add text, arrows, or instructional symbols.
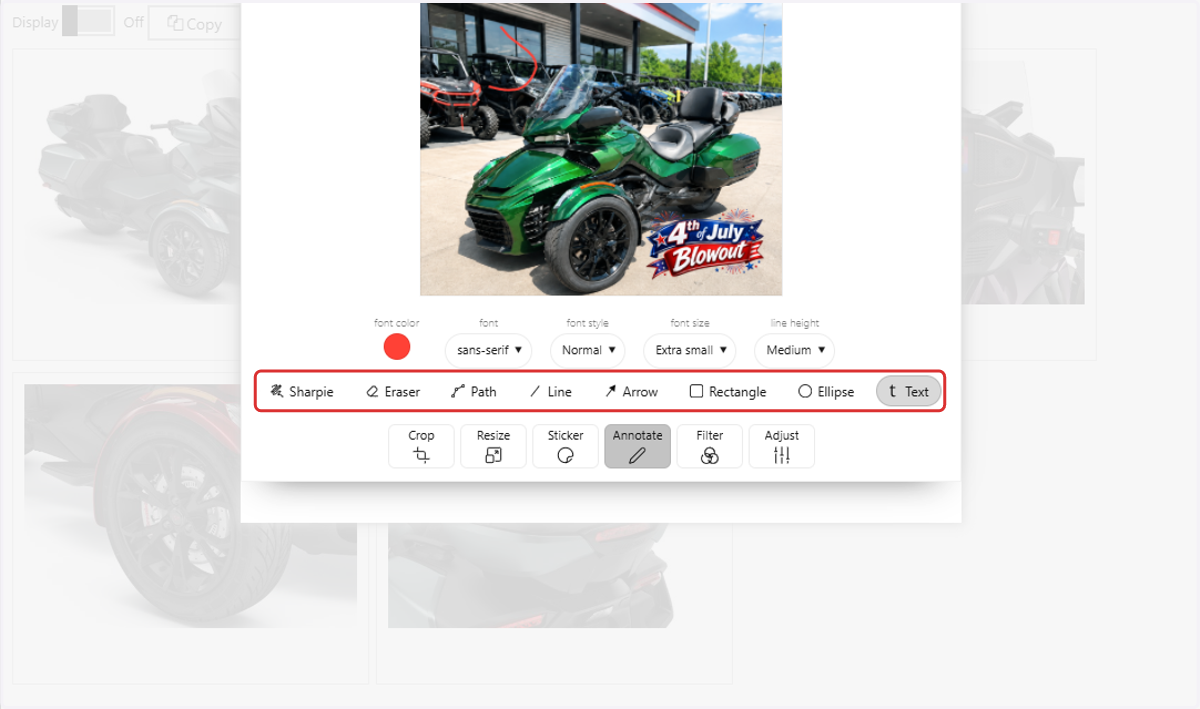
11. Select a tool to annotate the image
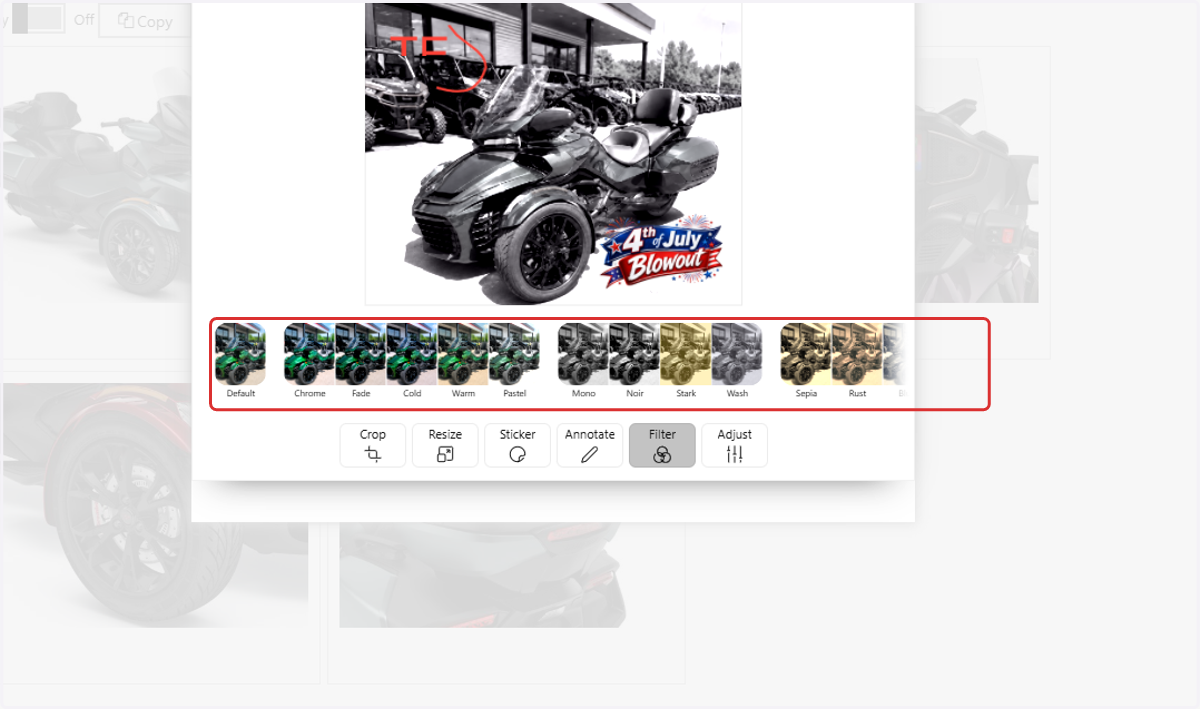
12. Choose Filter to apply a preset look to the entire image.
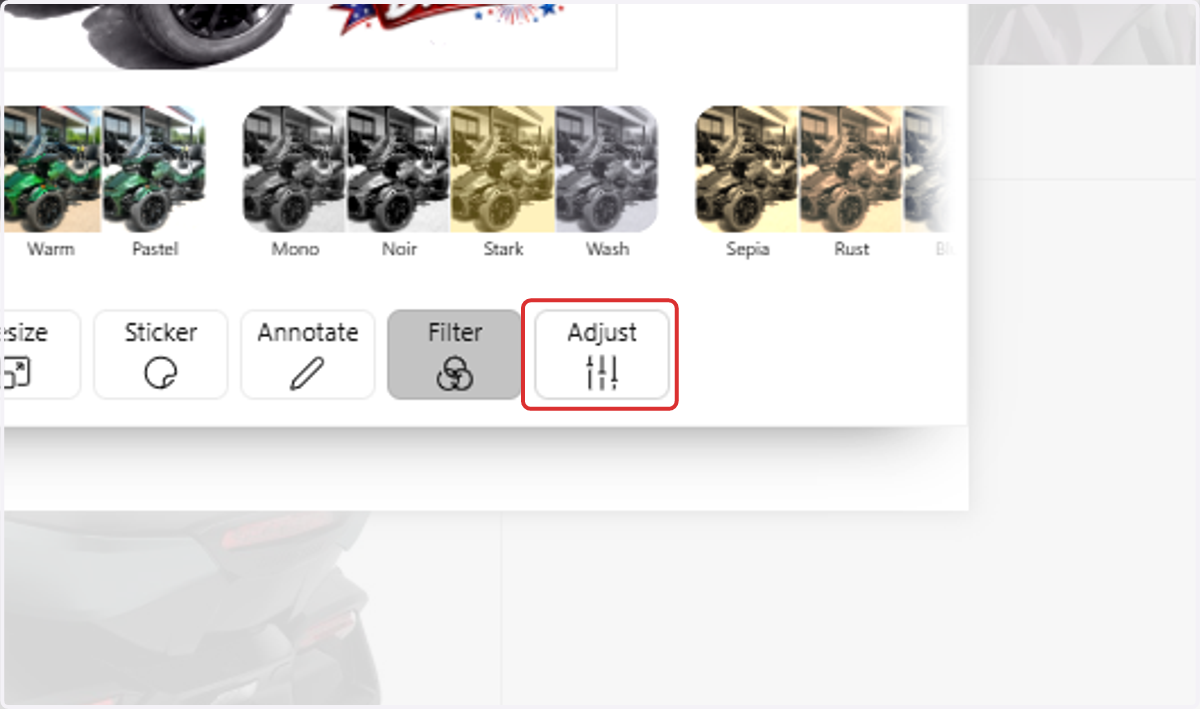
13. Click on Adjust for manual fine-tuning controls.
14. Click on Upload