Gale Online Library Basic Walkthrough

concorde.instructure.com

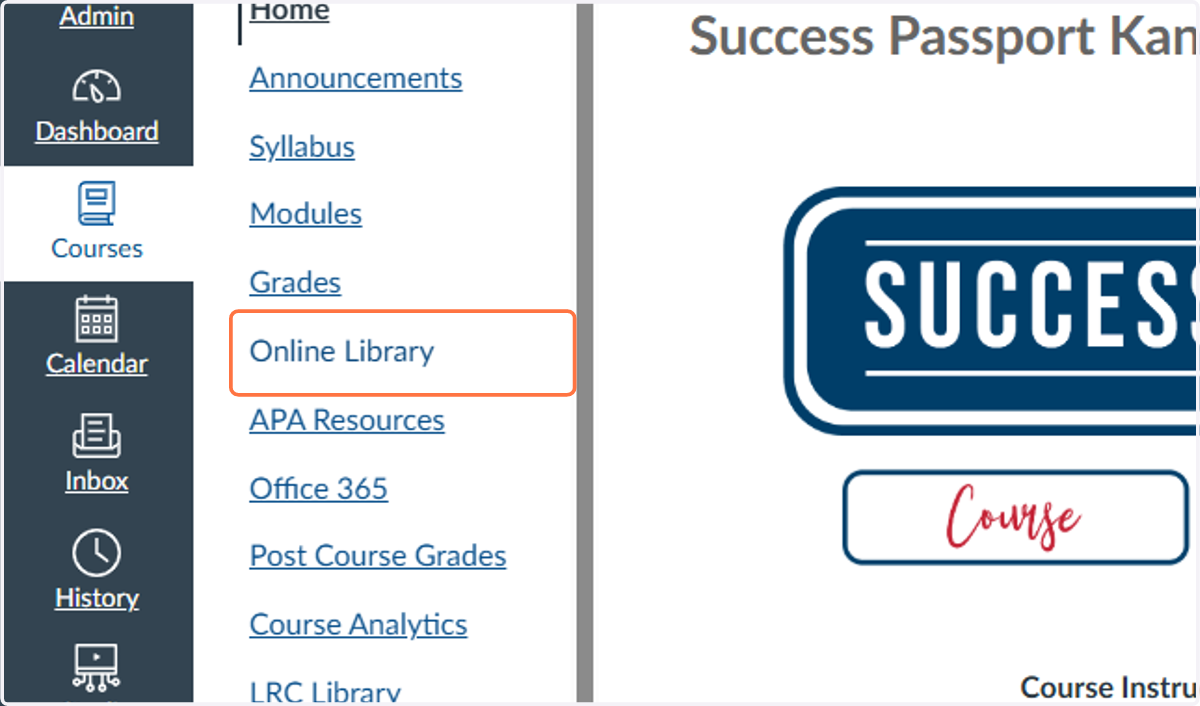
  1. 1. Click into any class available in Canvas
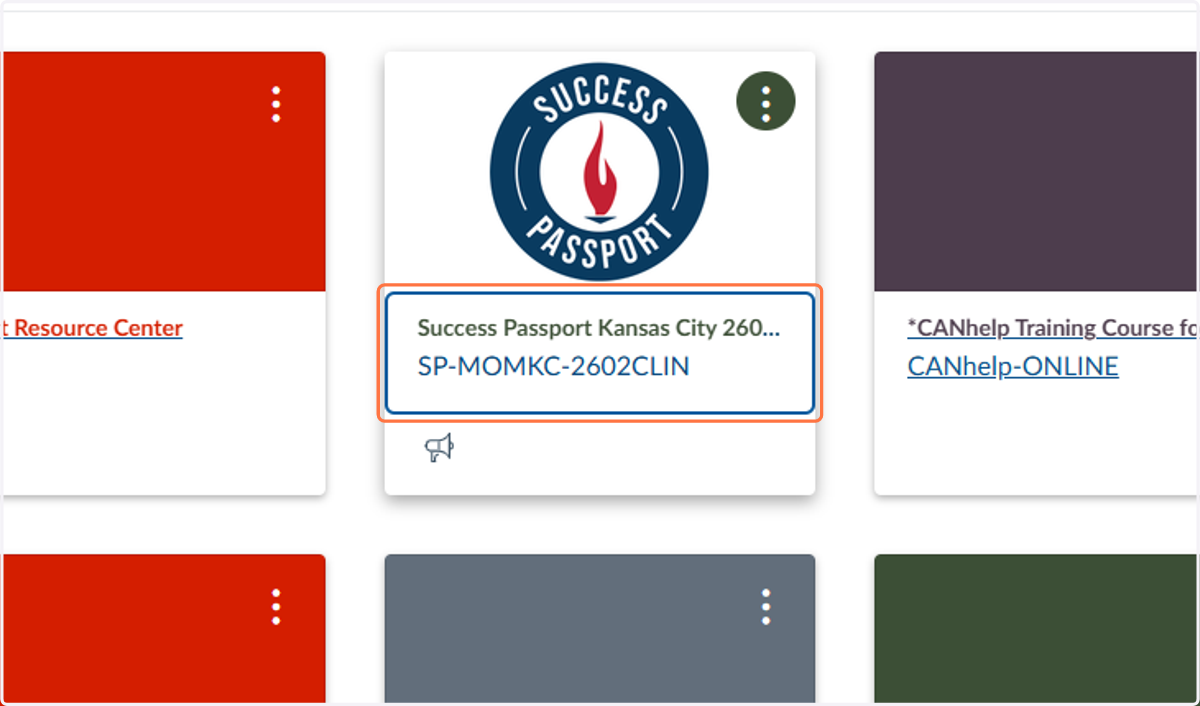
    Click into any class available in Canvas
  2. 2. Click on Online Library

    Click on Online Library
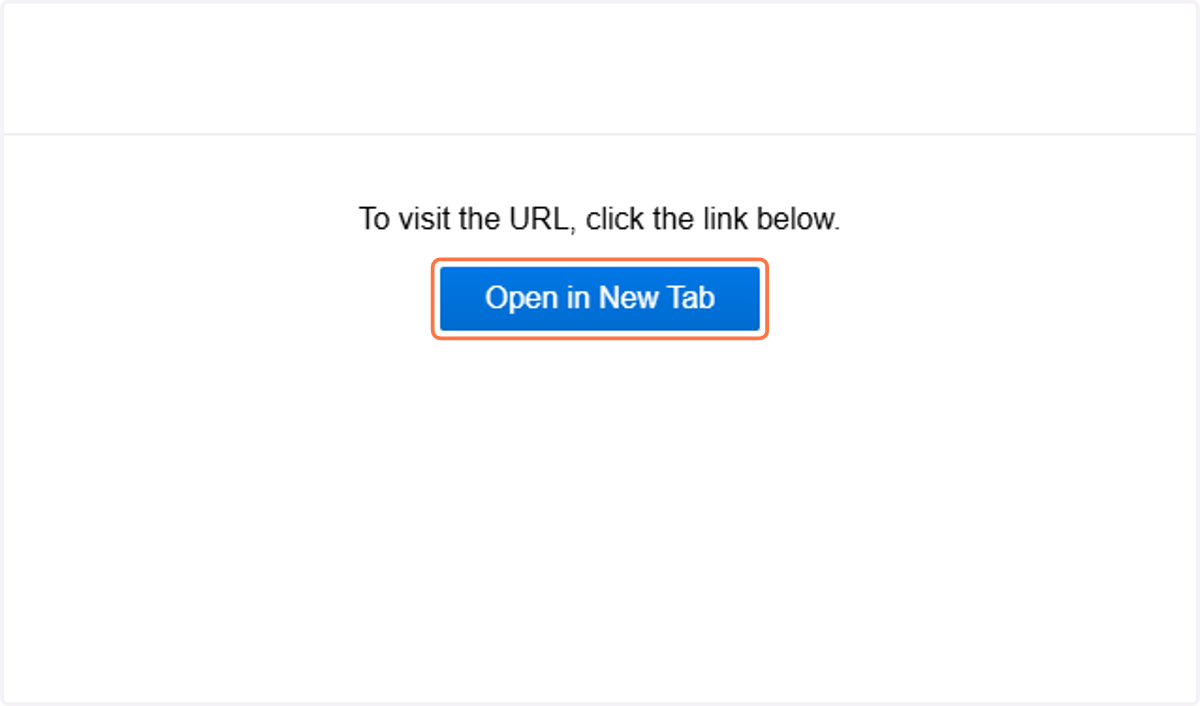
  3. 3. Click on Open in New Tab

    Click on Open in New Tab

Concorde Career Colleges - Gale Pages

  1. 4. Click on any database to start. I chose Nursing and Allied Health (Gale OneFile)
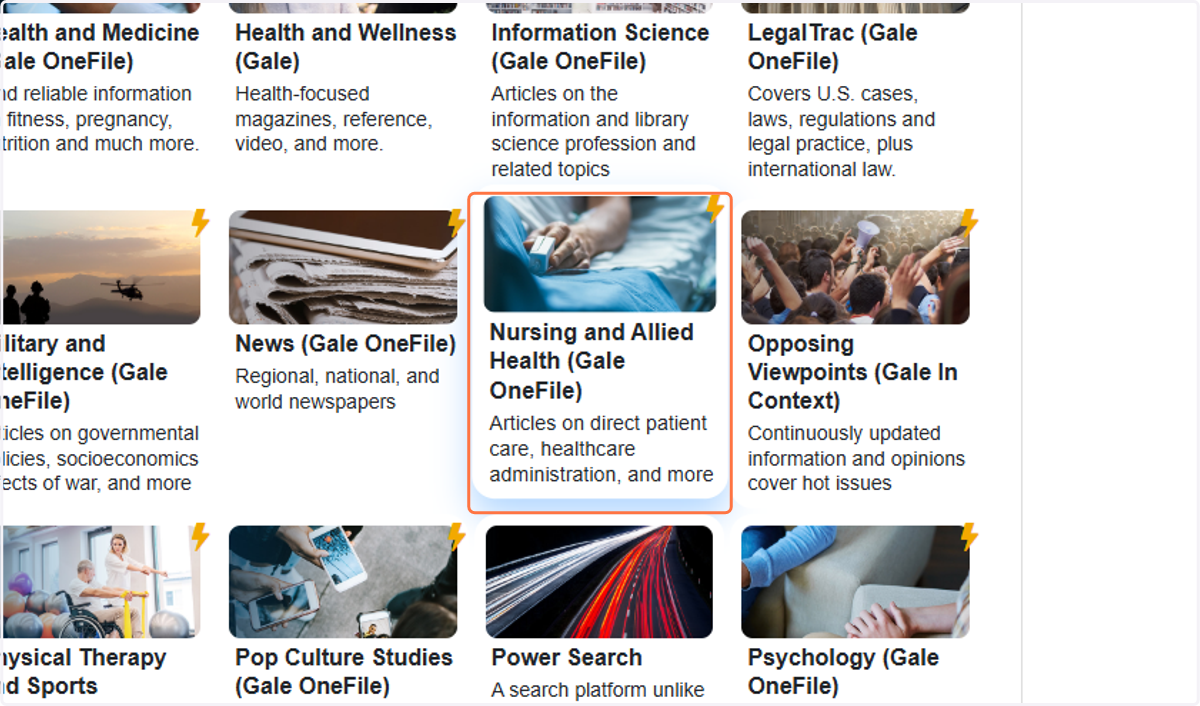
    Click on any database to start. I chose Nursing and Allied Health (Gale OneFile)

Basic Search - Gale OneFile: Nursing and Allied Health

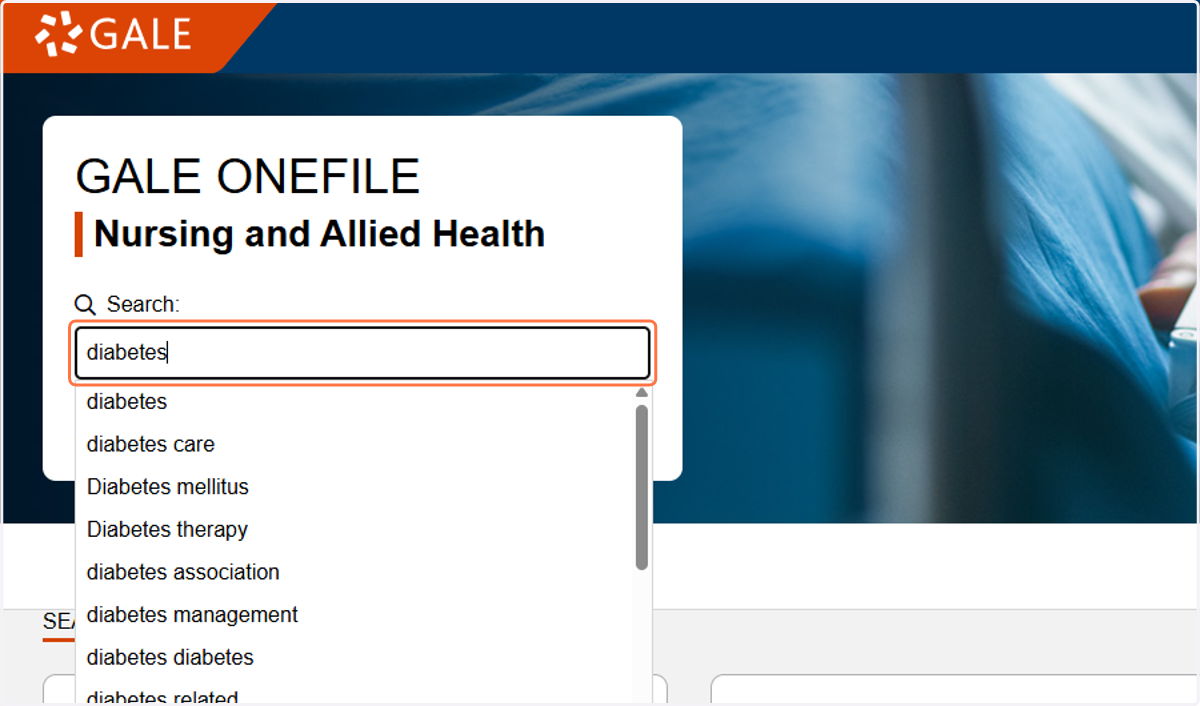
  1. 5. Type "diabetes"

    Type "diabetes"
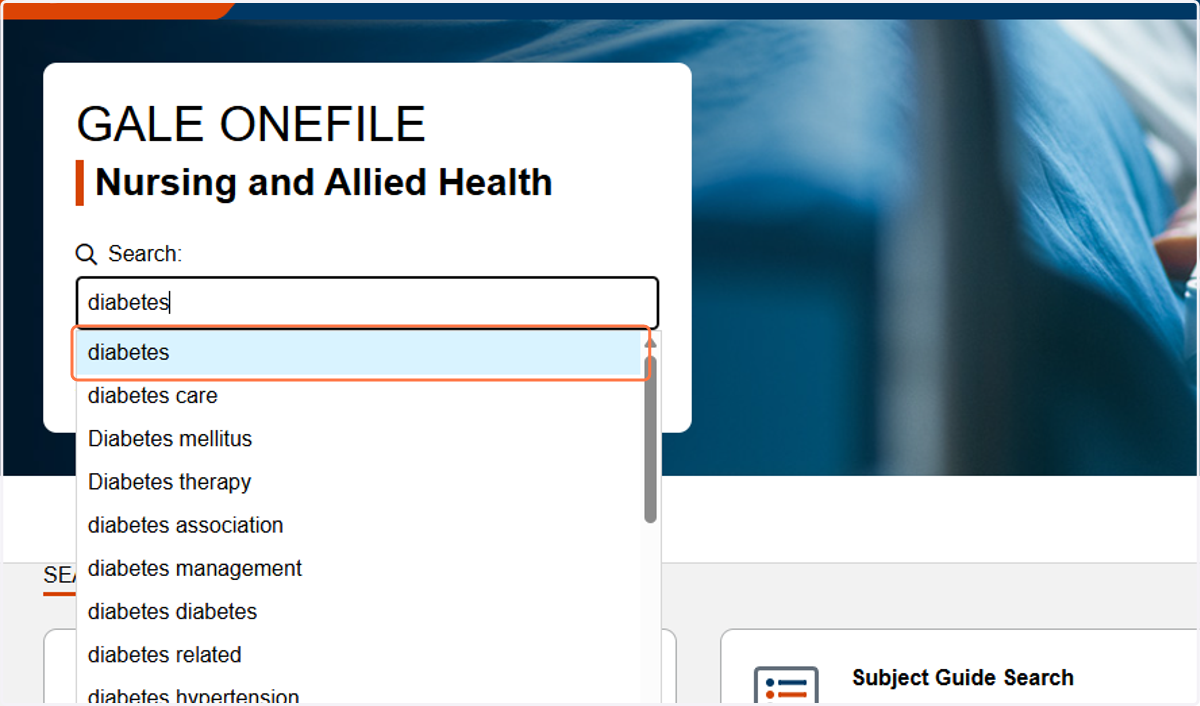
  2. 6. Click on diabetes

    Click on diabetes
  3. 7. Check Full text documents in the righthand sidebar under Filters
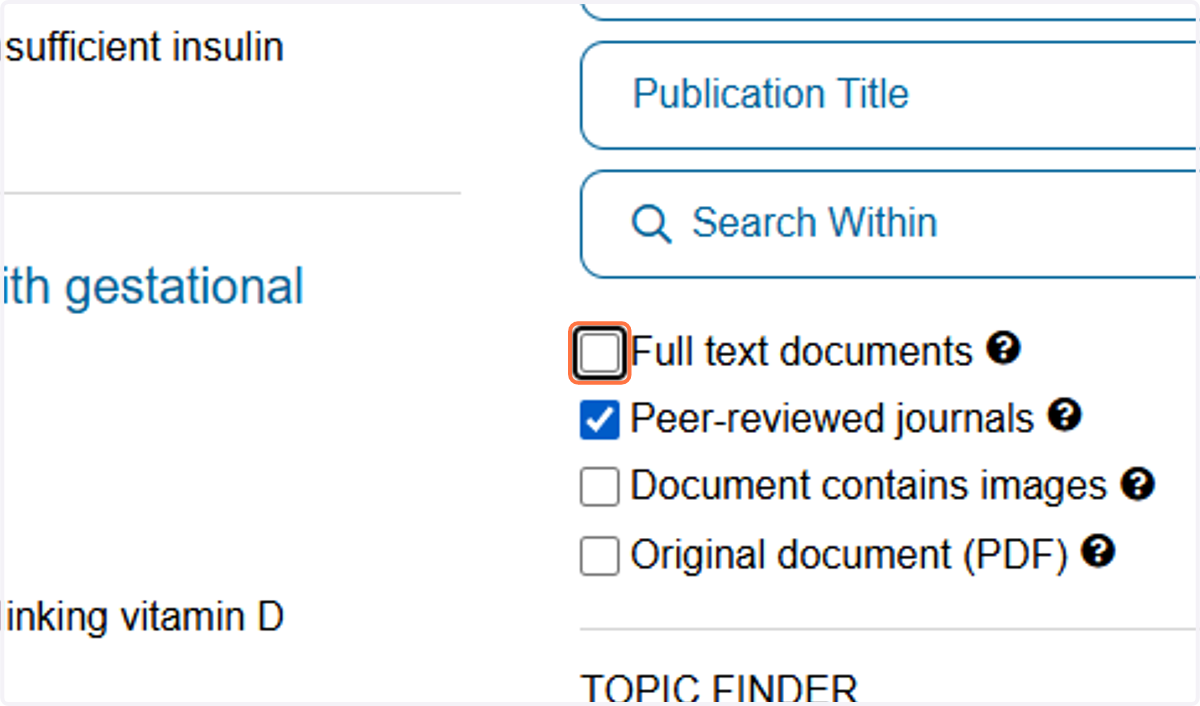
    Check Full text documents in the righthand sidebar under Filters
  4. 8. Check Peer-reviewed journals under Full text documents
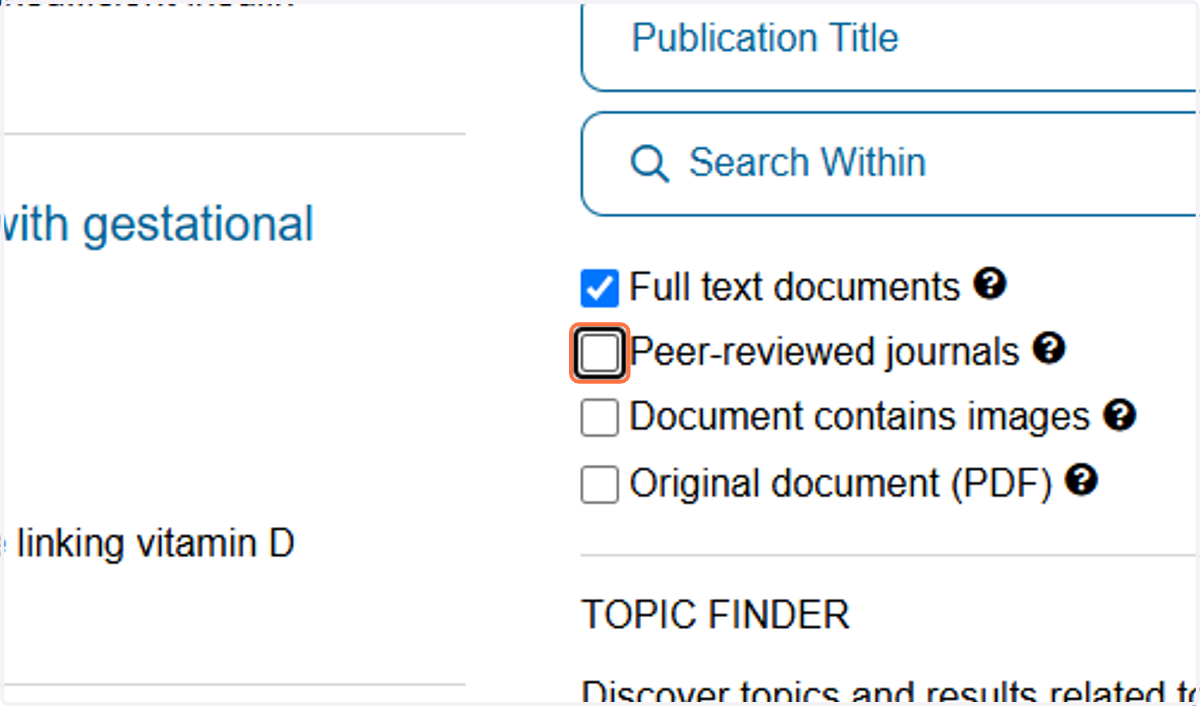
    Check Peer-reviewed journals under Full text documents
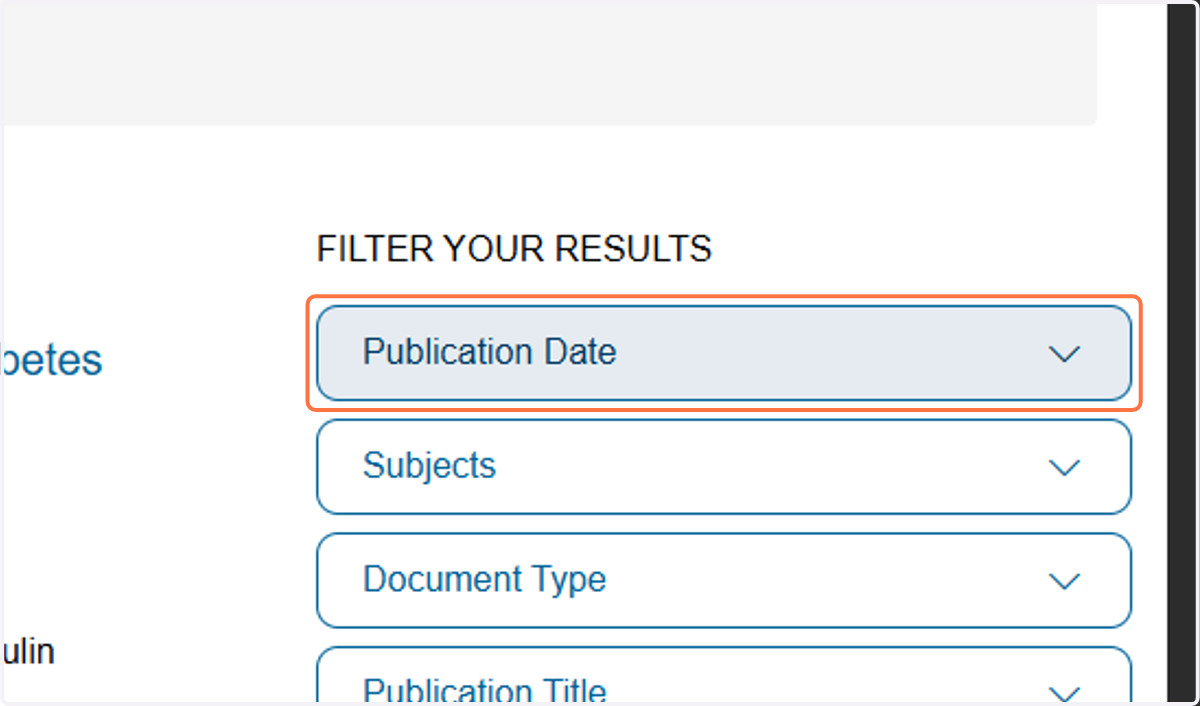
  5. 9. Click on Publication Date

    Click on Publication Date
  6. 10. Click on From Choose date. Depending on program narrow the date range for 5-10 years old.
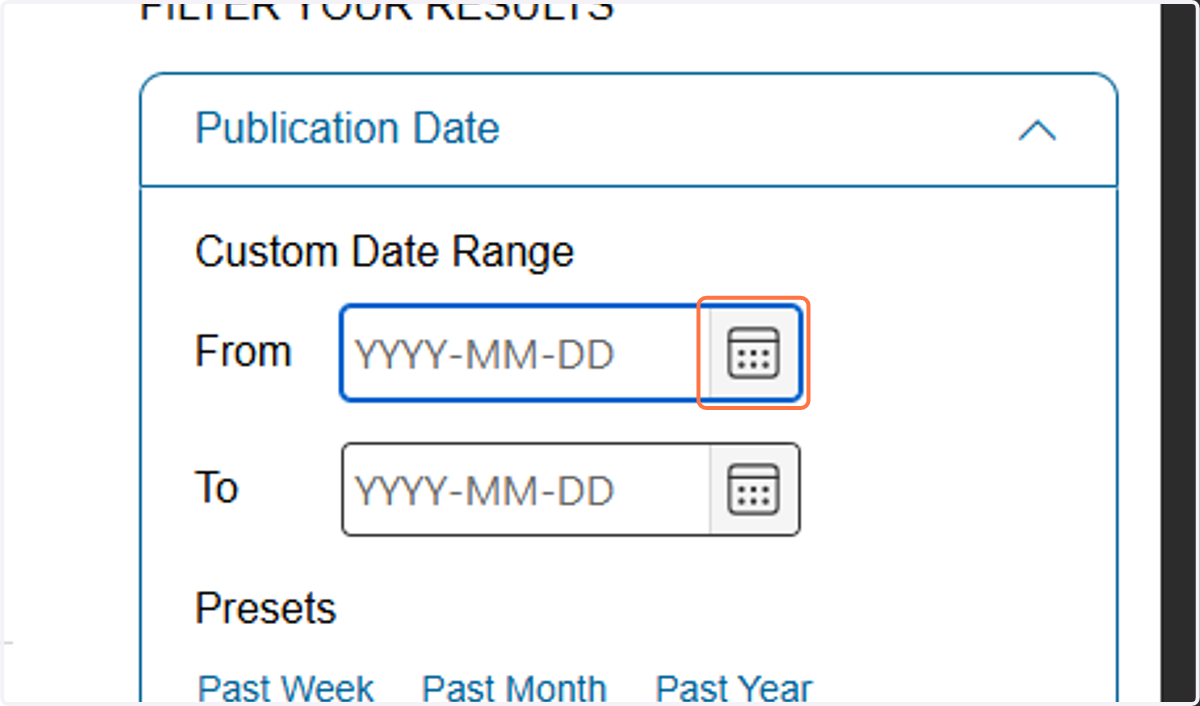
    Click on From Choose date. Depending on program narrow the date range for 5-10 years old.
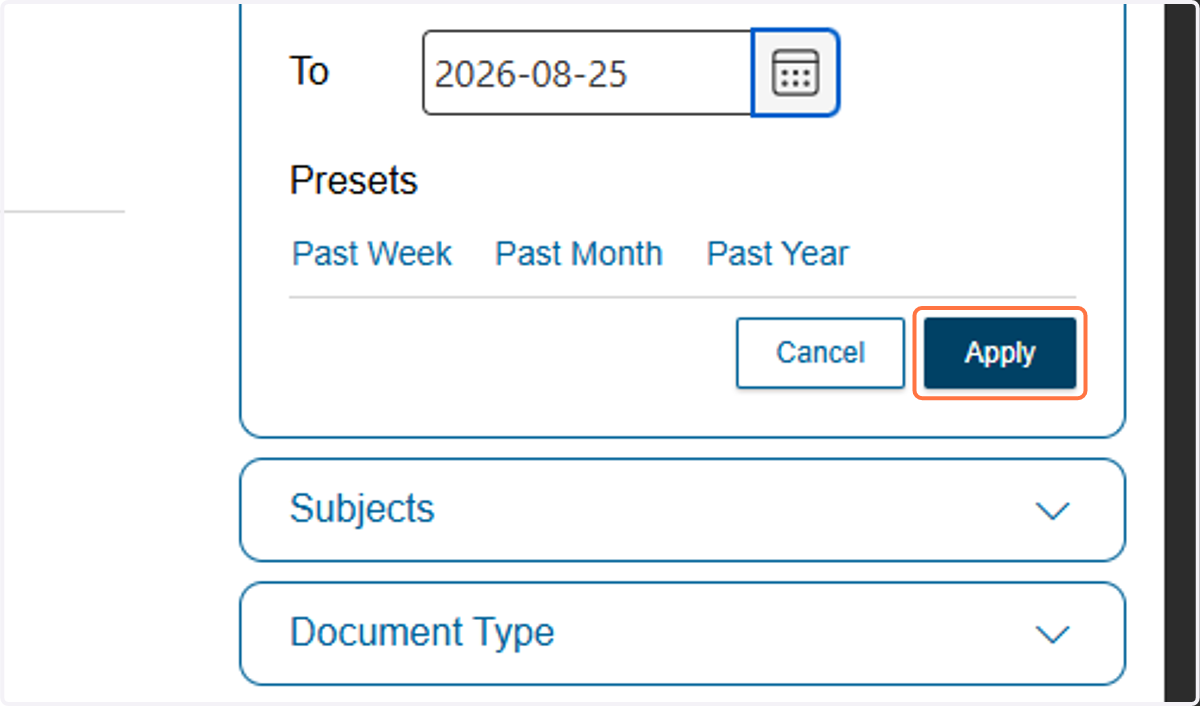
  7. 11. Click on Apply

    Click on Apply
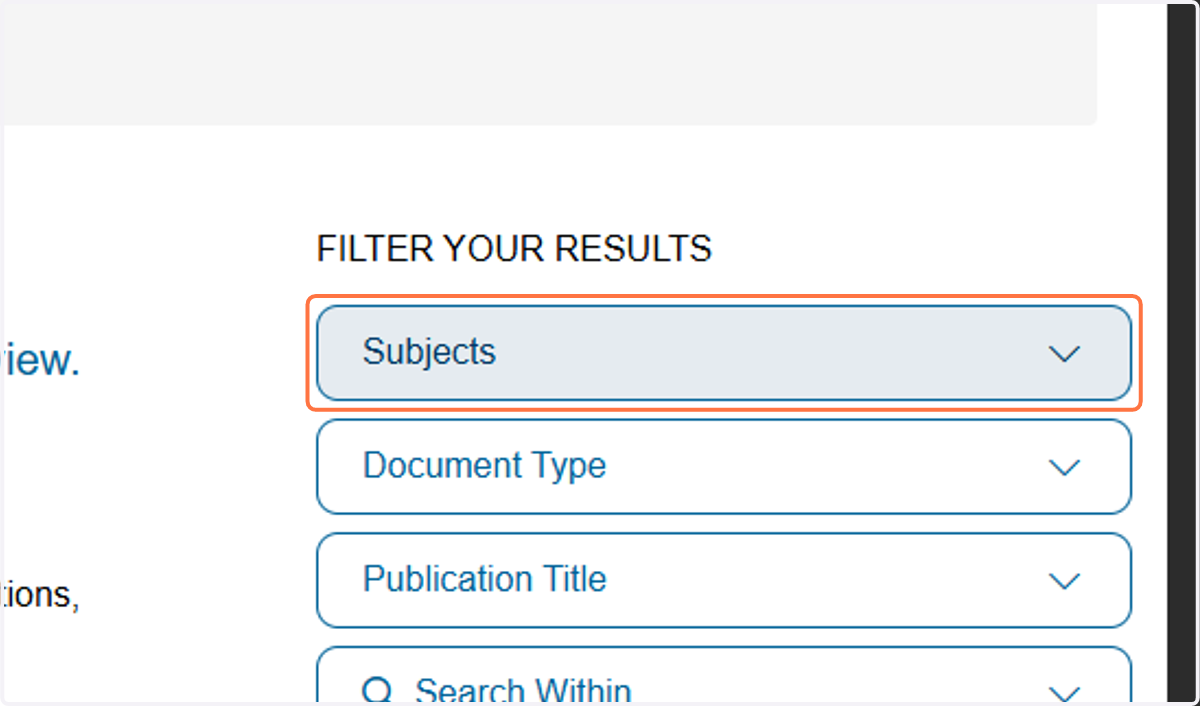
  8. 12. To narrow further user can filter by subject.
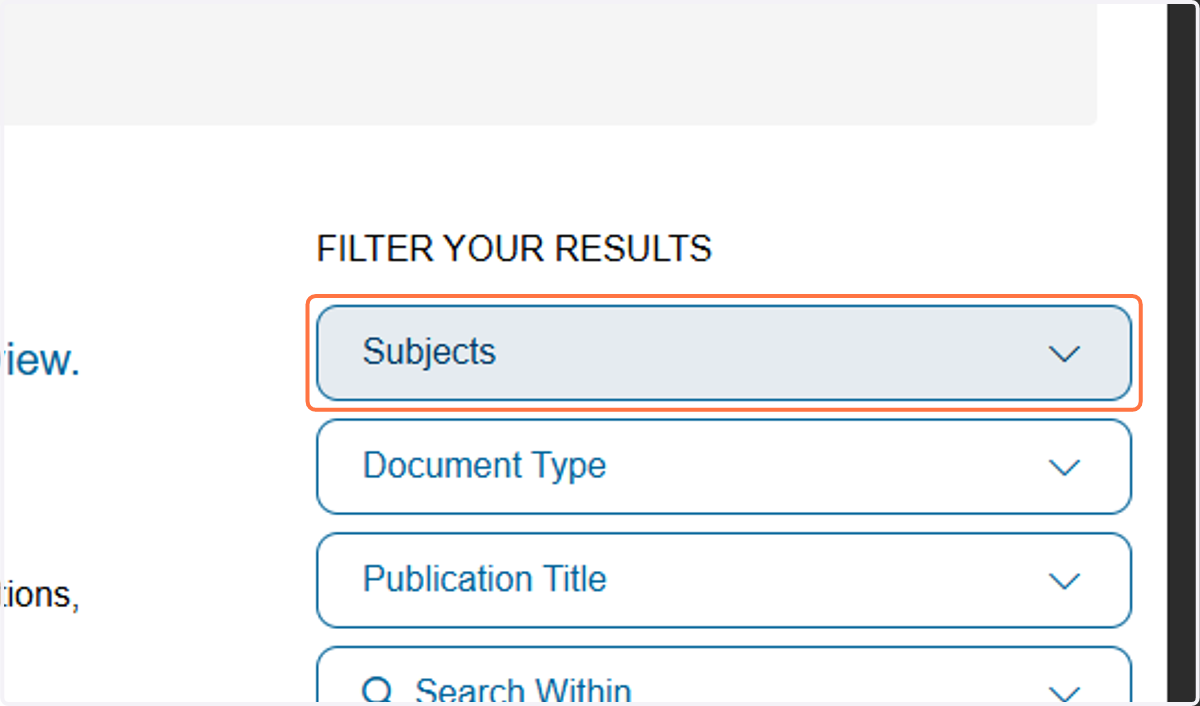
    To narrow further user can filter by subject.
  9. 13. Chose any subject the user would like to narrow it by.
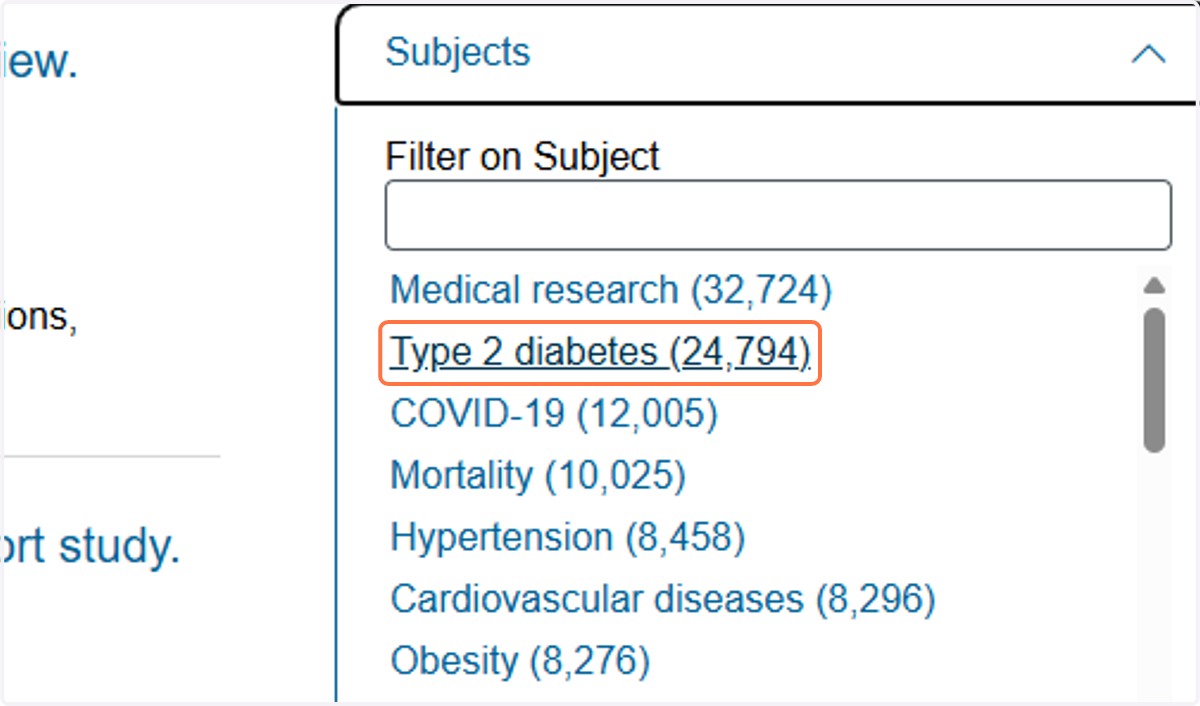
    Chose any subject the user would like to narrow it by.
  10. 14. Click Apply

    Click Apply
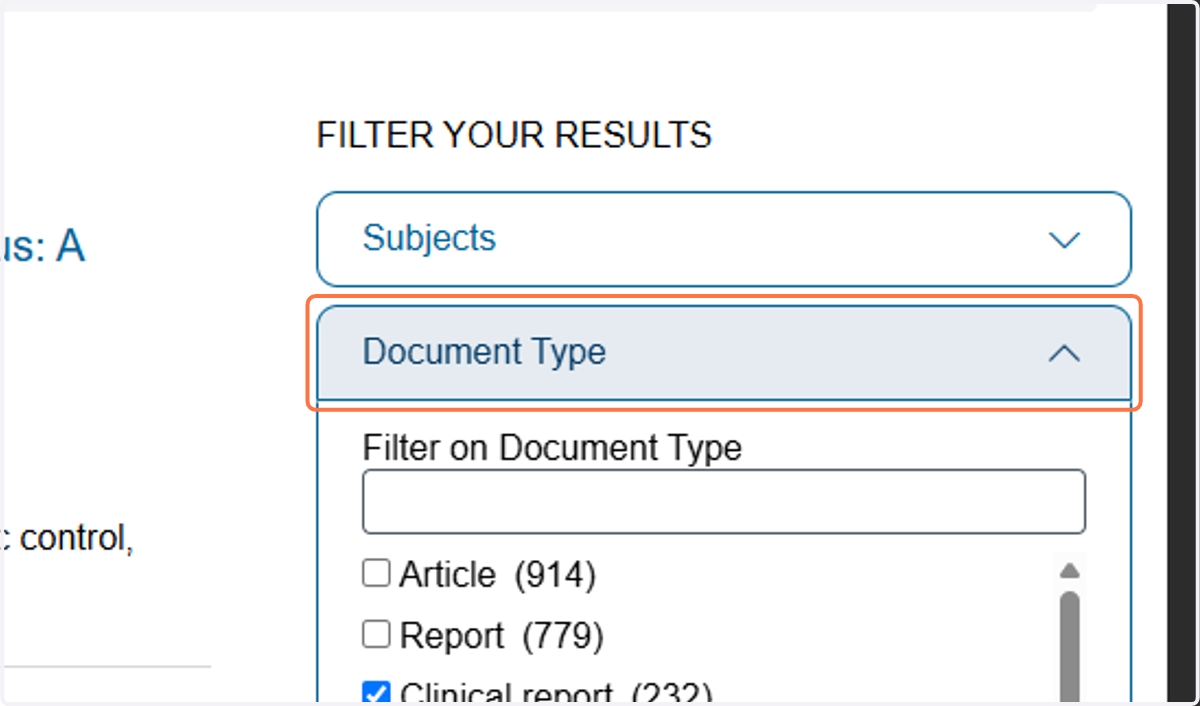
  11. 15. Narrow further by clicking on Document type.
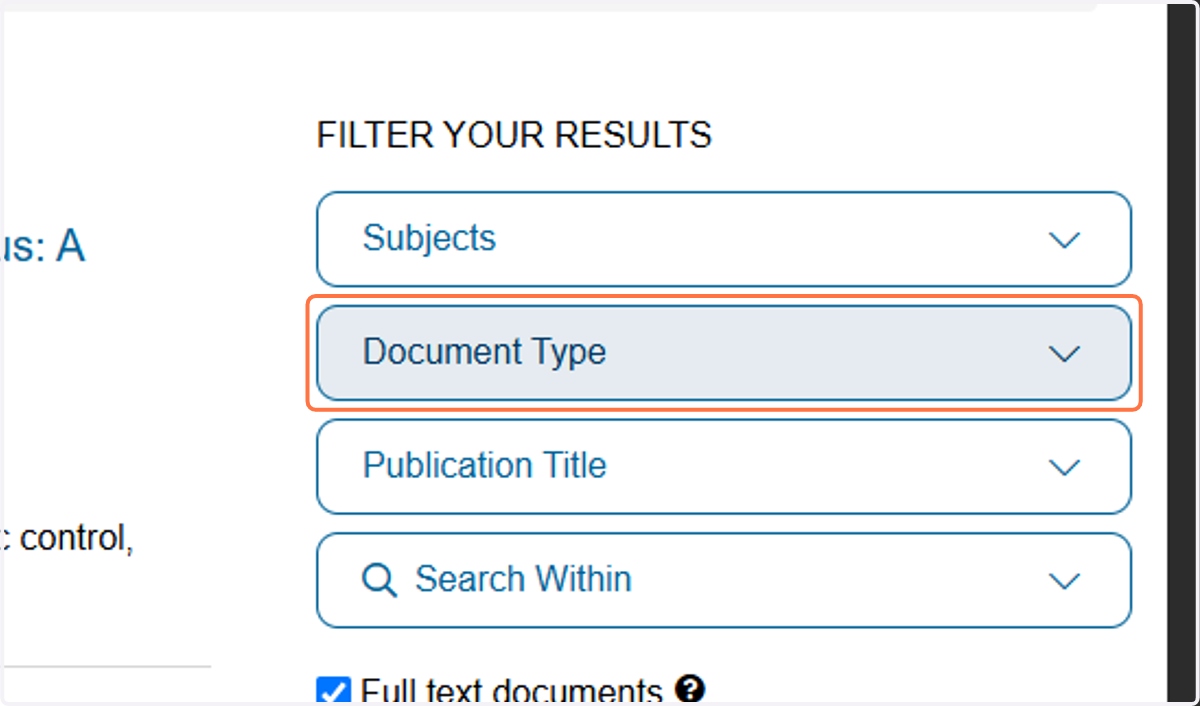
    Narrow further by clicking on Document type.
  12. 16. Click any document type that the user wants
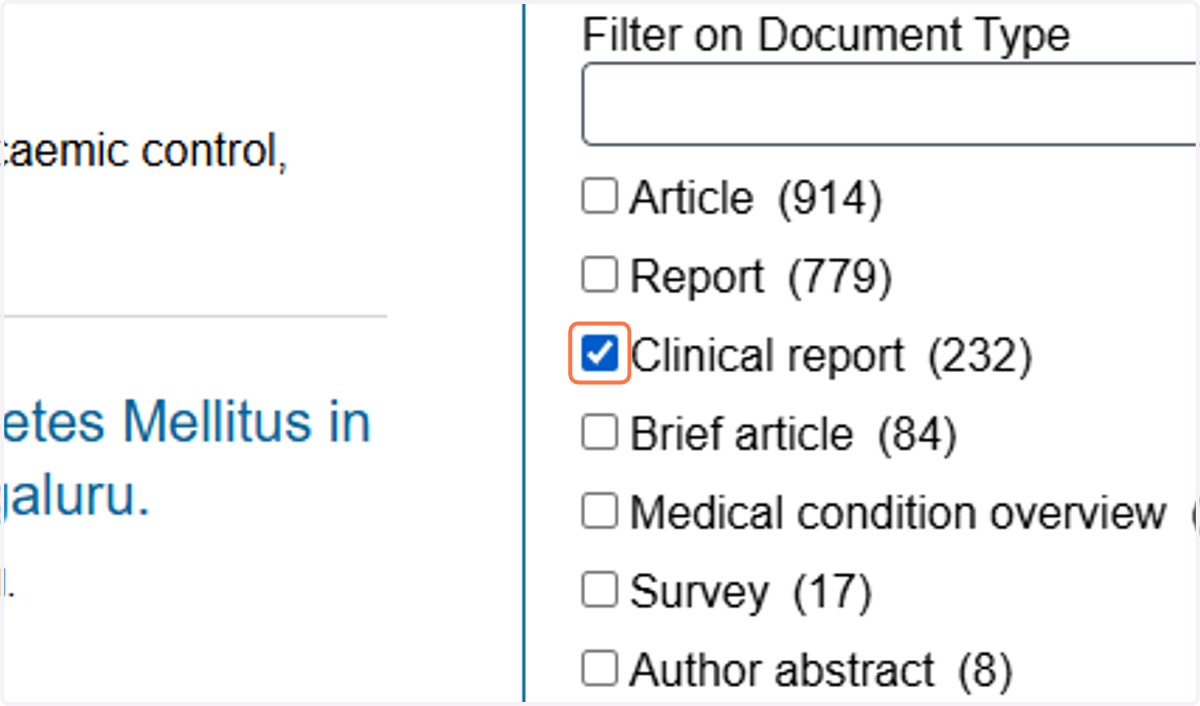
    Click any document type that the user wants
  13. 17. Click Apply

    Click Apply
  14. 18. To narrow further user can filter by Search Within. Type any keyword to narrow.
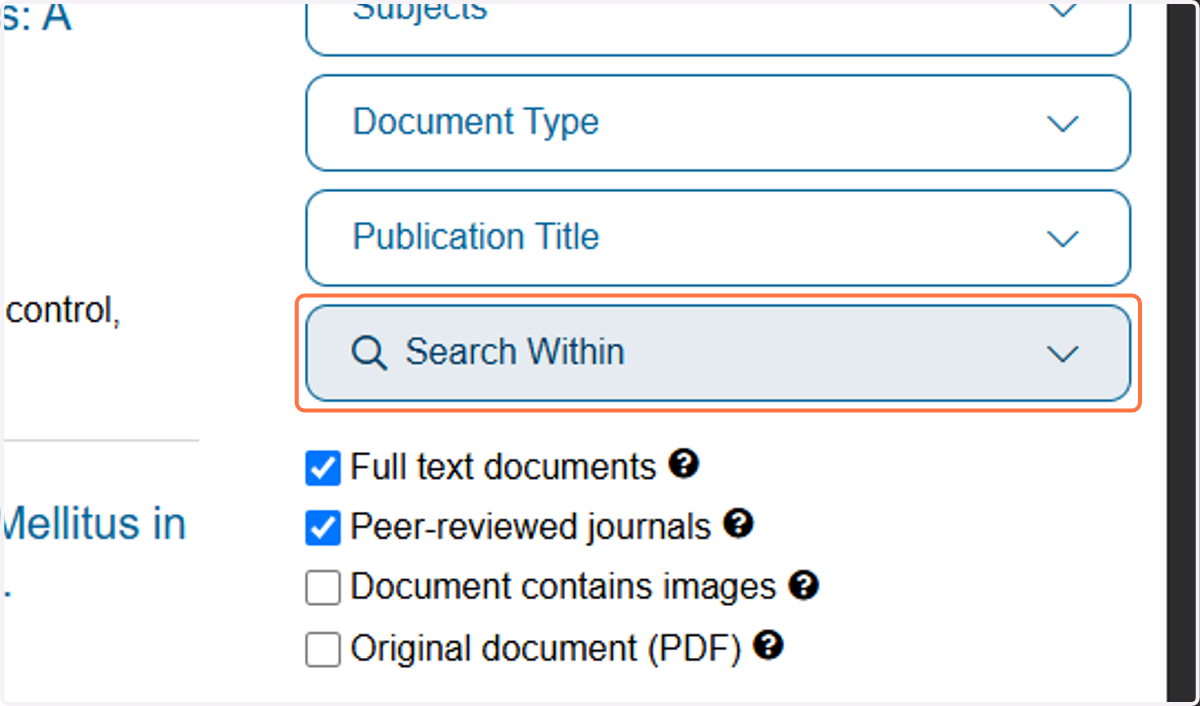
    To narrow further user can filter by Search Within. Type any keyword to narrow.
  15. 19. To narrow further click Publication Title.
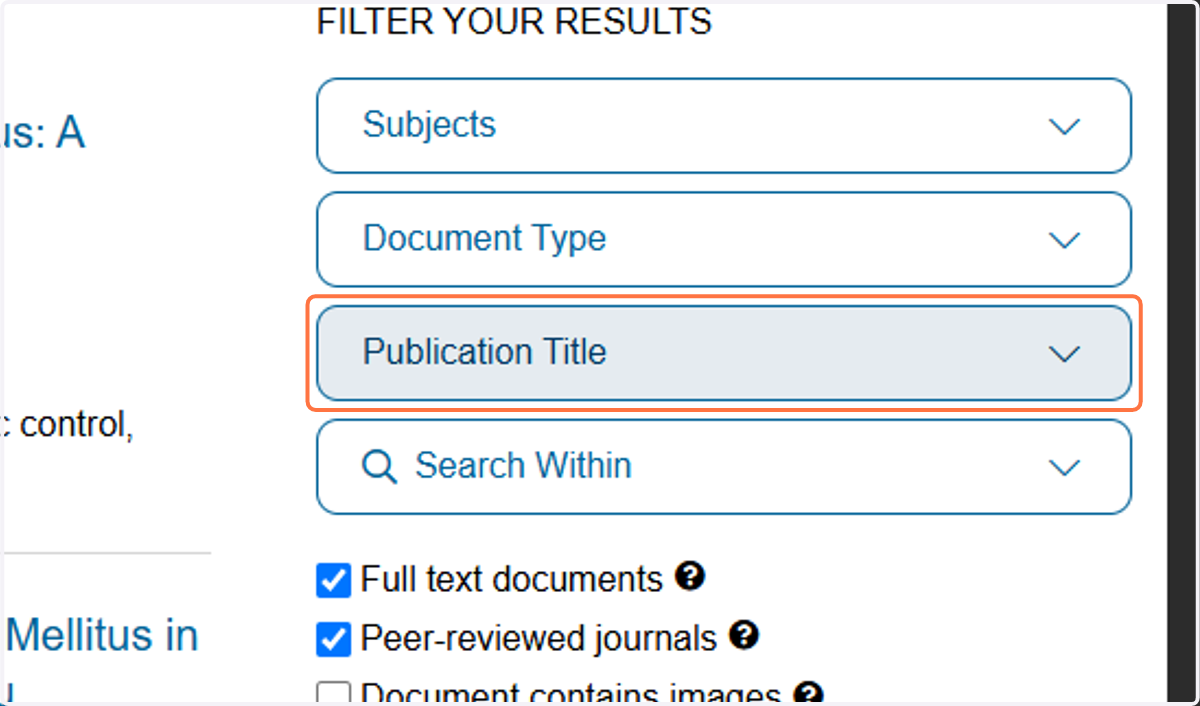
    To narrow further click Publication Title.
  16. 20. Check any Publication the user wants.
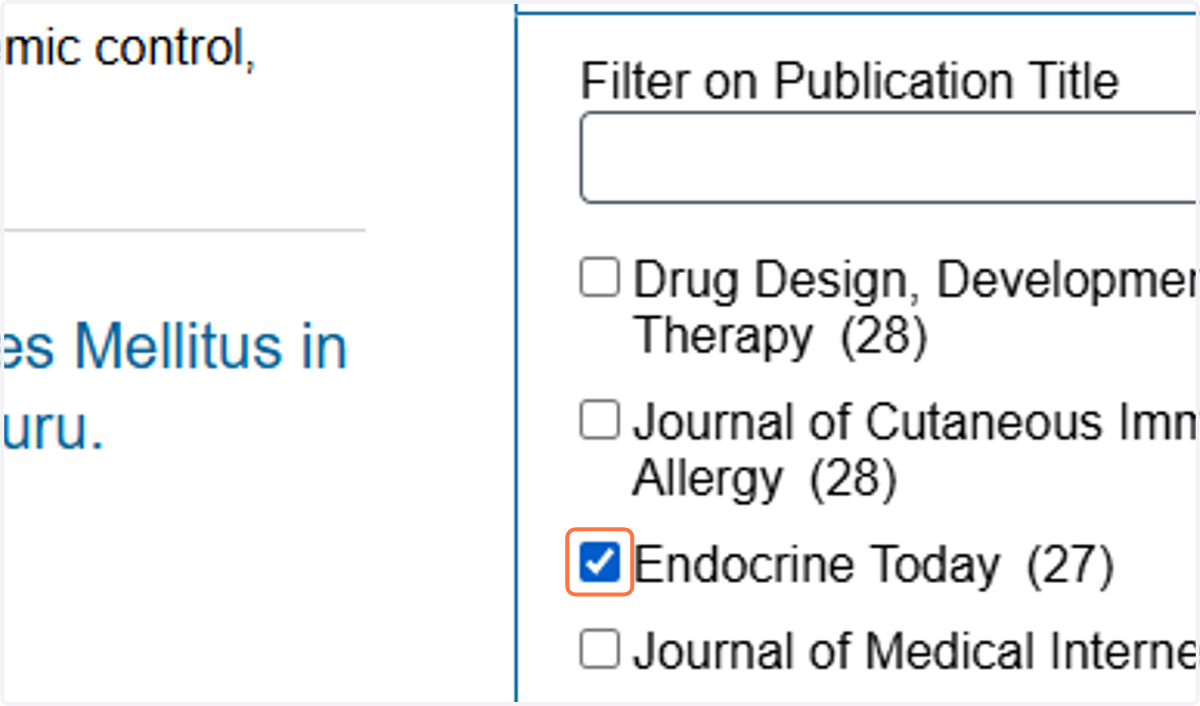
    Check any Publication the user wants.
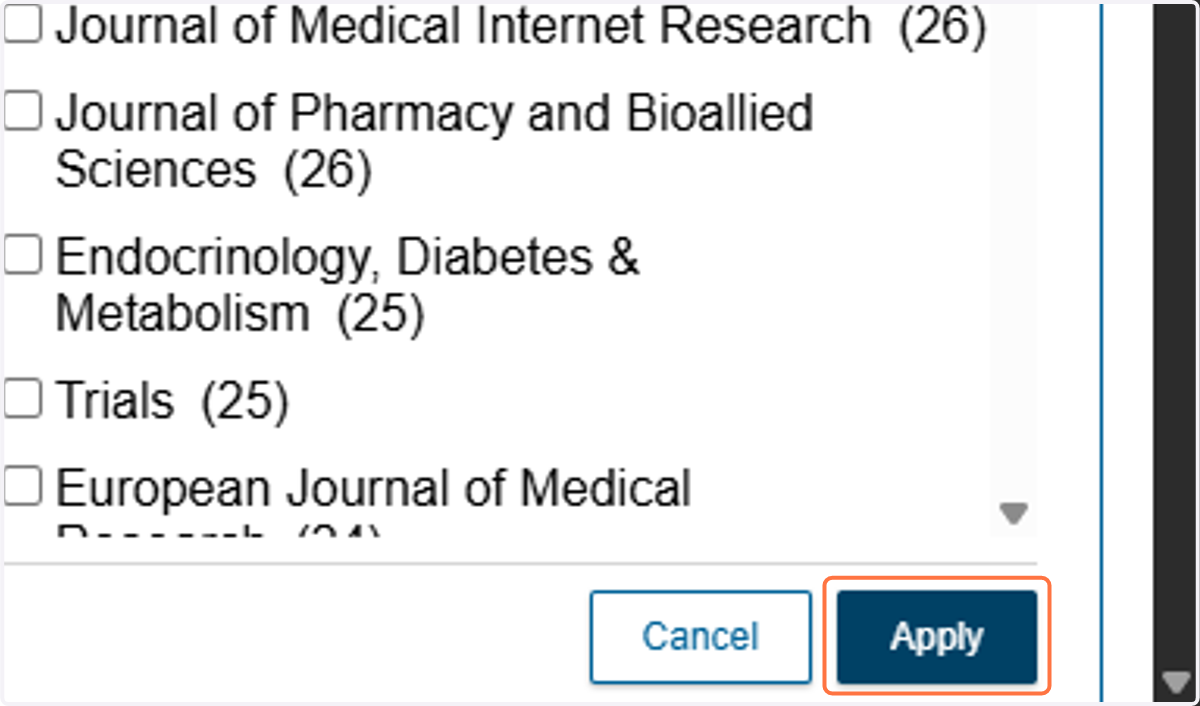
  17. 21. Click on Apply

    Click on Apply
  18. 22. Click on any article the user is interested in. The article will populate.
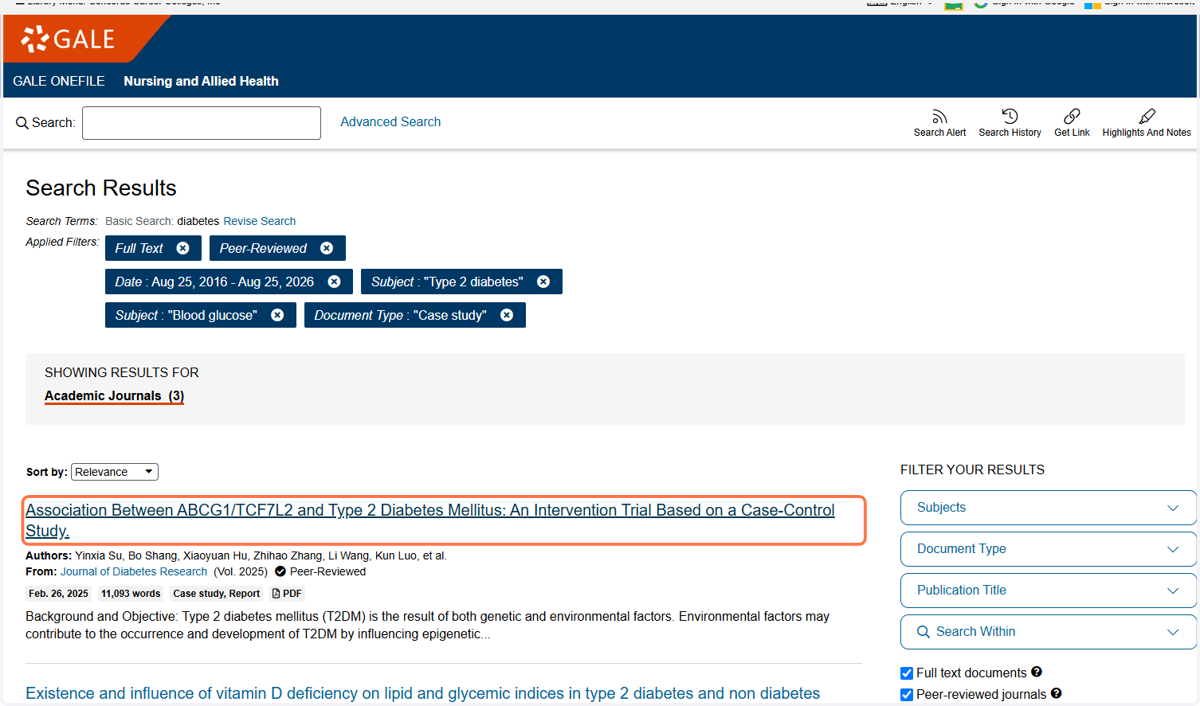
    Click on any article the user is interested in. The article will populate.
  19. 23. At the top of the article the user can use the Cite button to easily cite the article for the user.
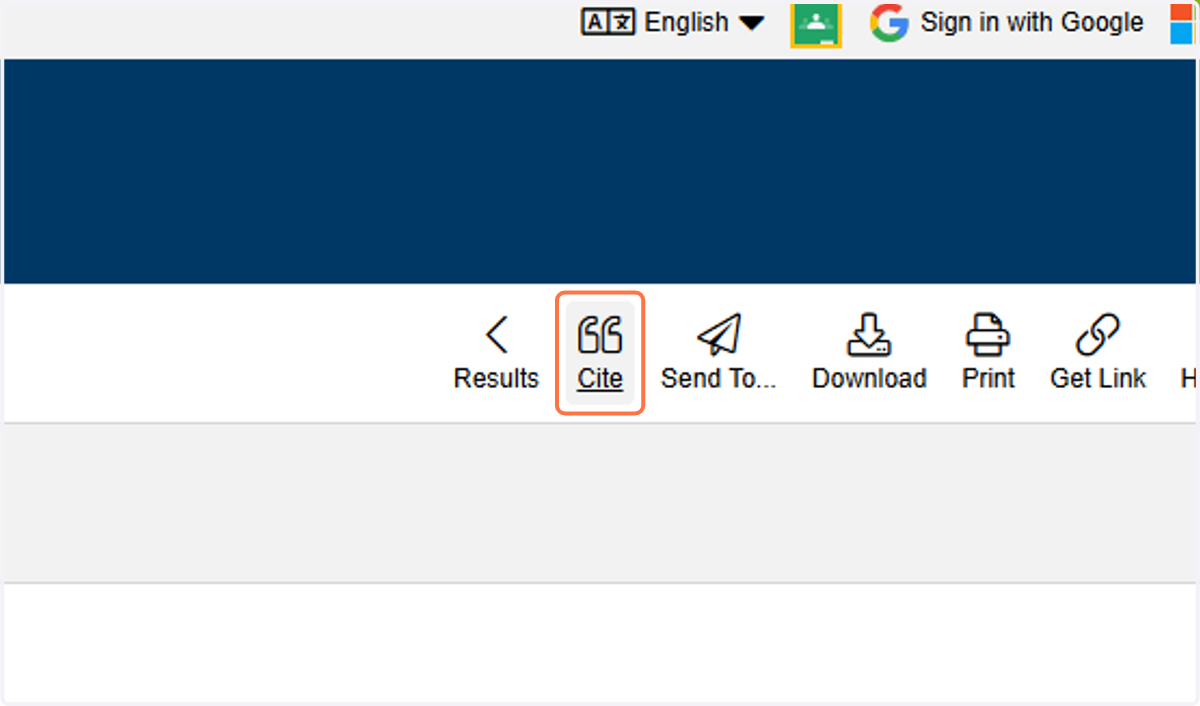
    At the top of the article the user can use the Cite button to easily cite the article for the user.
  20. 24. At the top of the article the user can use the Send To button to send to their email, OneDrive, or GoogleDrive.
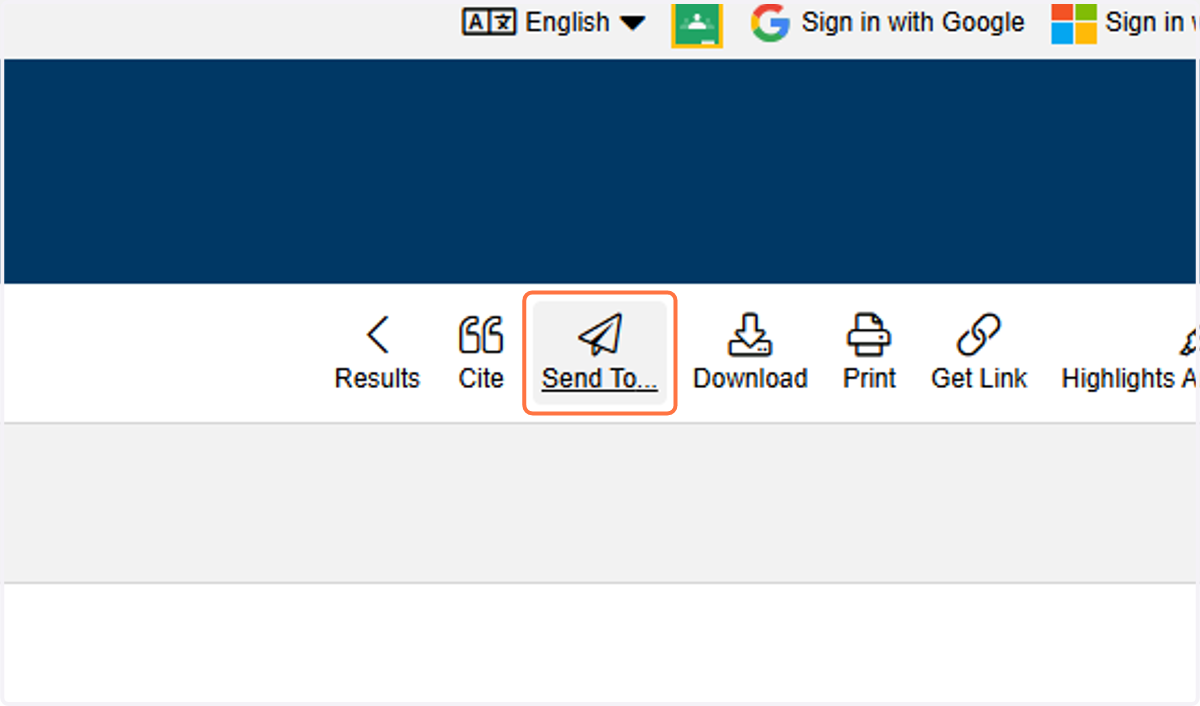
    At the top of the article the user can use the Send To button to send to their email, OneDrive, or GoogleDrive.
  21. 25. The user can also download or print the article.
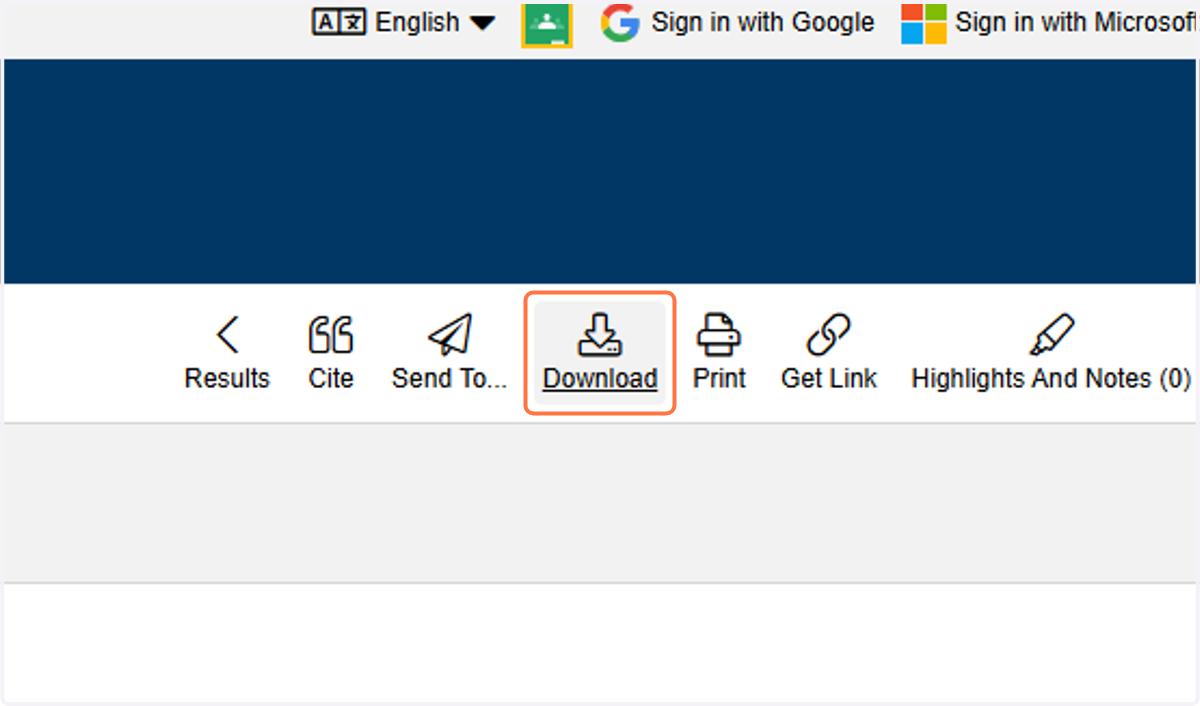
    The user can also download or print the article.
  22. 26. The user can also get the link for the article
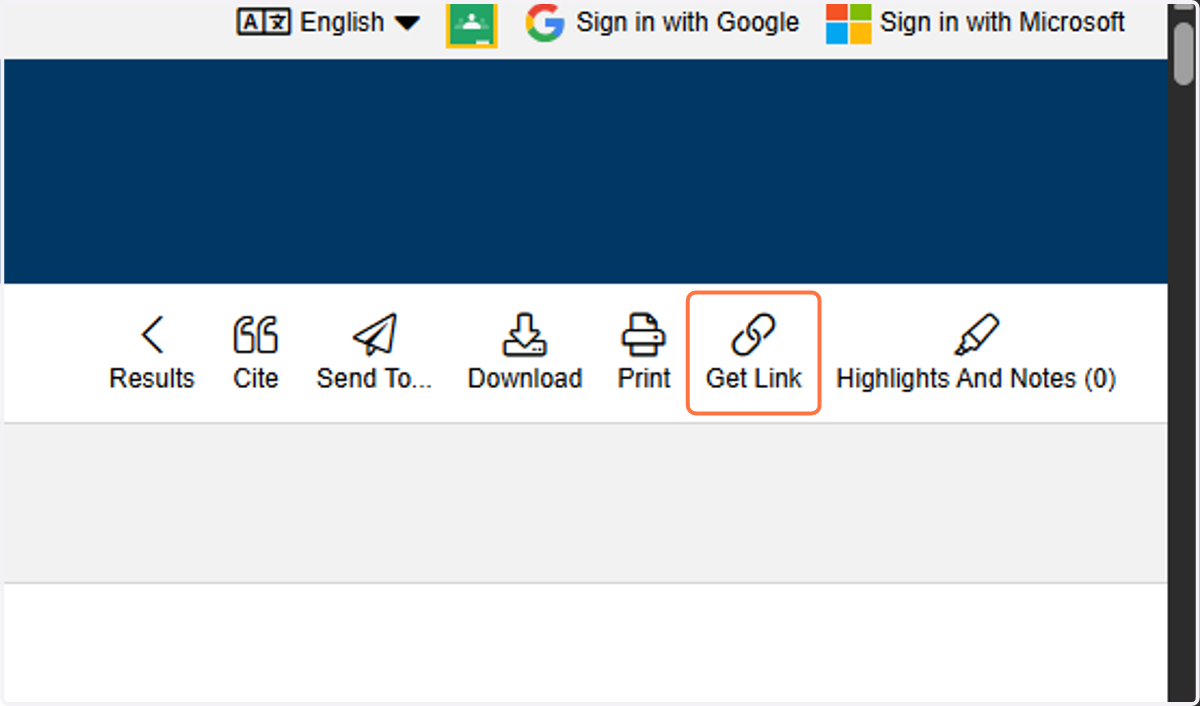
    The user can also get the link for the article
  23. 27. User can use the Translate feature to translate the article into English or any other language available on the Online Library.

    User can use the Translate feature to translate the article into English or any other language available on the Online Library.
  24. 28. The user can Decrease font size of the article
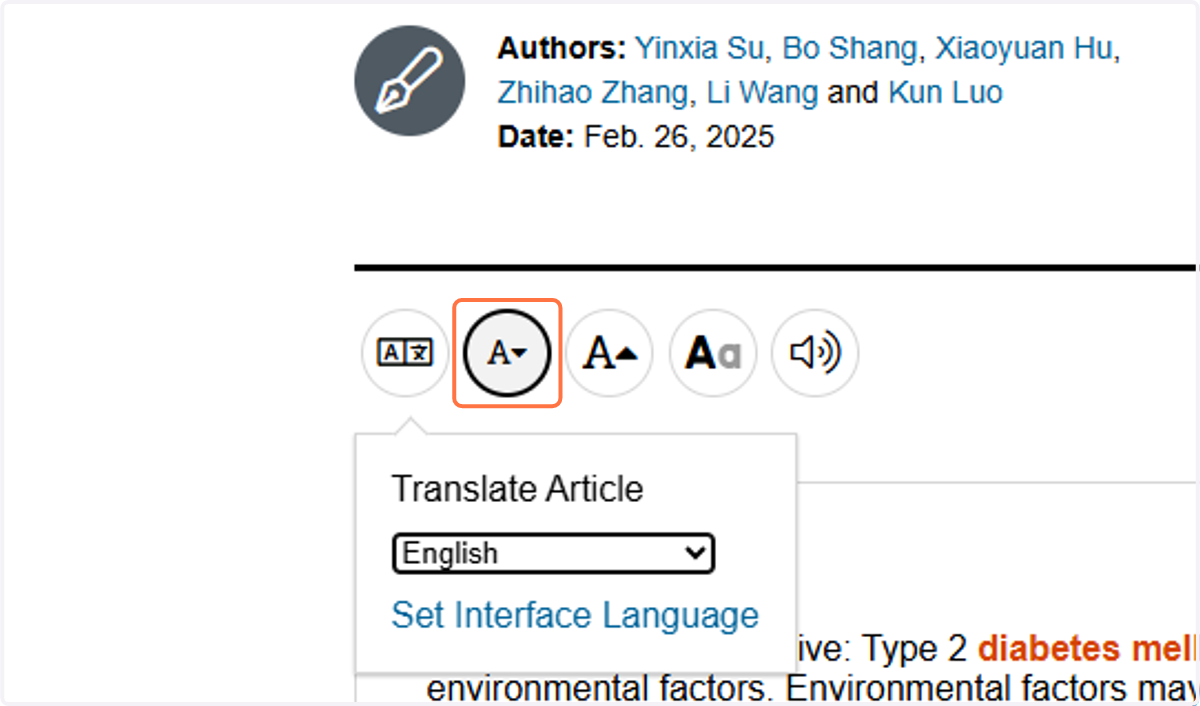
    The user can Decrease font size of the article
  25. 29. User can Increase font size of the article.
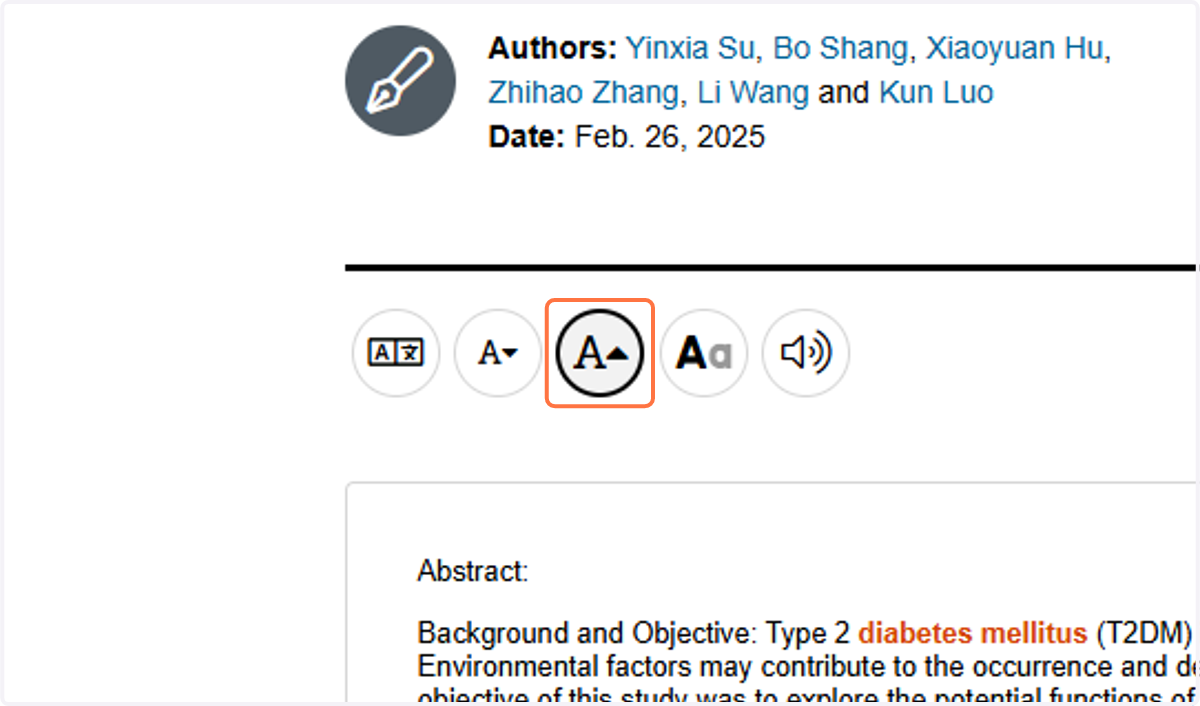
    User can Increase font size of the article.
  26. 30. The user has different Text options to utilize for display.
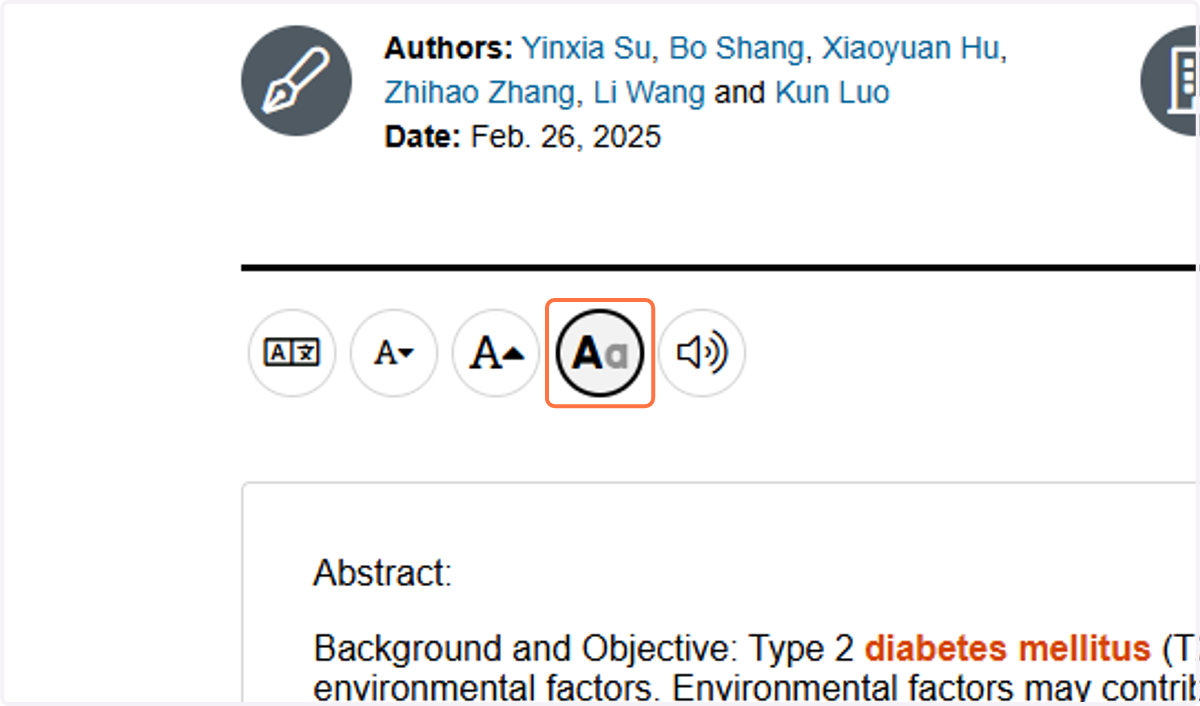
    The user has different Text options to utilize for display.
  27. 31. Under Text Options Open Dyslexic is available for users with focus or reading challenges.
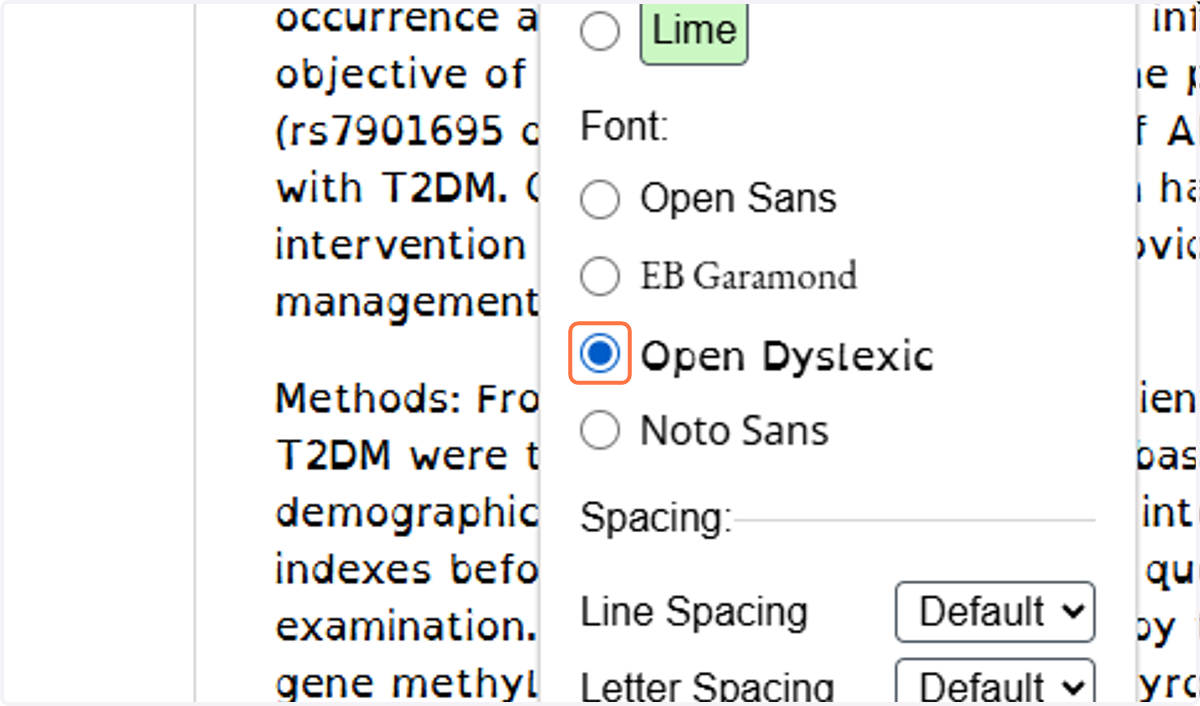
    Under Text Options Open Dyslexic is available for users with focus or reading challenges.
  28. 32. Click on Done to save the Text Options
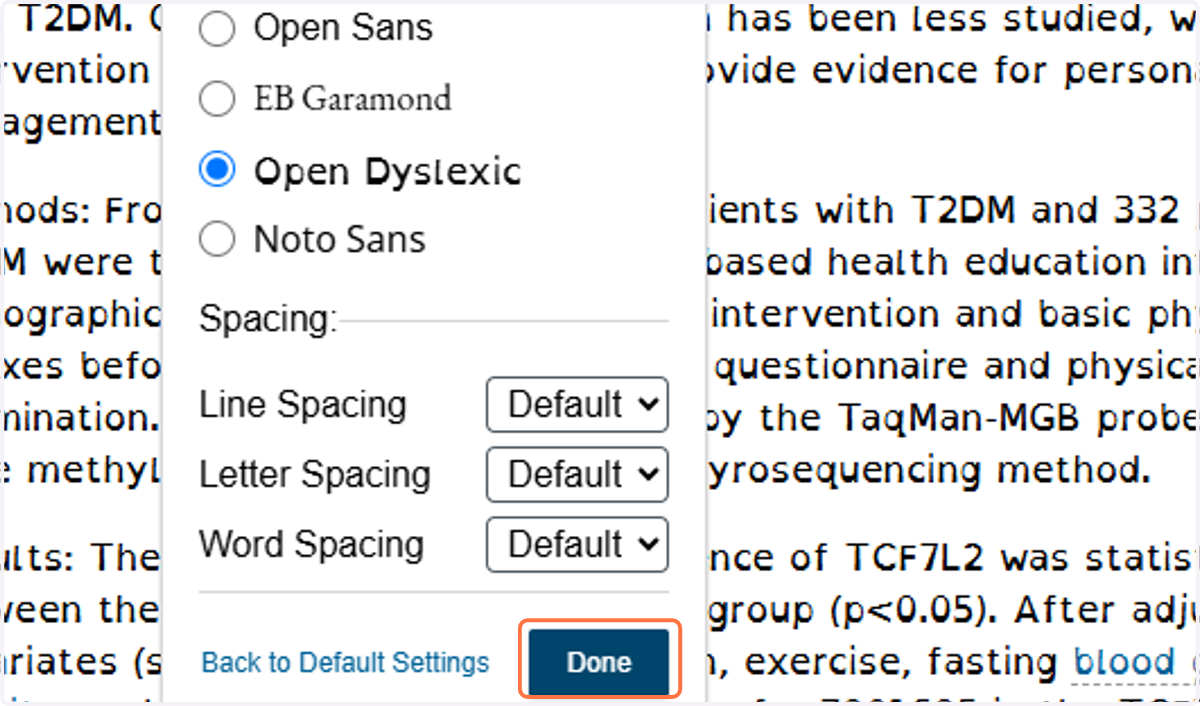
    Click on Done to save the Text Options
  29. 33. Click on Listen to hear the article read to the user or download the MP4 for later listening.
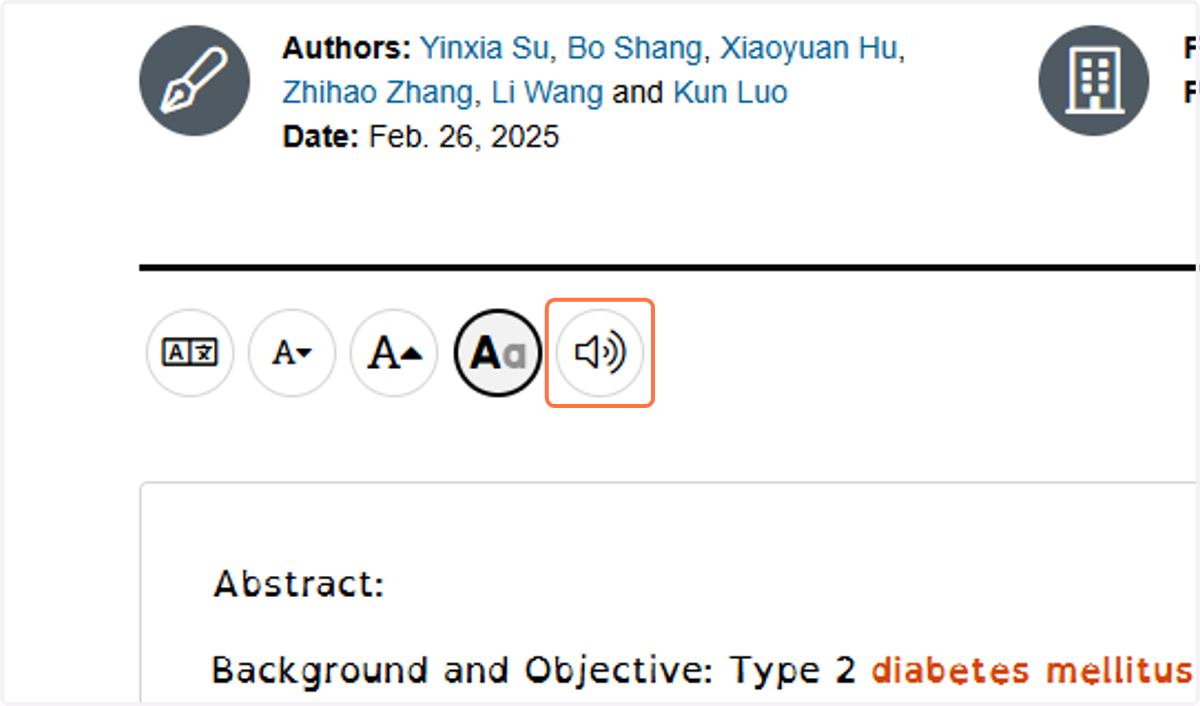
    Click on Listen to hear the article read to the user or download the MP4 for later listening.
  30. 34. Drag the mouse to highlight the text and add notes.
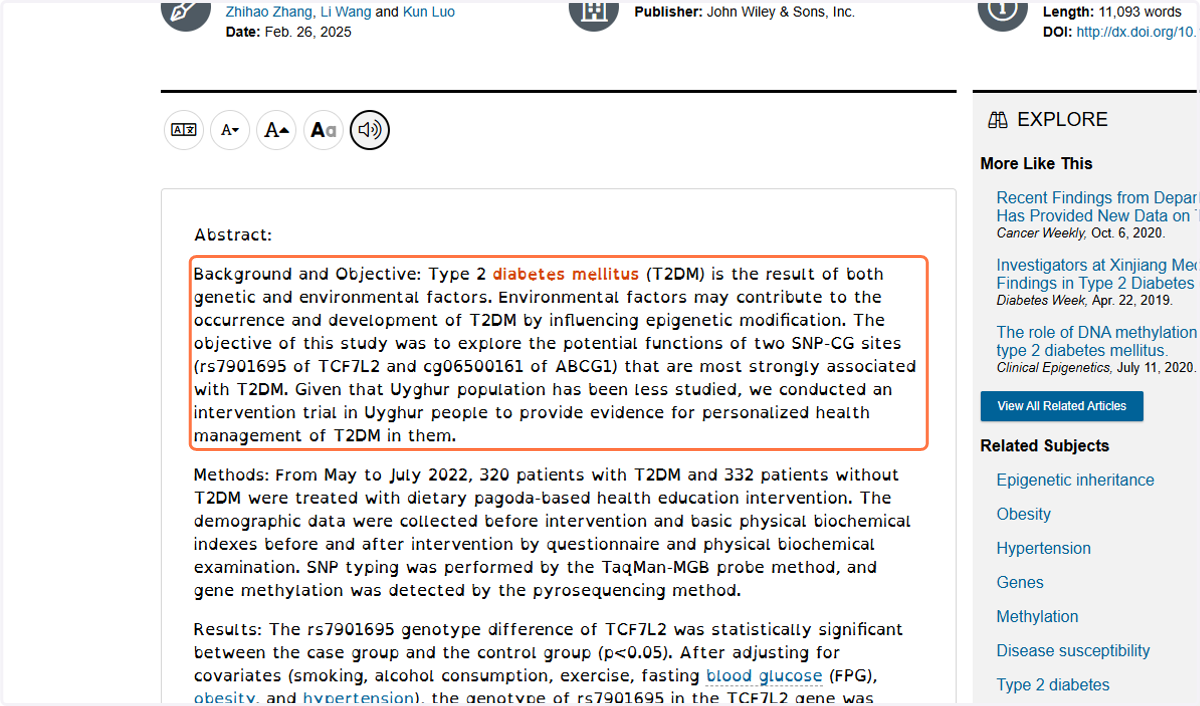
    Drag the mouse to highlight the text and add notes.
  31. 35. Click on highlight

    Click on highlight
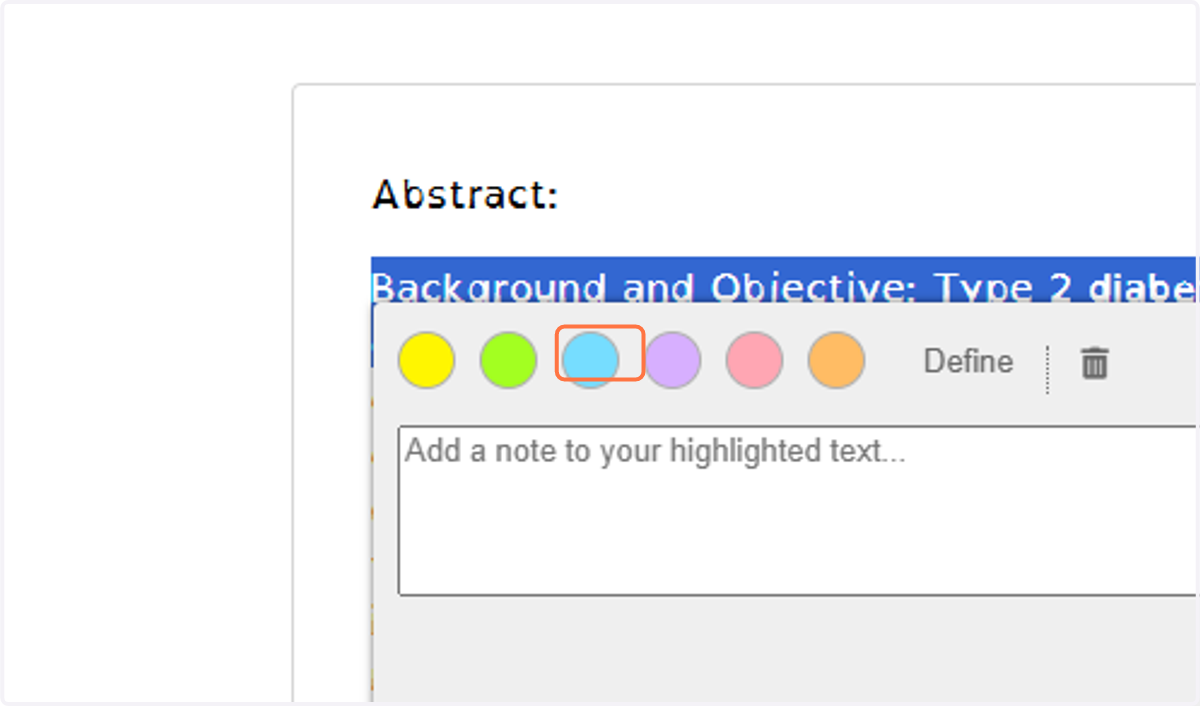
  32. 36. Type any notes the user may need.
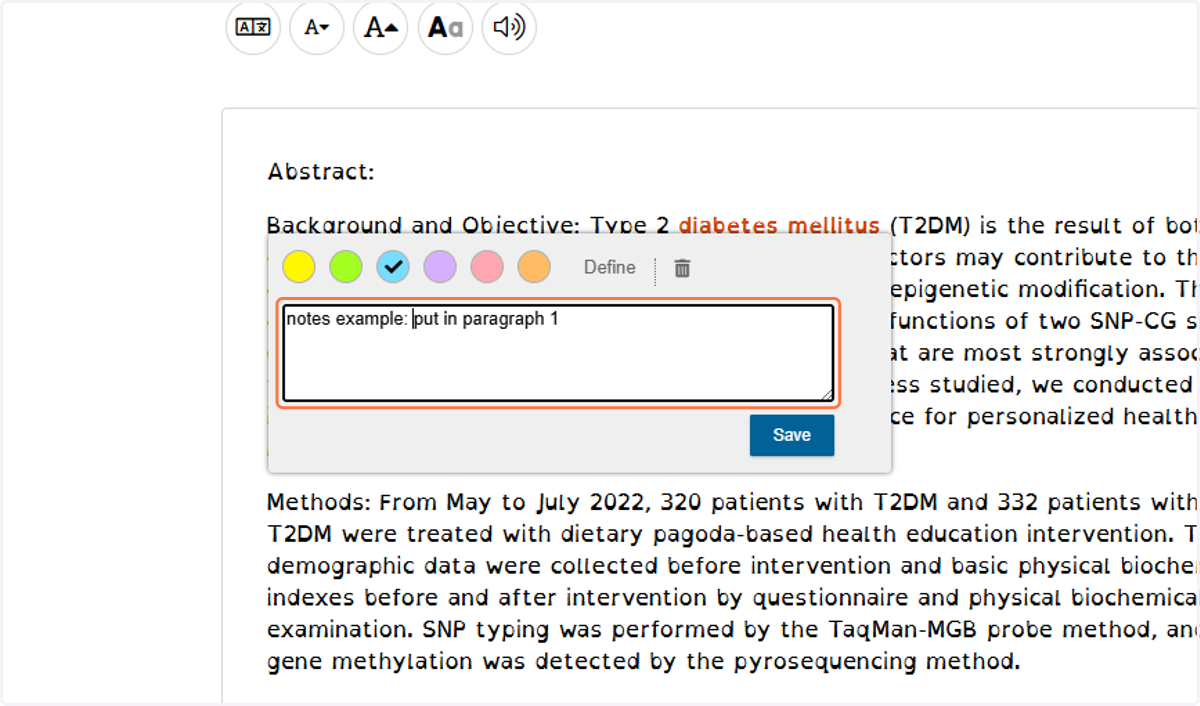
    Type any notes the user may need.
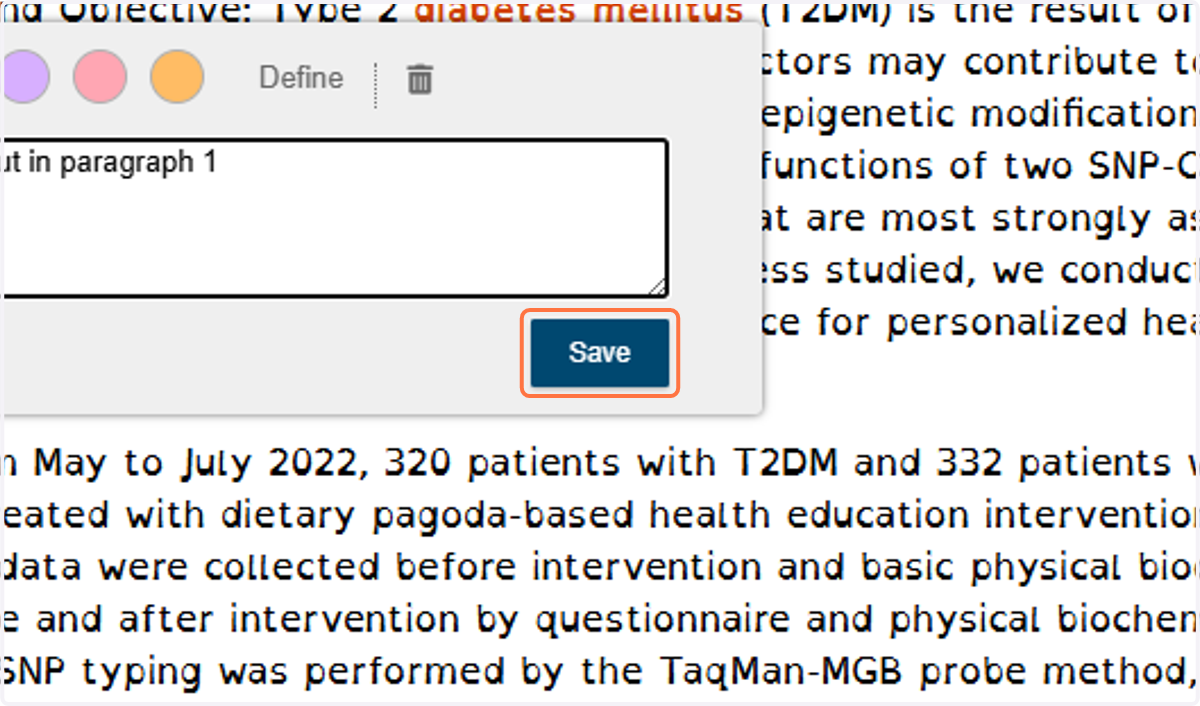
  33. 37. Click on Save

    Click on Save