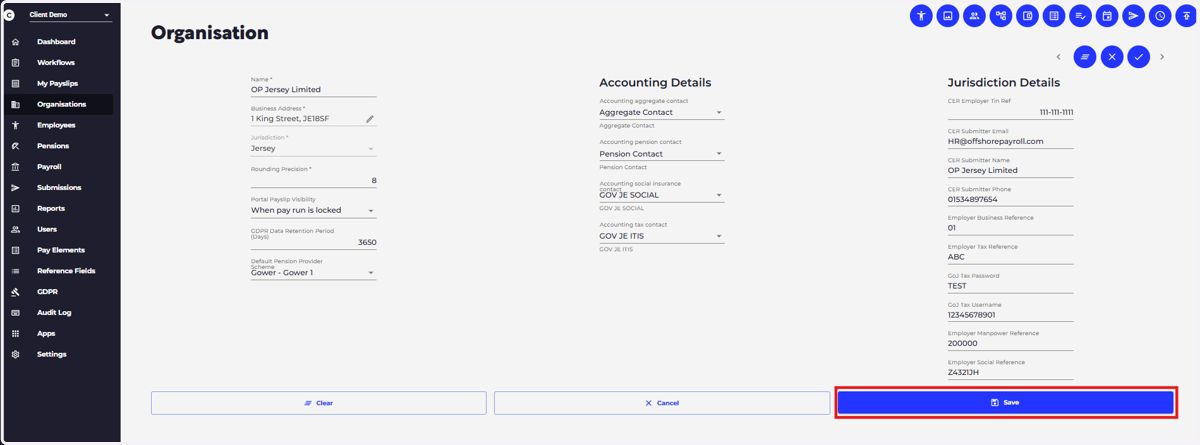
QuickBooks Bill & Employee Option
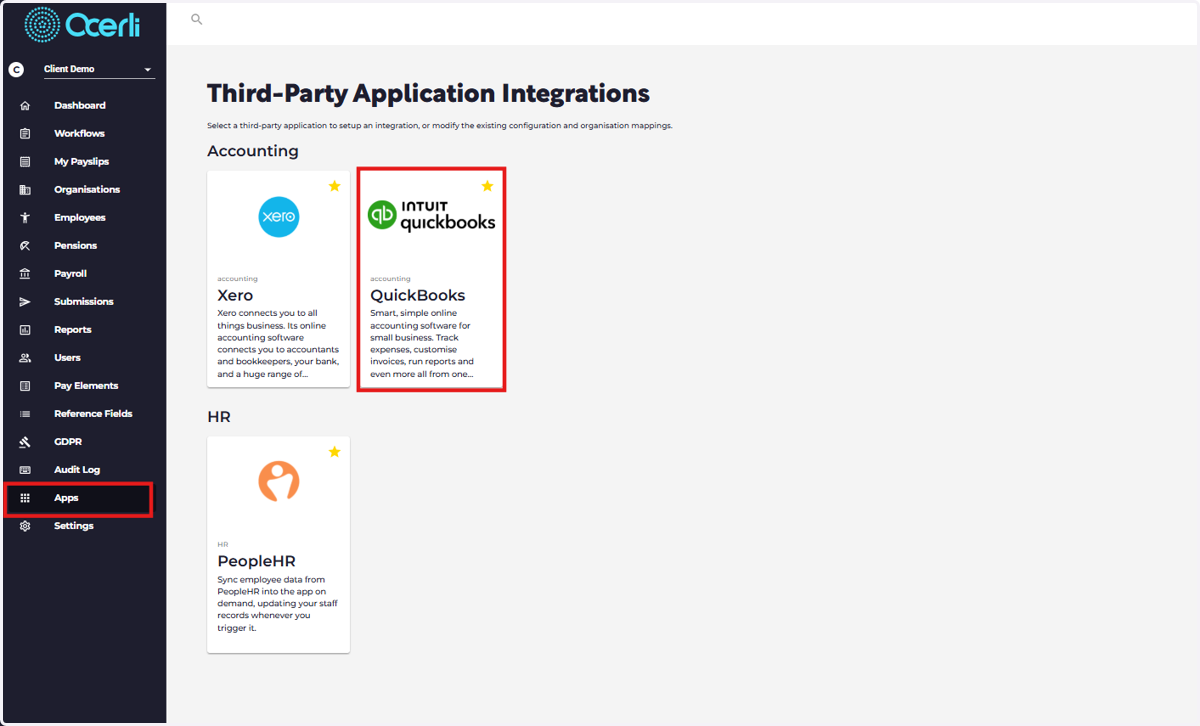
1. Navigate to the main menu on the left
Click on 'Apps' > Click on QuickBooks Accounting Option
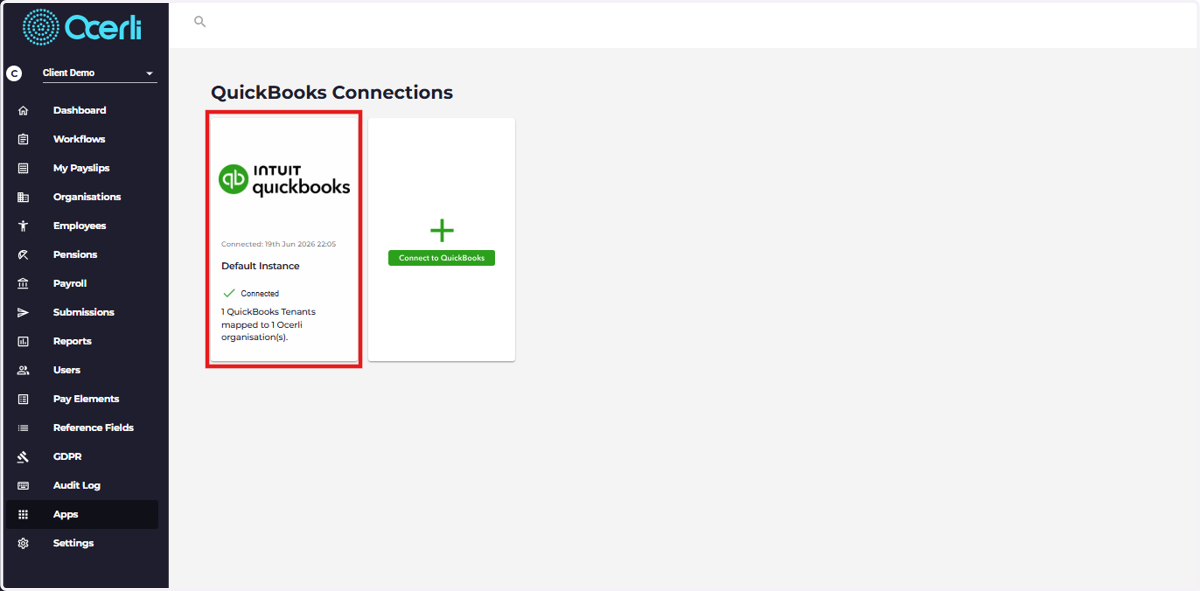
2. Click on your QuickBooks Connected Organisation
If you have not yet connected to QuickBooks, please use this process
3. Click on QuickBooks Export Type dropdown against the relevant organisation
Click on 'Invoice'
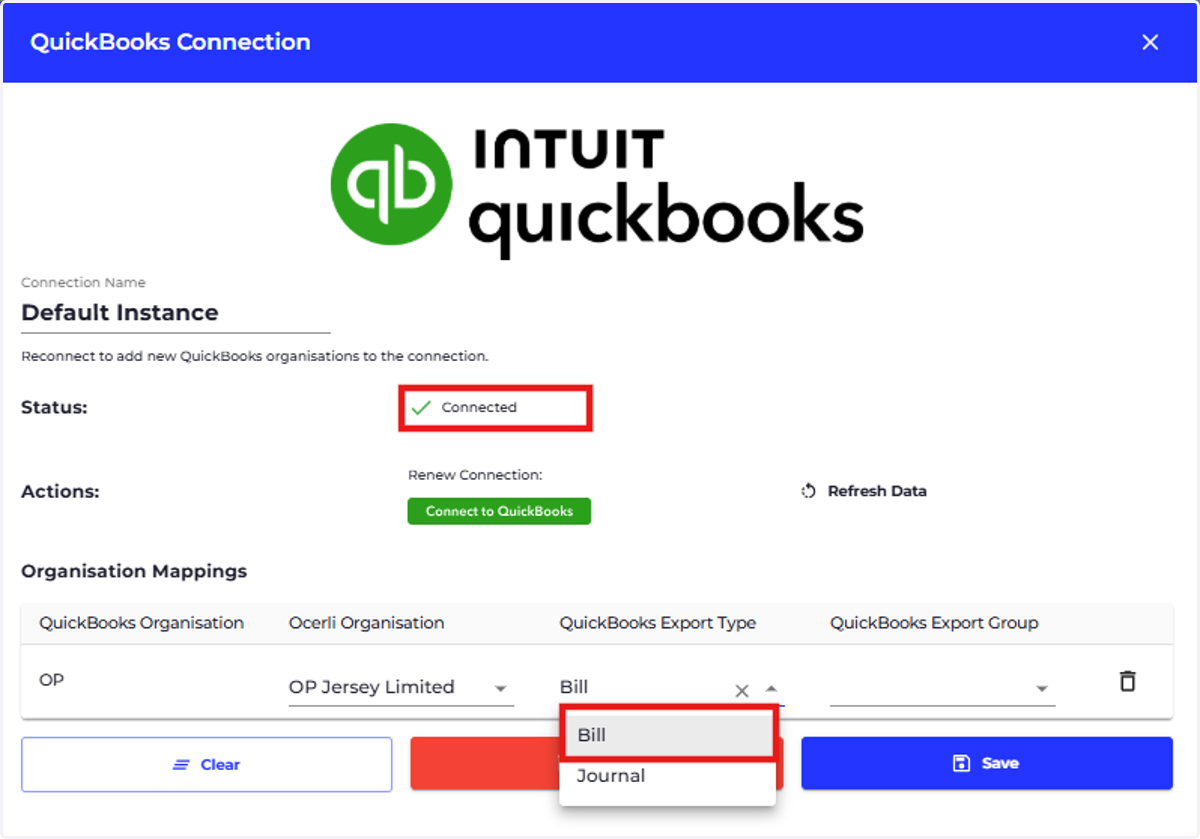
4. Click on QuickBooks Export Group dropdown
Select 'Employee'
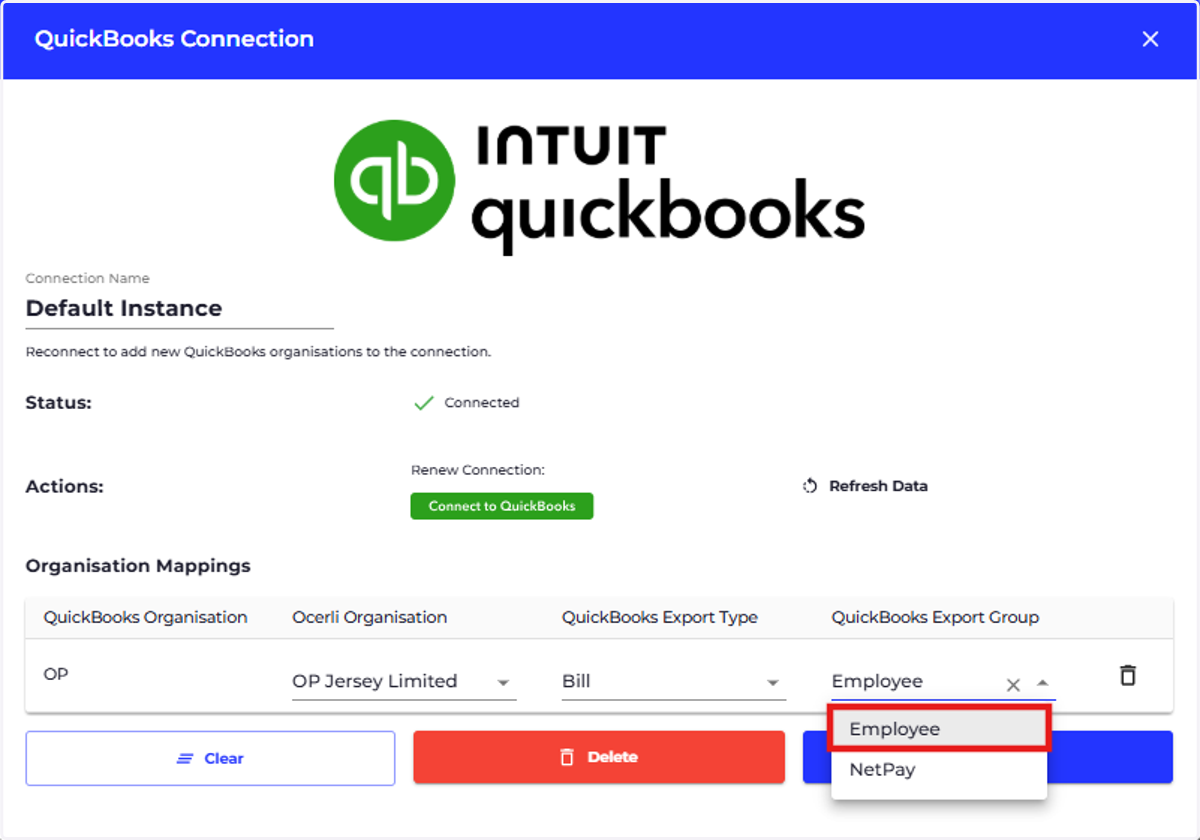
5. Select 'Save'
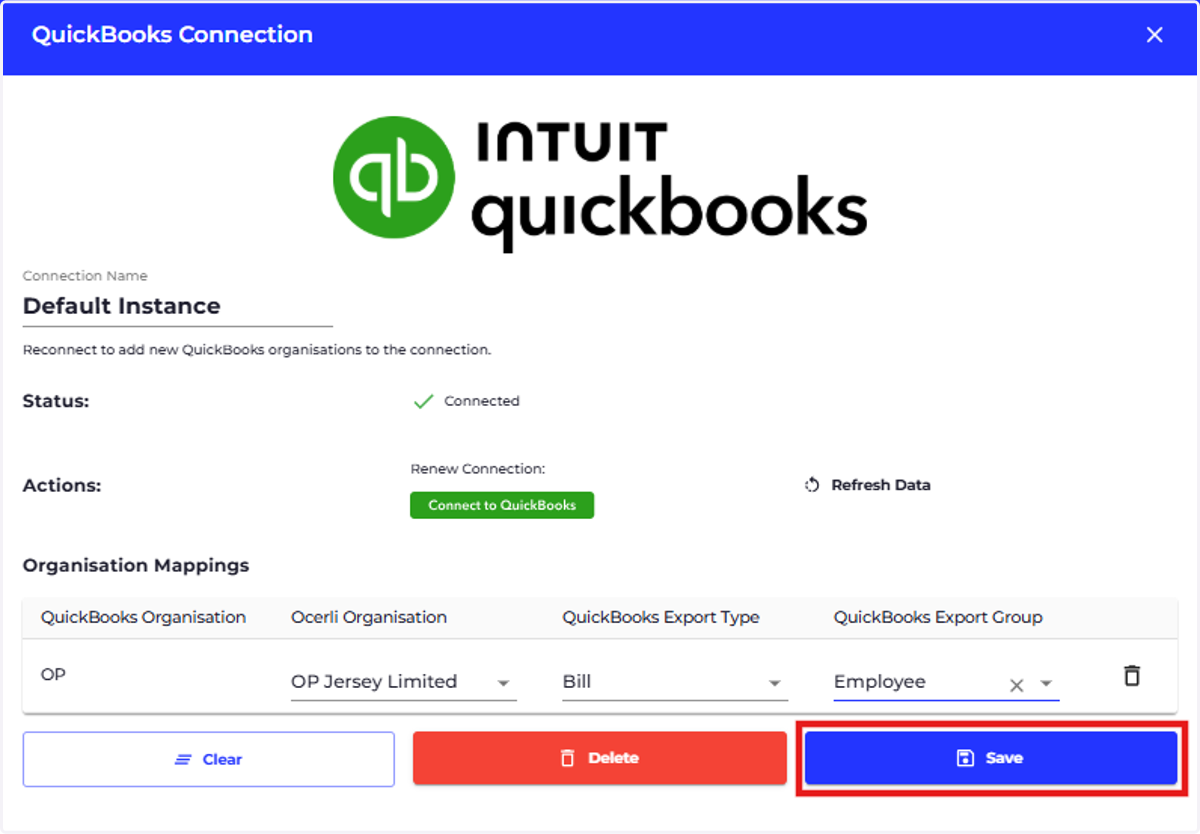
6. Select 'REFRESH DATA'
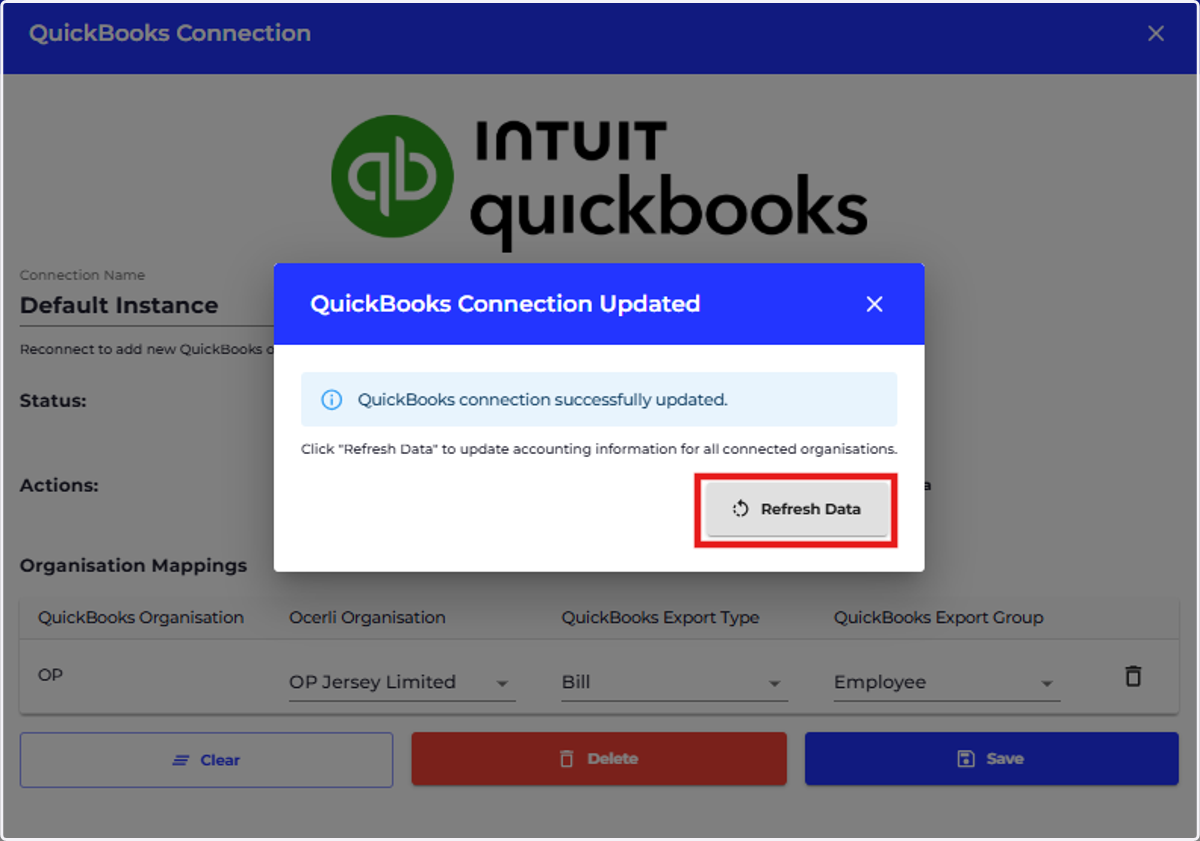
7. A green message will appear at the bottom left of the screen notifying you that the data has been refreshed successfully
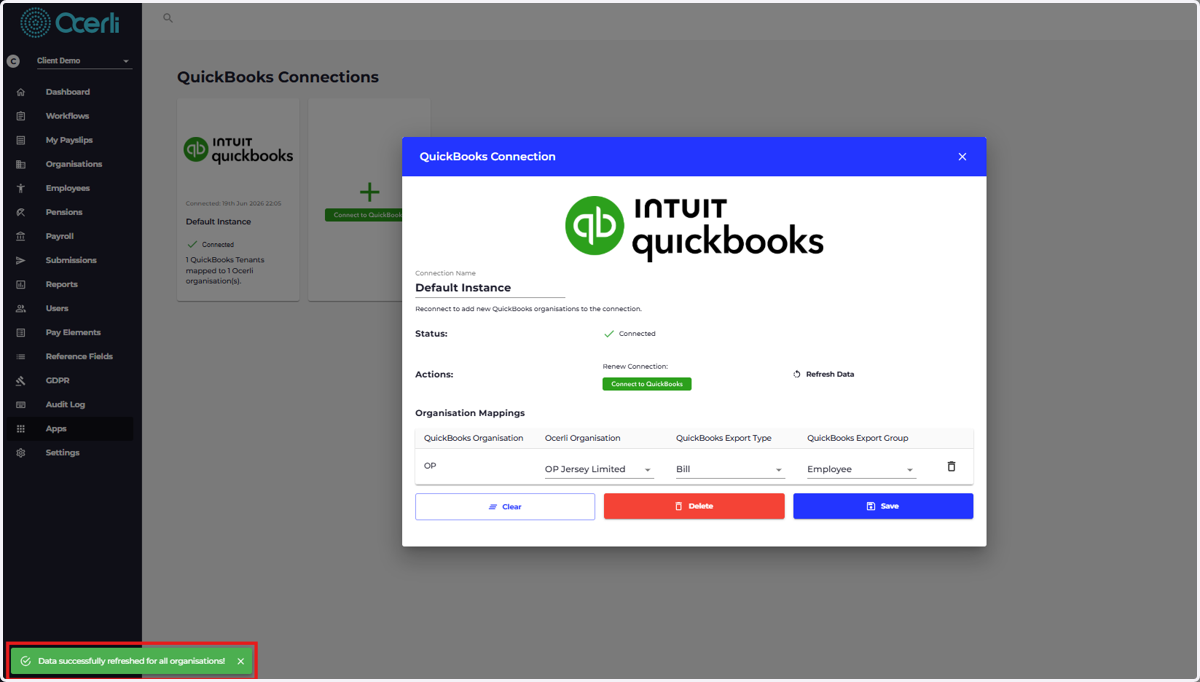
8. ASSIGN QUICKBOOKS CONTACTS TO EMPLOYEES
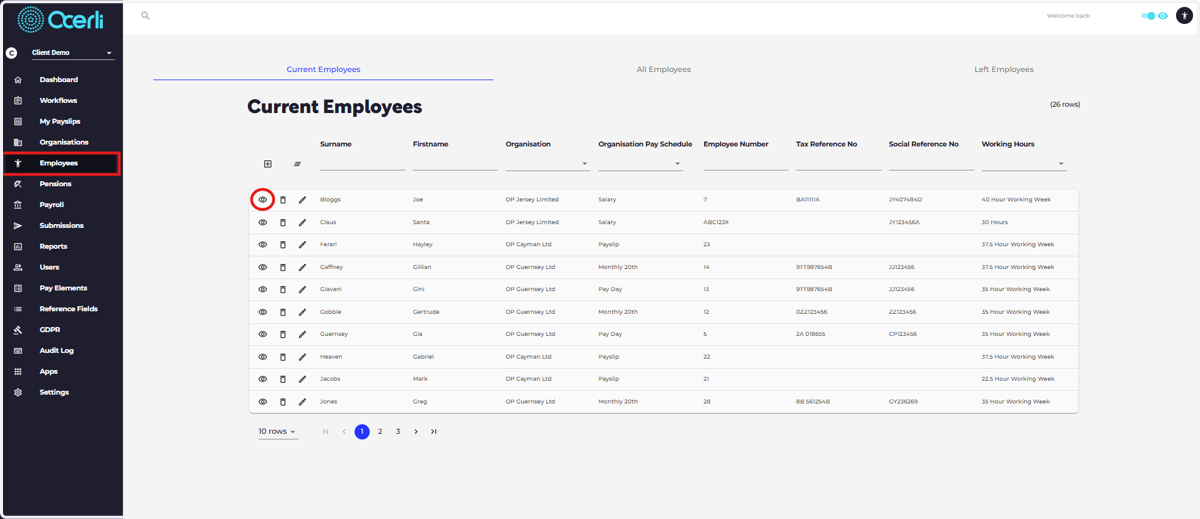
Click on the Employees Menu and view any relevant employee record
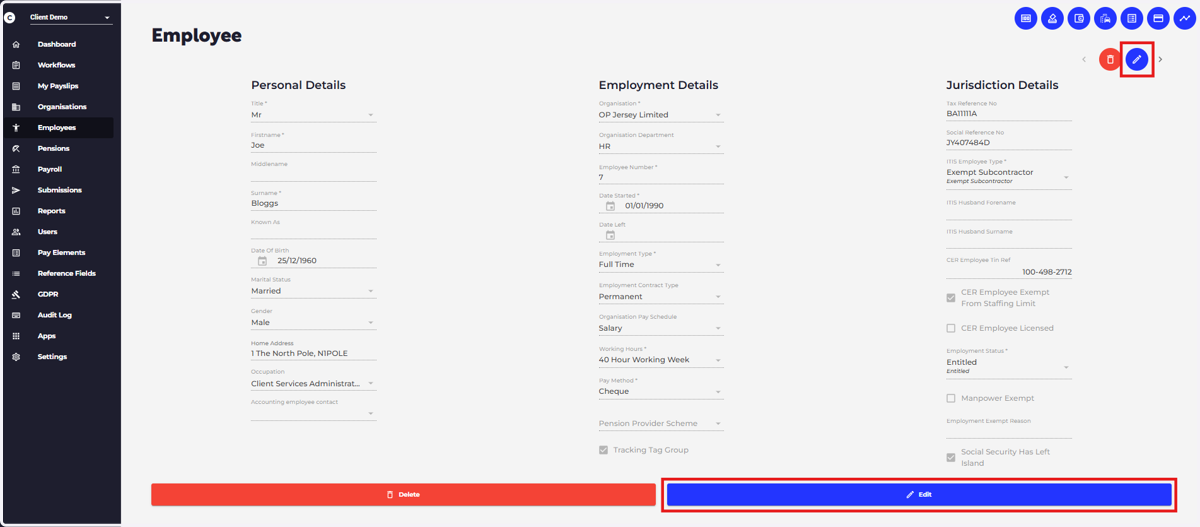
9. Click Edit
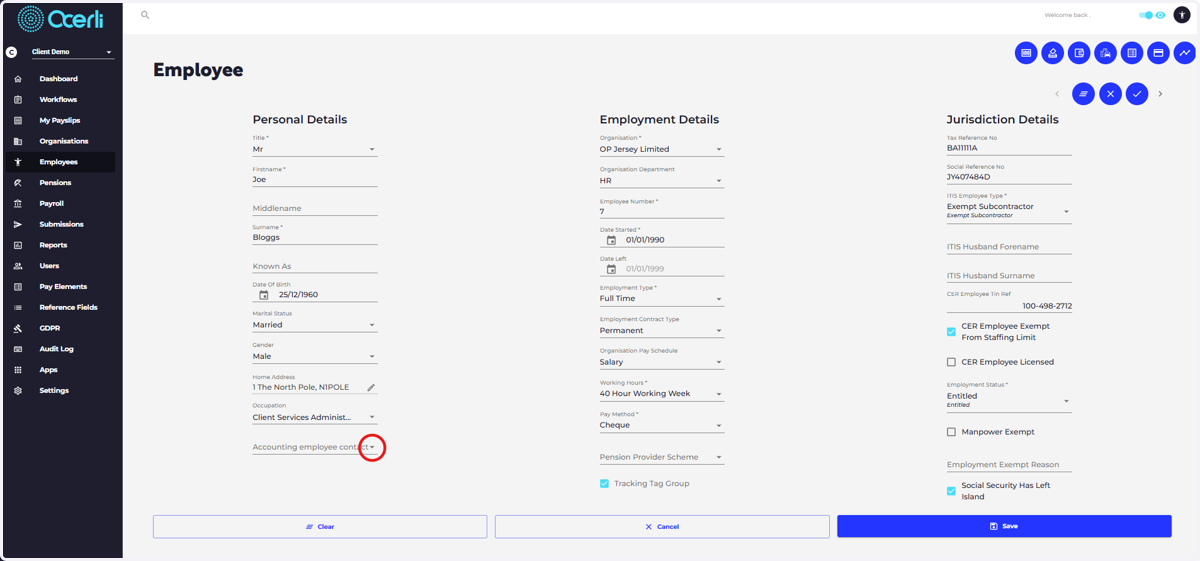
10. Scroll to the bottom of the screen and click on the drop down next to the Accounting Employee Contact
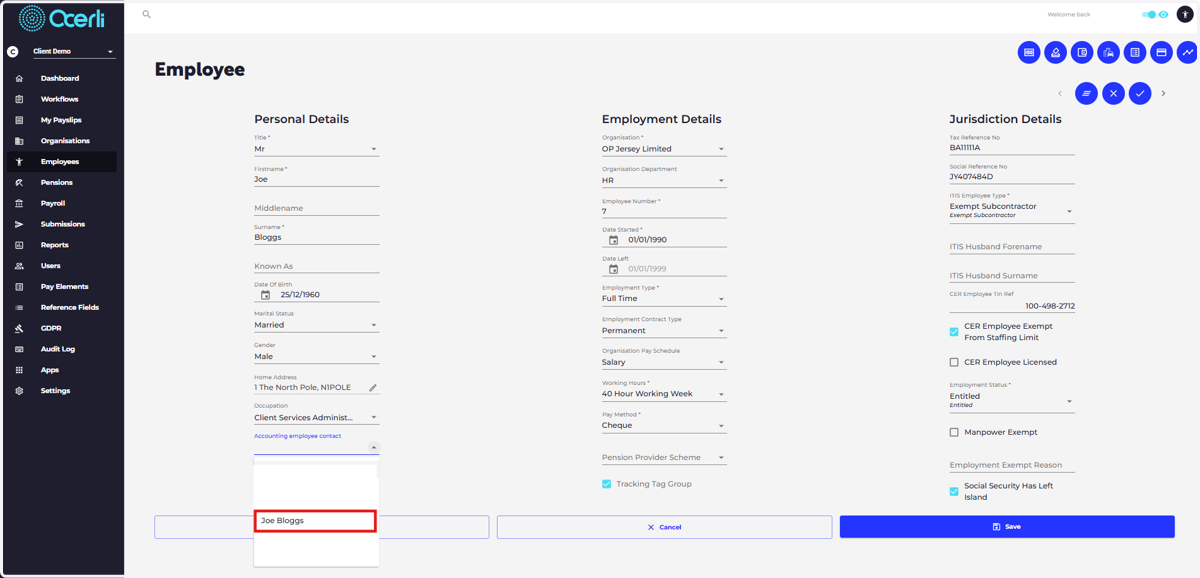
11. Type or Select the relevant QuickBooks Contact record
12. Click on SAVE to save the changes to the employee record
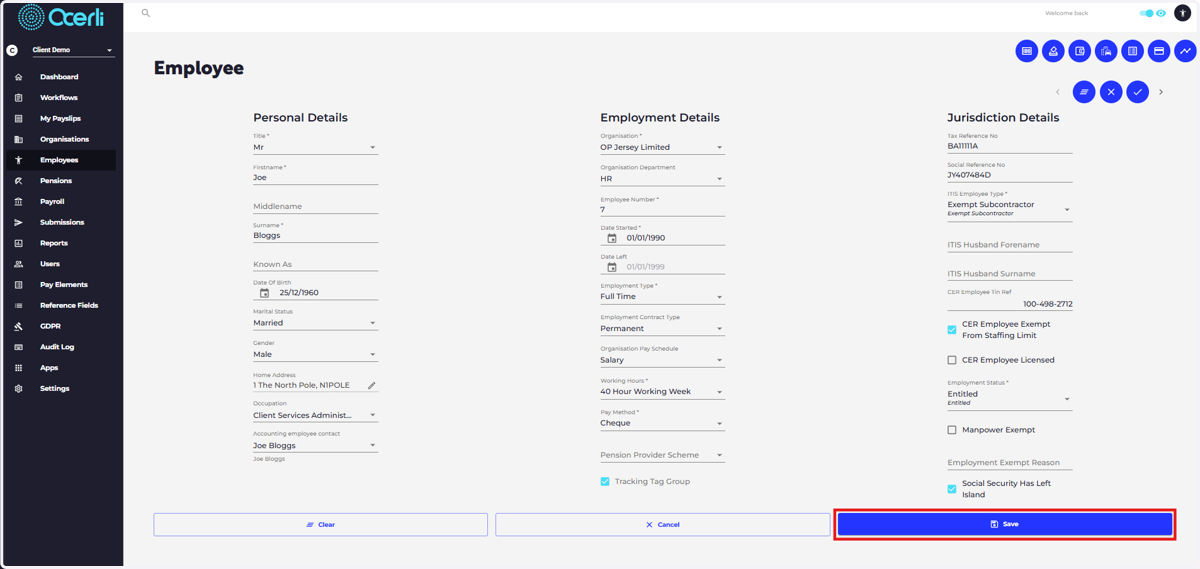
13. Repeat steps 11 - 15 for all employees
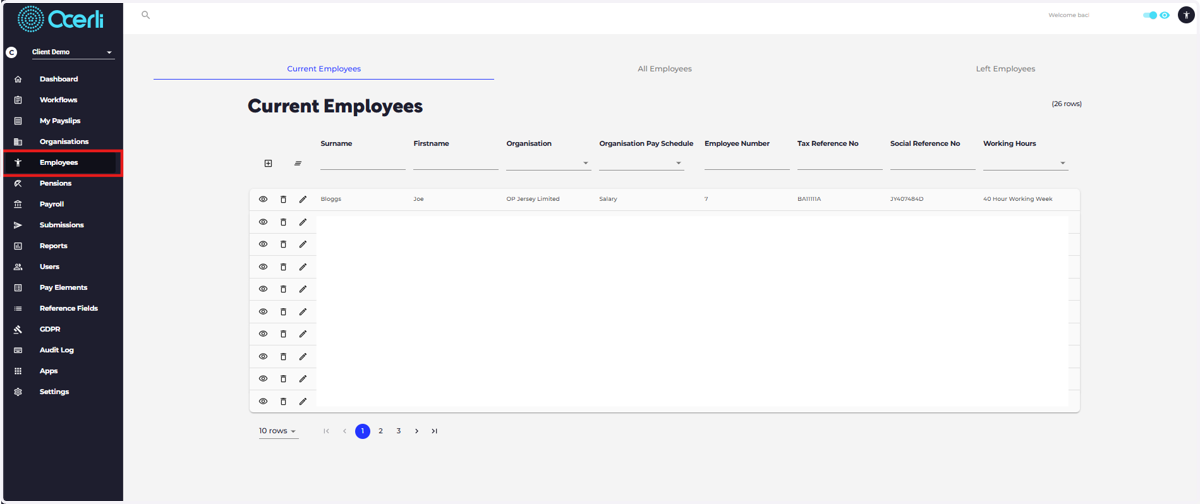
14. ORGANISATION SETUP - Organisation Contacts
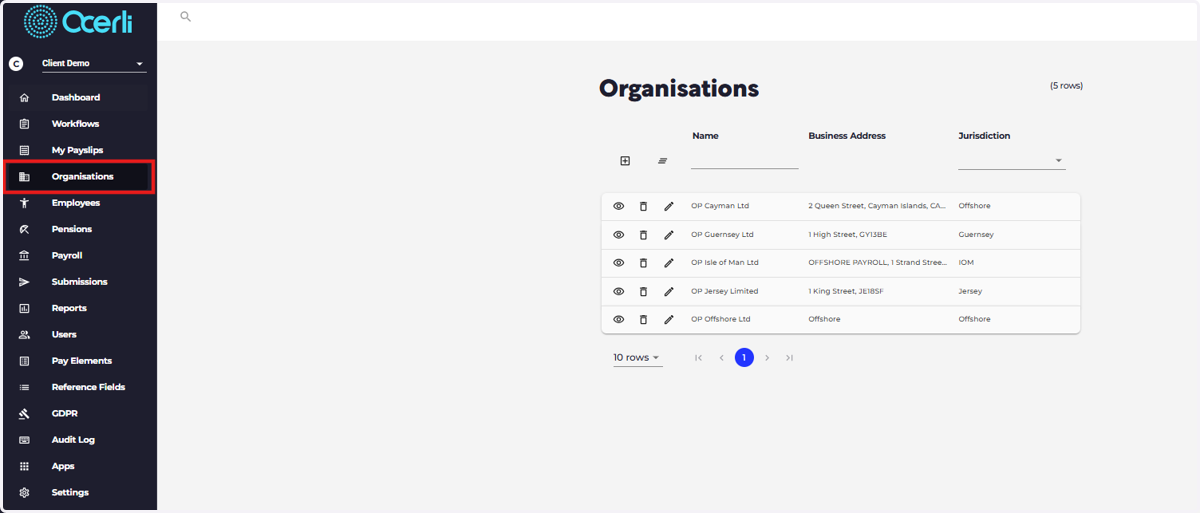
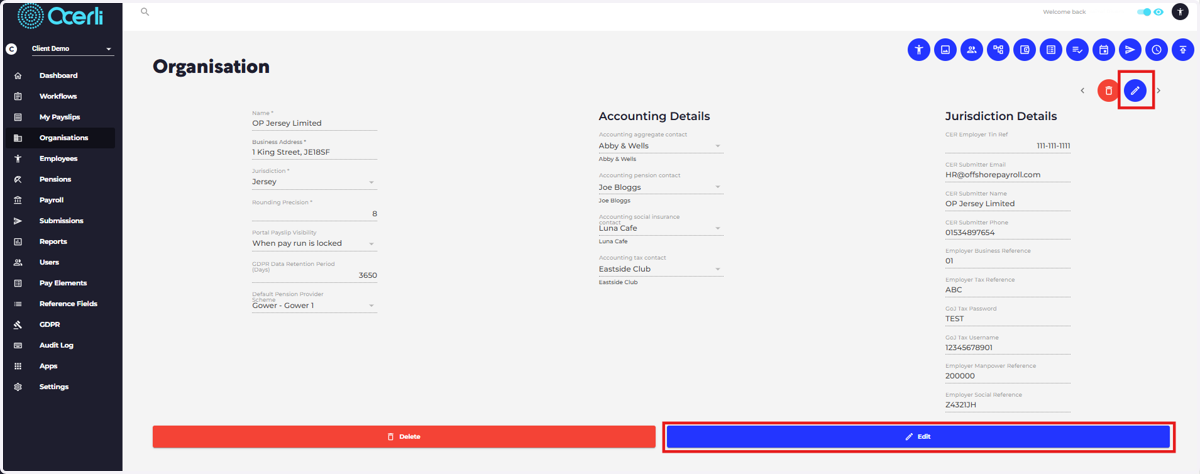
Click on Organisations
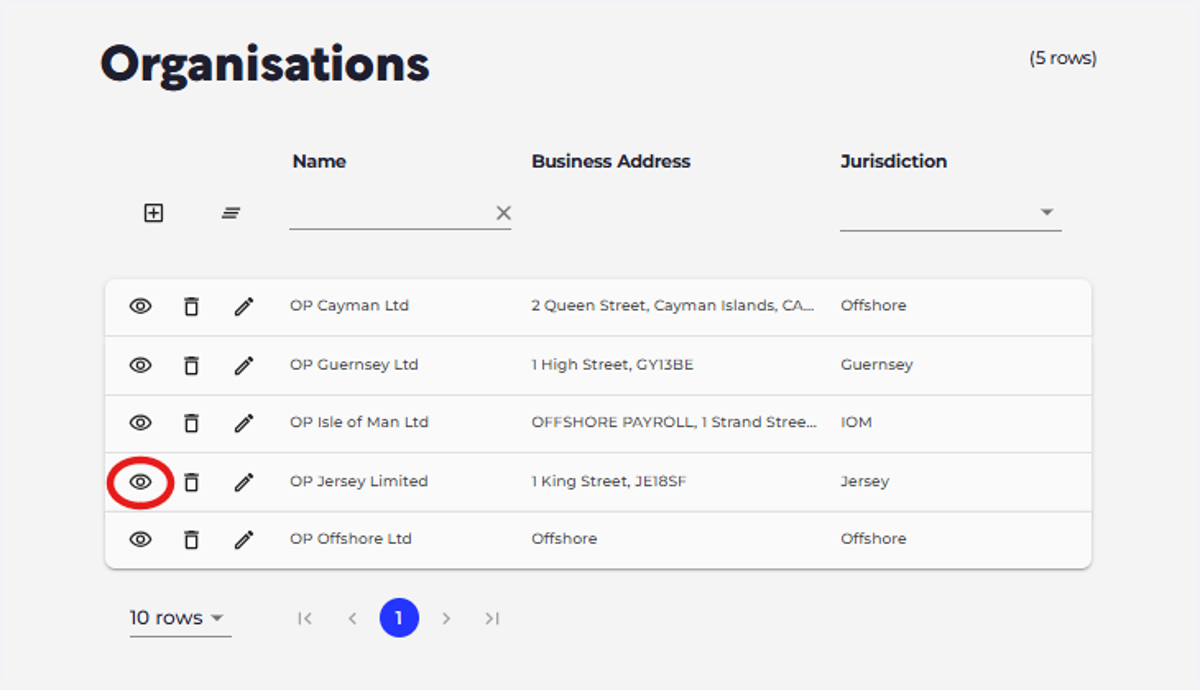
15. Click to View the relevant Organisation
16. Click Edit
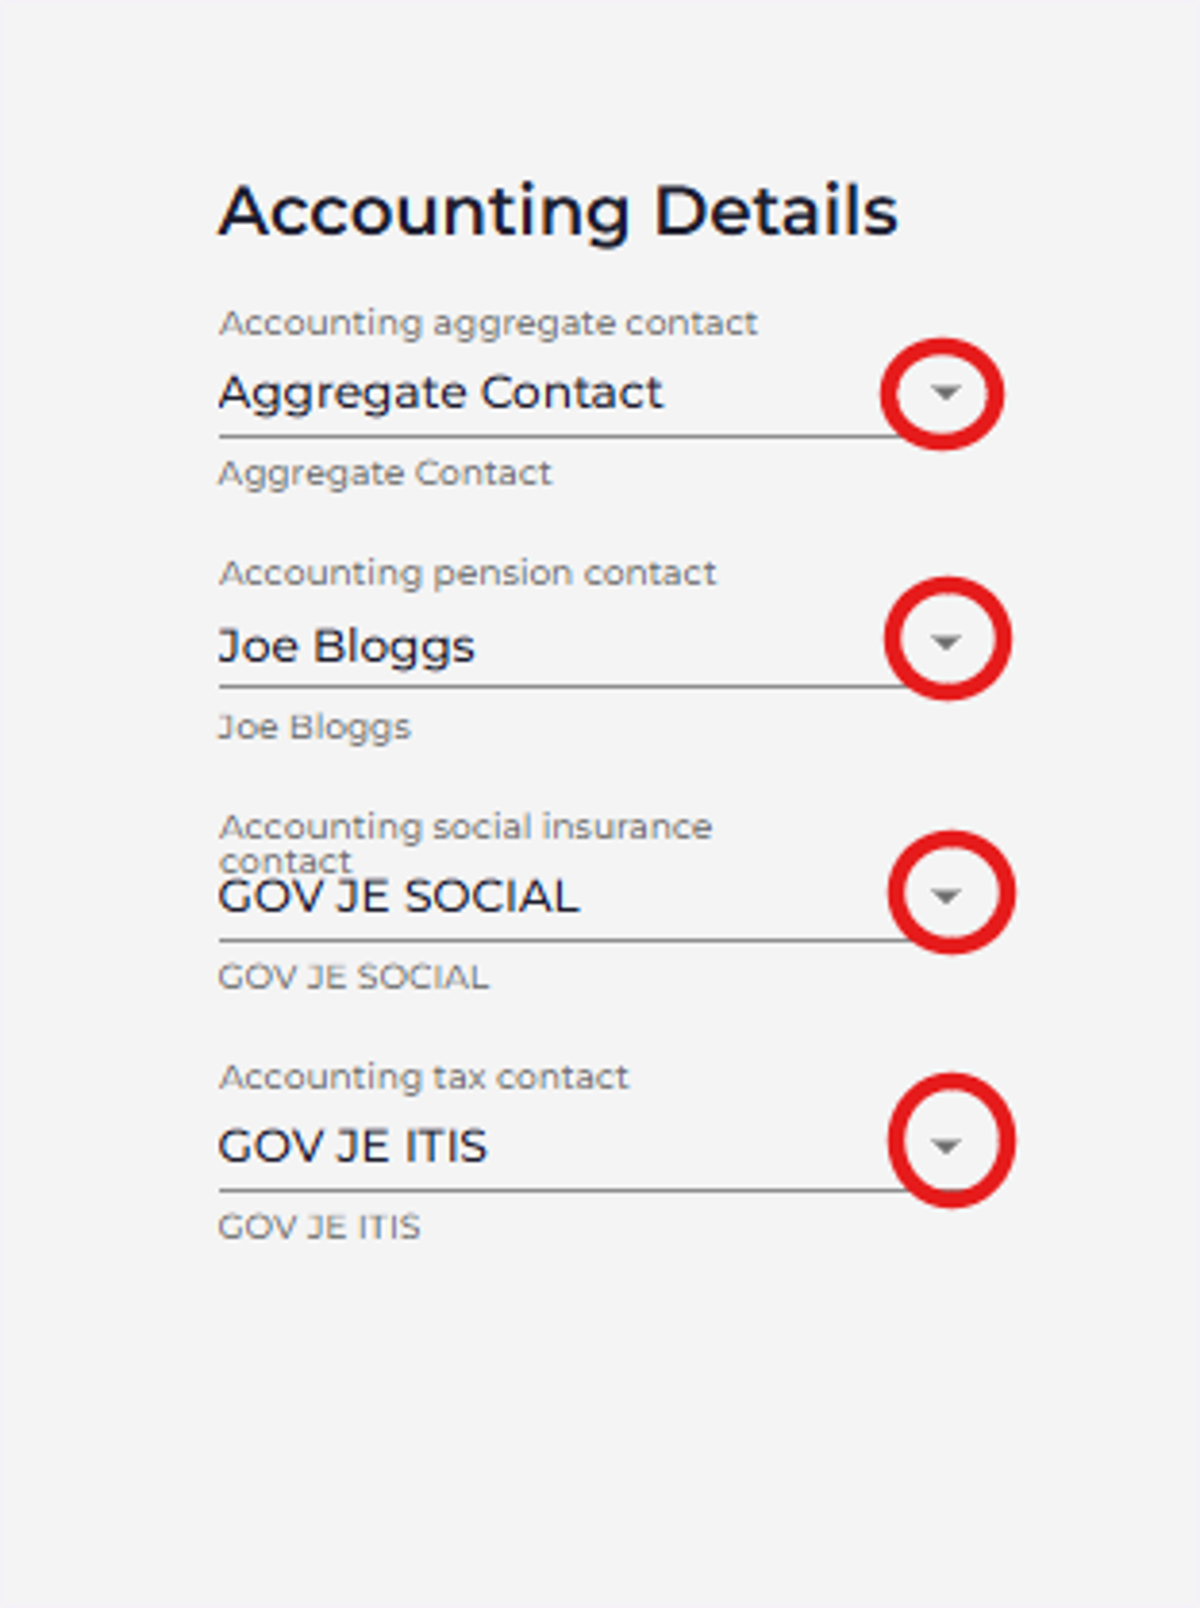
17. If required, select an option for each item
18. Click on SAVE