Managing Custom Fields
Engagifii allows for custom fields to be added to your workspace's Relationship database. Check out below on how to manage those fields, add or remove them.
Head into your Engagifii Workspace
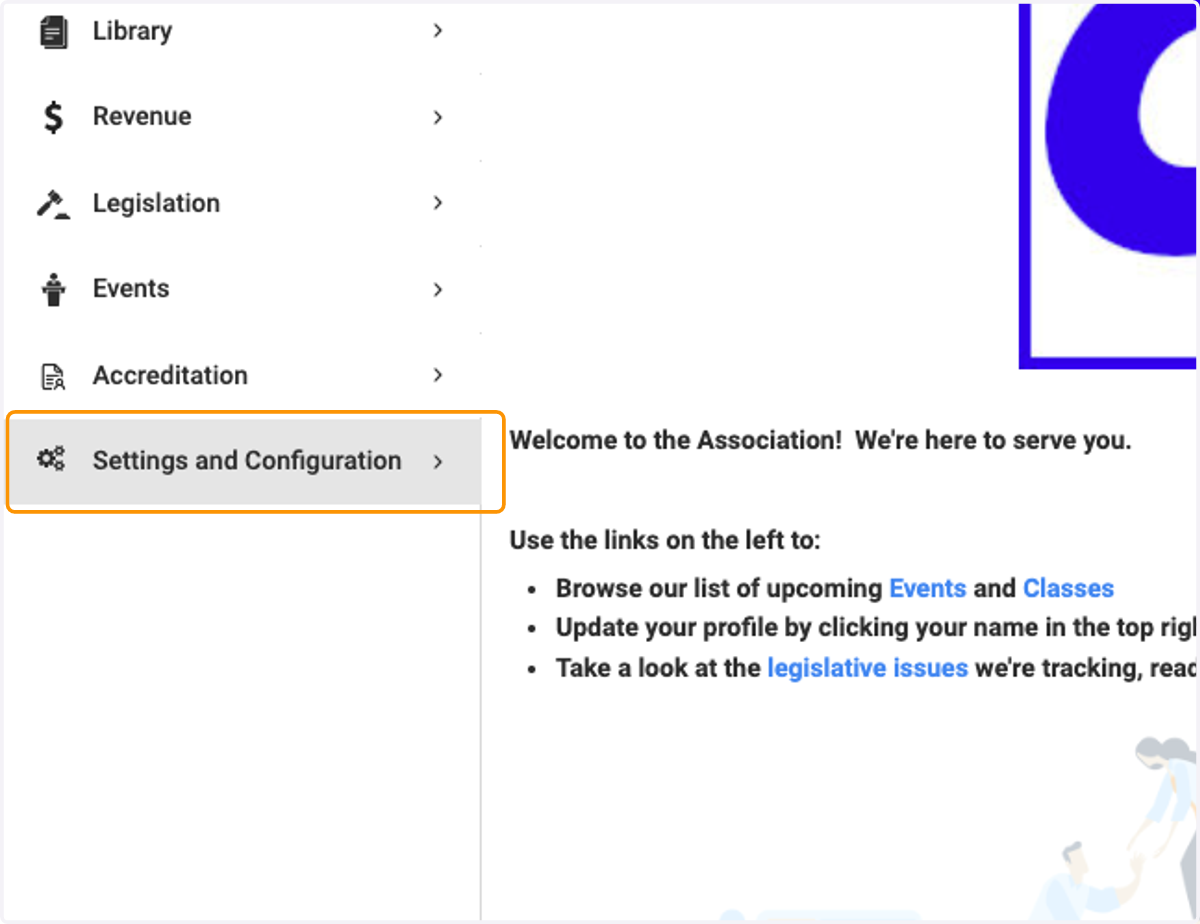
1. Click on Settings and Configuration
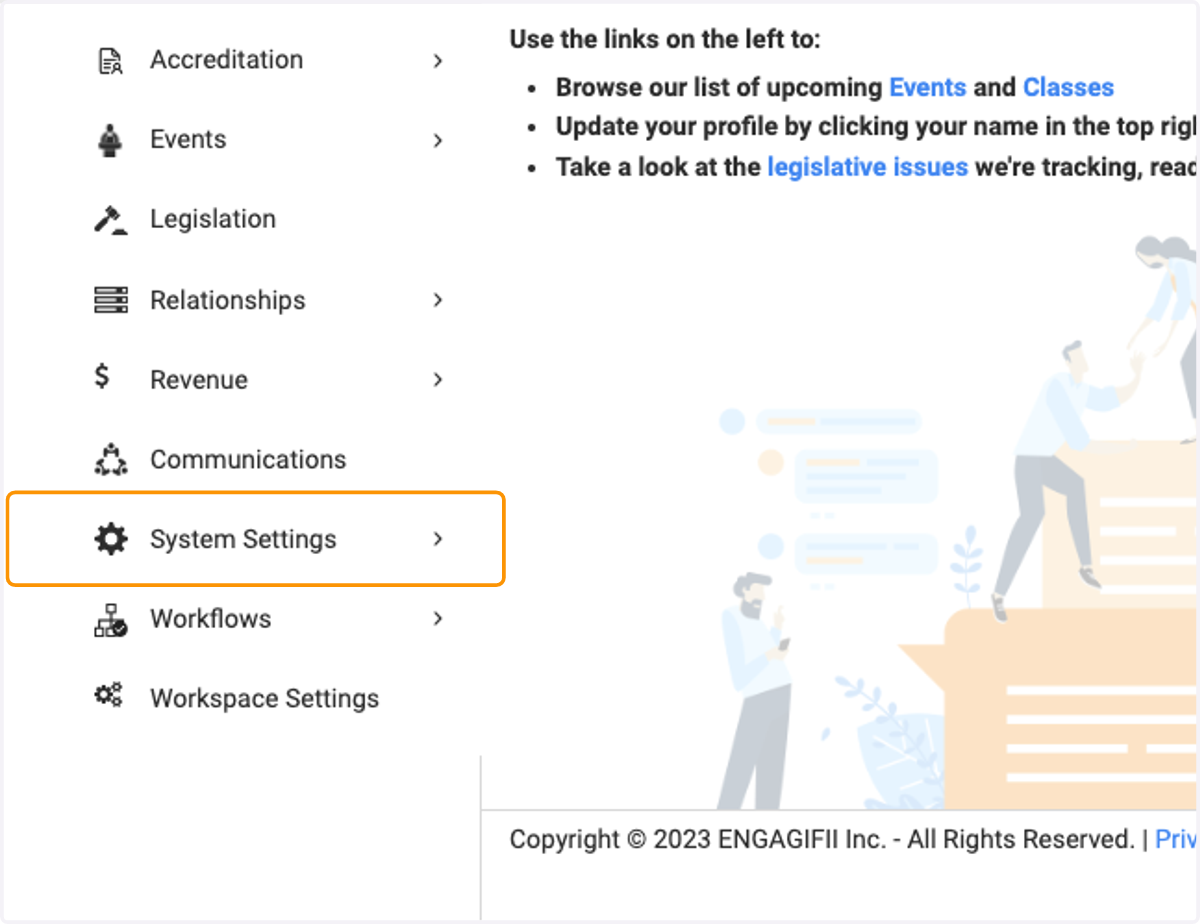
2. Click on System Settings
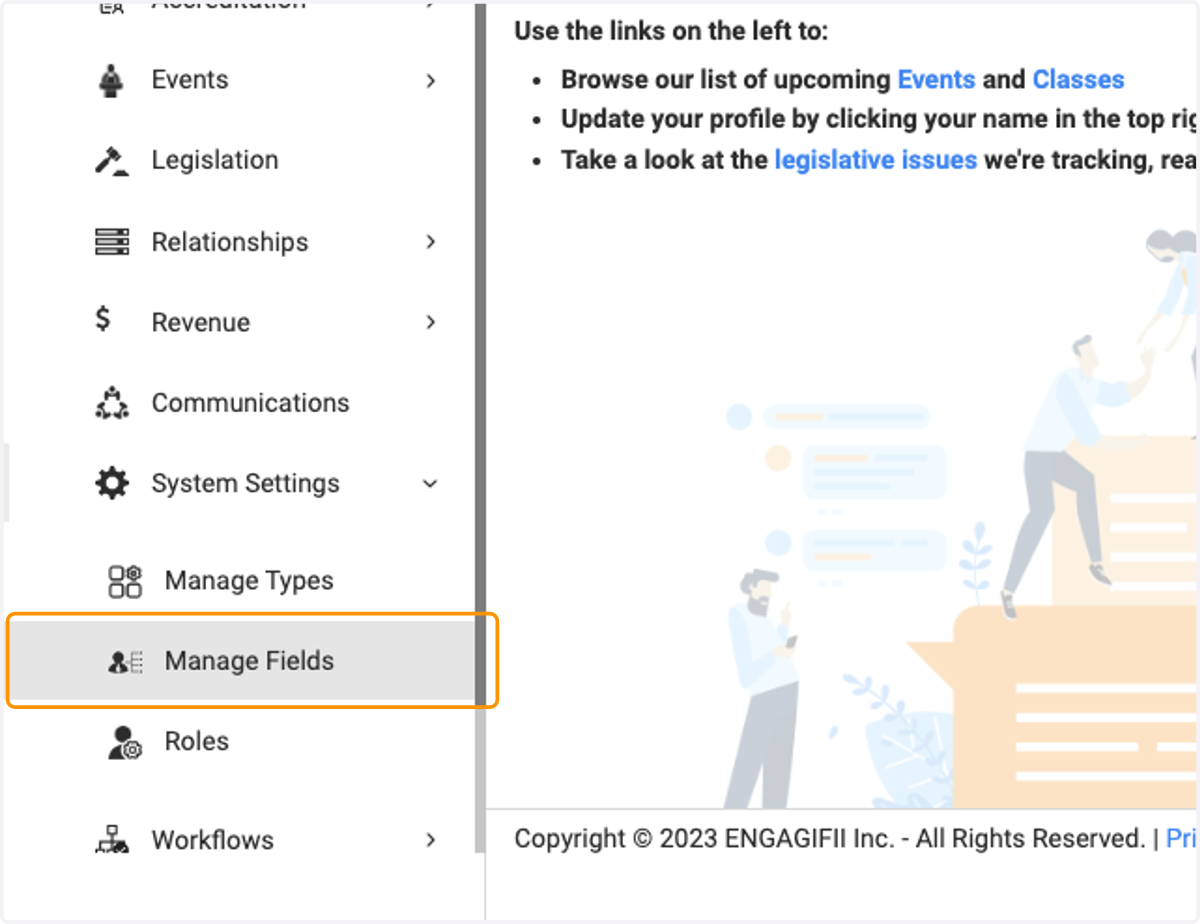
3. Click on Manage Fields
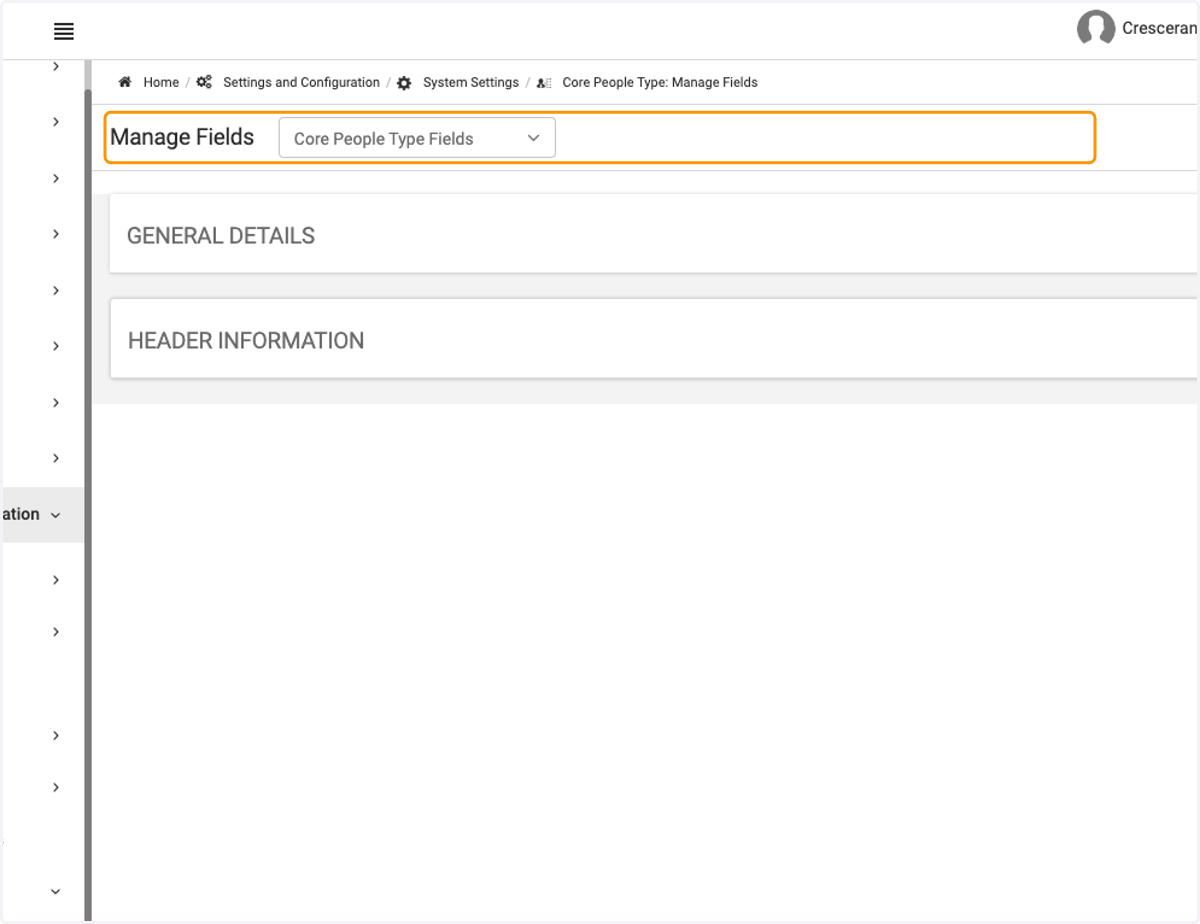
4. Take note of the Type of fields you'll be editing. In this tutorial, we'll be going over the People fields
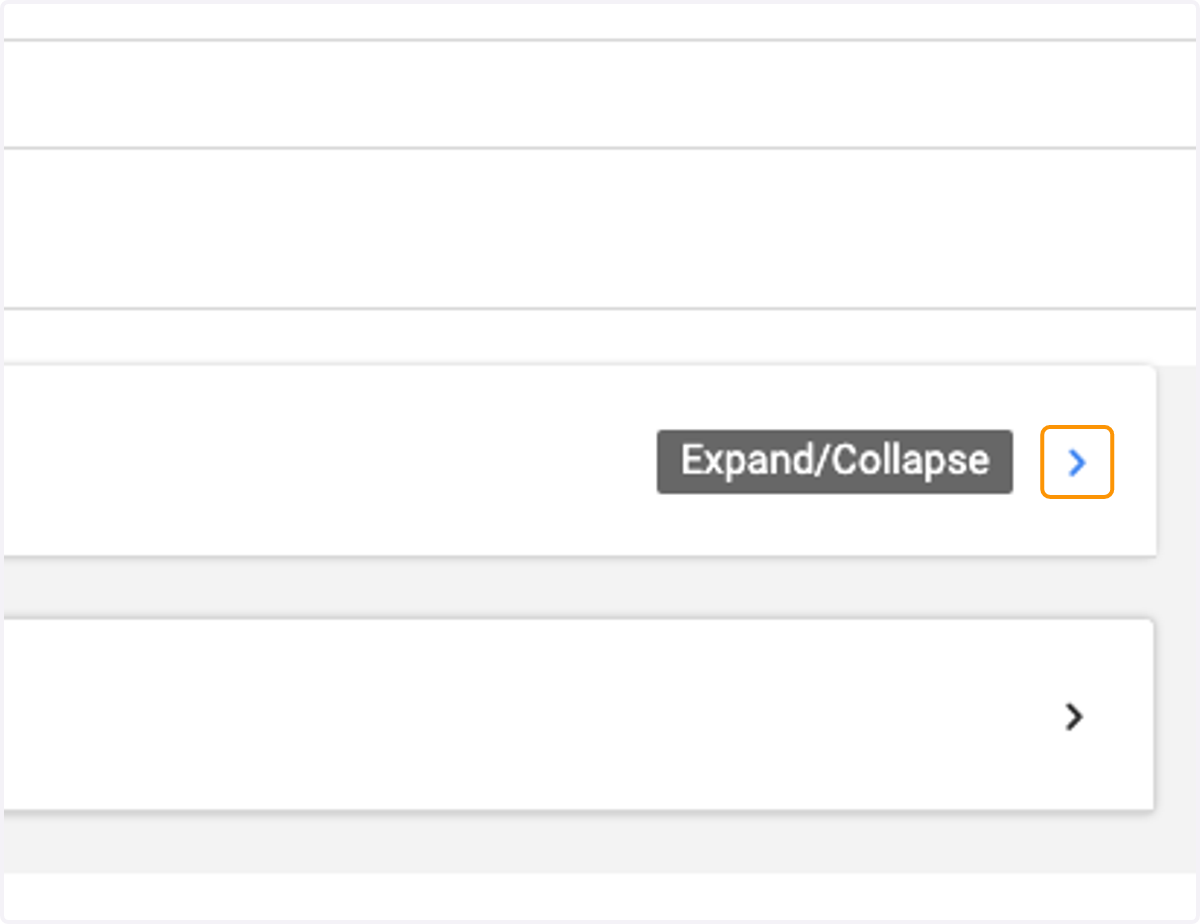
5. Click on the arrow for the General Details row, this will expand the various fields within this section
🖊️ Editing your current list of fields
This section will go over how to edit and manage already created fields within your workspace, changing how it works for the different of person types.
6. Click on Edit
7. Find a field you would like to edit, and the person type you would like to edit it for and click the down arrow to the right
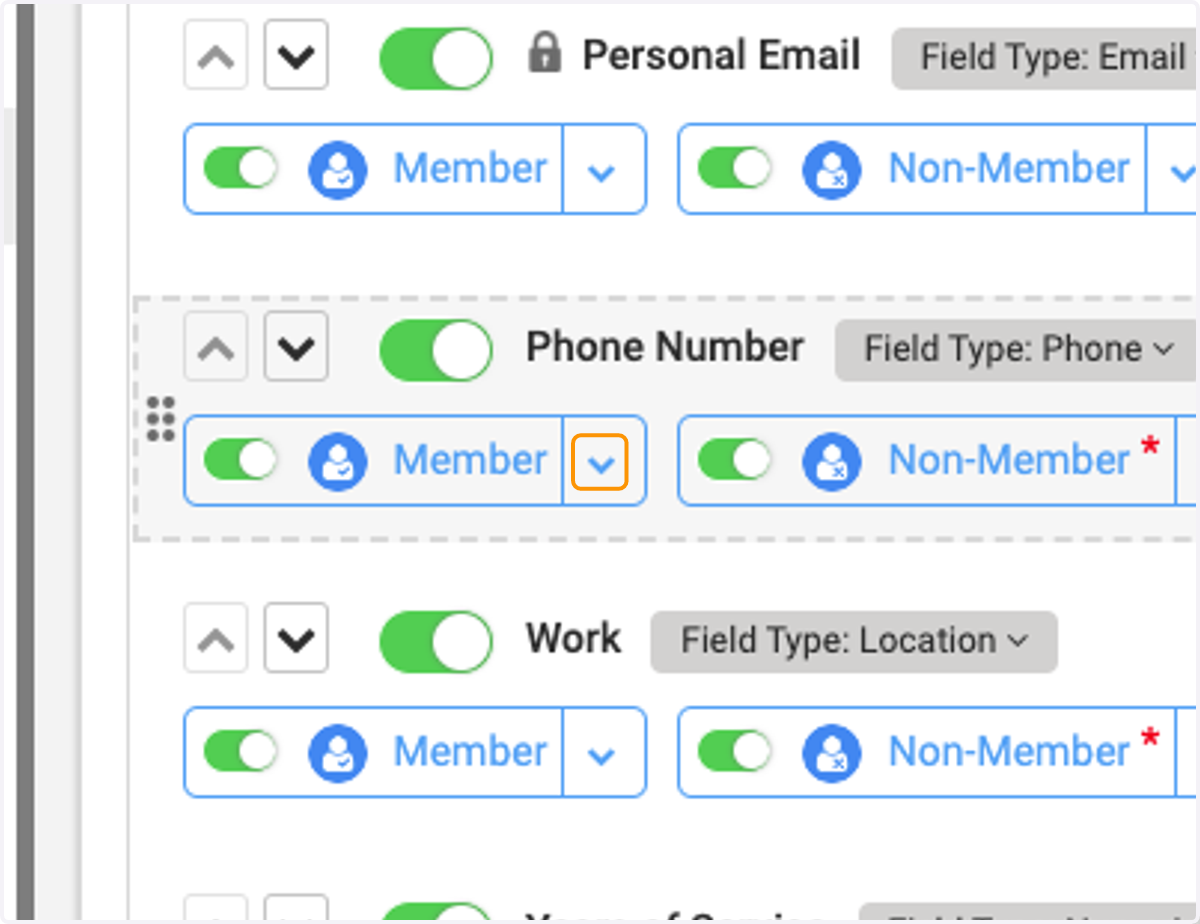
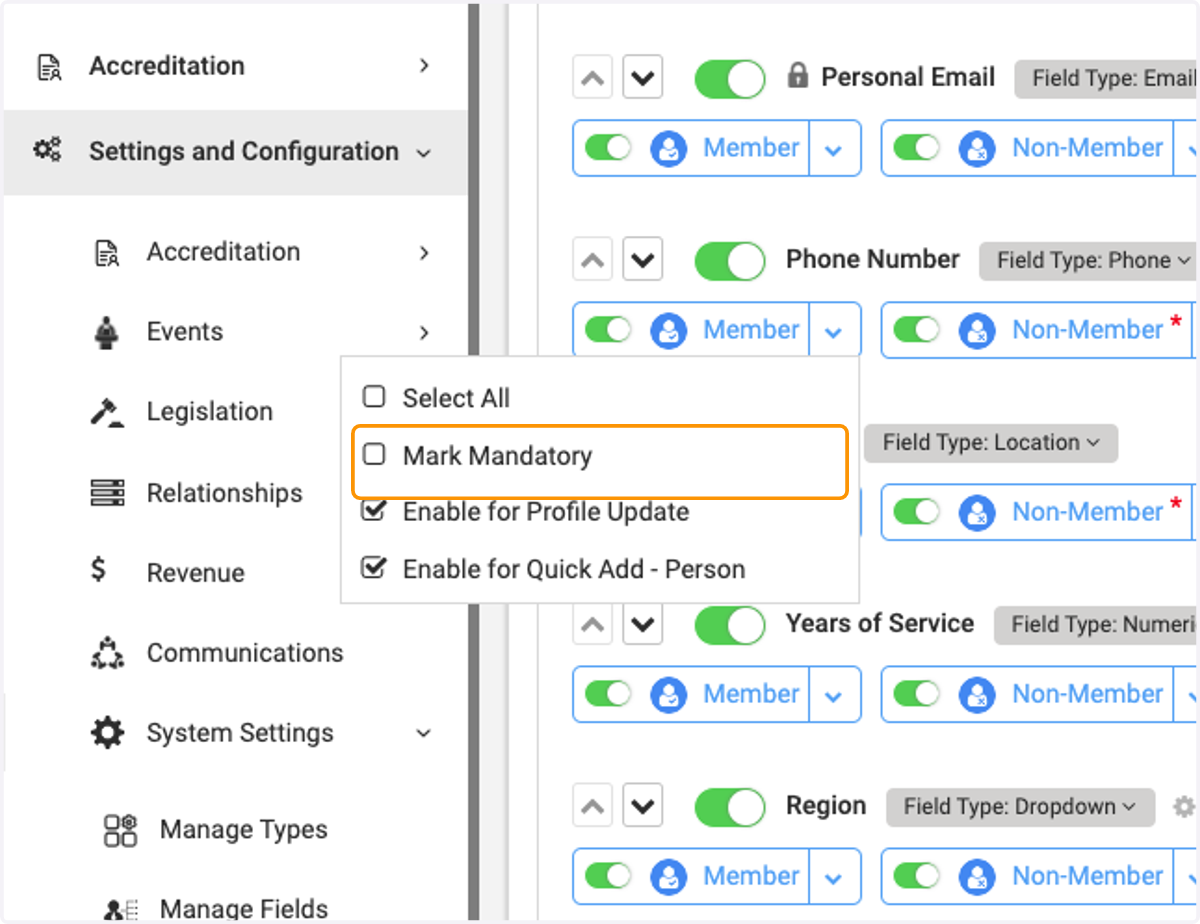
8. A drop down will pop out, giving you the various options you can choose from for that specific person type
➕ Adding a new field
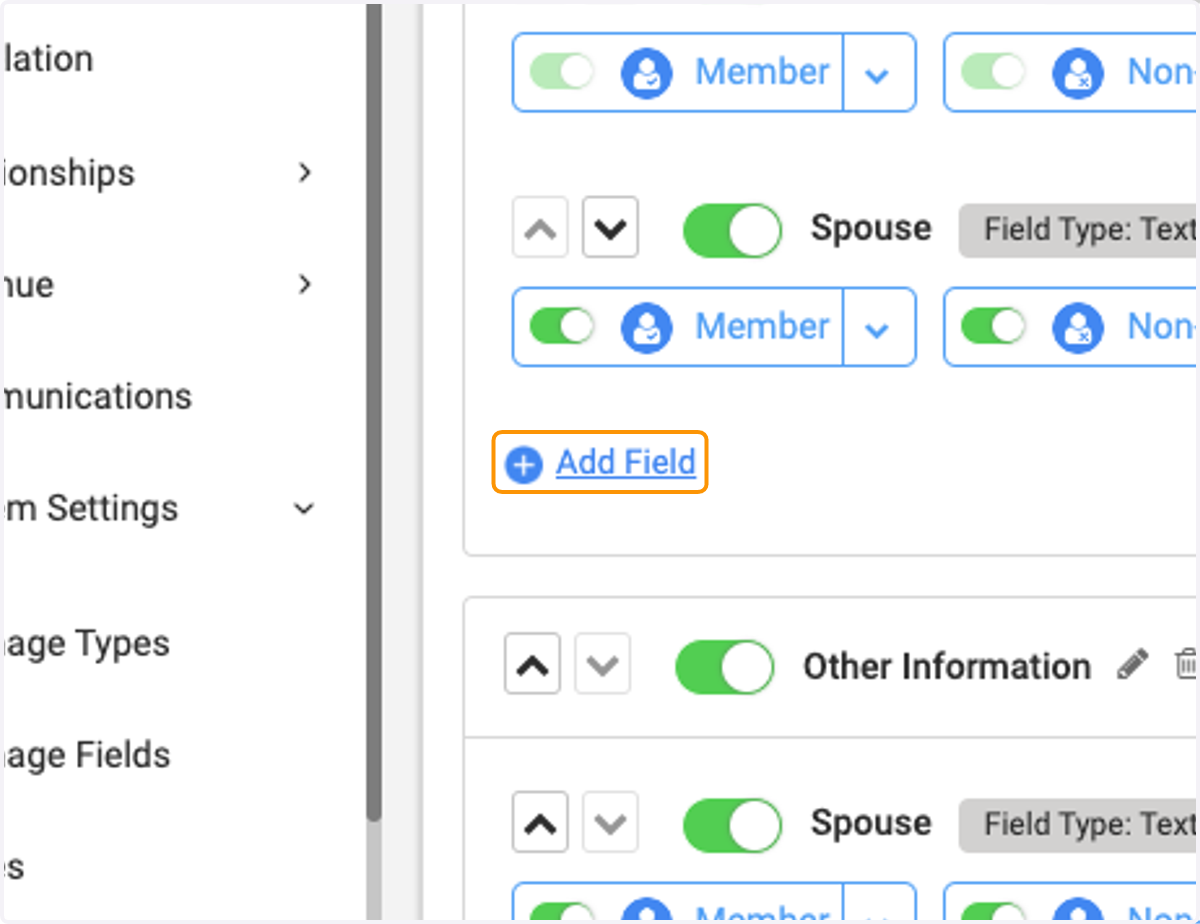
9. Click on Add Field at the bottom of the section you want your new field to show up in
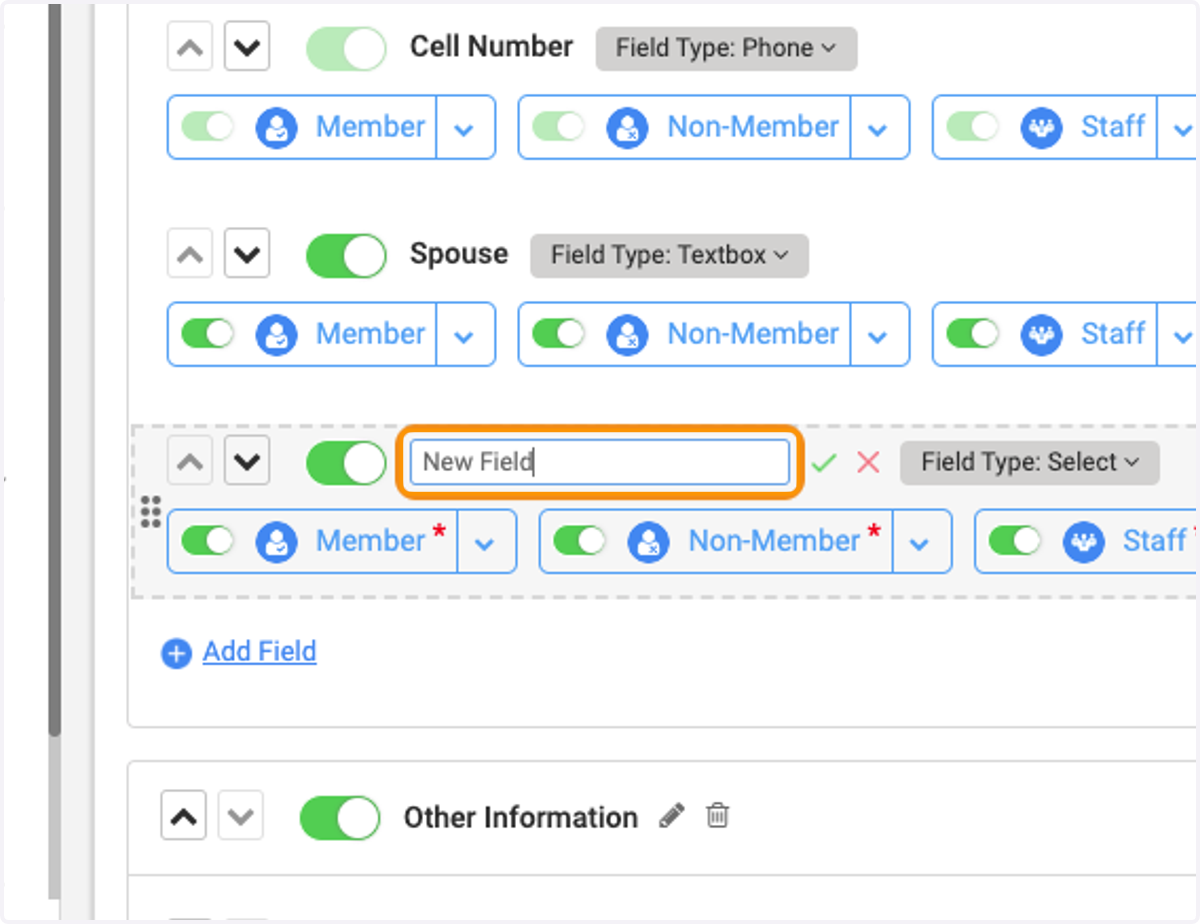
10. Type in your new Field Name
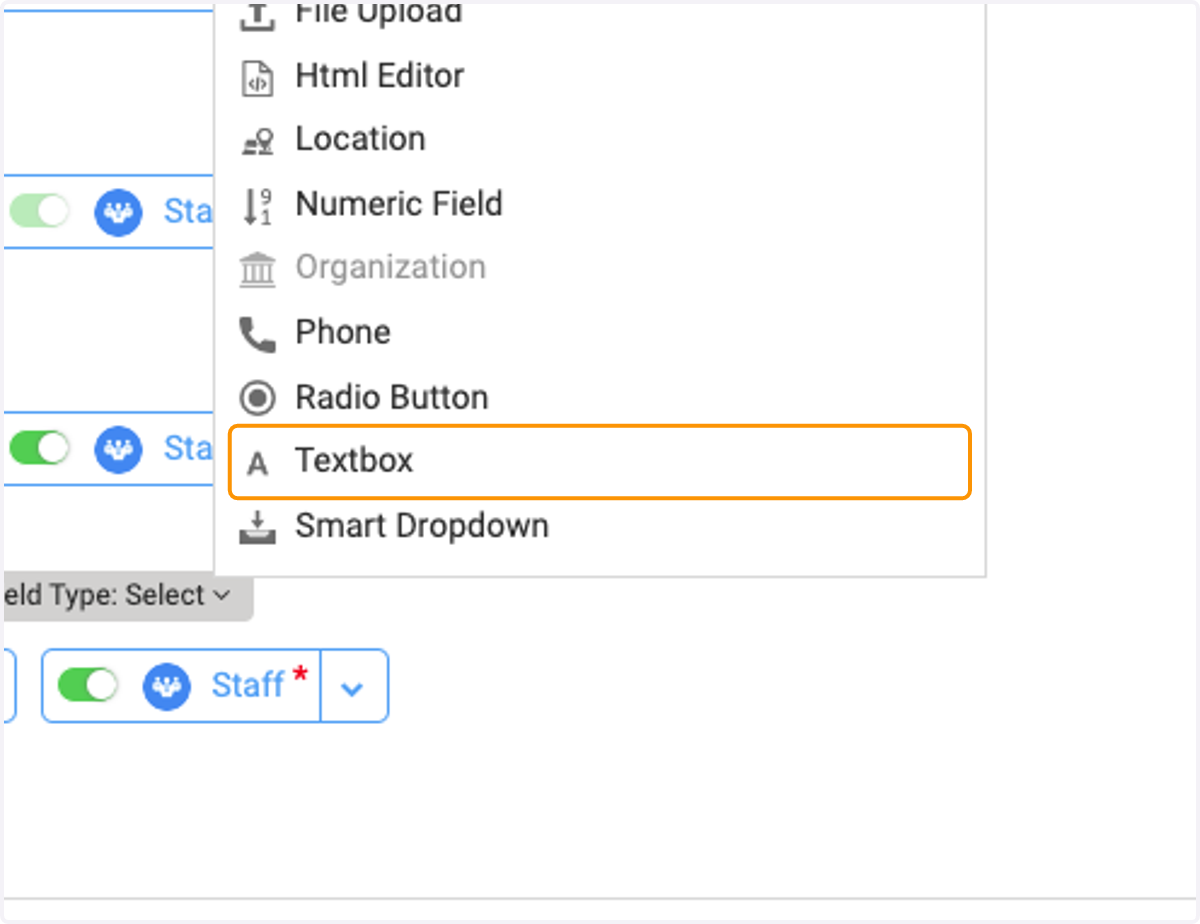
11. To choose what type of field, click on Select in the Field Type box to the right, and a drop down will pop up with the various options
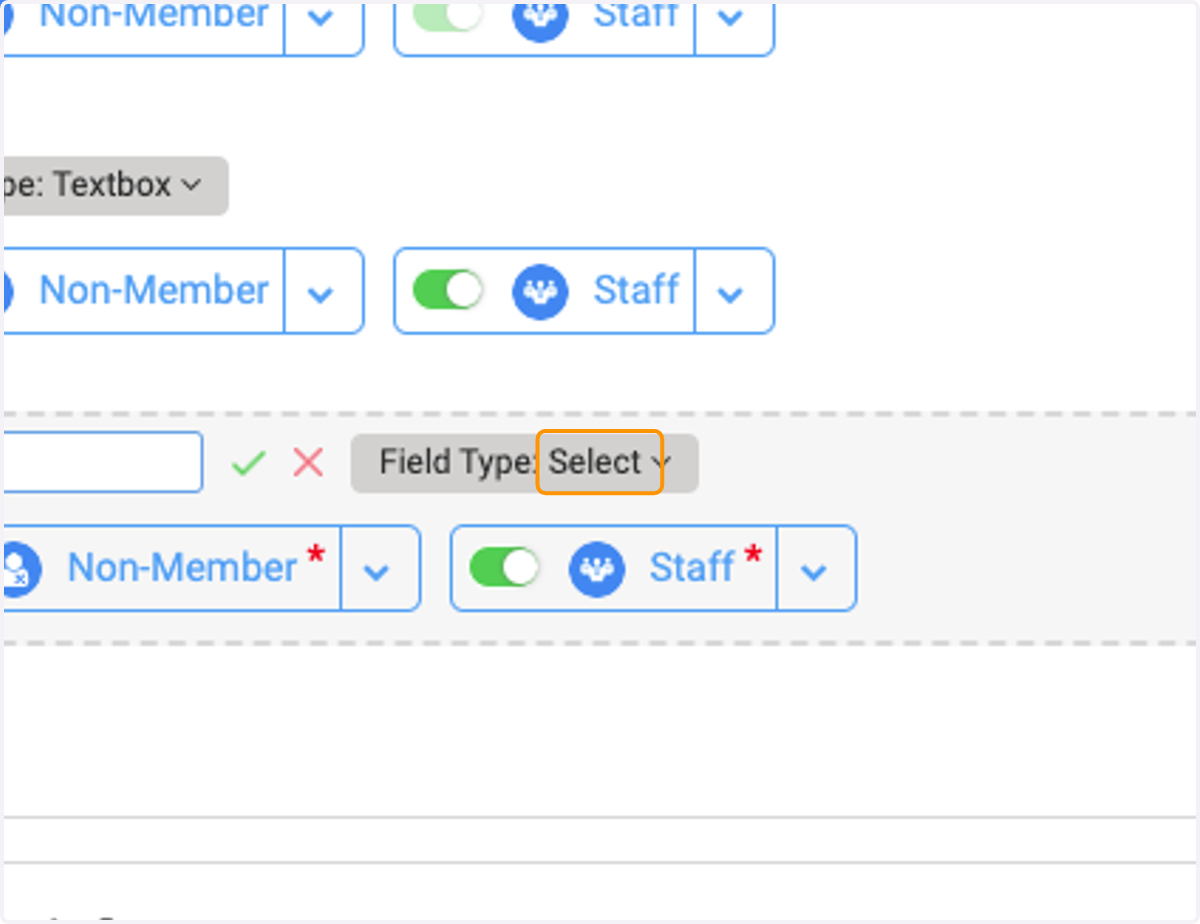
12. Click on the type you would like to use
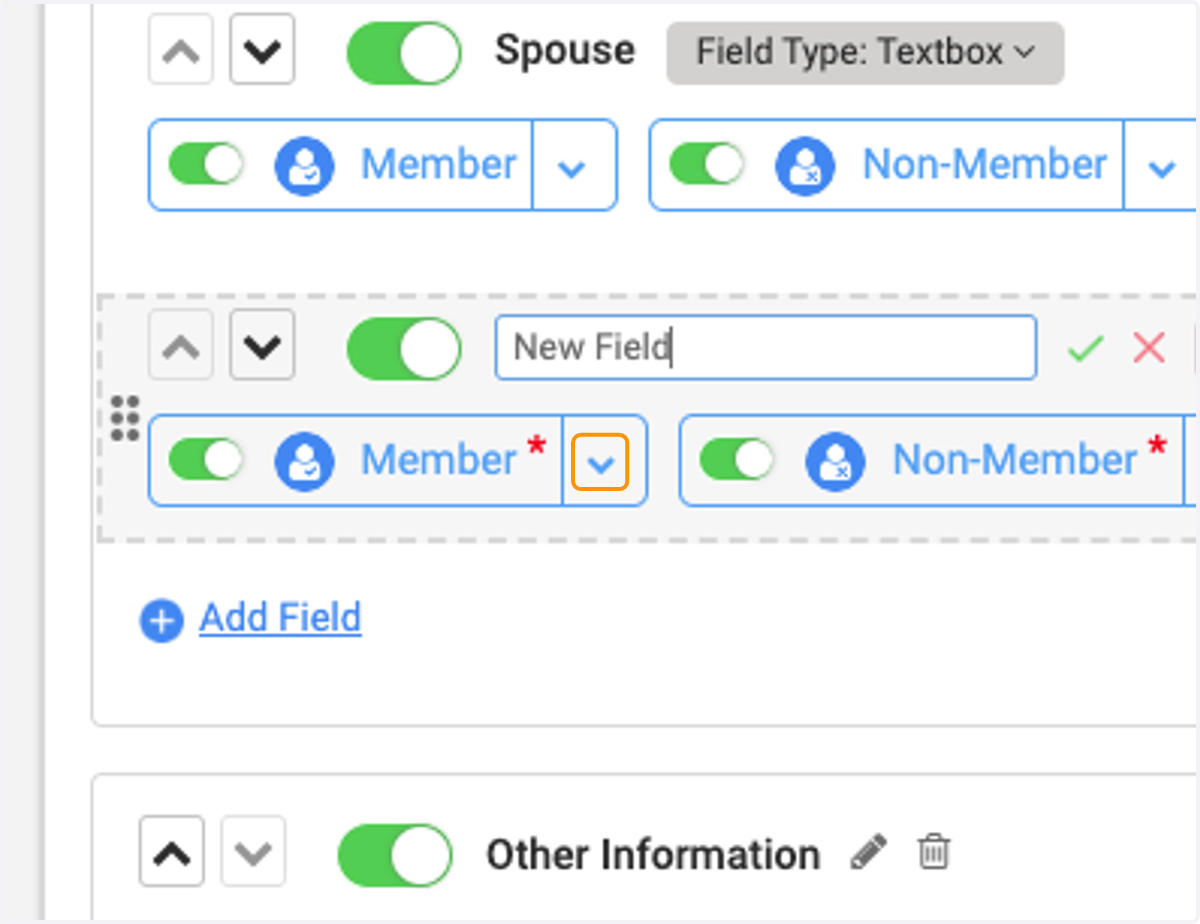
13. Make the adjustments to your Person Type settings below
14. Lastly, click on Save