Creating Registration Workflows - Events and Classes
Registrations for Events and Classes require workflows to be in place, here's how you set them up
Head to your Engagifii Workspace
1. Click on Settings and Configuration
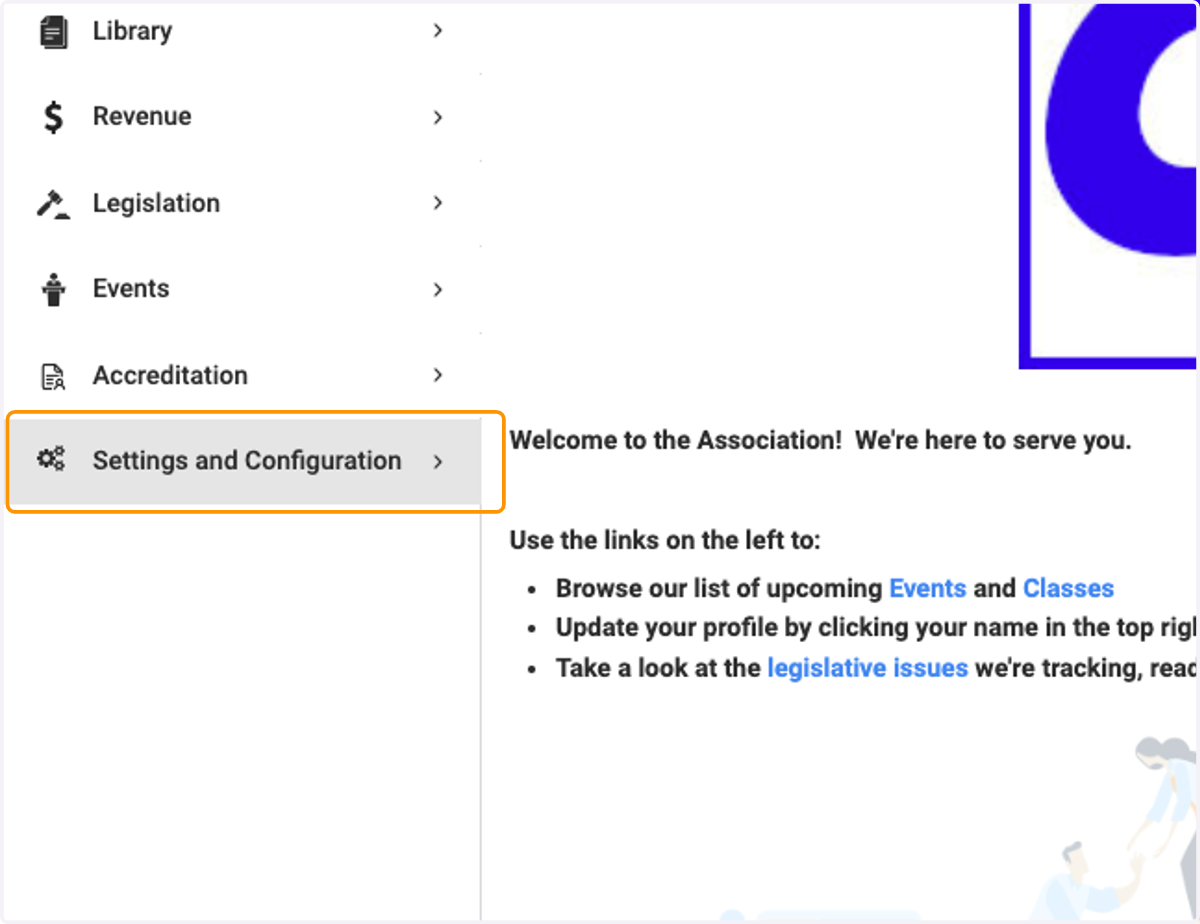
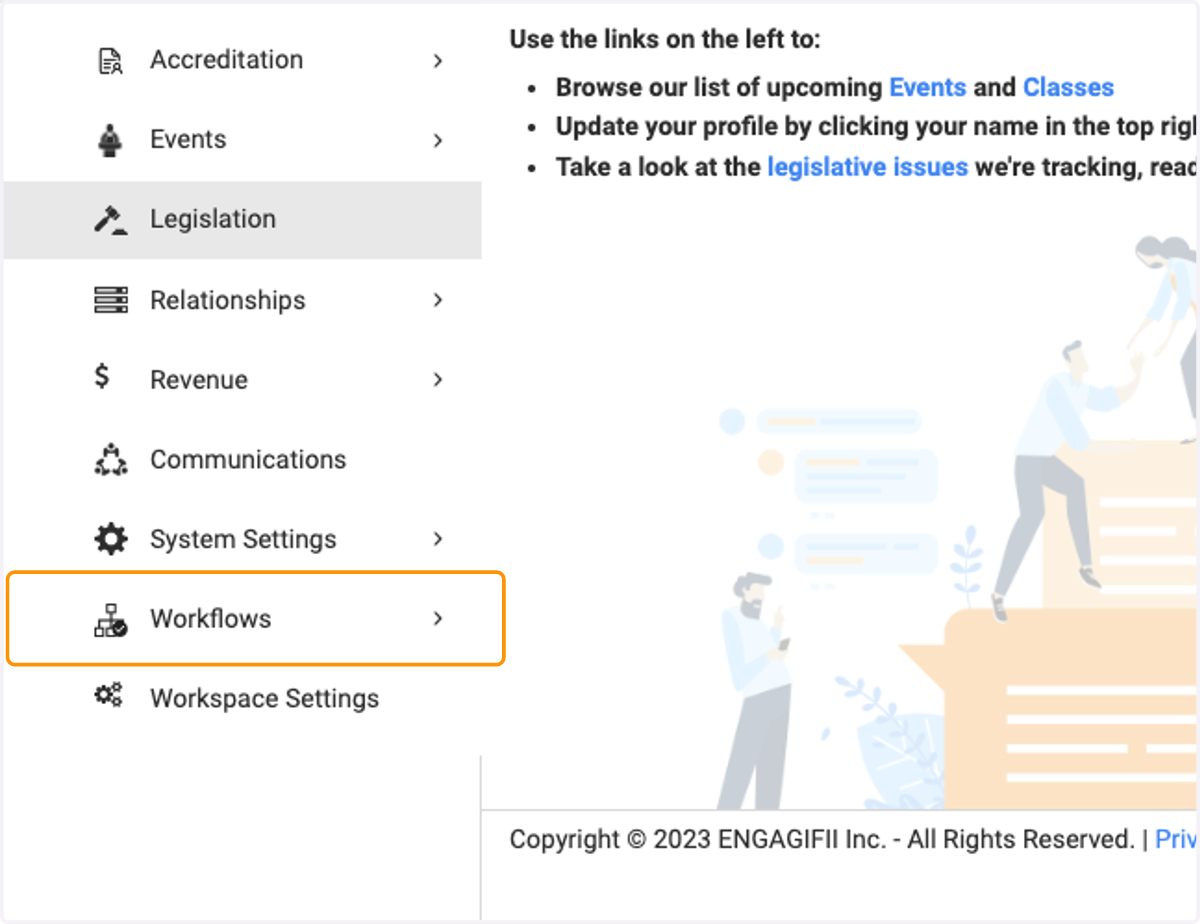
2. Click on Workflows
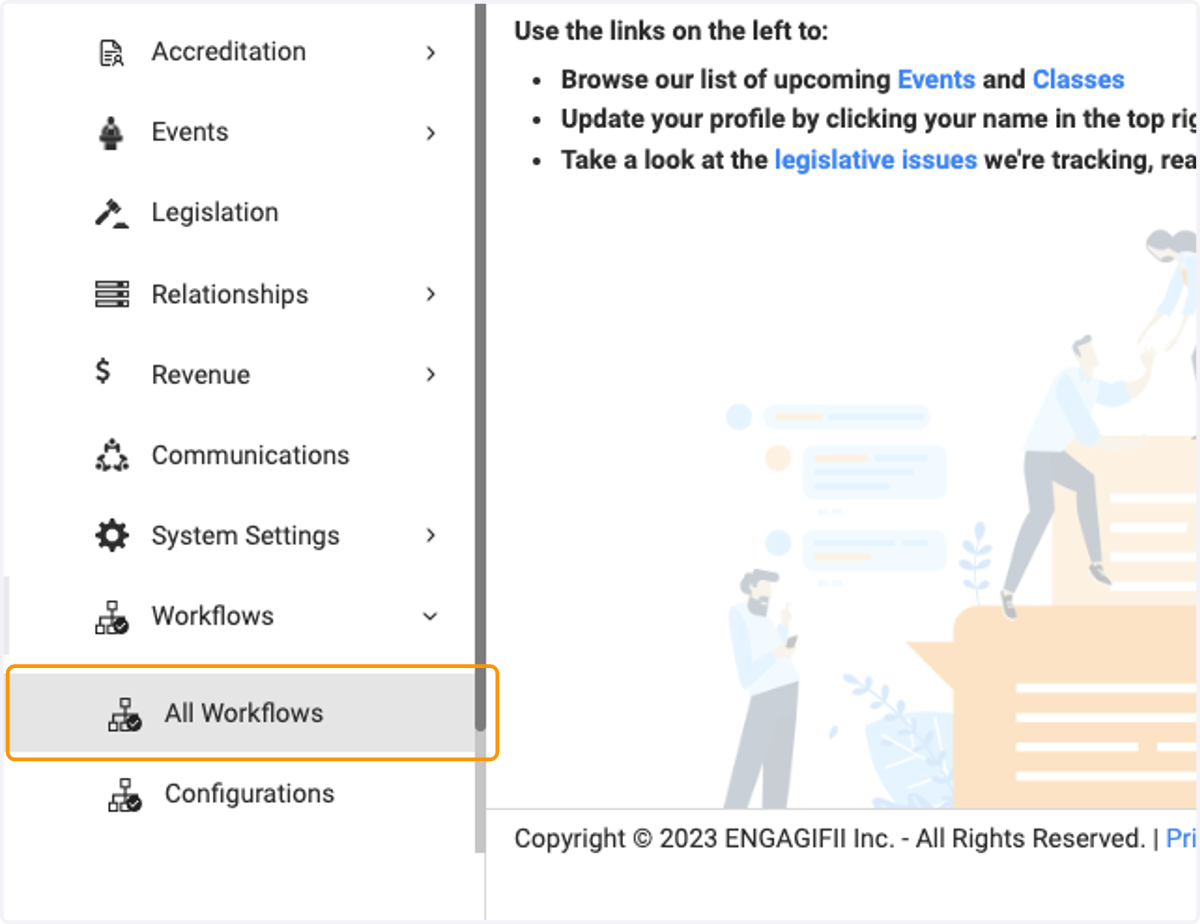
3. Click on All Workflows
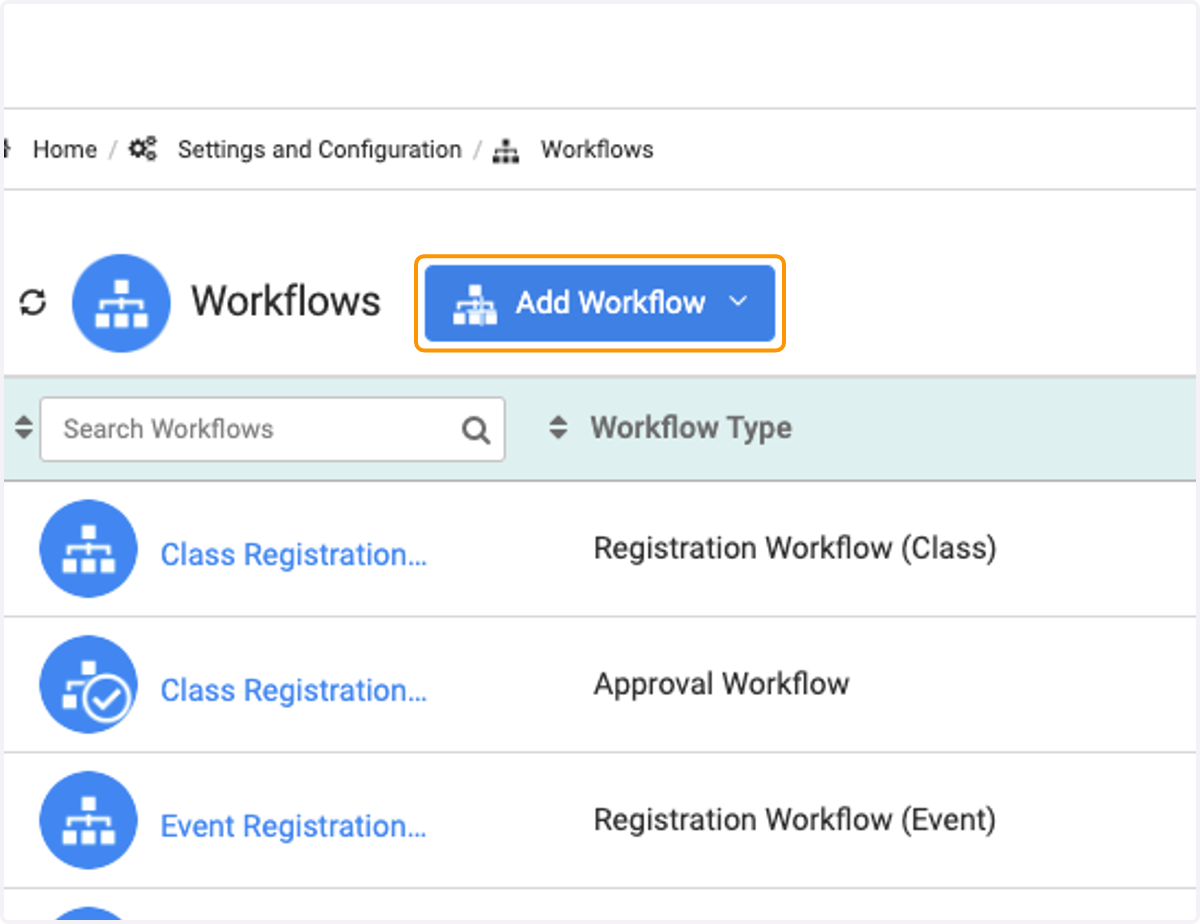
4. Click on Add Workflow
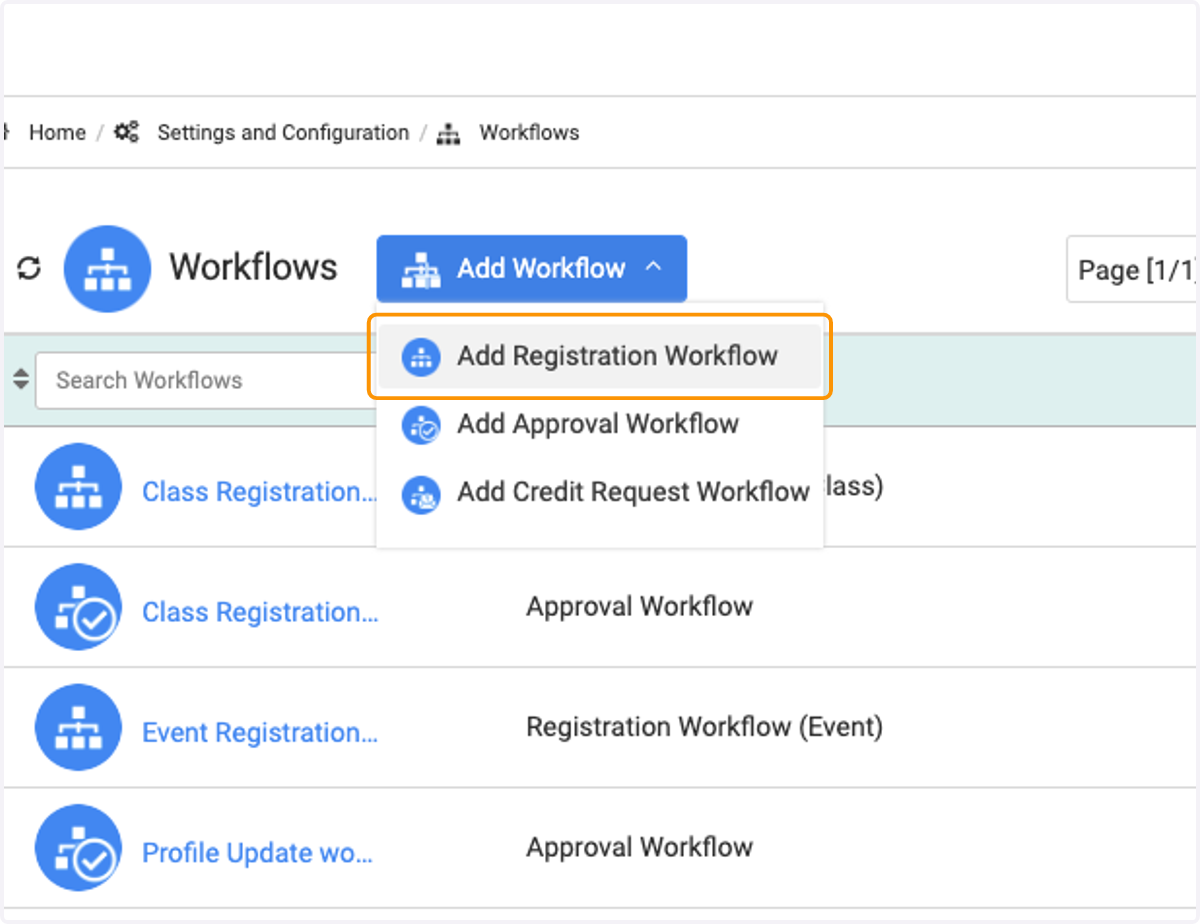
5. Click on Add Registration Workflow
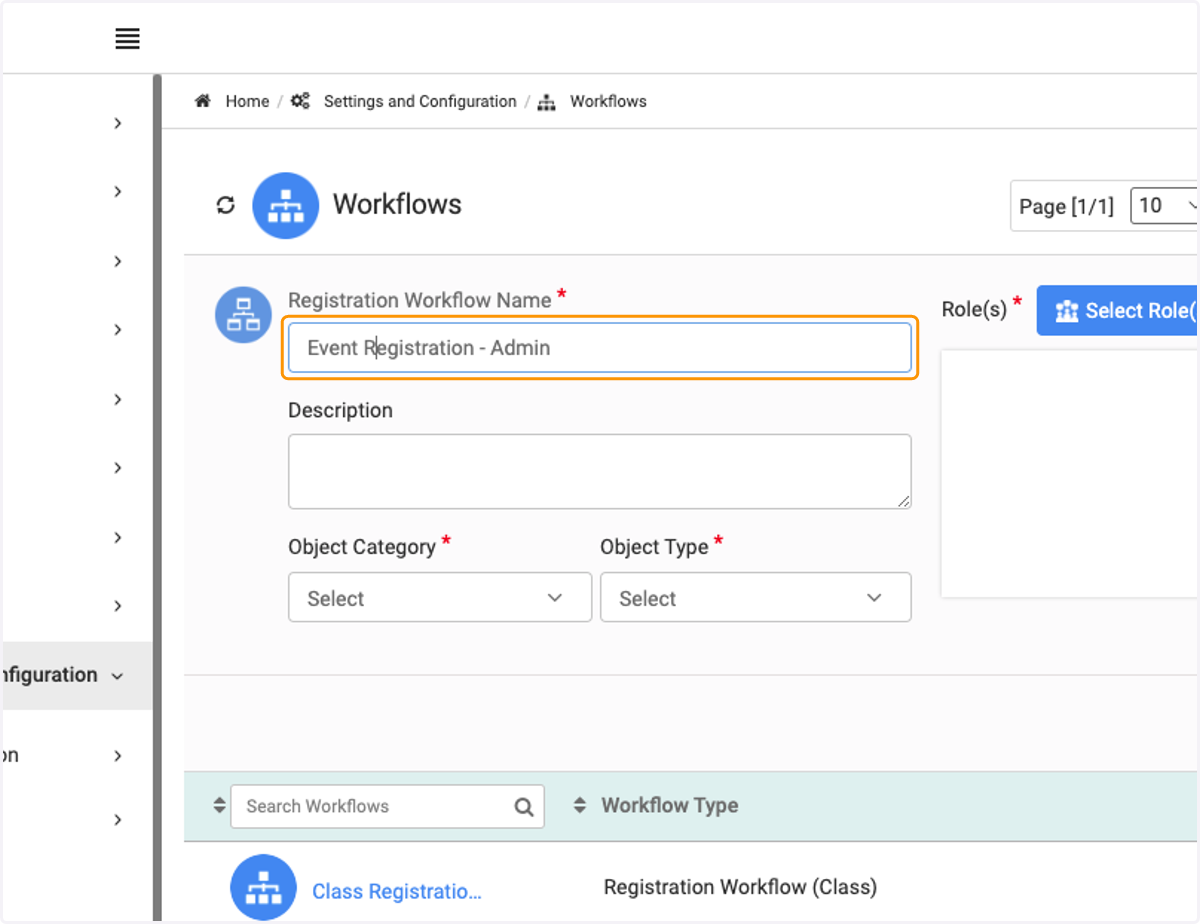
In this section, we'll be creating a Registration Workflow for Events, for the Administrators of the system
6. Type in the name of your workflow
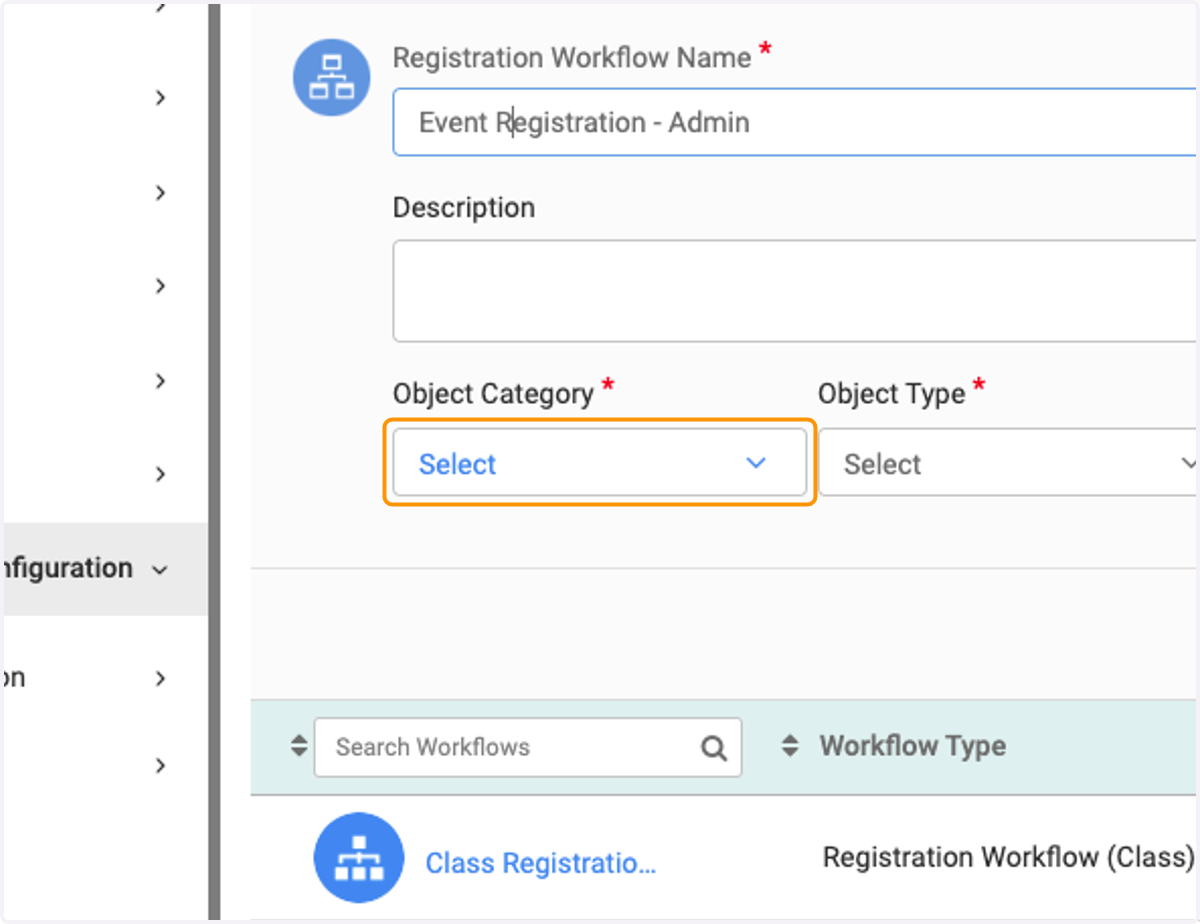
7. Click on the dropdown for Object Category
"Object" Category here means Event Category in this instance
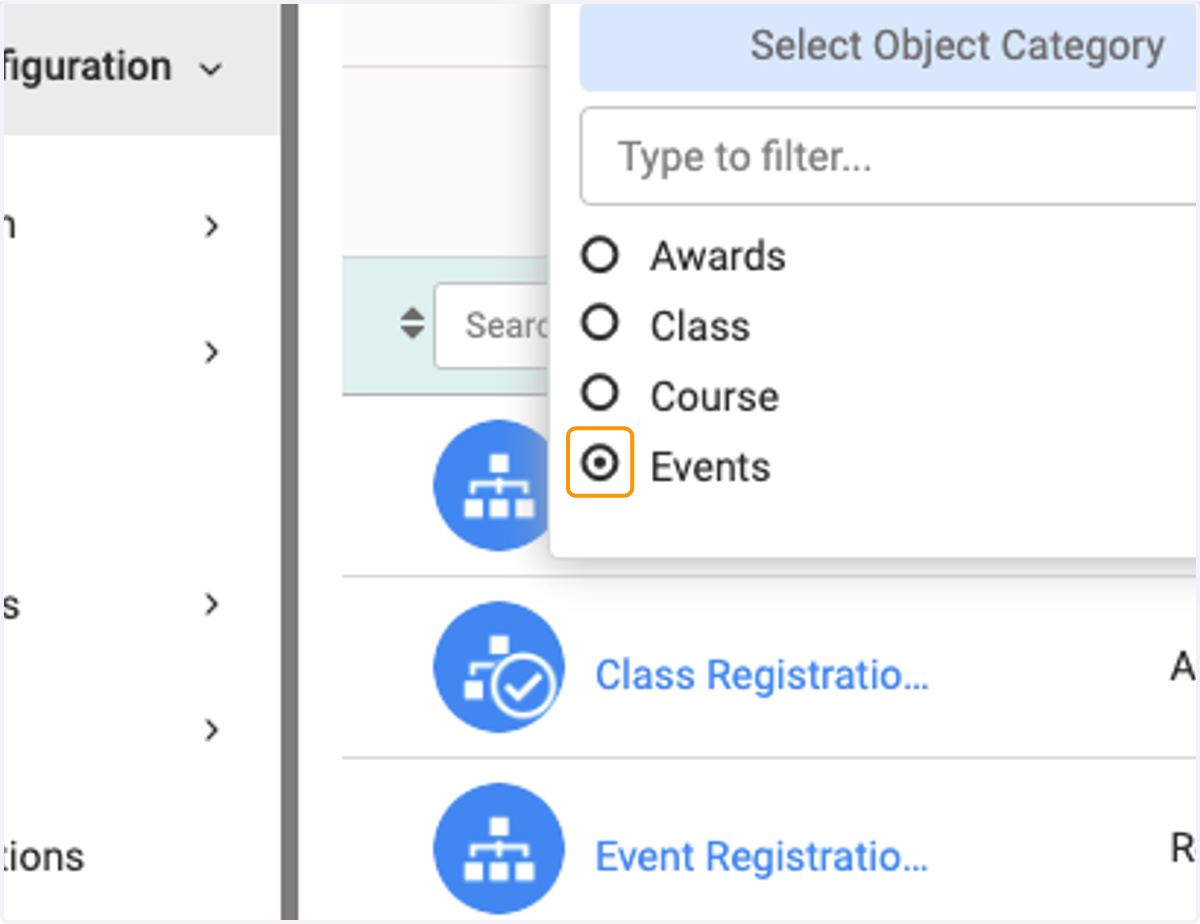
8. Select Events
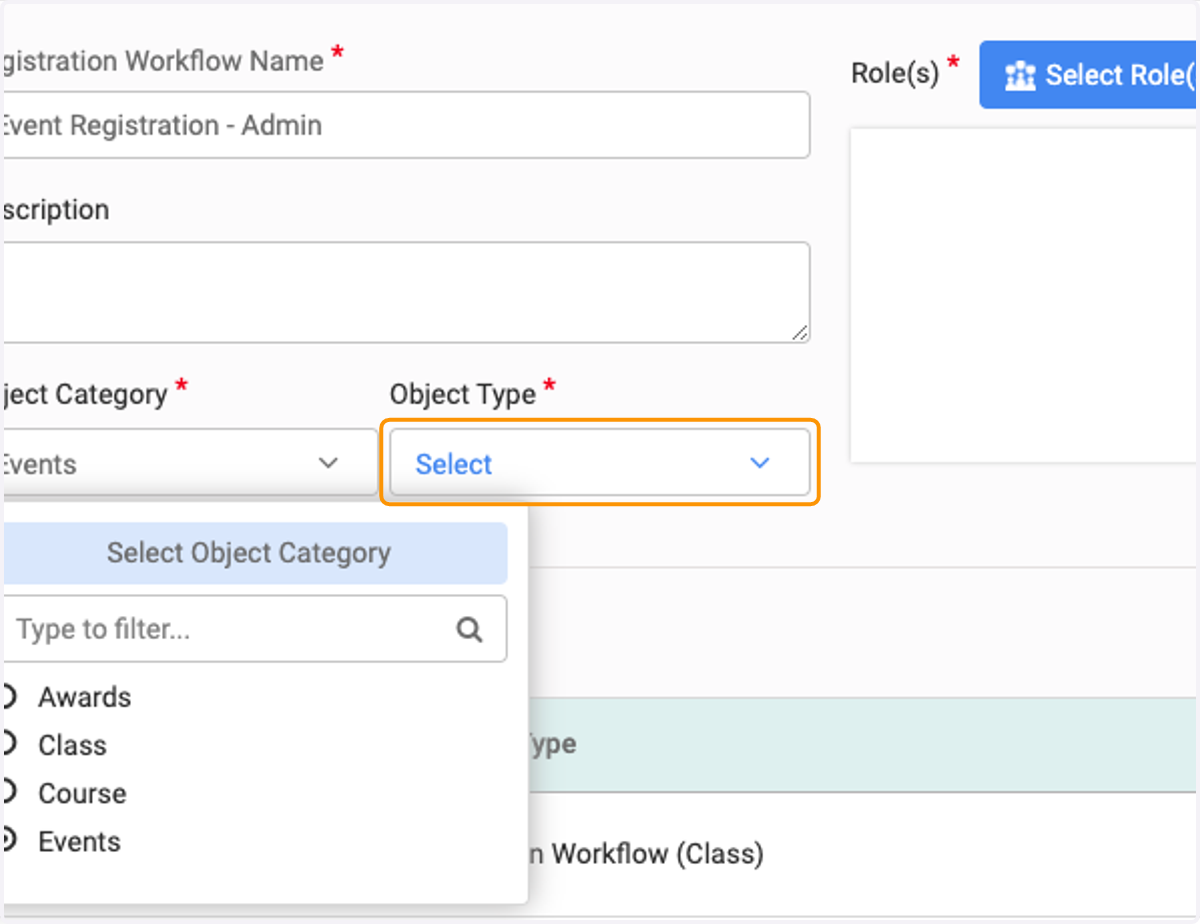
9. Click on the dropdown for Object Type
"Object" Type, in this instance, will be your Event Types
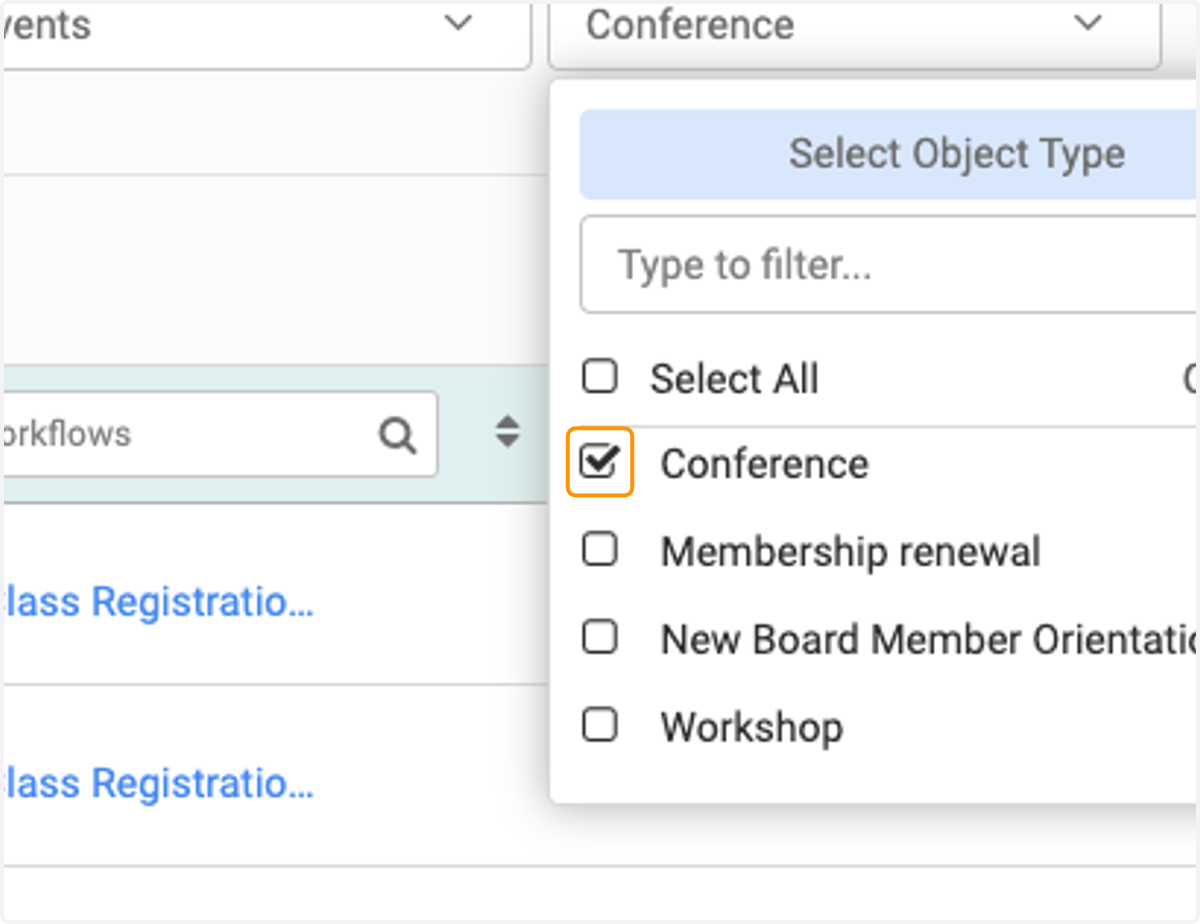
10. Check off the types of events relevant to your registration workflow
You can select more than one type here, for the purpose of this walkthrough, we will only be selecting one.
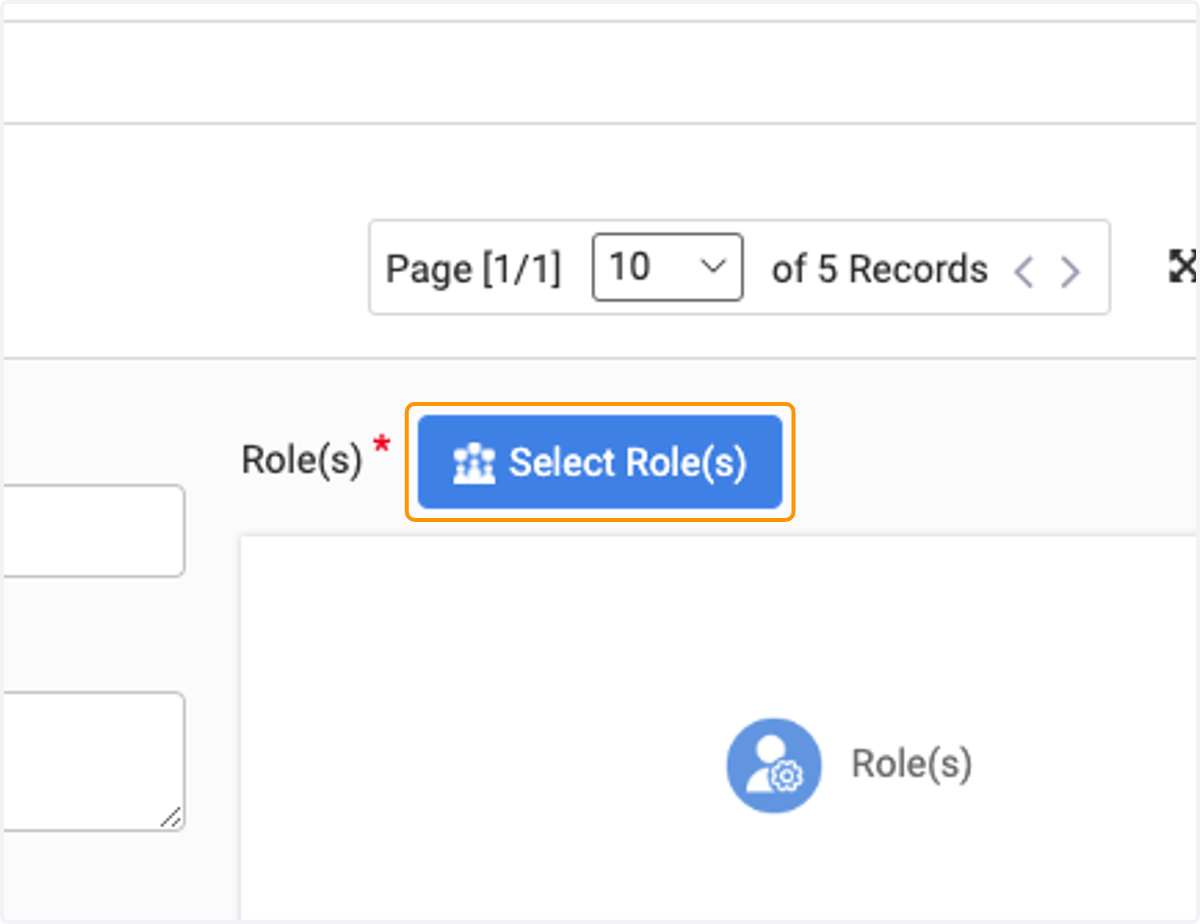
11. Click on Select Role(s)
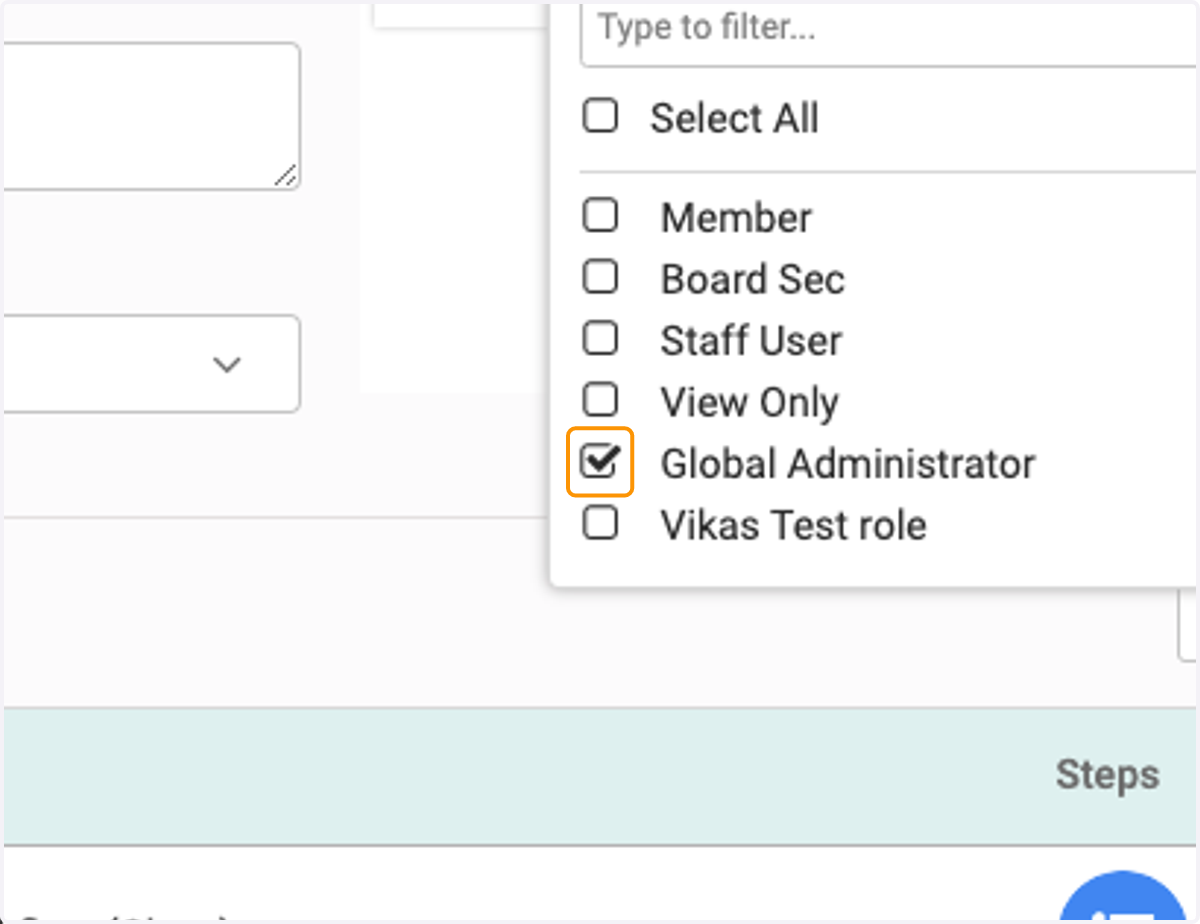
12. Check off the roles relevant for this workflow
Since we are creating this workflow for Administrators, I've only selected the Global Administrator role, you are able to select multiple roles here, should they apply.
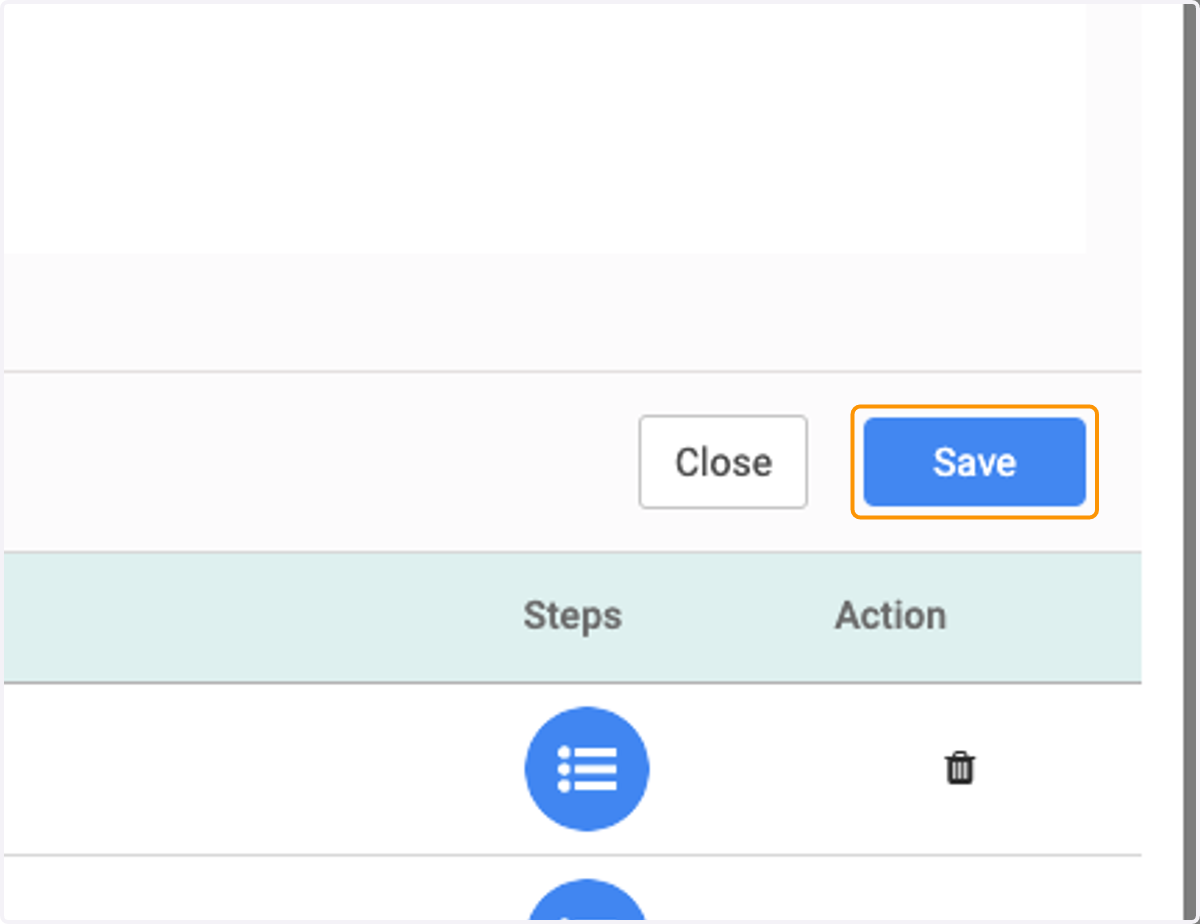
13. Click on Save
Editing the Workflow Steps
We've set up the base settings for the workflow, now we need to edit the steps you'll encounter while going through the registration process
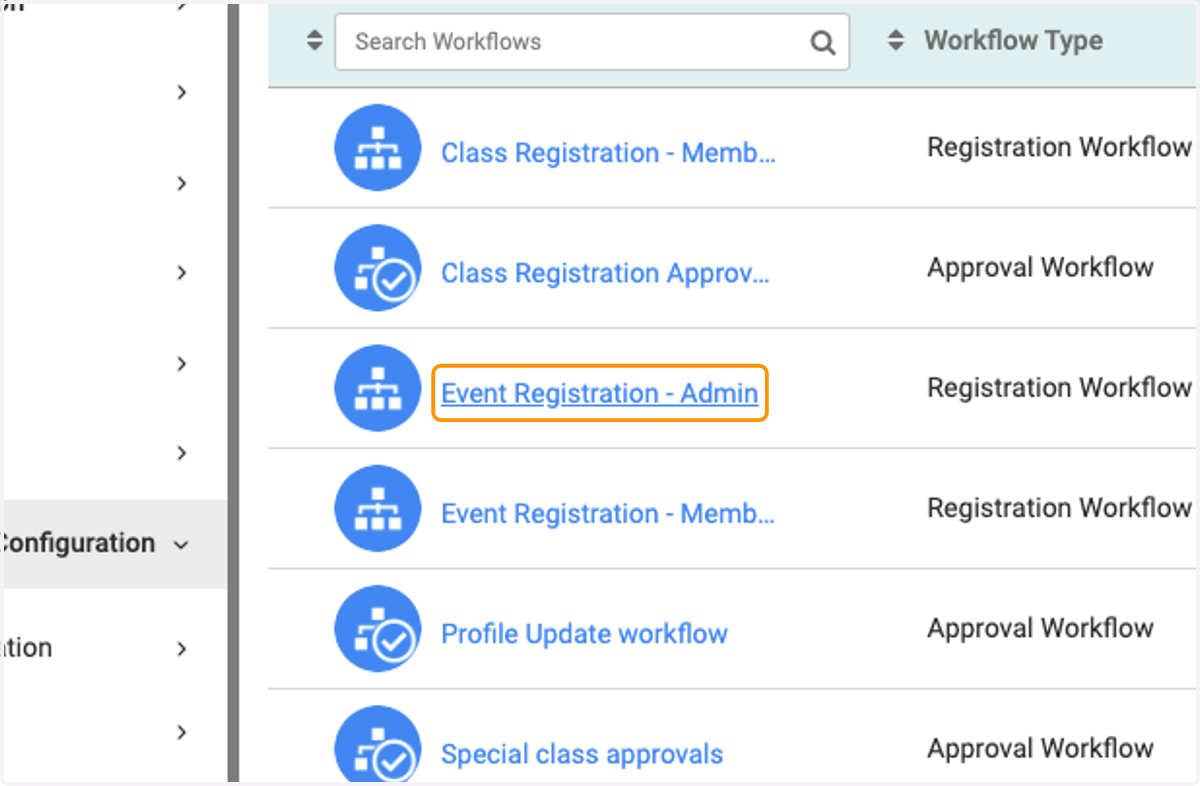
14. Click on your newly created workflow (in our case, it's named Event Registration - Admin)
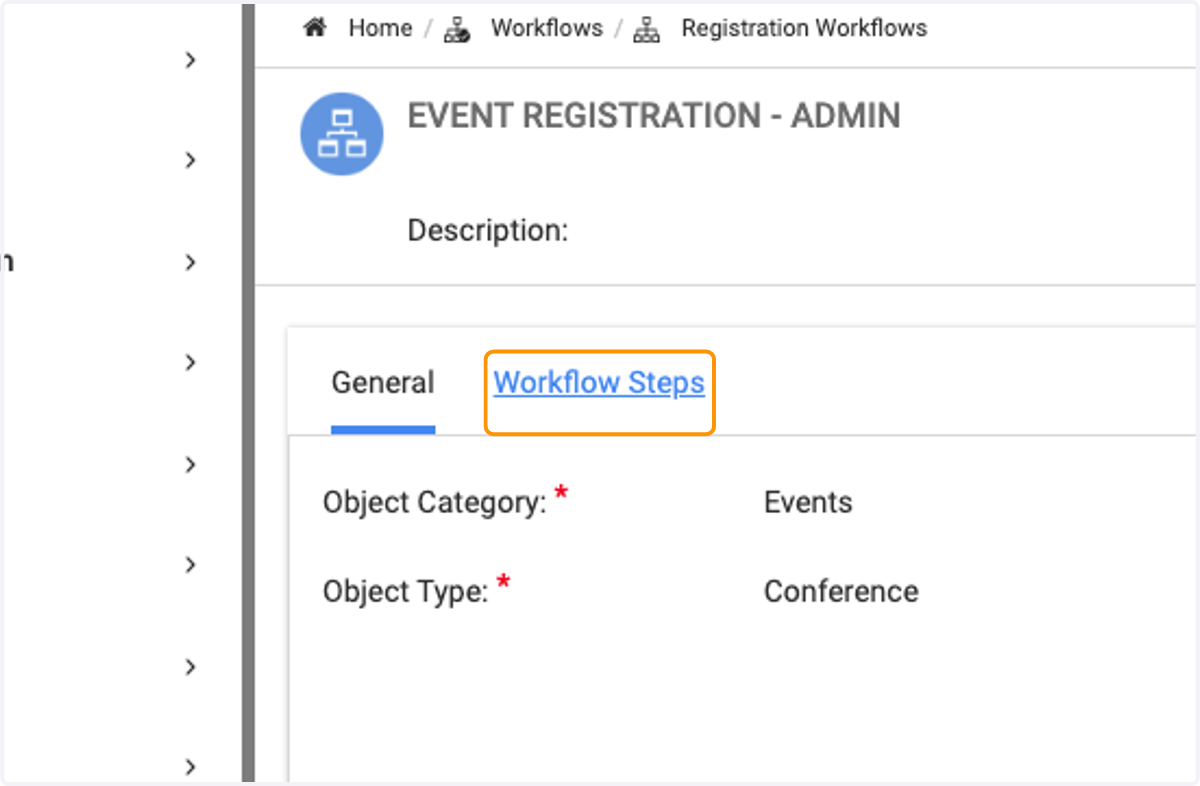
15. Click on Workflow Steps
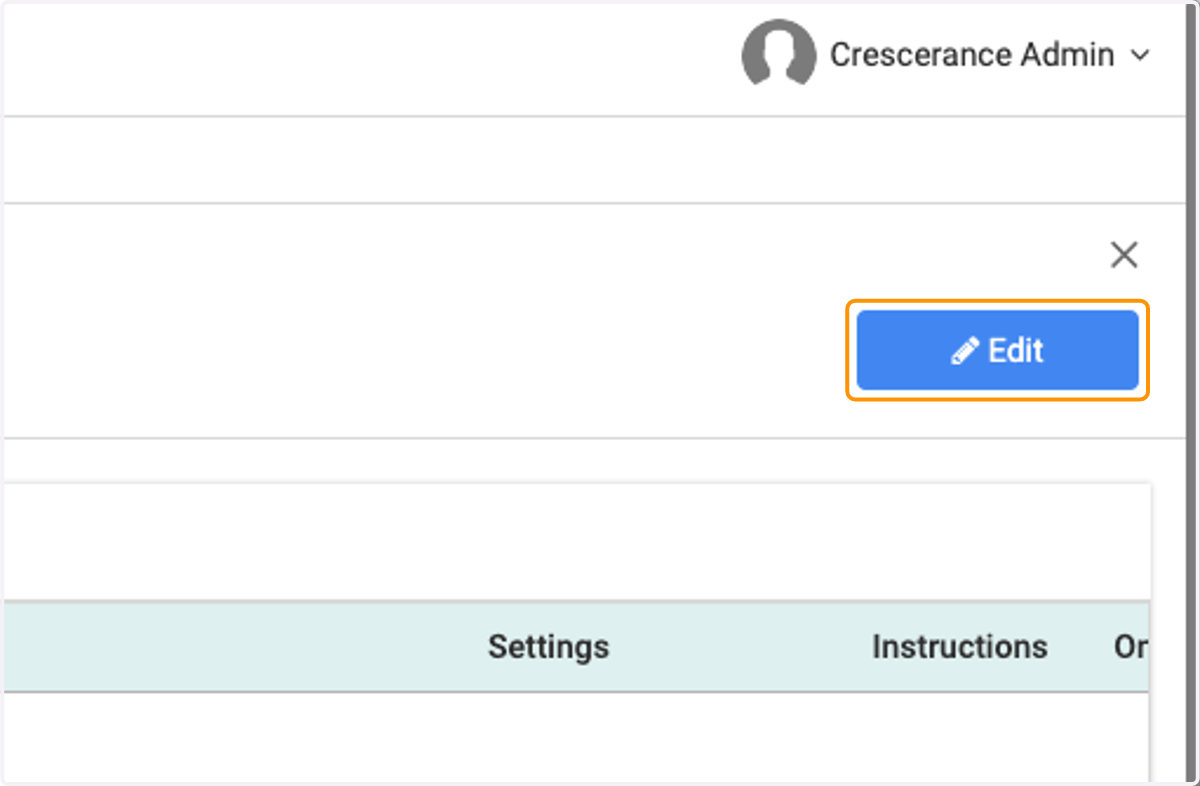
16. Click on Edit
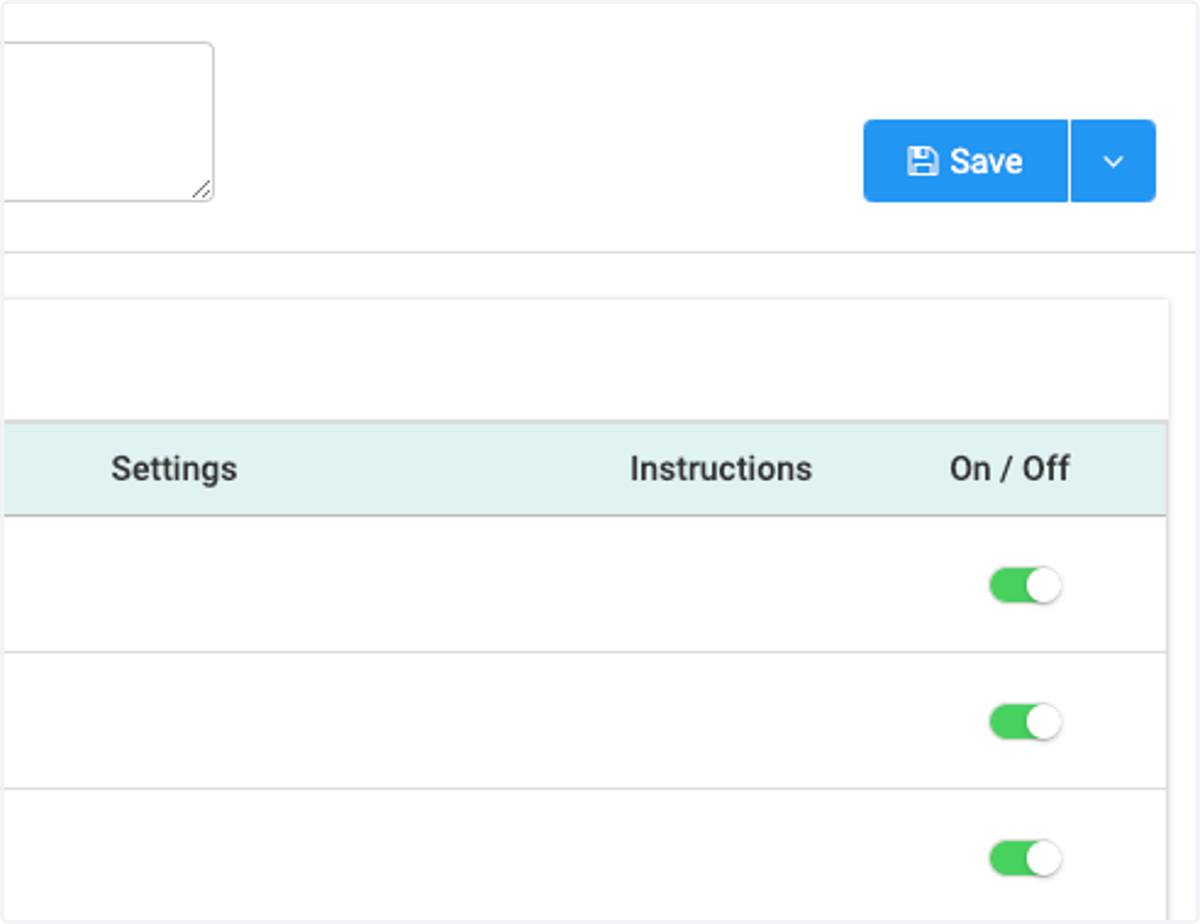
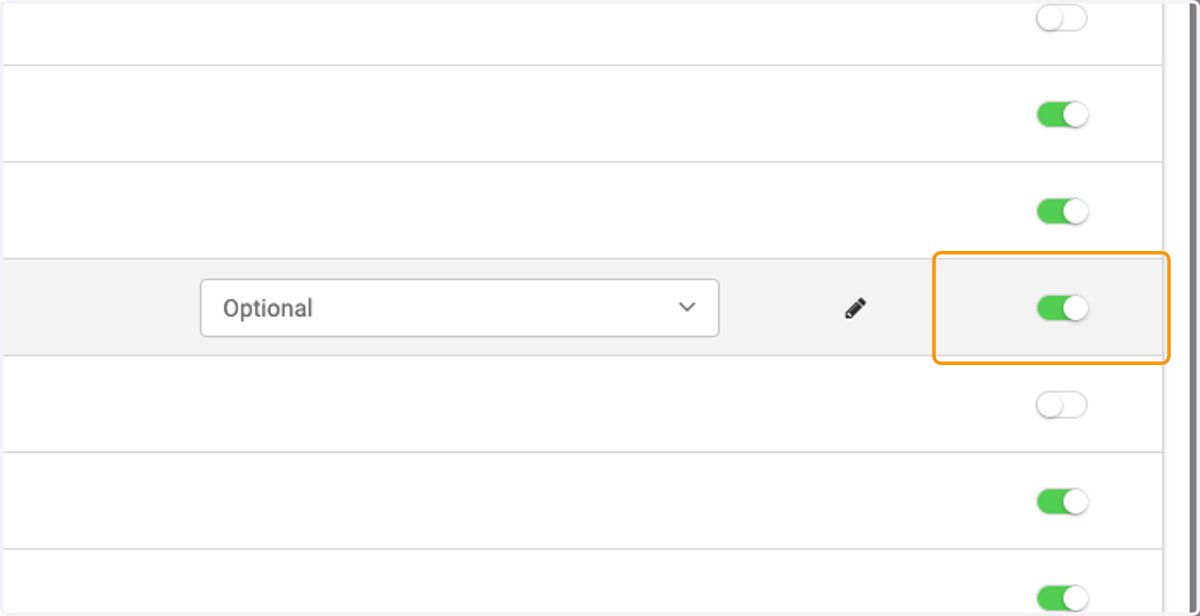
17. Scan through the various steps available and decide which ones need to be turned on or off, clicking on the toggle to the right to do so. Green means it's currently turned on and grey/while means it's off
18. Click Save