Creating a Campaign in MagicSet
MagicSet
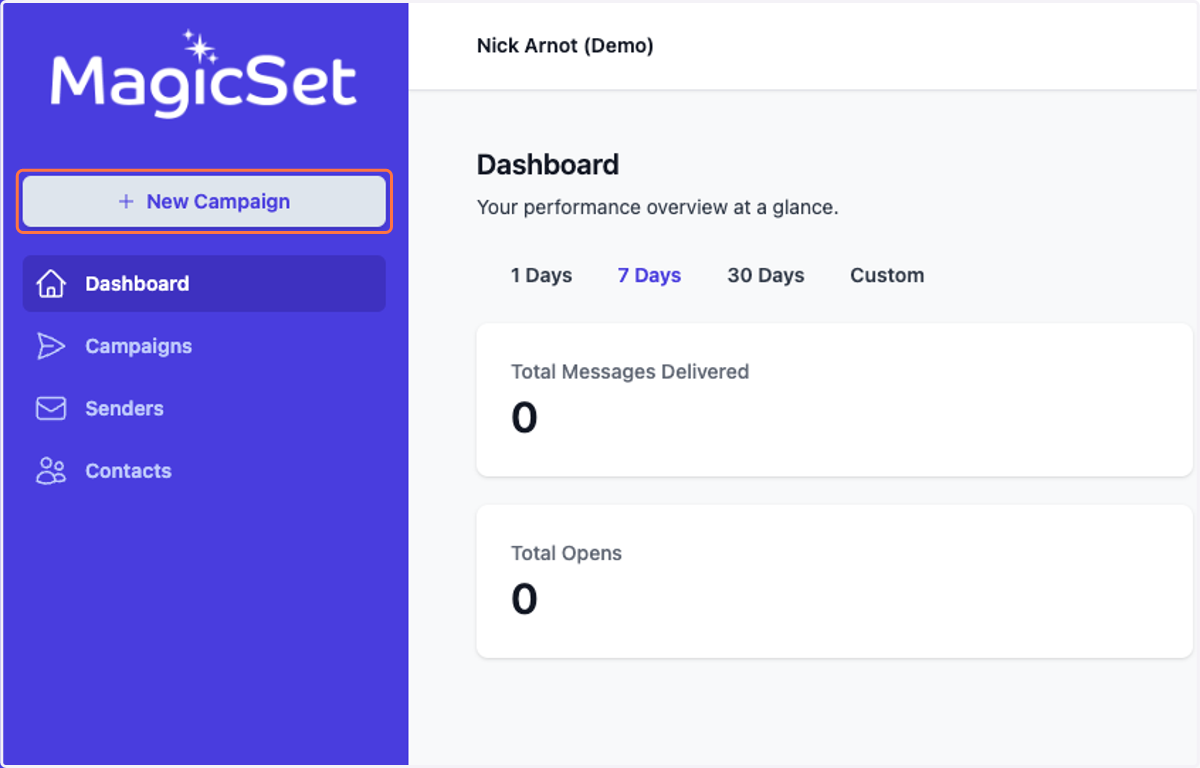
1. Click on New Campaign
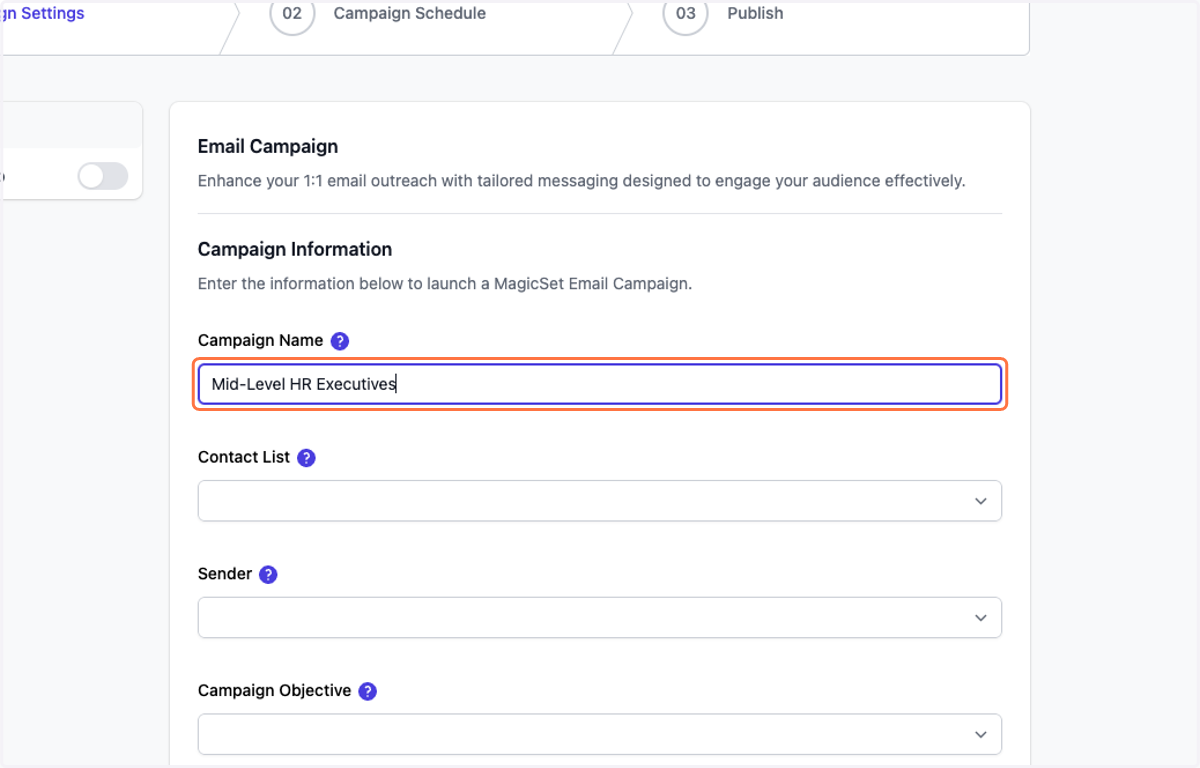
2. Give your campaign a name
Something descriptive helps!
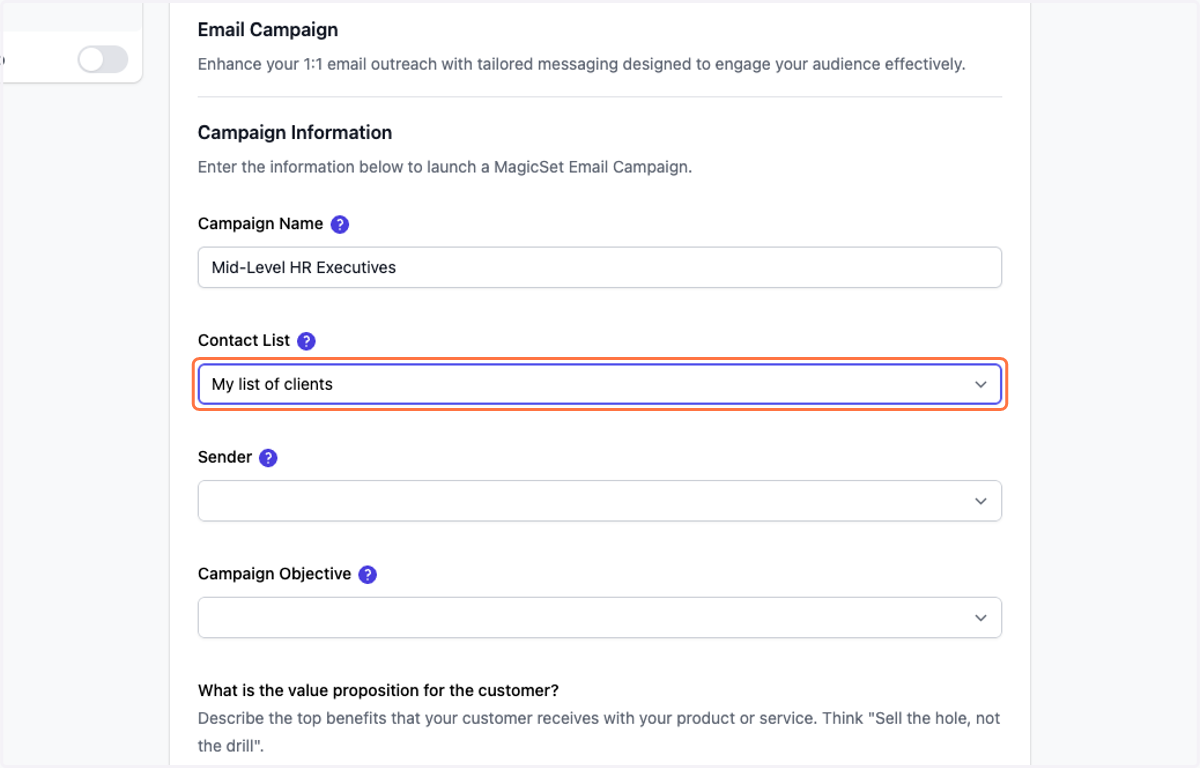
3. Select your contact list from Contact List(s)
4. Select which email address you would like to send from
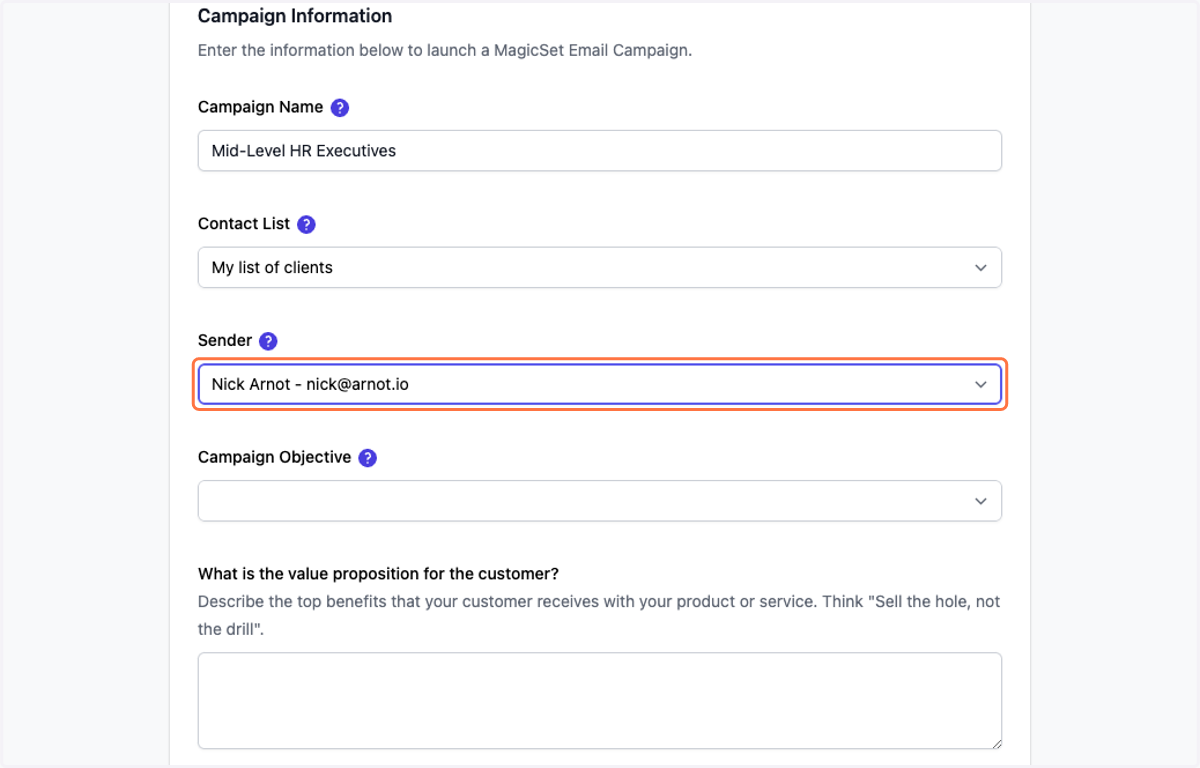
5. Select your campaign objective
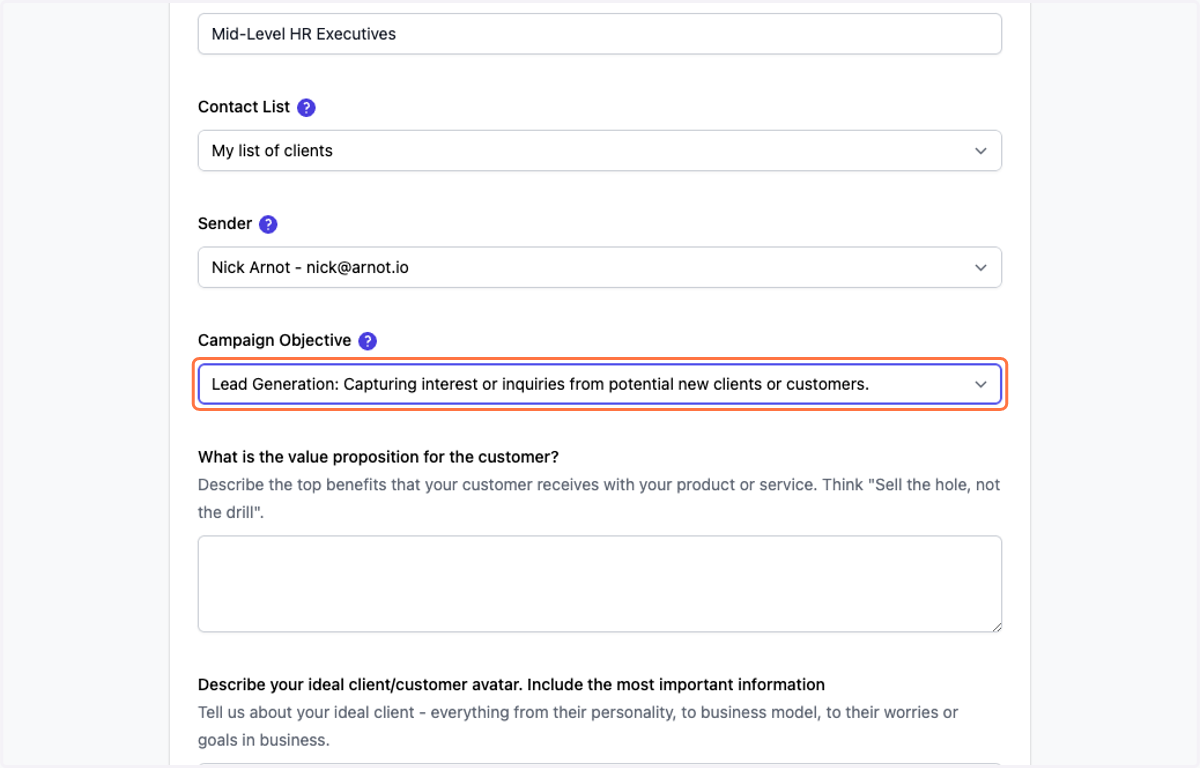
6. Fill out your value proposition to your list's avatar
Add as much context as possible and input what makes your offer or brand stand out against the competition.
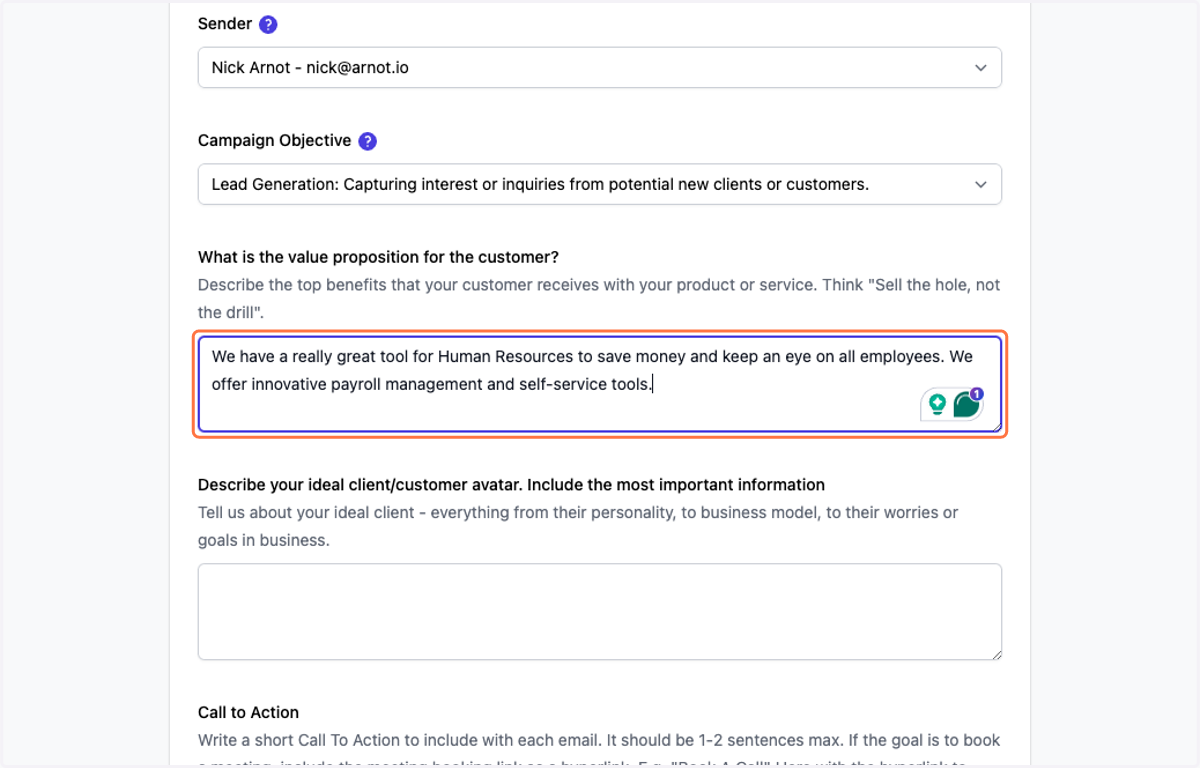
7. Describe your client/customer
The more context the better!
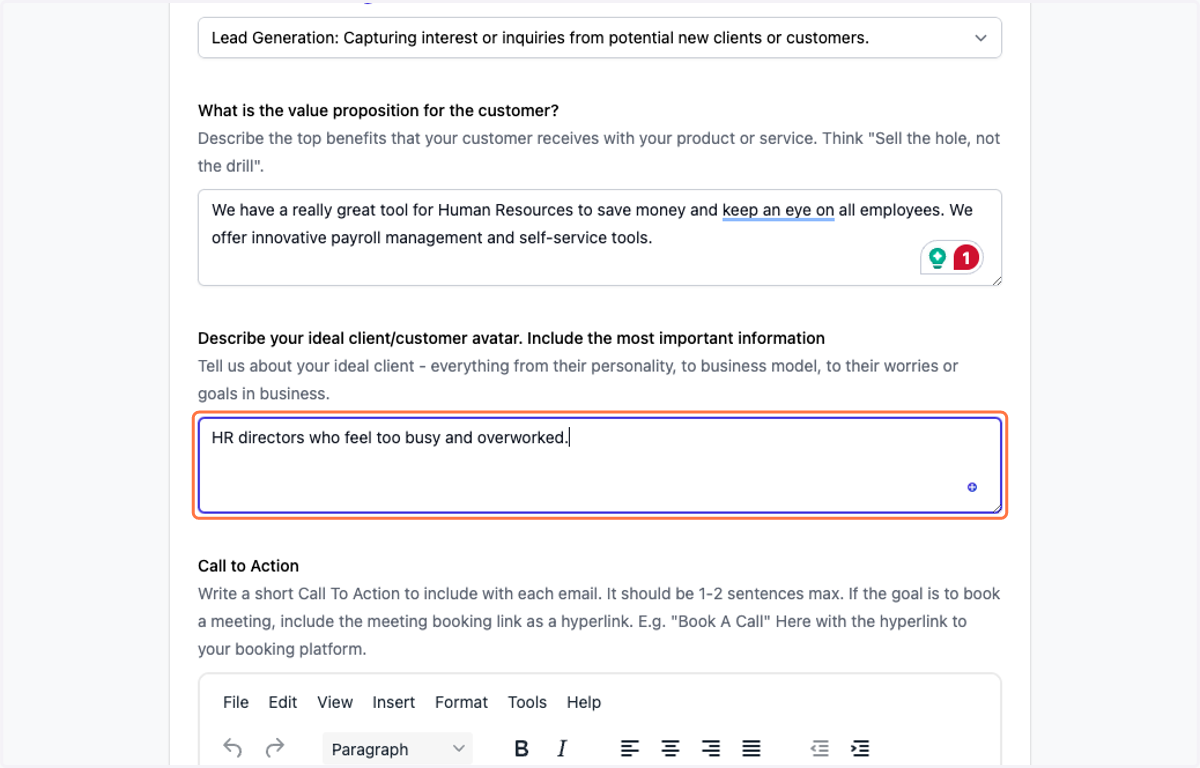
8. Create your call to action
This is a Rich Text field, so you can format, add links, and style it as needed. This CTA will be amended to the generated email verbatim.
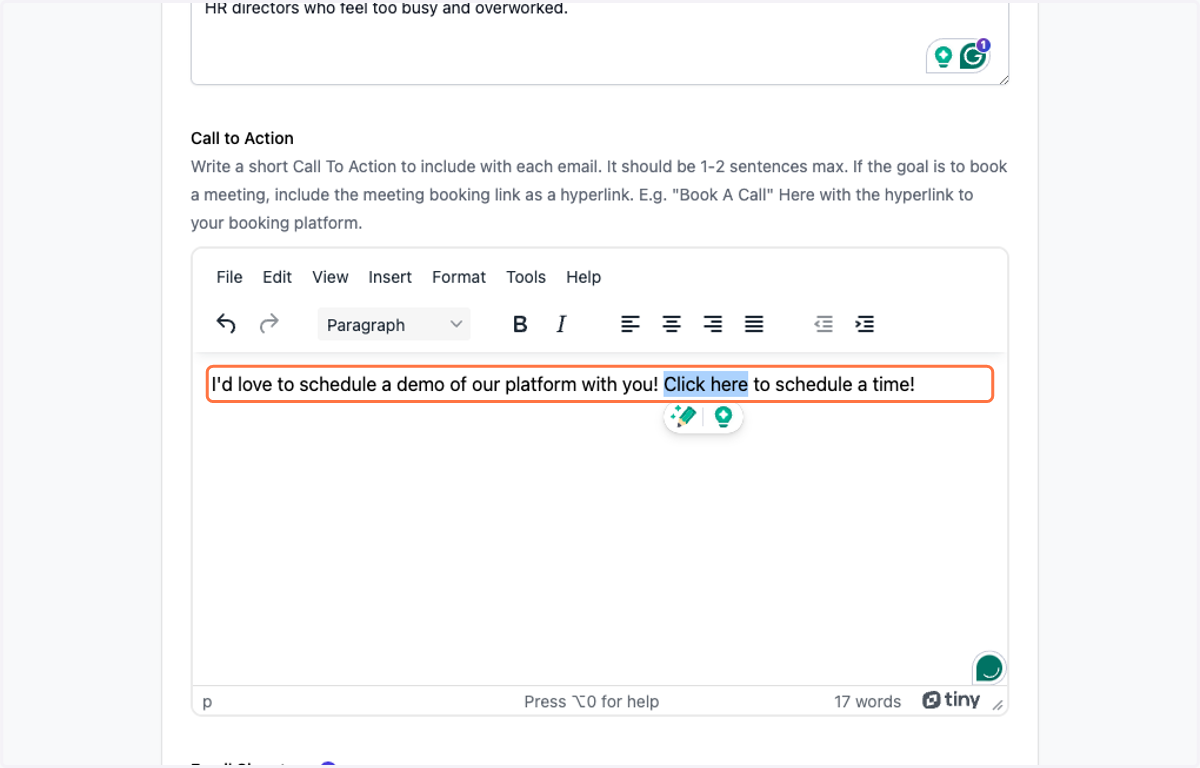
9. Add your meeting link (if applicable)
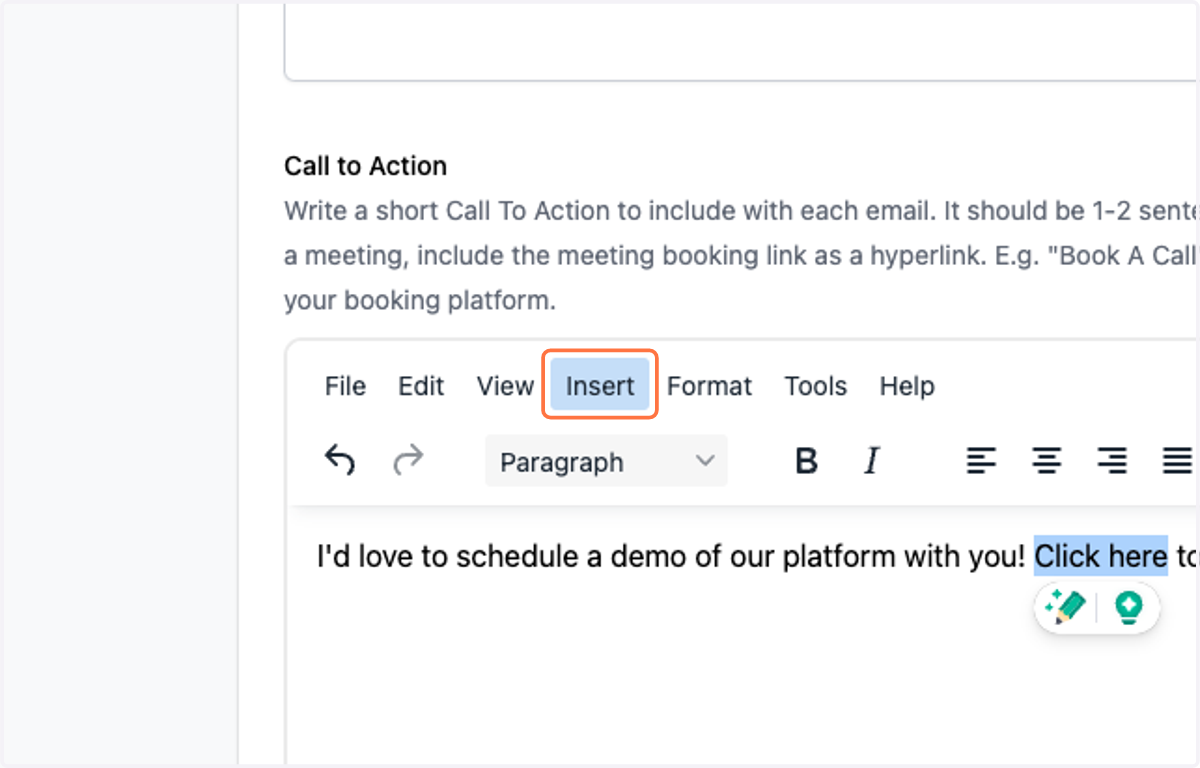
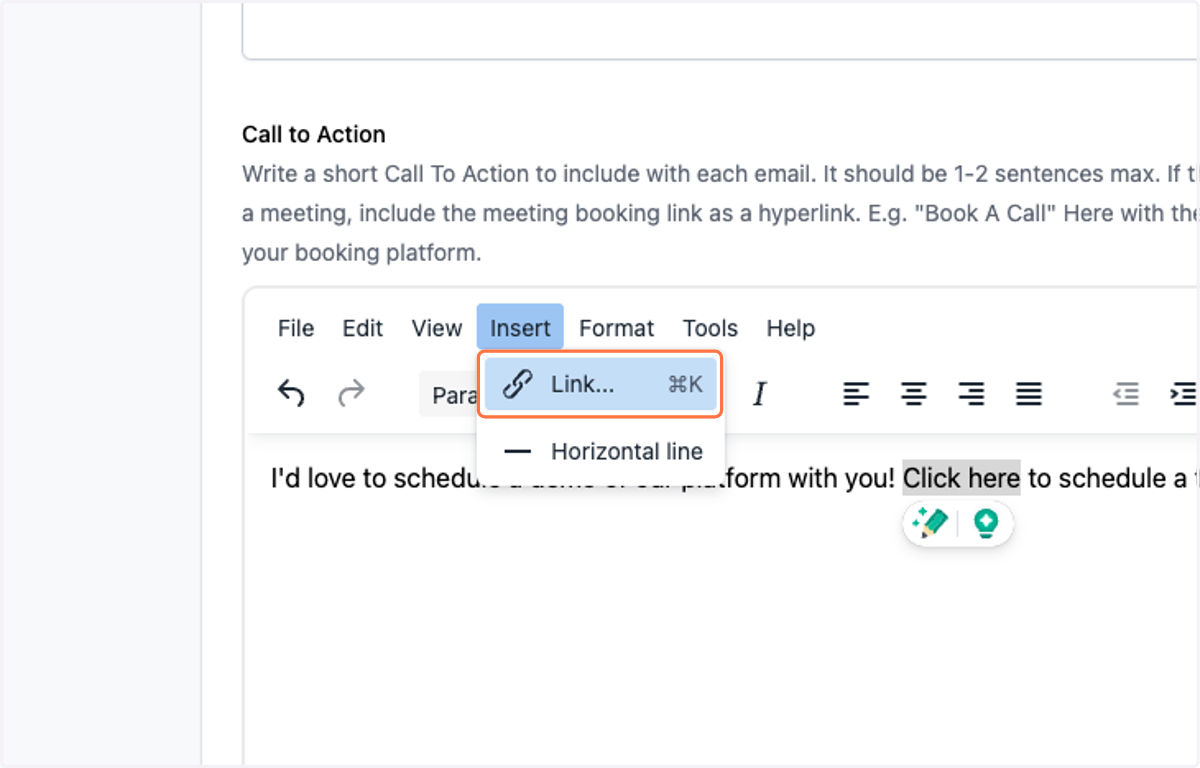
10. Click on Link...…
11. Add your booking URL
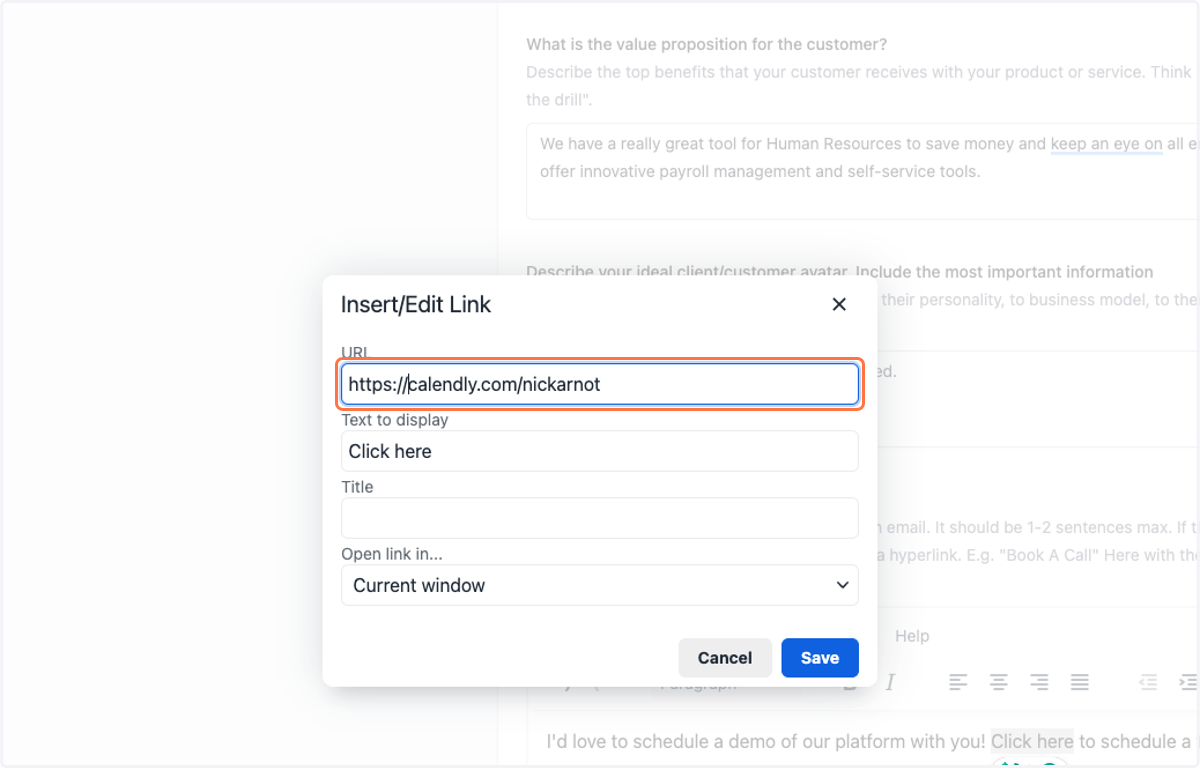
12. Configure settings (as needed)
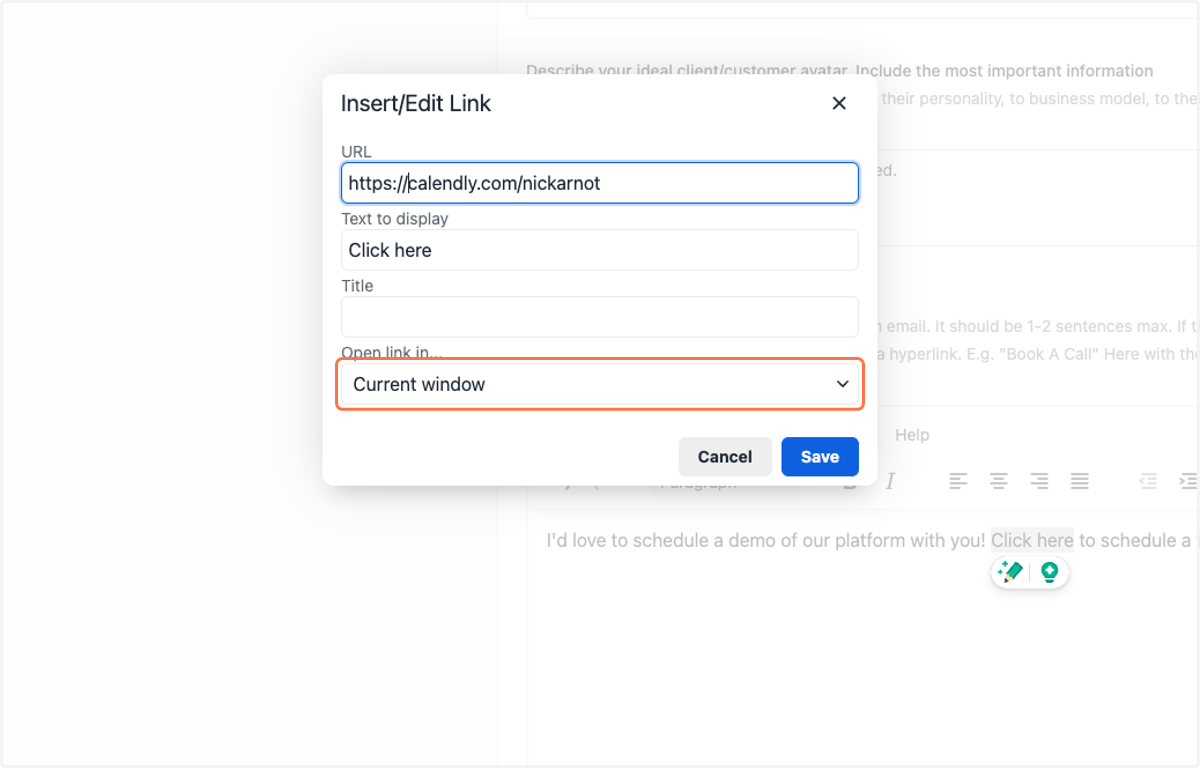
13. Click on Save
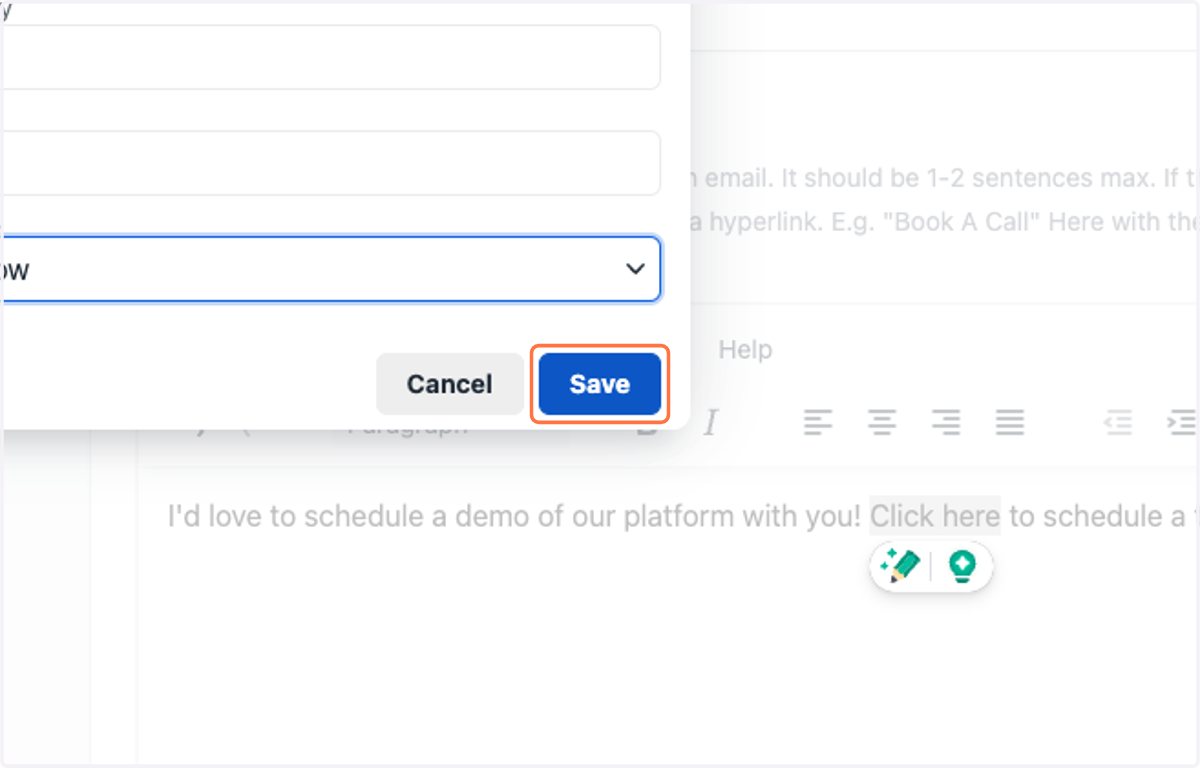
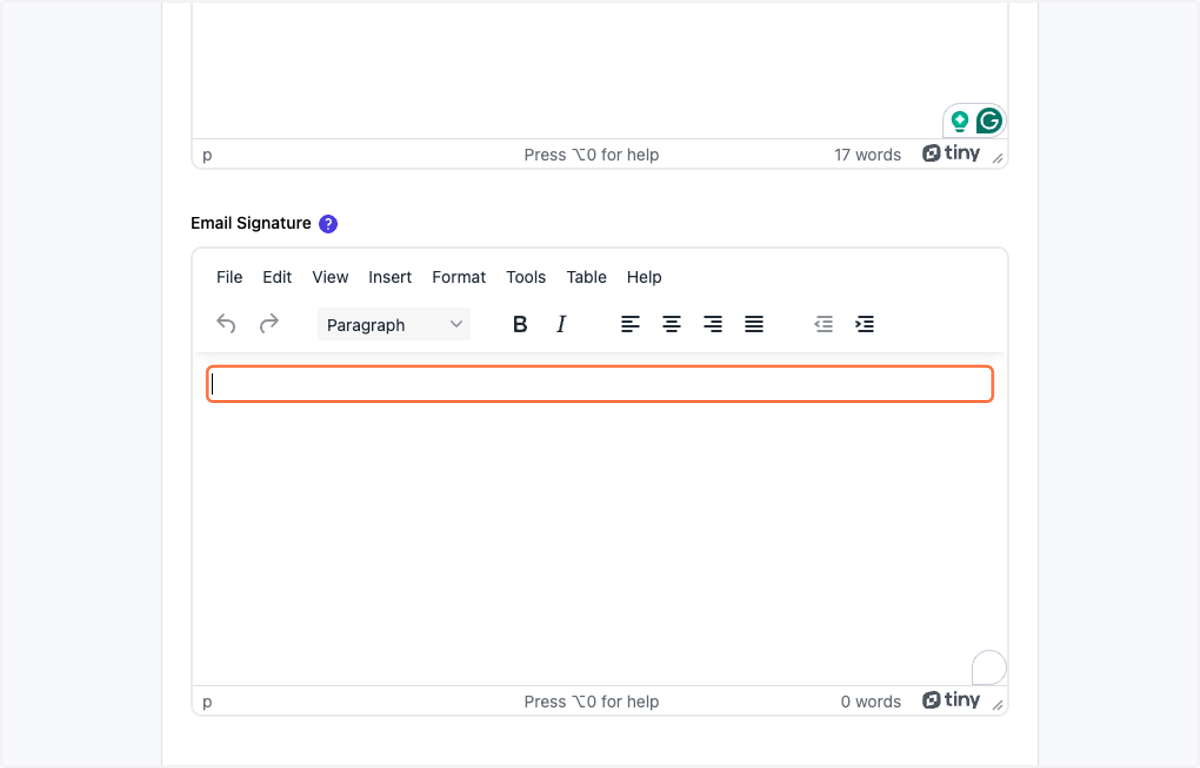
14. Create an email signature
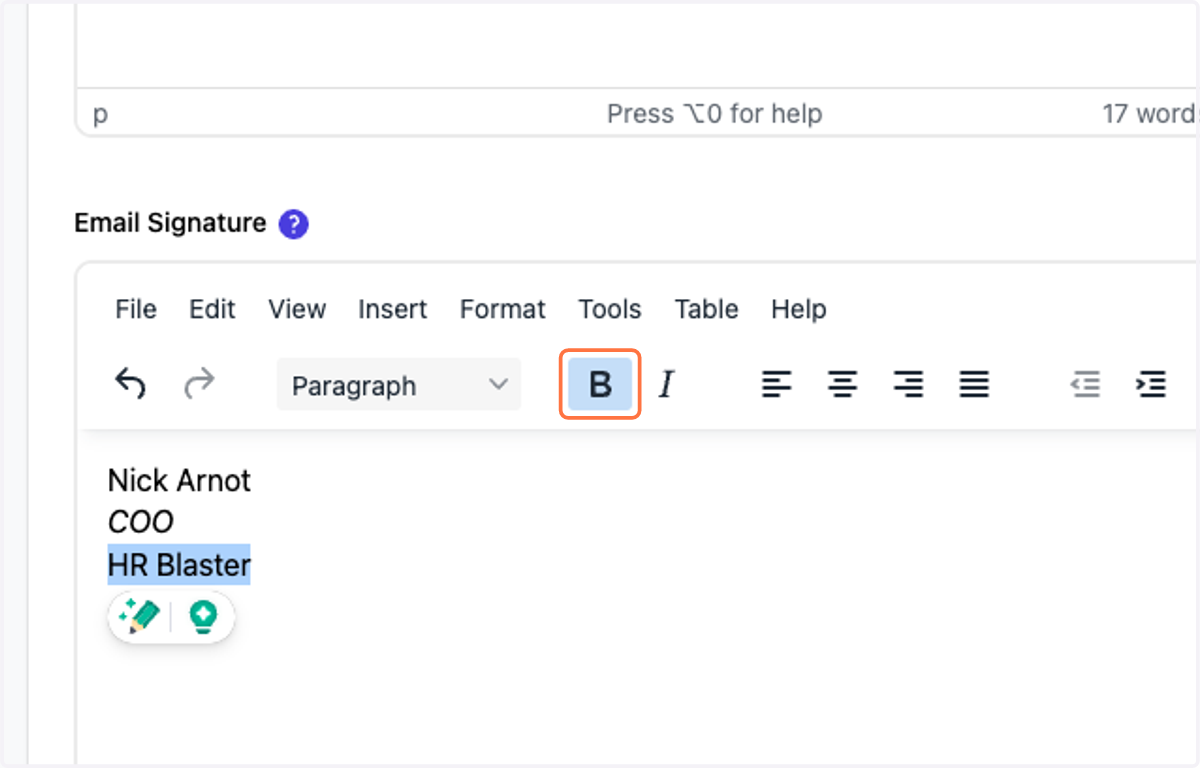
15. Format your email signature so that it looks professional!
You can also paste in an existing email signature from your email provider.
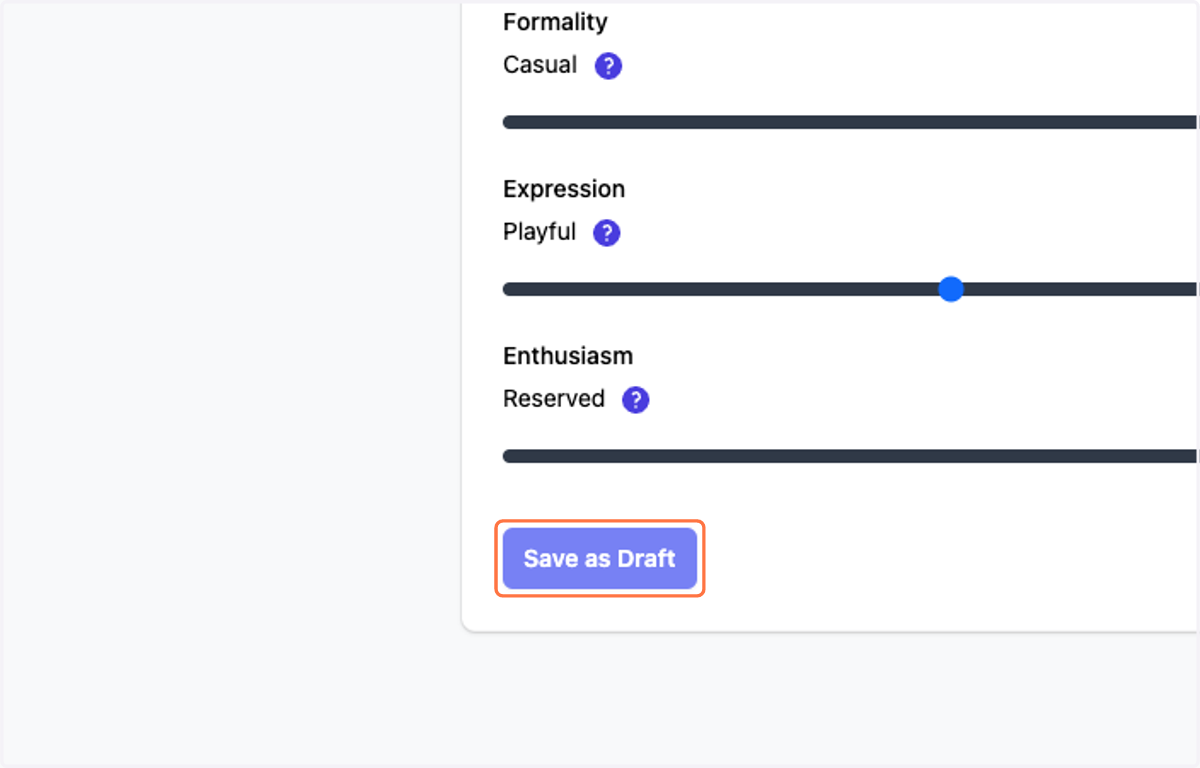
16. Change the values of the tonality sliders to adhere to your brand's voice and tone
Leaving it in the middle leaves the slider at "neutral"
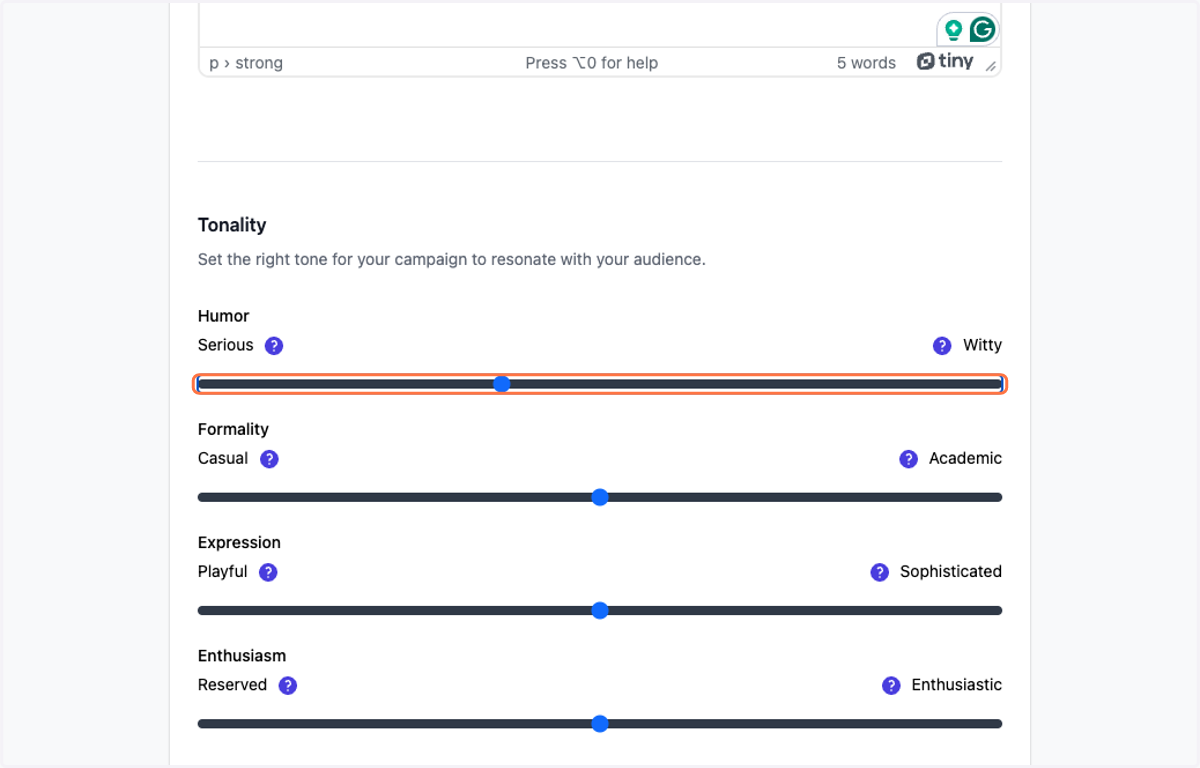
17. Complete your adjustments ad desired
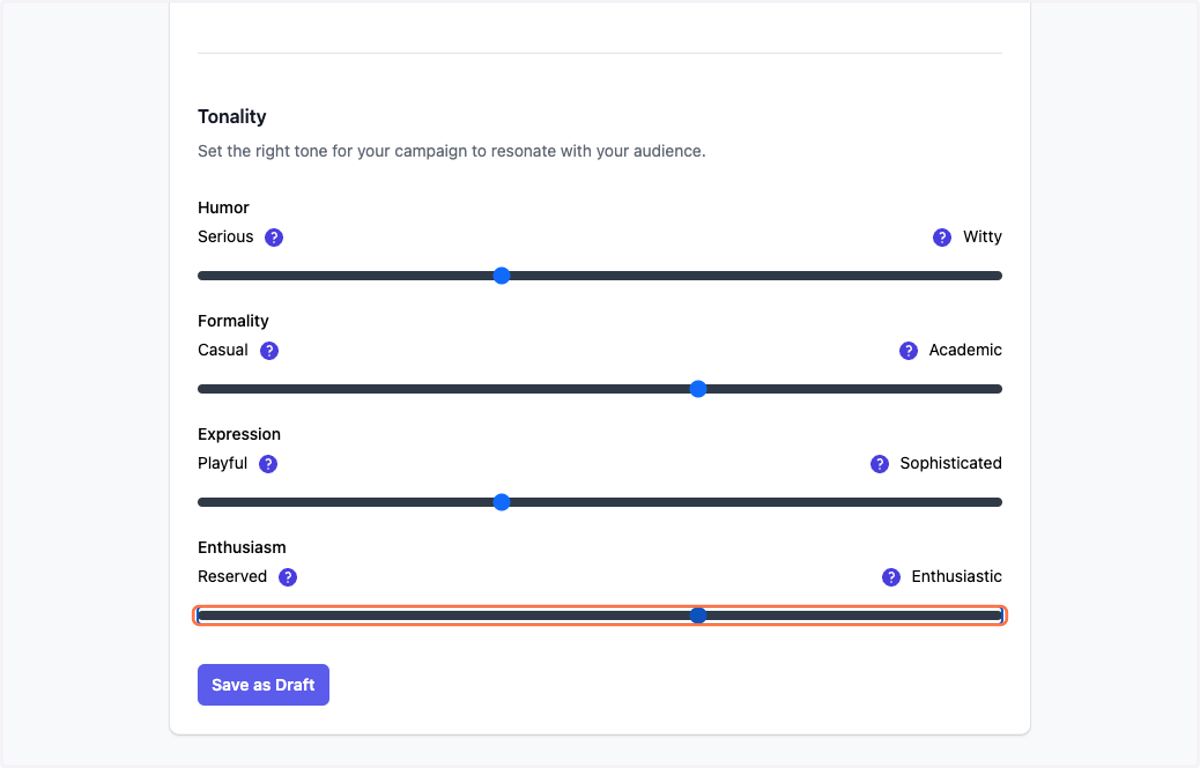
18. Click on Save as Draft
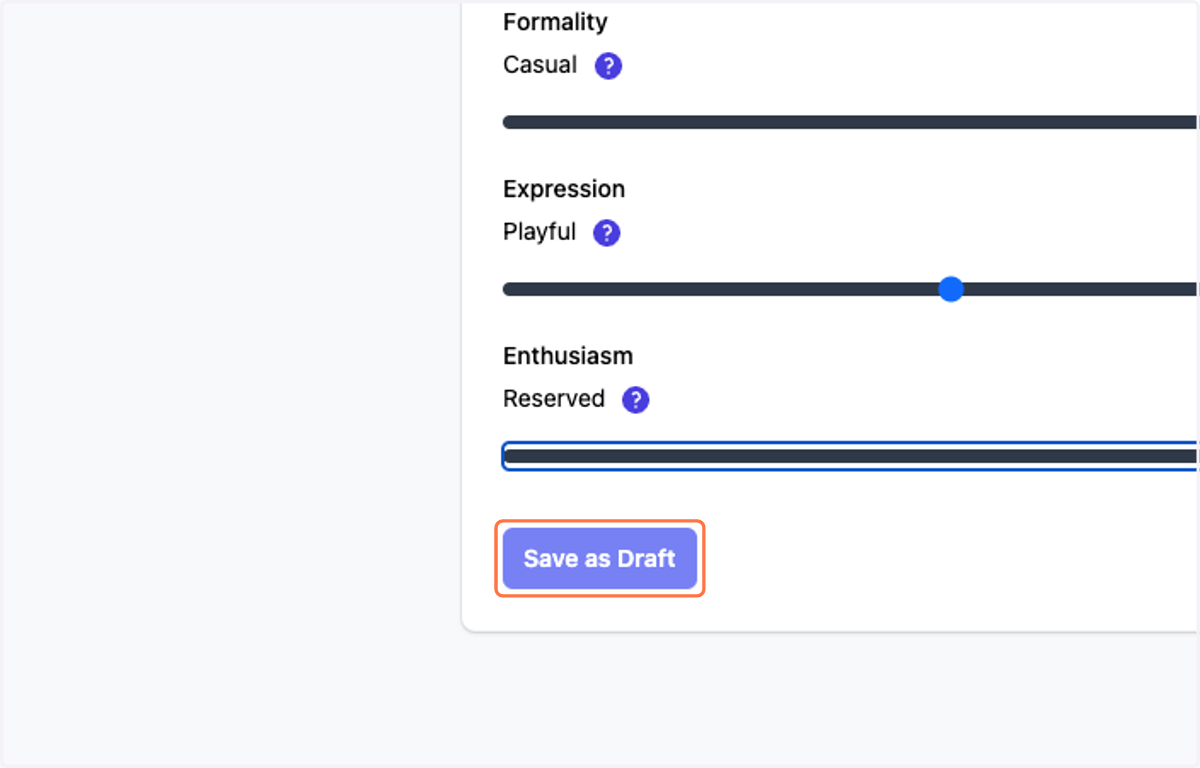
19. Add additional campaign elements (as needed)
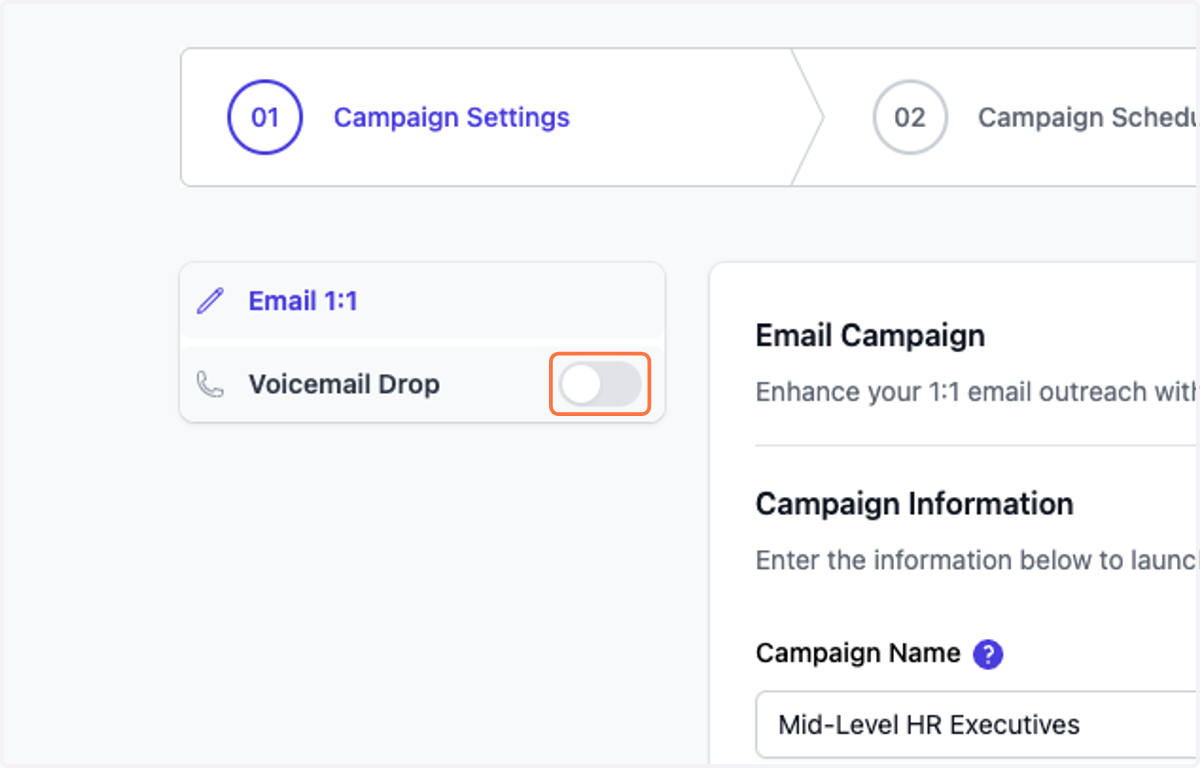
20. Click on Save as Draft
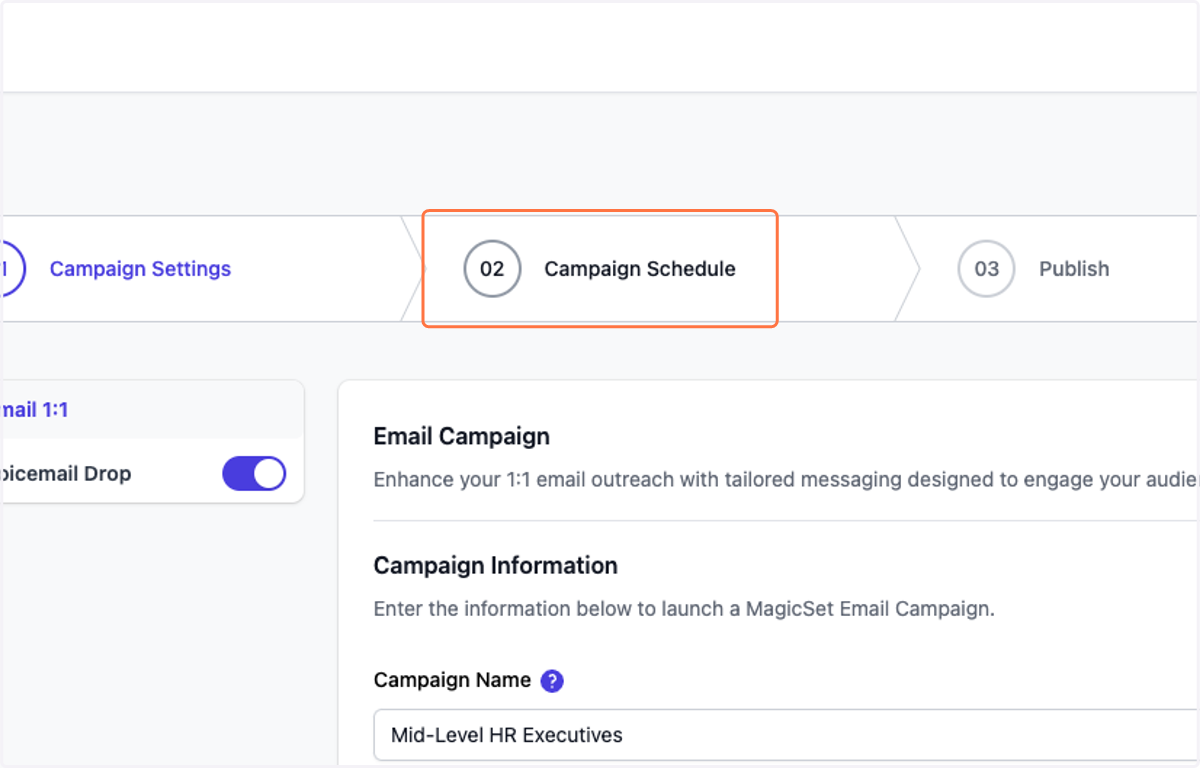
21. Click on 'Campaign Schedule'
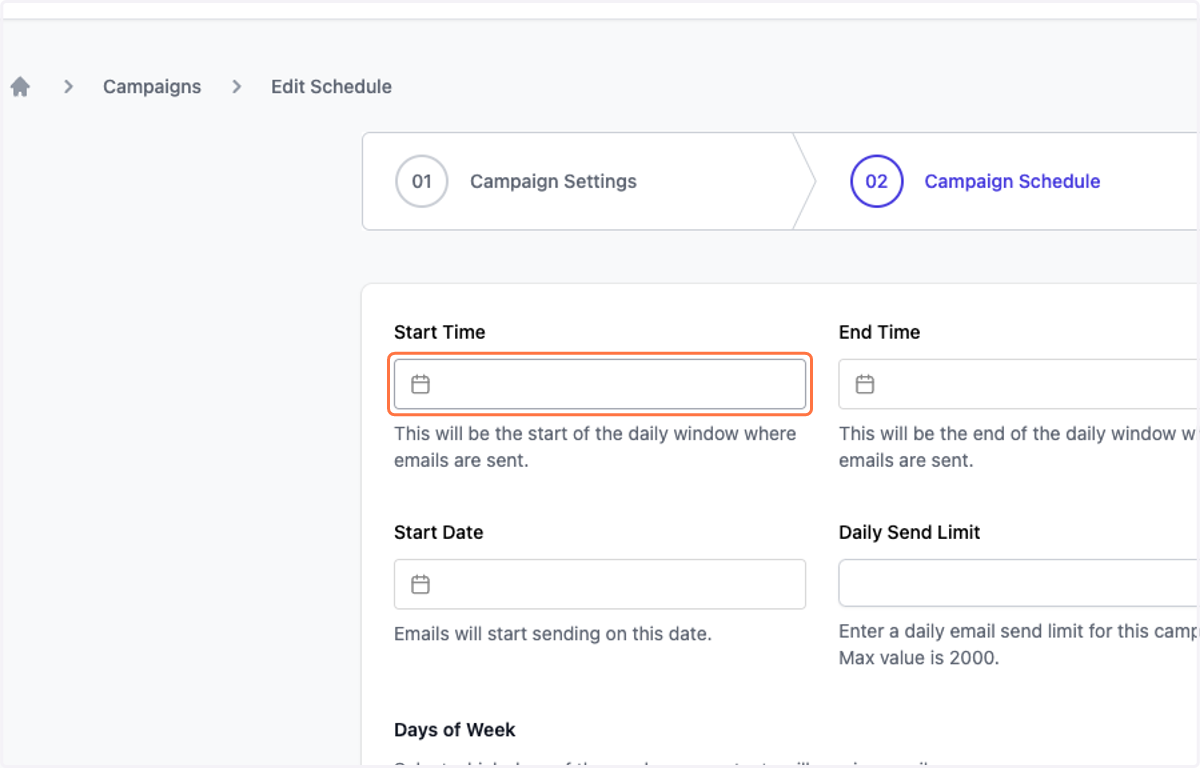
22. Complete your time and send parameters
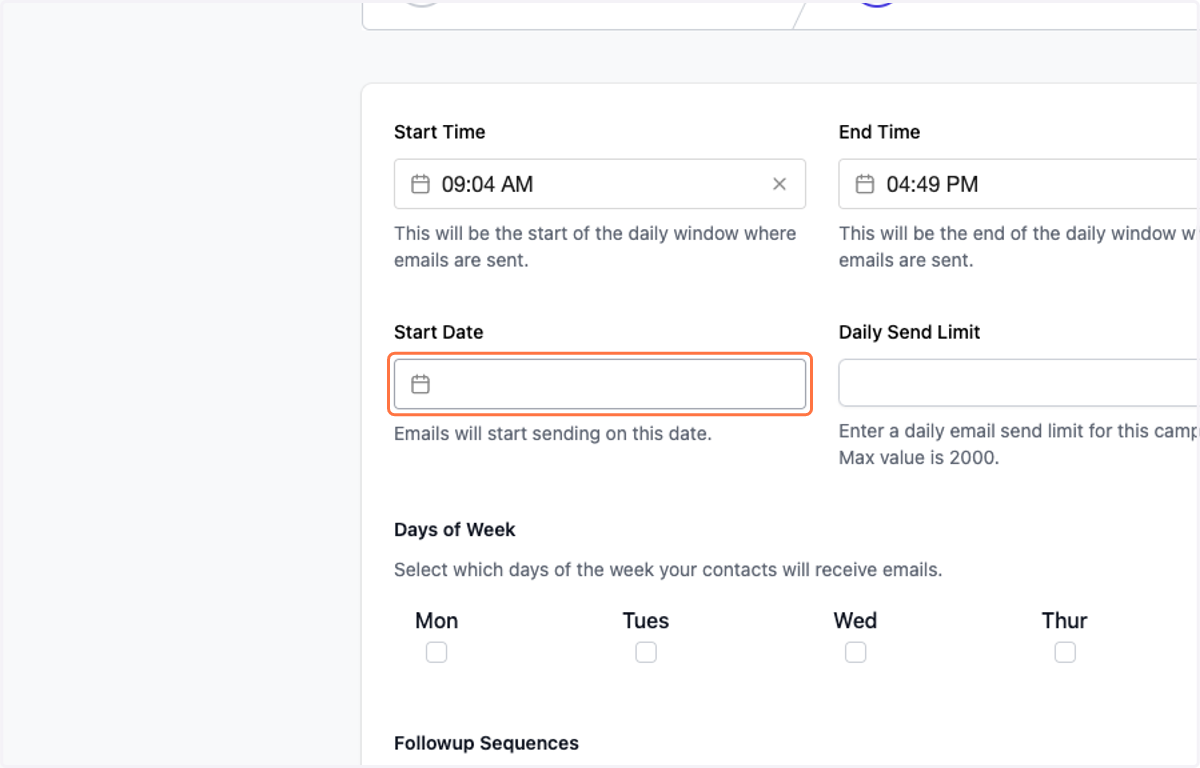
23. Set your campaign start date
If you set it for today, your campaign will be auto-scheduled to begin at the next sending cycle. If you schedule for a future date, the campaign will start delivering at your scheduled time.
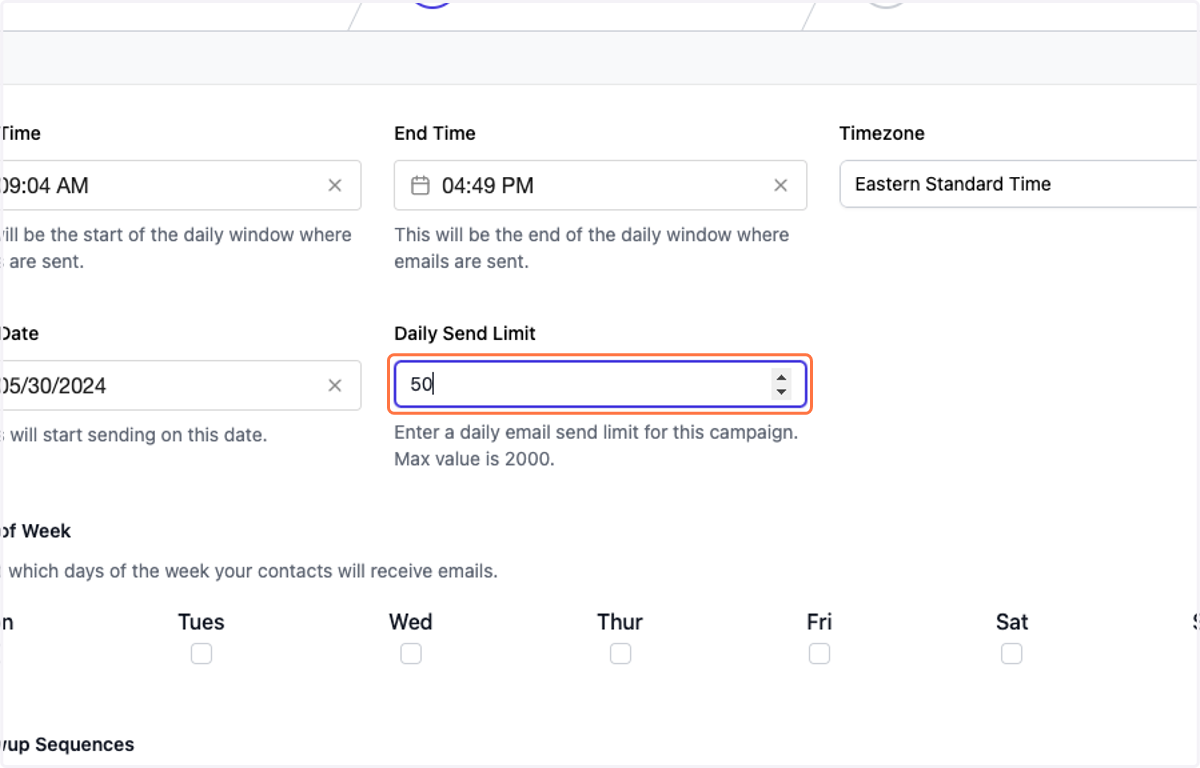
24. Set your Daily Send Limit
We recommend starting with a low number 10-20 per day to warm up your sender accounts
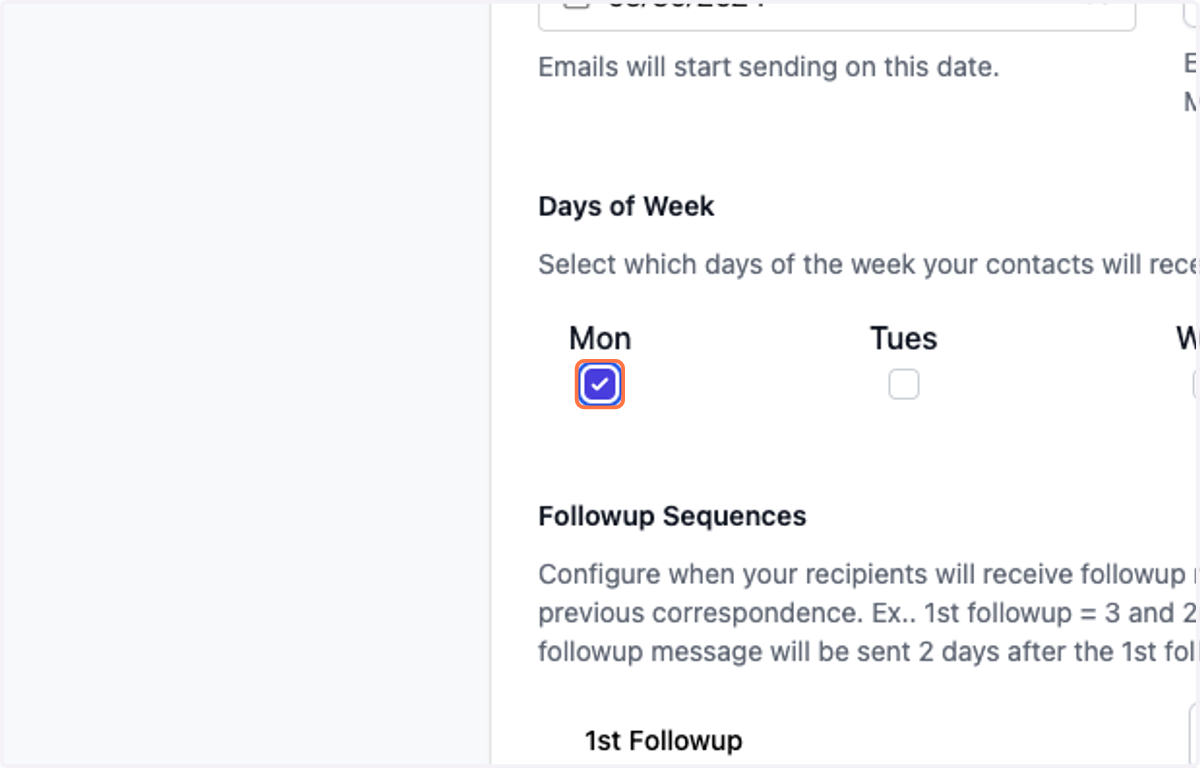
25. Set which days of the week your campaign and follow-ups will send
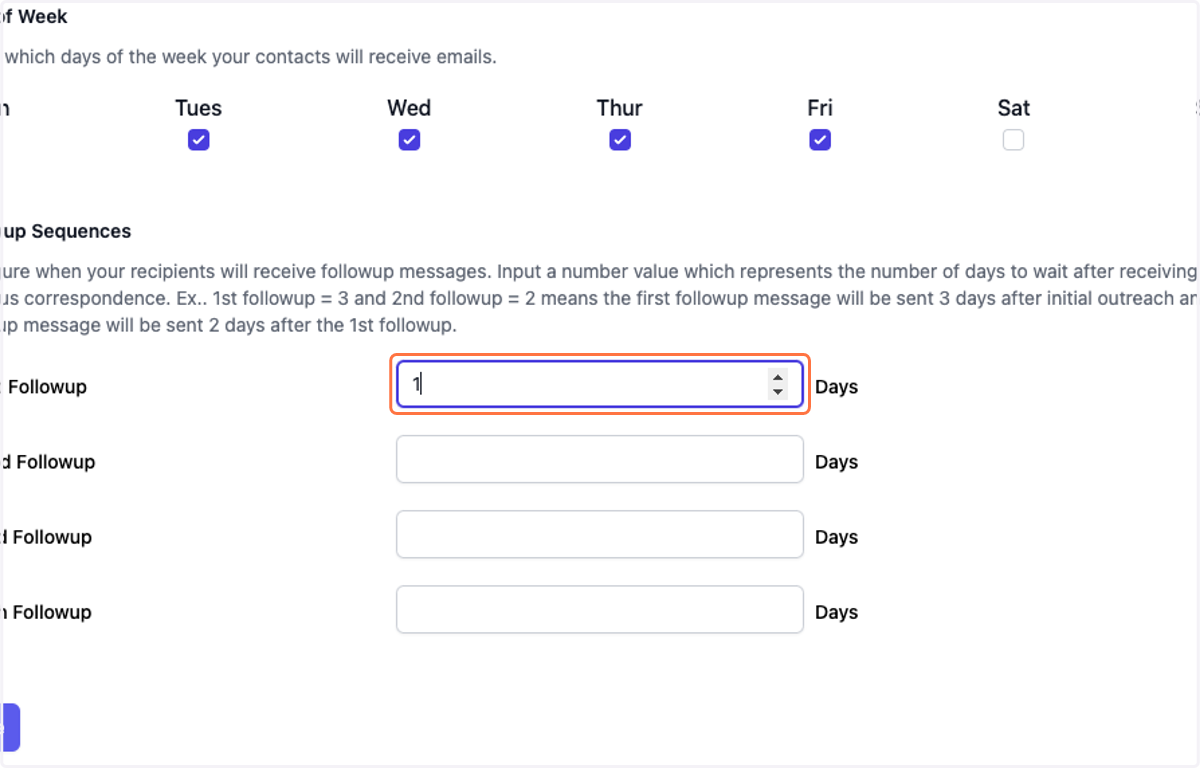
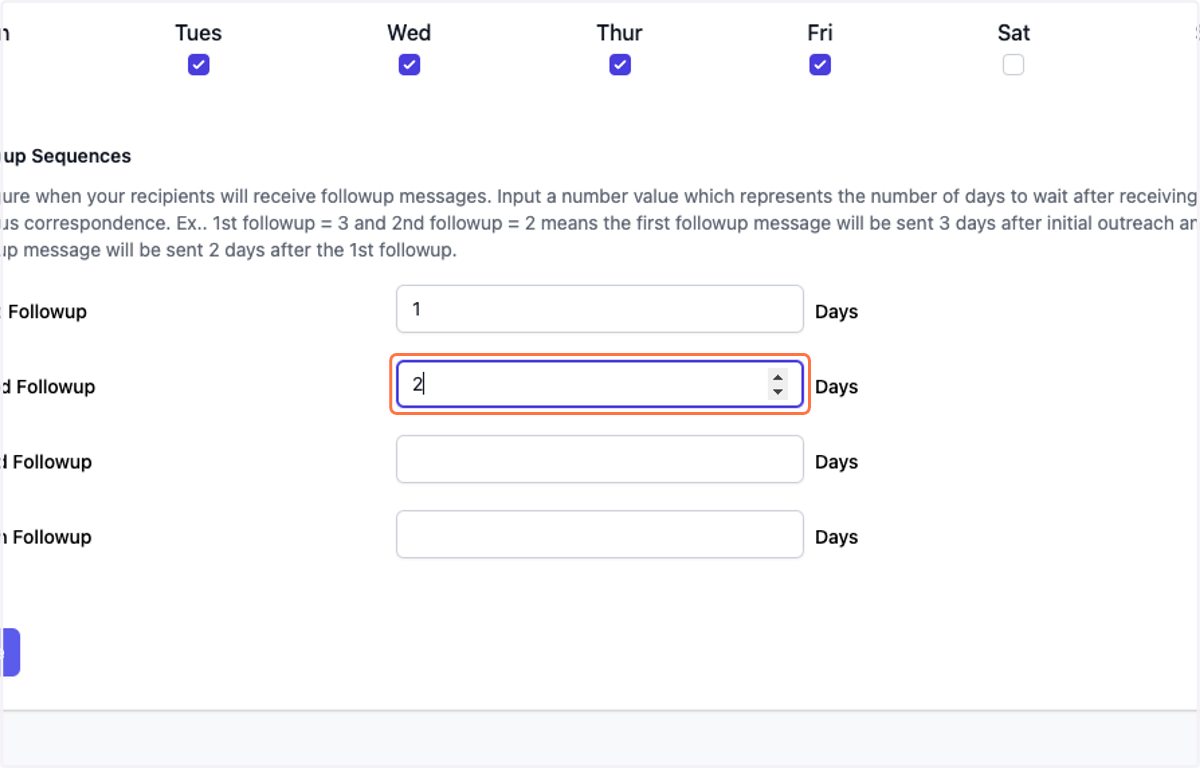
26. Set your follow-up cadence
If you leave a value blank it will only send the number of followups that have a value.
27. Type "2"
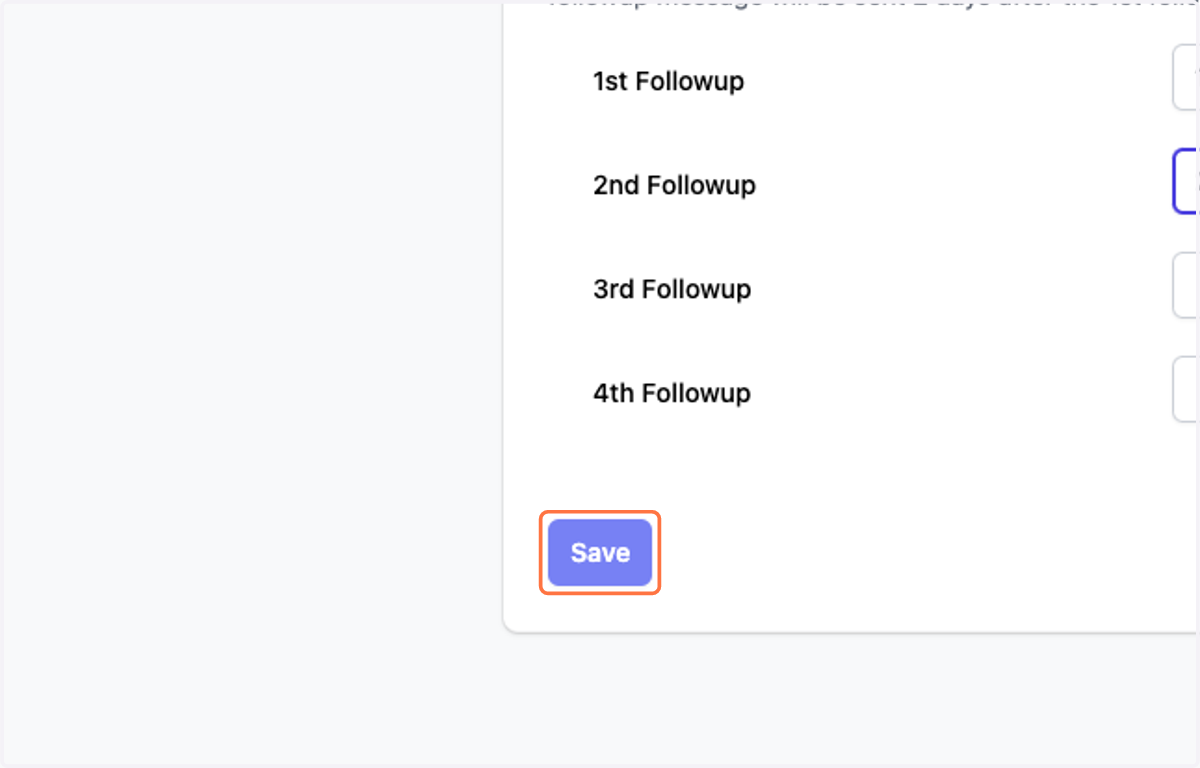
28. Click on Save
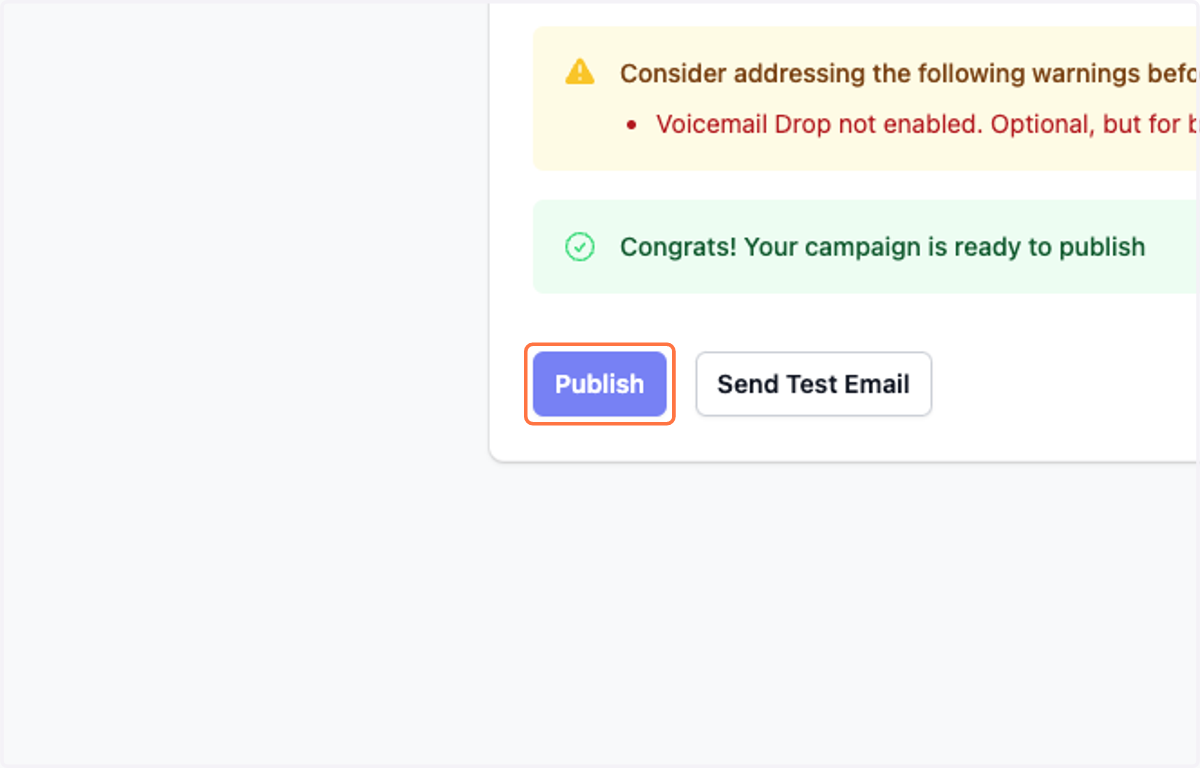
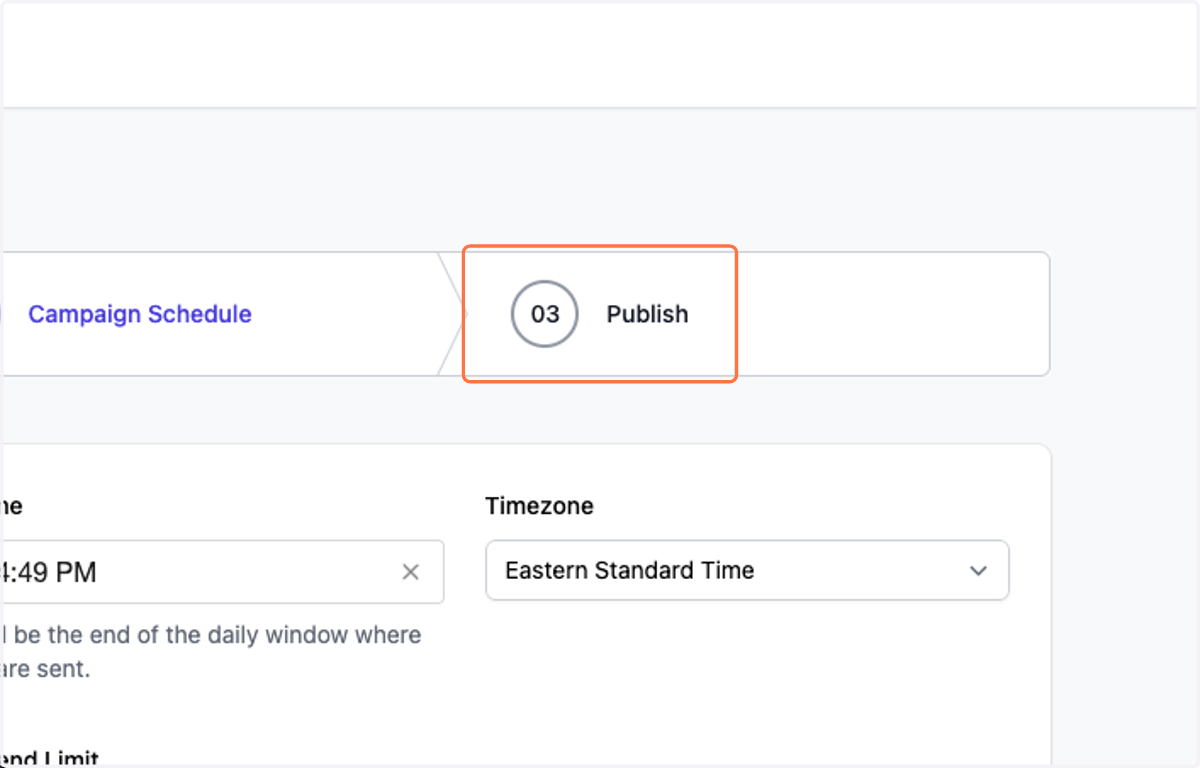
29. Click on Publish
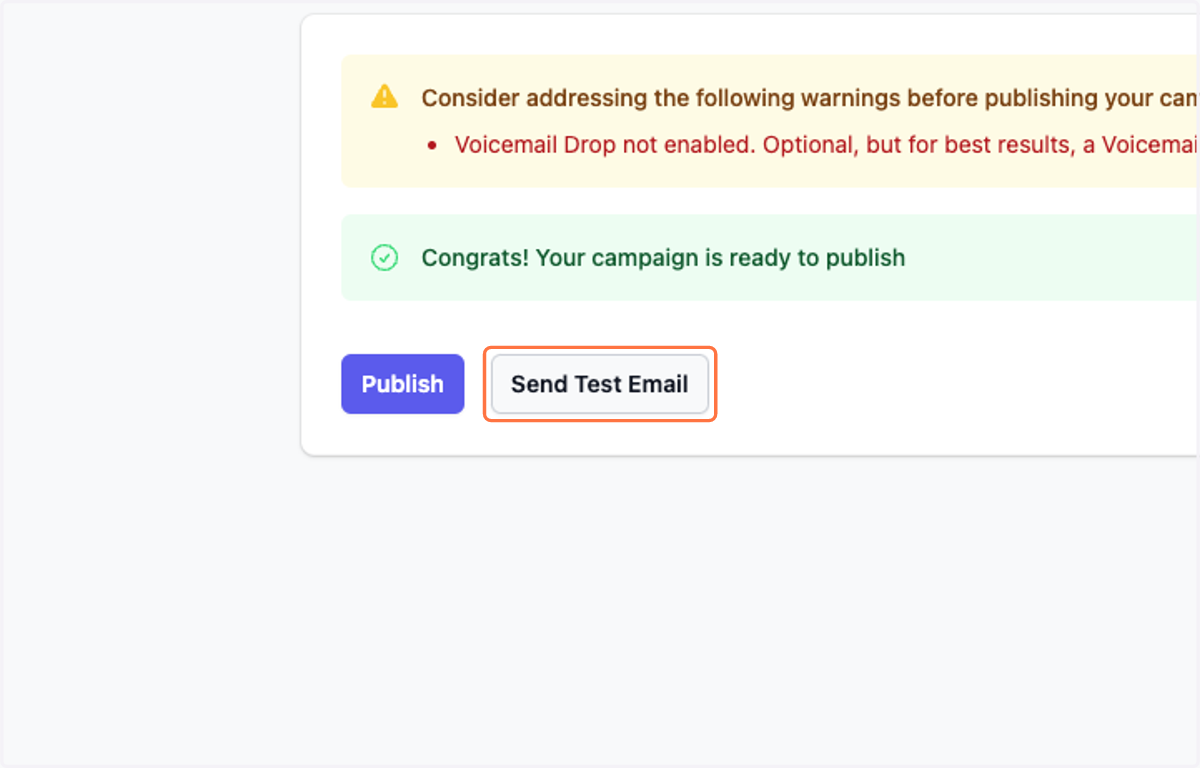
30. Send a test email if you would like!
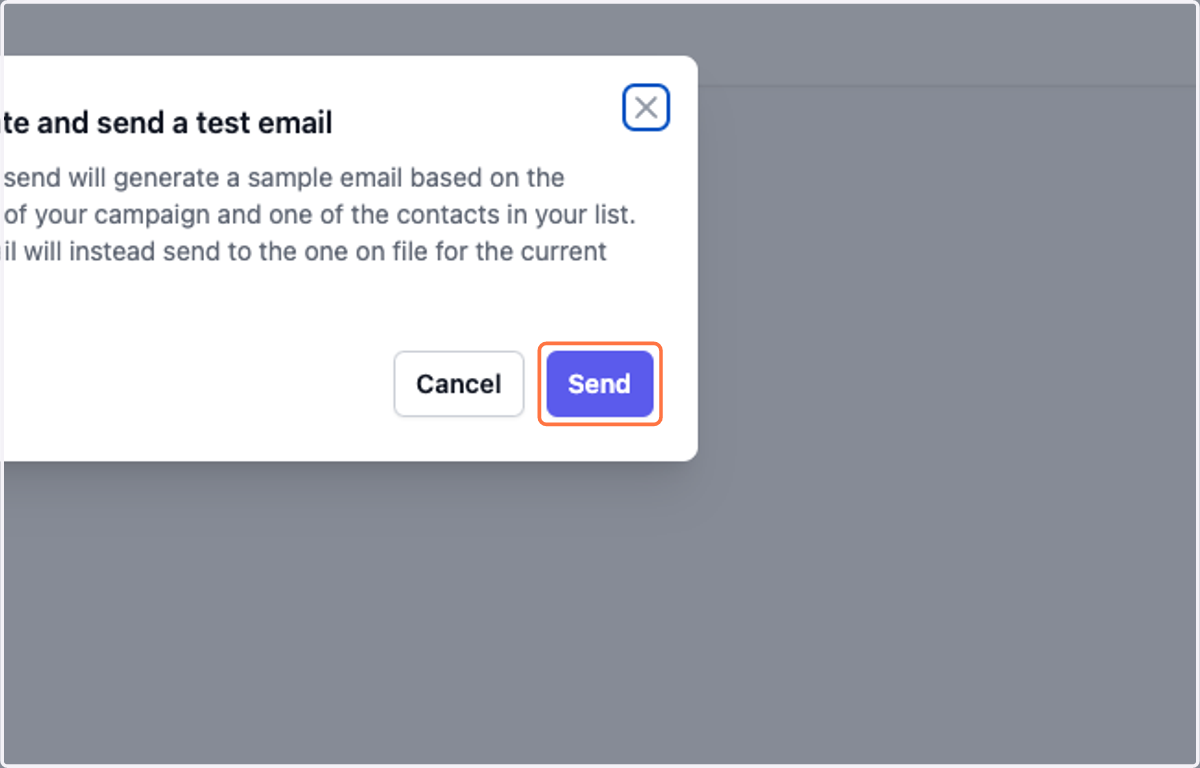
31. Click on Send
32. Click on Publish! Then you're all set!