Creating a Story with Presets
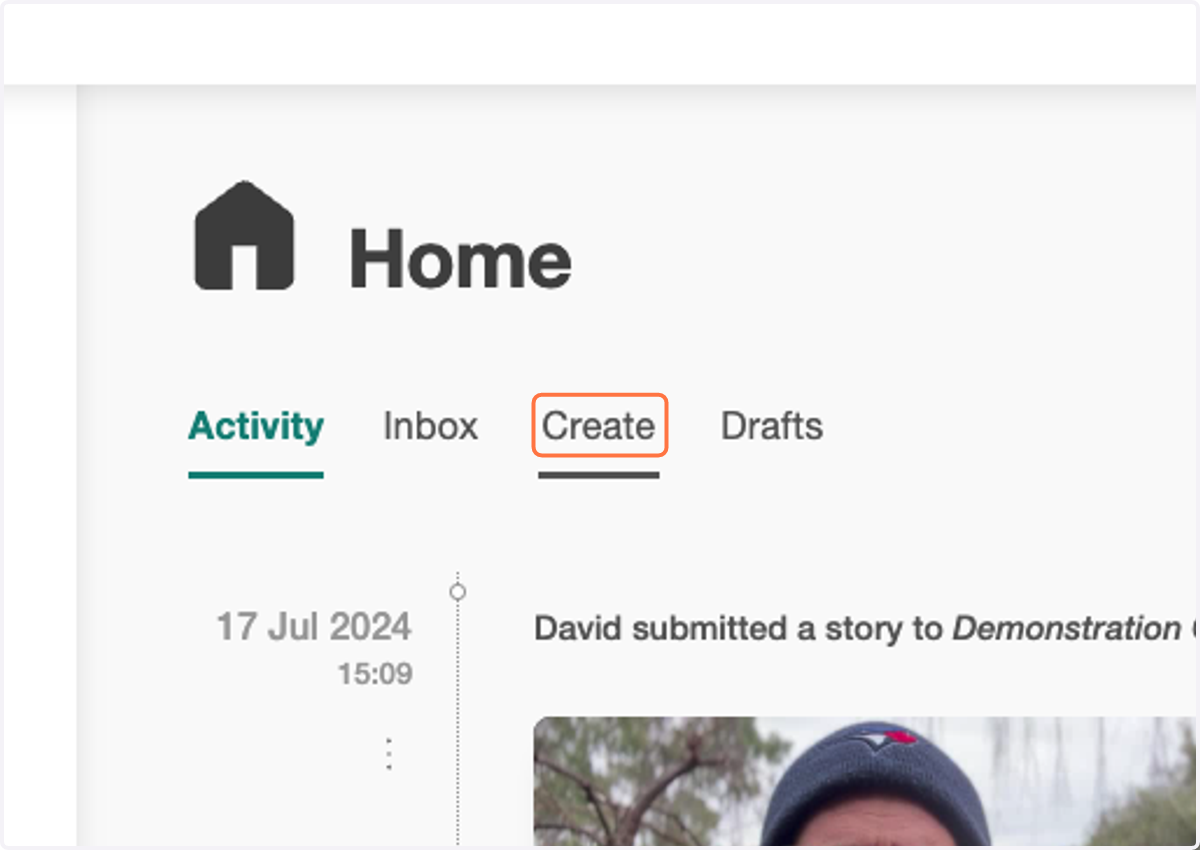
1. To begin, head to your homepage and click on Create
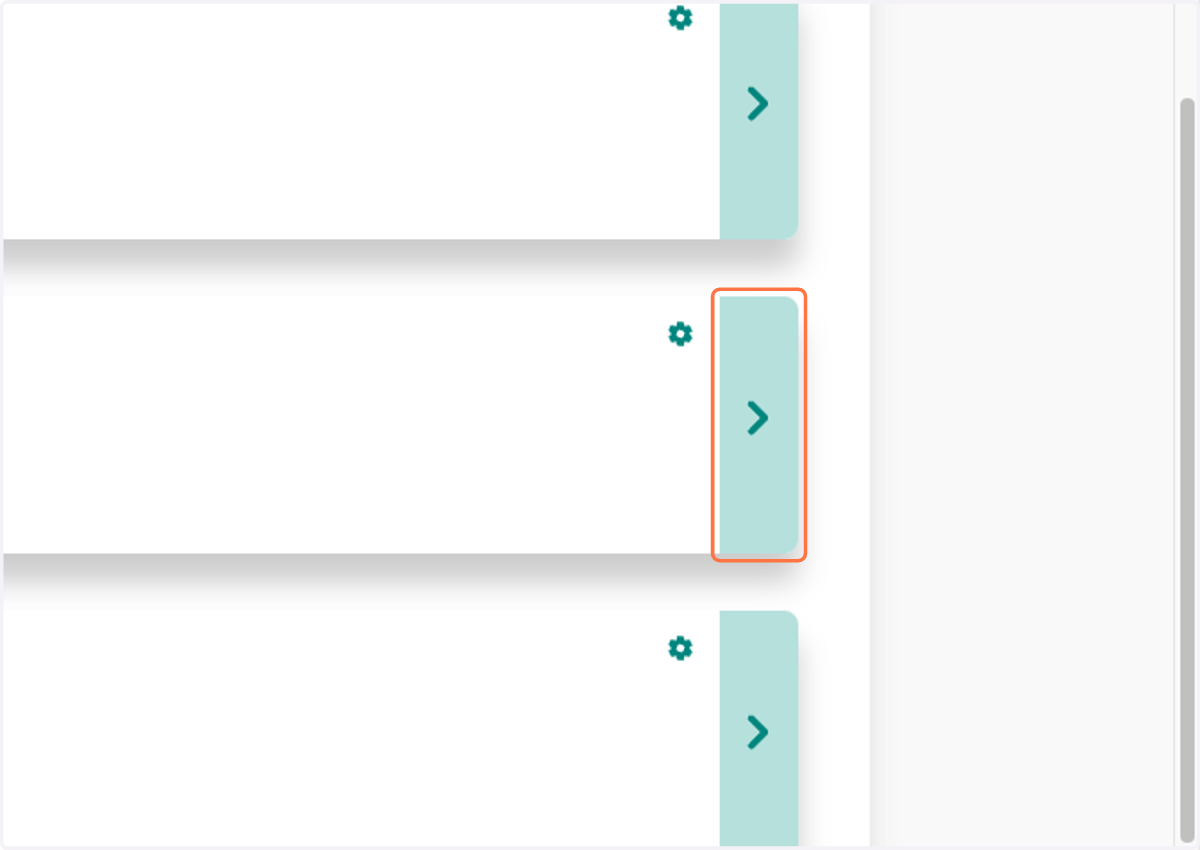
2. Identify the preset most suited to your story and open it using the green arrow
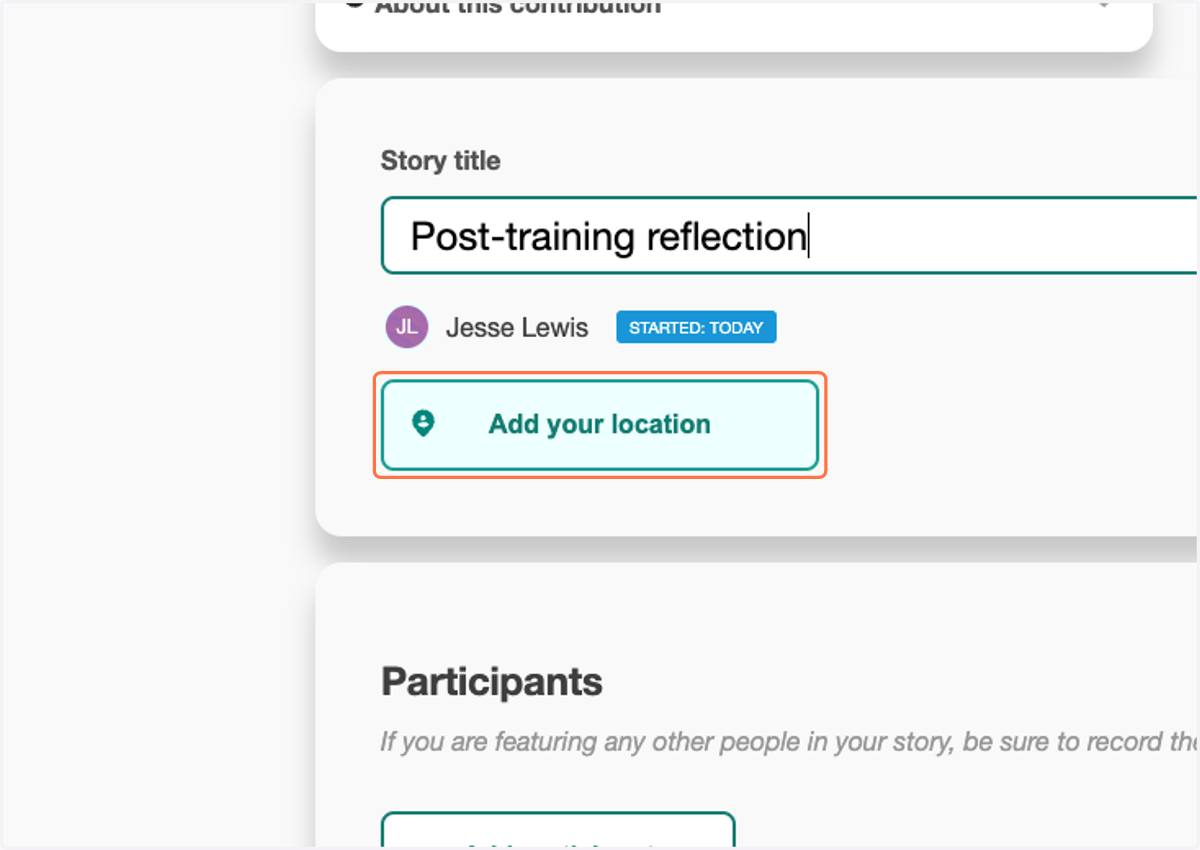
3. Create a clear title to help inform viewers of the stories contents
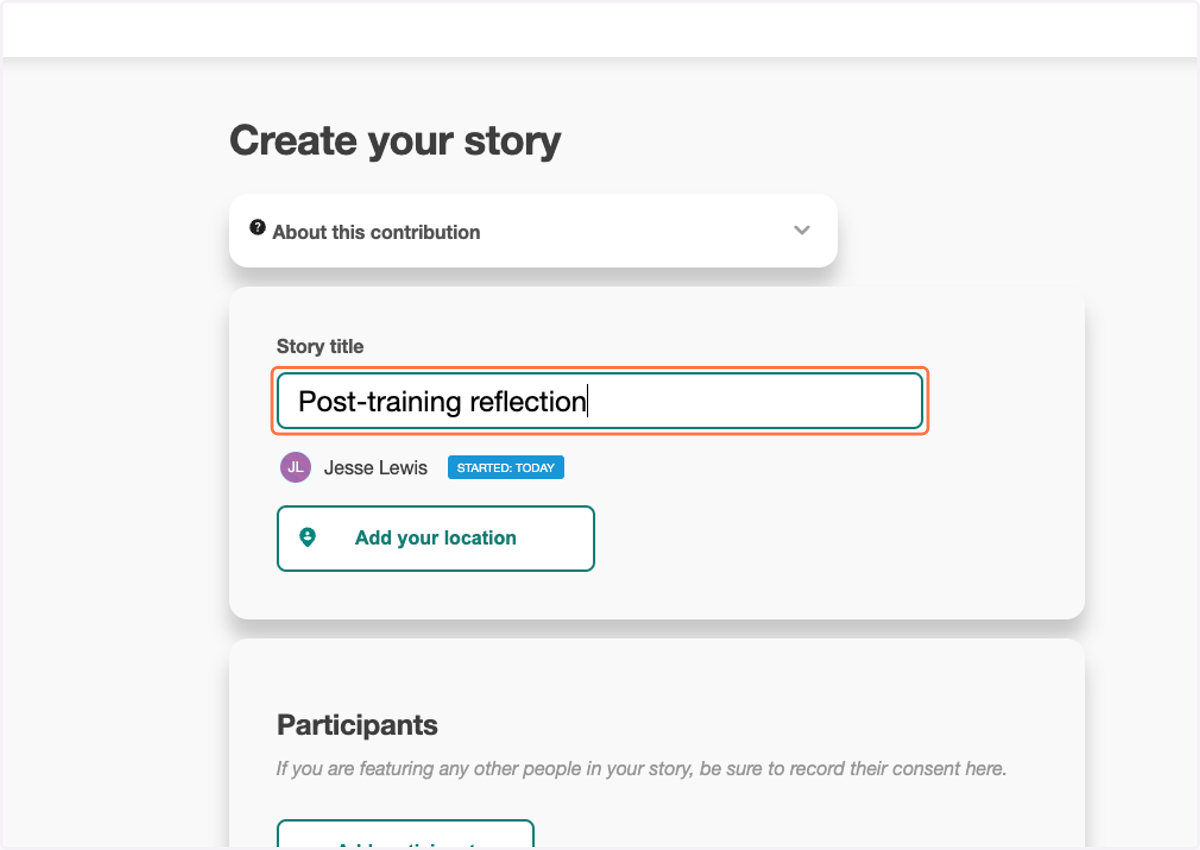
4. Optionally, add your location using your devices GPS by clicking "Add your location"
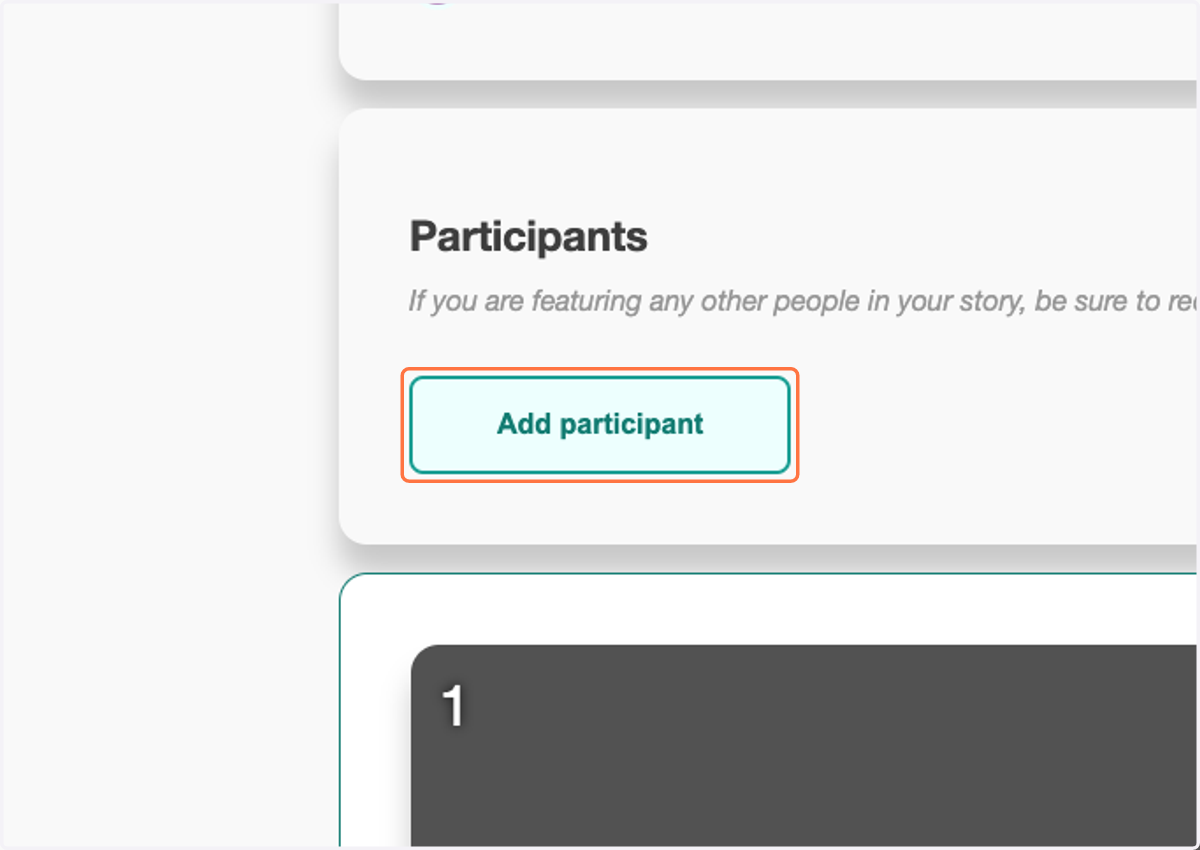
5. To include consent, click "Add participant"
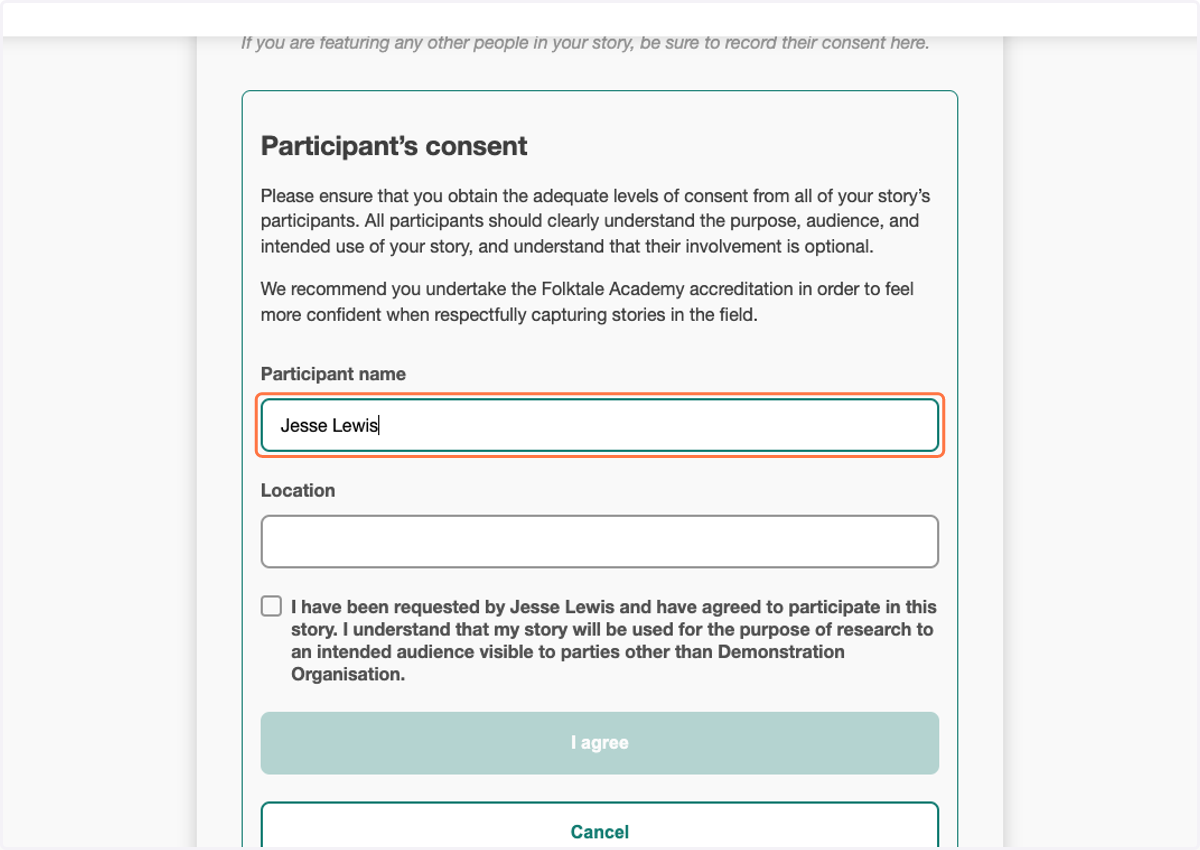
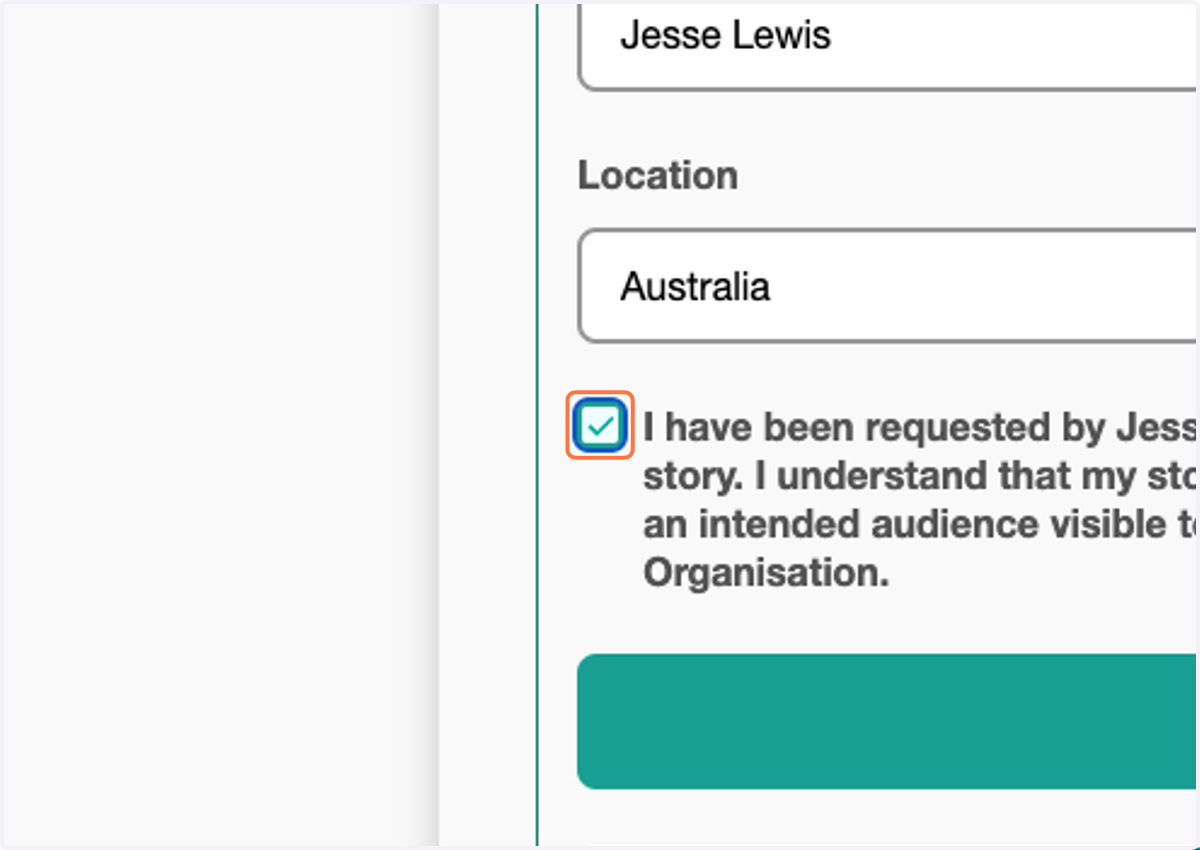
6. Include participants name
7. Include a location
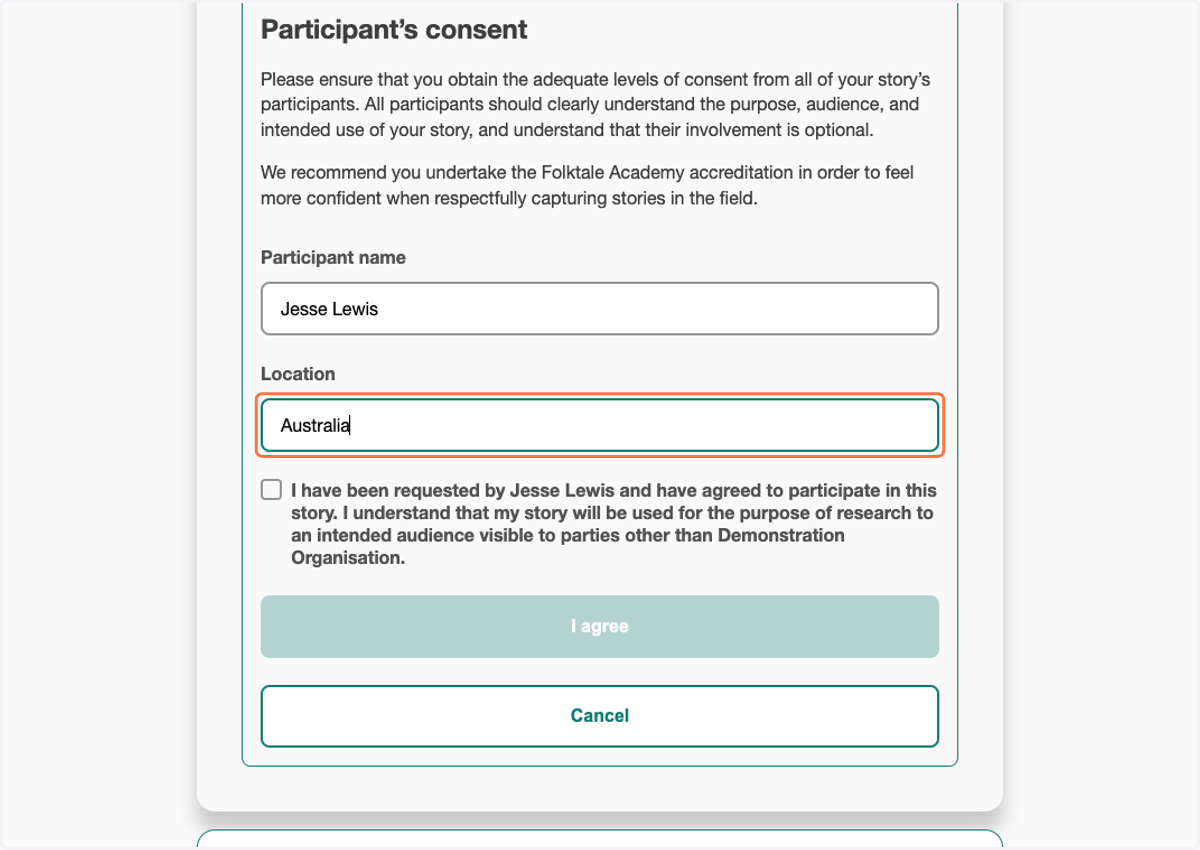
8. And accept the acknowledgement of consent
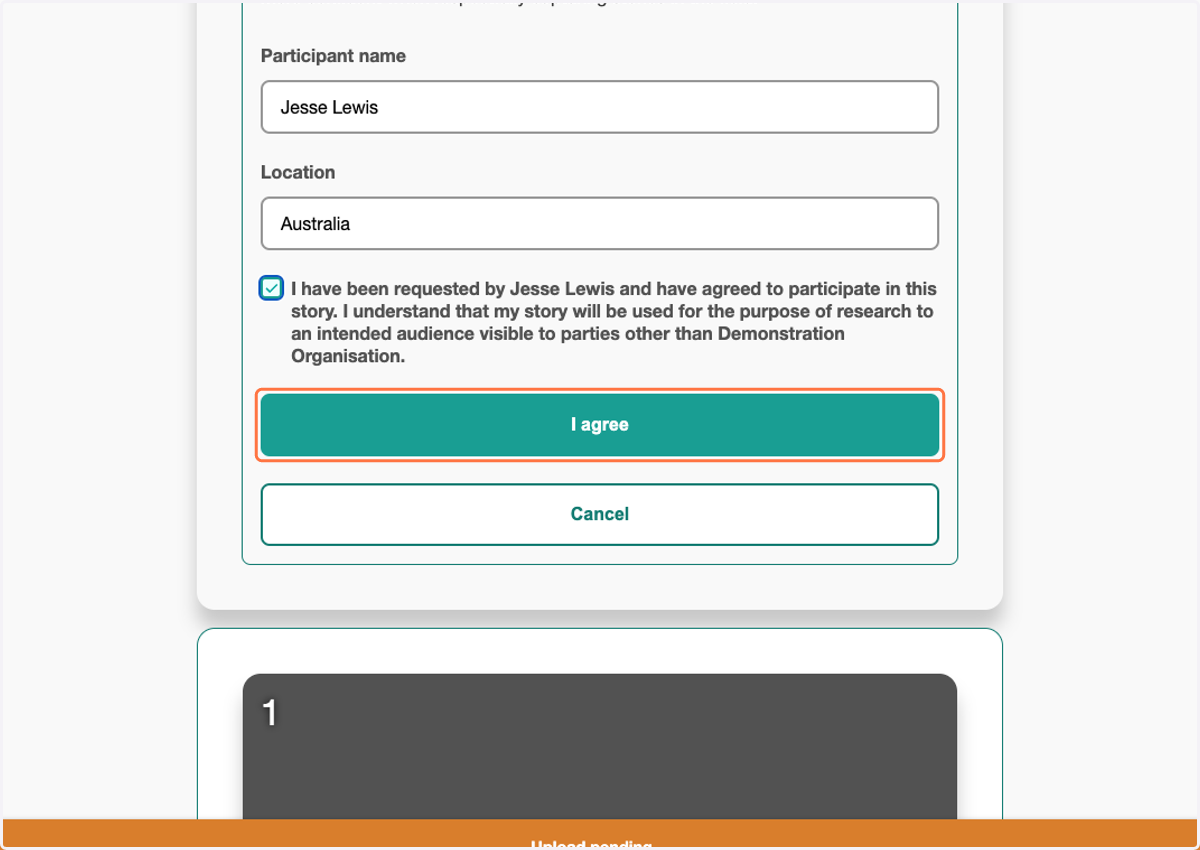
9. Click on I agree
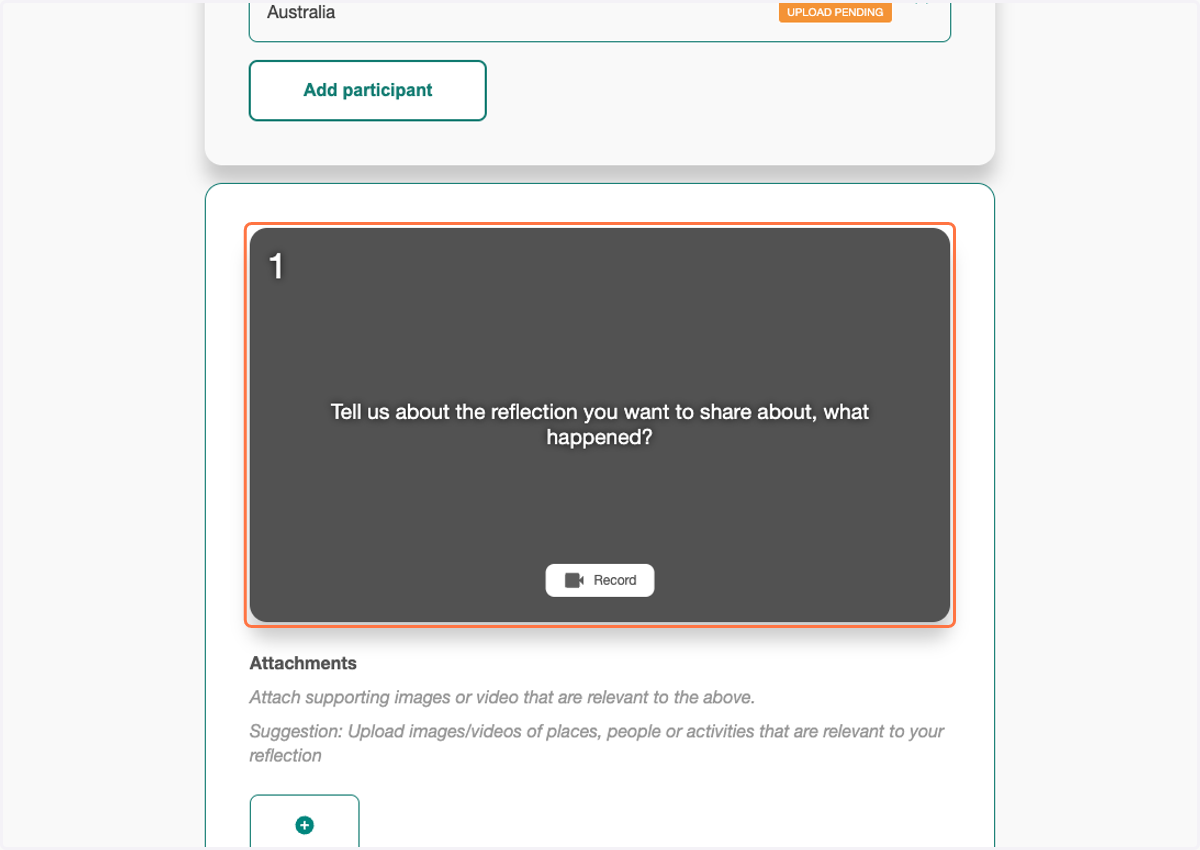
10. To begin capturing your story, select the record option on the first prompt
Capturing your story
Now that you're on the recording screen you will see a few options
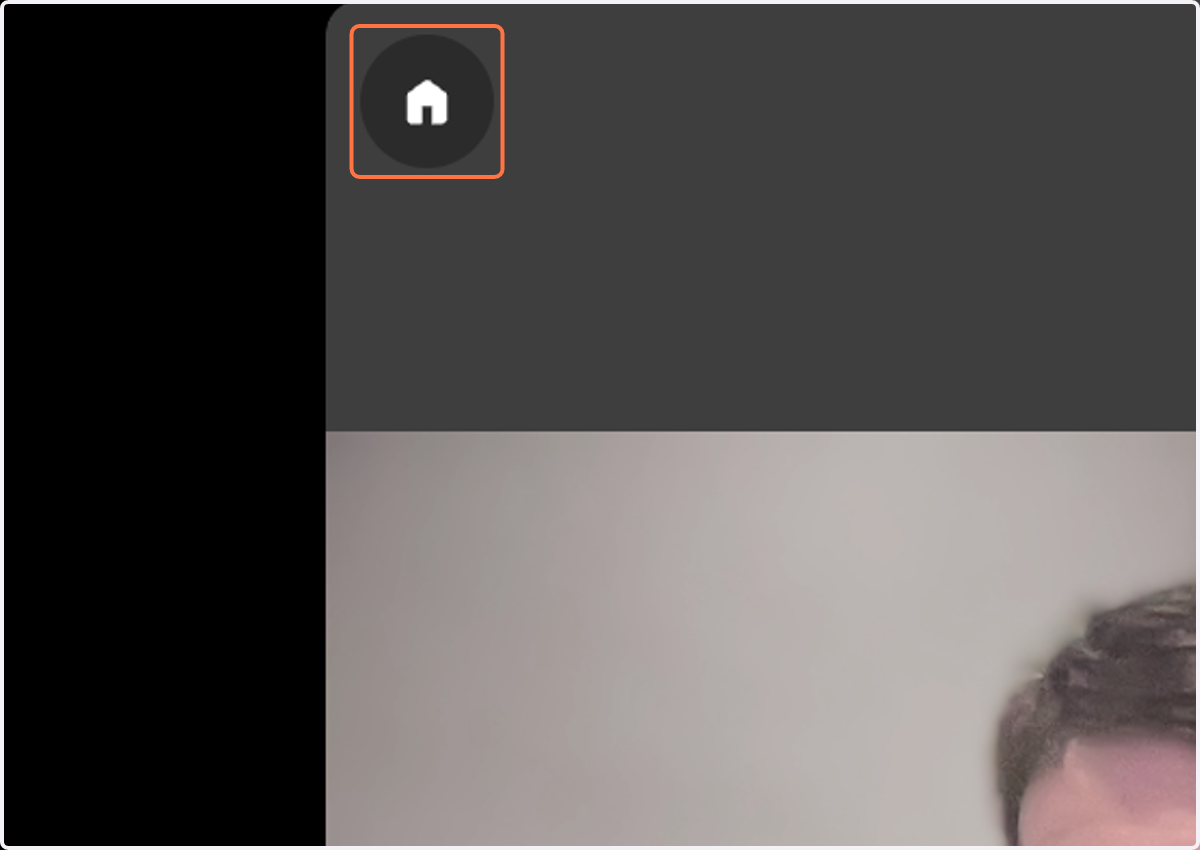
11. The home button, to send you back to the previous page.
12. Your prompt
This will remain onscreen for your reference as you are recording your response
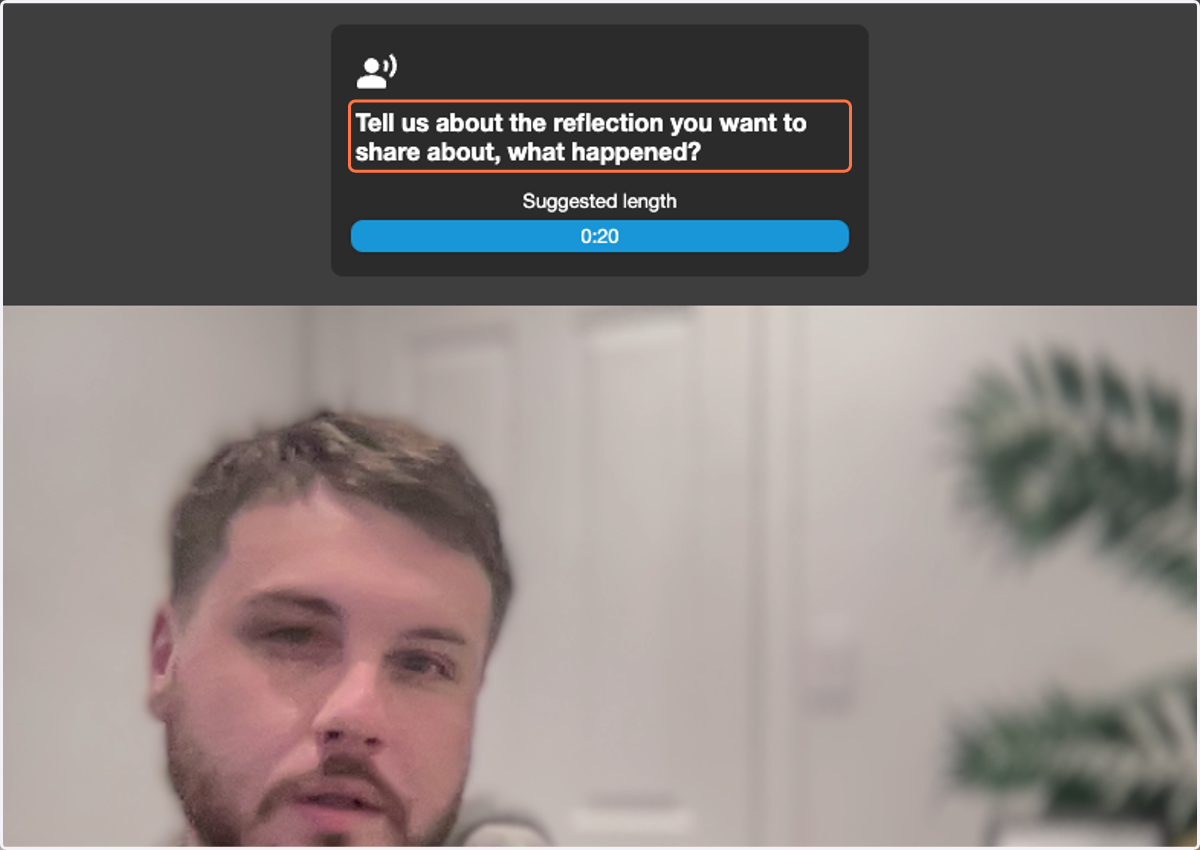
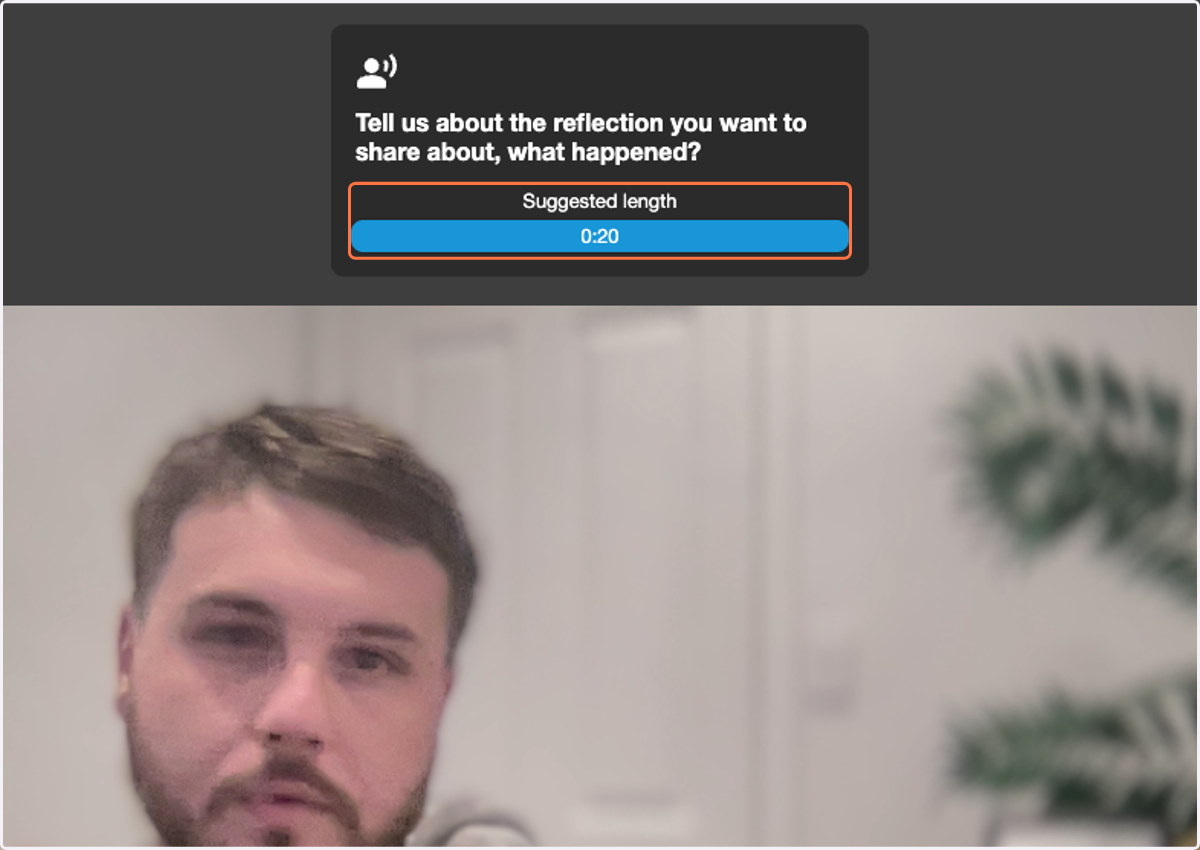
13. A suggested timer to ensure you know how long you have been speaking
14. A camera changer
This will allow you to change between the front and rear camera of your device
15. Video toggle
16. This feature will allow you to change from video capture to strictly audio recording
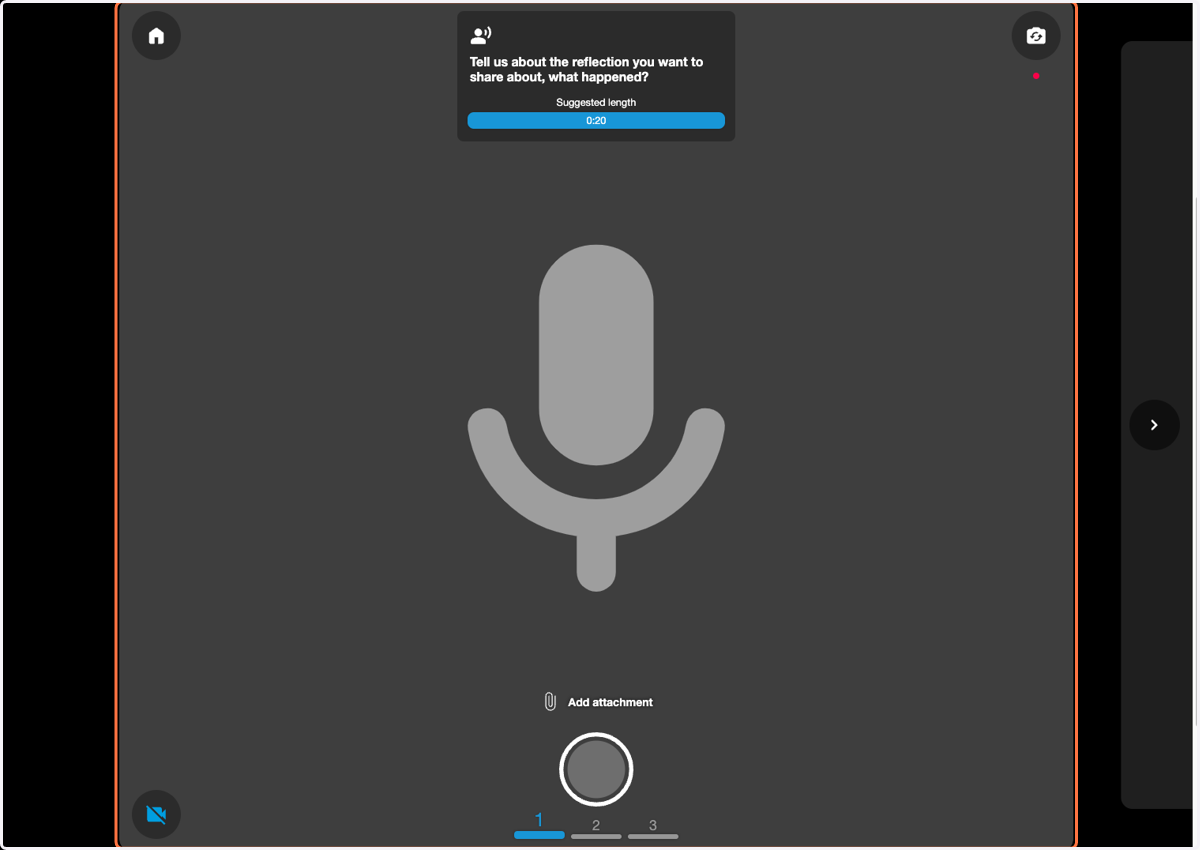
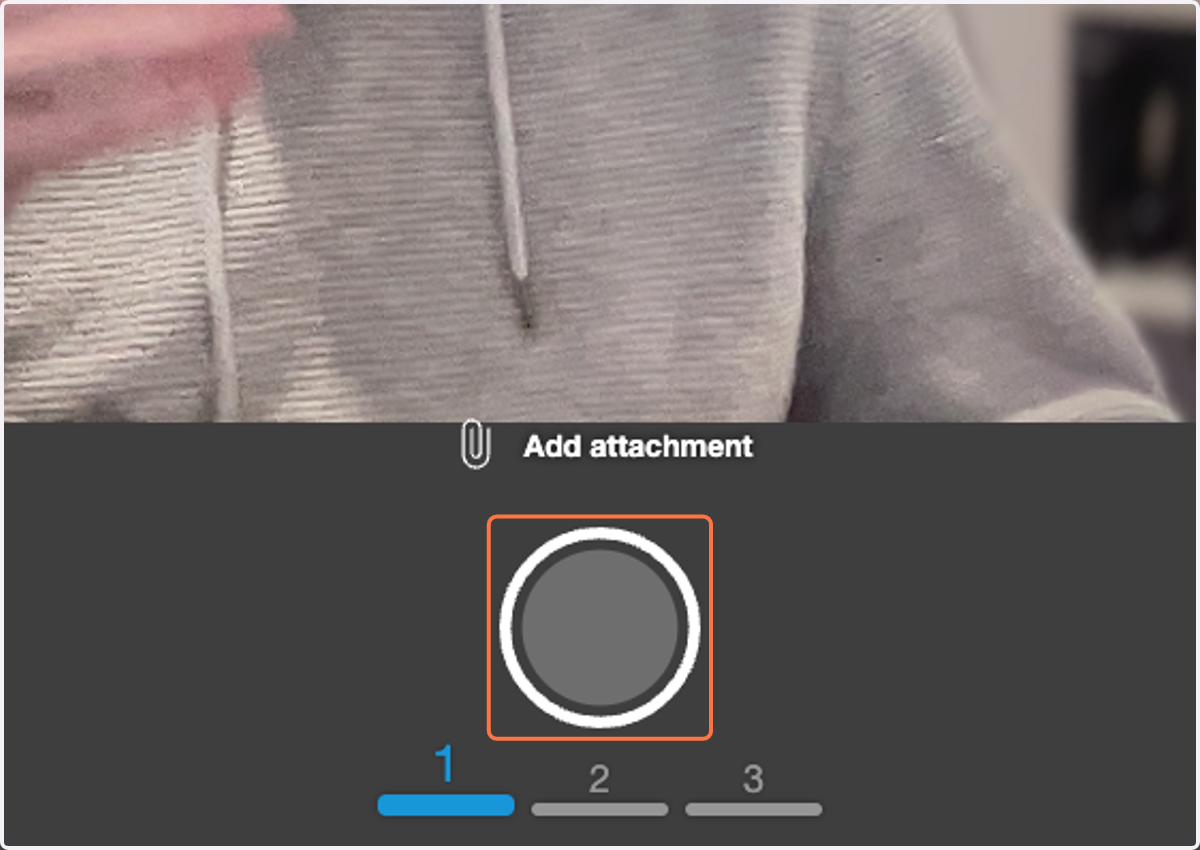
17. And finally, your record button, press this when you're ready to begin
18. Once you have captured your response, you will see a Folktale Green border appear around your screen
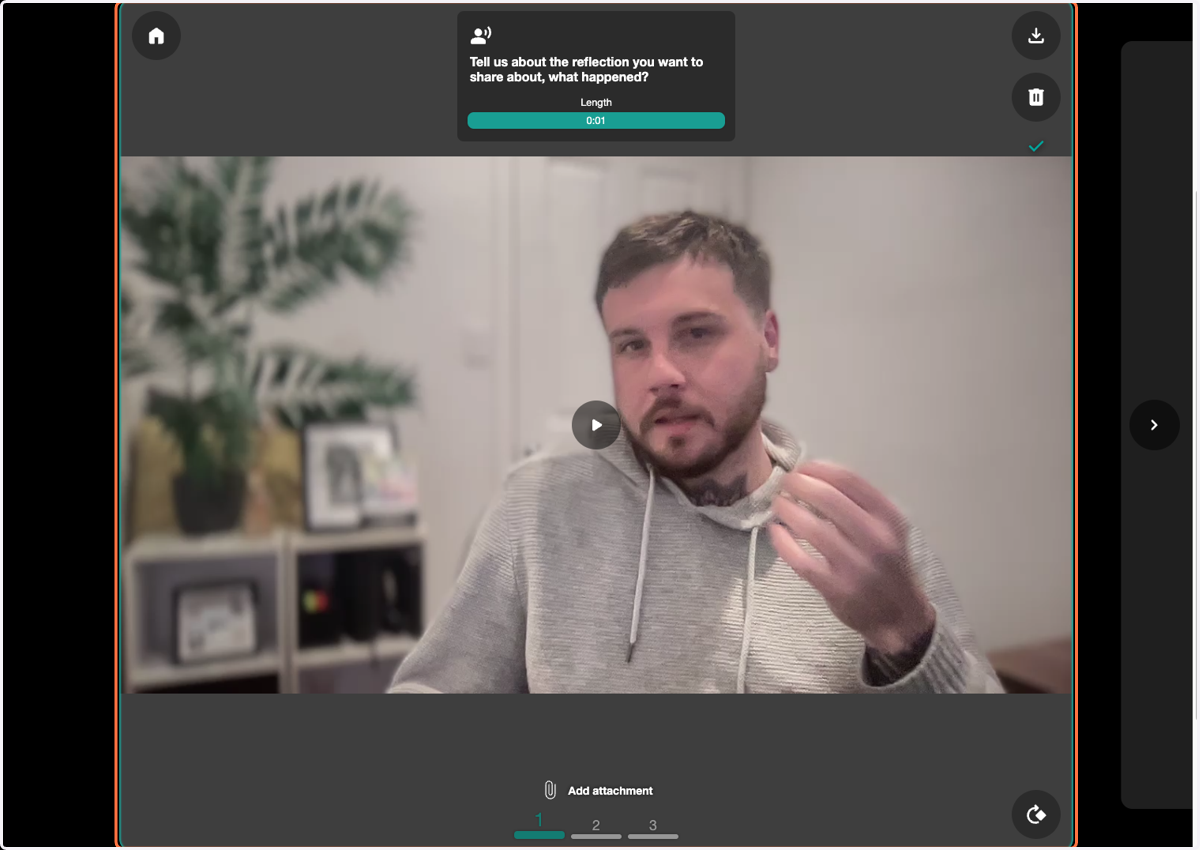
19. ...with a green "completed tick" to let you know your response has been captured.
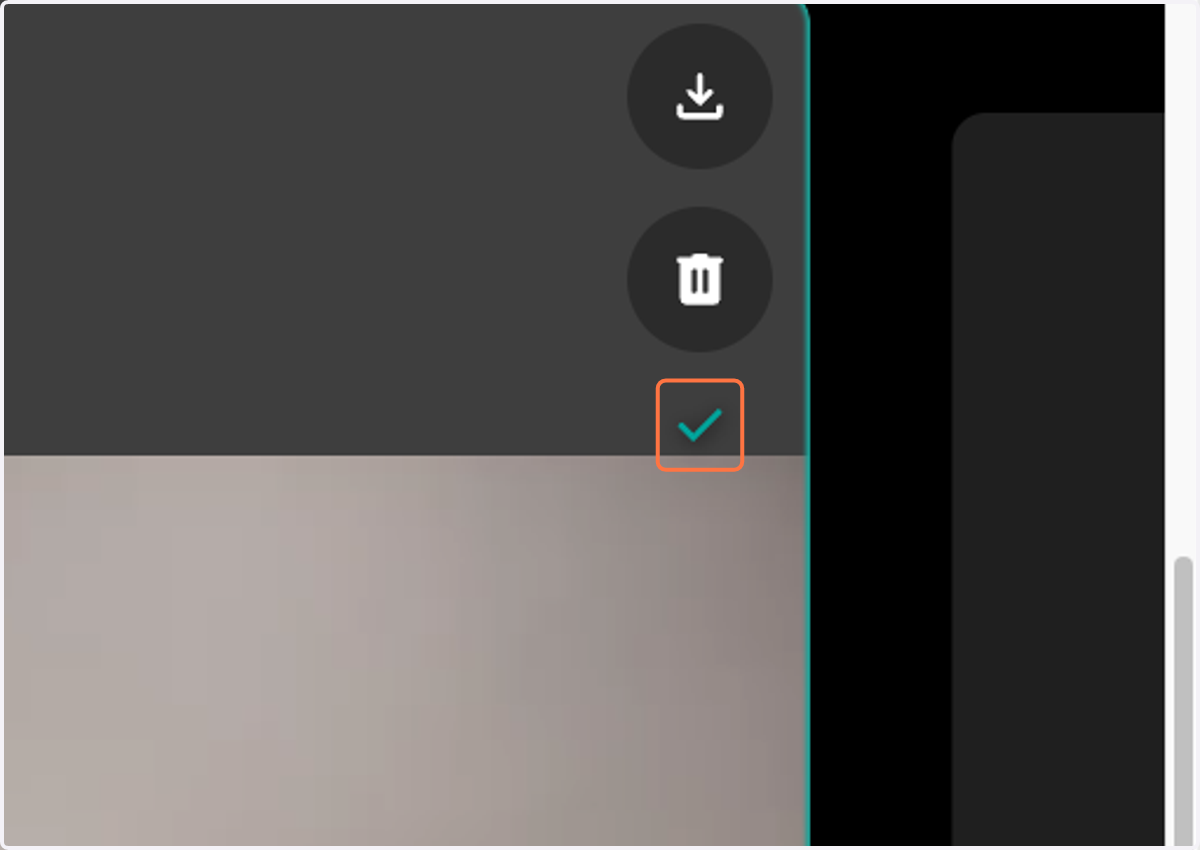
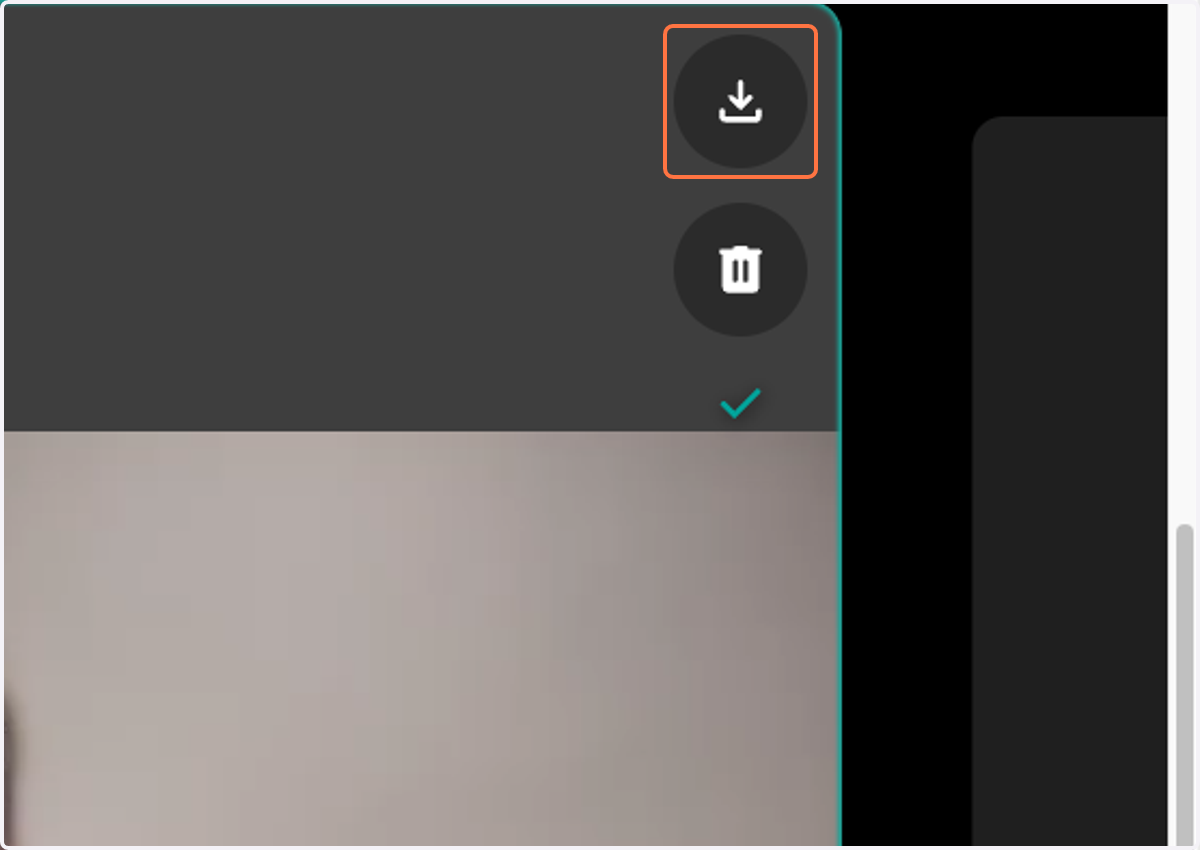
20. You will now also see the option to download your shot
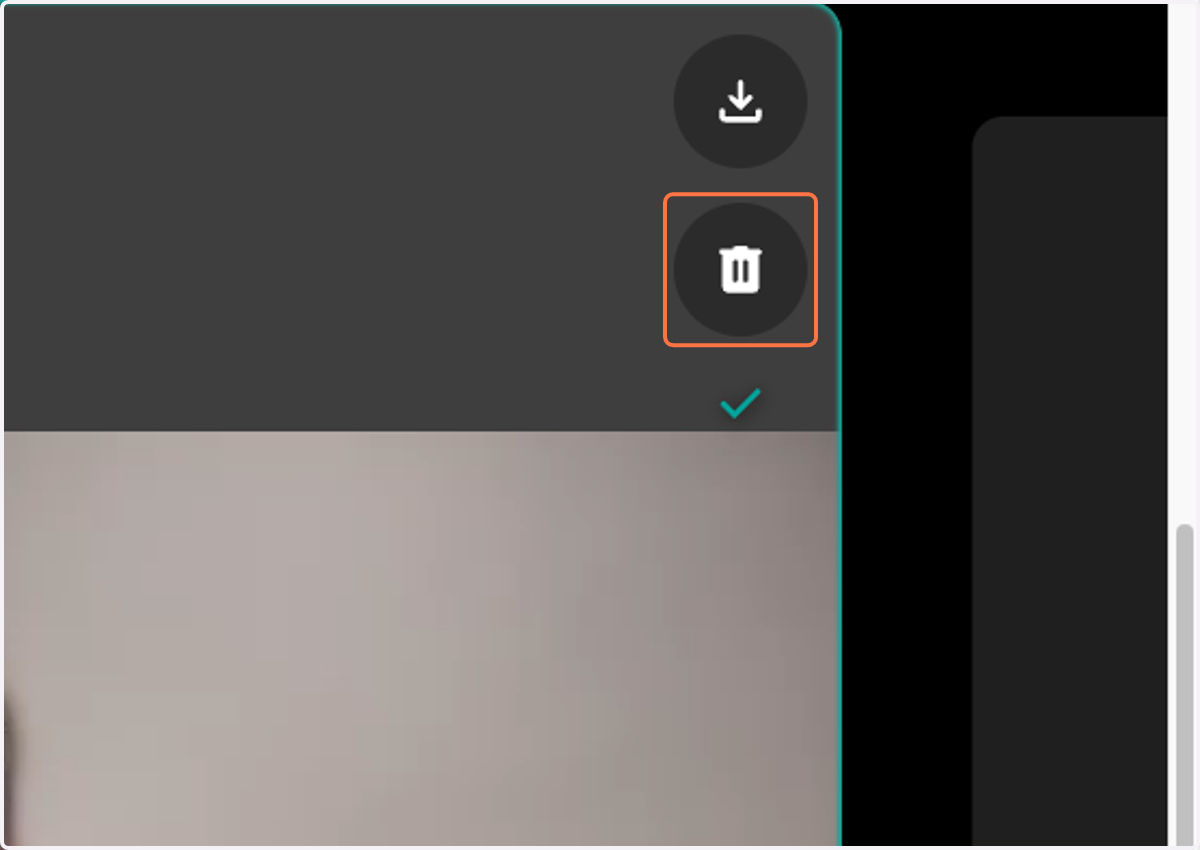
21. And the ability to delete this shot and capture again
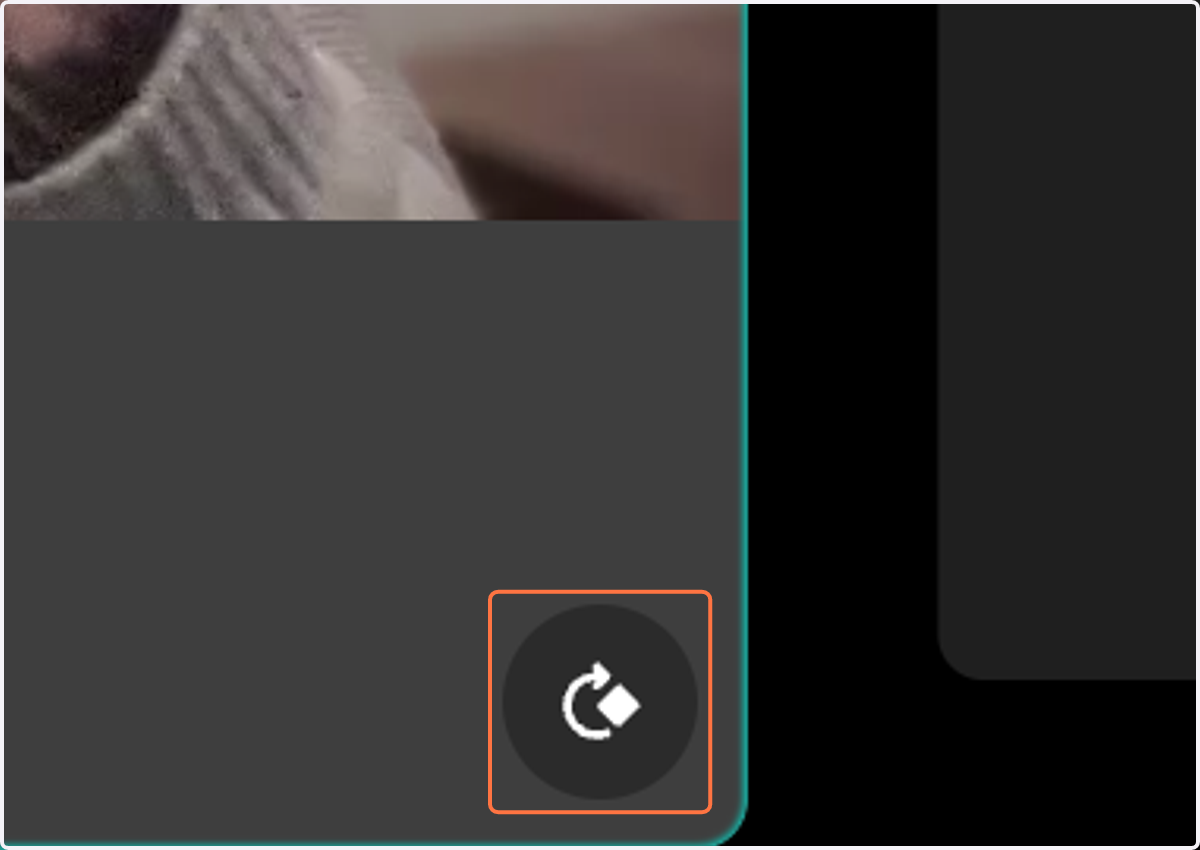
22. In the bottom right you will also see a rotation button.
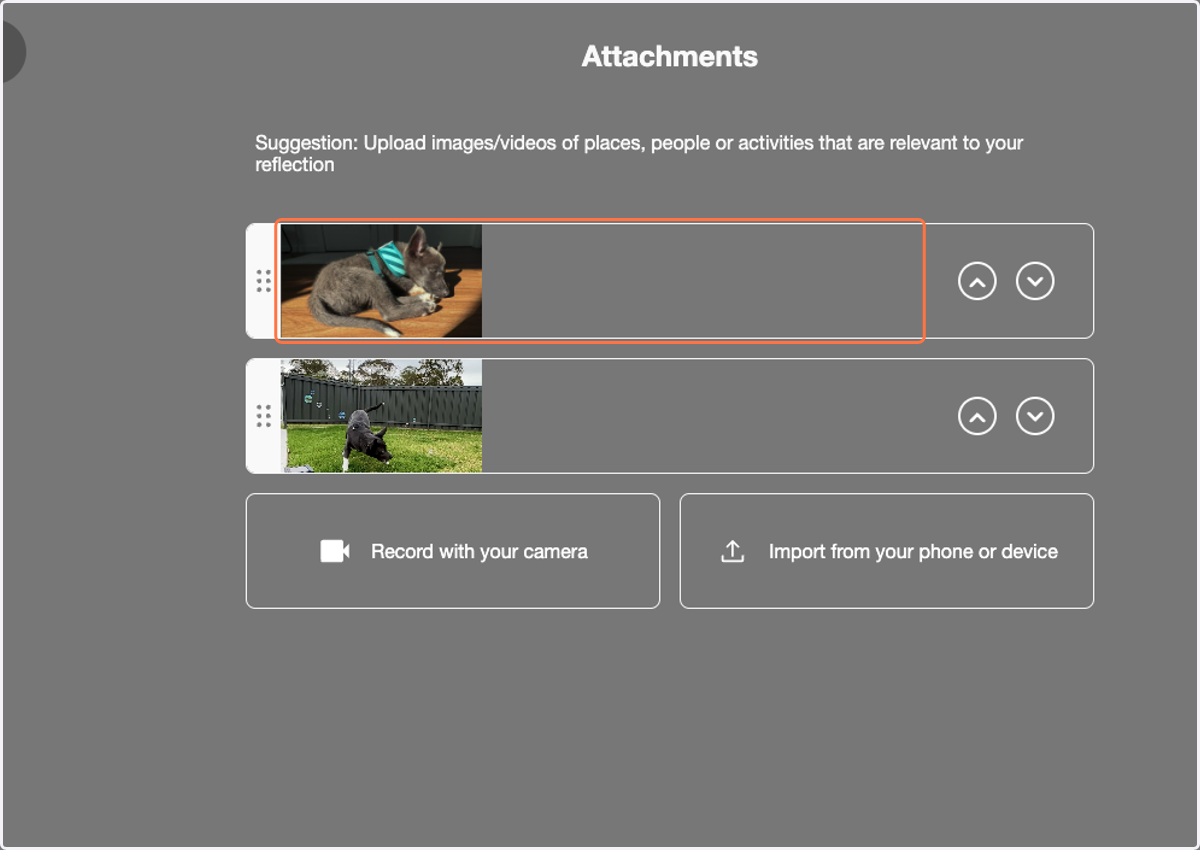
This will allow you to adjust the orientation of your shot even after you have captured it.
23. If you have an visual aids to support your response, select "Add attachment"
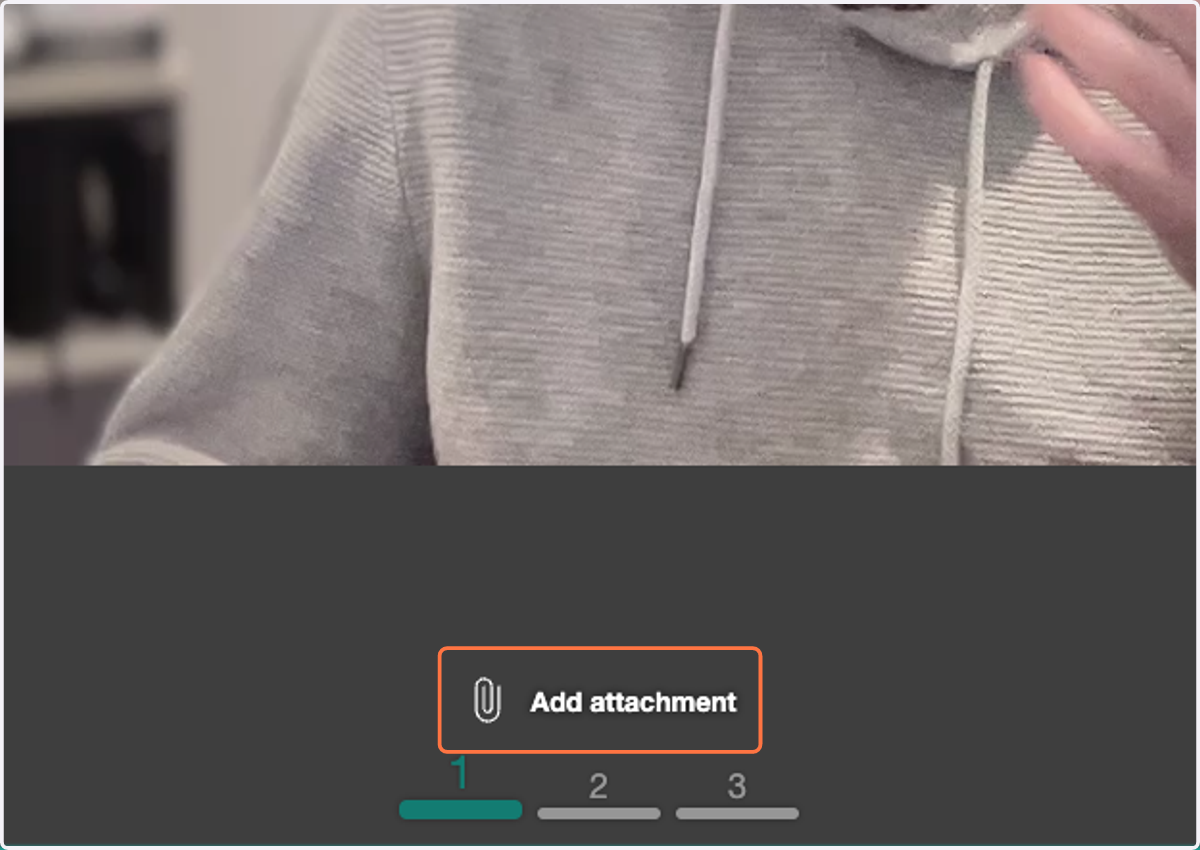
24. Here you will see a brief suggestion on what kind of visual aids may be best suited
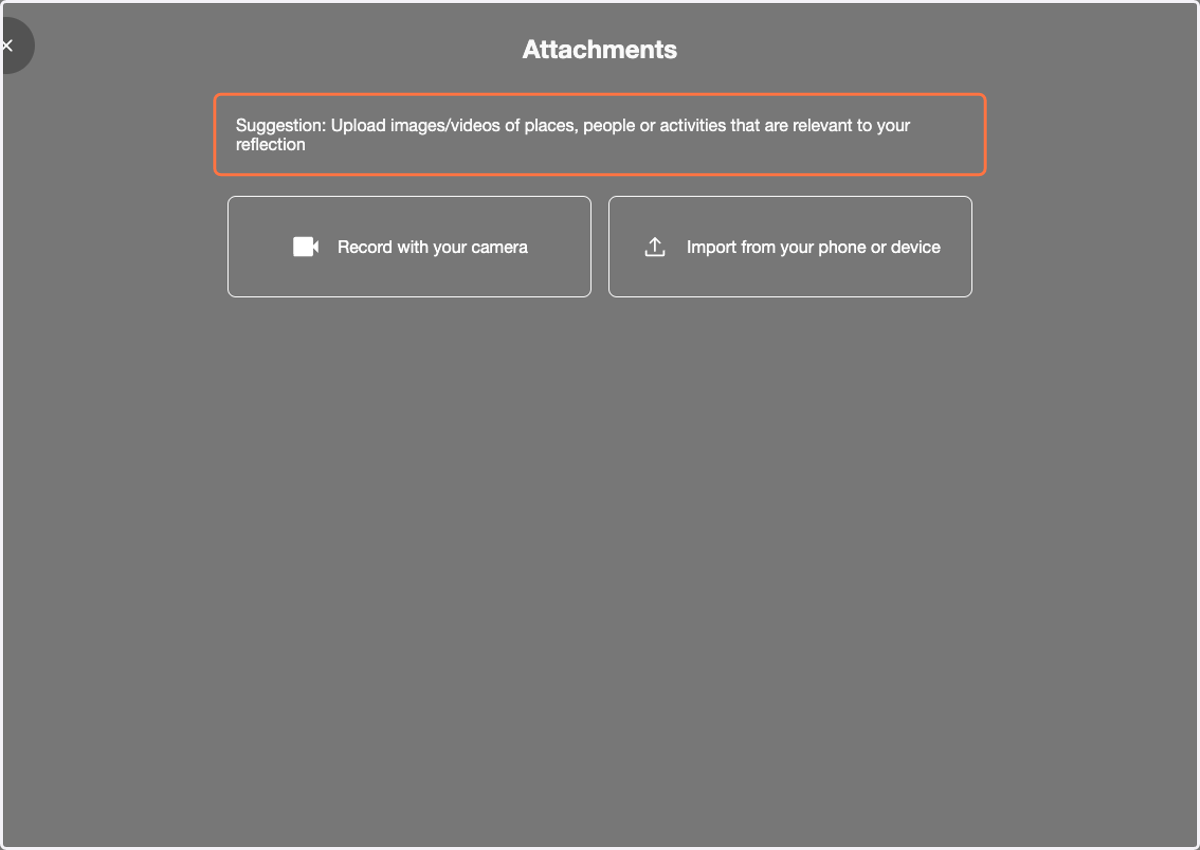
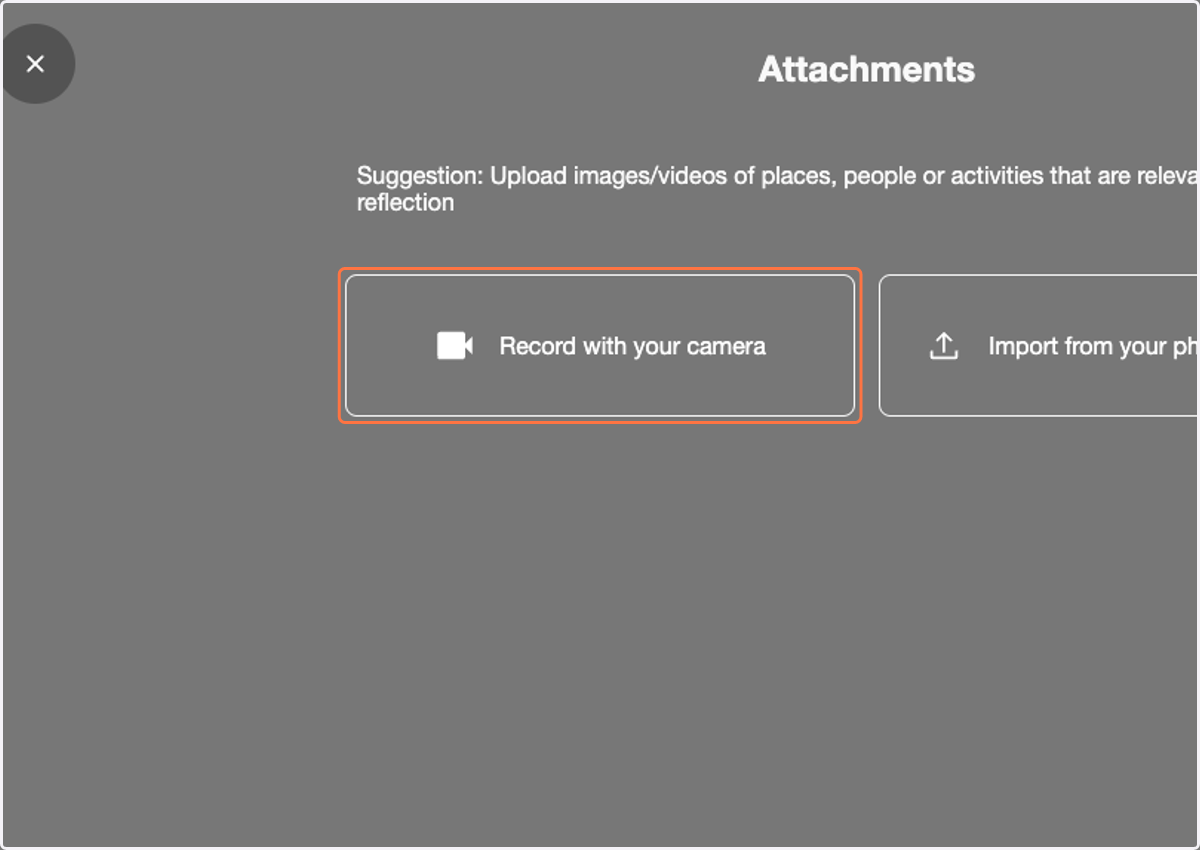
25. Click on Record with your camera to use the Folktale recording features
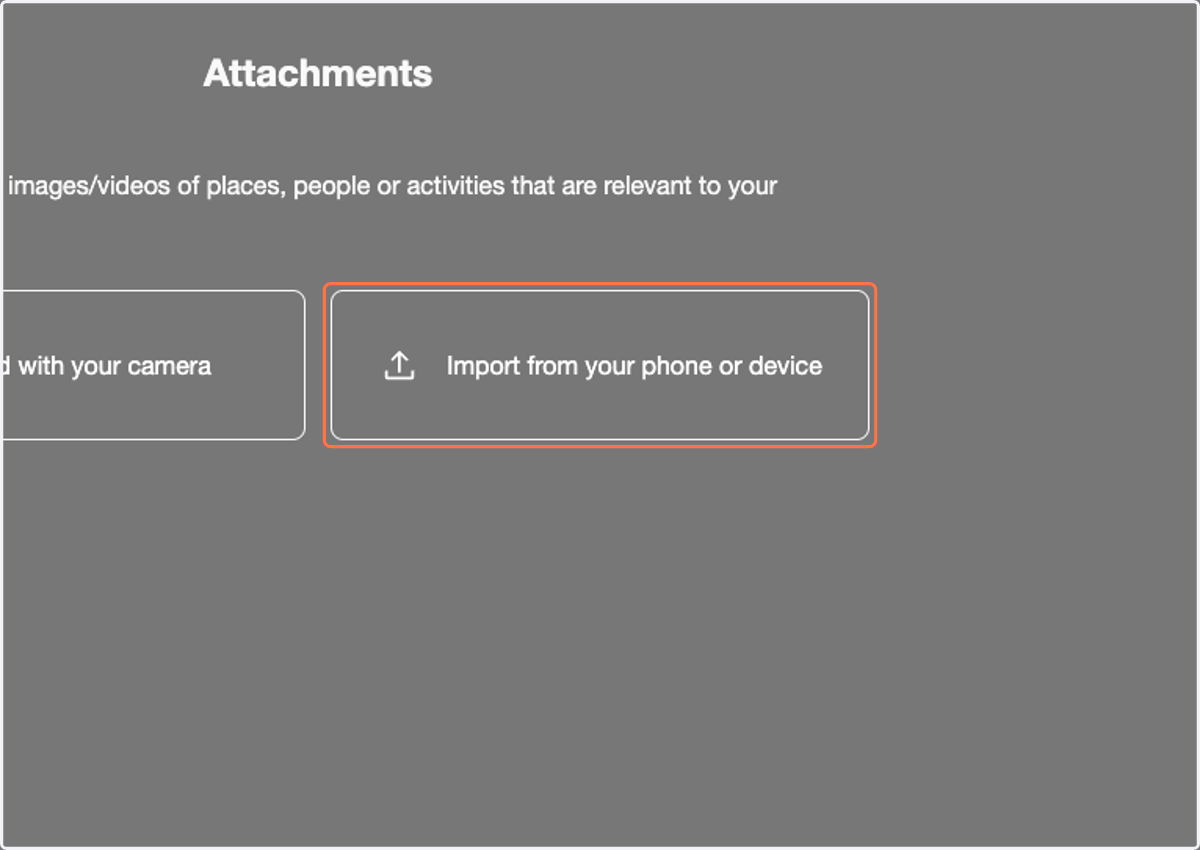
26. or Import files directly from your phone or device
27. Now that you have your attachments, you can adjust the order they will appear by dragging and dropping
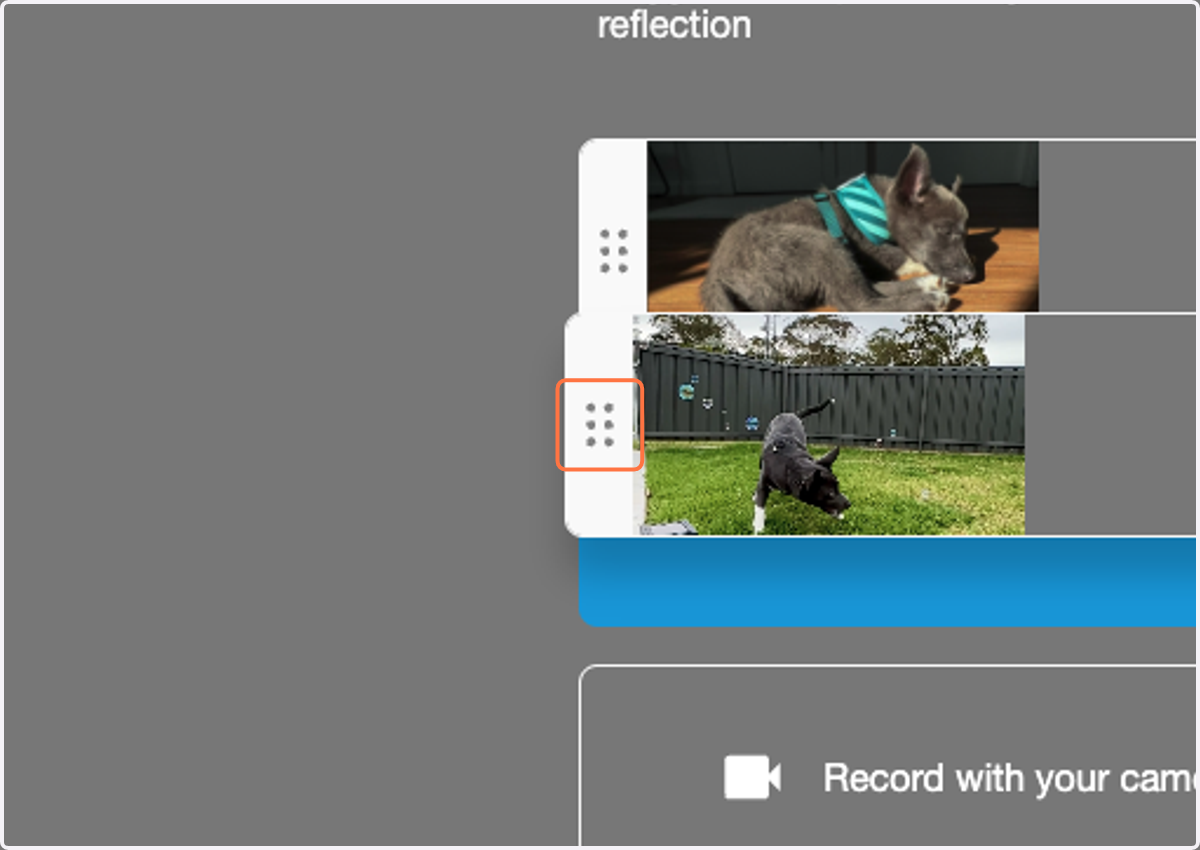
28. To make adjustments, select your attachments...
29. You can also remove this attachment by selecting the delete button.
30. ... and rotate to suit
31. When you're ready, select the arrow to the right of your screen and repeat the process
32. ...and repeat the process for the remaining shots. Once completed, the progress arrow will become a tick. Click that when you're ready
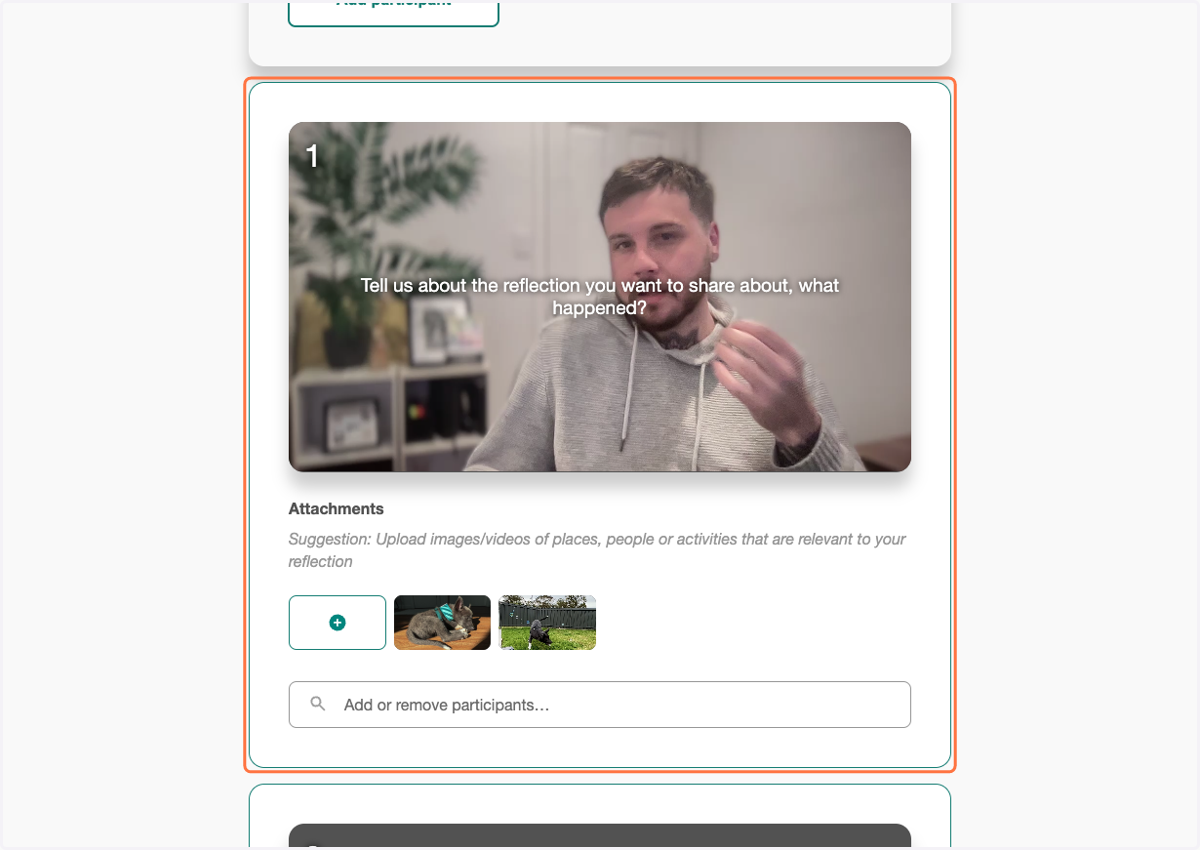
33. You can now see your response and your attachments
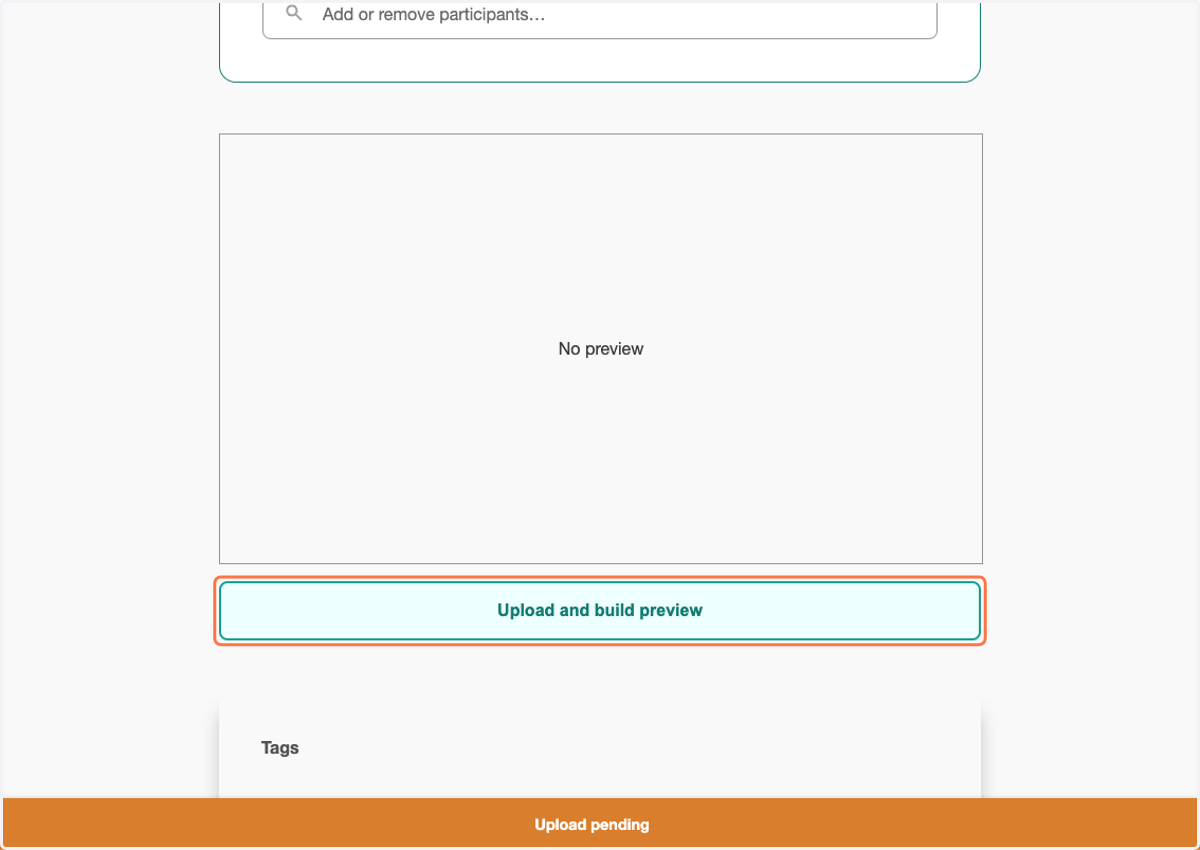
34. You can use the "Upload and build preview" option to see a completed version of your story before you submit your story
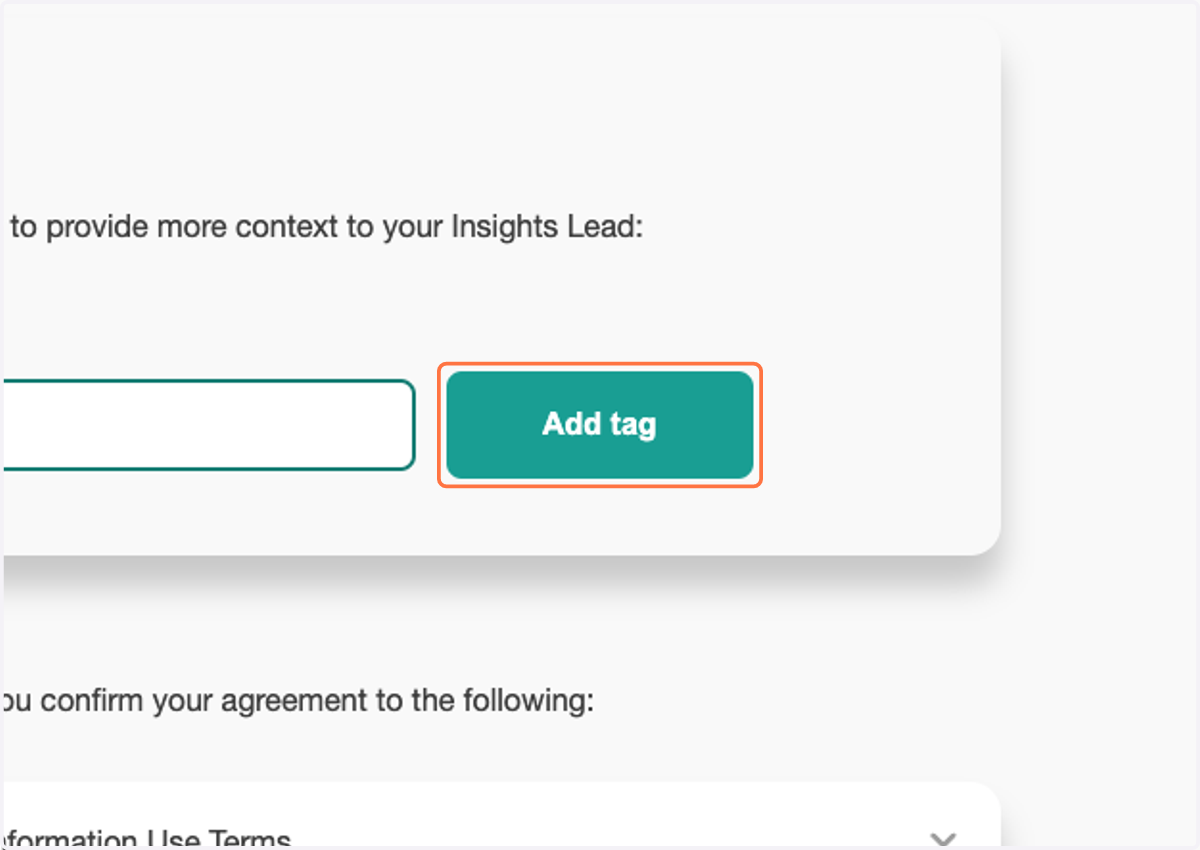
35. Click on Add tag to include some context words for viewers
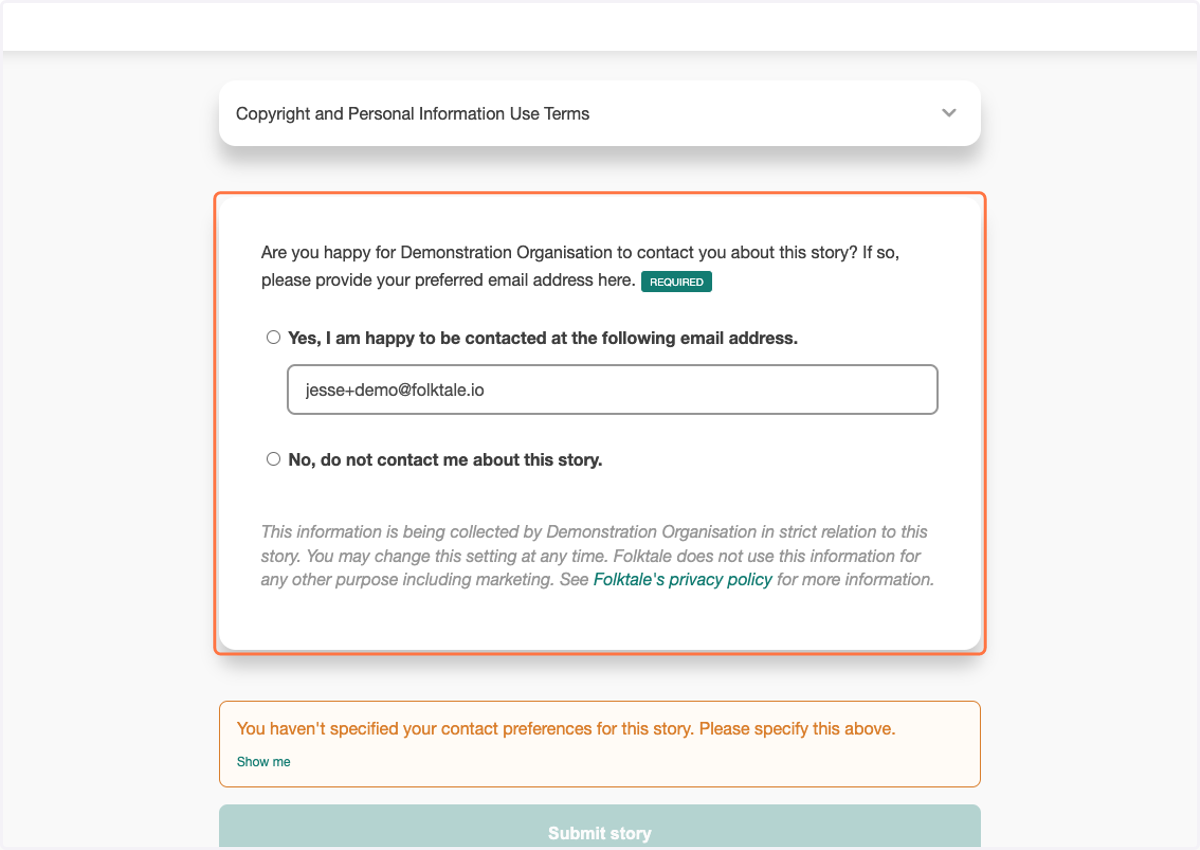
36. Decide whether you would like to be contacted by the workspace
37. When you're happy with your story, click on Submit story
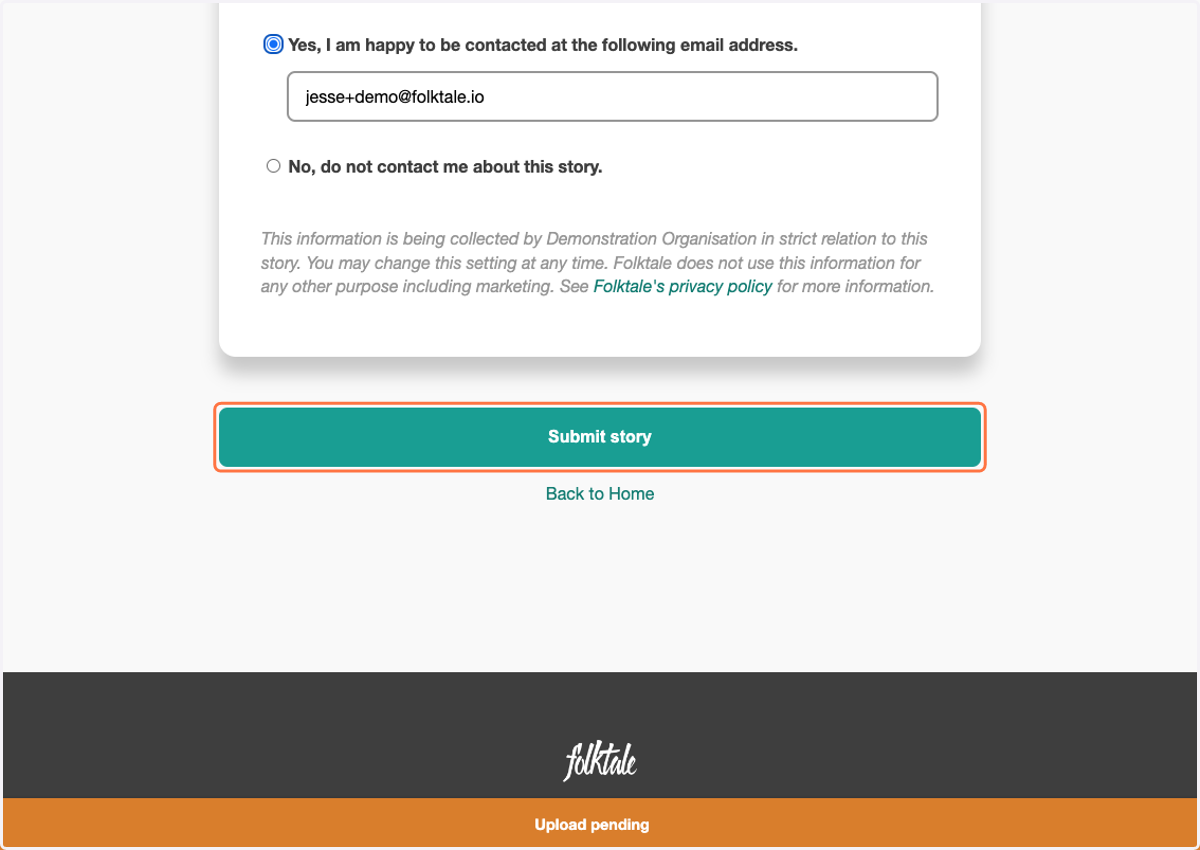
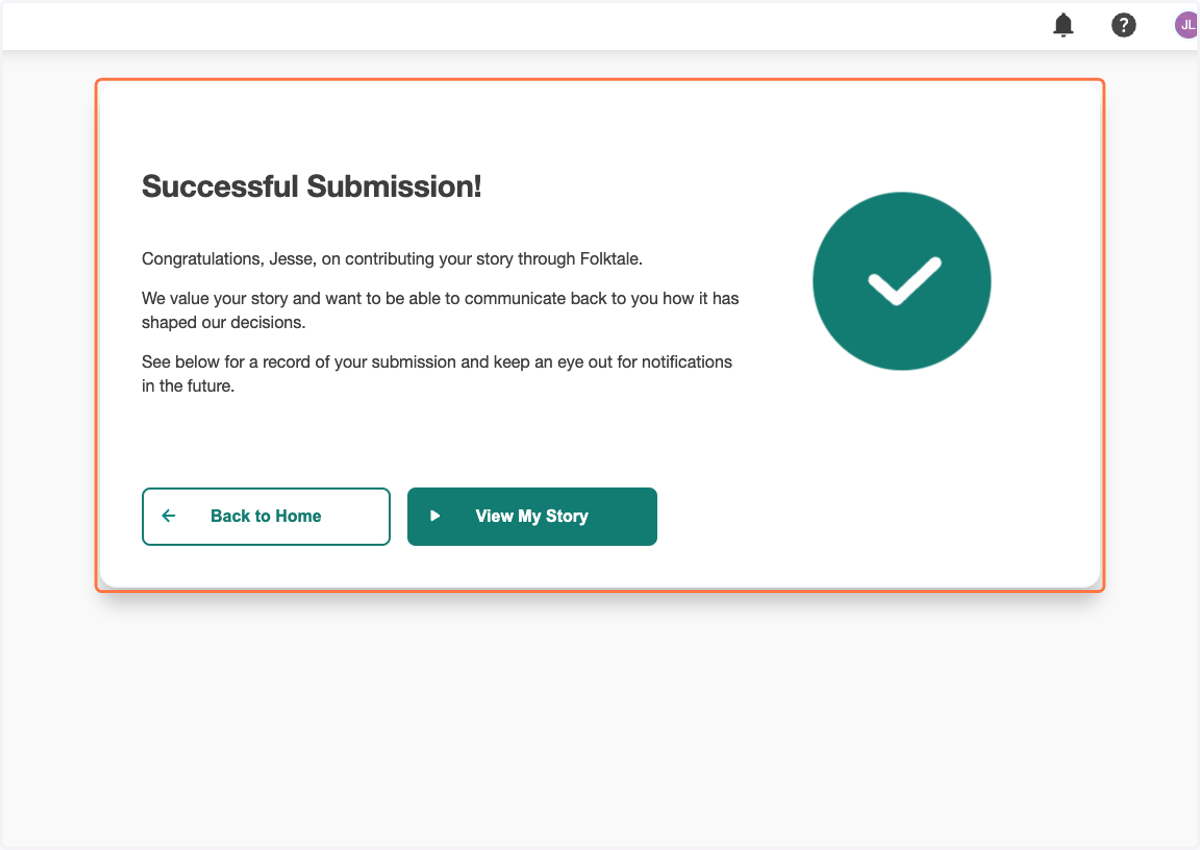
38. Congratulations, you have submitted your story using a preset