[TUTORIAL] Component: Banners - Full Width Title Bar

  1. 1. Click on the section you would like to add this component to. In this example, we will be inserting it into Main Content.
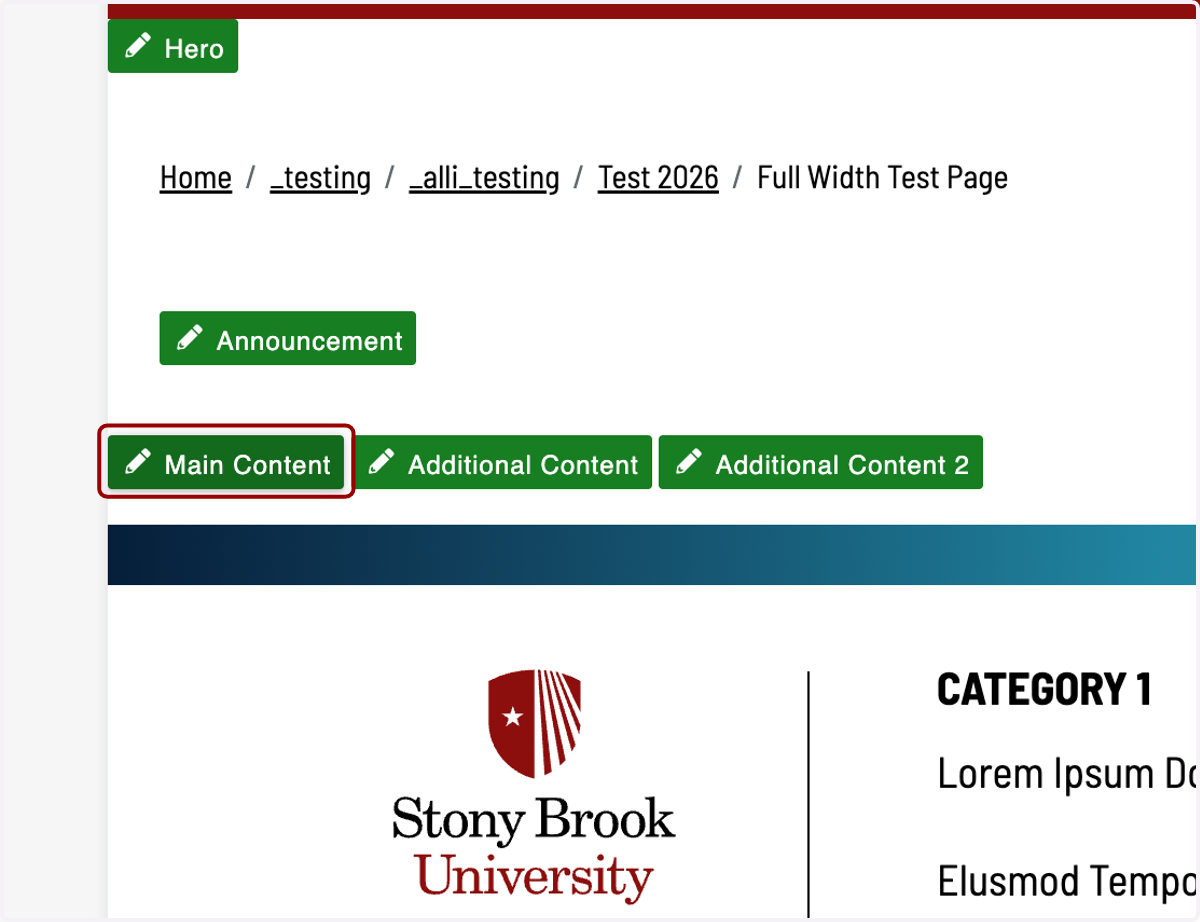
    Modern Campus page editor with the Main Content region highlighted as the insertion point for a component.
  2. 2. Next, click on the Insert Component icon.
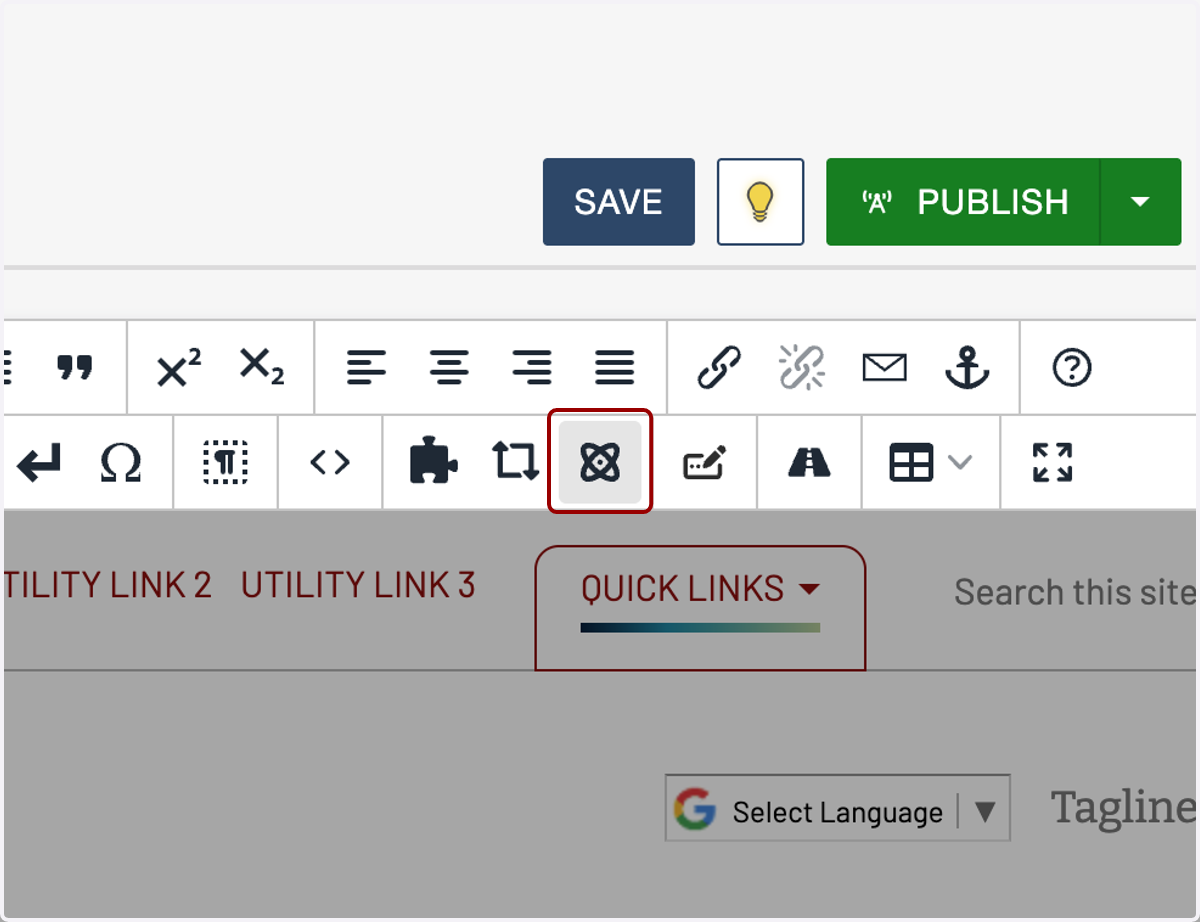
    Toolbar in the page editor with the Insert Component button highlighted.
  3. 3. Click on or filter by name for "1_Banners – Full Width Title Bar." You will see a preview of it appear on the right-hand side.
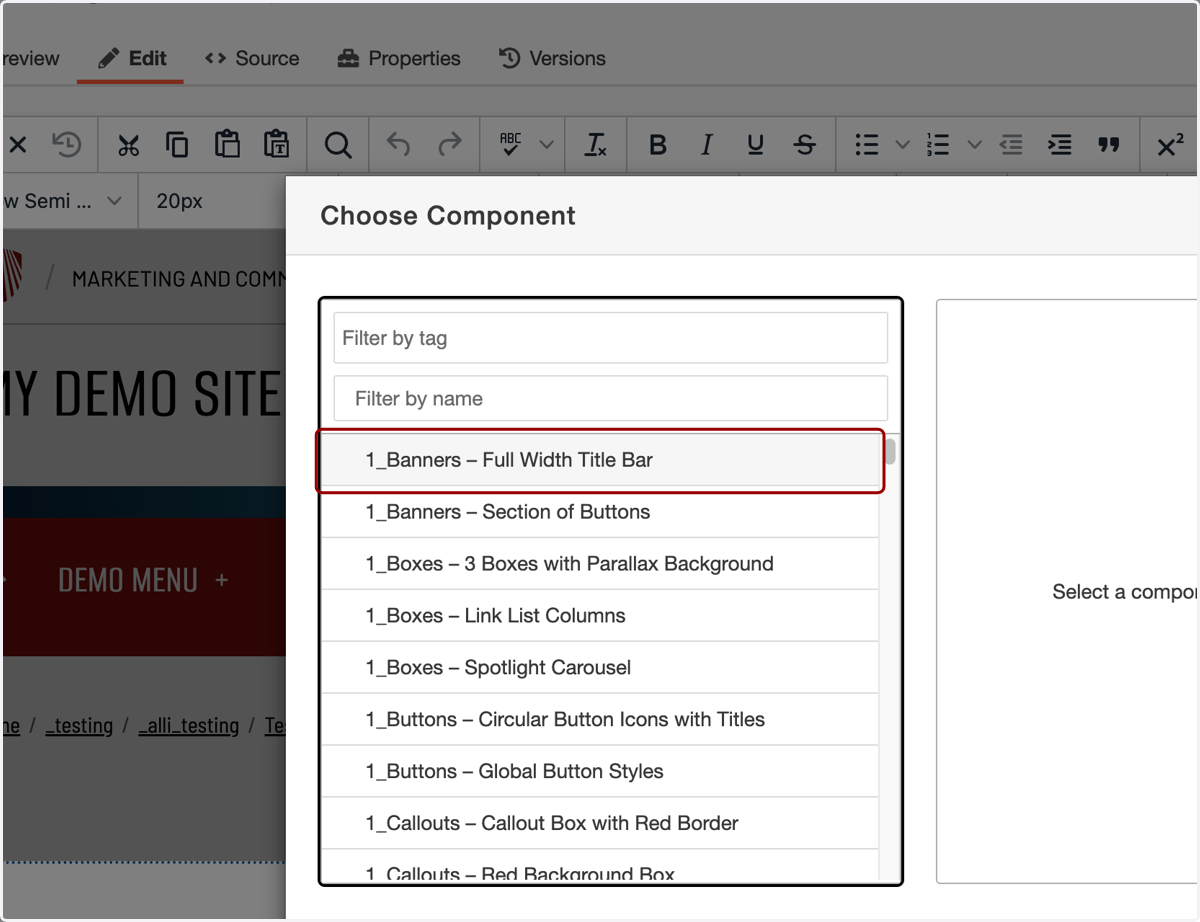
    Insert Component panel showing “1_Banners – Full Width Title Bar” selected with a preview pane visible on the right.
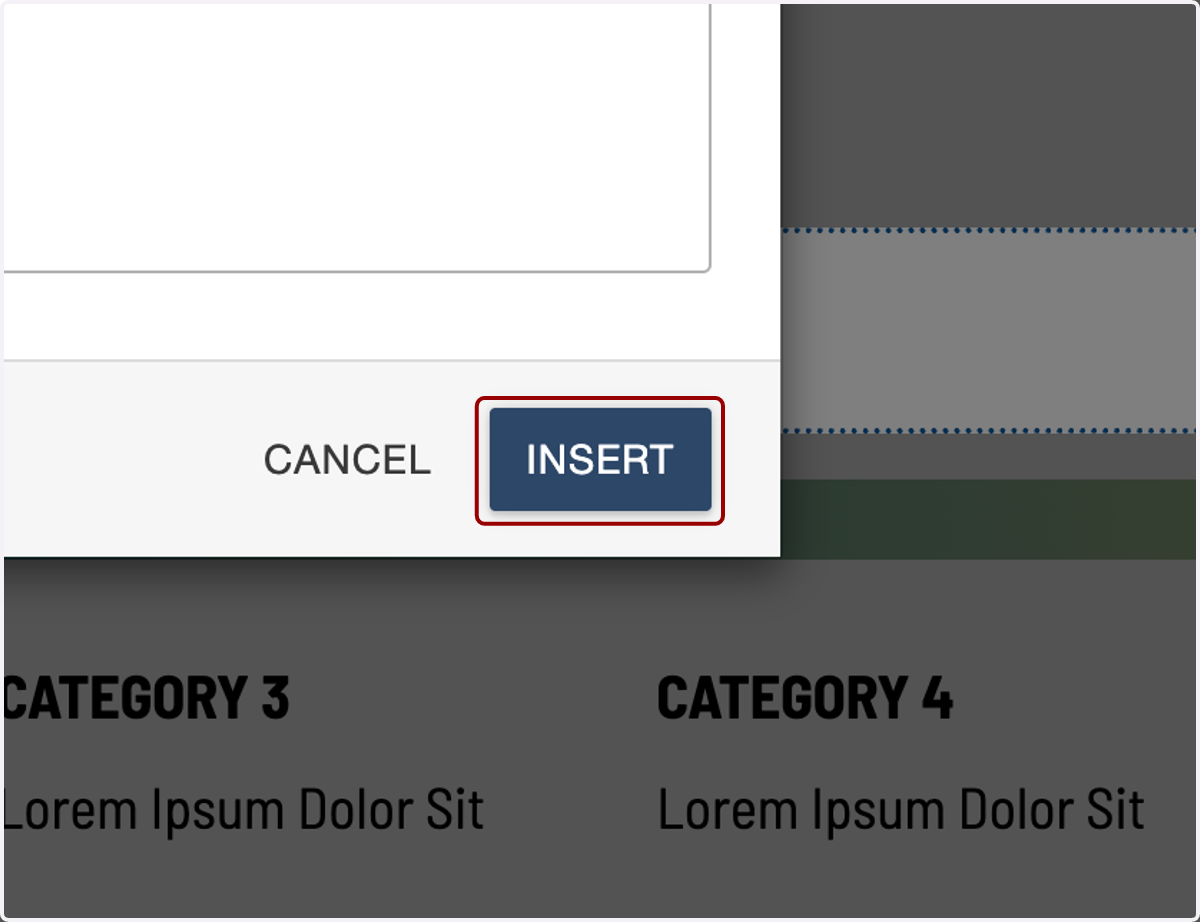
  4. 4. Click on INSERT.

    Insert confirmation view with the Insert button highlighted to add the selected component.
  5. 5. In Main Title, add the headline you want to appear in the bar.
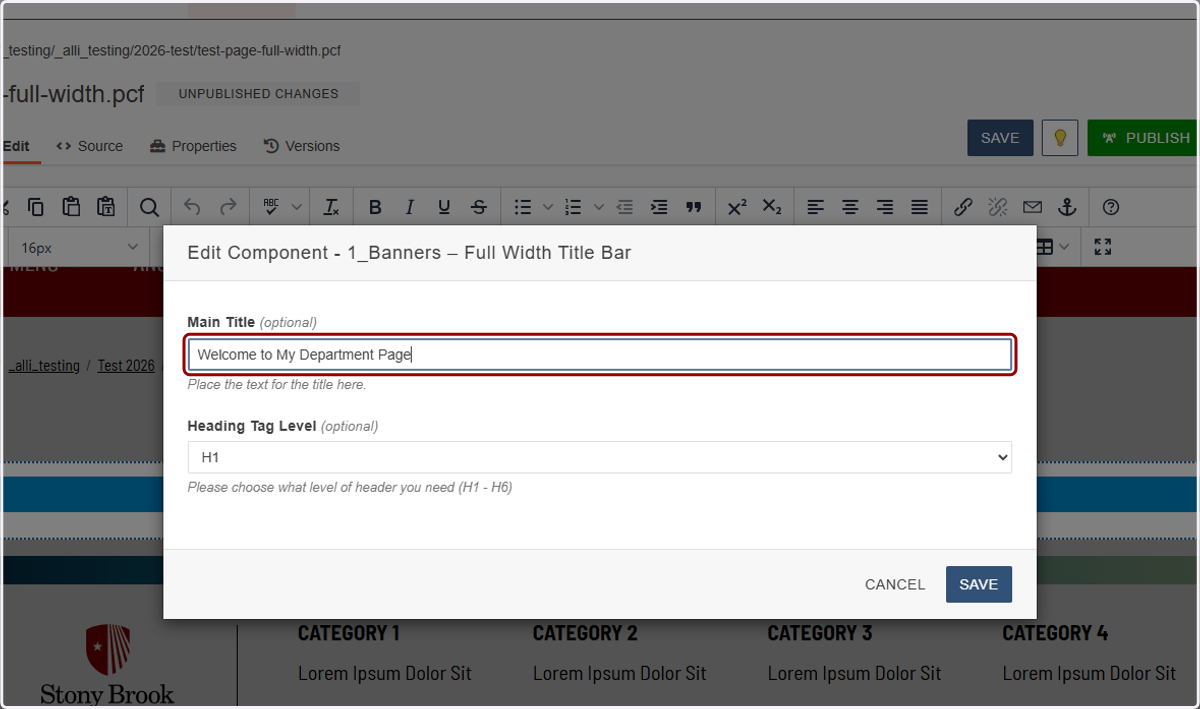
    Component configuration form with the Main Title field highlighted for entering the title bar text.
  6. 6. Next, you'll select the heading H tag you would like to assign that headline. If you are using this bar as the hero of your page, set this to H1. Otherwise, you will likely set it to H2.

    For more information about how and when to use different H tags, see our H tag article.
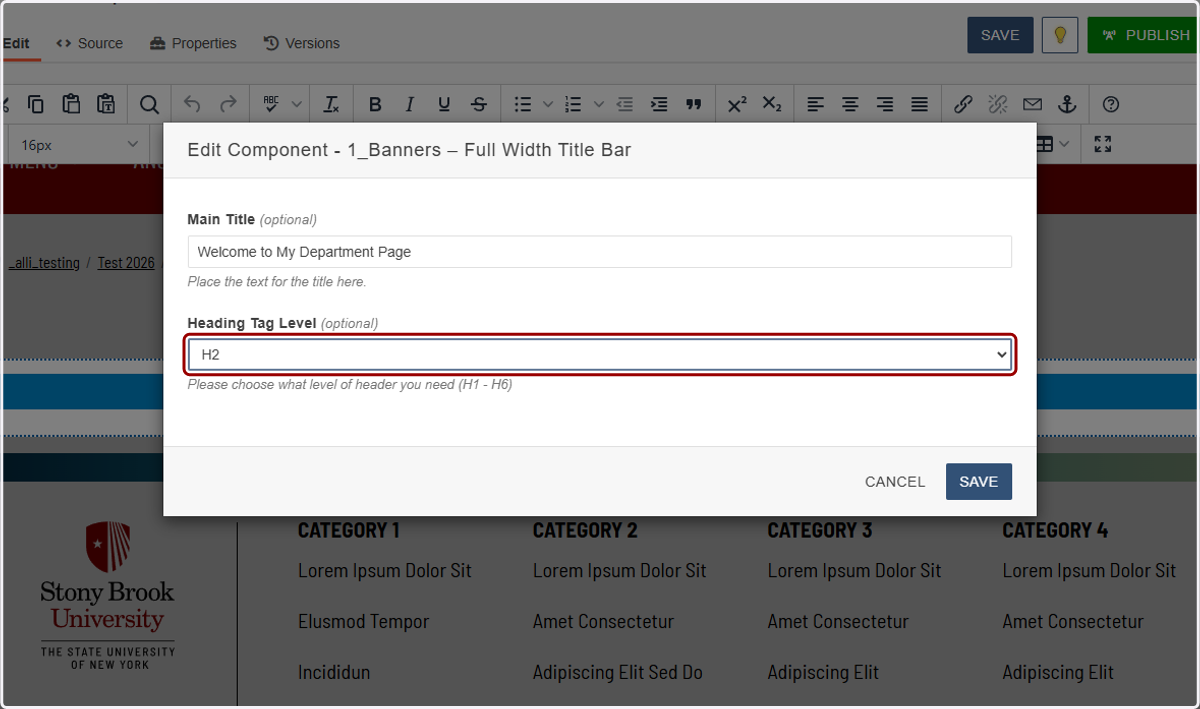
    Main Title heading level selector highlighted, with options such as H1 and H2 available.
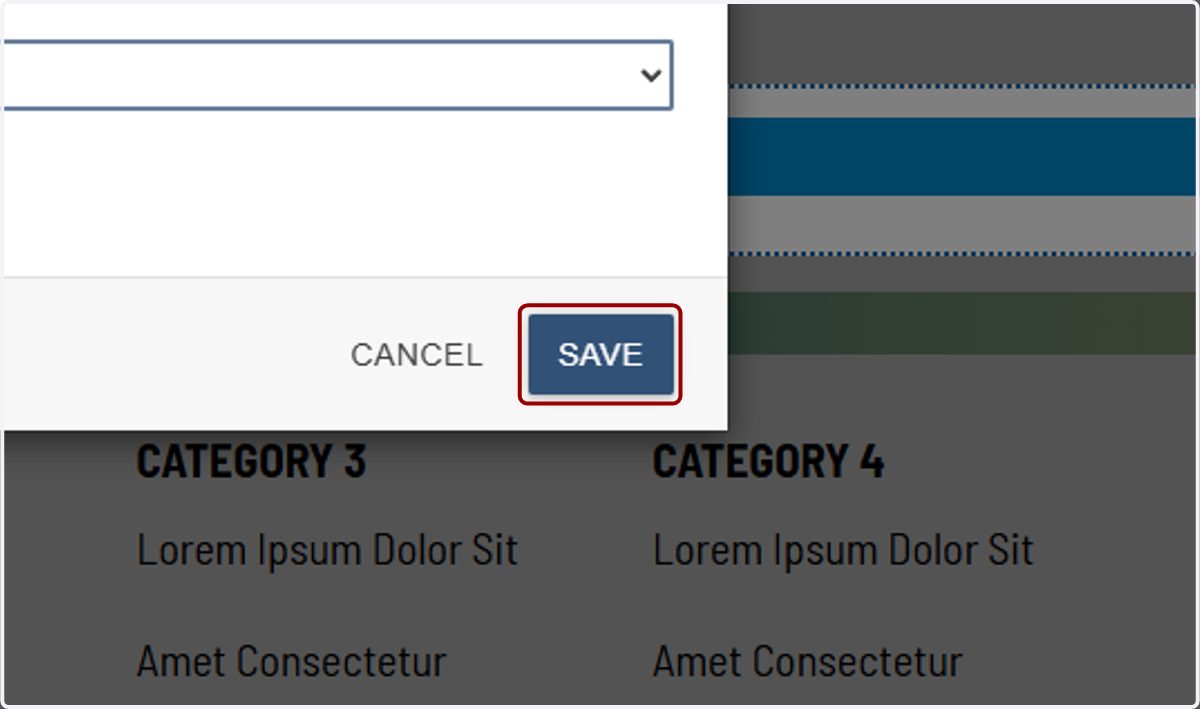
  7. 7. Click on SAVE.

    Component configuration Save button highlighted to save the title bar settings.
  8. 8. Click on SAVE again at the top of the page.
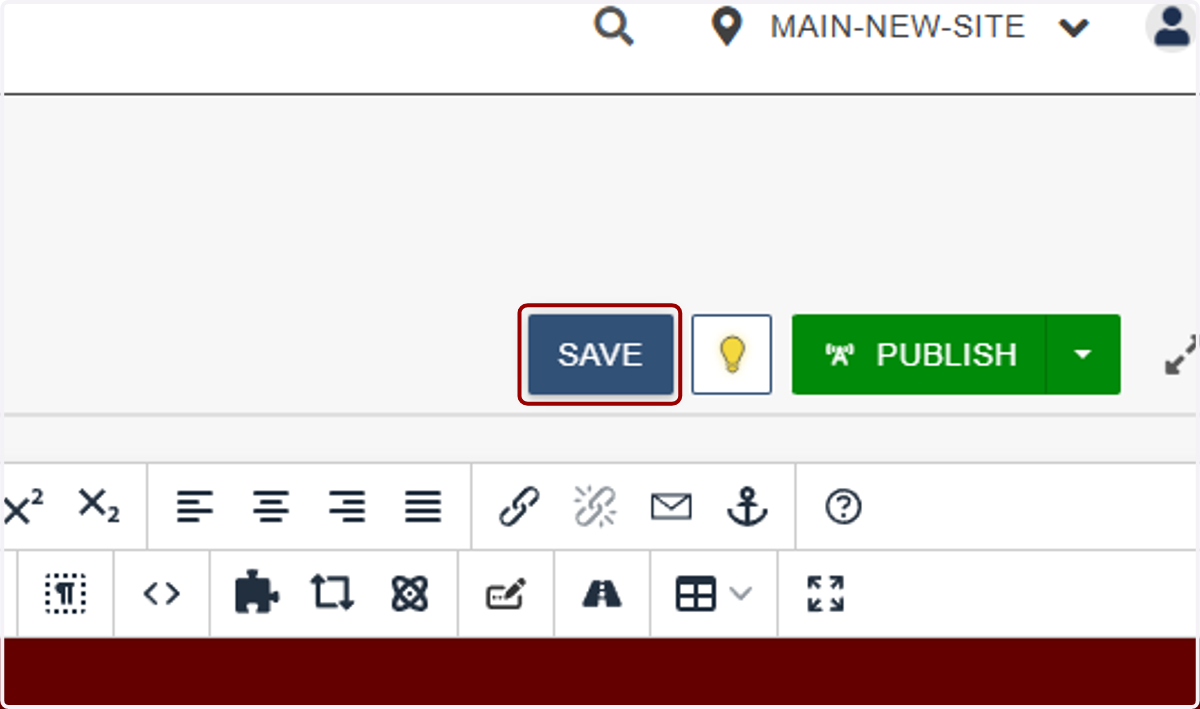
    Editor header area with the main Save button highlighted for saving the page.
  9. 9. Click on the Preview tab to check your work.
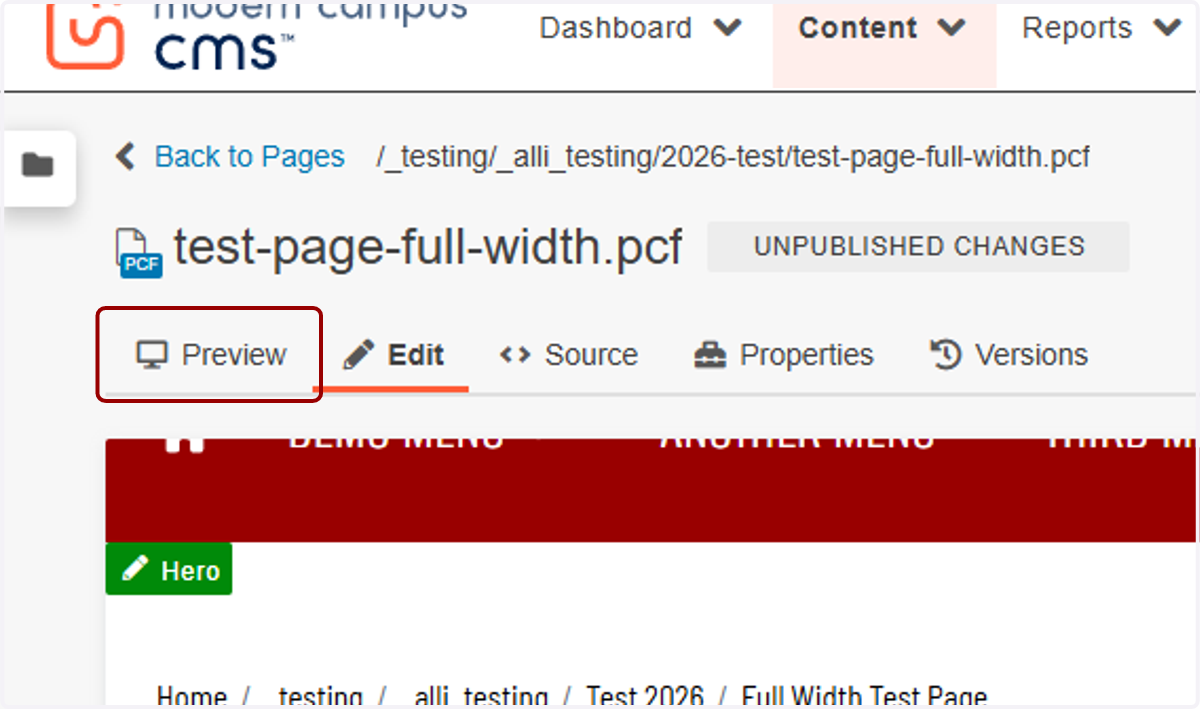
    Editor header area with the Preview tab highlighted to review the title bar on the page.
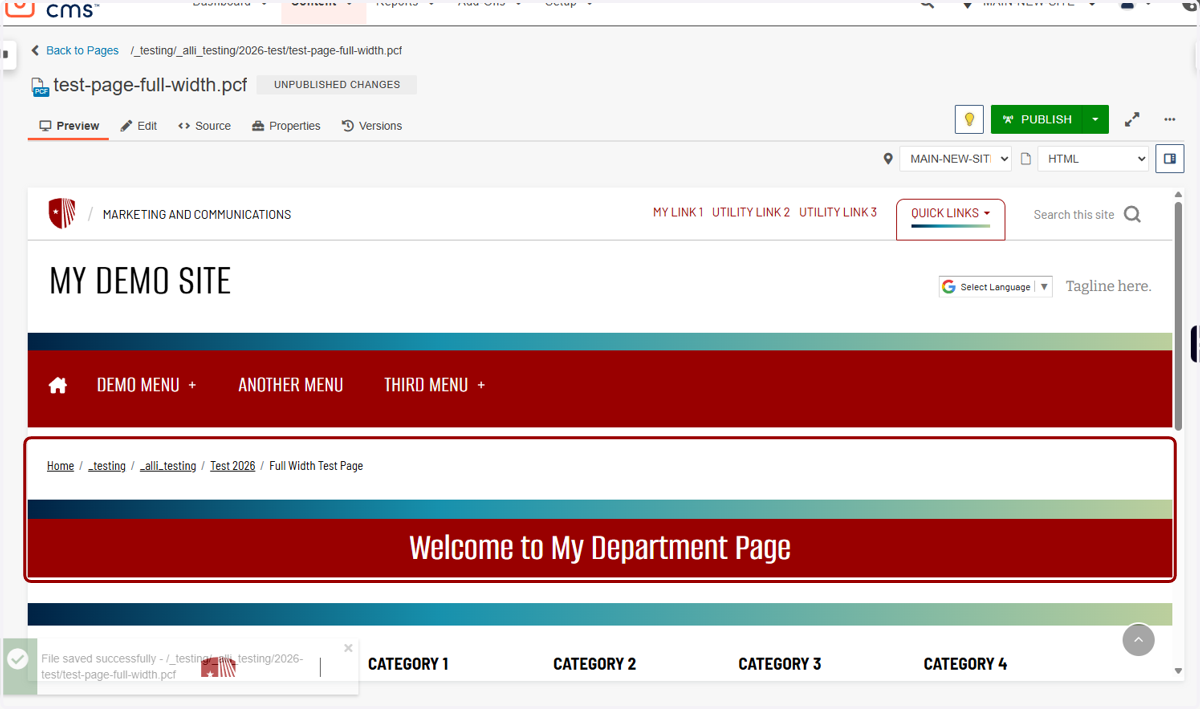
  10. 10. Great job!

    Preview page showing the full-width title bar rendered on the page.