Managing PayTrace Payment Method in Infigo Admin | BG_PAY_002_PayTrace
Here, we'll take a look at configuring and utilising the PayTrace payment method within Infigo.
1. Navigate to the Payment Methods screen and click on Configure next to the PayTrace plugin
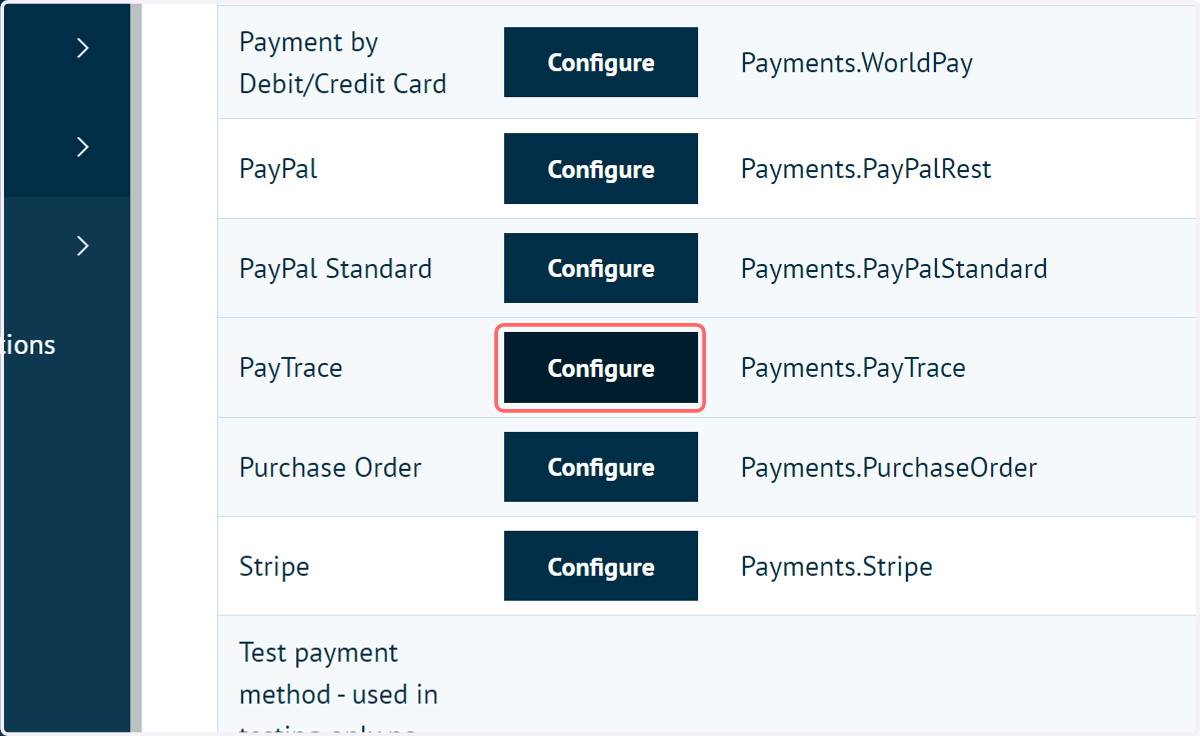
Infigo Admin - Configure - PayTrace
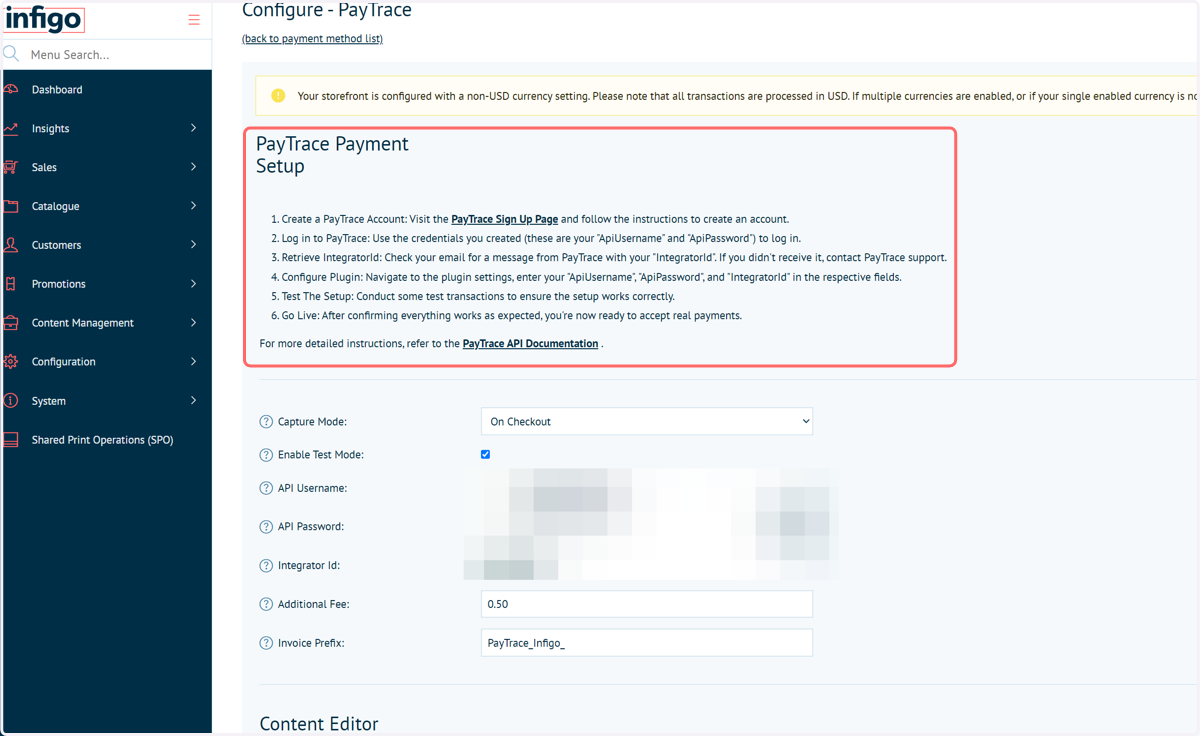
2. Instructions
Instructions have been provided on settings up and configuring your PayTrace account.
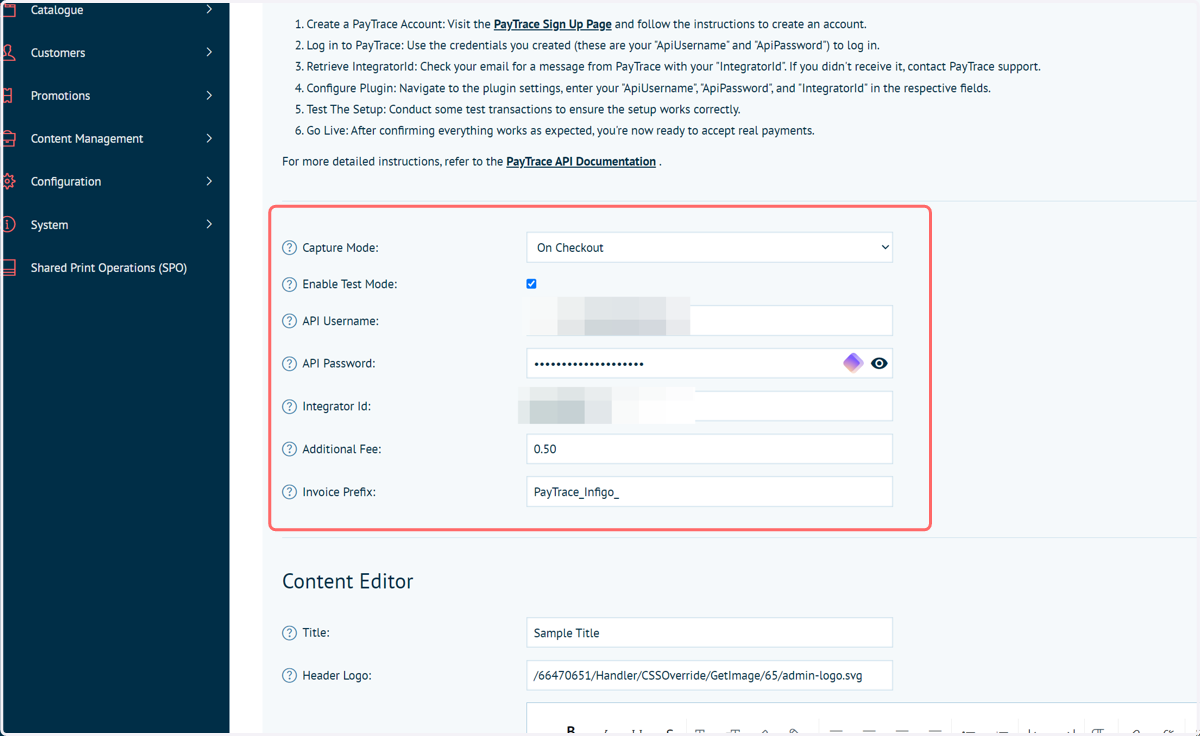
3. Configure main settings
Configure the main set of options. These primarily provide your account and authentication information to Infigo, so the system can connect to your PayTrace account.
In addition, options are available to control:
When the payment capture is activated
Whether test mode is enabled (meaning no payments will actually be made)
Whether an additional fee is valid for choosing this payment method
Whether a specific prefix is required on invoices to identify the payment method as PayTrace
4. Payment screen configuration
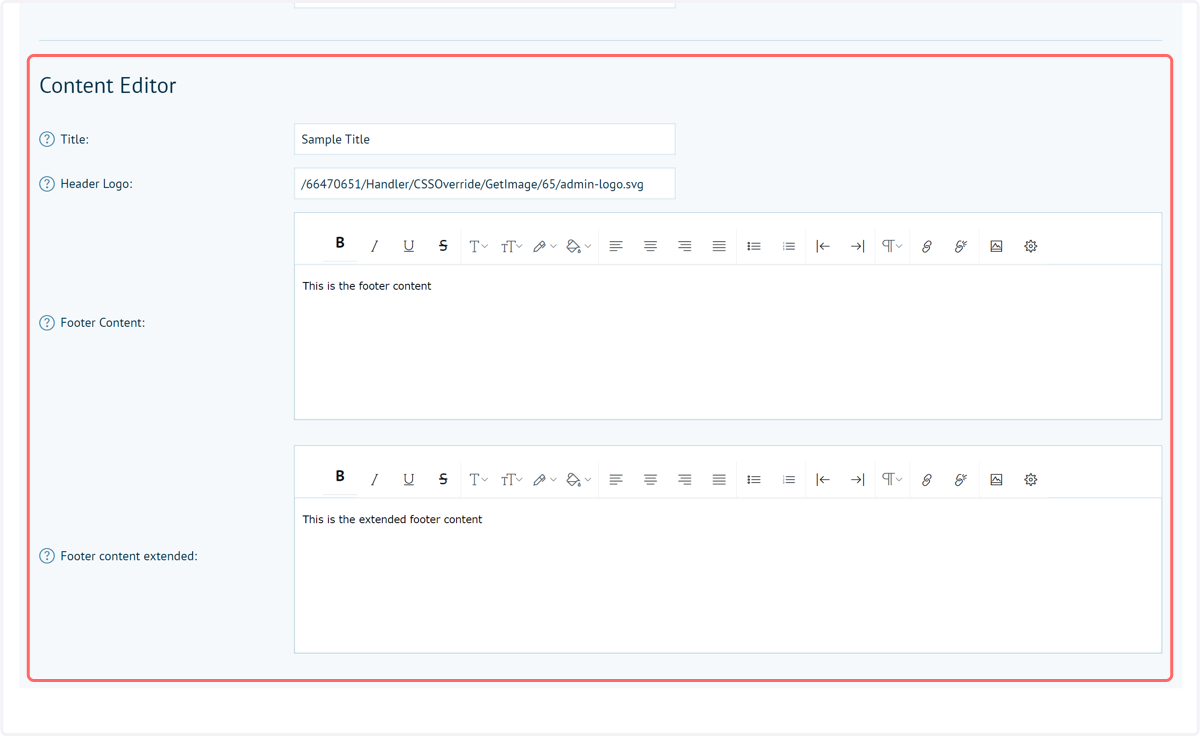
A few additional settings are available to allow customisation of the payment screen. This screen appears during the checkout process in Infigo when PayTrace is selected. You have the ability to customise:
The title shown on the pay screen
Whether a logo is displayed (upload a logo to your CSS Override area and copy/paste the created URL)
Footer content
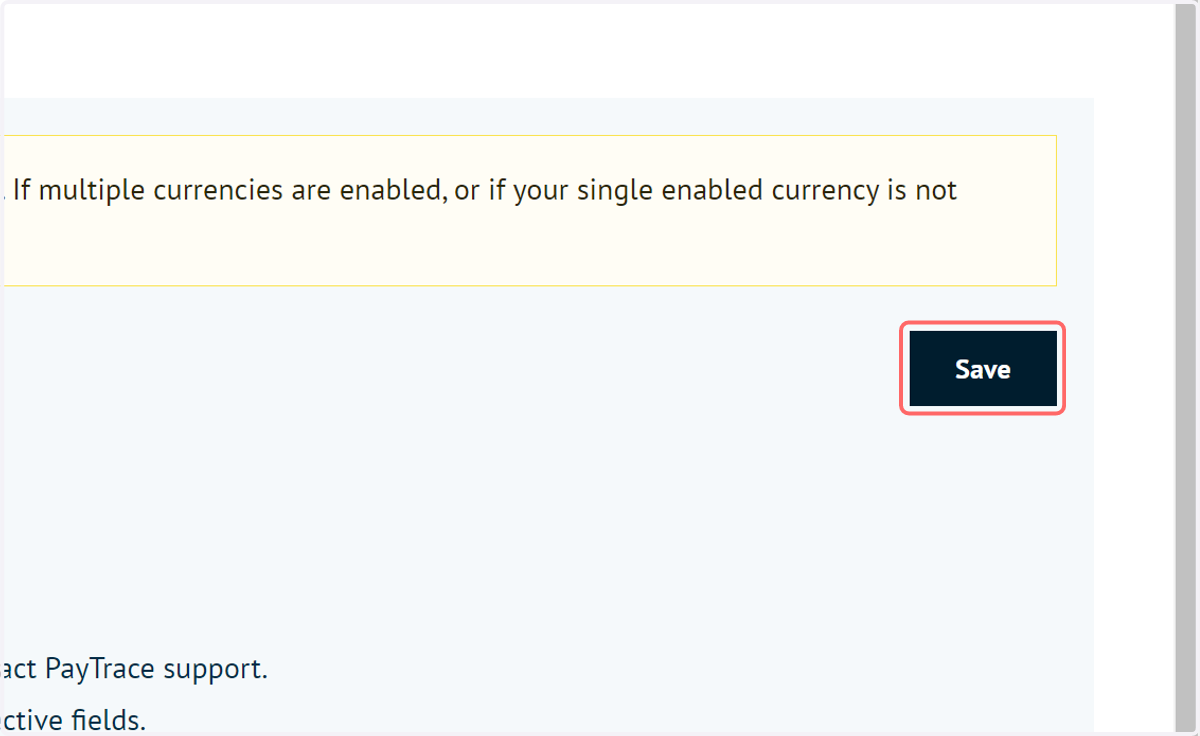
5. Click on Save
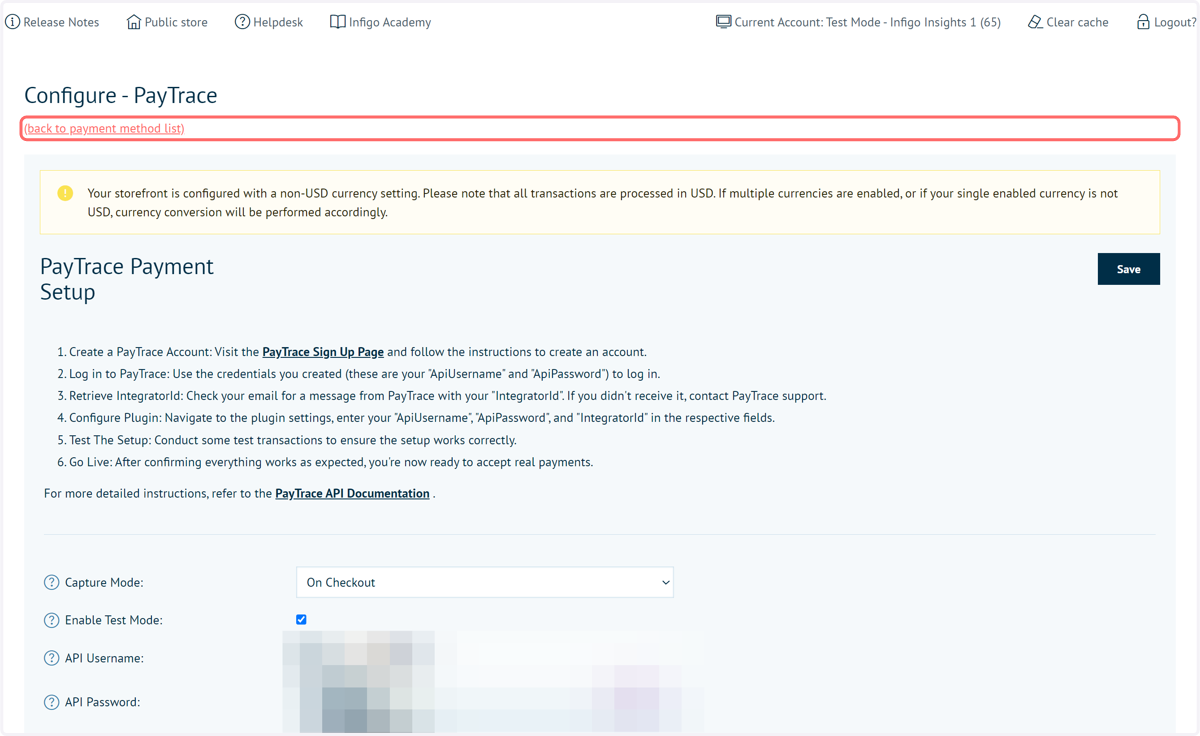
6. Click on (back to payment method list)
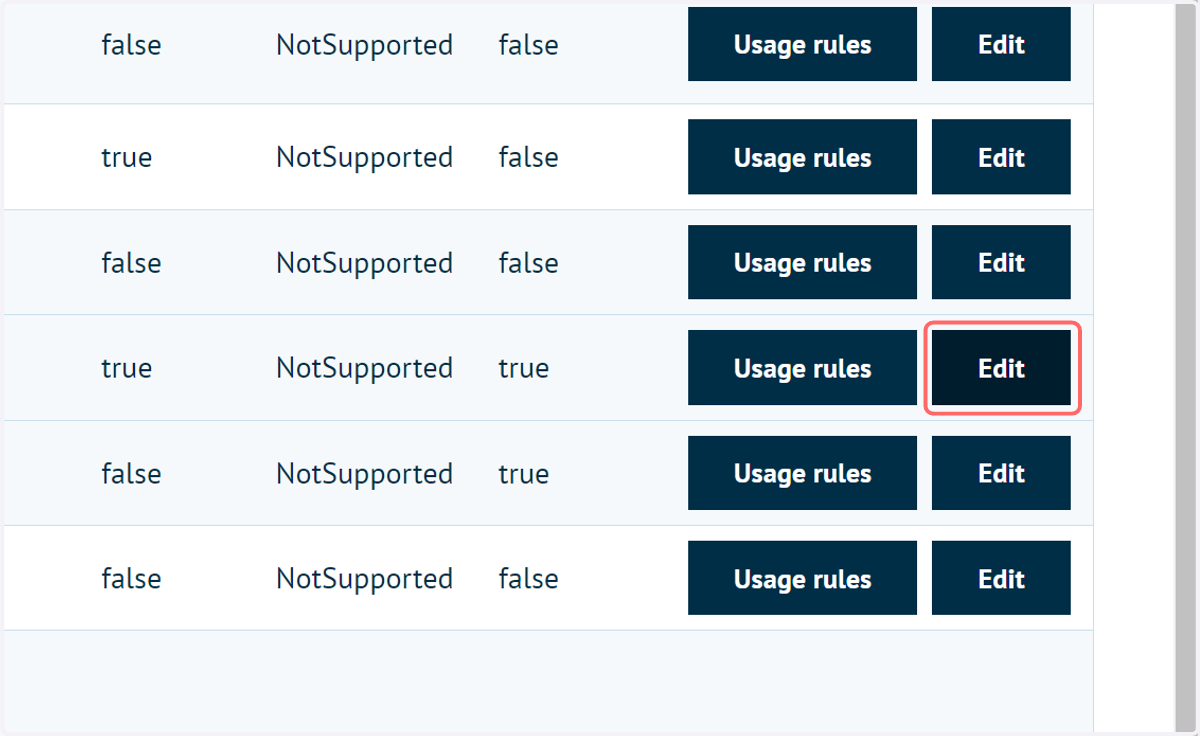
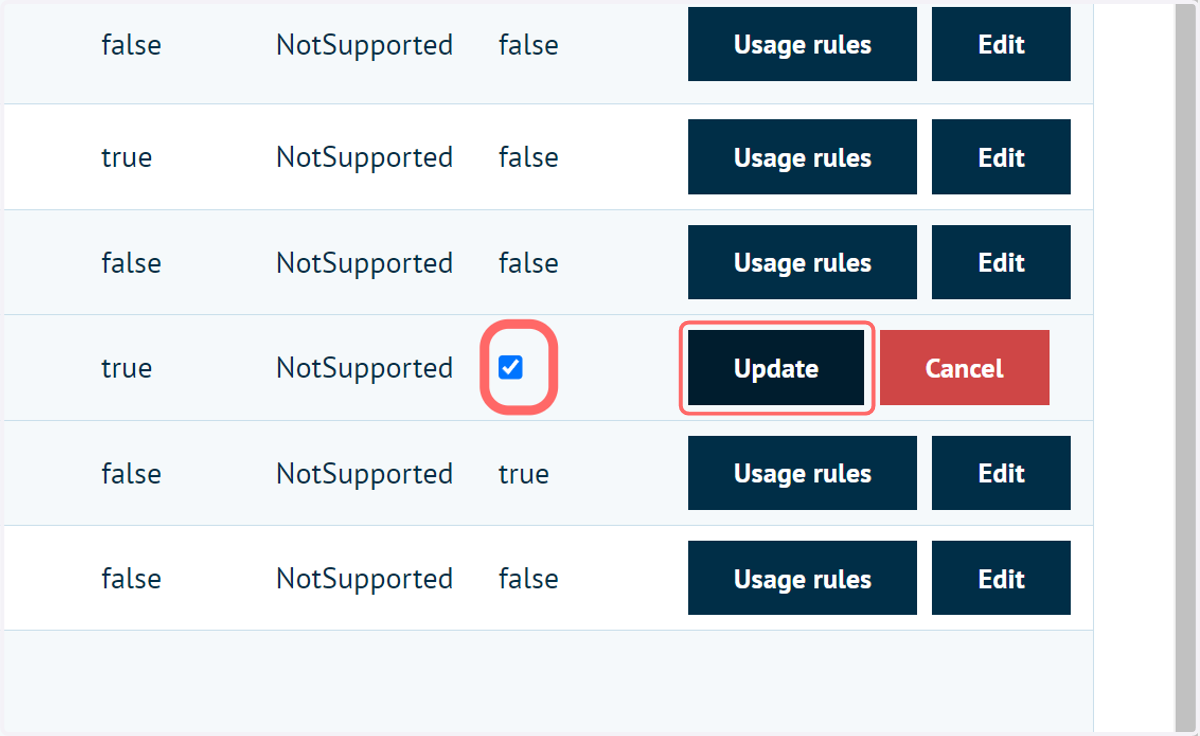
7. Ensure the PayTrace plugin is an active method of payment on your Storefront
Click Edit on the PayTrace entry
8. Ensure the checkbox is selected and click on Update
9. Click on Public store
Let's take a look at how this appears and operates on the front end of our Storefront
10. Add items to the basket and navigate through the checkout
11. Once you reach the payment screen, select PayTrace
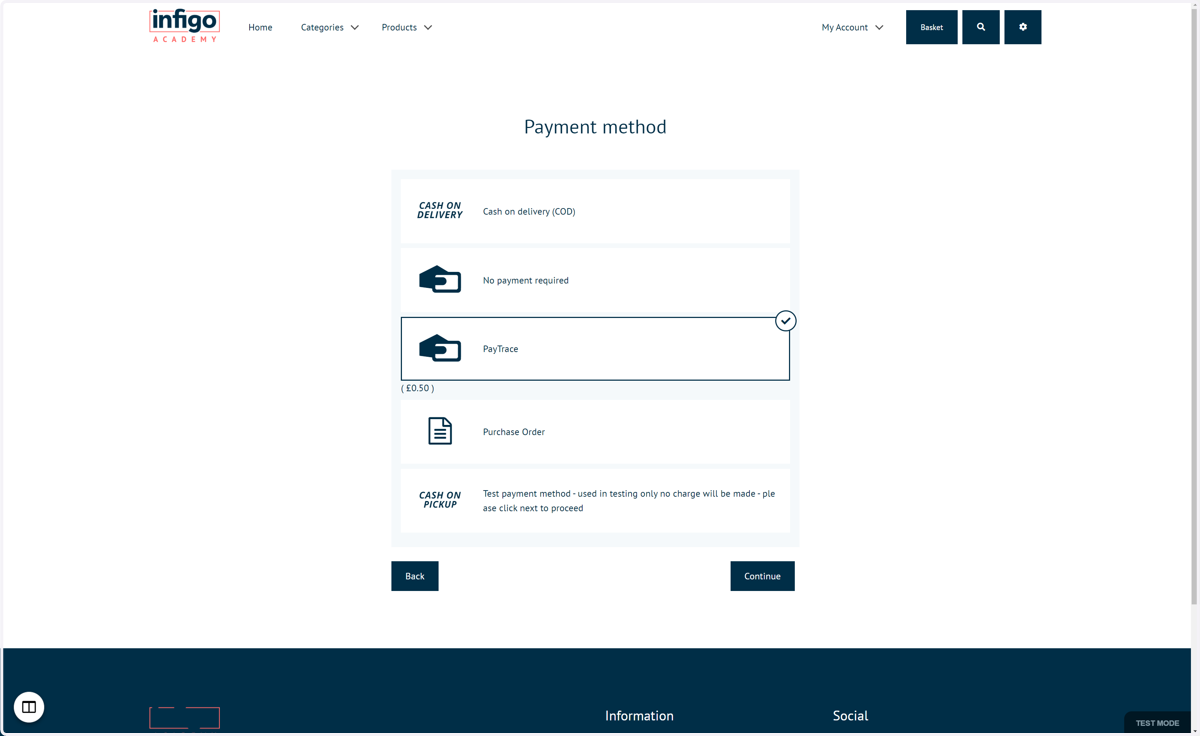
12. Click on Continue
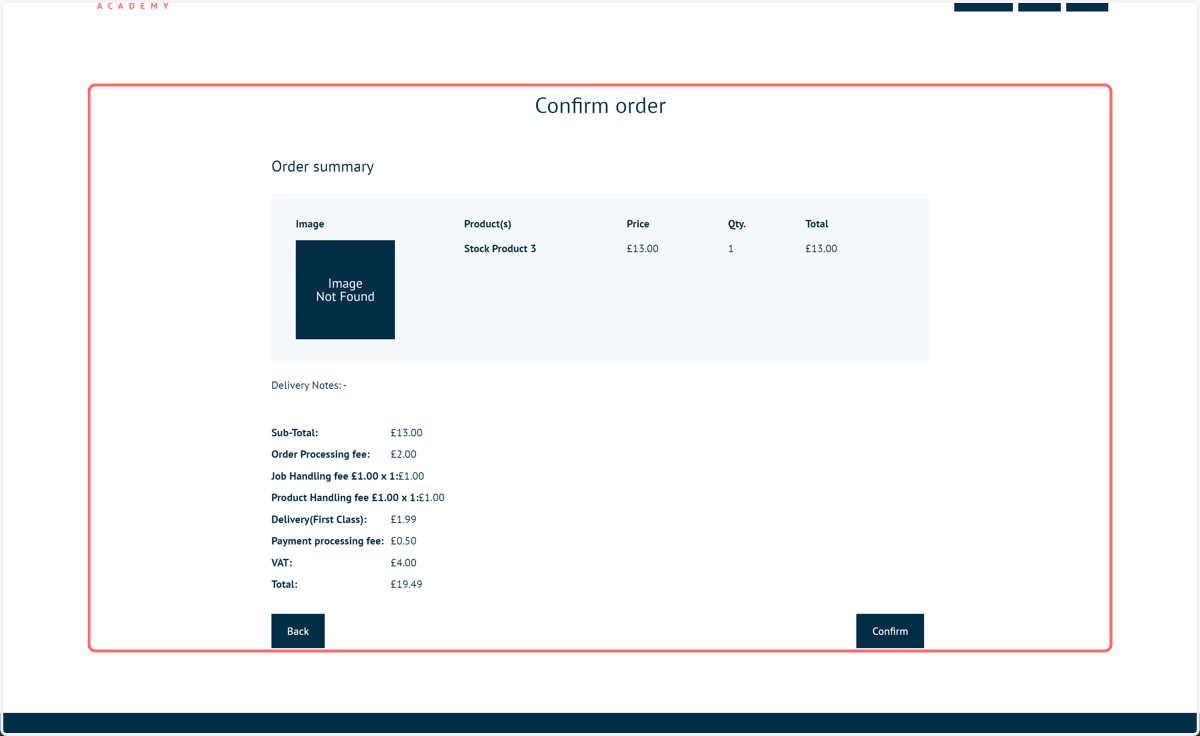
13. You will be taken to the Confirm order page with no payment taken so far
14. Click on Confirm
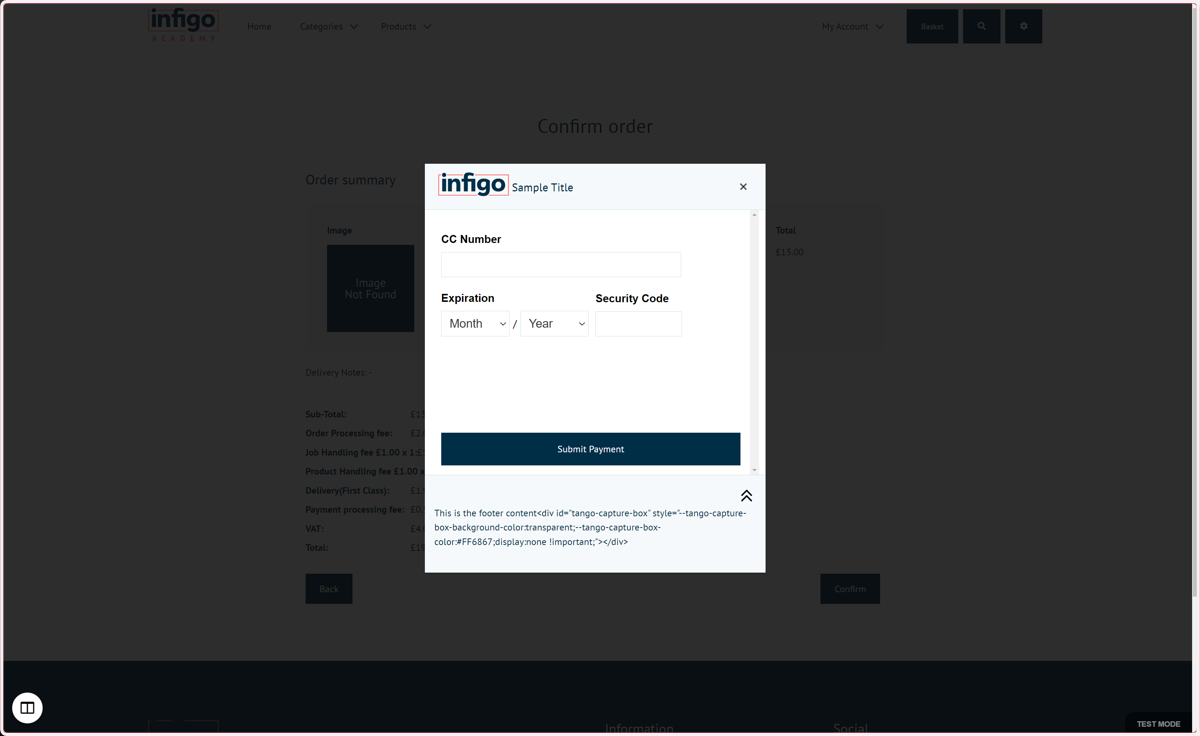
15. The PayTrace payment collection screen now appears
Here, your customers will be prompted to enter their payment details.
You can also see the customisation elements introduced in a previous step. We have created a custom title, input a logo and defined footer content on this page.