Setting up your MagicSet account
In this walkthrough, we'll go through the current setup of your MagicSet account and prepare you to send your first campaign!
Login to your MagicSet account https://app.magicset.ai
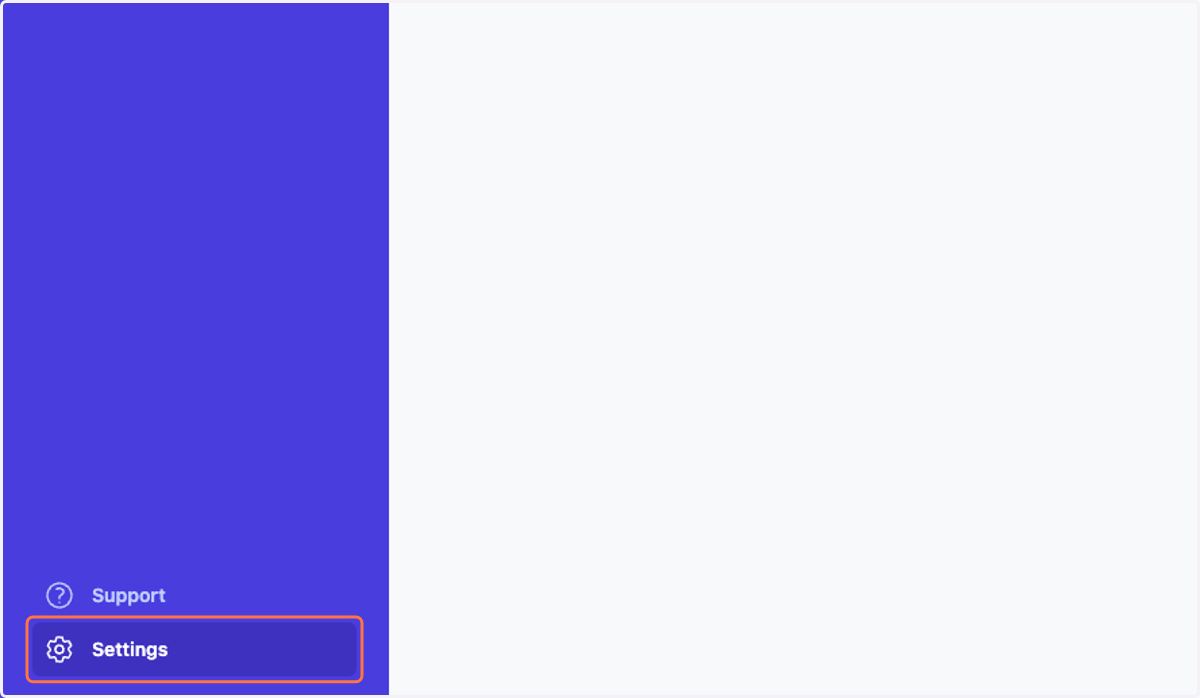
1. While in the dashboard, click on Settings
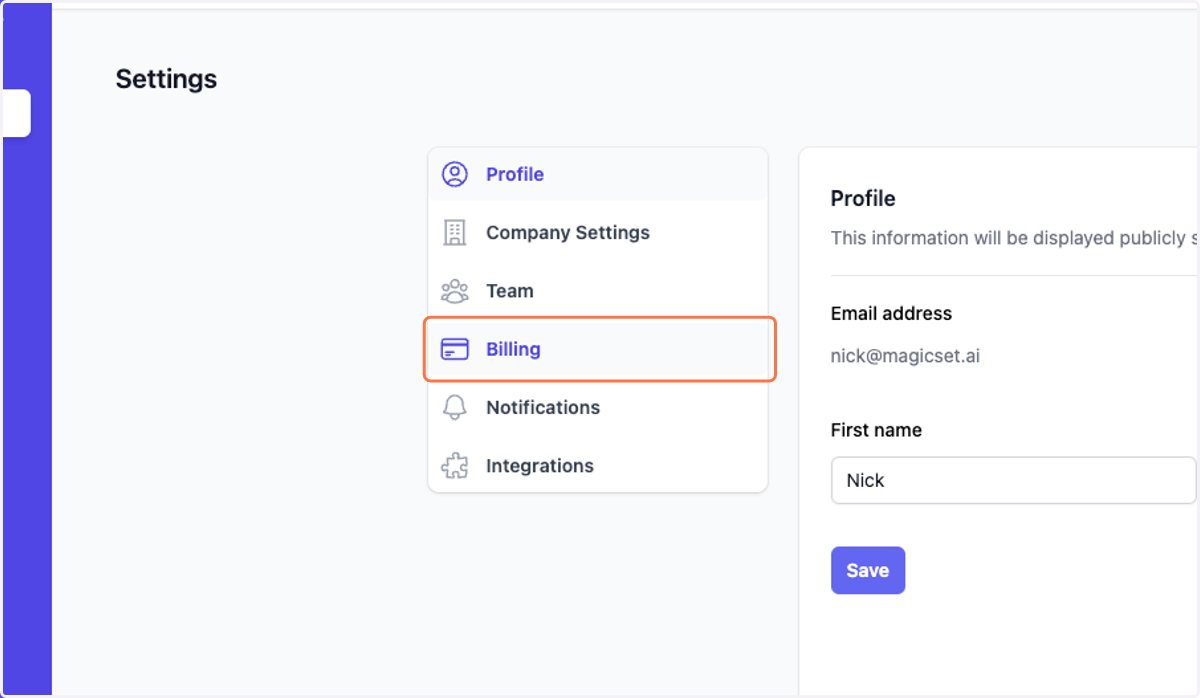
2. Click on Billing
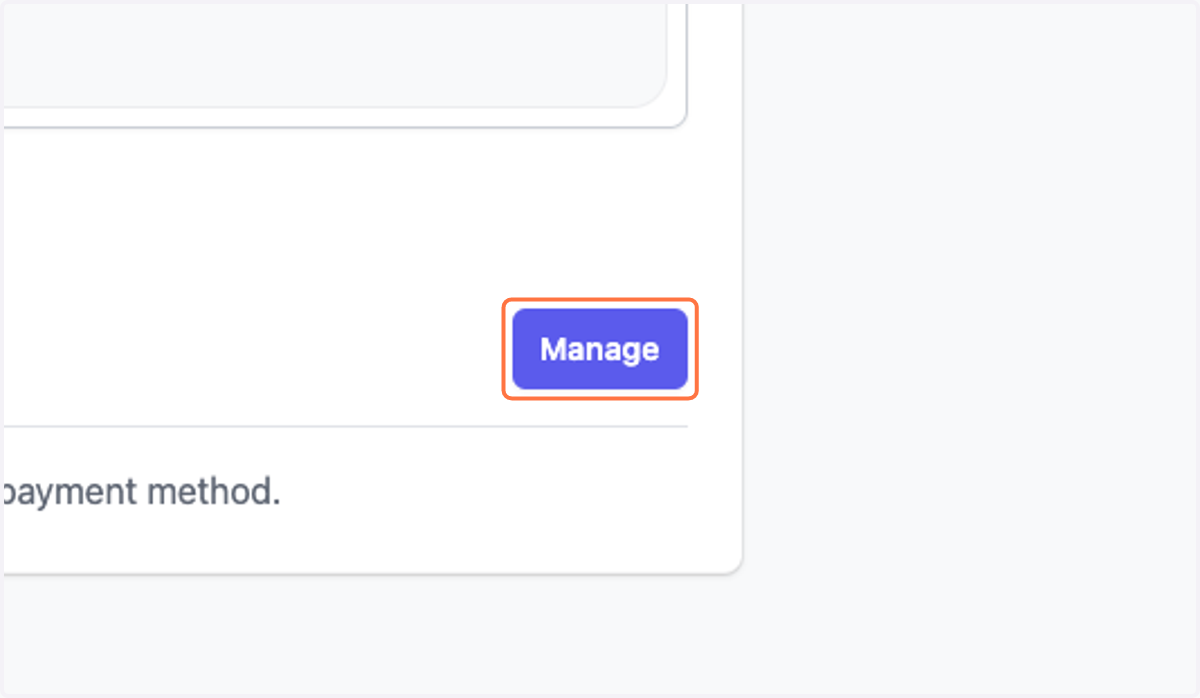
3. Click on Manage
Adding a payment method to MagicSet
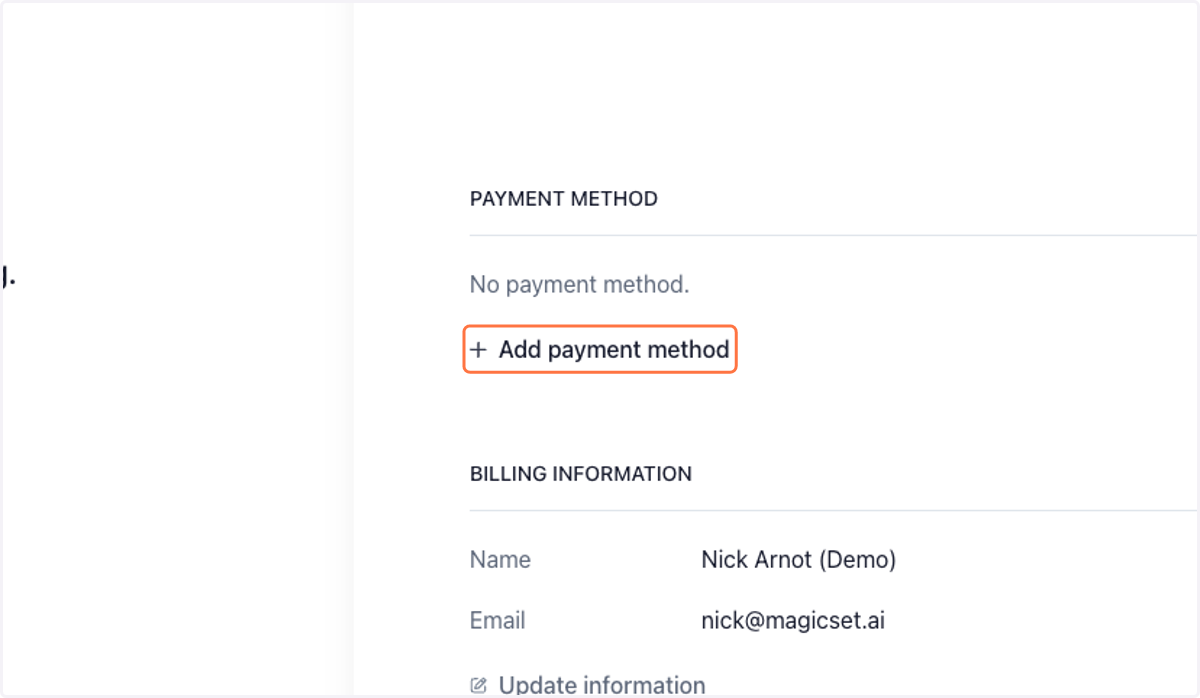
4. Click on Add payment method
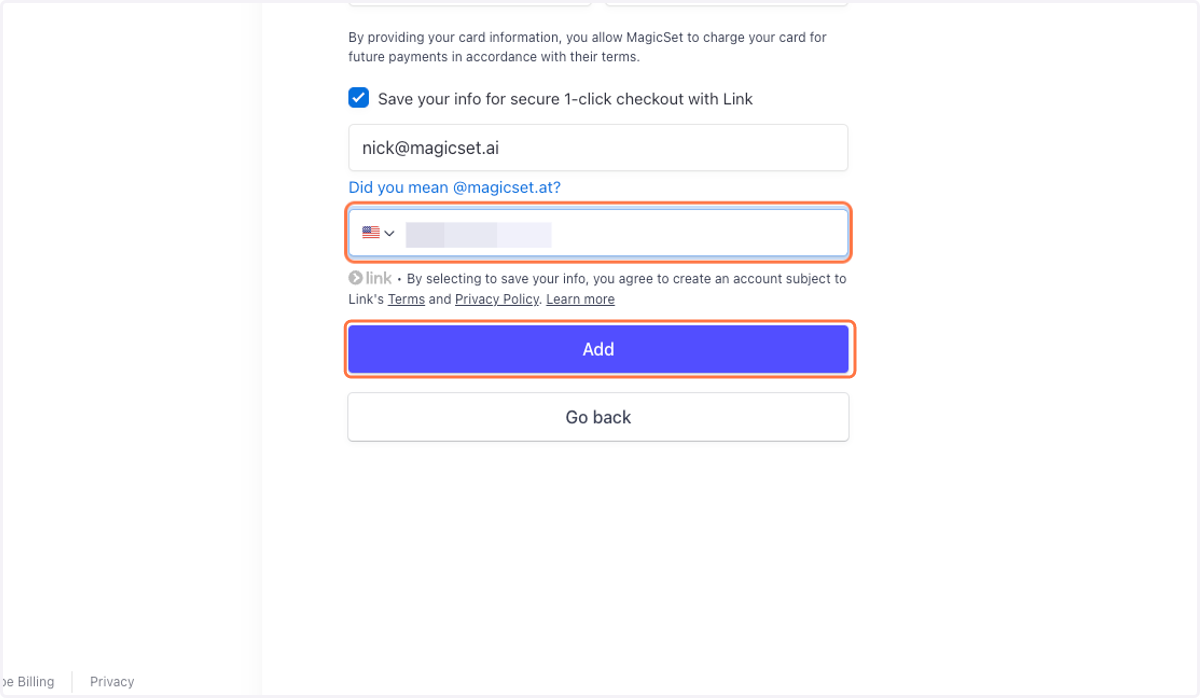
5. Click on Add
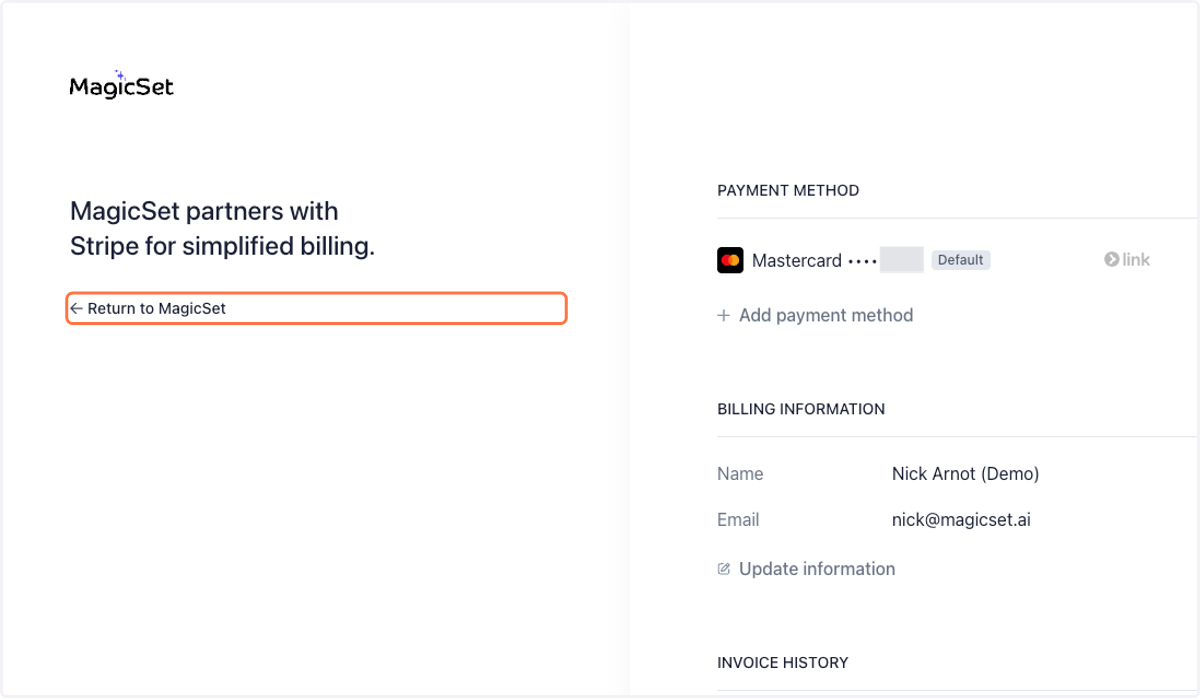
6. Click on Return to MagicSet
MagicSet
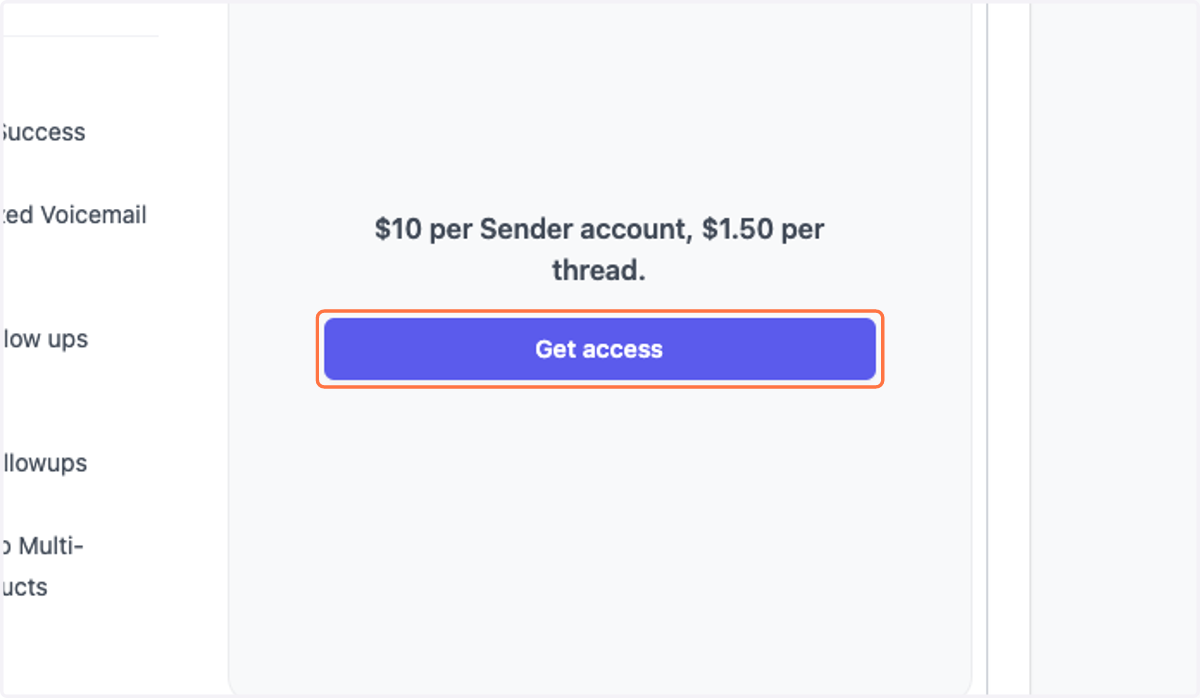
7. Choose your preferred plan
MagicSet
8. Click on Subscribe…
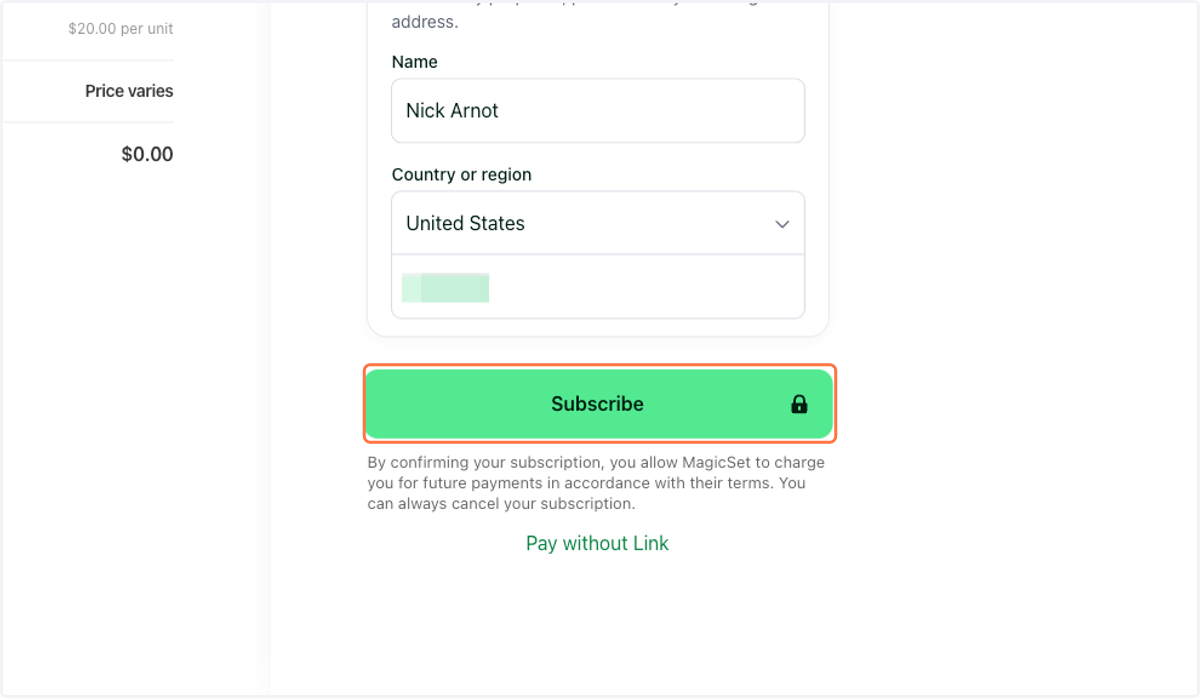
Go back to MagicSet and begin campaign preparation
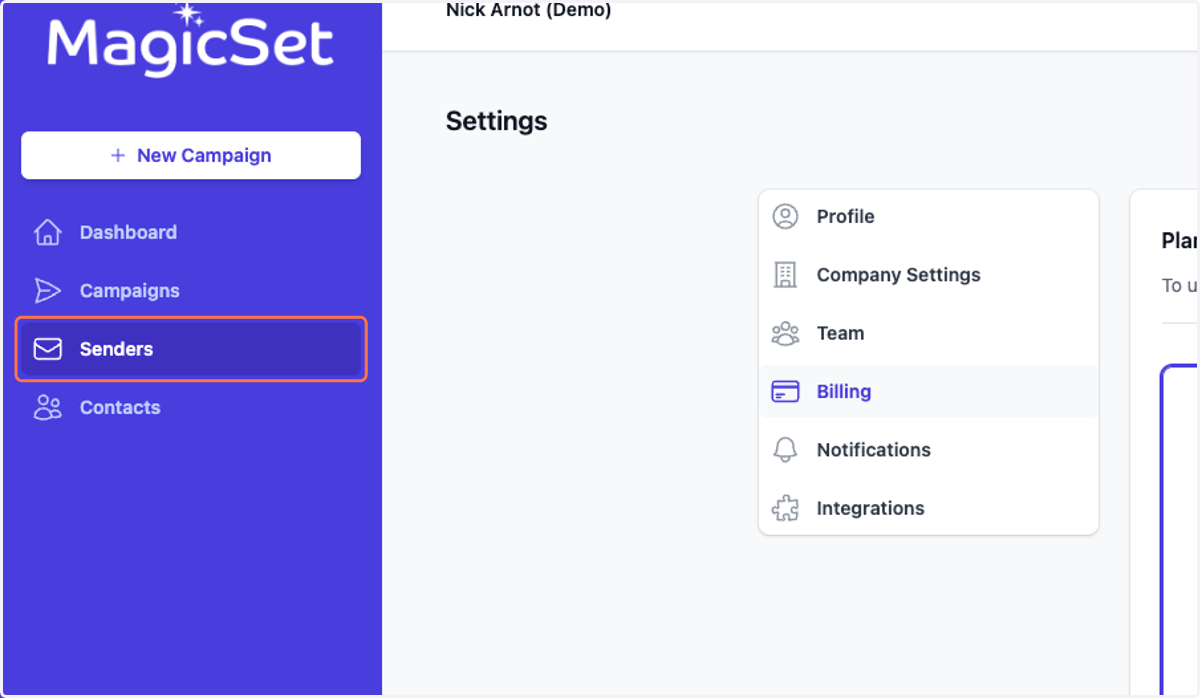
9. Click on Senders
In this step, we will set up which email addresses you will send emails from.
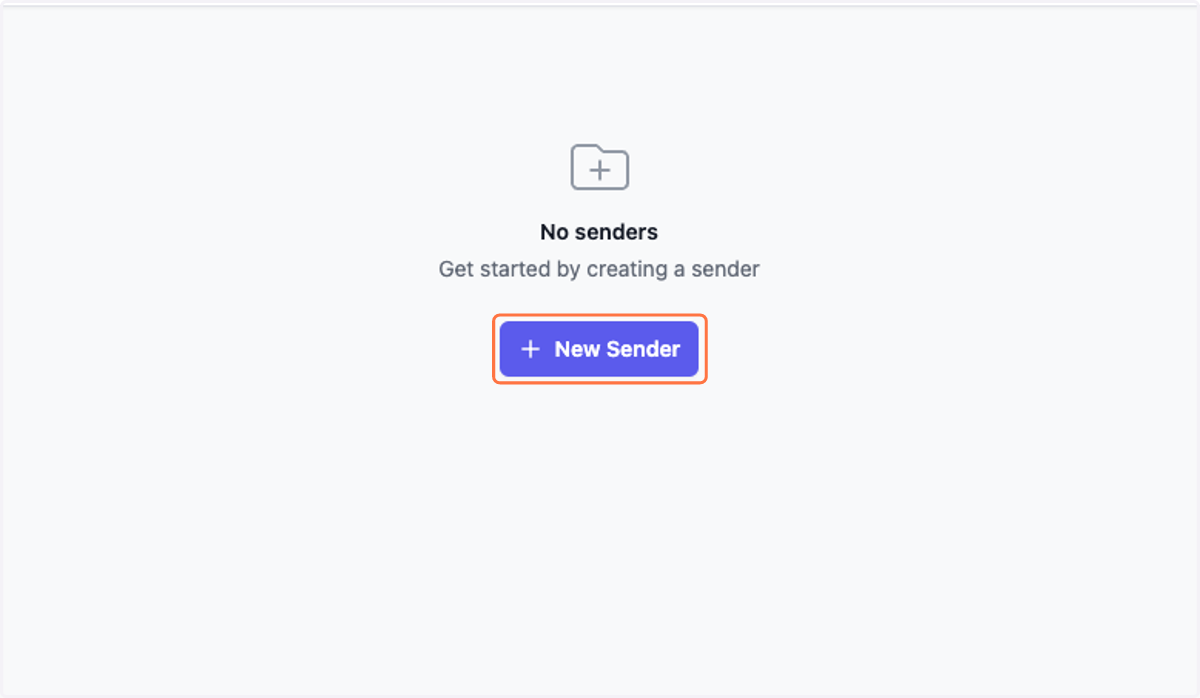
10. Click on New Sender
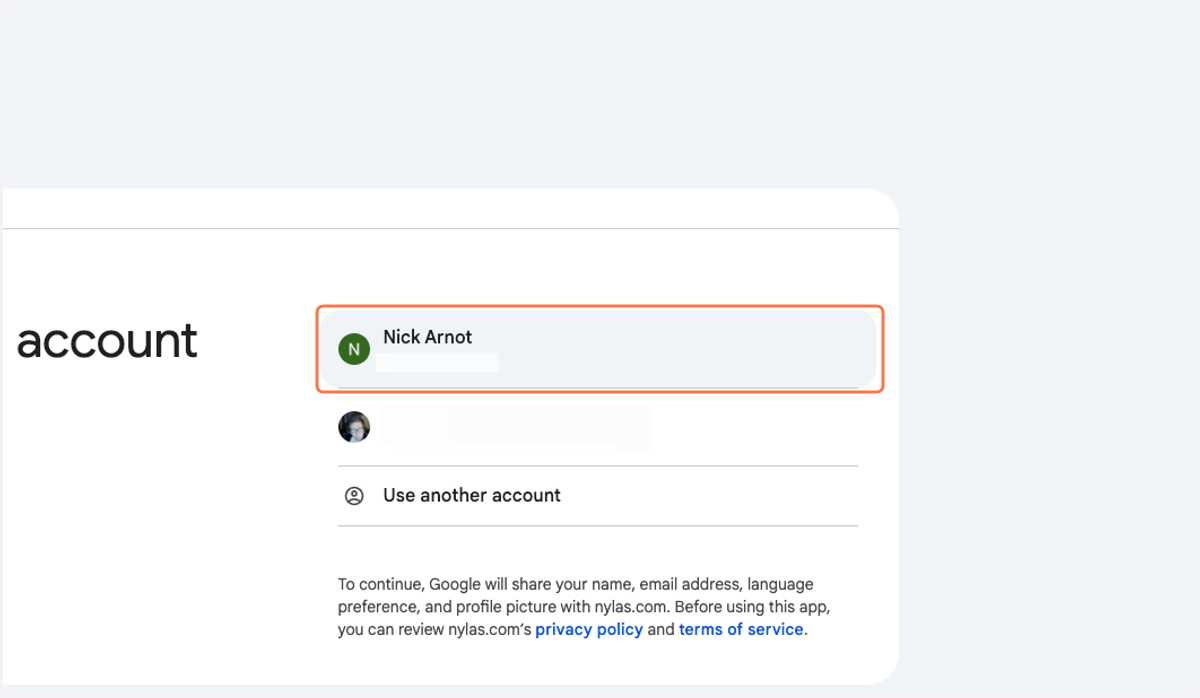
Sign in - Google Accounts
11. Click on your account
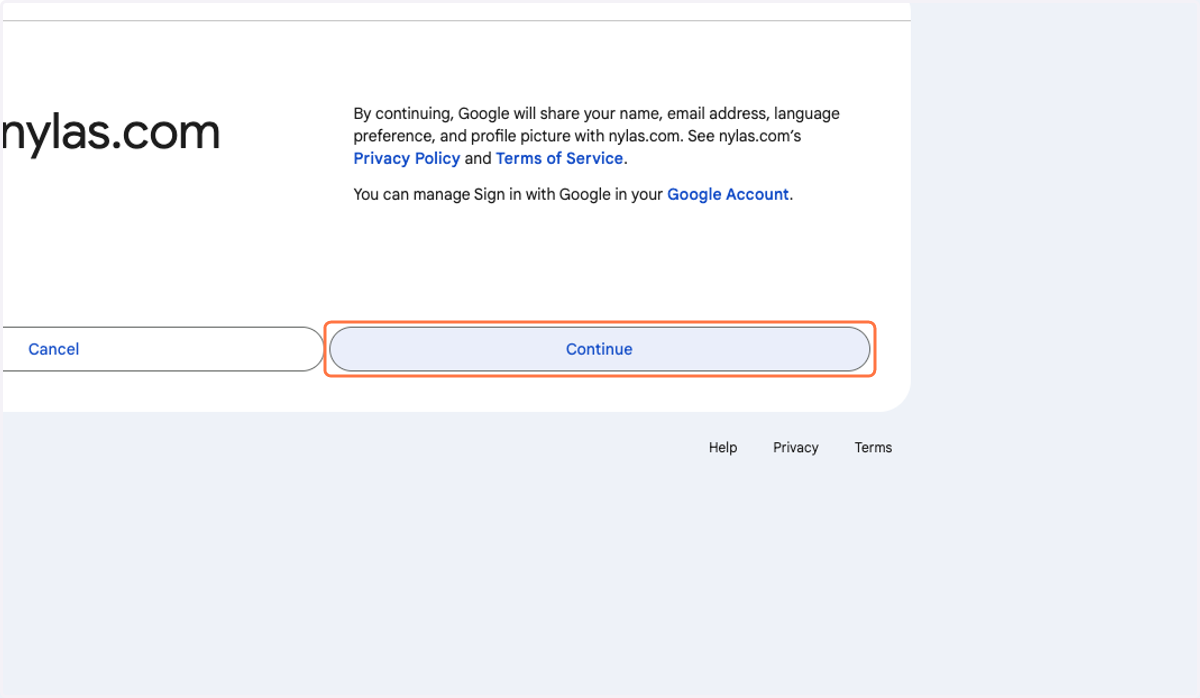
12. Click on Continue
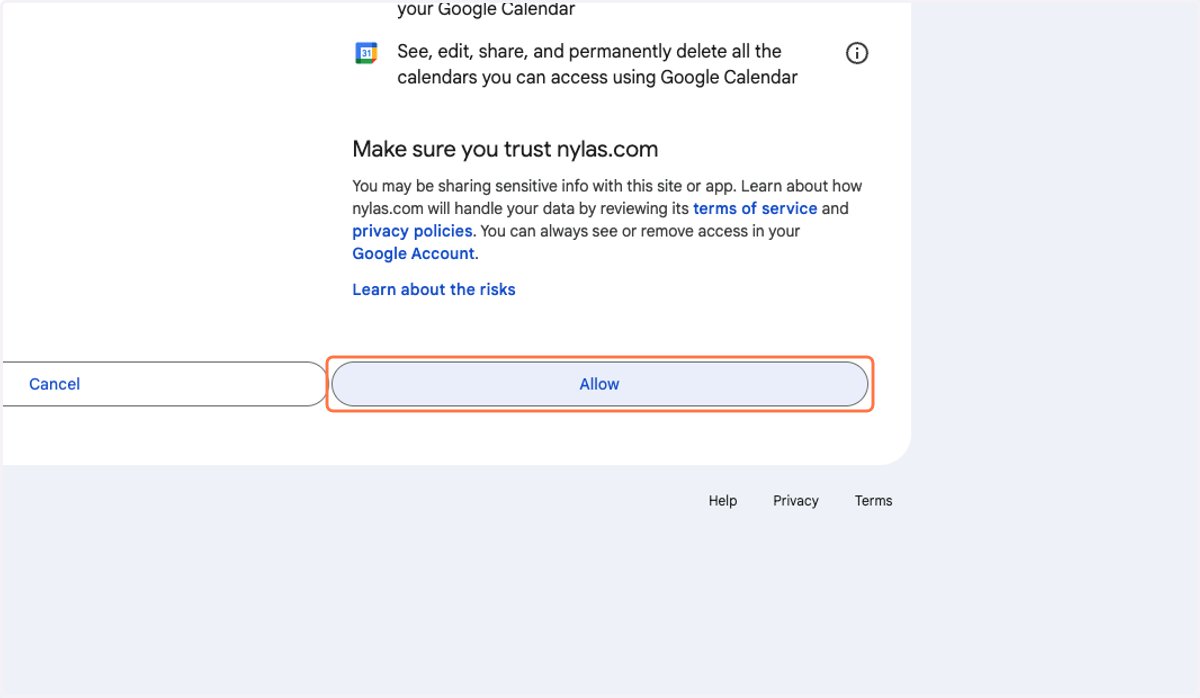
13. Click on Allow
You may need to manually select all permissions. All permissions are required for MagicSet to work properly.
MagicSet
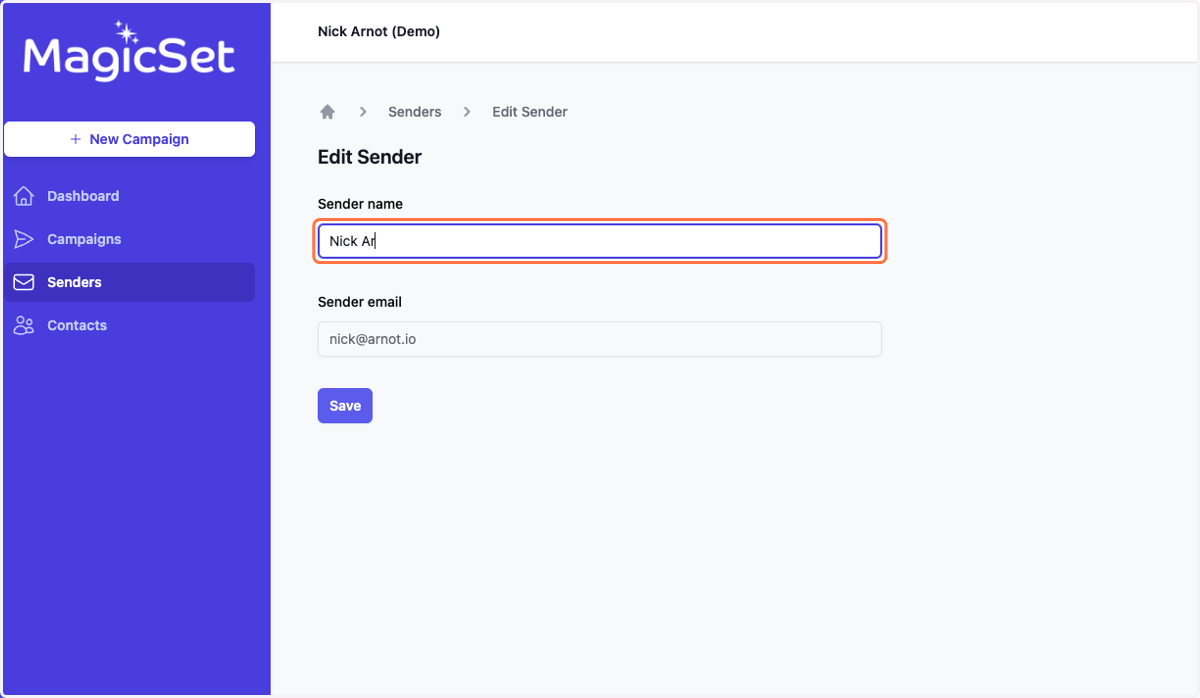
14. Set your Send Name
This will be who the email comes from in your prospect's inbox.
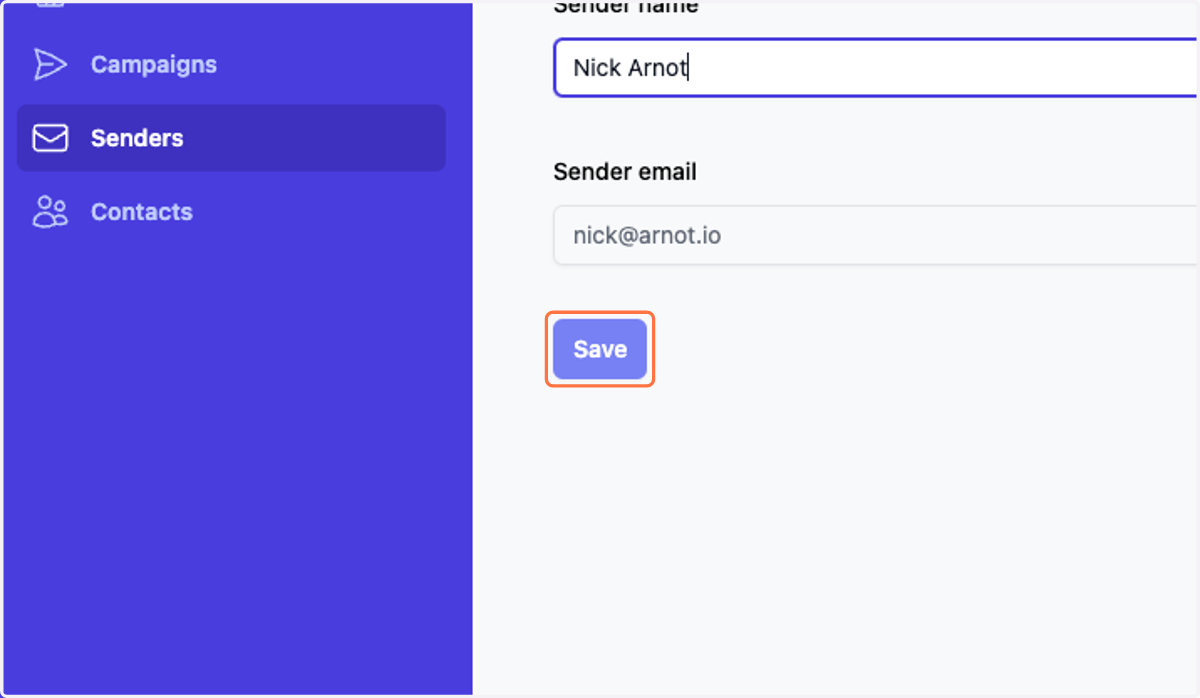
15. Click on Save
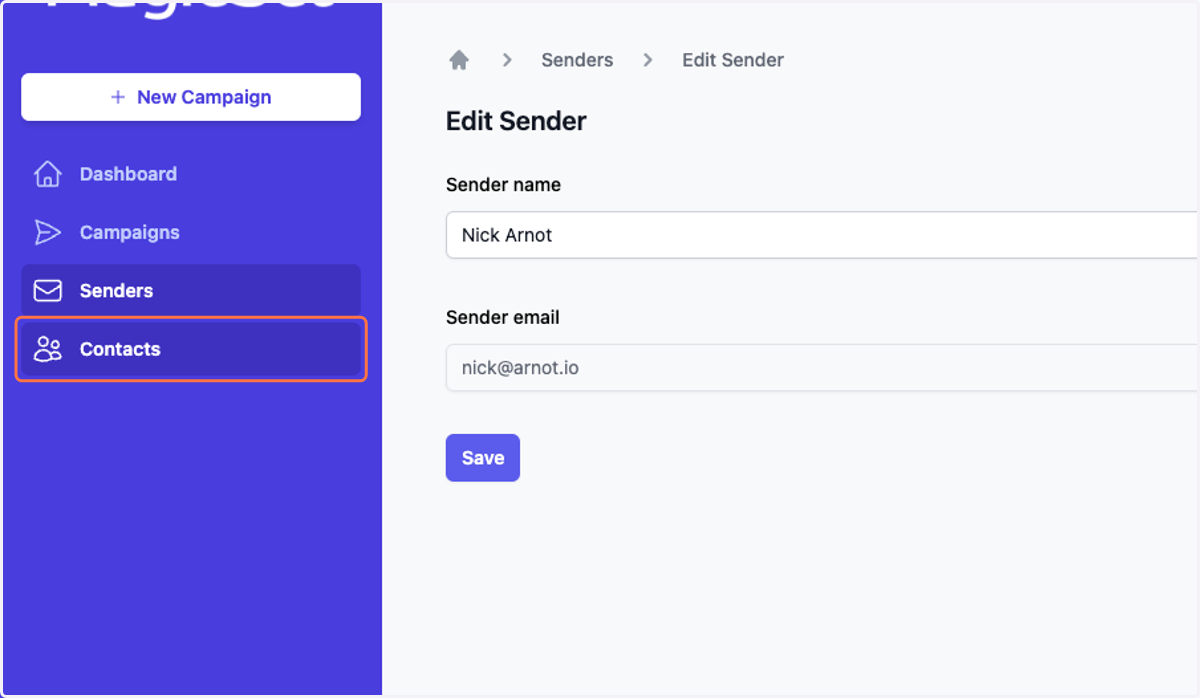
16. Click on Contacts
Let's create a contact list to send a campaign to. In this step we'll configure our first list.
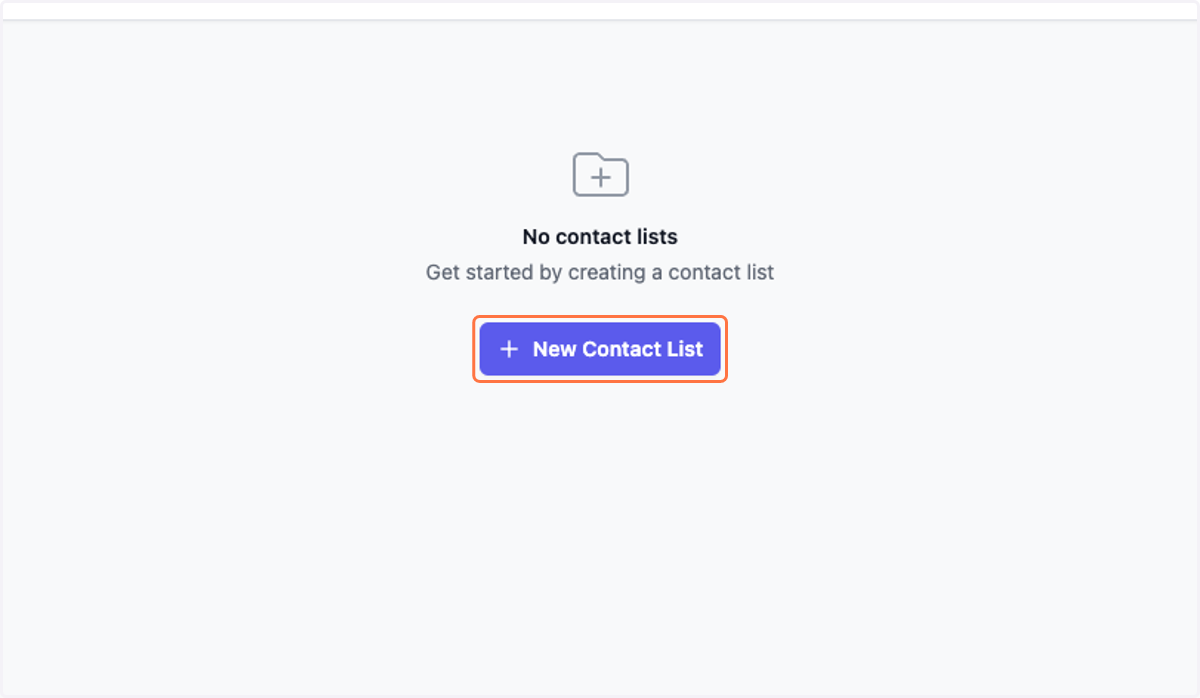
17. Click on New Contact List
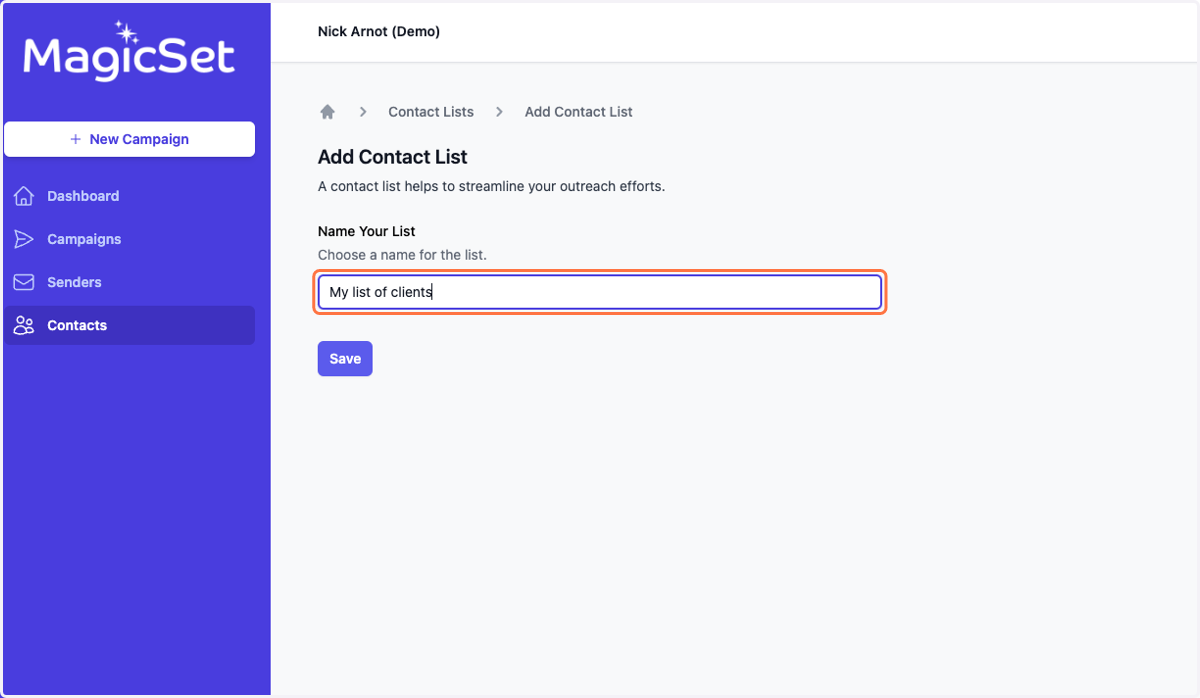
18. Give your list a name
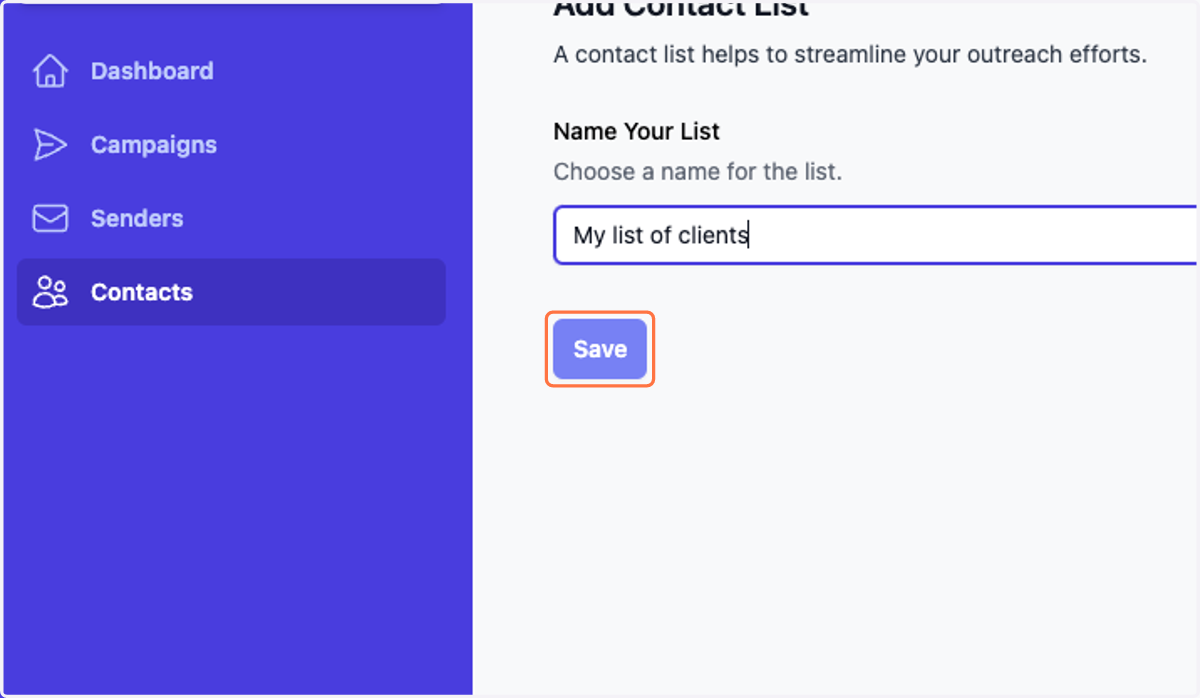
19. Click on Save
20. Click on Upload Contacts
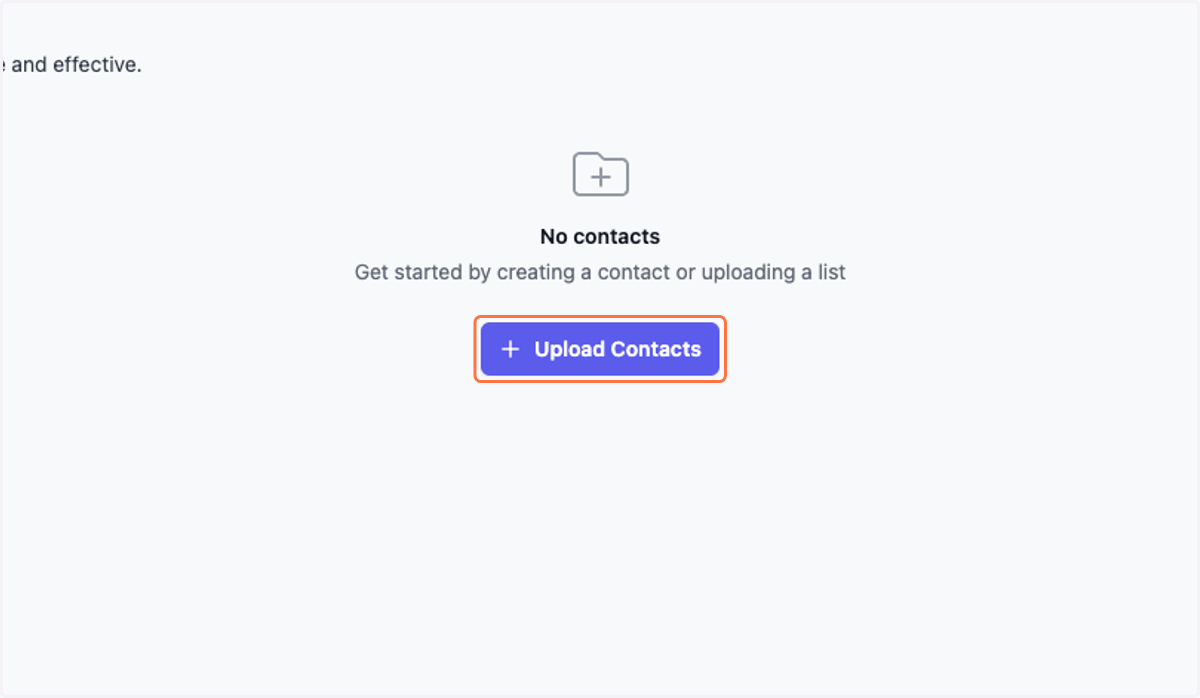
21. Click on Download Template
A modal will pop up to upload your list. Your list MUST be formatted for MagicSet. In the model, you will see a sample CSV template. Download and format your list to match the template. Remove the 2nd row with example data.
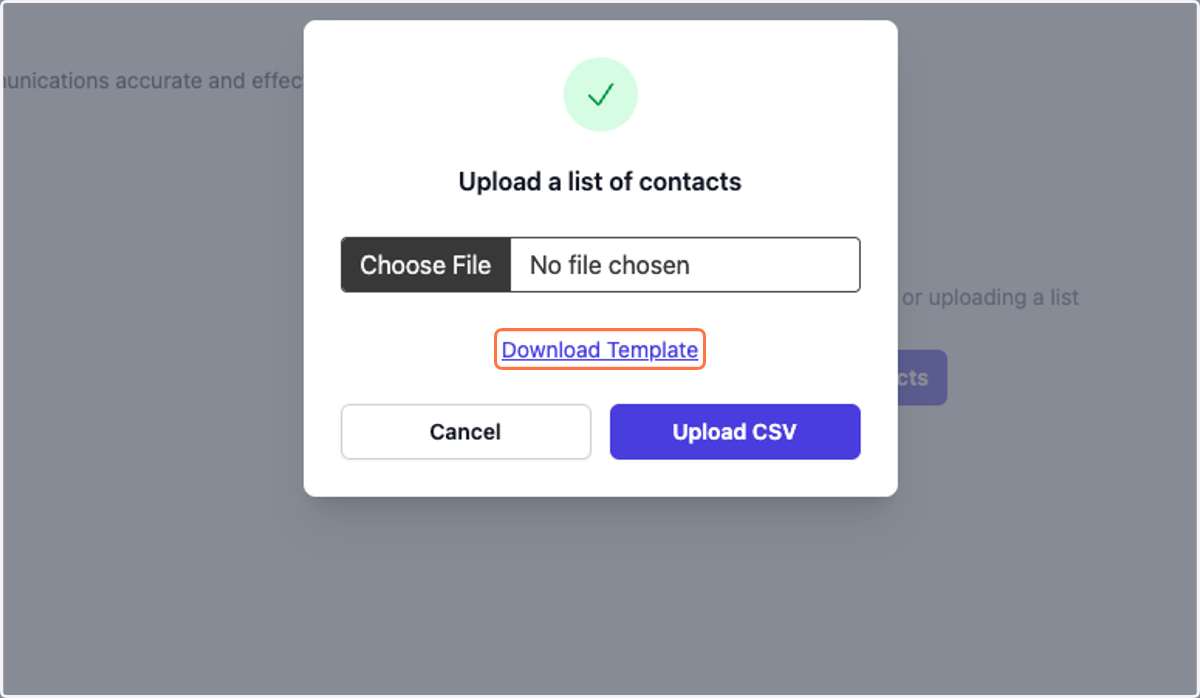
22. Select your file and upload
Upload your list via the modal.
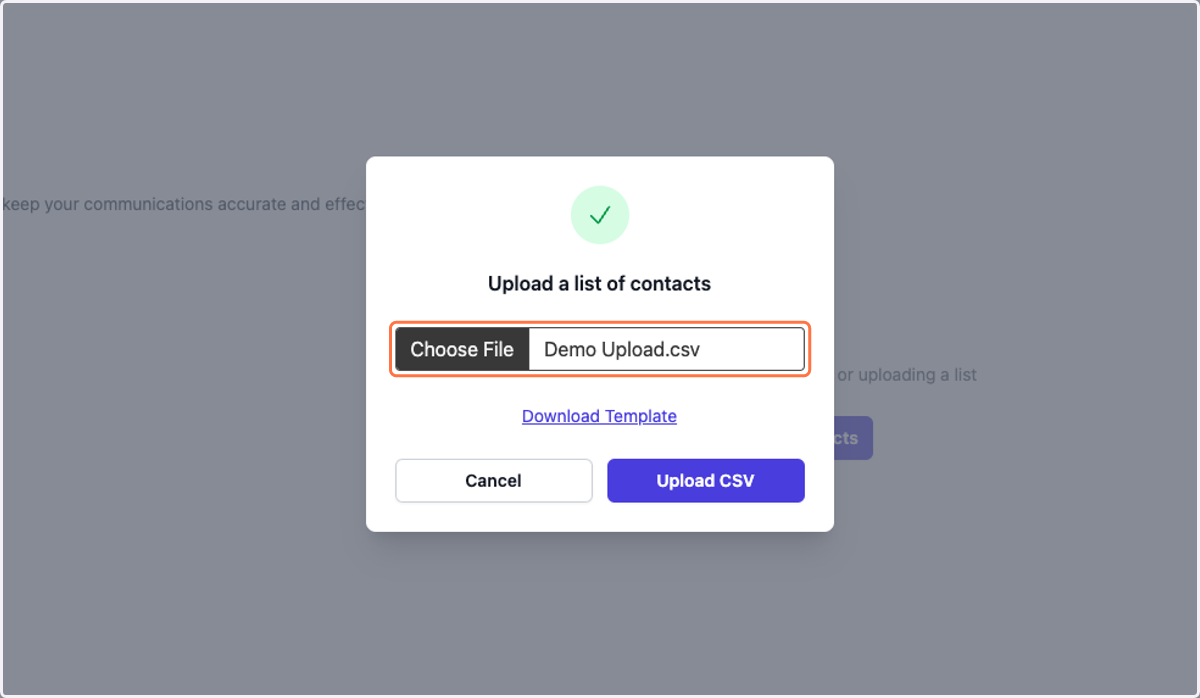
23. Click on Upload CSV
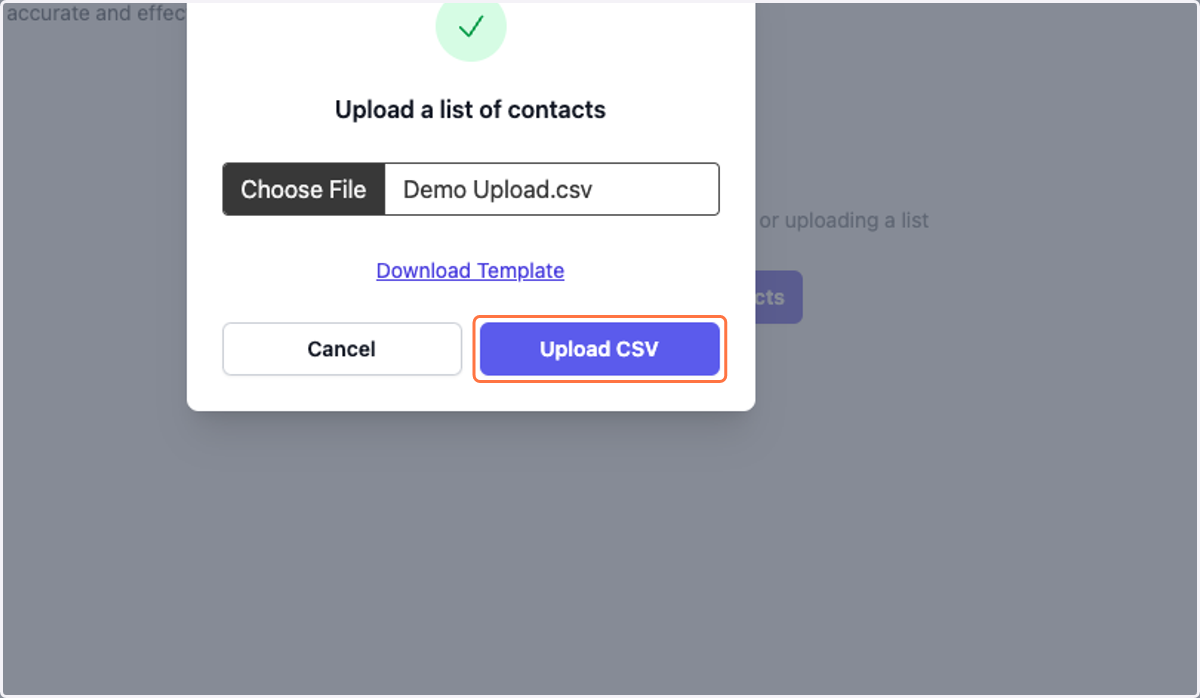
24. Click on Campaigns
You're ready to build your first campaign!
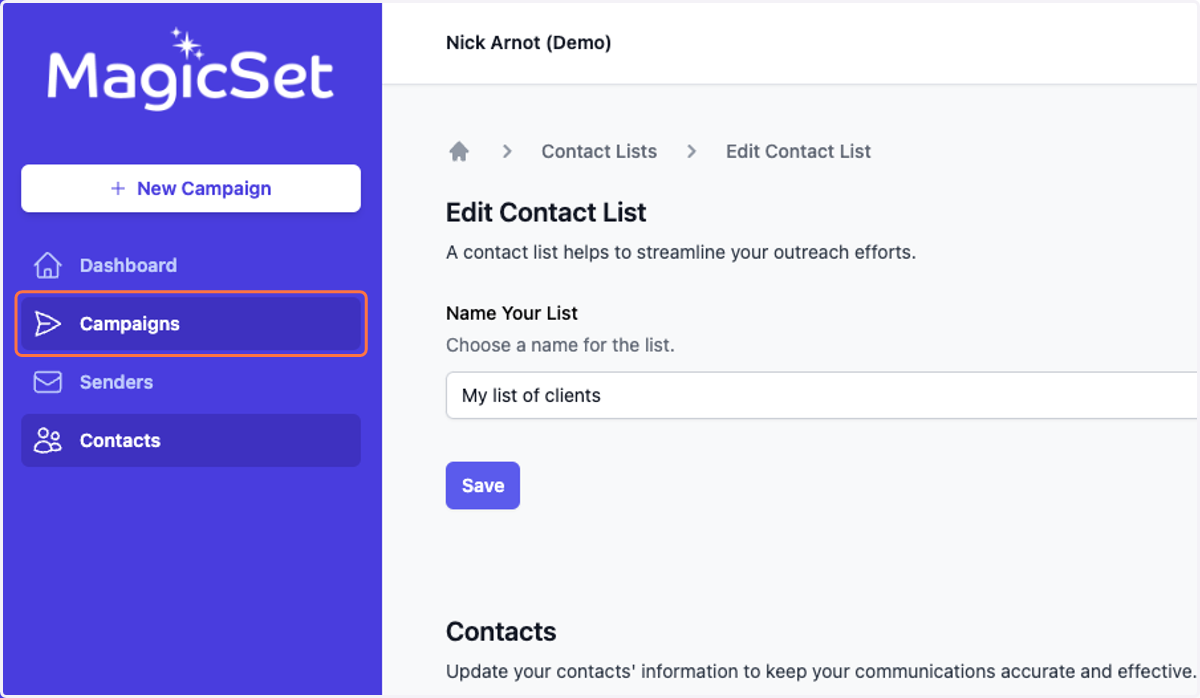
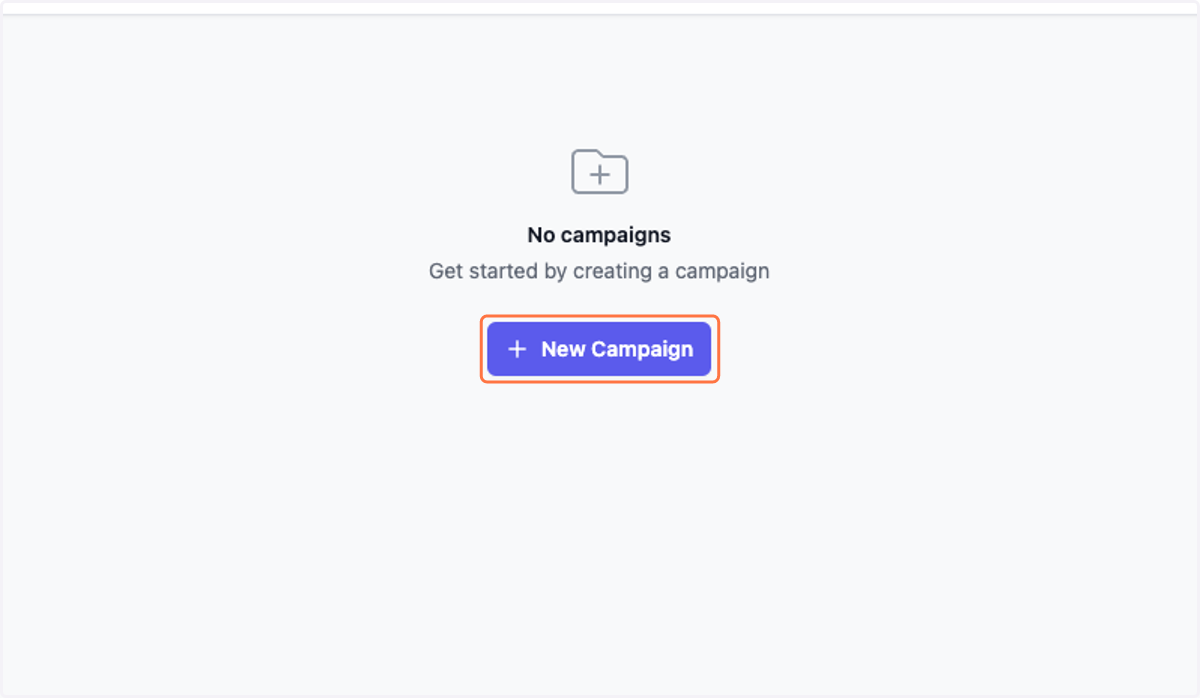
25. Click on New Campaign
If you need help setting up your campaign we have a full campaign setup help document