Add a Policy to a Navigator website
This tutorial explains how to add a Policy to a GPsurgery.net Navigator website. You can move through the tutorial at your own pace using the NEXT button.
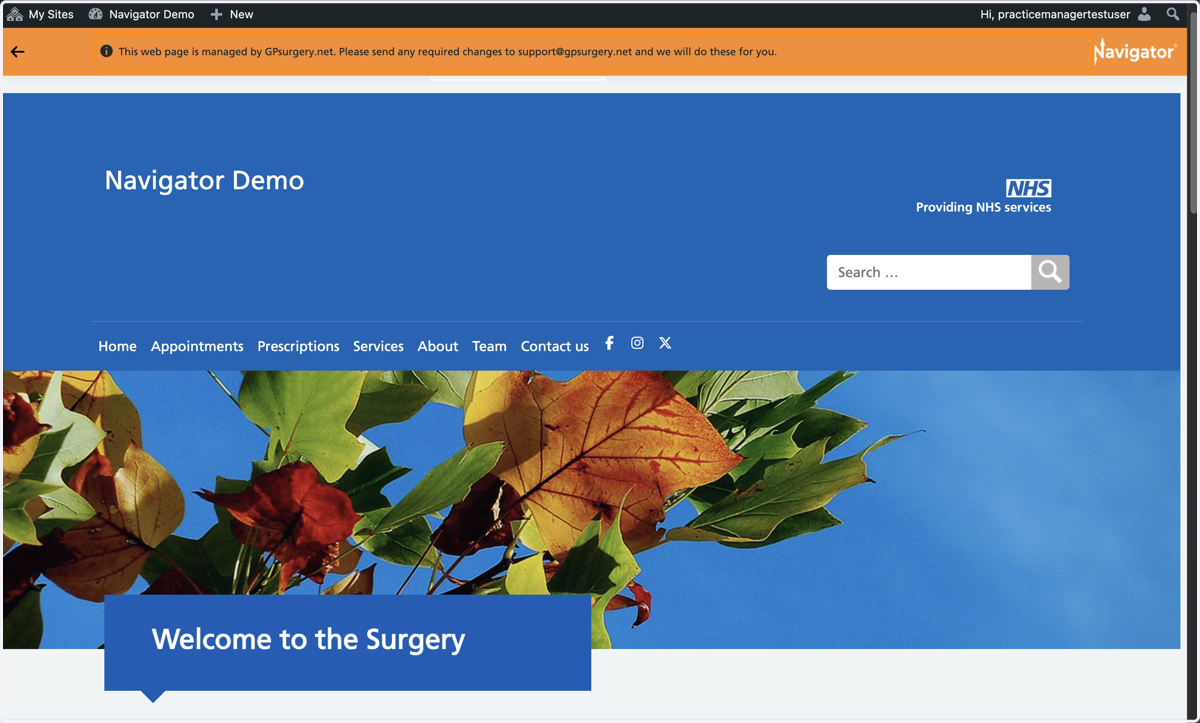
1. Ensure you are logged into your website. The black admin toolbar and the orange Navigator toolbar should be visible at the top of the page.
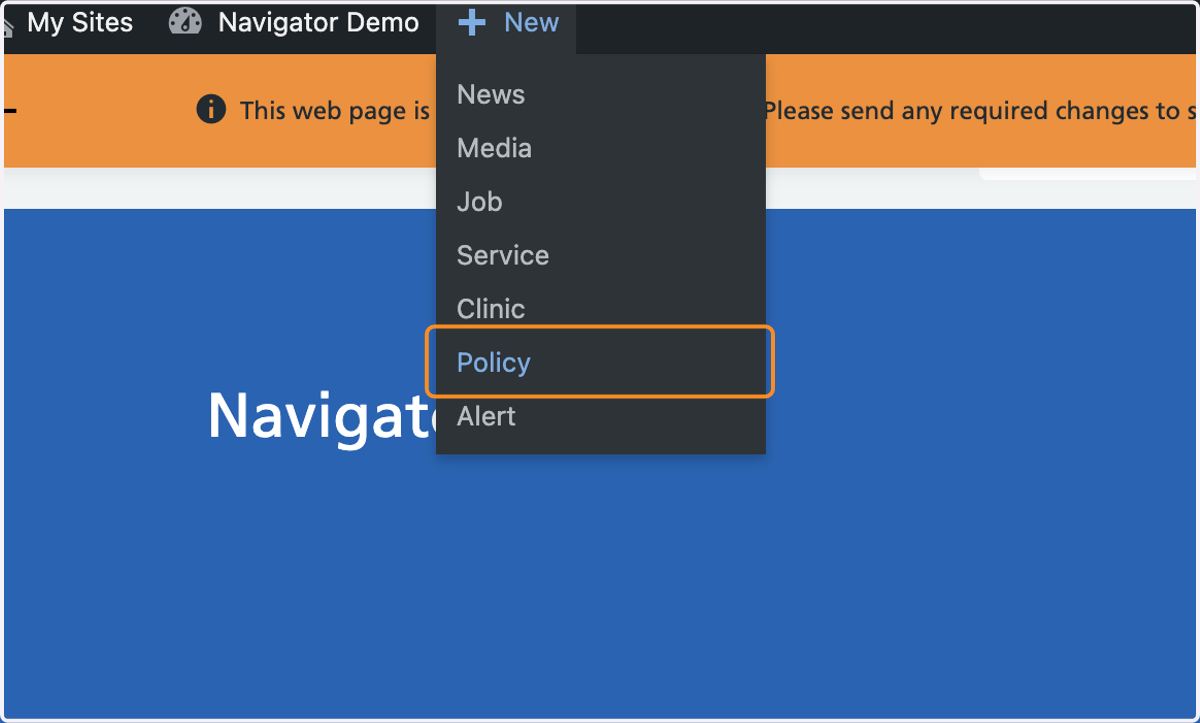
2. Hover your mouse over + New in the admin toolbar. Select Policy from the drop-down menu that appears.
3. You are now in the Policies section of the Dashboard. Add a title for your policy.
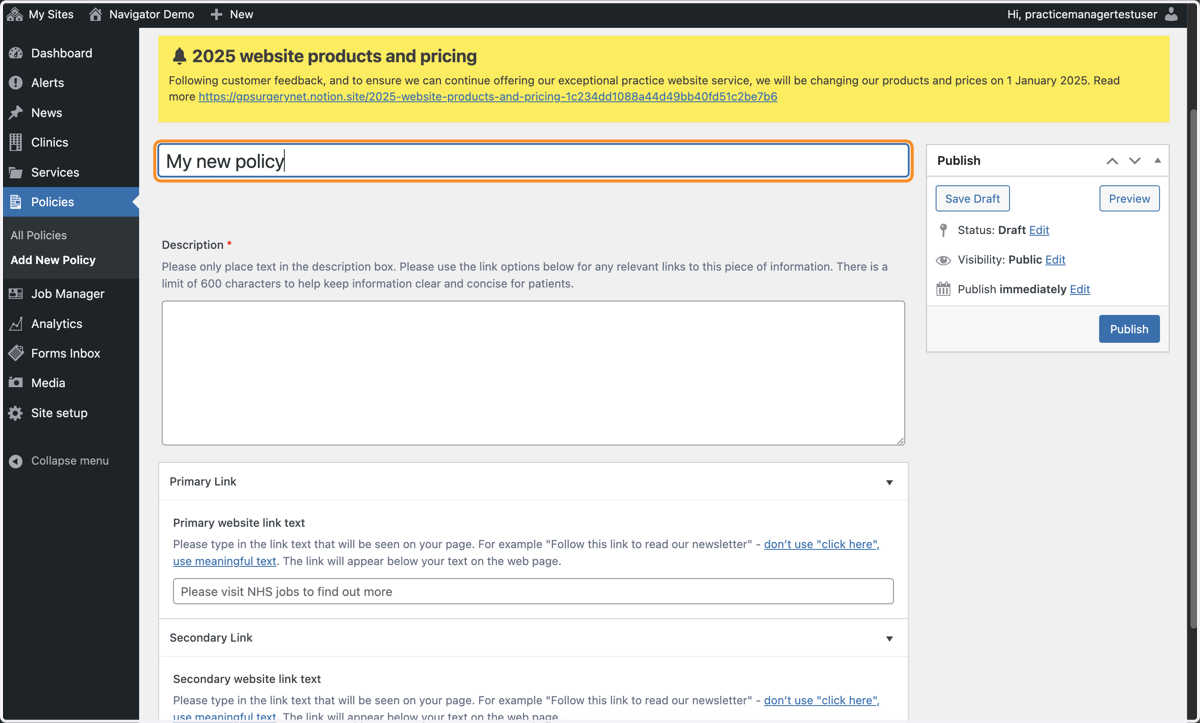
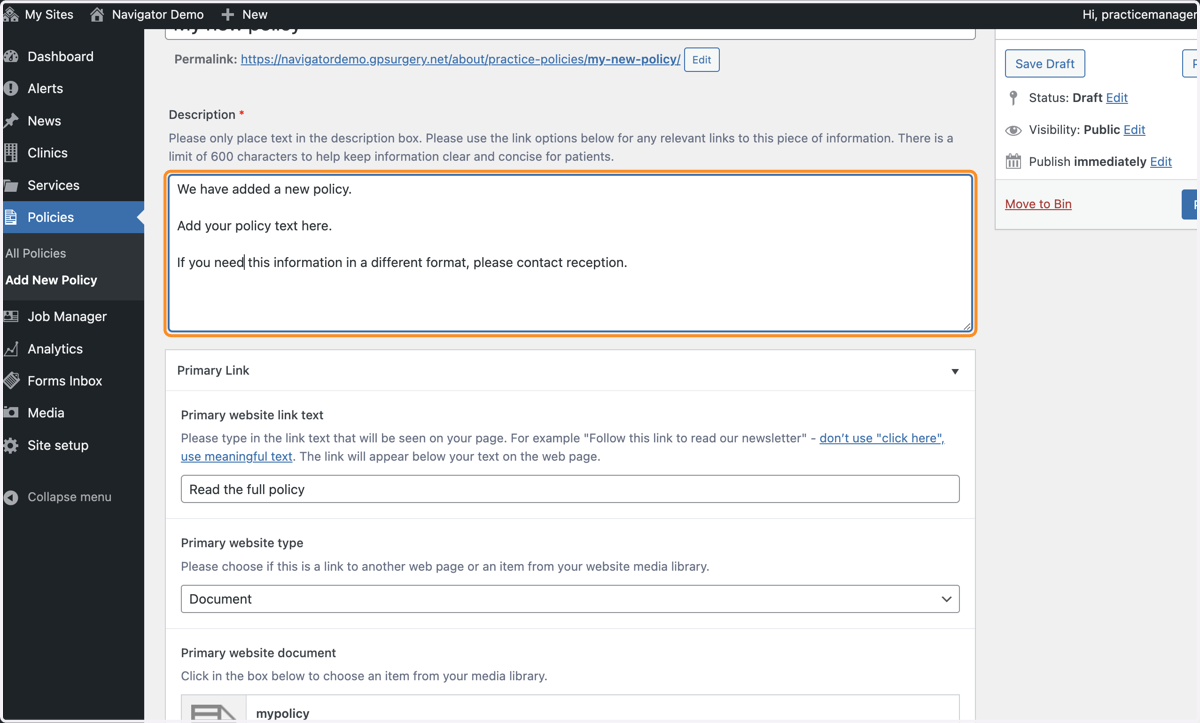
4. Paste your policy text into the Description box.
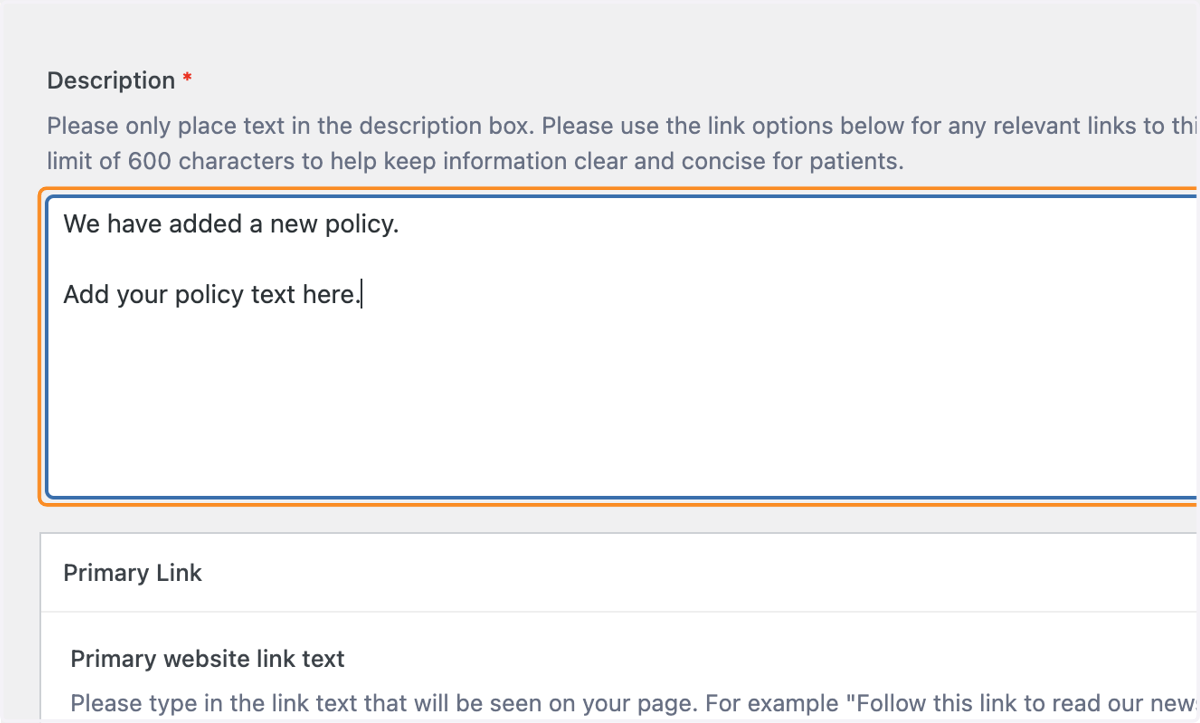
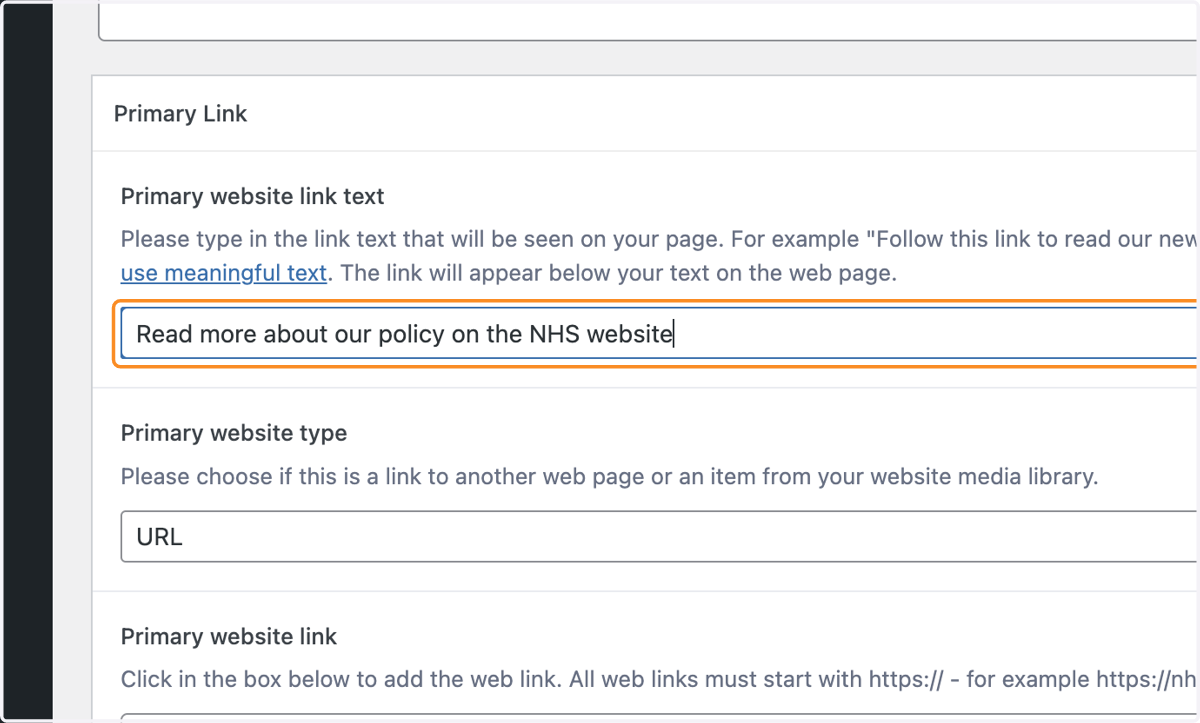
5. If you'd like to add a link to any relevant resources, first type your link text in the "Primary website link text" box.
TIP: Your link text should explain where the link will take you. Avoid phrases like 'click here'.
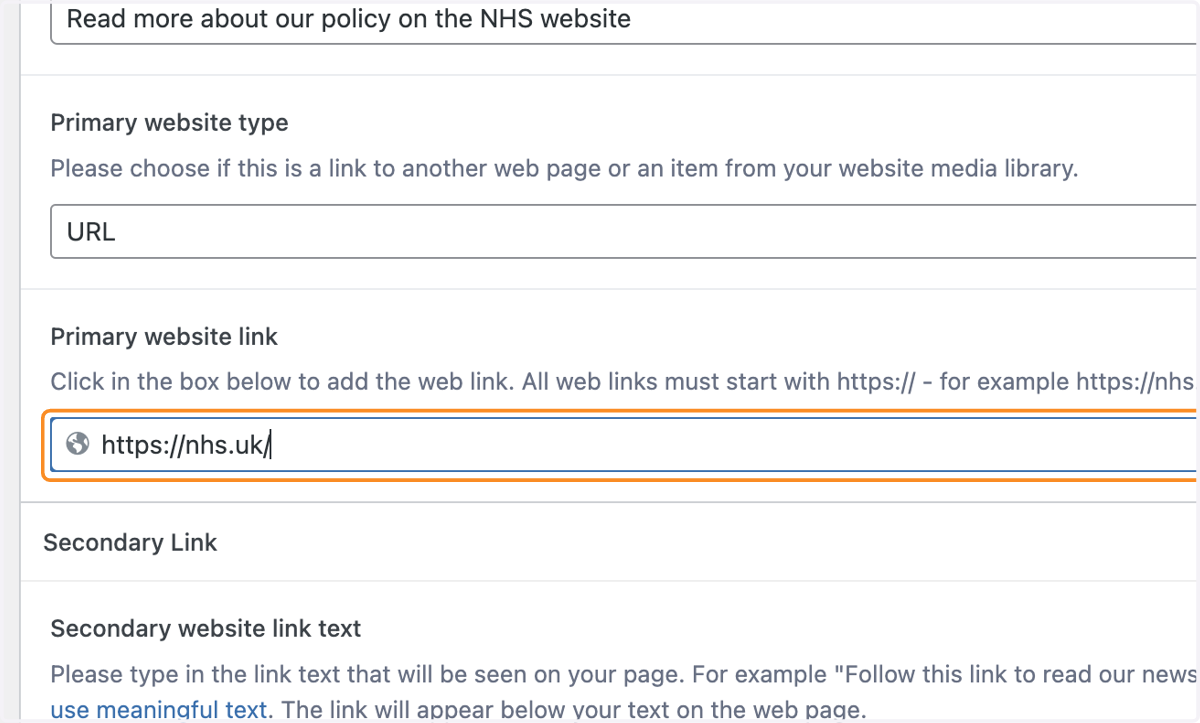
6. In the Primary website link box, paste the link you'd like to add.
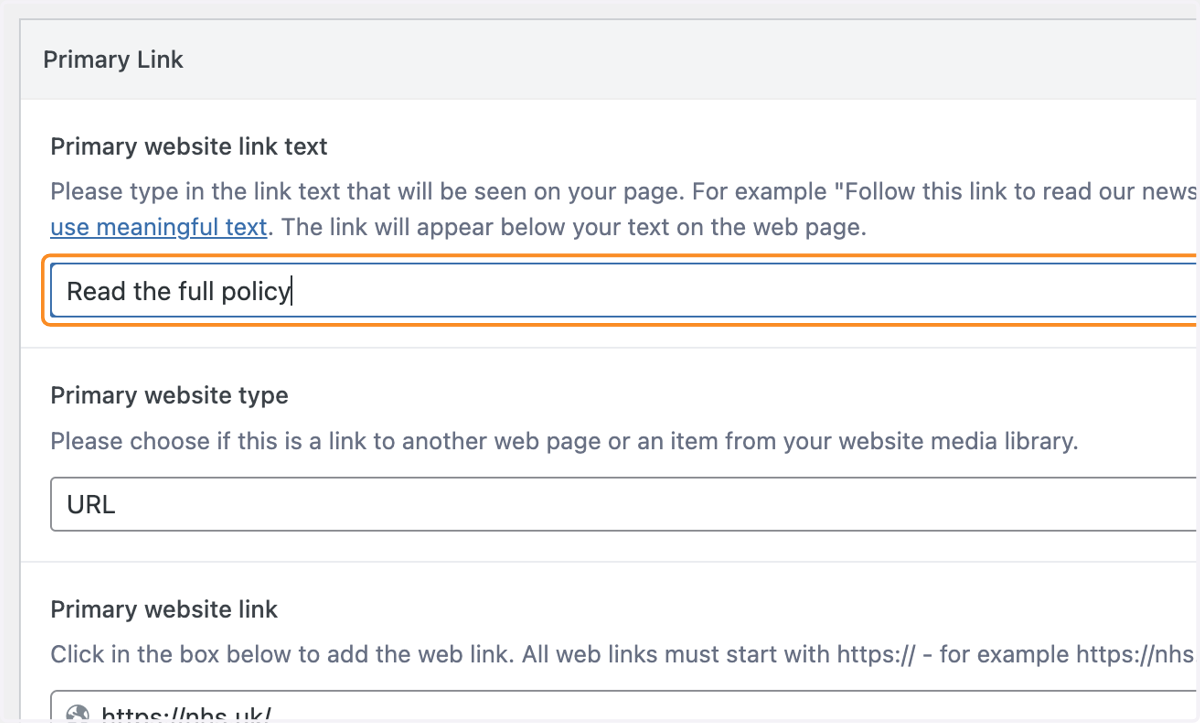
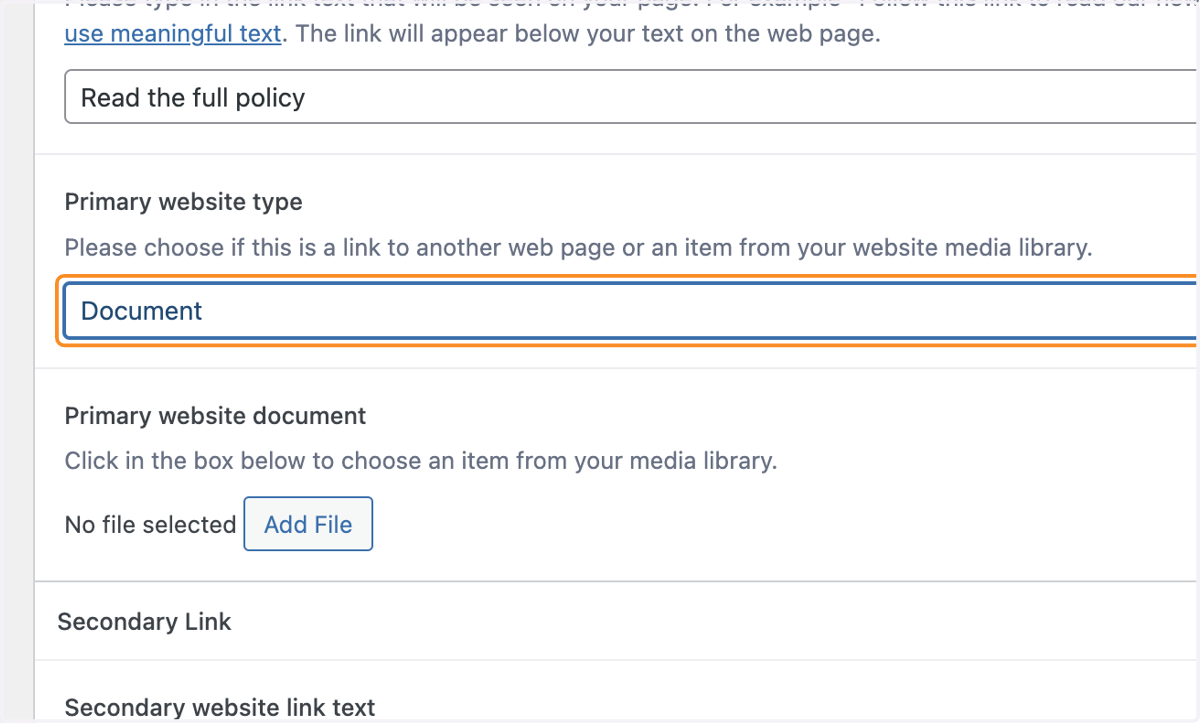
7. If you would like to add your new policy as a document instead of text, first use the Primary website link text box to add your meaningful link text.
TIP: For policies, this can normally be "Read the full policy". You can also add the file format (Word document, PDF document etc.) to let your patients know what they are downloading.
8. Select Document from the Primary website type drop-down.
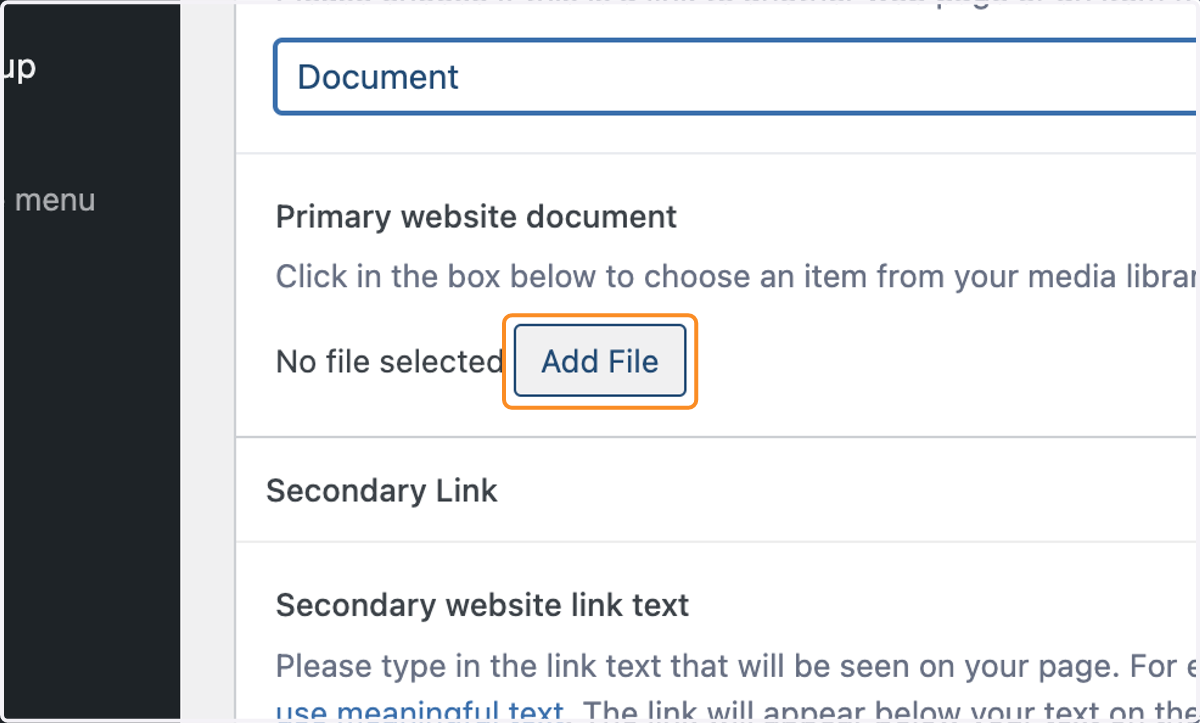
9. Select the Add File button that appears.
10. Drag and drop your file into the Select File window that appears.
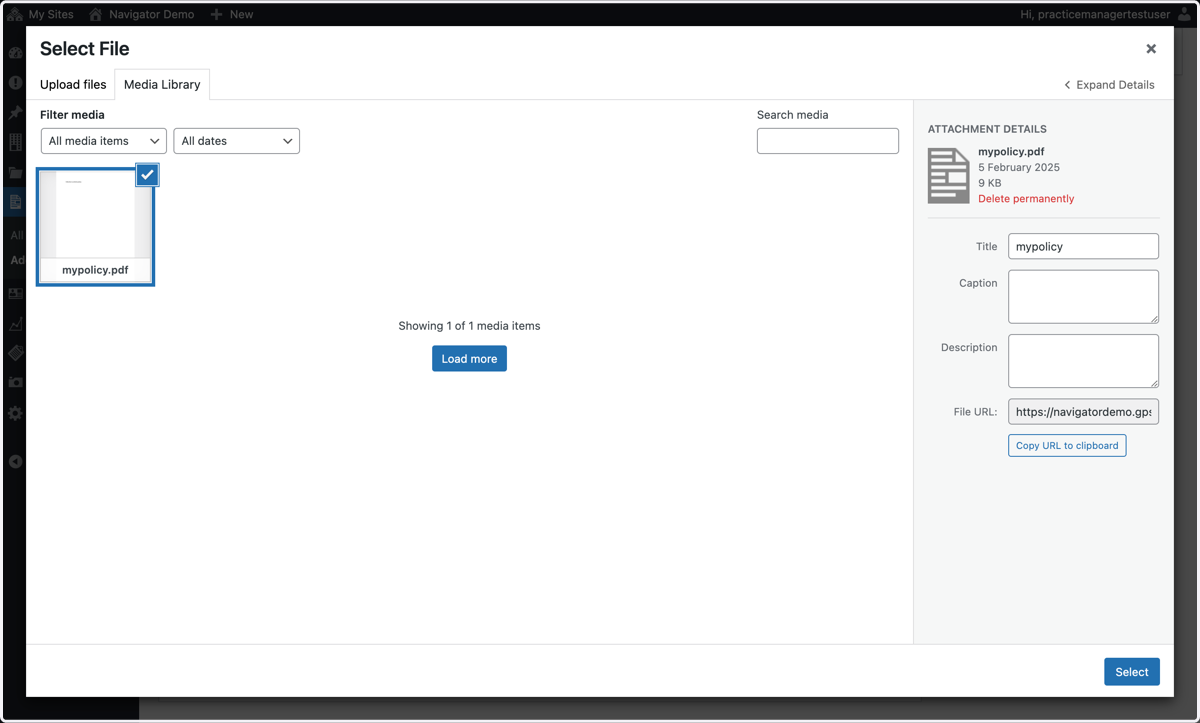
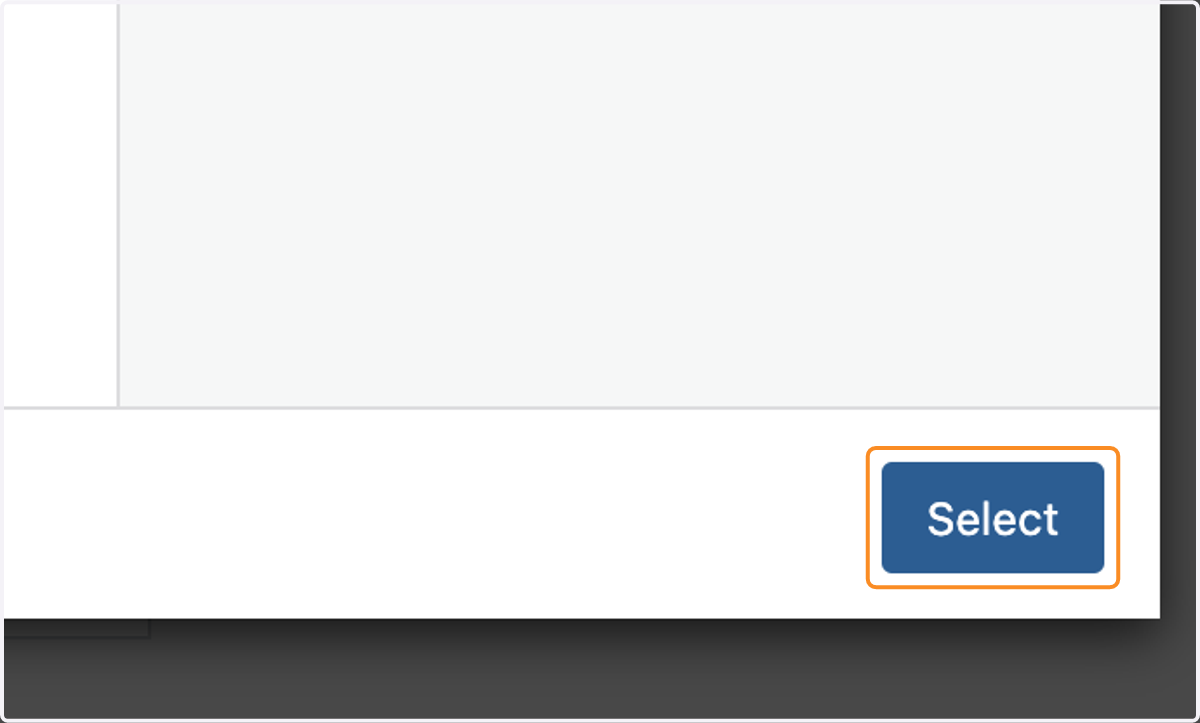
11. Select the blue Select button
12. If you have added your policy as a document, you should add a message for patients who may not be able to access the document, like patients who are accessing your site using assistive technology.
TIP: your disclaimer should be something like: "If you need this information in a different format, please contact reception."
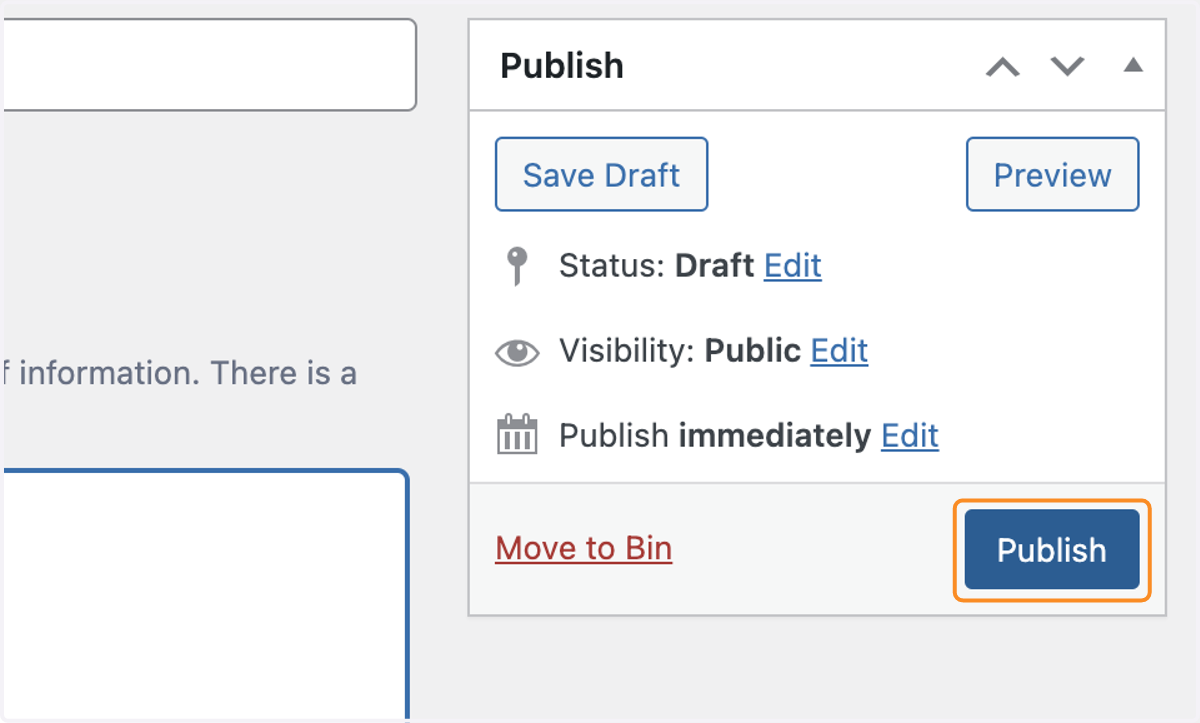
13. Once you have added your new policy to the editor, select the blue Publish button in the white Publish box.
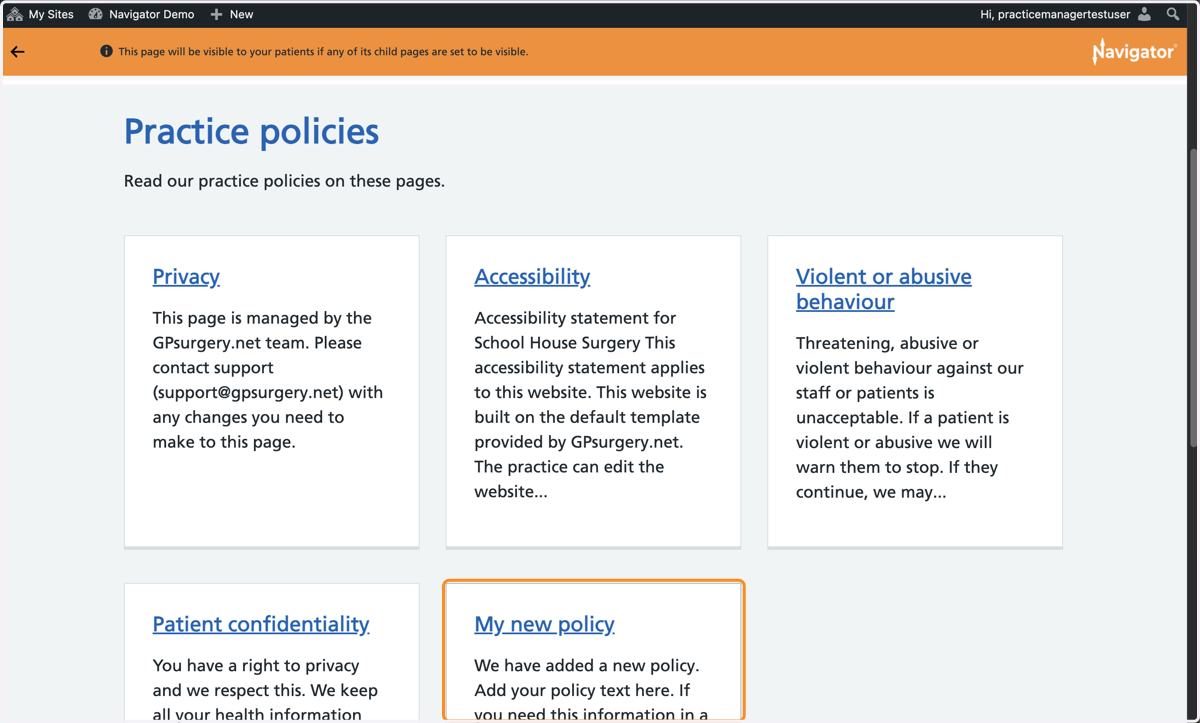
14. Your new policy will now be published on your website.
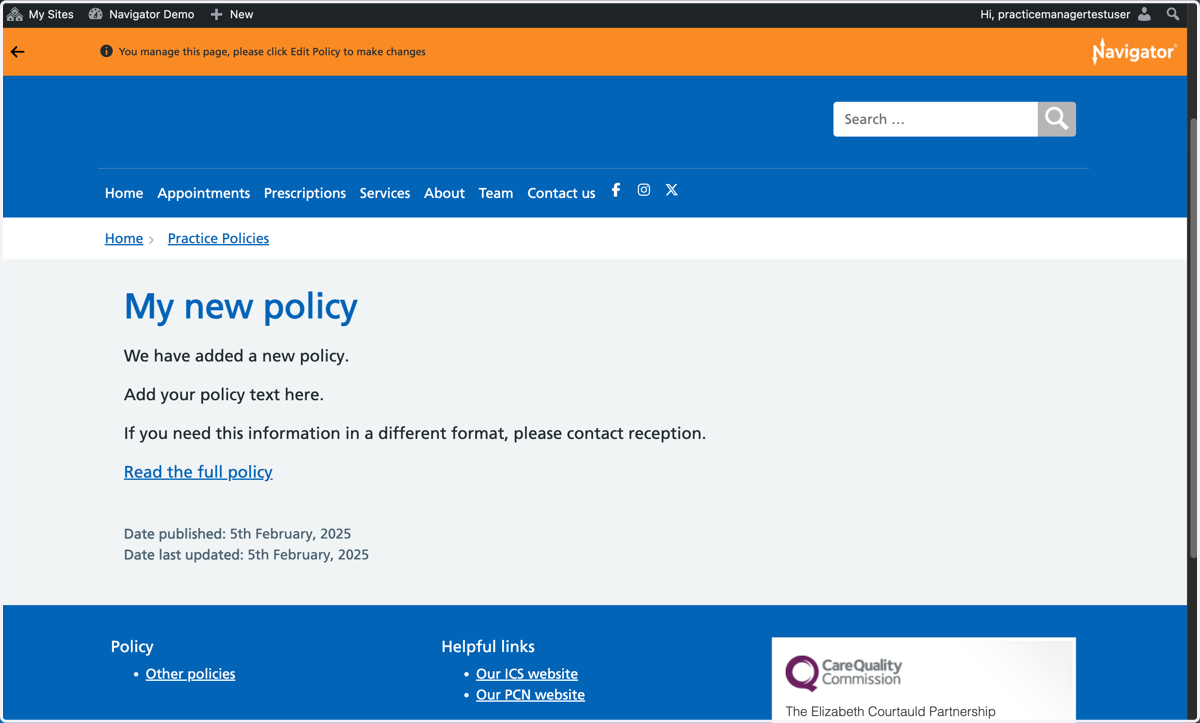
15. It will be visible on the Practice policies page.