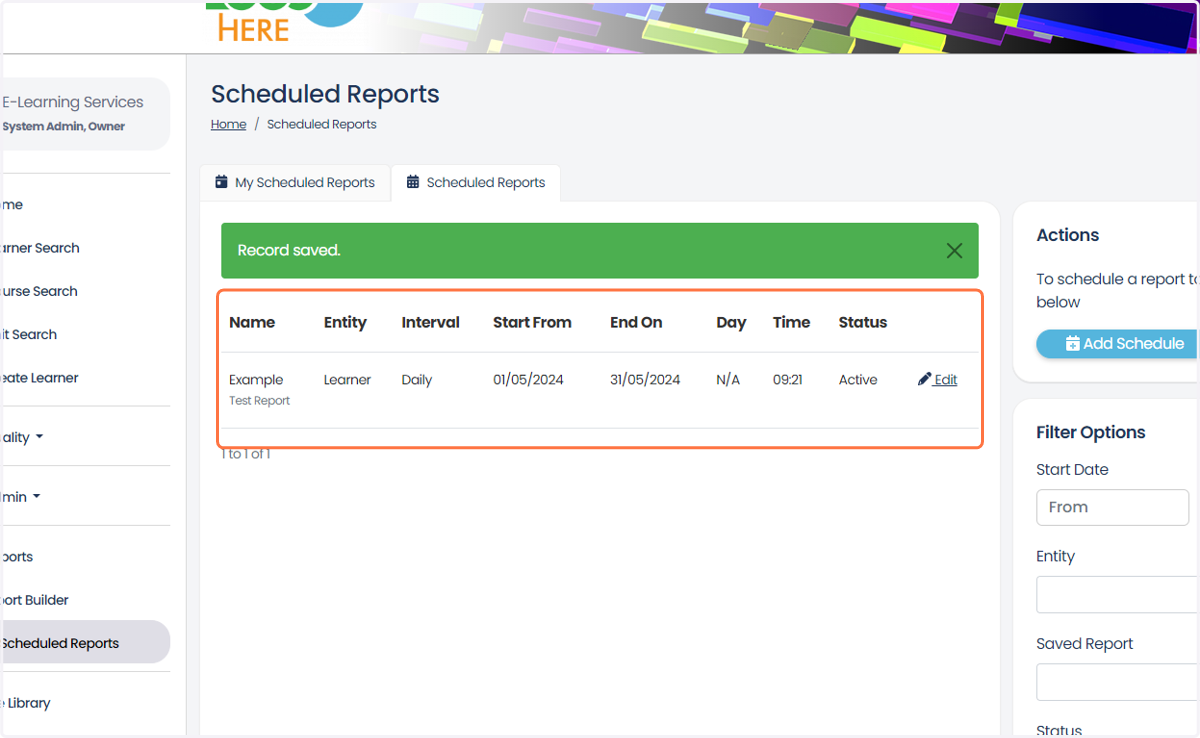
How to Schedule a Report built with Report Builder.
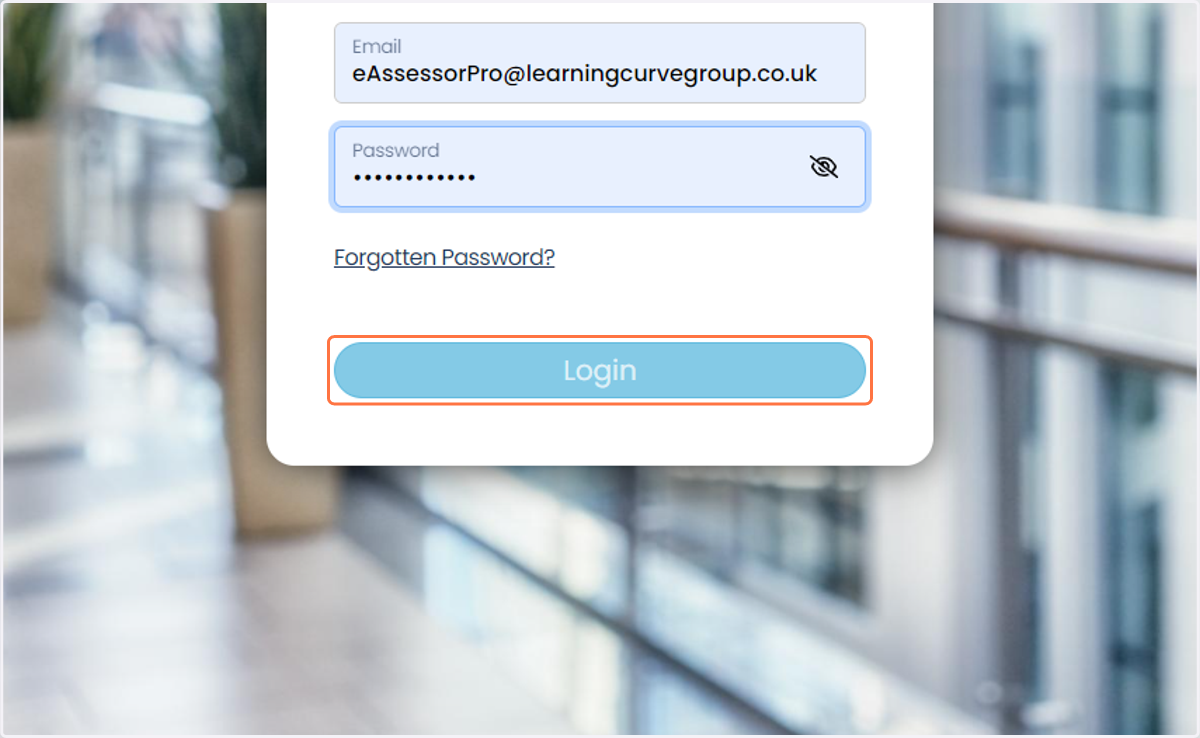
1. Visit your platform, enter your details then click on Login.
If you have forgotten your password, you can use the Forgotten Password? link.
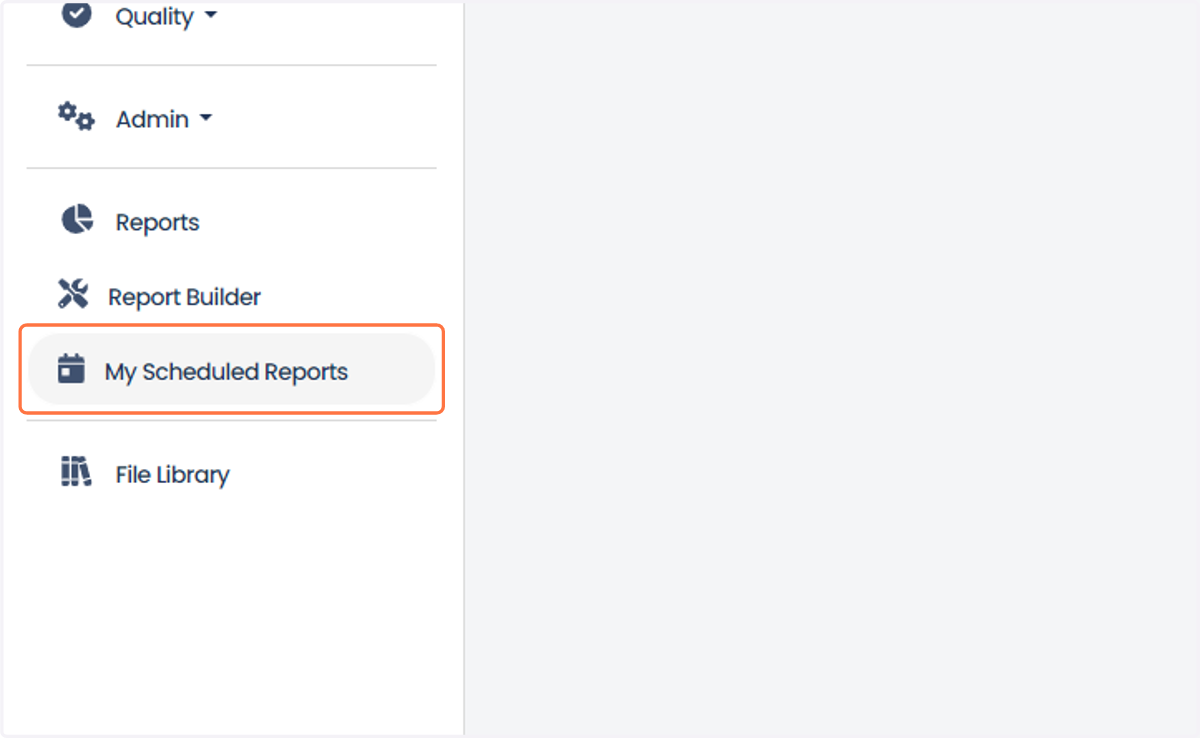
2. Once logged in, click on My Scheduled Reports.
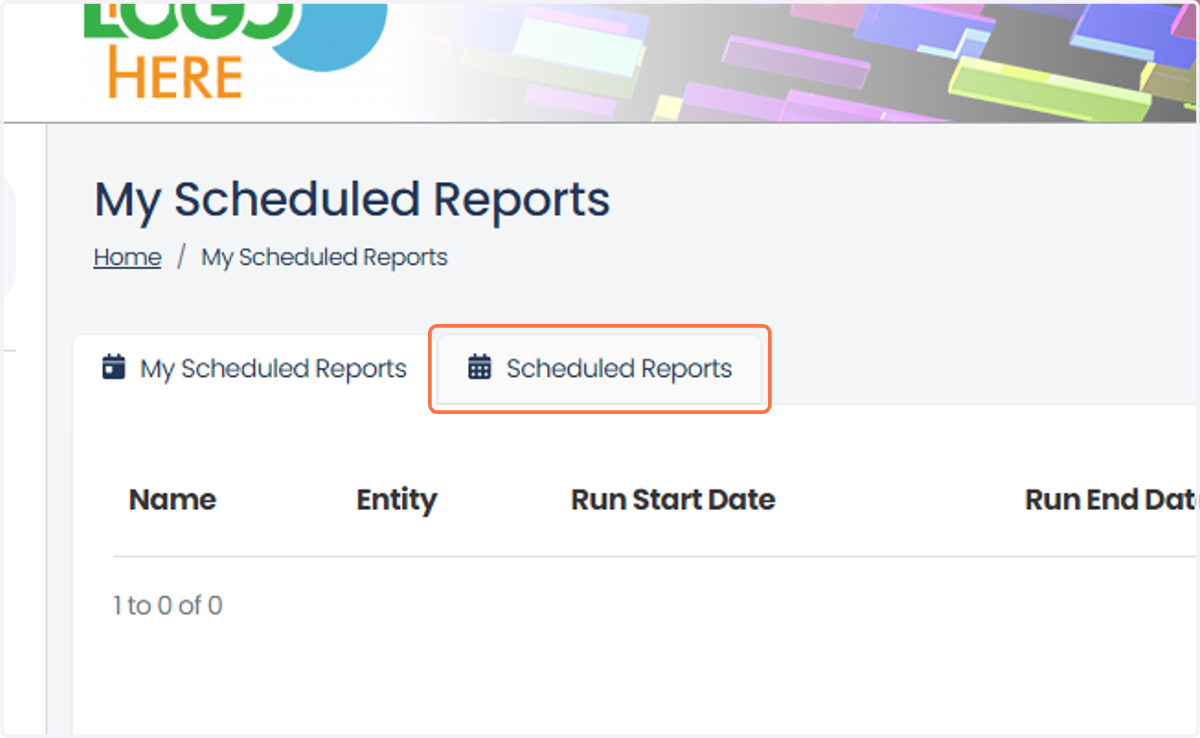
3. Click on Scheduled Reports
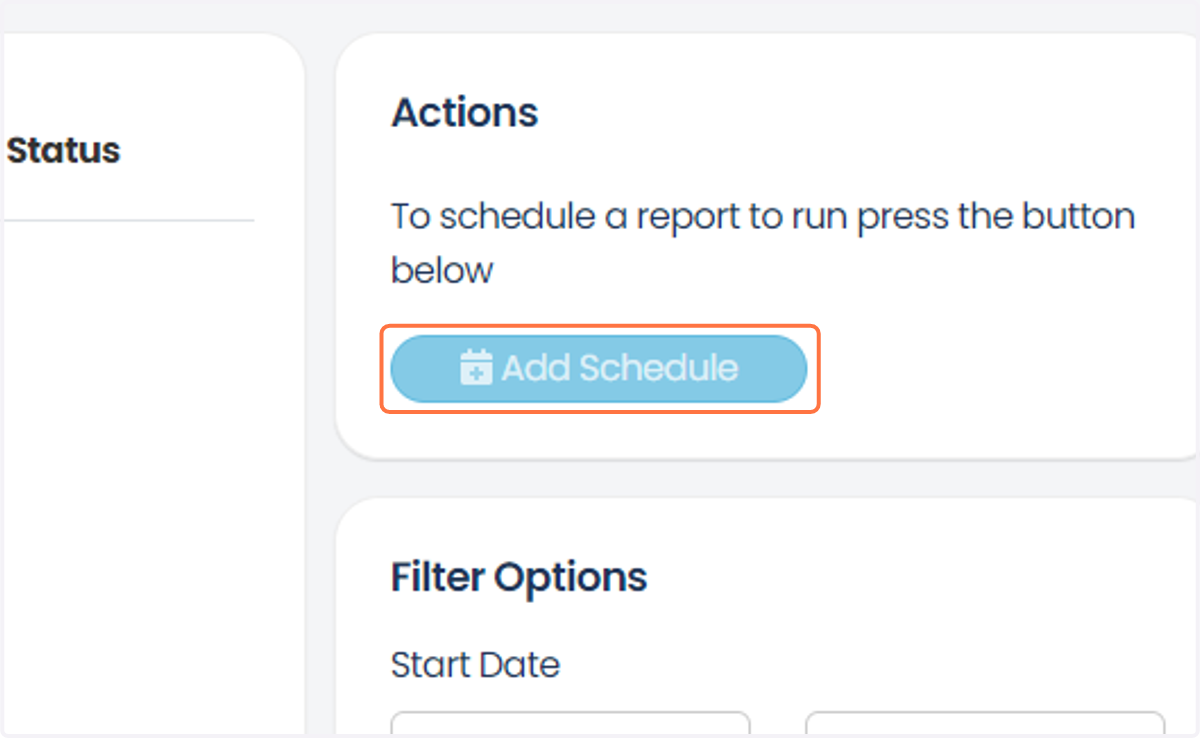
4. To create a schedule, click the Add Schedule button.
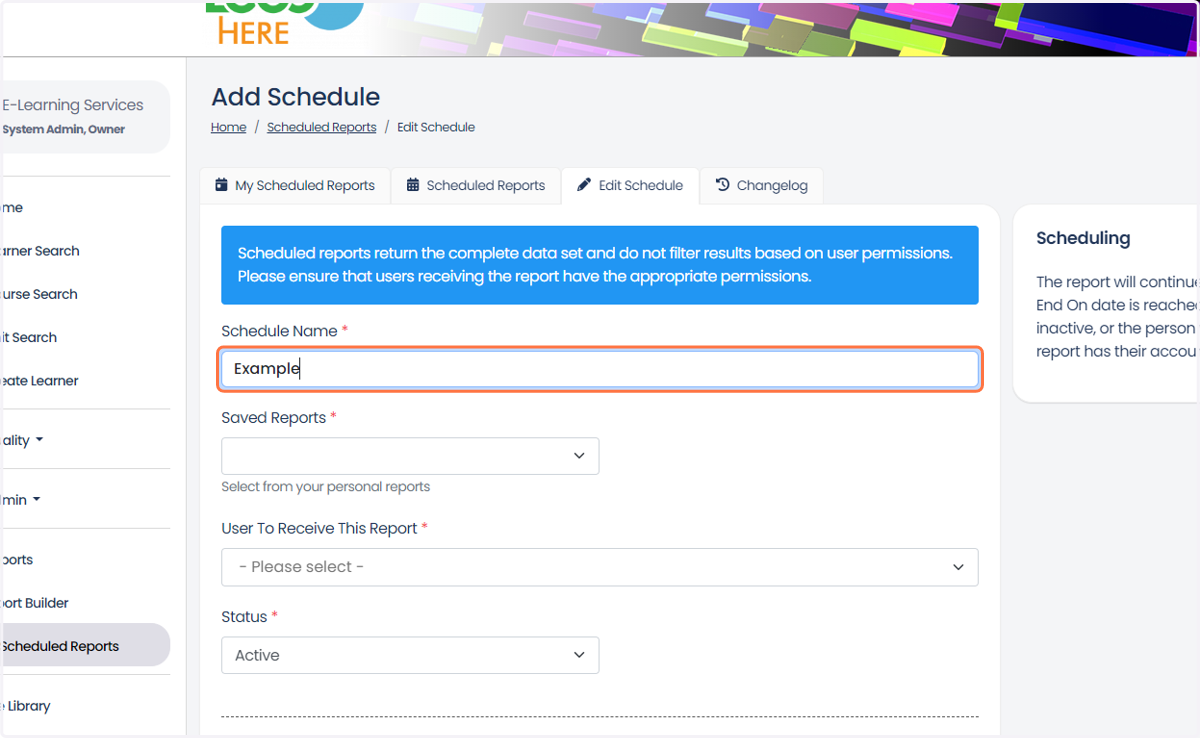
5. Enter a name for this schedule.
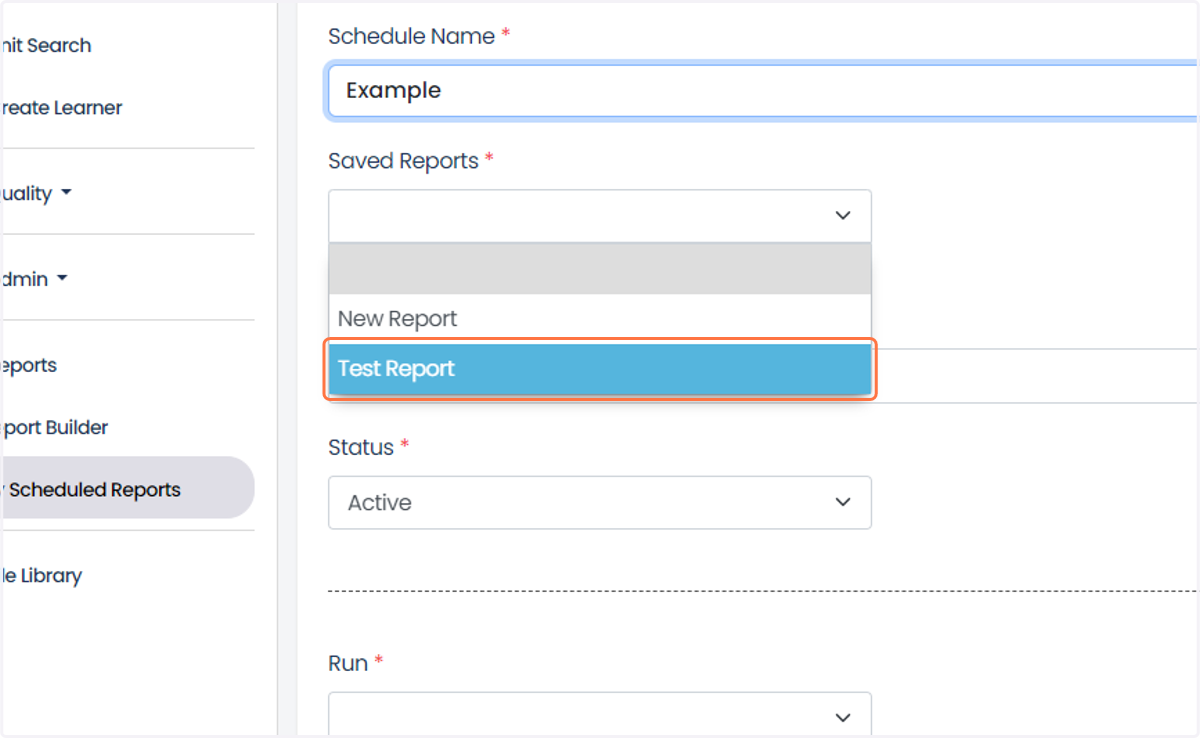
6. Select the report you want to be scheduled.
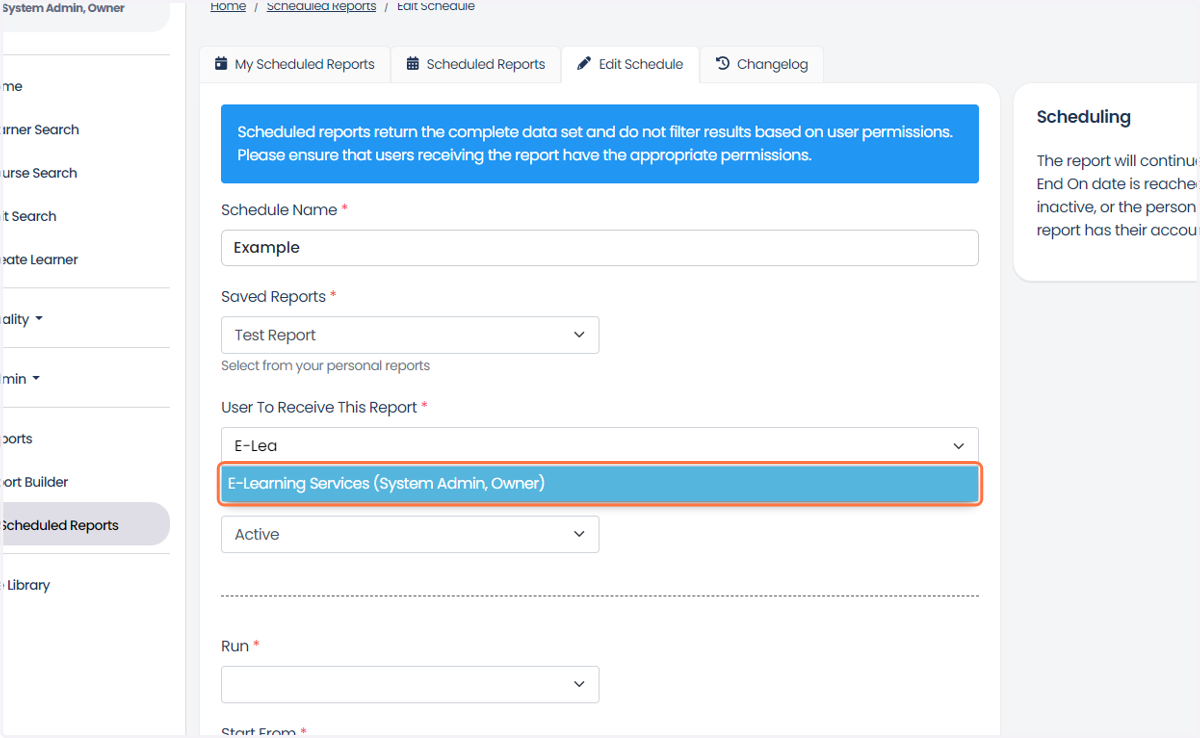
7. Enter the user names you wish to receive this report.
If you wish to receive this report yourself, you will need to add your name.
8. Select the schedule type you want for this report.
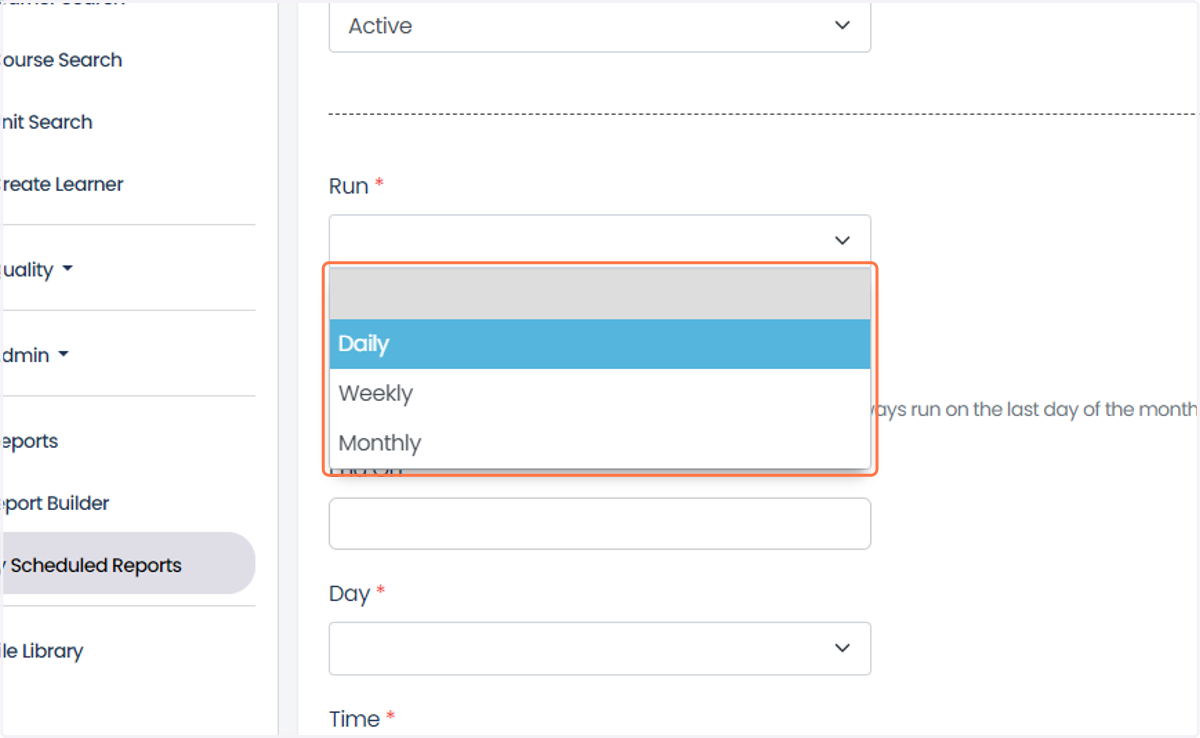
9. Select a start date via the calendar for the schedule to start generating the reports.
For the schedule to start straight away, enter today's date.
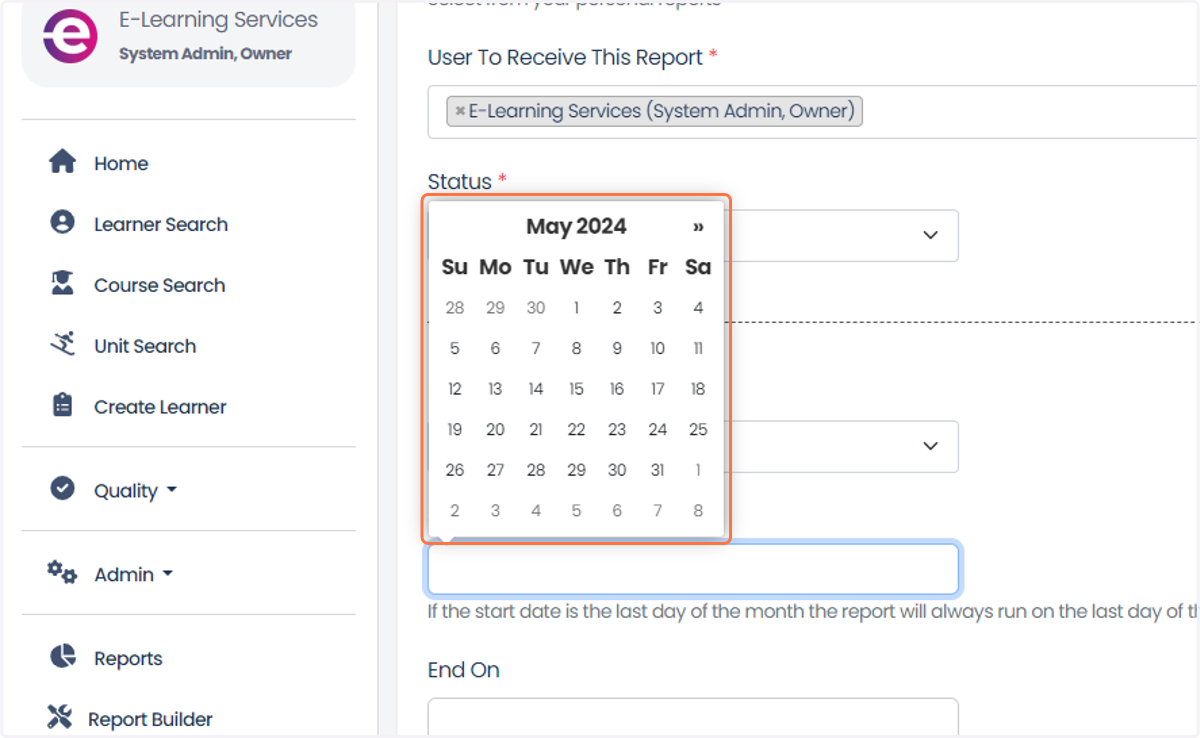
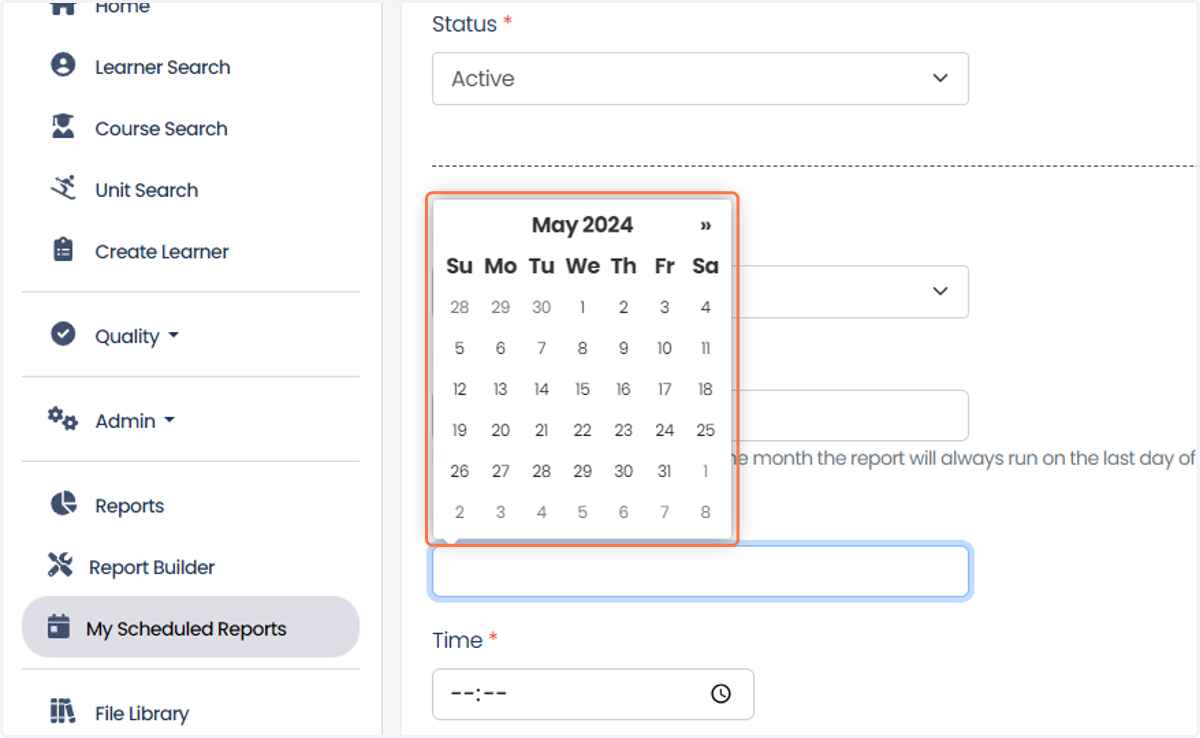
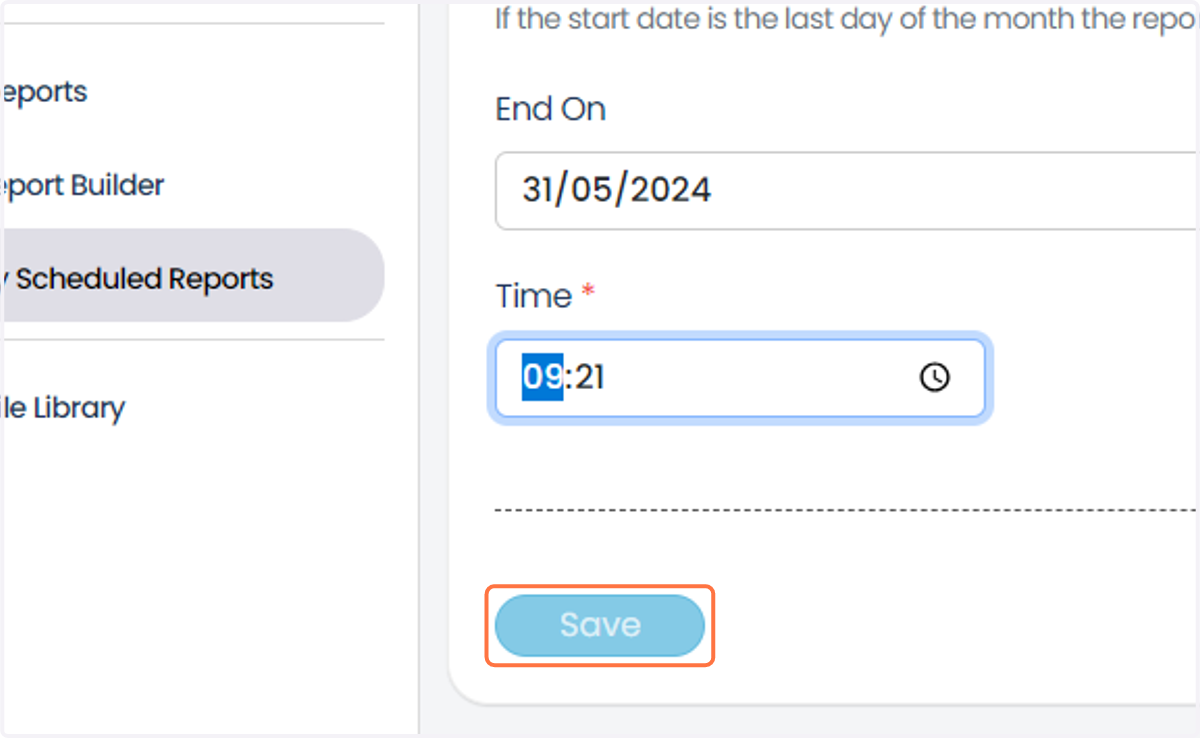
10. Select an end date via the calendar for the schedule to stop generating the reports.
You can leave this blank if you wish to have no end date.
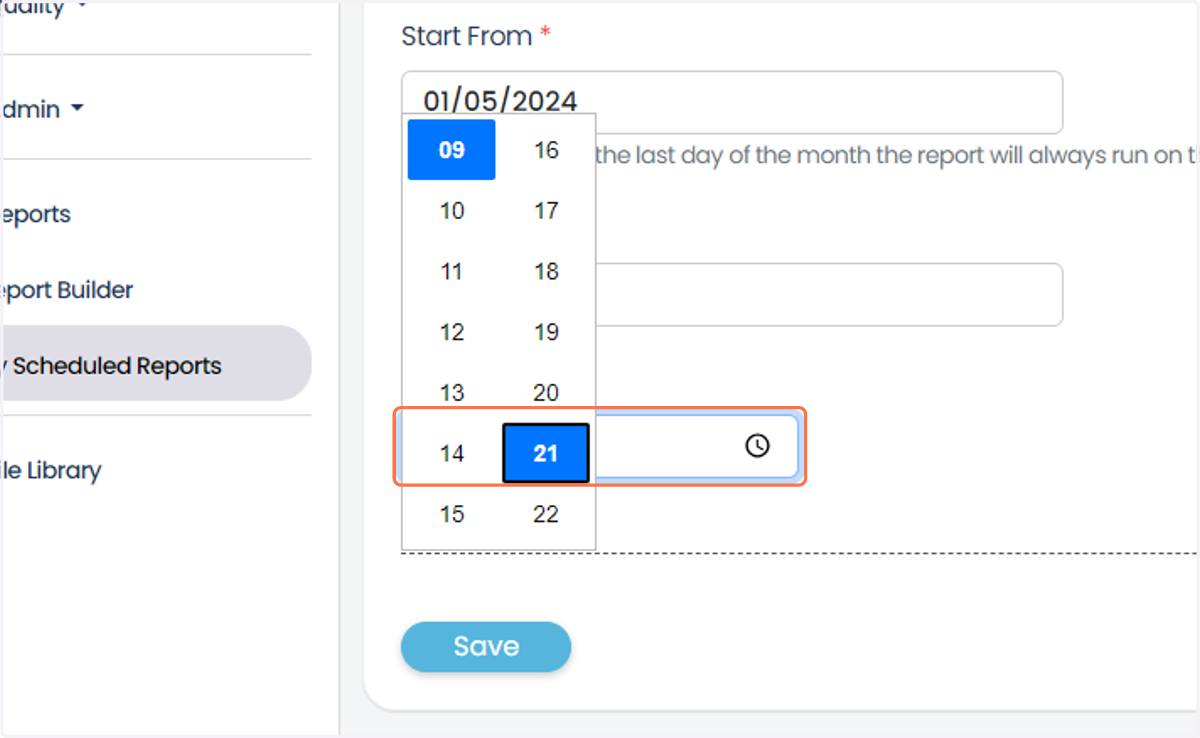
11. Select a time for the report to be sent to you on the day of the schedule by clicking on the Clock Icon.
12. Once you are happy with your schedule, click on Save.
13. This will save the schedule and you will be given an overview of the schedule.
Once a report has been scheduled to yourself, you will receive an email with a download link to the report, you will not receive any attachments to save system resources.