Uploading Images to your Webpage
Login to Modern Campus
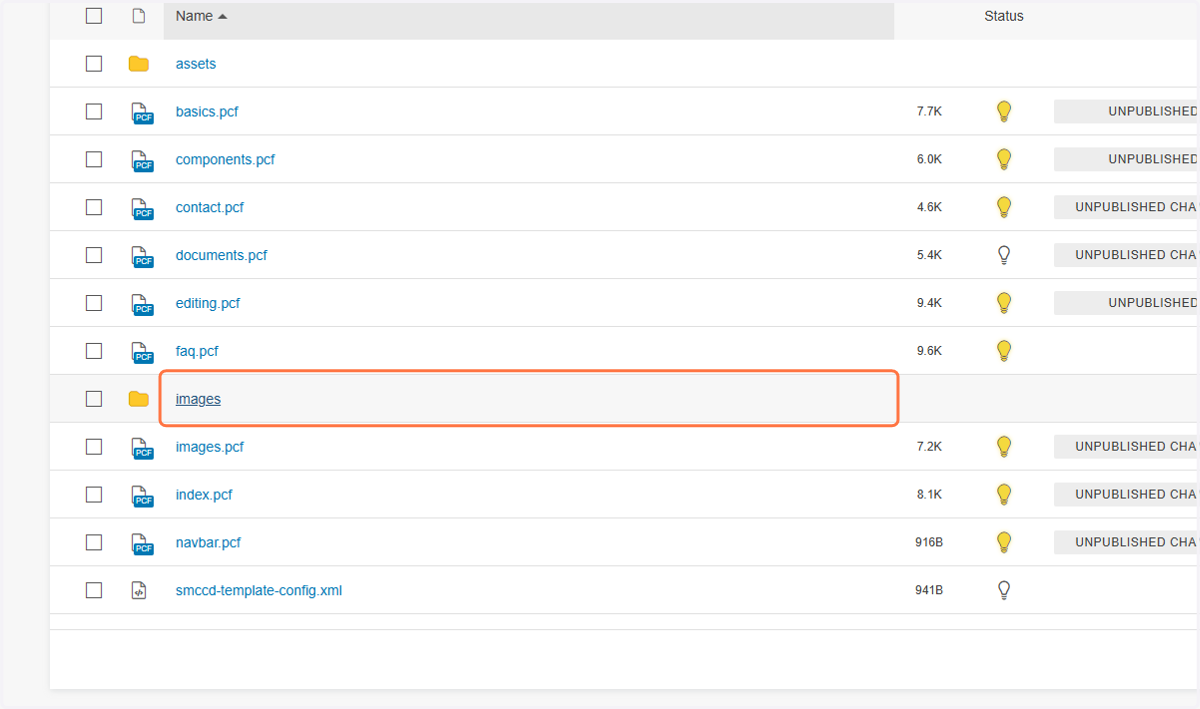
1. Navigate to your website's folder and click on the 'images' folder.
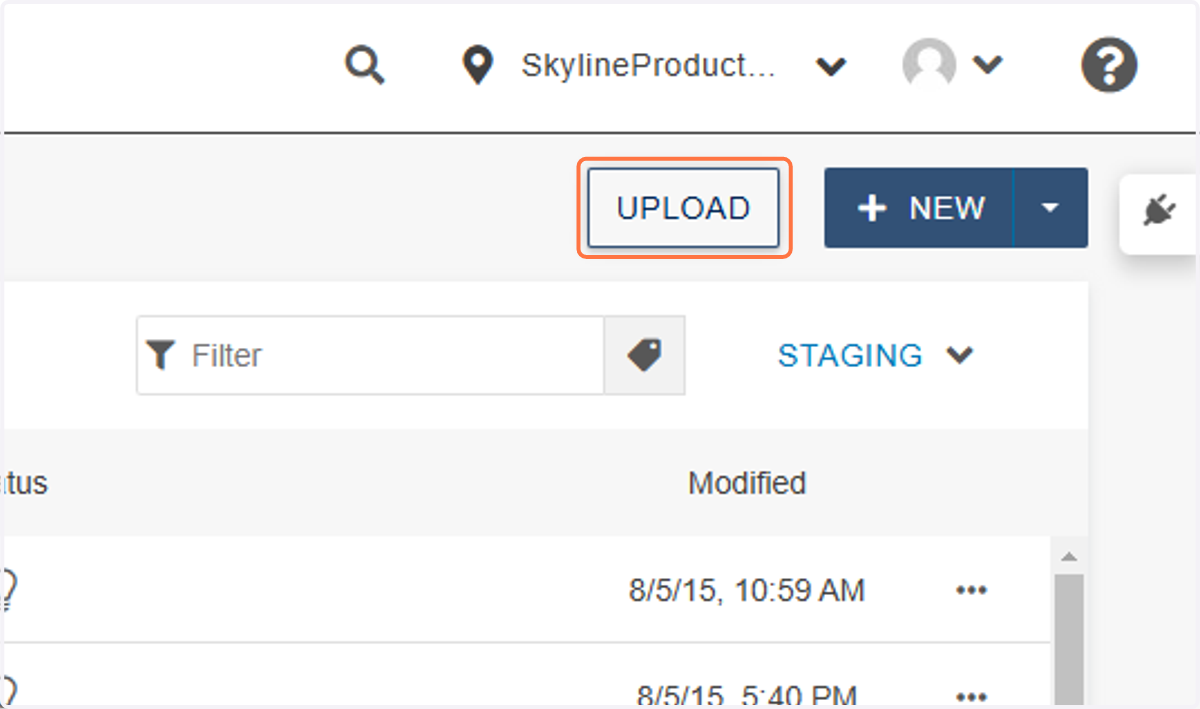
2. Inside the images folder, click on the UPLOAD button in the top right corner.
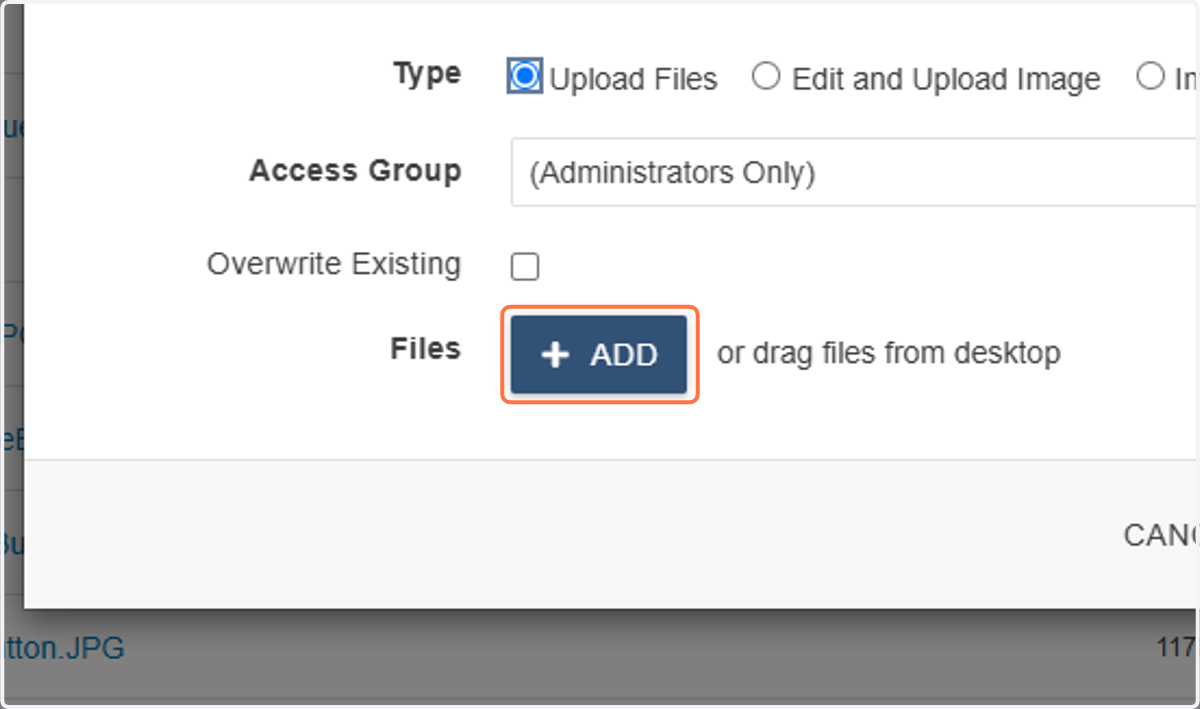
3. A pop-up will appear. Click on Add Files to find your file on your computer, or drag and drop your file into the box.
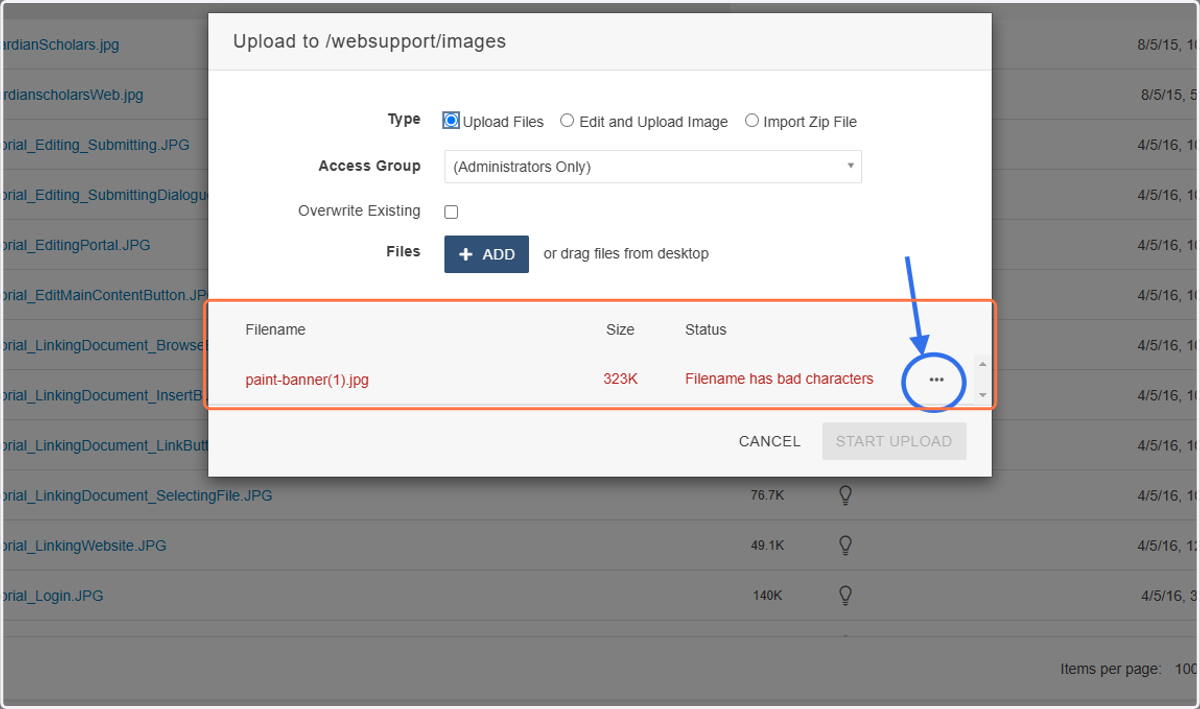
4. If needed, you can click on the three-dots "More actions" menu to rename the file. This may be required if there are disallowed characters like parentheses, and may just be a good idea to make the file more recognizable or remove extra text like "FINALVERSION" or "Fall2022".
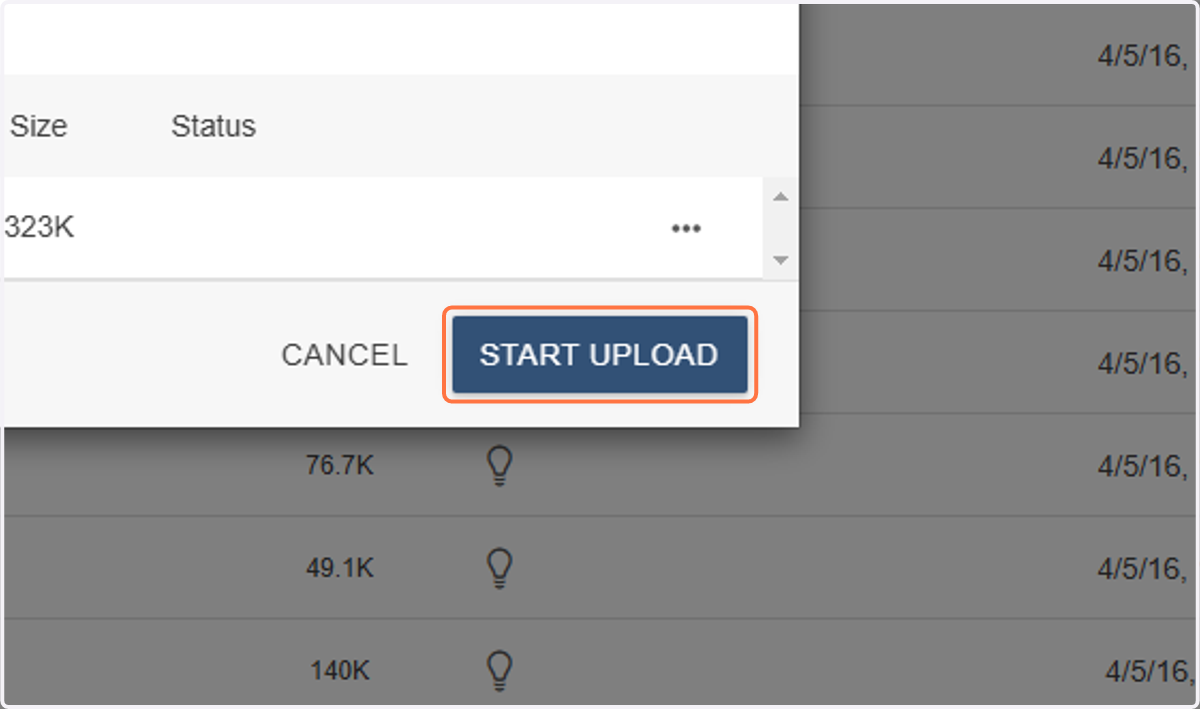
5. Click on START UPLOAD
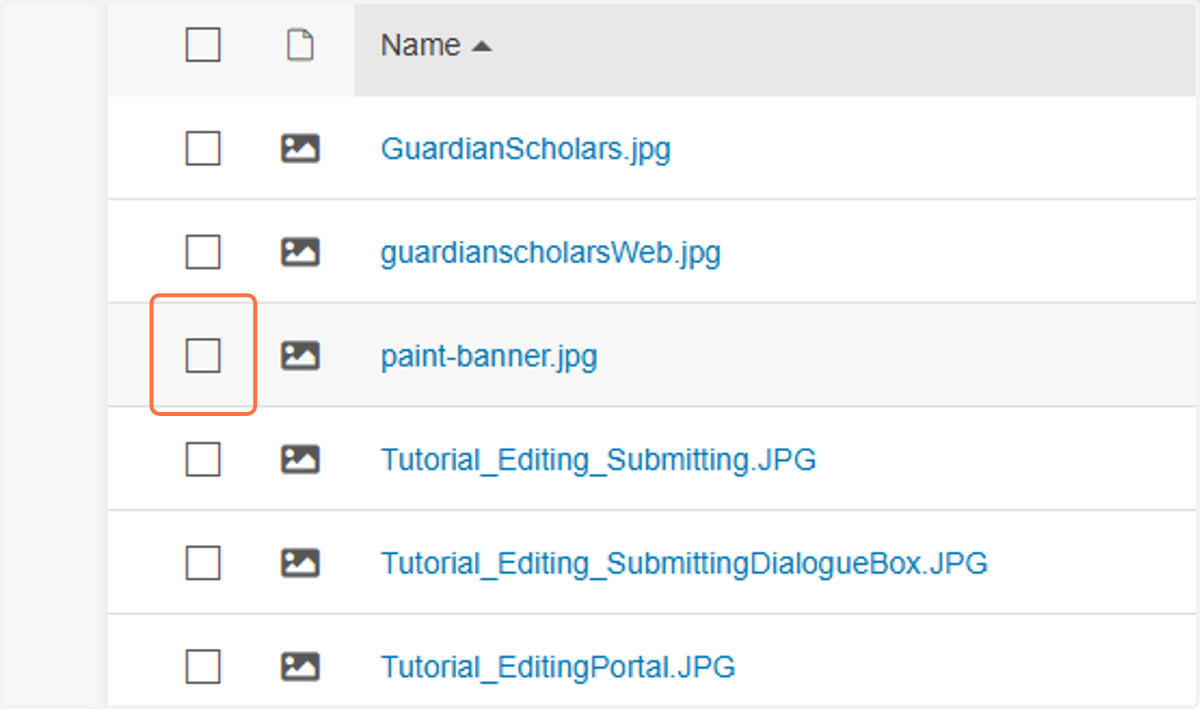
6. Your file is uploaded, but not yet published. Click the checkbox to the left of your newly uploaded file to select it.
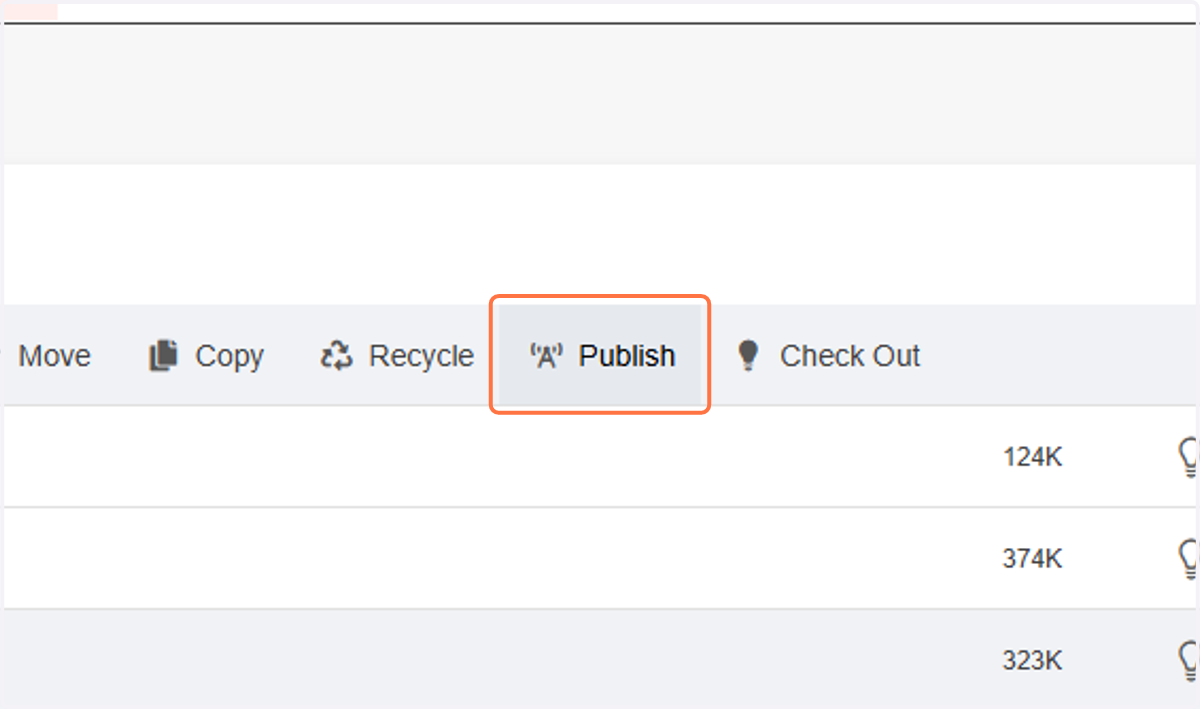
7. Click on the Publish option that appears in the top menu.
8. Click on the green PUBLISH button in the pop-up. Now the file is publicly available on the web, and you can use it on your webpage.
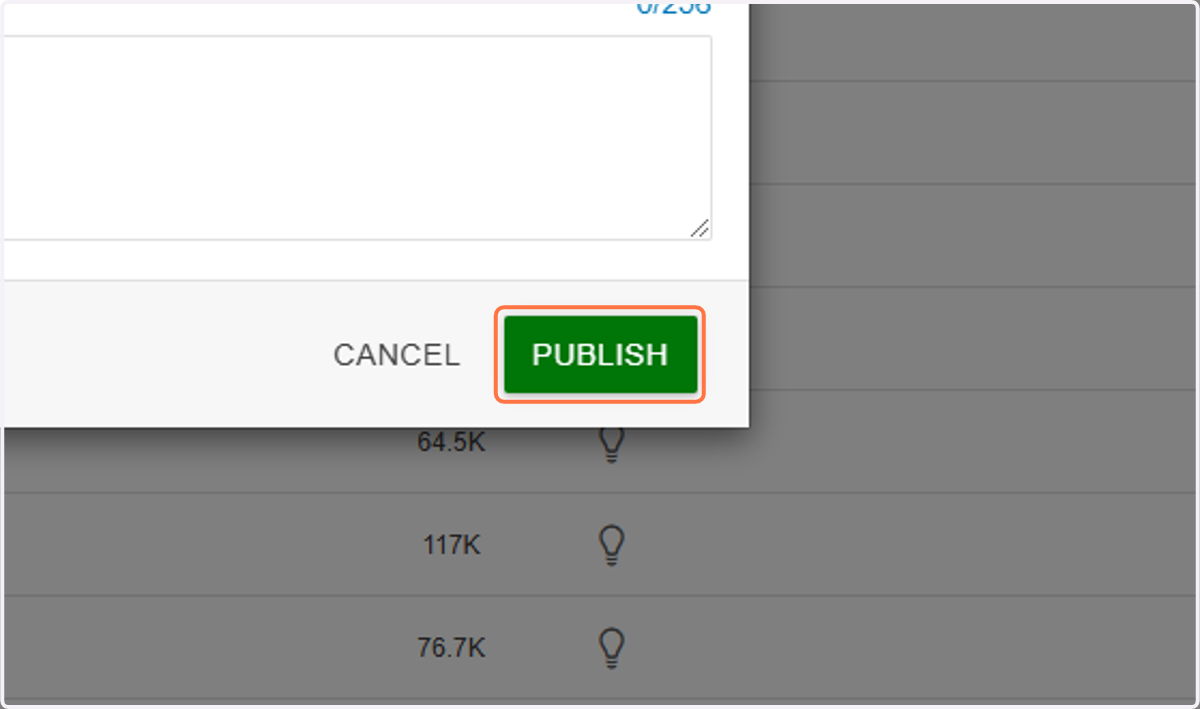
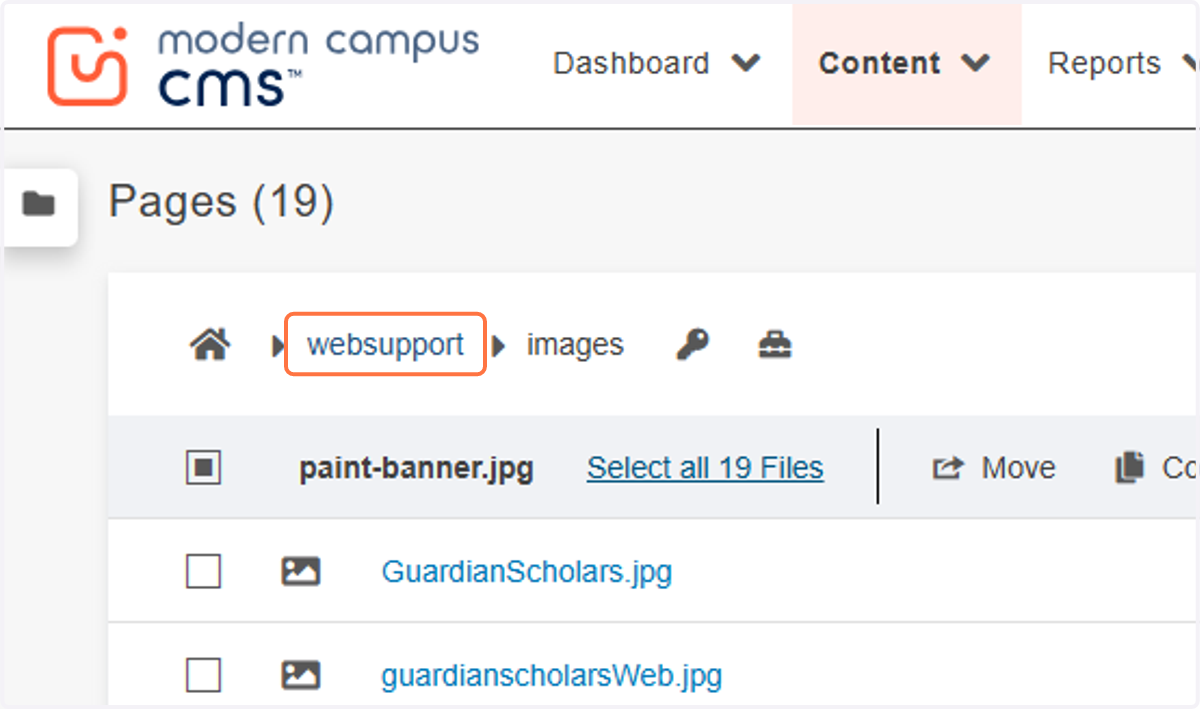
9. Now you can go back to your folder and add it into your page.
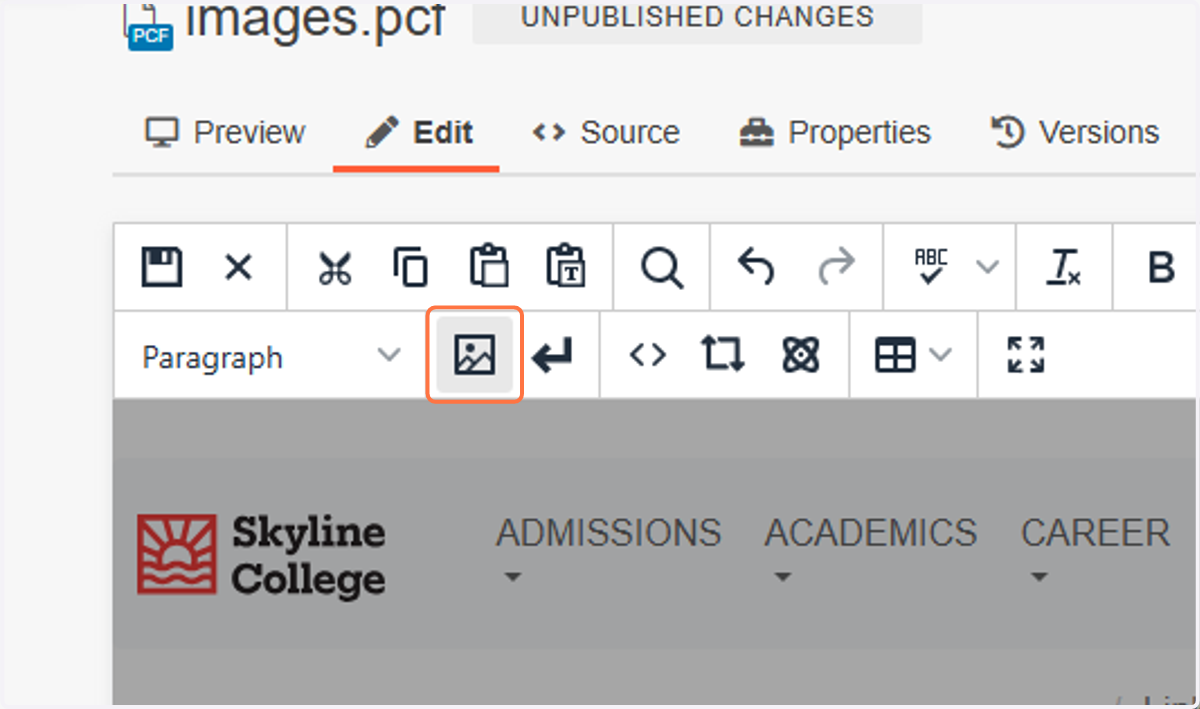
10. Once you are back on your page and in the page editor, put your cursor on the area you want to add your image to. Then click the image icon in the menu bar to insert your image there.
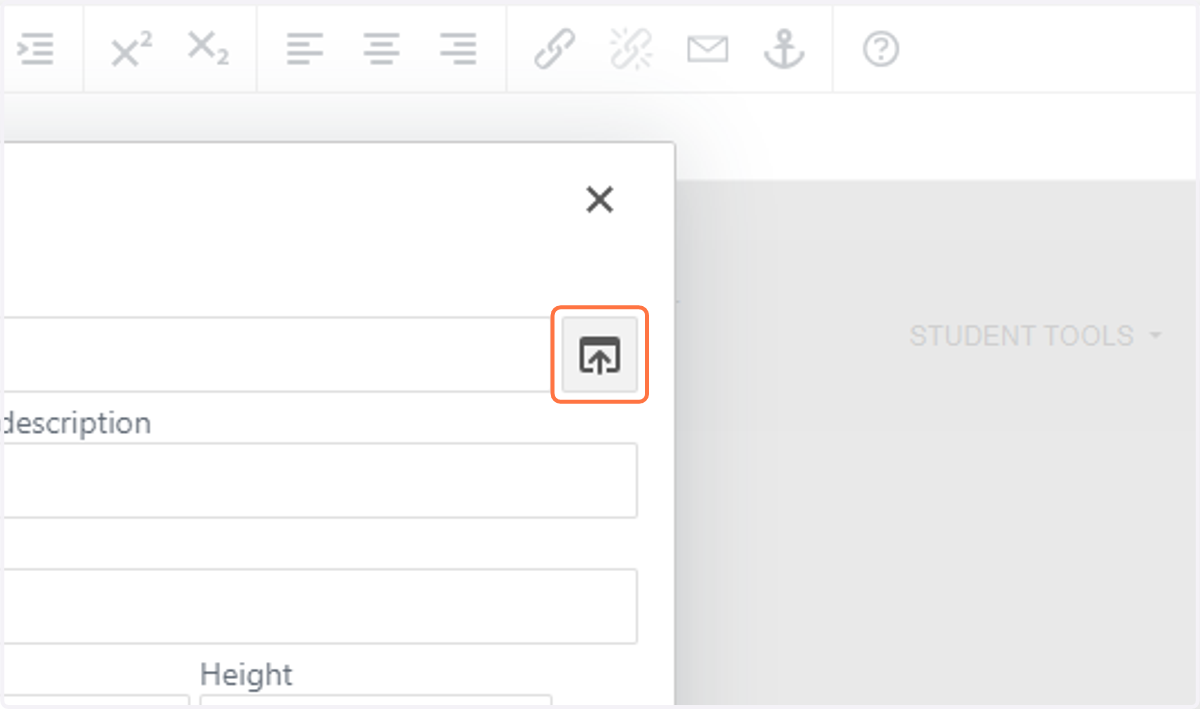
11. In the pop-up, you can use the highlighted icon to easily find your newly uploaded file in our file system.
12. Find your image in the images folder, then click insert in the bottom right corner.
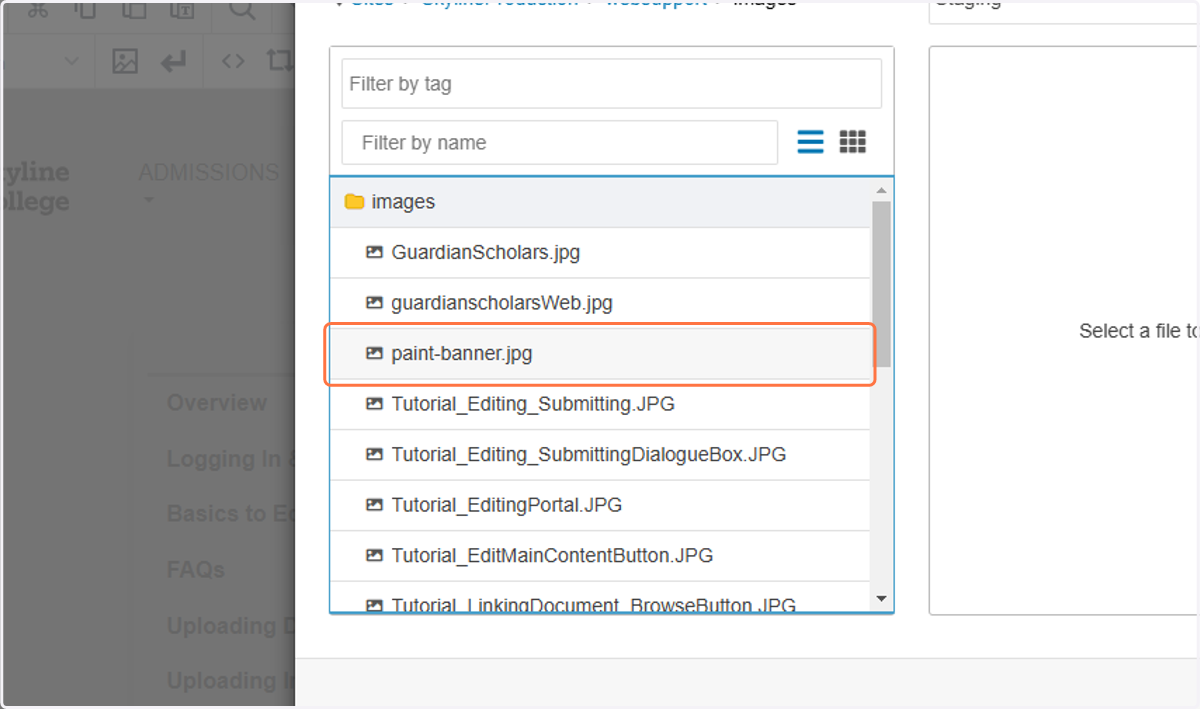
13. An alternative description for the image is required. It must describe the picture so a person who can’t see it does not lose information. <= ~150 characters. Include embedded text. Ex: two students sitting at a desk in a classroom smile and listen to a lecture
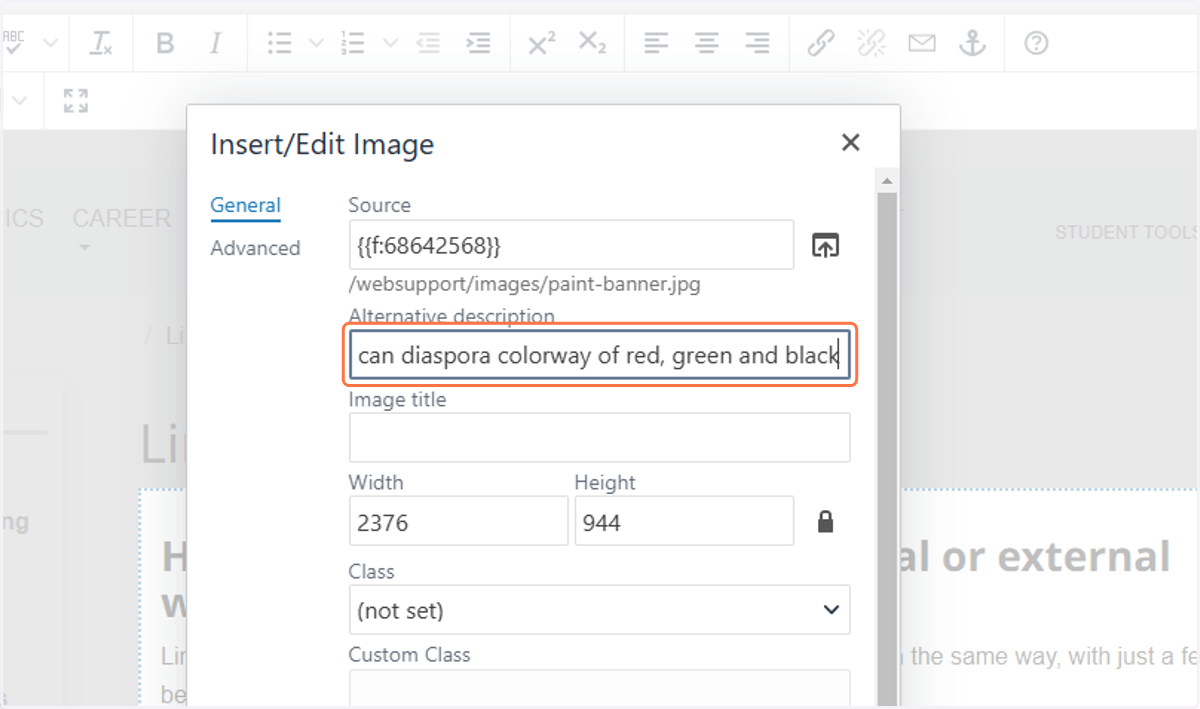
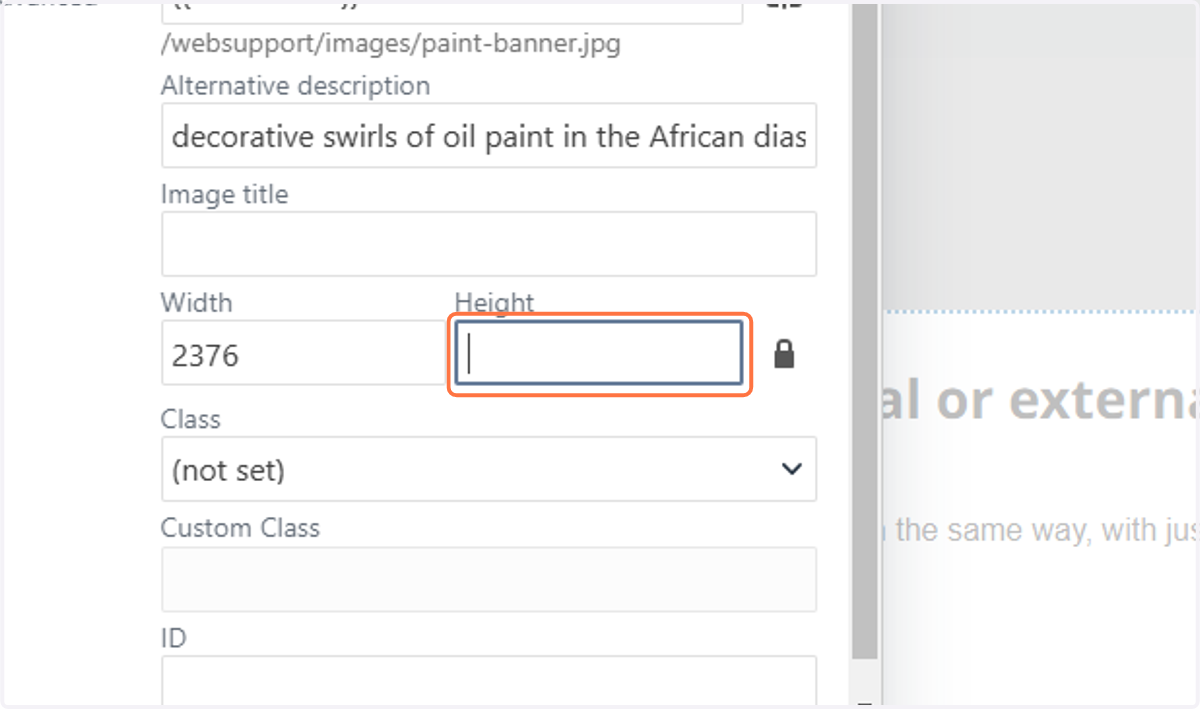
14. Delete the numbers in the Height field. We do not want to set an intrinsic height on the image because we want it to be responsive to different screen types.
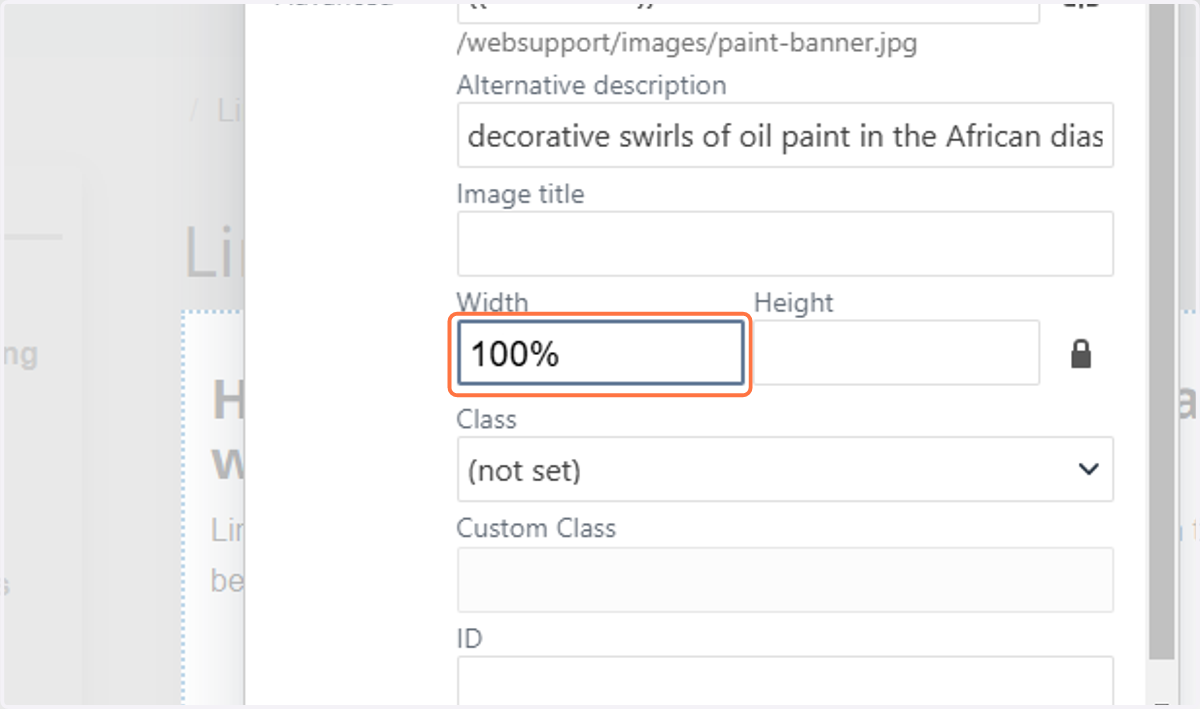
15. We want to use a percentage in the width field to address the different screen types our users will view the image on.
Setting this to 100% will make the image fill out the full width of the column it's in, no matter the size of the screen. This is usually a better approach than typing out exact pixel widths.
16. Save the image. You will see it is now embedded in the page. If the image is not displaying, you probably still need to publish it.
17. Save your edits, then Click on Preview to review the way the image looks on the page.
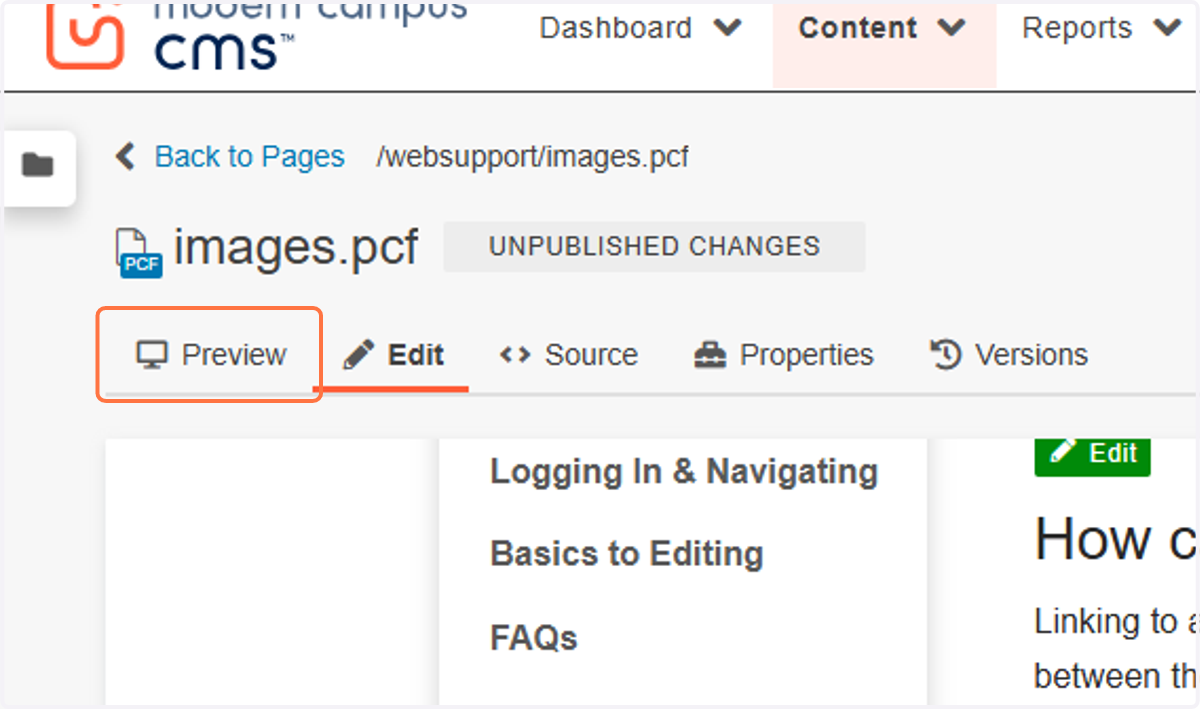
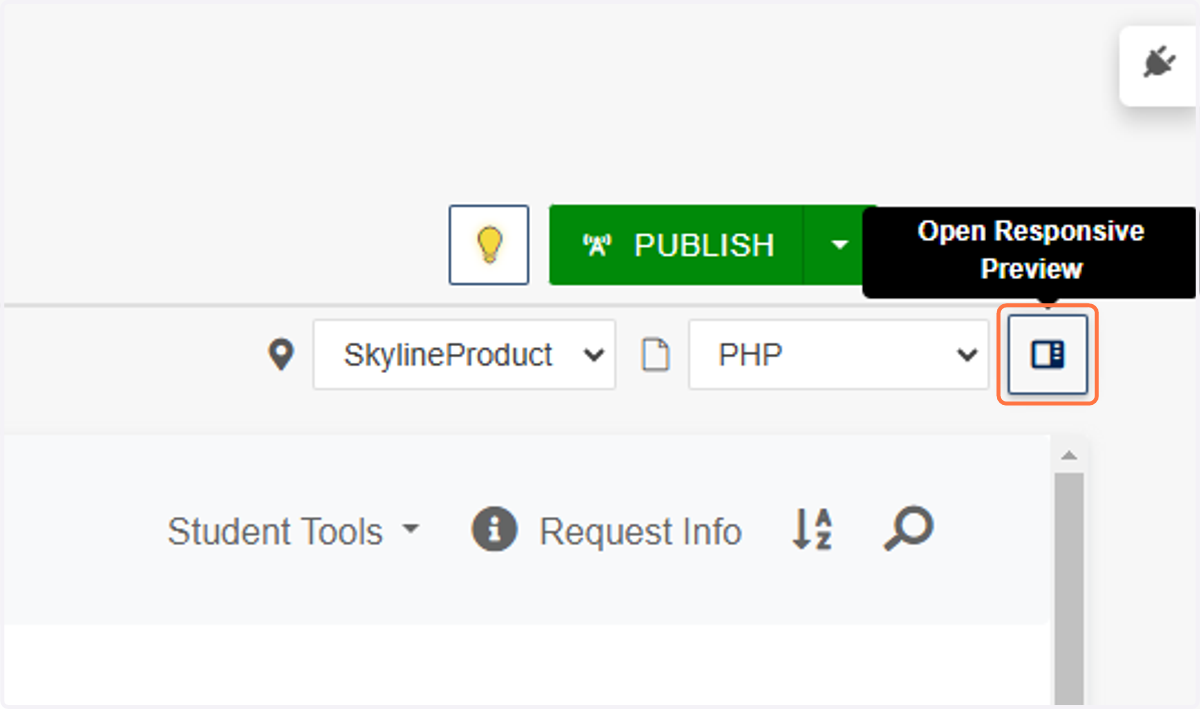
18. Click on Open Responsive Preview to check the view on a phone or tablet. This button opens up a small sidebar that will adjust the screen size accordingly for your review.