Creating A Raise Campaign
How to create a Raise Campaign for Giving Days, Matching Campaigns, and other ambassador-driven events.
Creating A Campaign
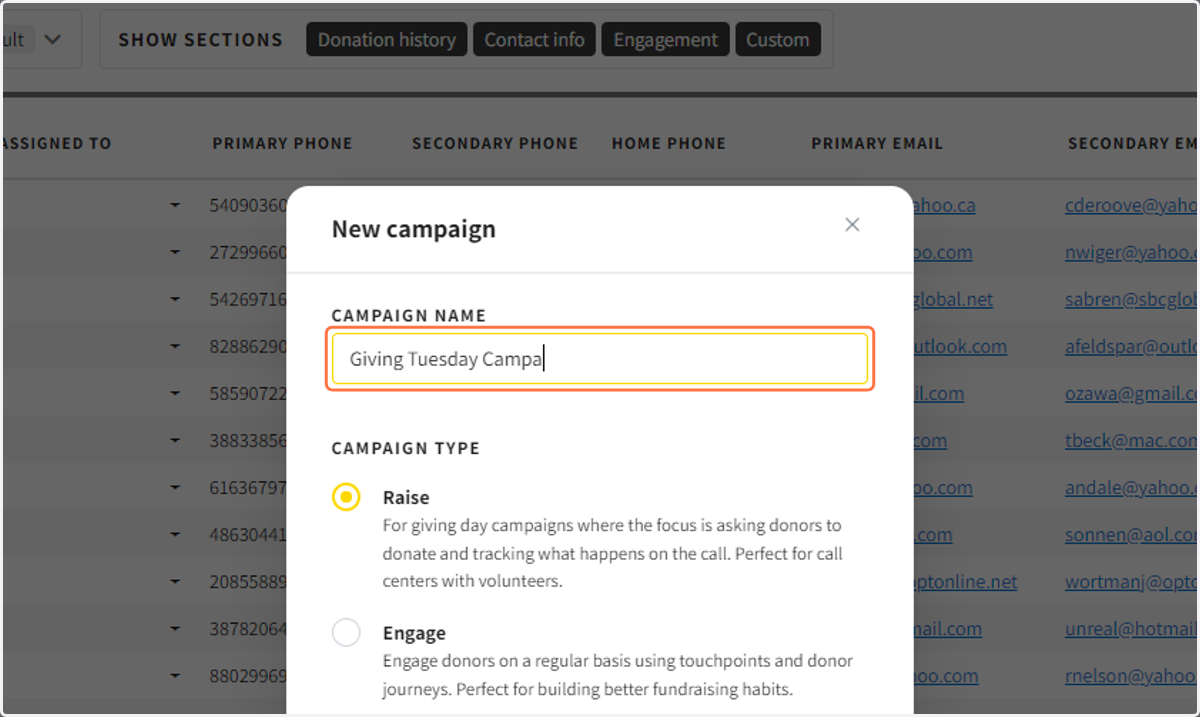
1. Select the Raise Campaign Type, Name your Campaign, and click Create
If you do not see the new campaign button, click on your initials in the top right corner, click on campaigns, and then click on New Campaign.
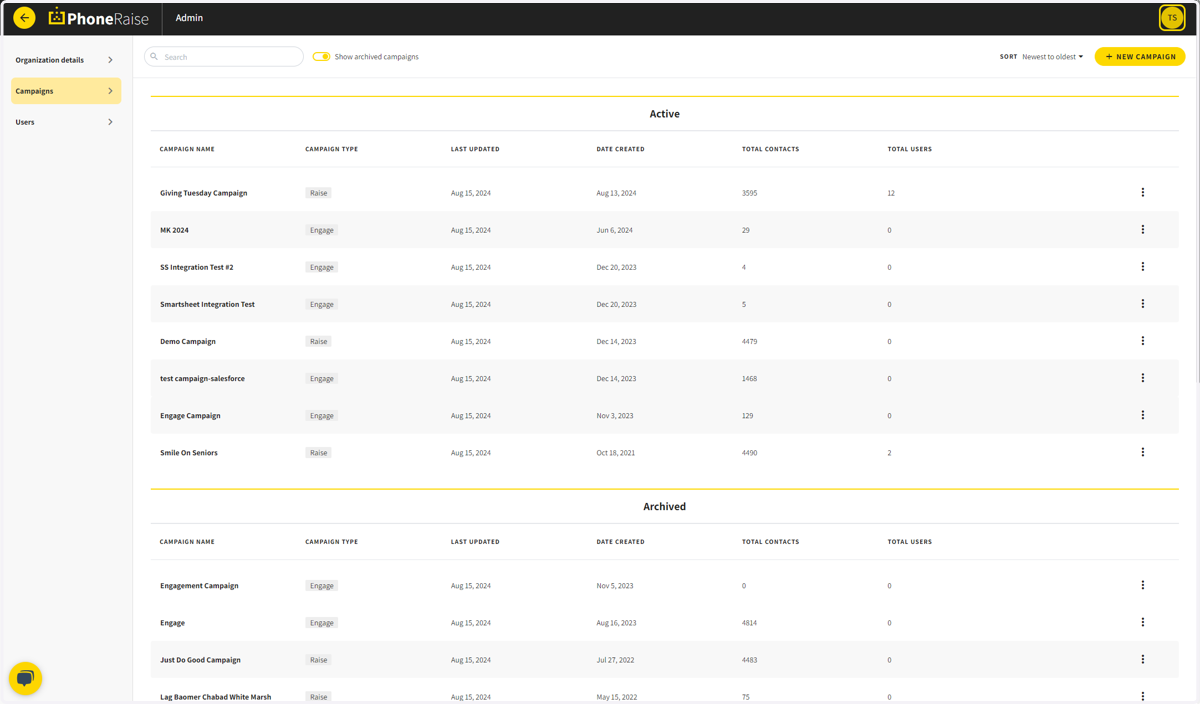
2. When you have logged into app.phoneraise.com Click on New Campaign
If you do not see the new campaign button, click on your initials in the top right corner, click on campaigns, and then click on New Campaign.
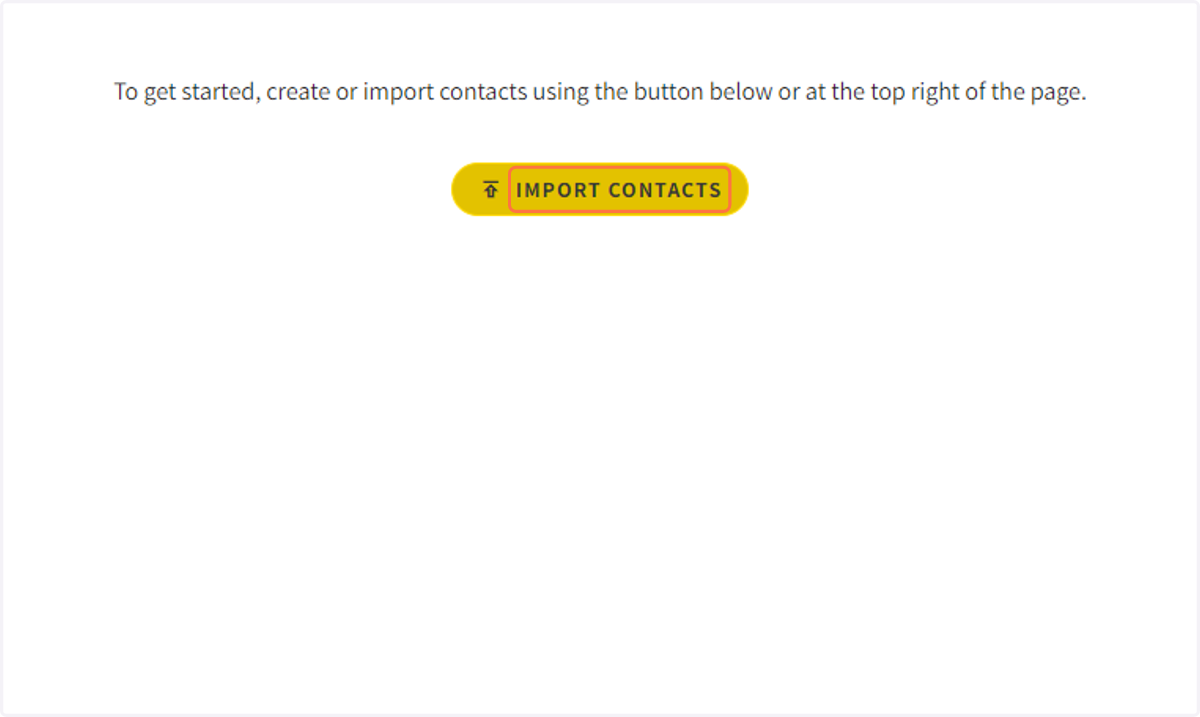
3. From the contacts section, click on Add or Import Contacts
Importing Contacts
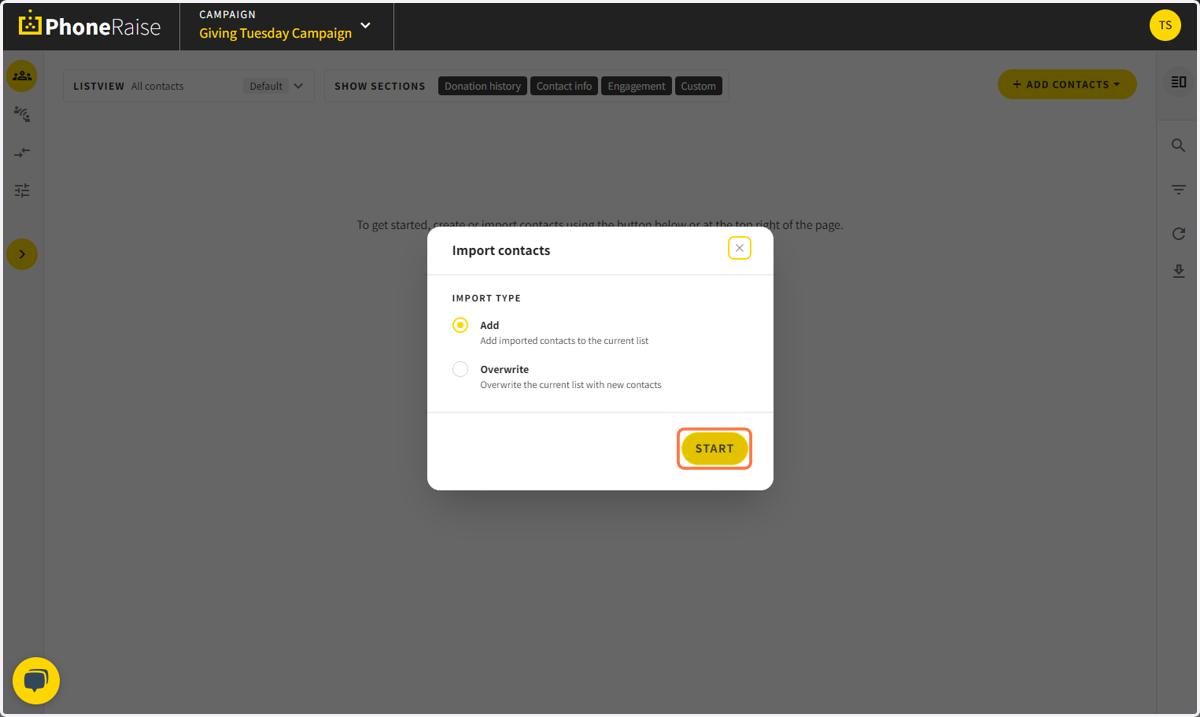
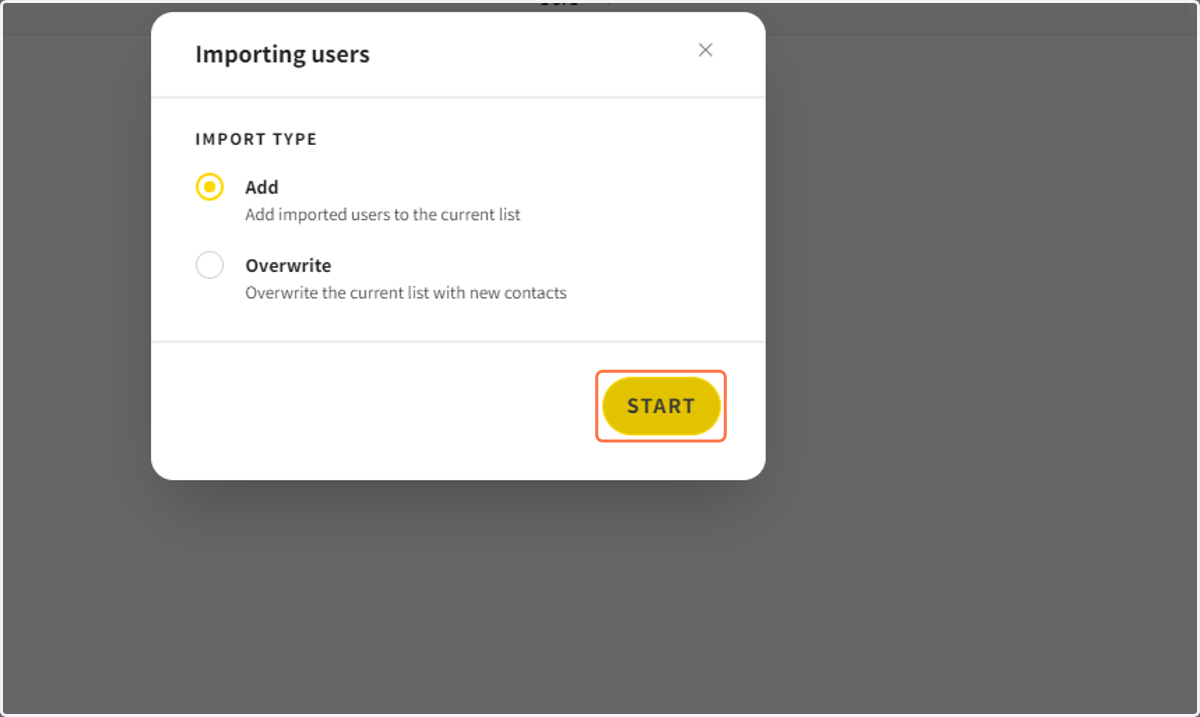
4. Click on Add Contacts and click start
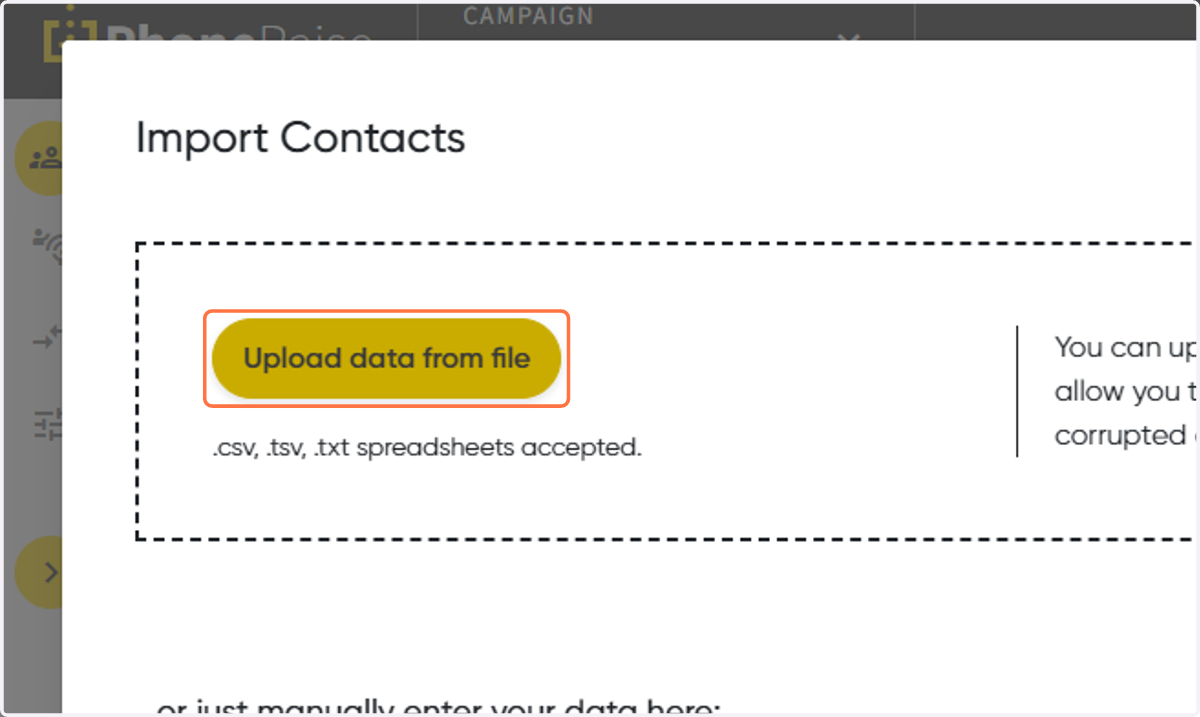
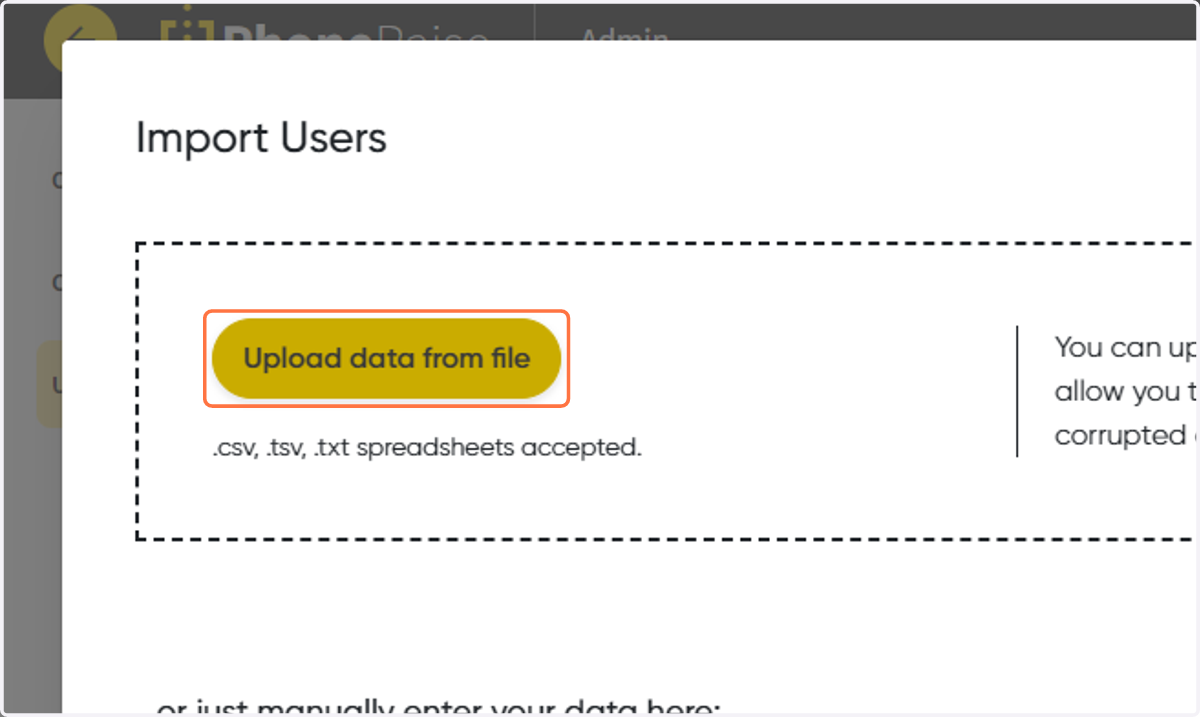
5. Click on Upload data from file
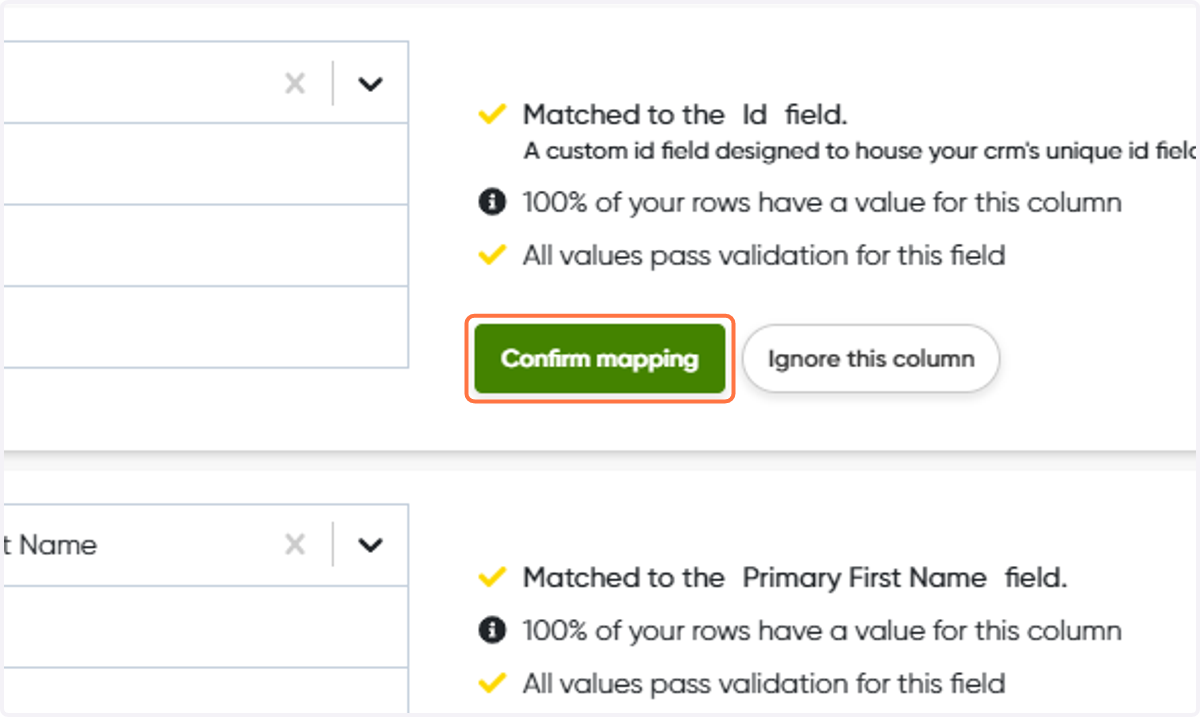
6. Confirm the Field Mapping
PhoneRaise automatically tries to Match the imported field with the PhoneRaise field. If the match is correct, you can confirm mapping. If you do not want to bring a field into PhoneRaise you can ignore the column
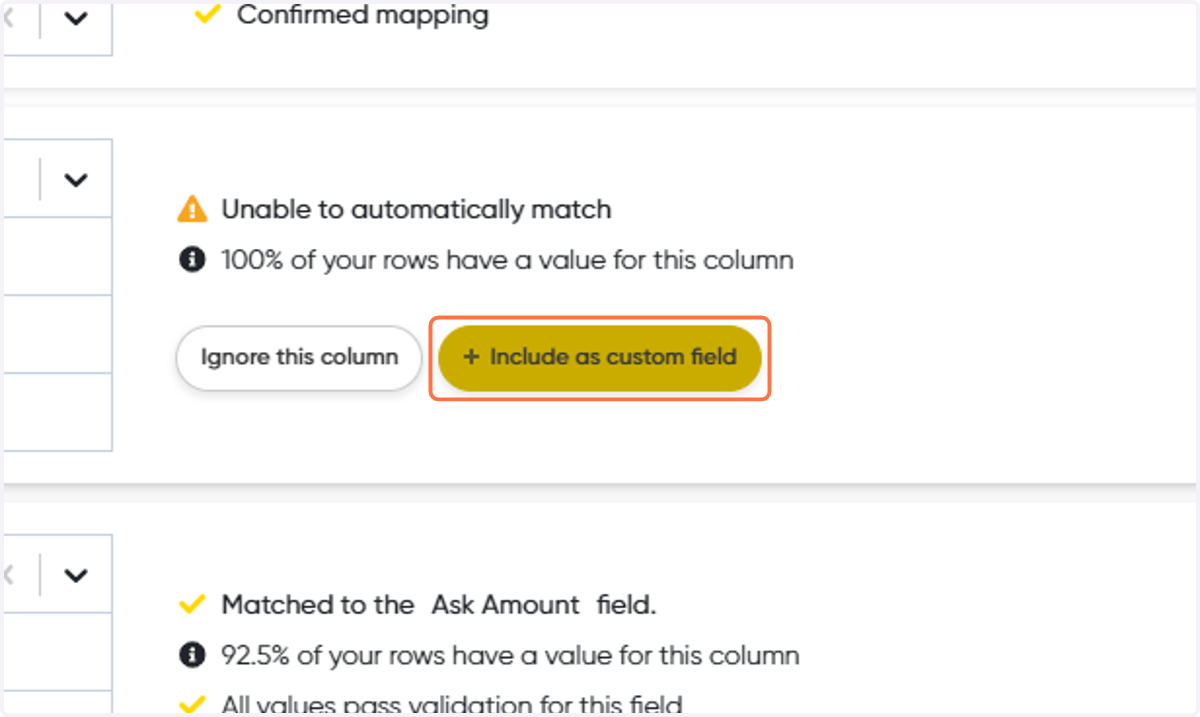
7. Create Custom Field Mappings
If PhoneRaise does not recognize the field you can create a custom field to bring the data into PhoneRaise.
8. Click on Review
Importing Users
9. Click on Continue
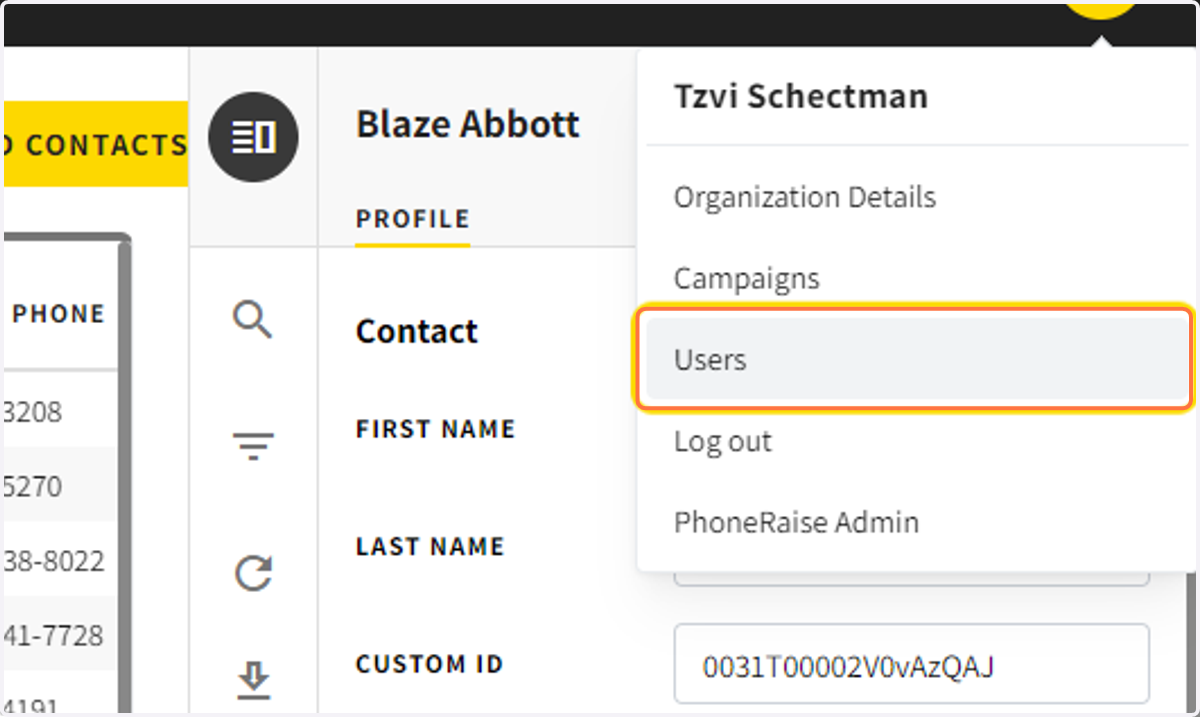
10. In the top right corner click on Users
Adding users to a campaign
11. Add or import users
If you have already imported the users you need you can skip these steps
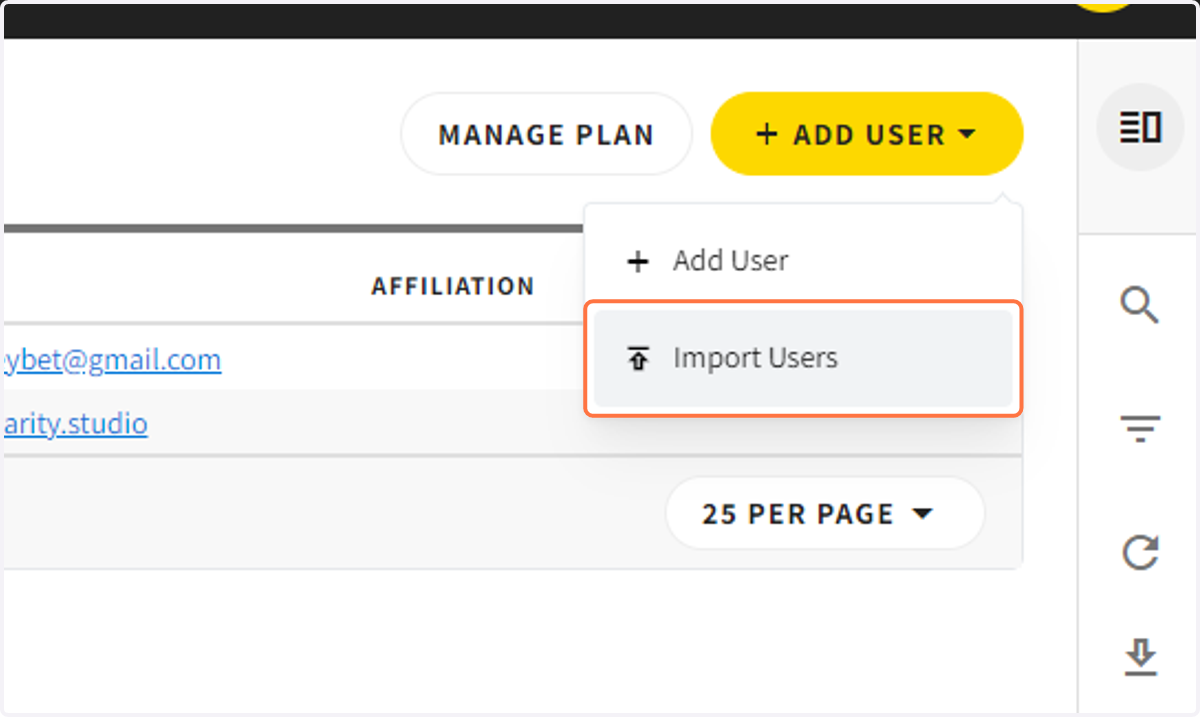
12. Click on Add
13. Click on Upload data from file
Assigning Contacts to Users
How to use the assignment center
Giving Volunteers List Access
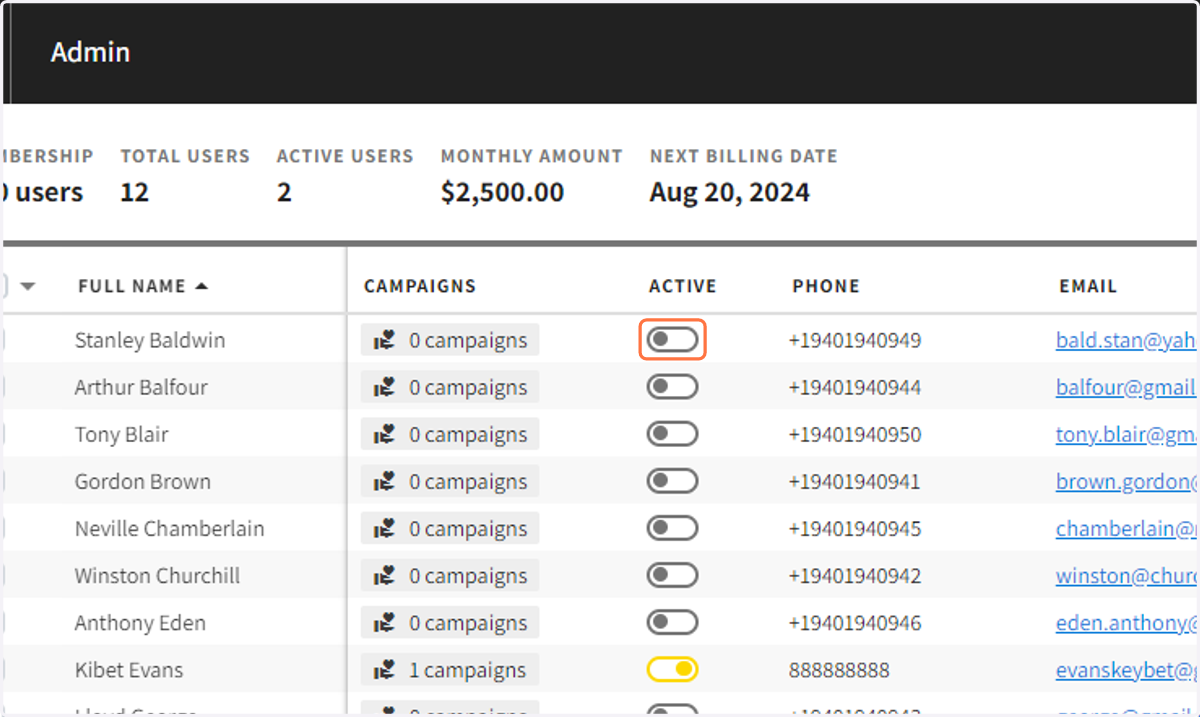
14. Activate users
Make sure the users you would like to add to a campaign are active
Campaign Settings
Campaign settings lets you customize your Raise Campaign
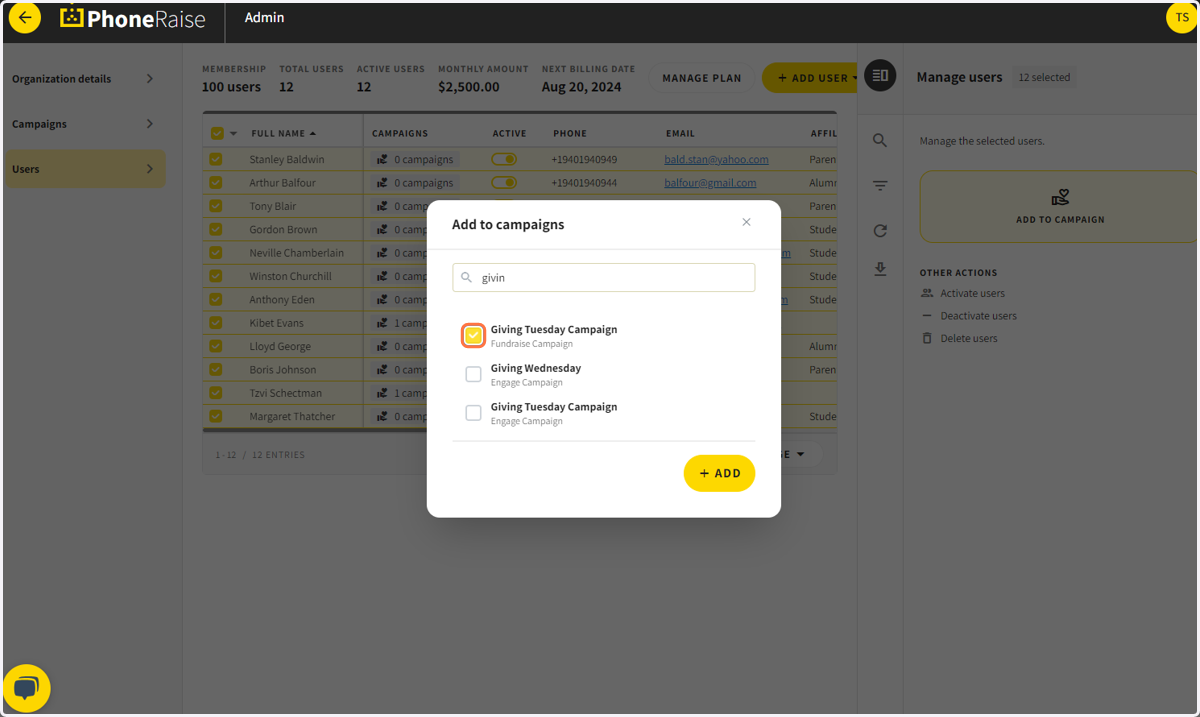
15. Select the contacts on the left and click on the add to campaign button
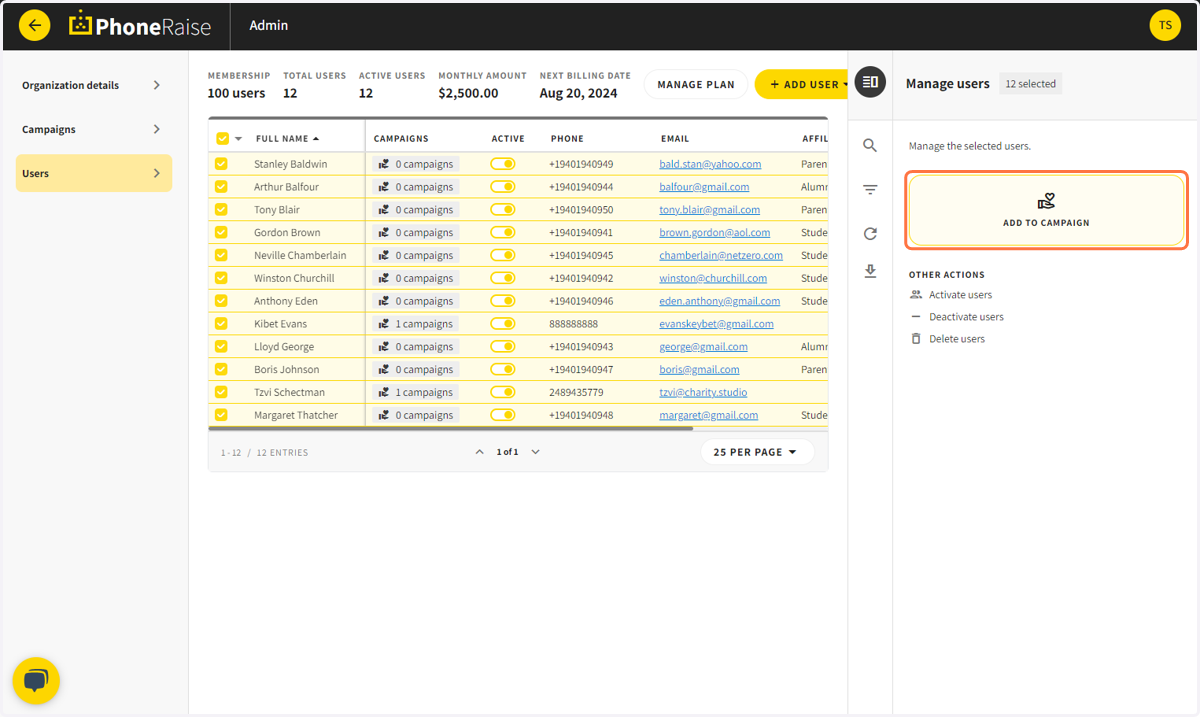
16. Choose the campaign you would like to add users to.
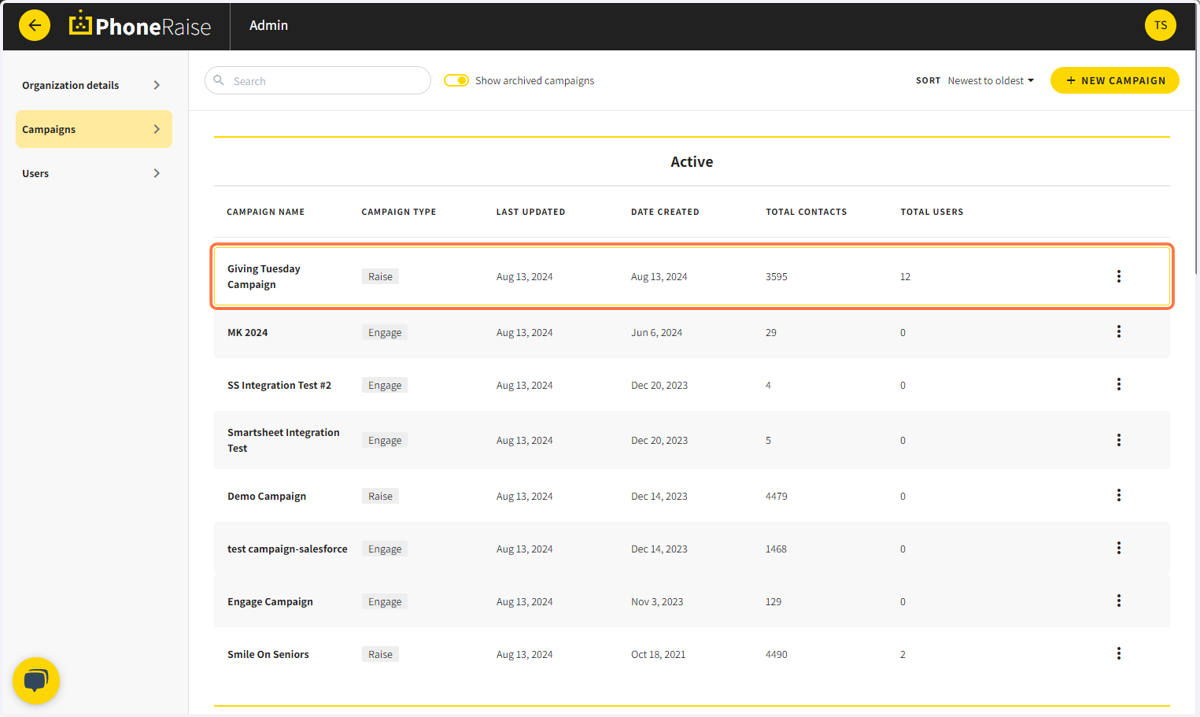
17. Choose the campaign you want to work on
Click on campaigns on the left-hand side and select the campaign
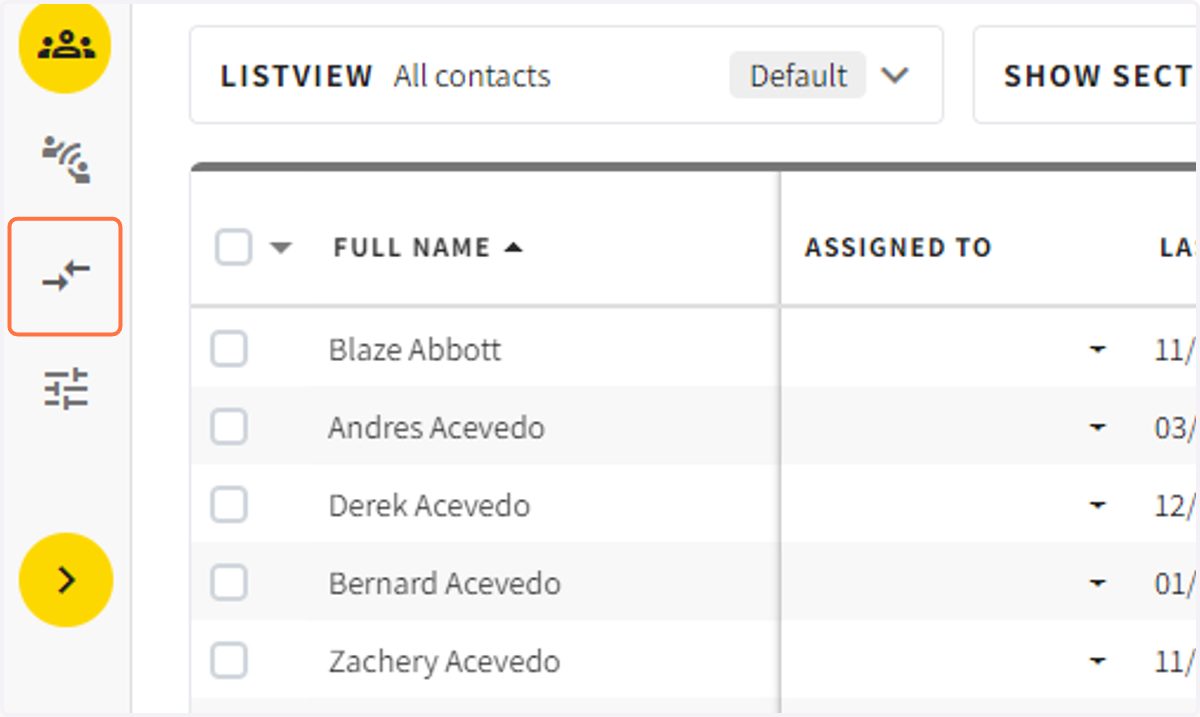
18. Click on the assignment center
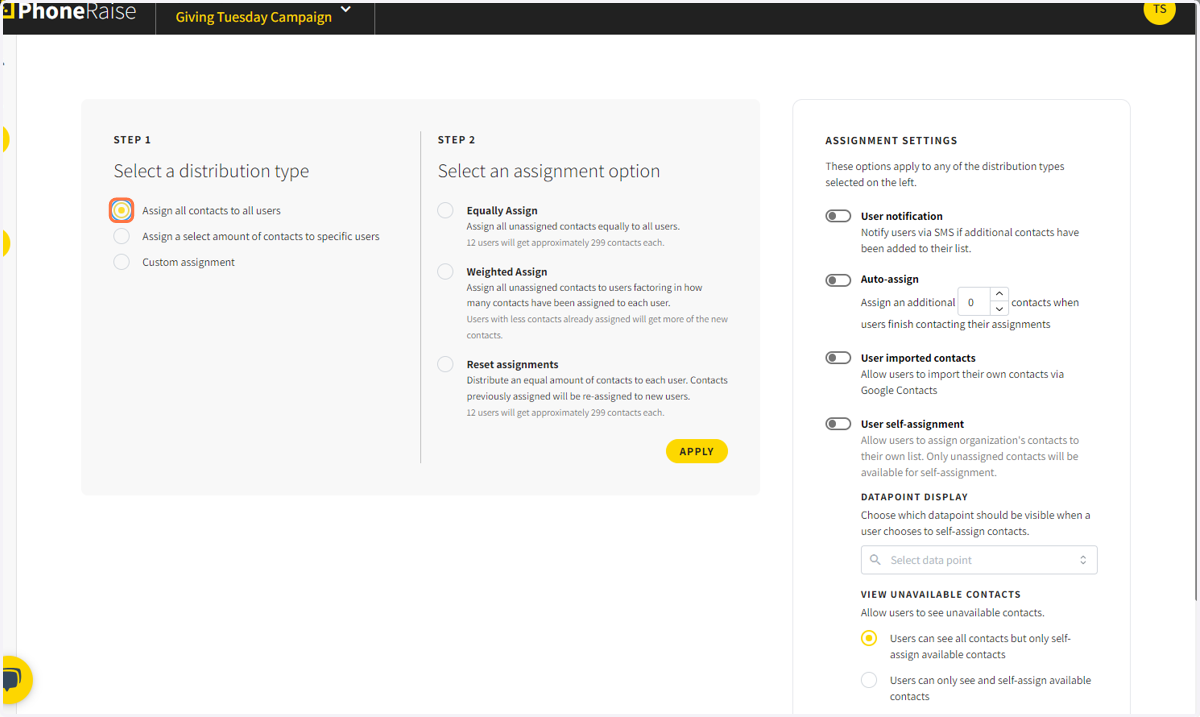
19. Choose how you would like to assign donors to volunteers.
20. Click on Campaign Users
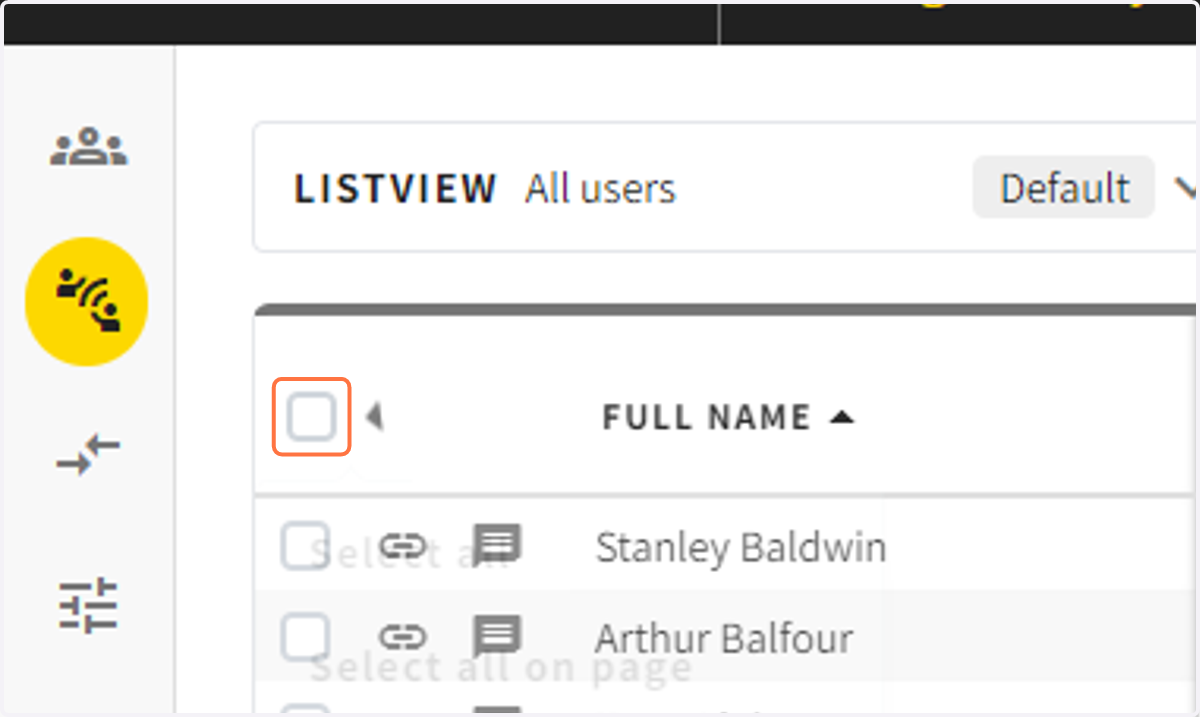
21. Select the volunteers to notify with their unique volunteer link
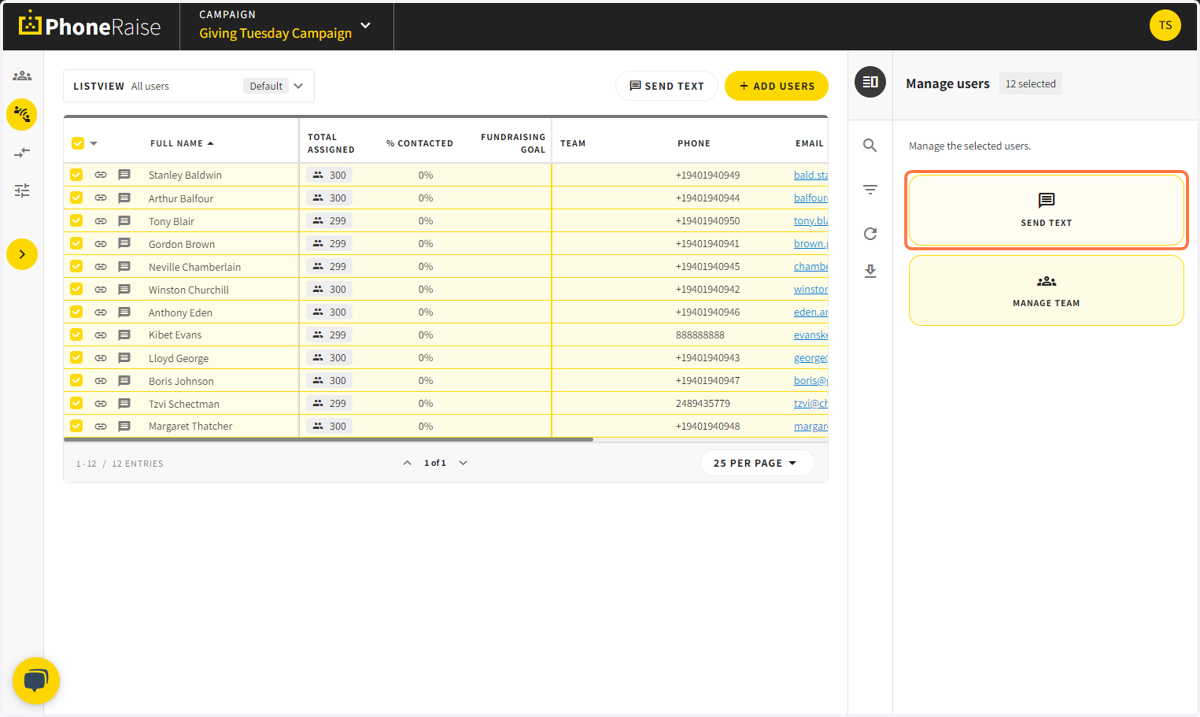
22. Review the message and click send
!Make sure that you live the link merge tag in the message!
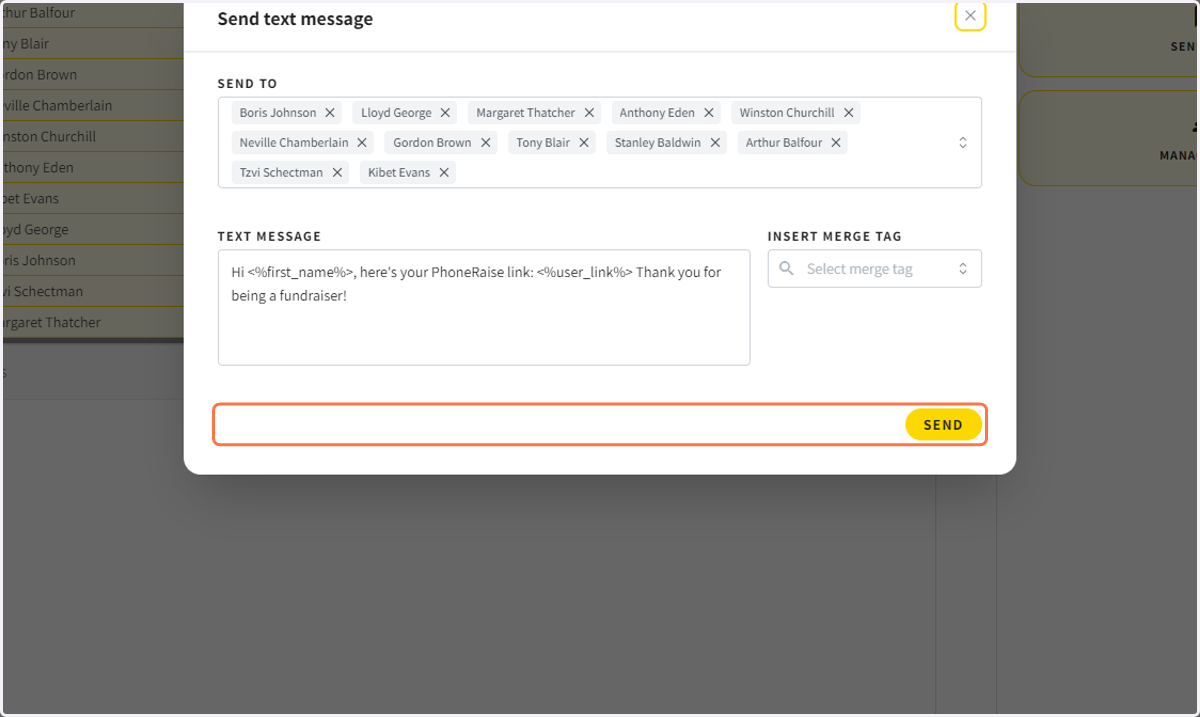
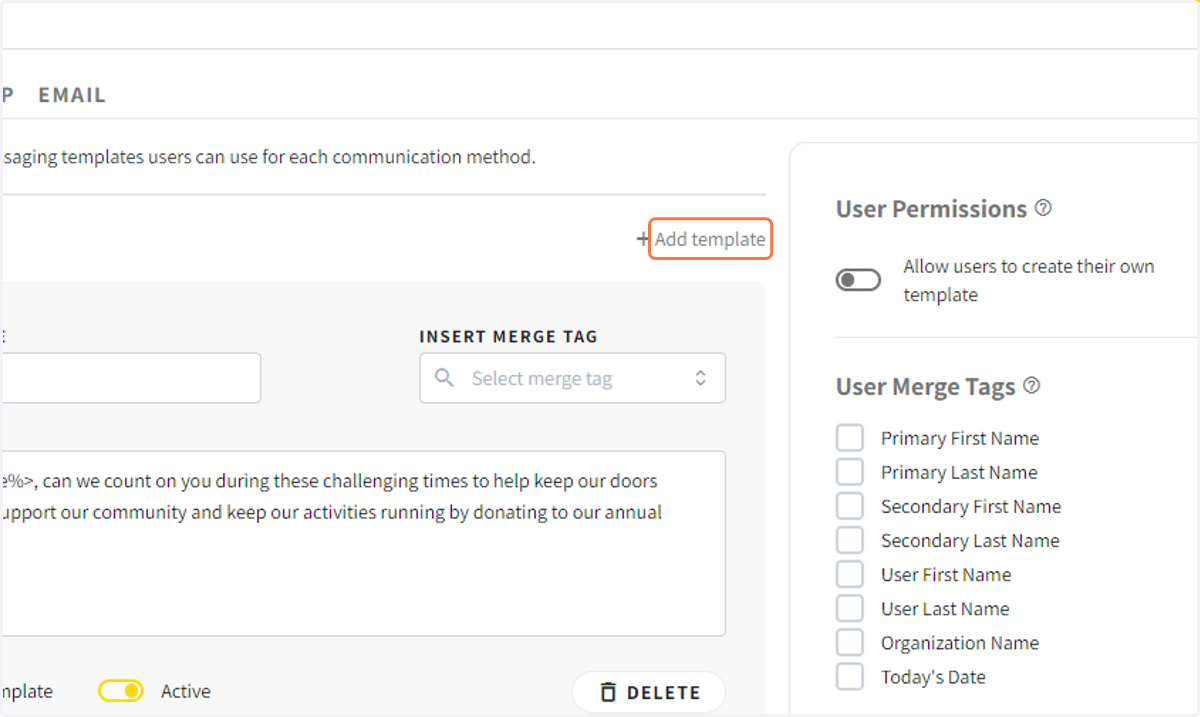
23. Make sure to edit your message templates
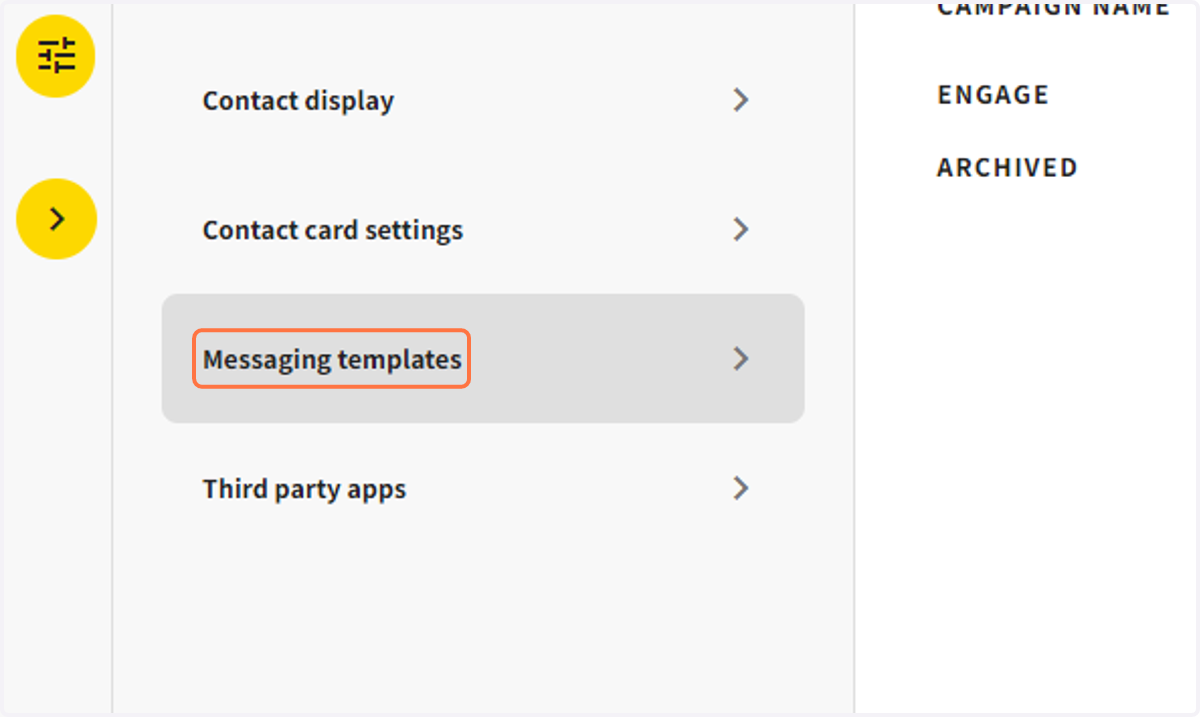
24. Add templates, Add merge tags and more.
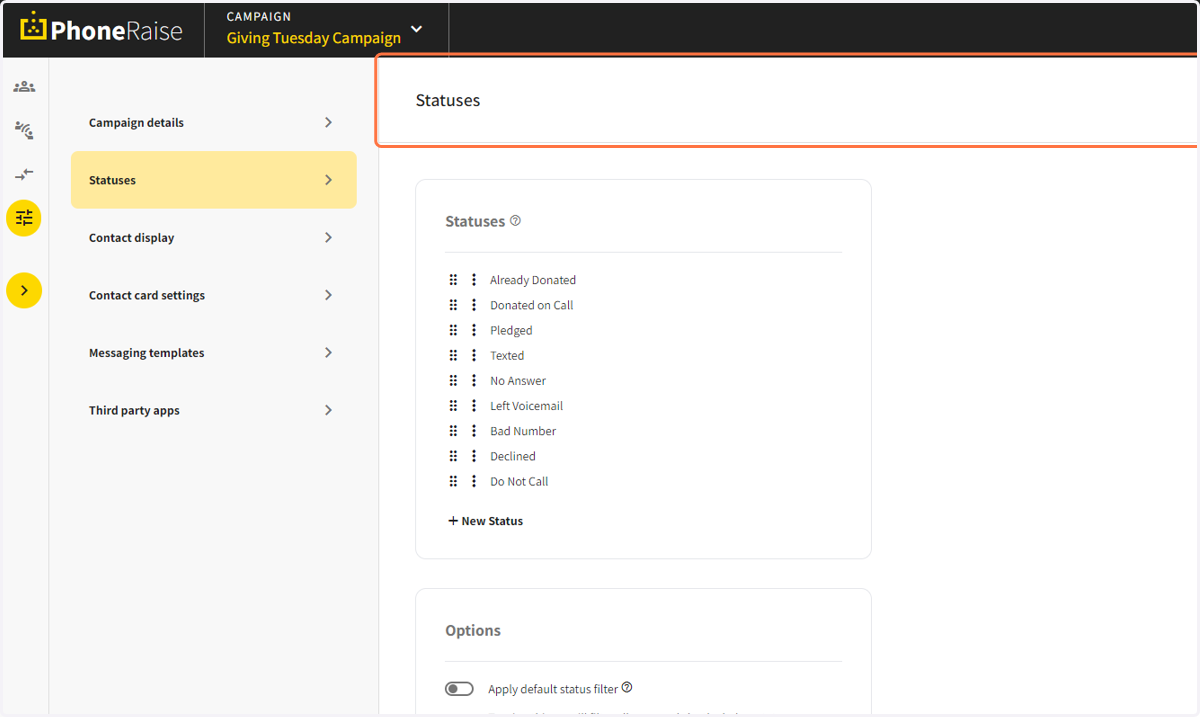
25. Click on Status
Choose what Status options are available to your volunteers.
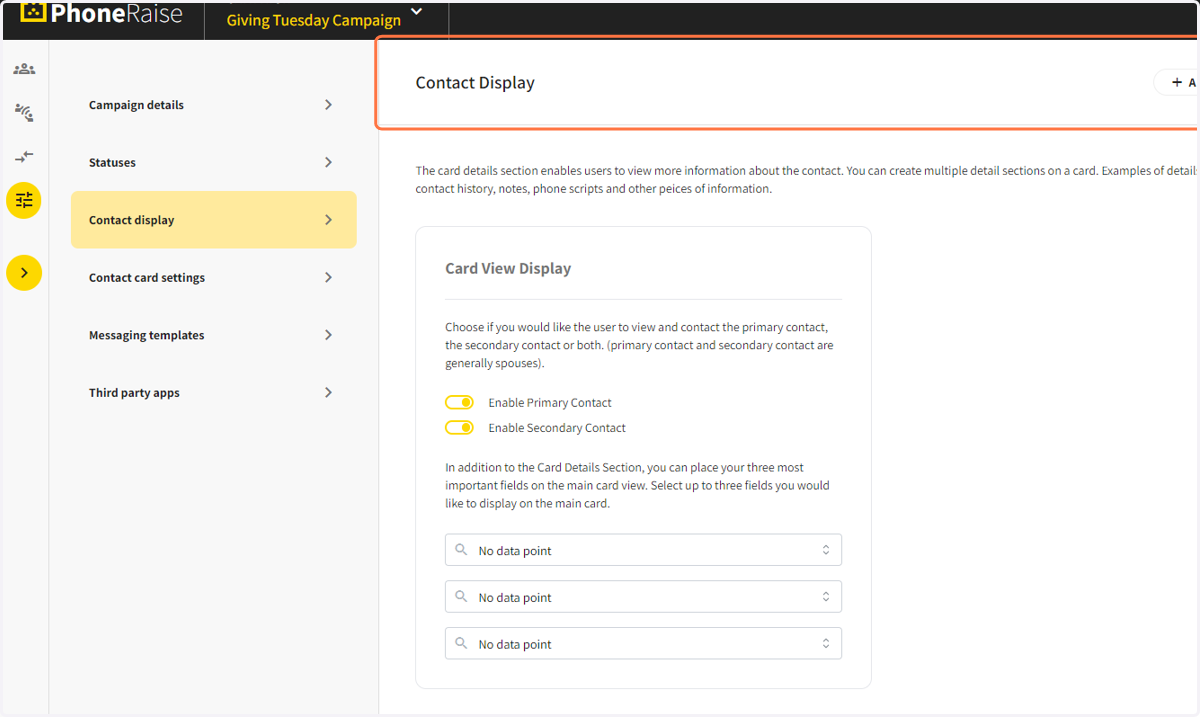
26. Contact Display
This section allows you to choose the default data points and add additional views for the volunteer
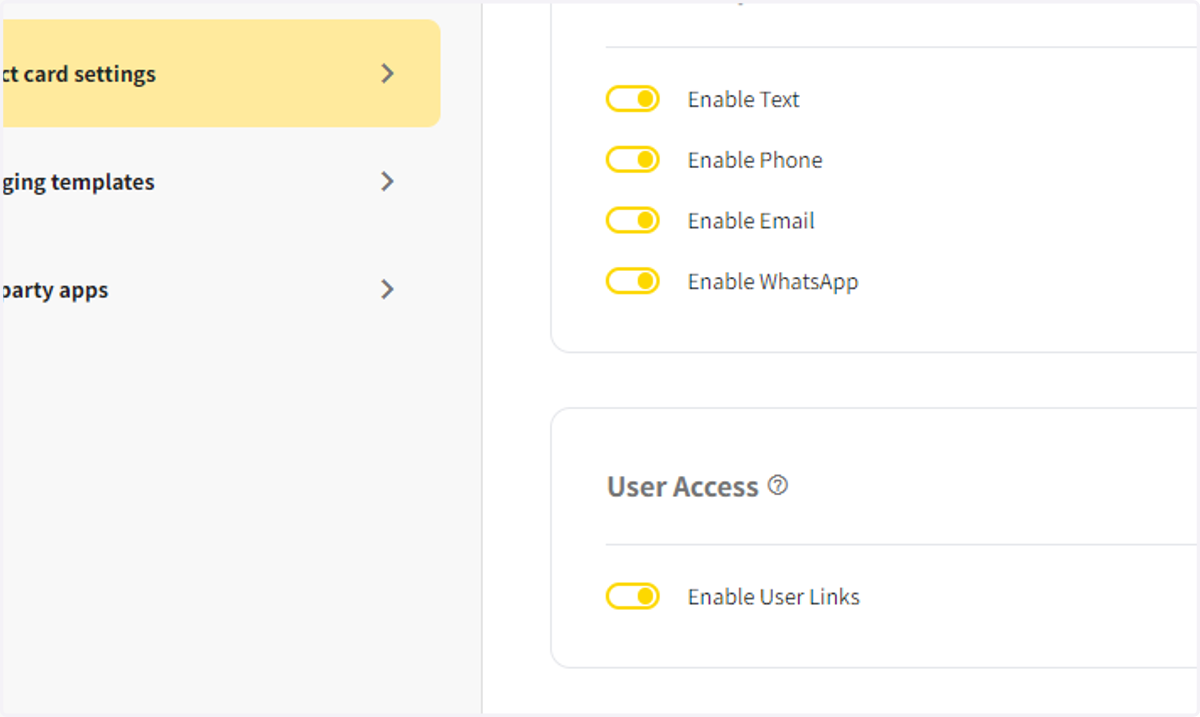
27. Choose what channels are allowed and if volunteers are allowed access to their list
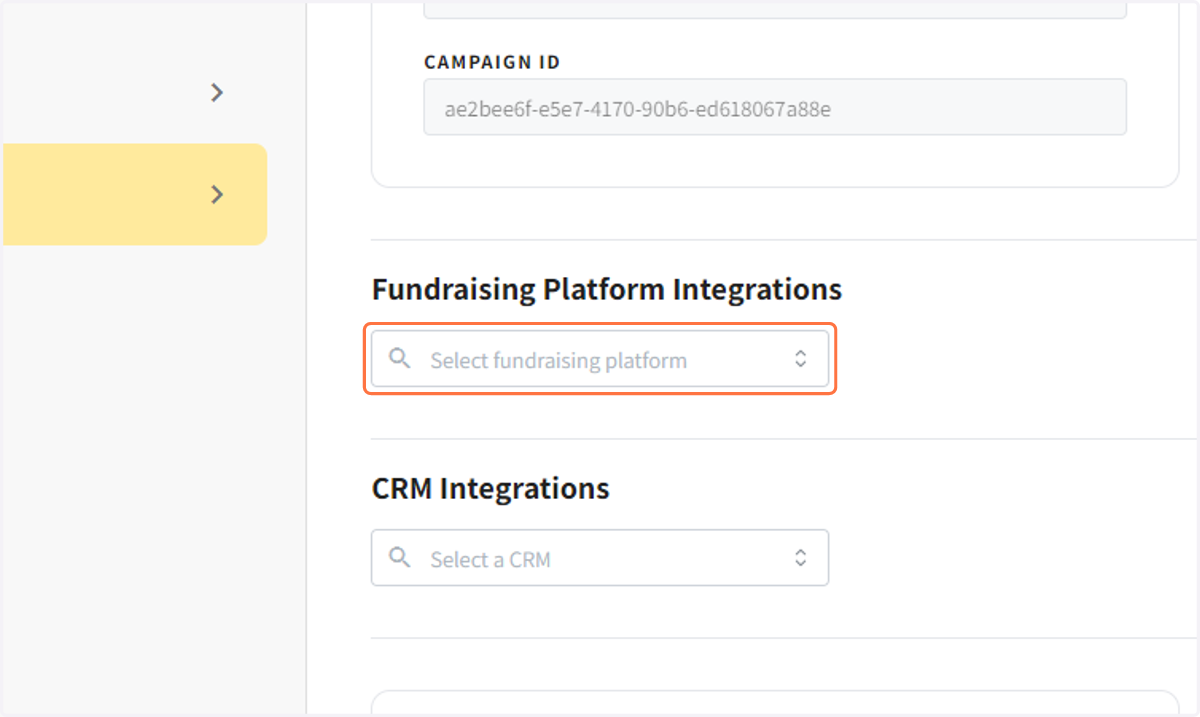
28. Integrations
Connect to CRMs and Crowdfunding Platforms