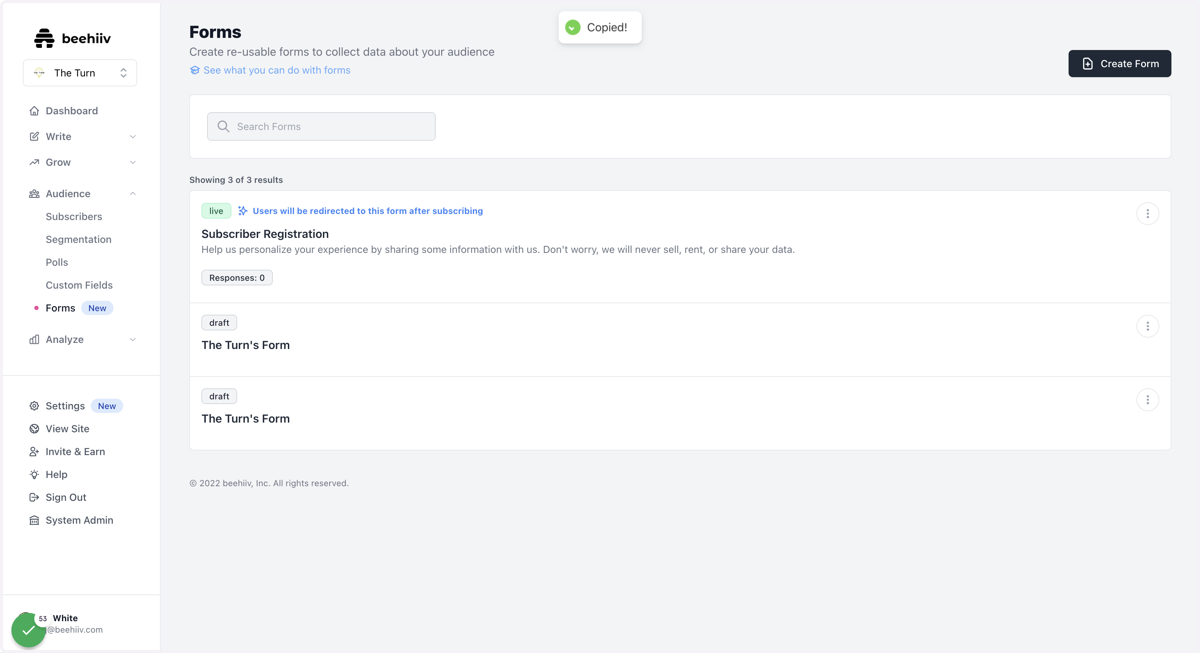
Using Custom Forms
Beehiiv
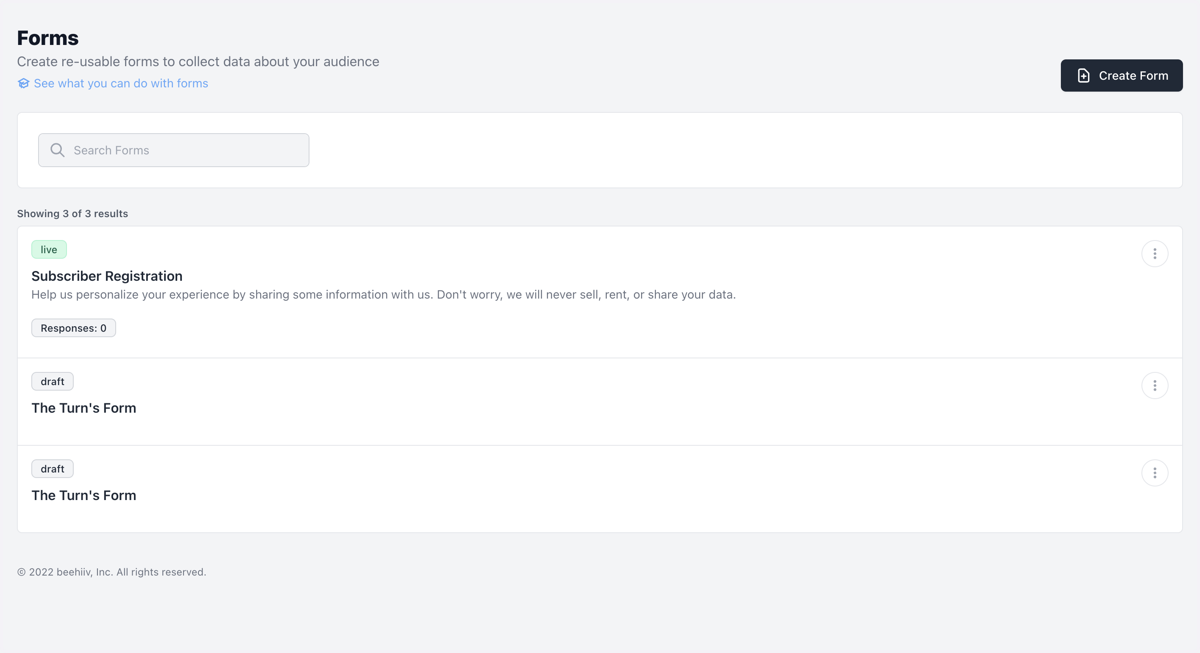
1. Go to your Dashboard
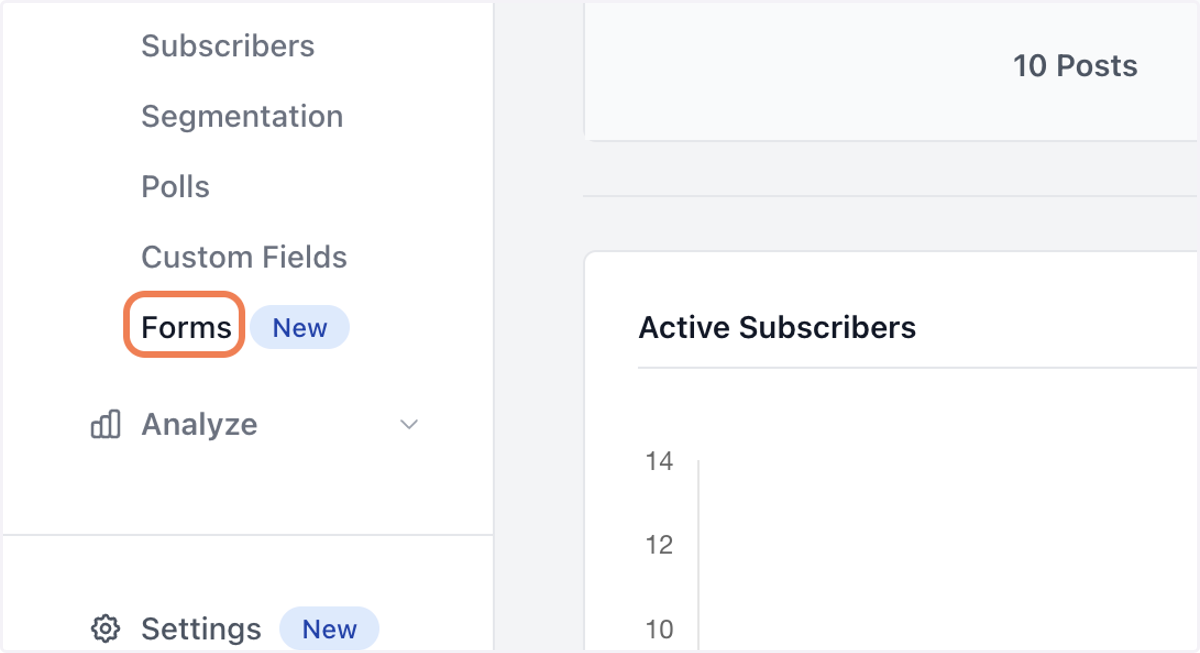
2. Click on Forms
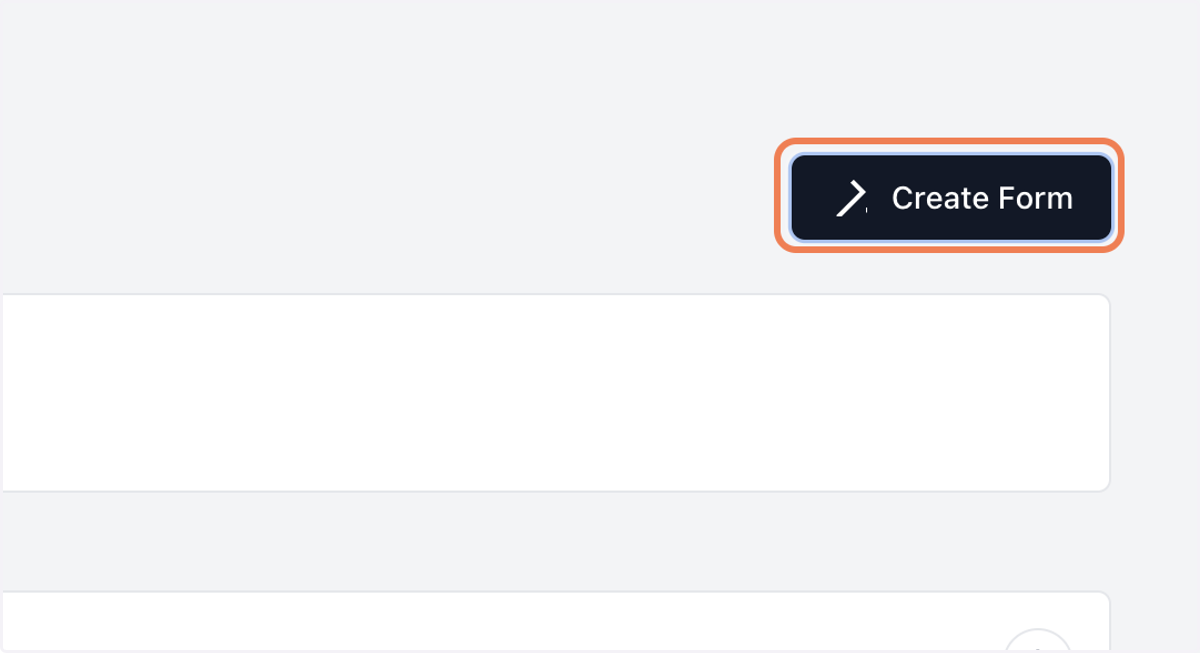
3. Click on Create Form
4. Type in the name of the form, such as "Subscriber Registration"
This will be a user-facing field at the top of the form.
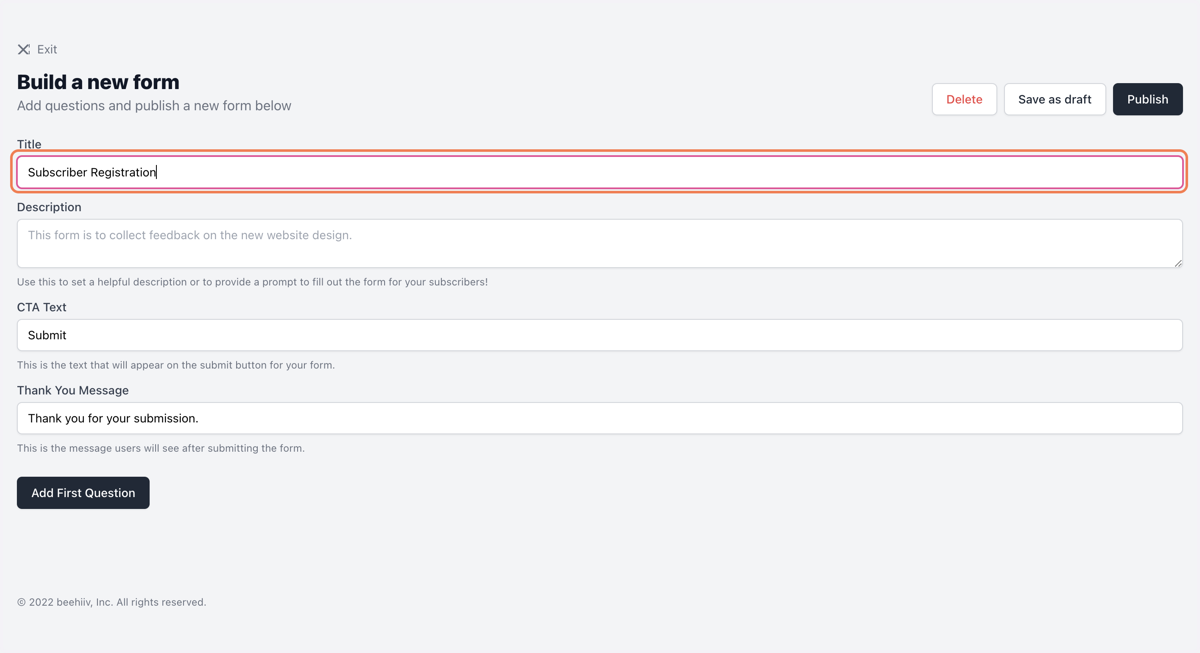
5. Add a description that users will see
Ex. "Help us personalize your experience by sharing some information with us. Don't worry, we will never sell, rent, or share your data."
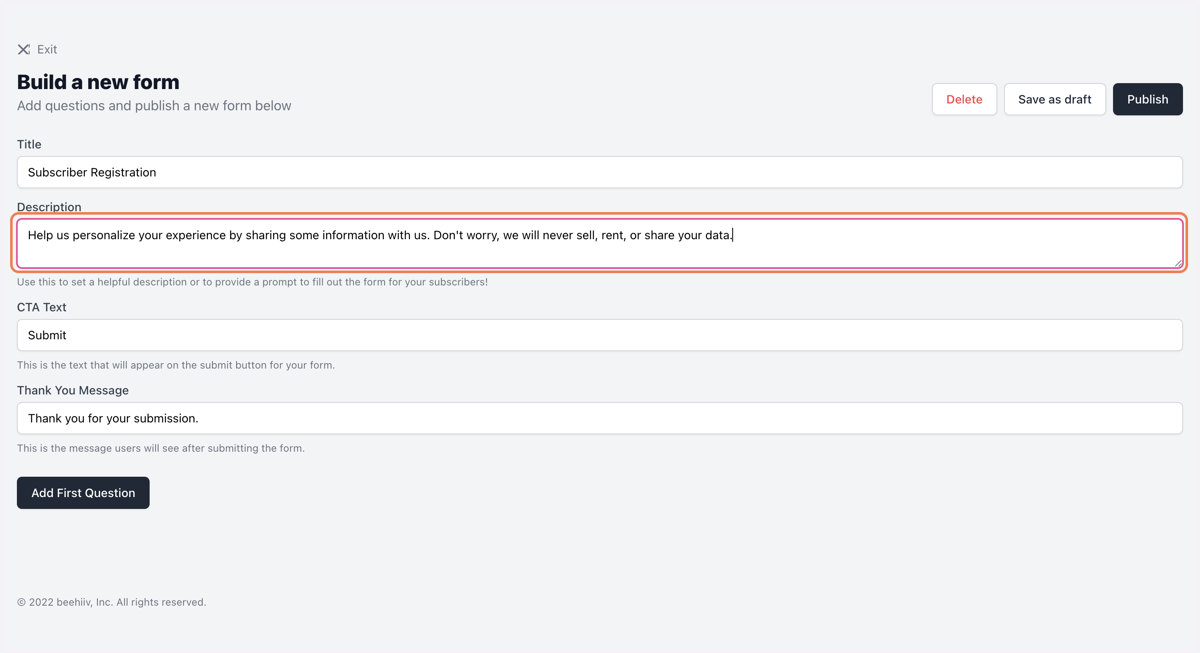
6. Customize the submission button CTA
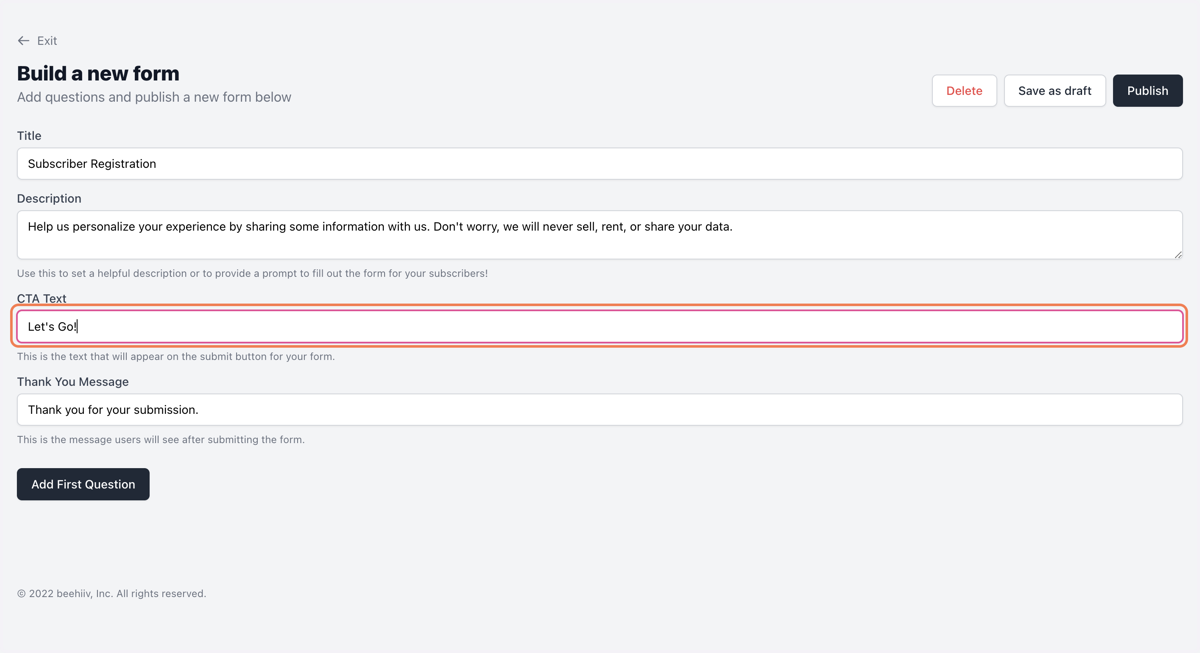
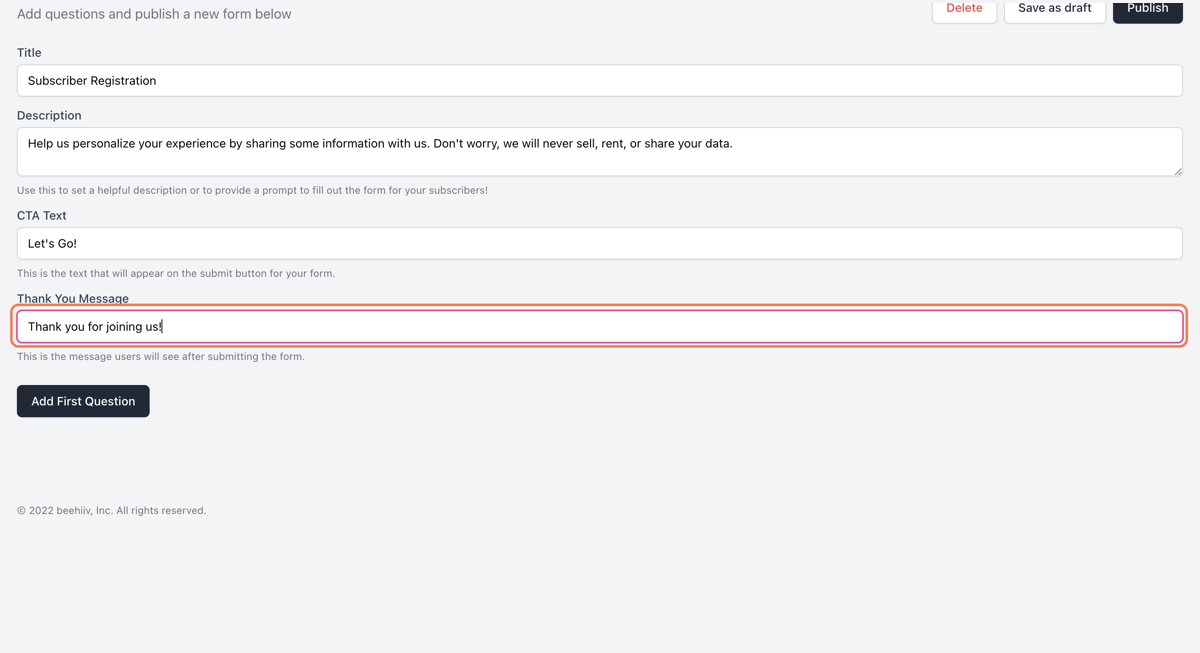
7. Customize the "Thank you" text users will see upon submission
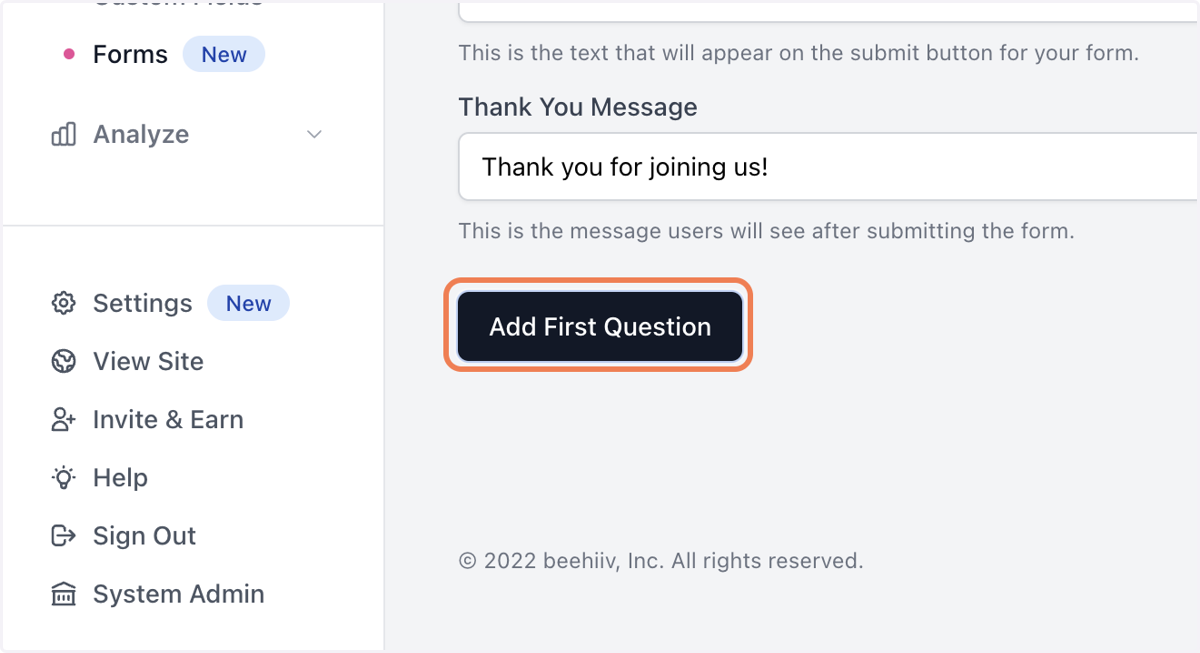
8. Click on "Add First Question" to start adding form fields
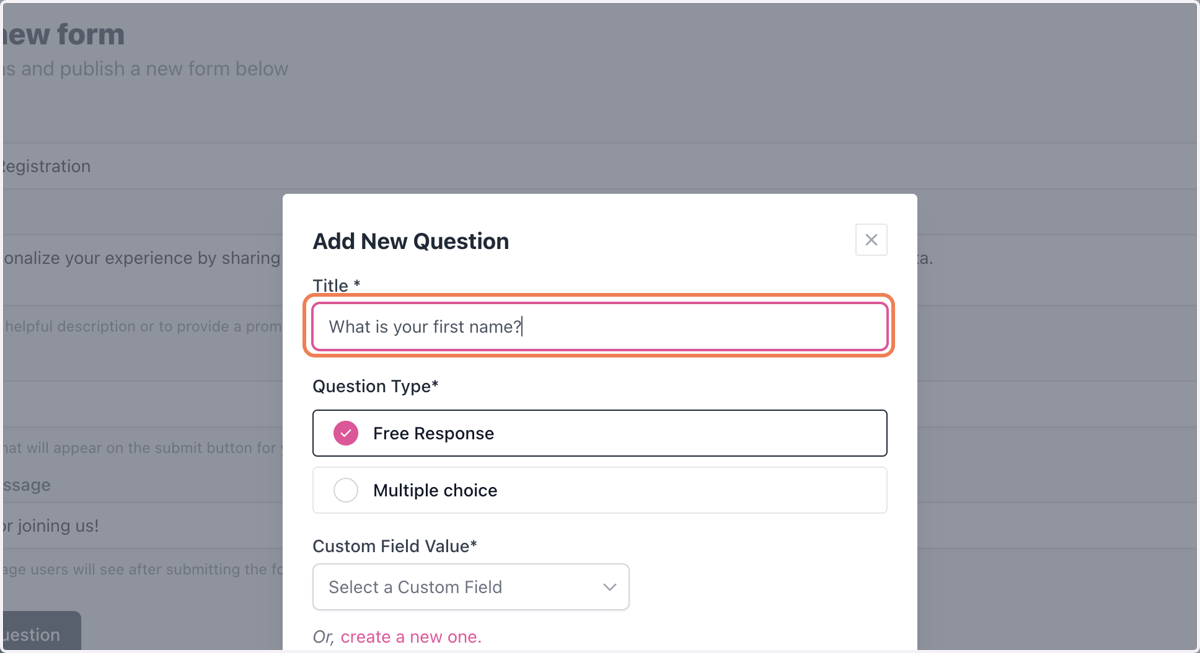
9. First add your question in the title field
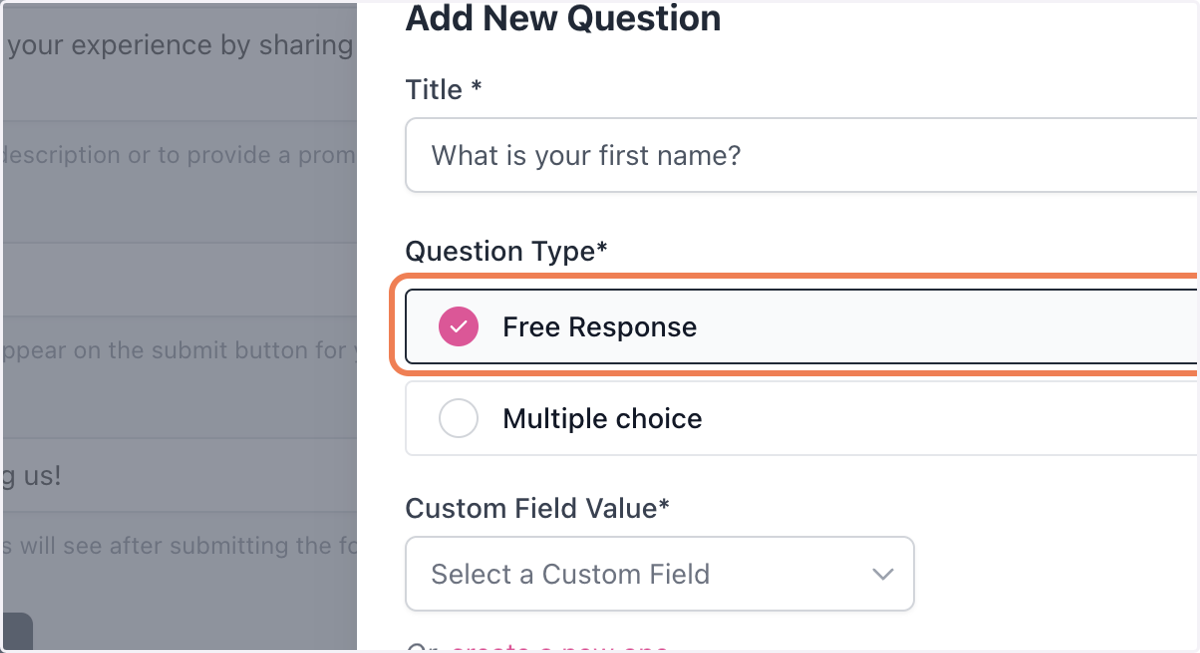
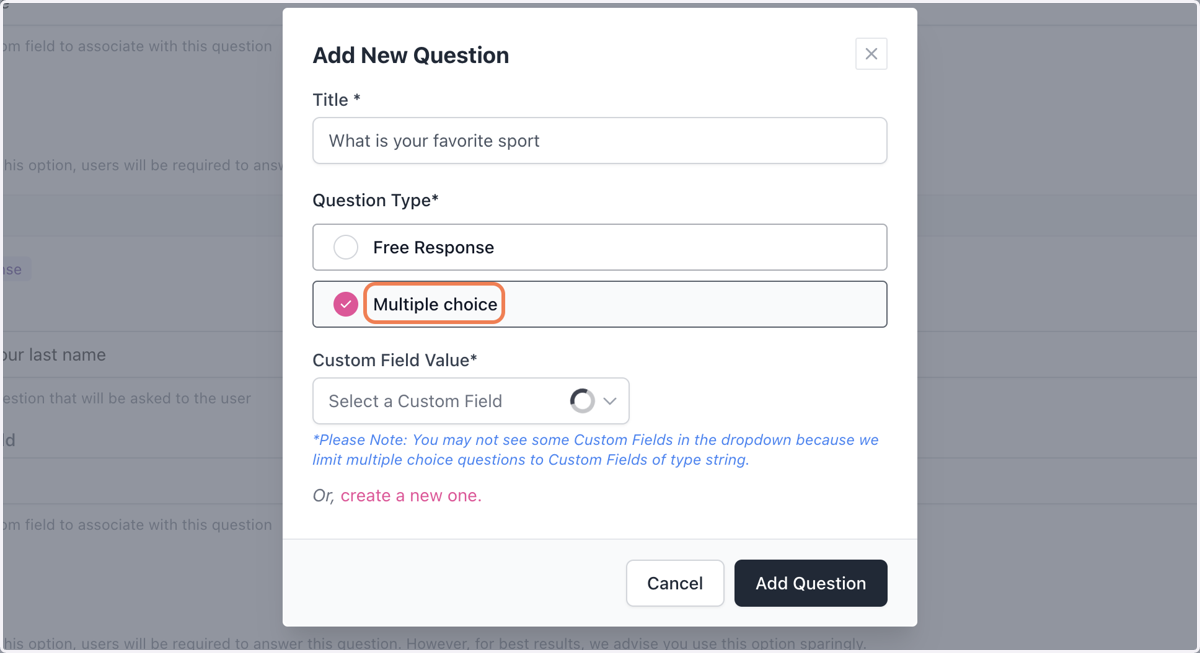
10. Select your question type
Free response allows users to enter any text, multiple choice allows them to select from a series of options.
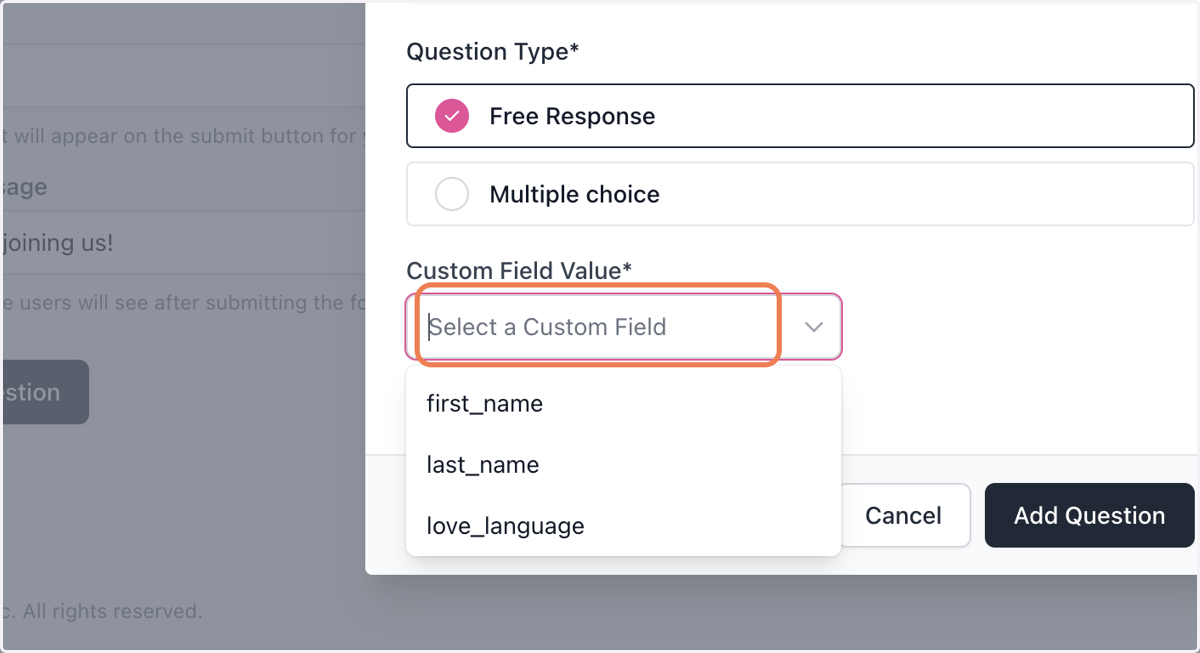
11. Select the custom field to which the user's response should be recorded
12. If you want to create a new custom field for a question, click "Create a new one"
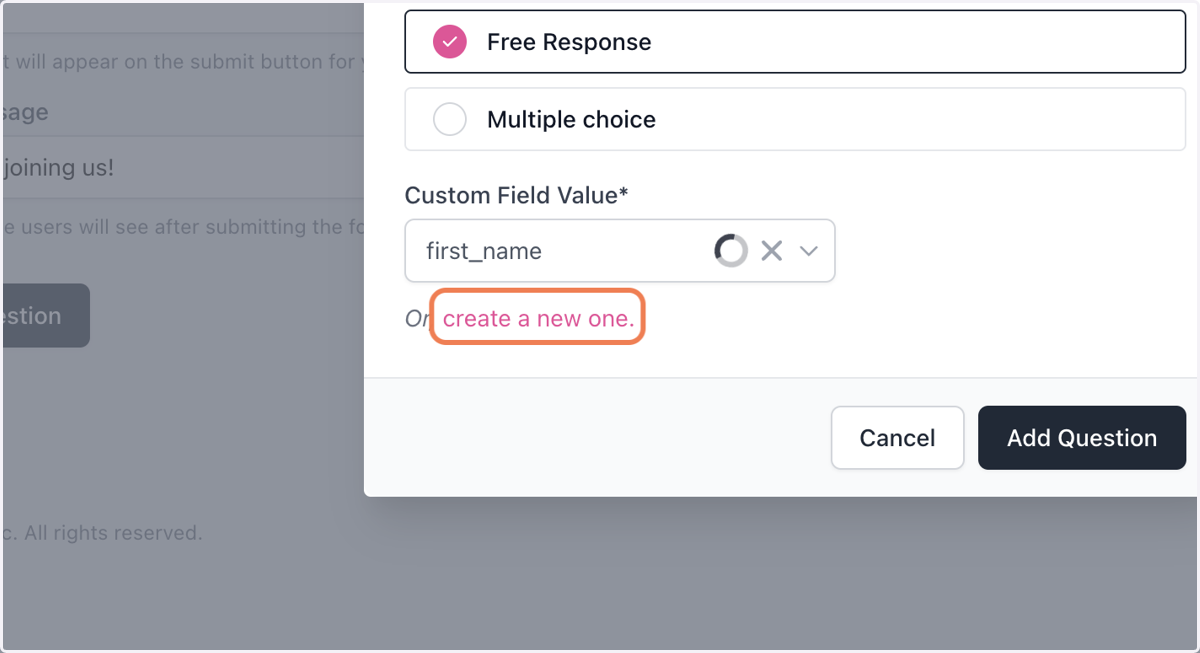
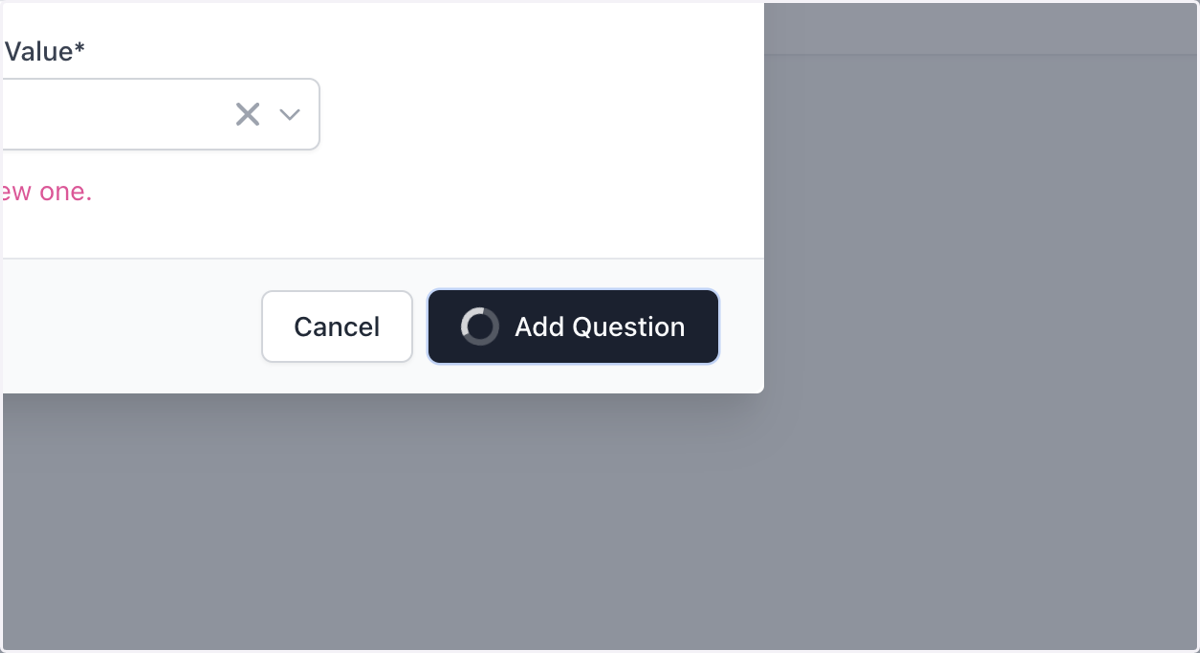
13. Once you're satisfied with your question, click Add Question to add it to the form
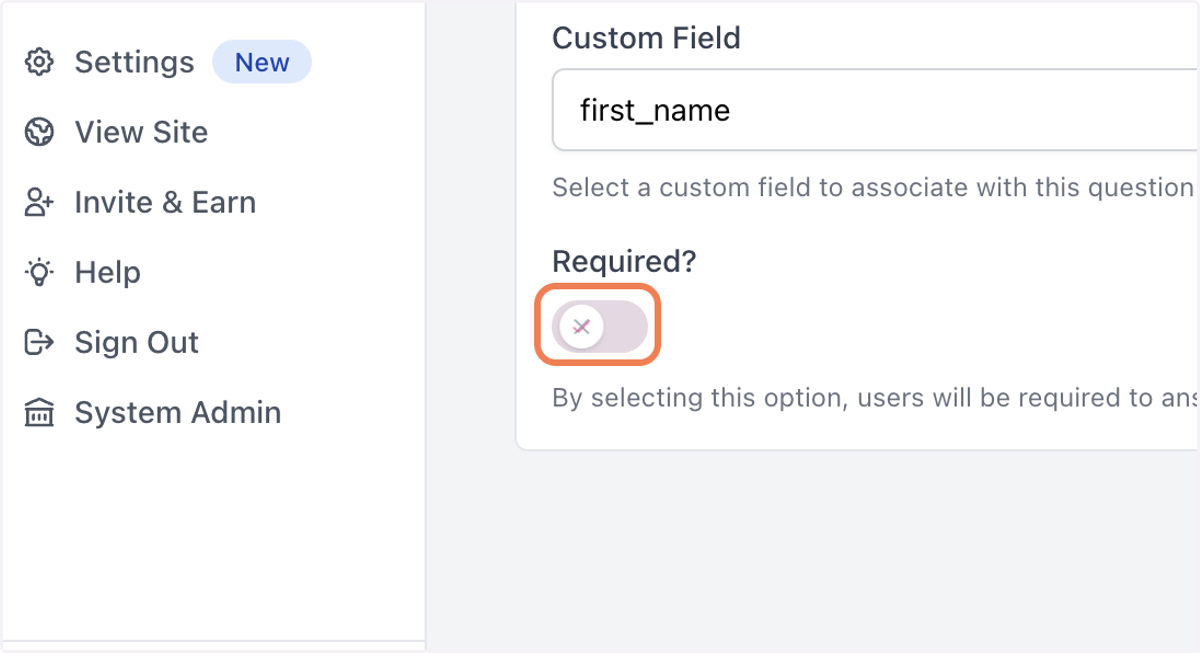
14. Once added, you can denote whether a question should be required or not
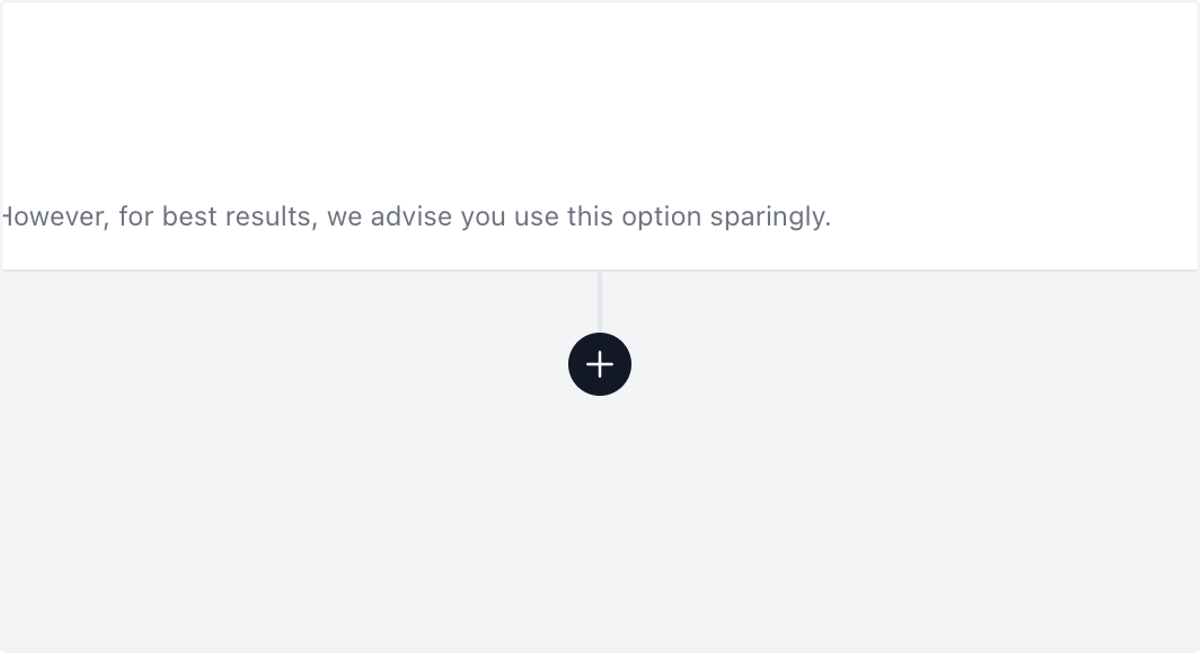
15. To add subsequent questions, click on the black "+" icon
16. To add a multiple choice question, select multiple choice
17. Once the question is added, you will see an interface to add "Options"
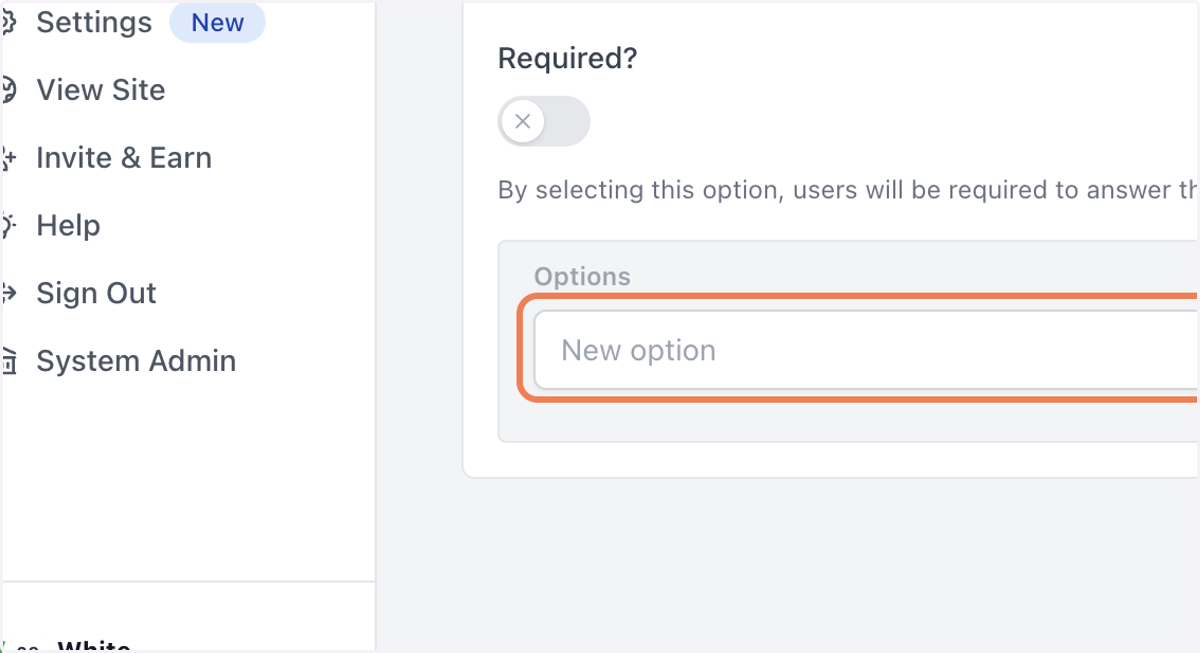
18. Use this area to add the options that a user may select
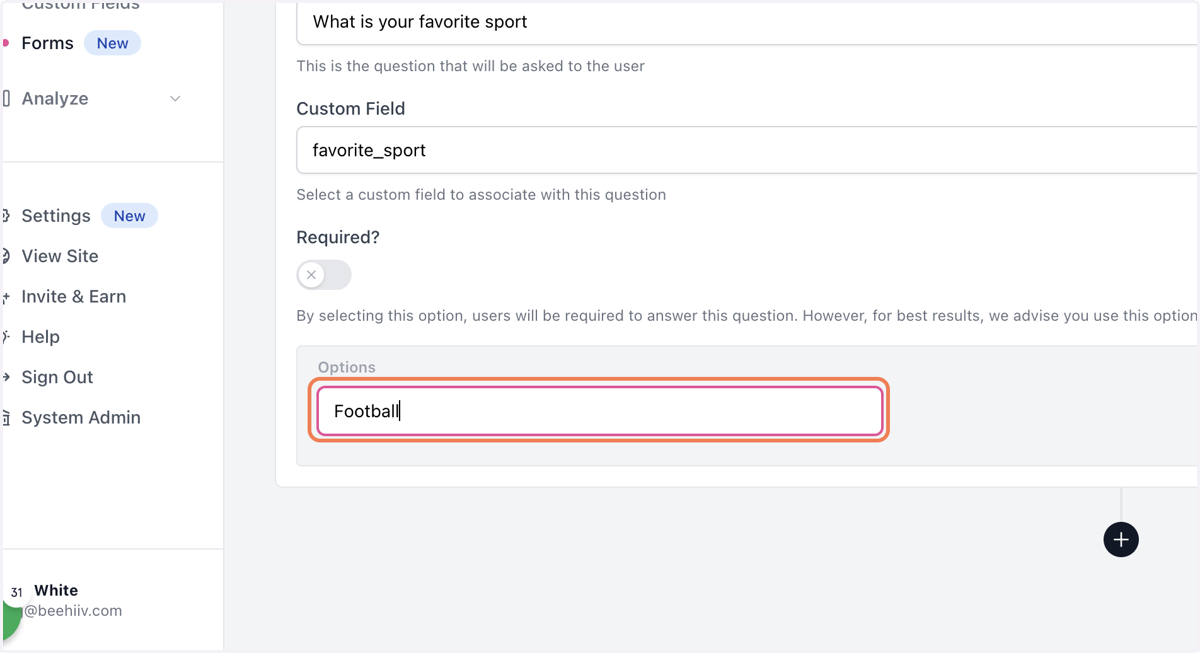
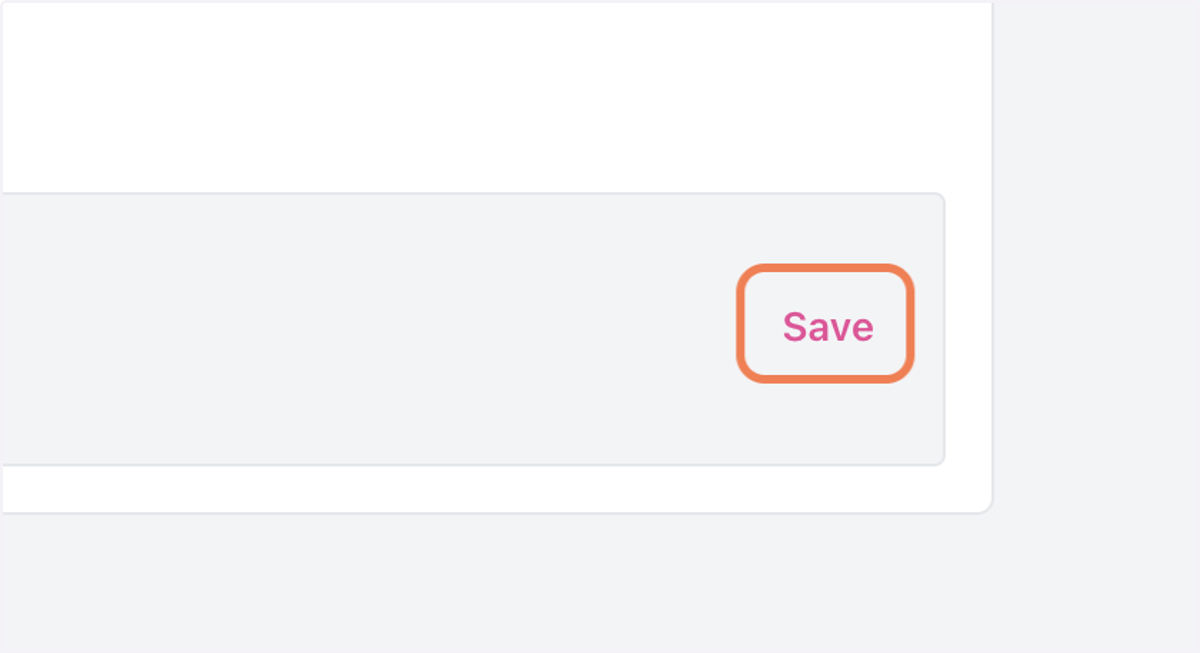
19. Once added click "Save" to confirm
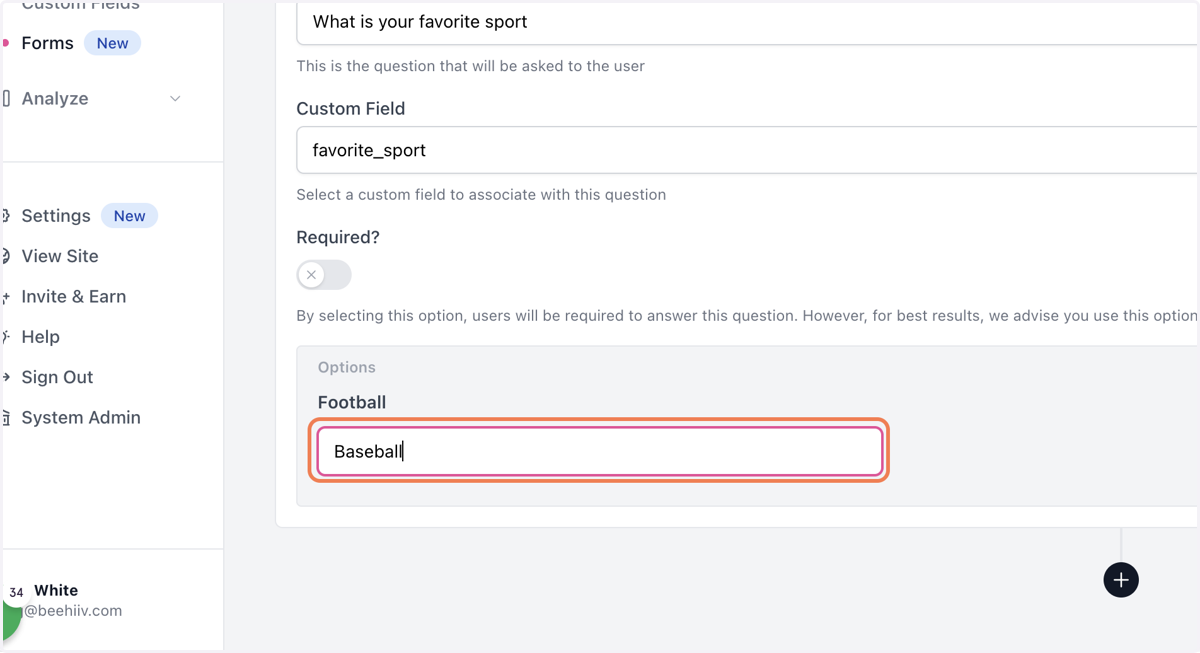
20. Repeat this process for each of your question's responses
21. To save your progress without publishing, click "Save to draft"
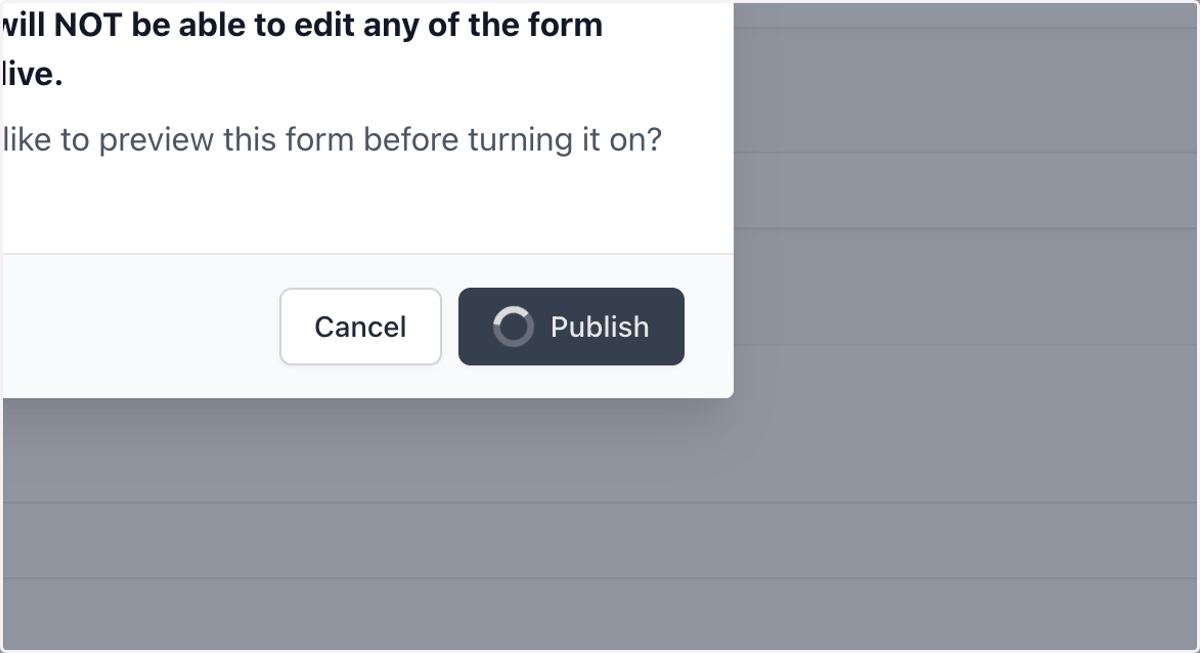
Note: Once published a form can no longer be edited
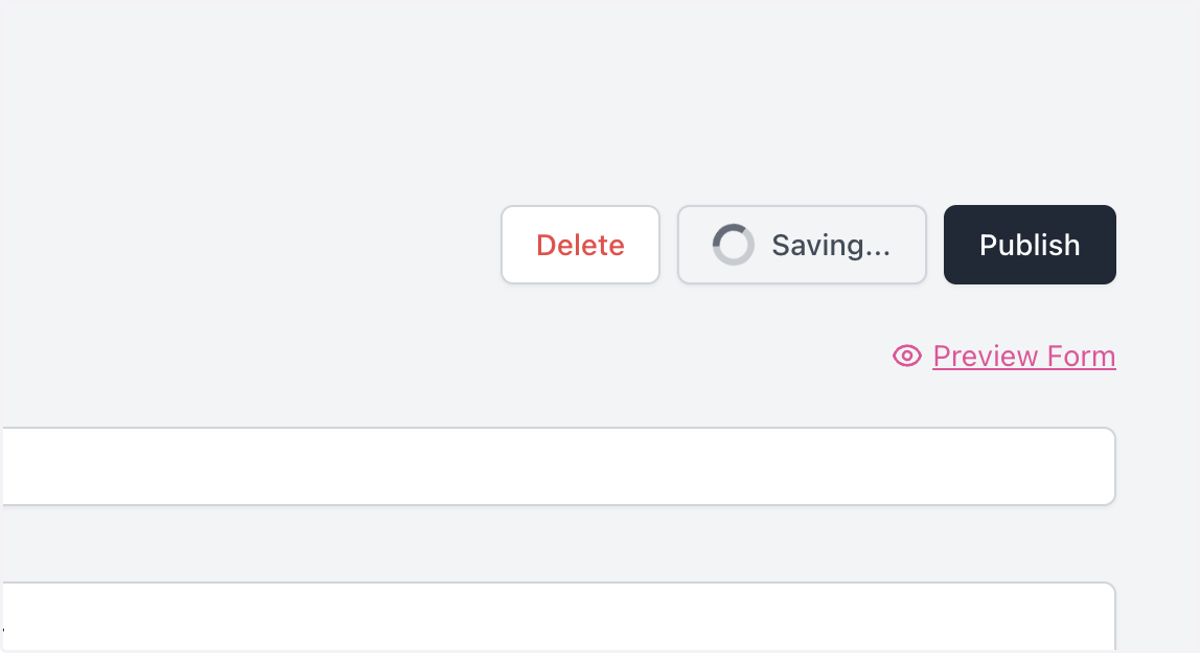
22. Click on Preview Form
23. When you are ready to share with the world, click "Publish"
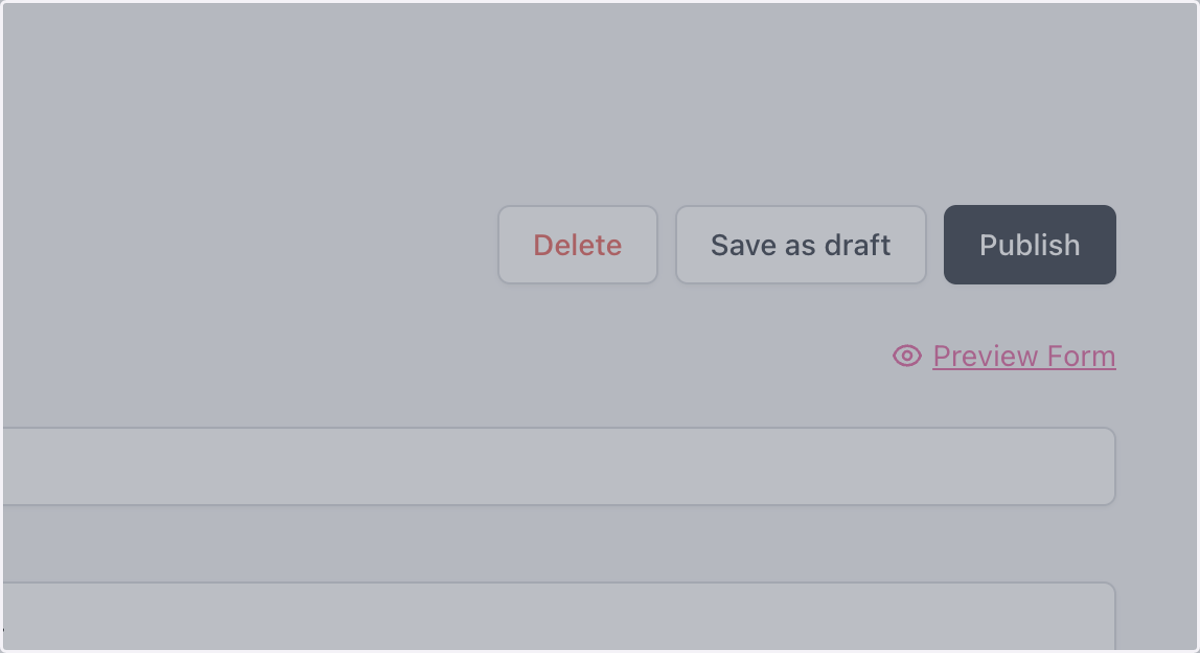
24. Confirm your selection with the popup.
25. Your form is now live. To view form settings, click the three dots menu
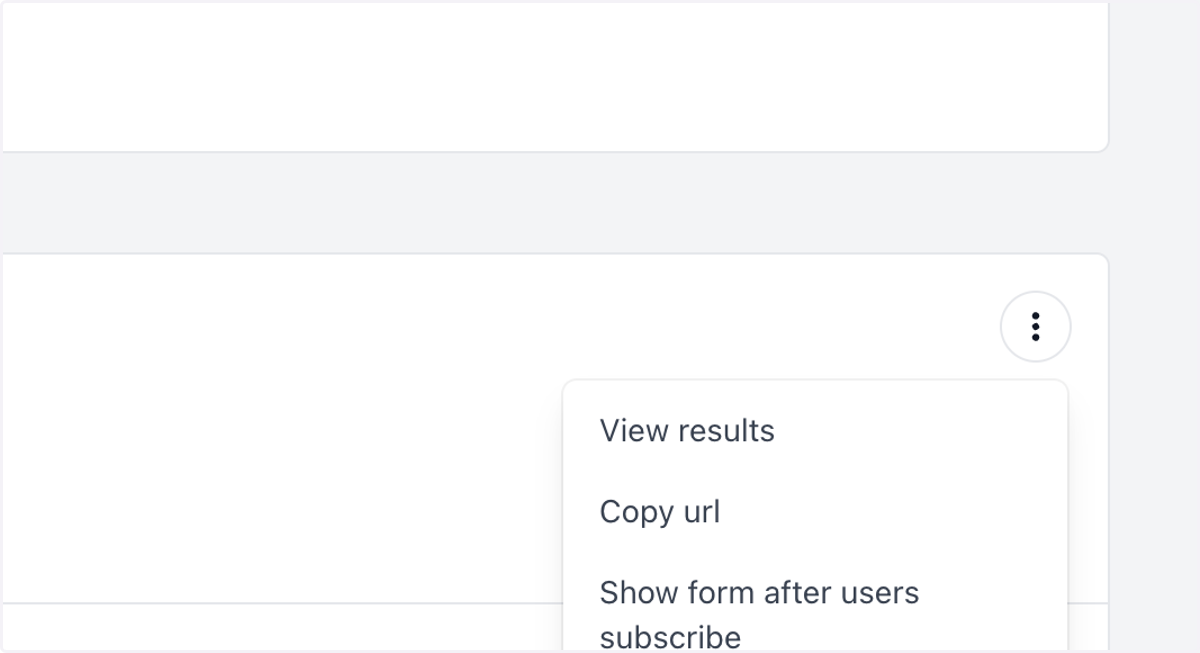
26. Click on "View results" to view submissions
27. To show your form immediately when a user subscribes, click "Show form after users subscribe"
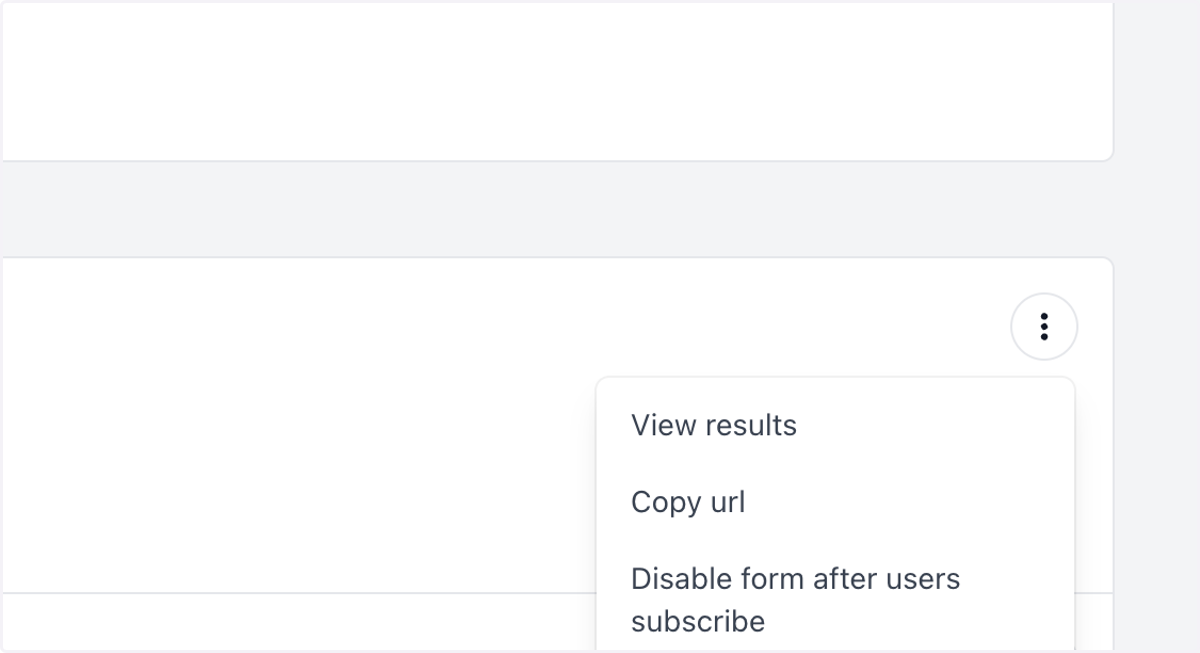
28. To share the form outside of beehiiv, select "Copy url"