How to Integrate PhoneRaise with Salesforce
Login to your PhoneRaise account by going to app.phoneraise.com on a desktop.
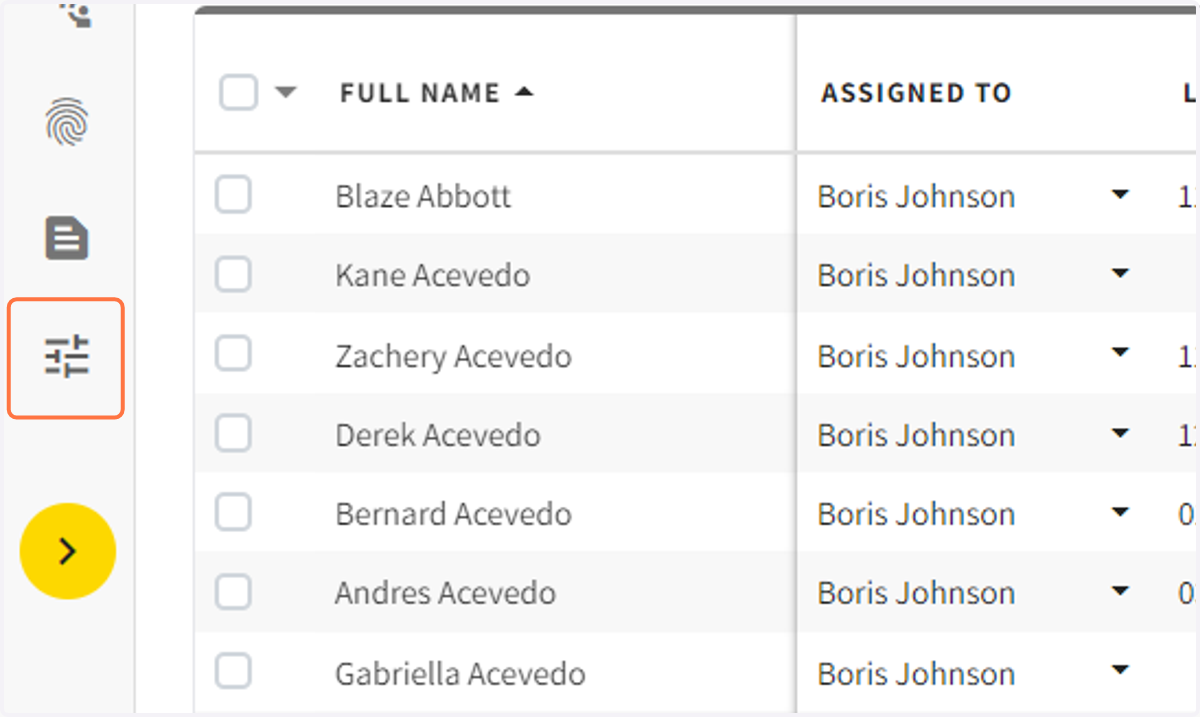
1. From a PhoneRaise Campaign click on Campaign Settings
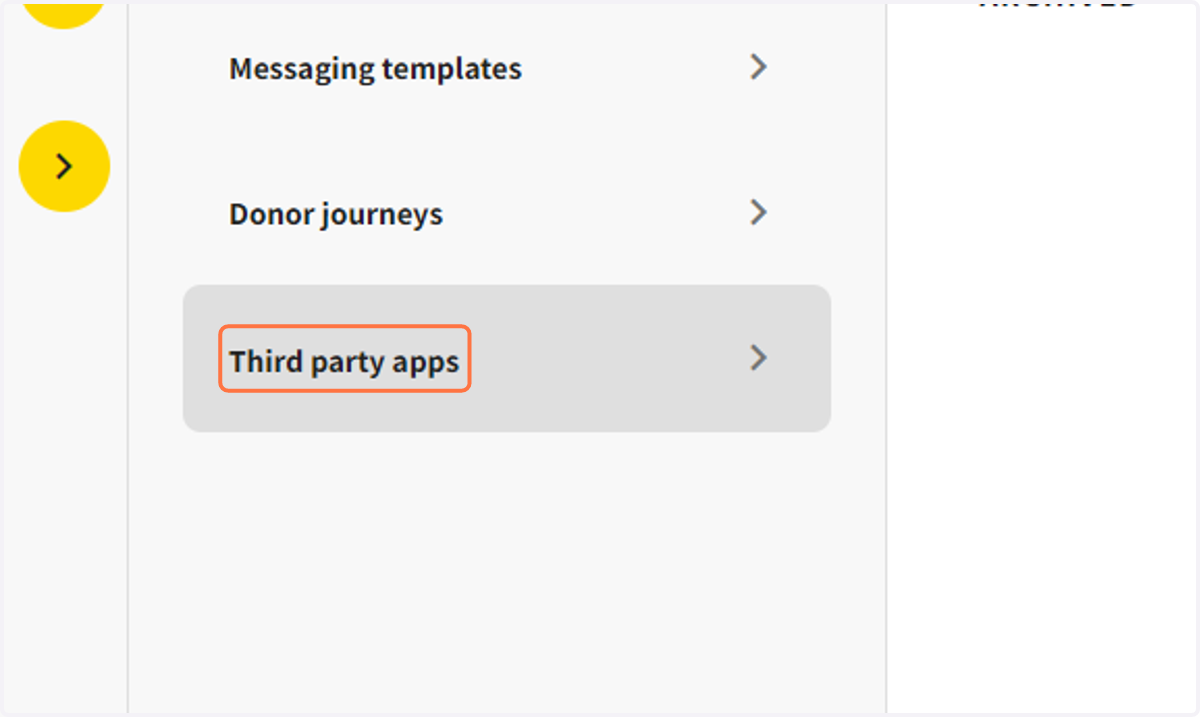
2. Click on Third-party apps
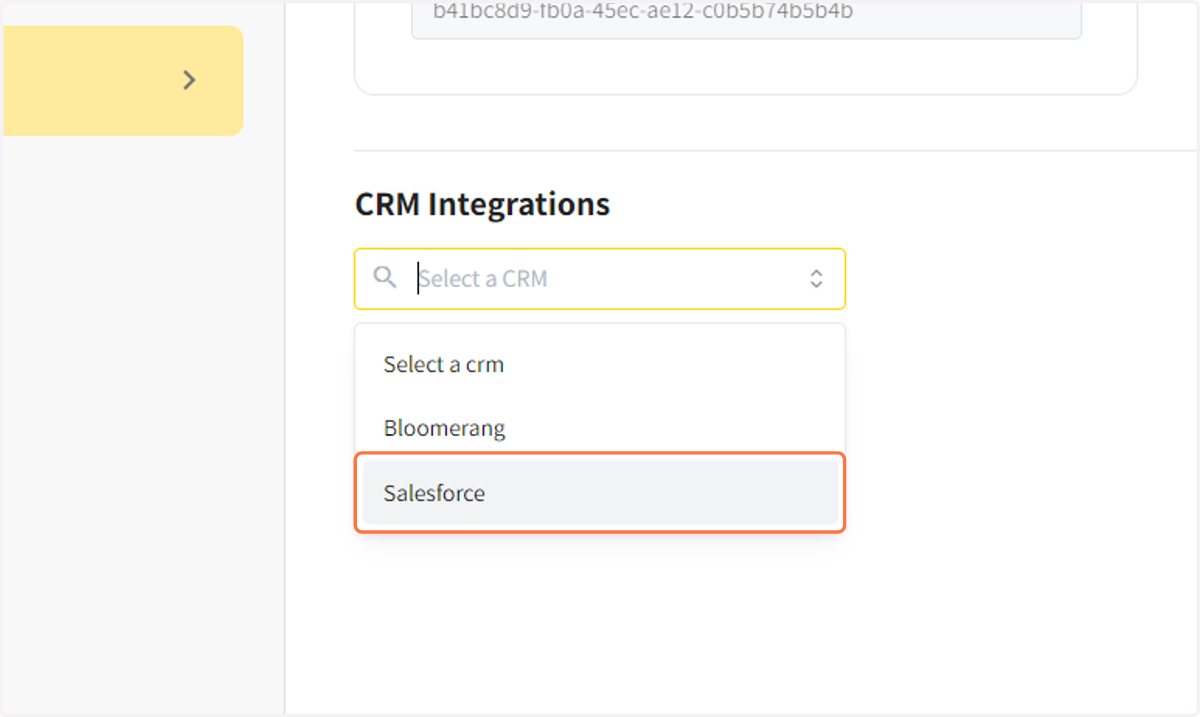
3. Click on Select a CRM and select Salesforce
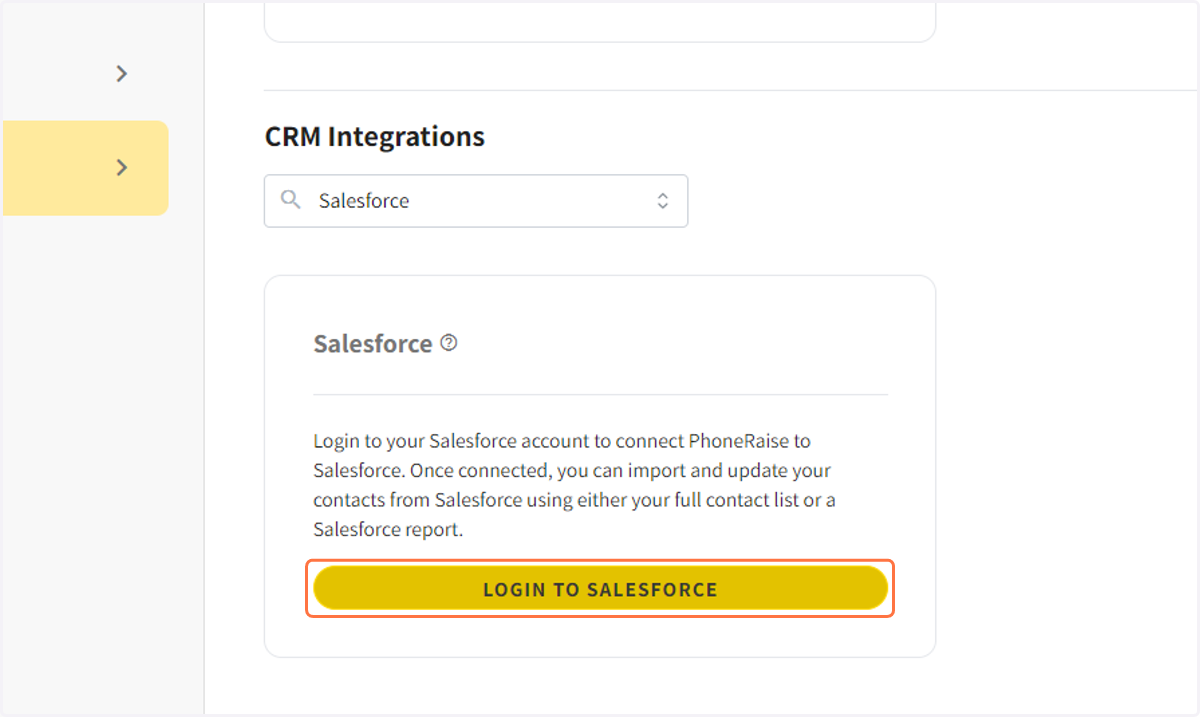
4. Click on LOGIN TO SALESFORCE
Login | Salesforce
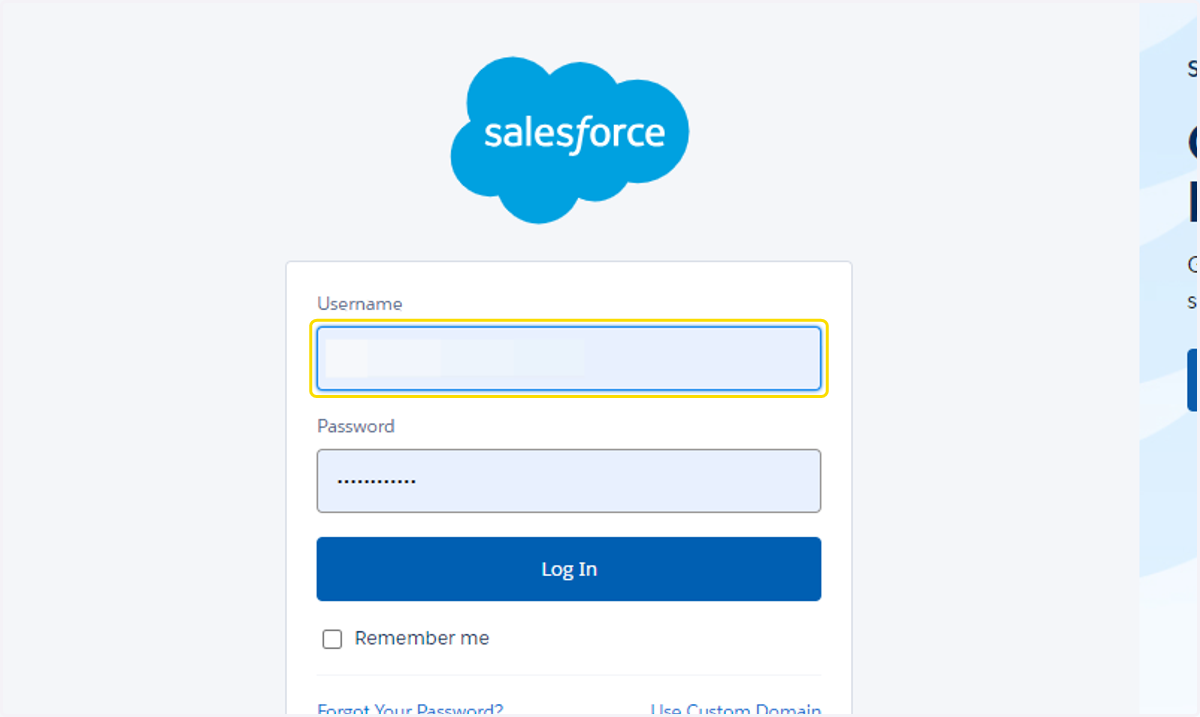
5. login to your Salesforce account
Salesforce login will open in a new tab
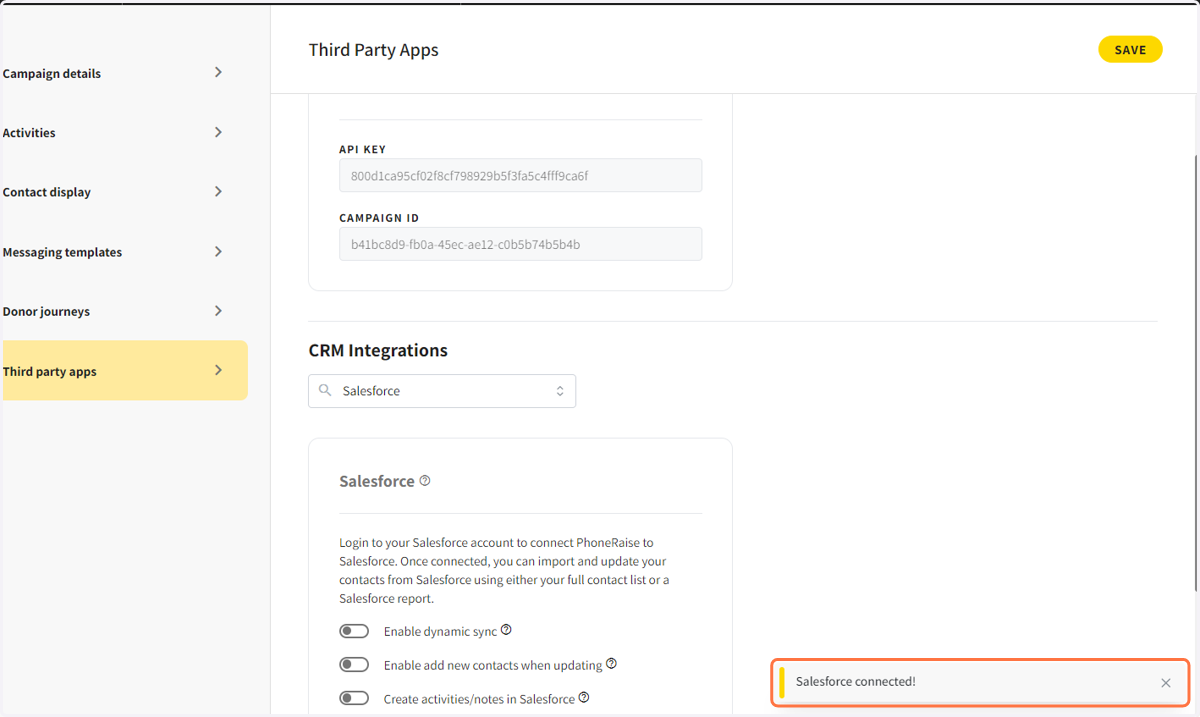
6. Once you have logged into Salesforce, the tab will close, and it will say Salesforce Connected.
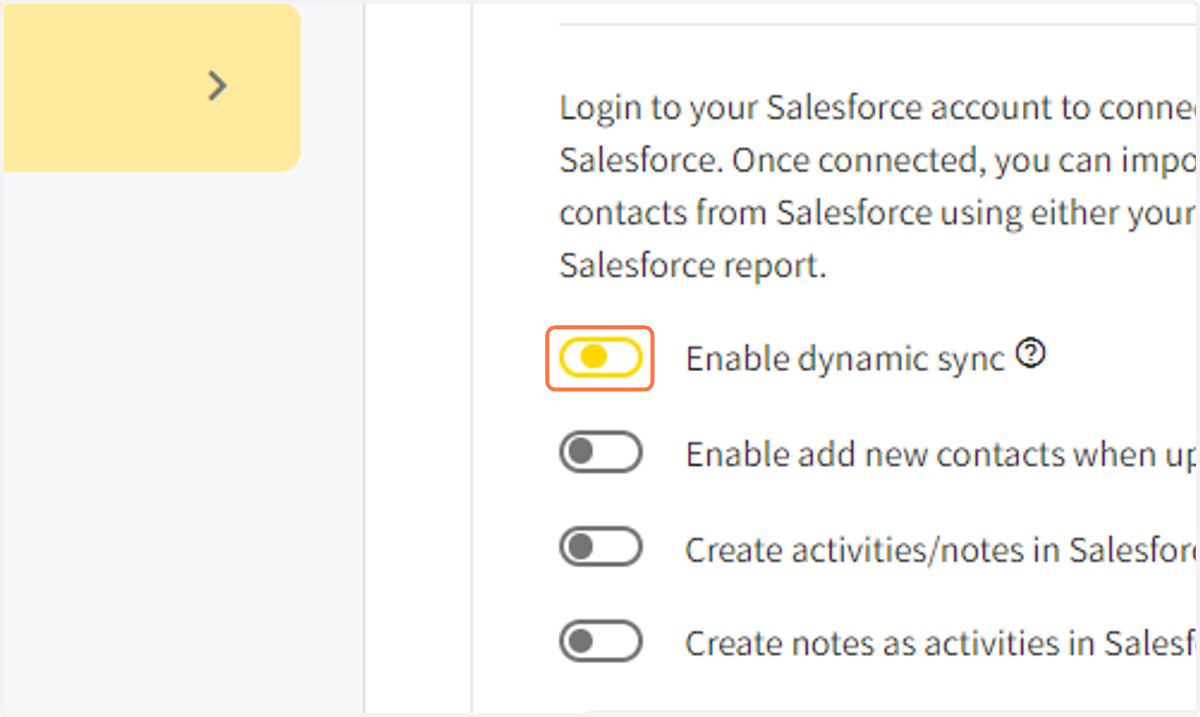
7. Click on Enable Dynamic Data Sync to sync your connected data
Data will update in PhoneRaise every 24 hours
8. You can choose to dynamically add new contacts in PhoneRaise
If a new name gets included in a report in Salesforce that name will be brought into PhoneRaise with the relevant data.
Note: If a name is removed from a Salesforce report, it will NOT be removed from PhoneRaise unless you manually remove it.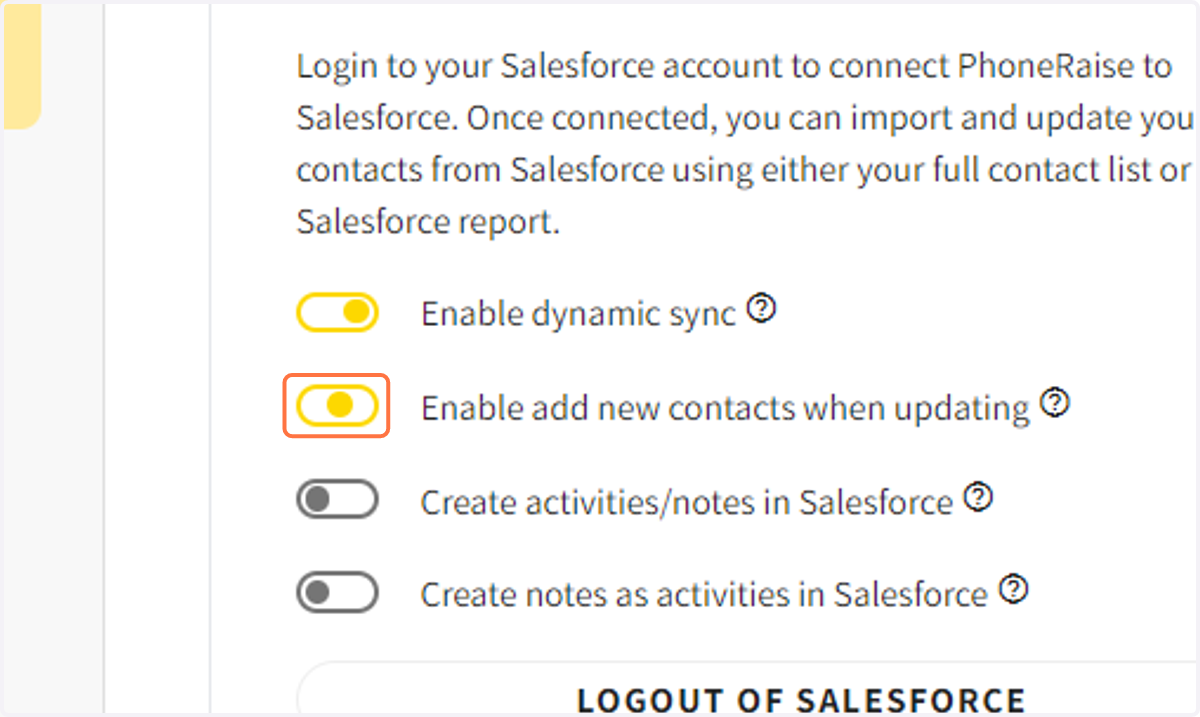
9. Allow Completed Touchpoints in PhoneRaise to be added as activities in Salesforce
By turning on Create Activities and Notes in Salesforce any note or completed touchpoint will be added into Salesforce. The completed touchpoints will show up in activities and the notes will be displayed in the notes section in Salesforce.
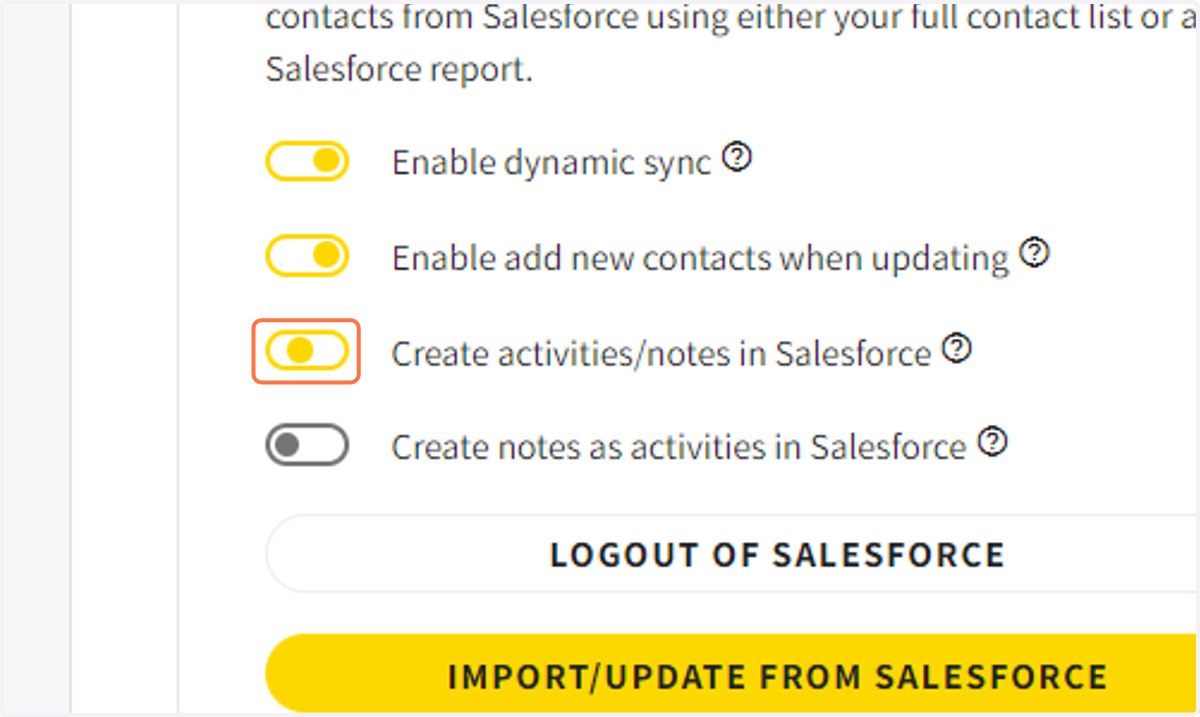
10. Turn on Create Notes as activities if you would like the notes to show up as an activity instead of the note section.
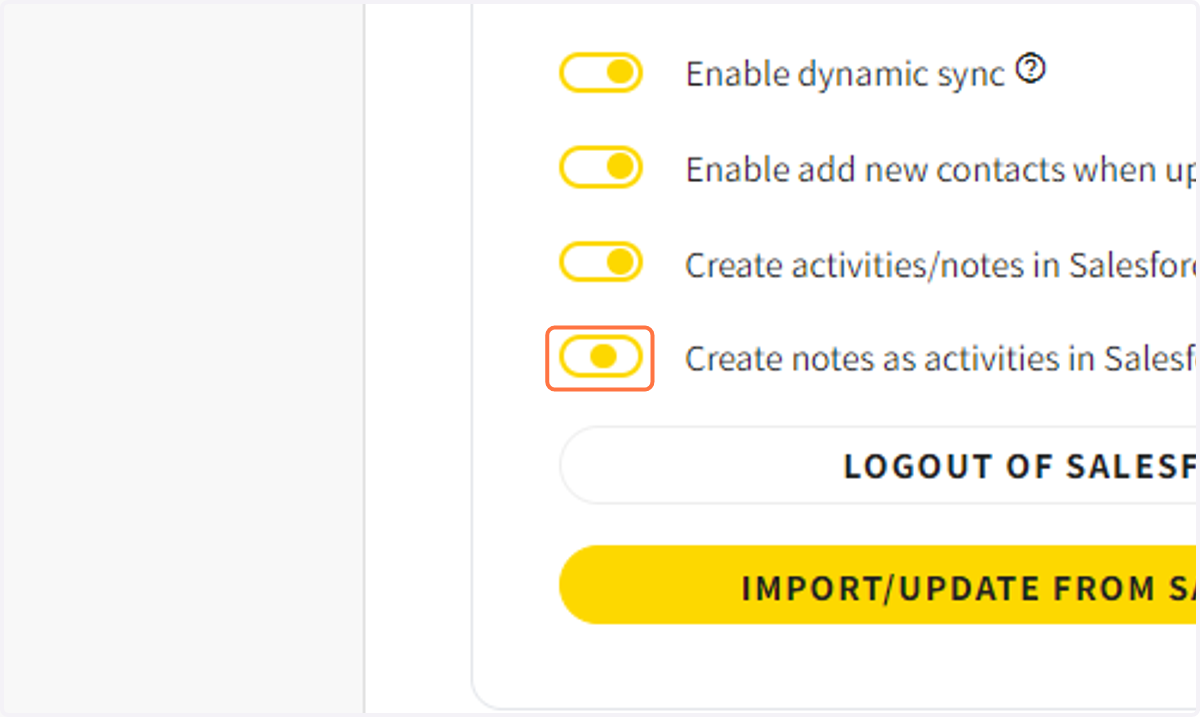
11. Click on SAVE
Make sure to click save on the top right.

12. Click on IMPORT/UPDATE FROM SALESFORCE
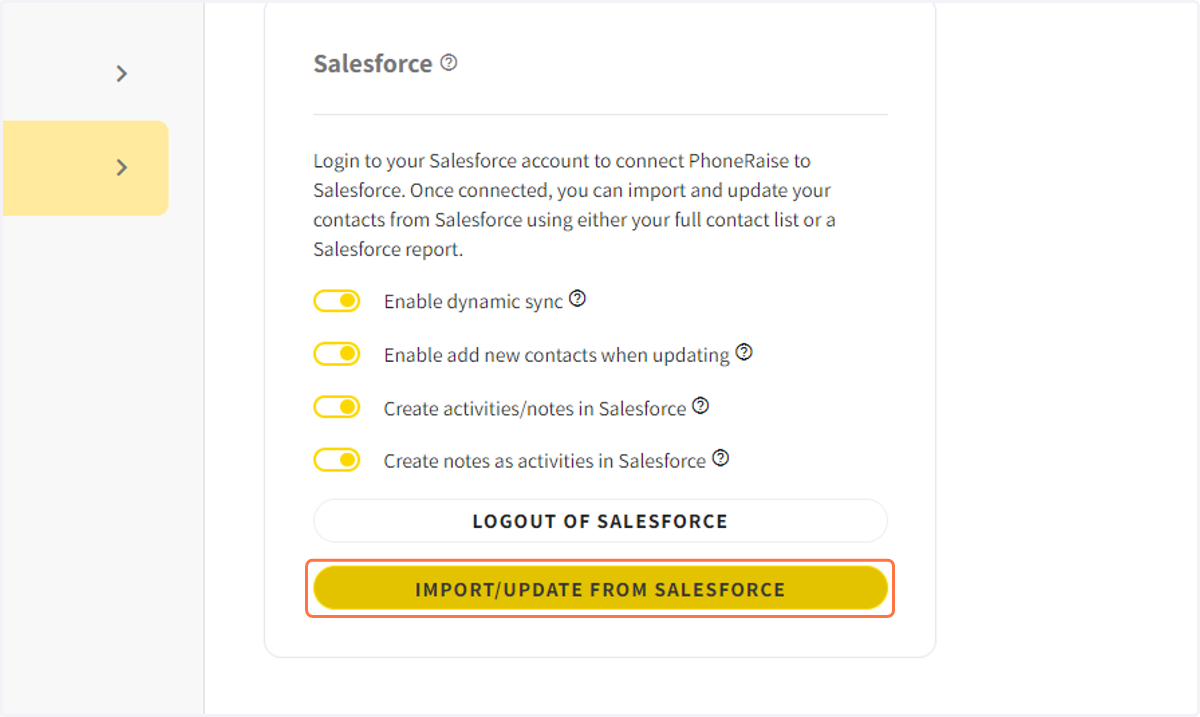
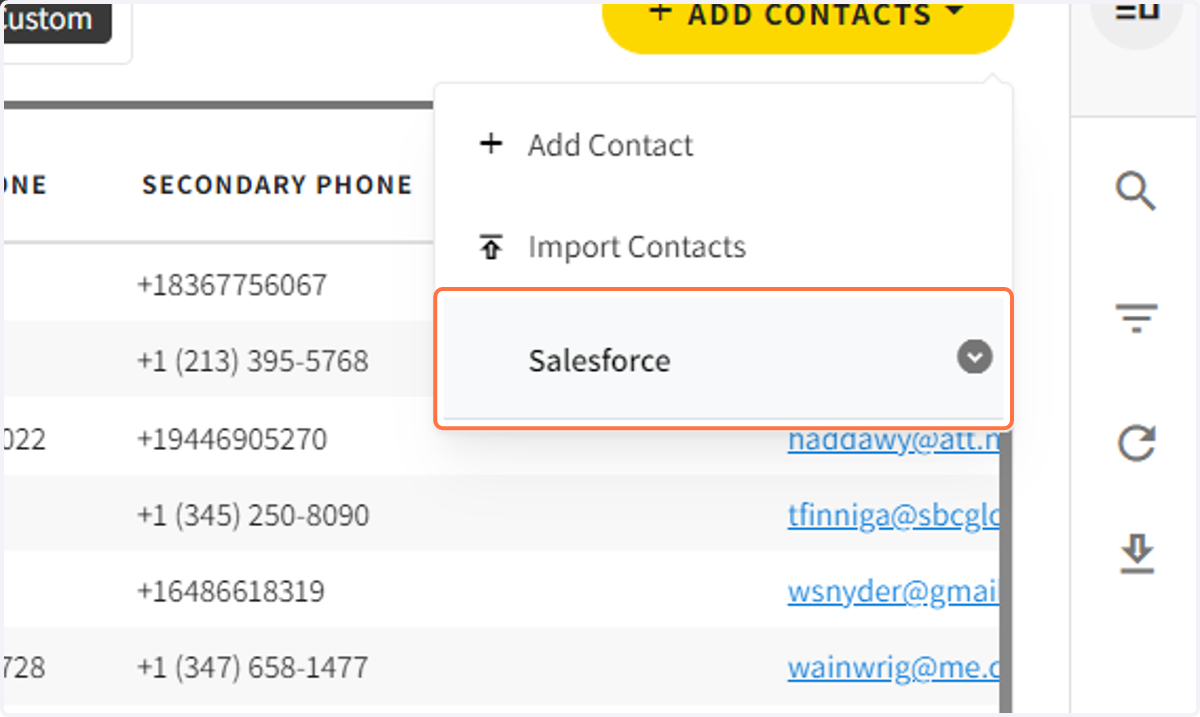
13. Click on Add Contacts and select Salesforce. Then Select Import from Salesforce
14. Select Import From Report
We suggest preparing a report with relevant fields to bring into PhoneRaise. Reports can be dynamic and based on past giving history. If the Sync option is turned on, PhoneRaise will update with the most recent report data every 24 hours.
To see suggested data to include in a report, click here.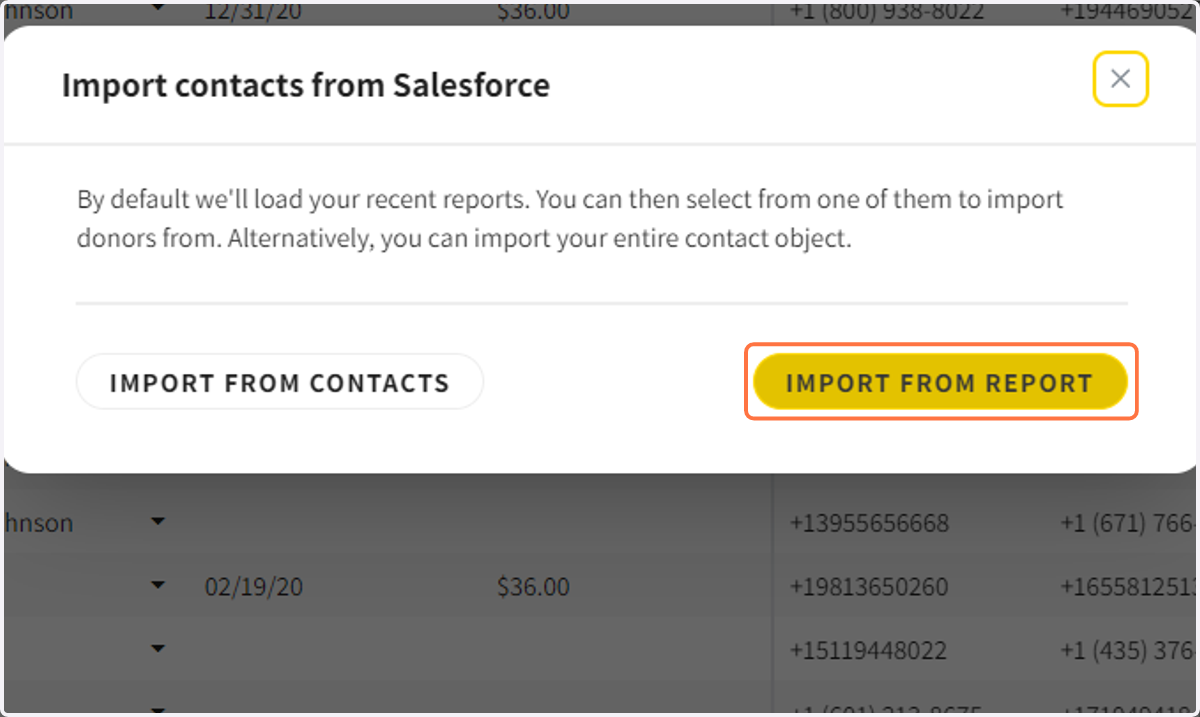
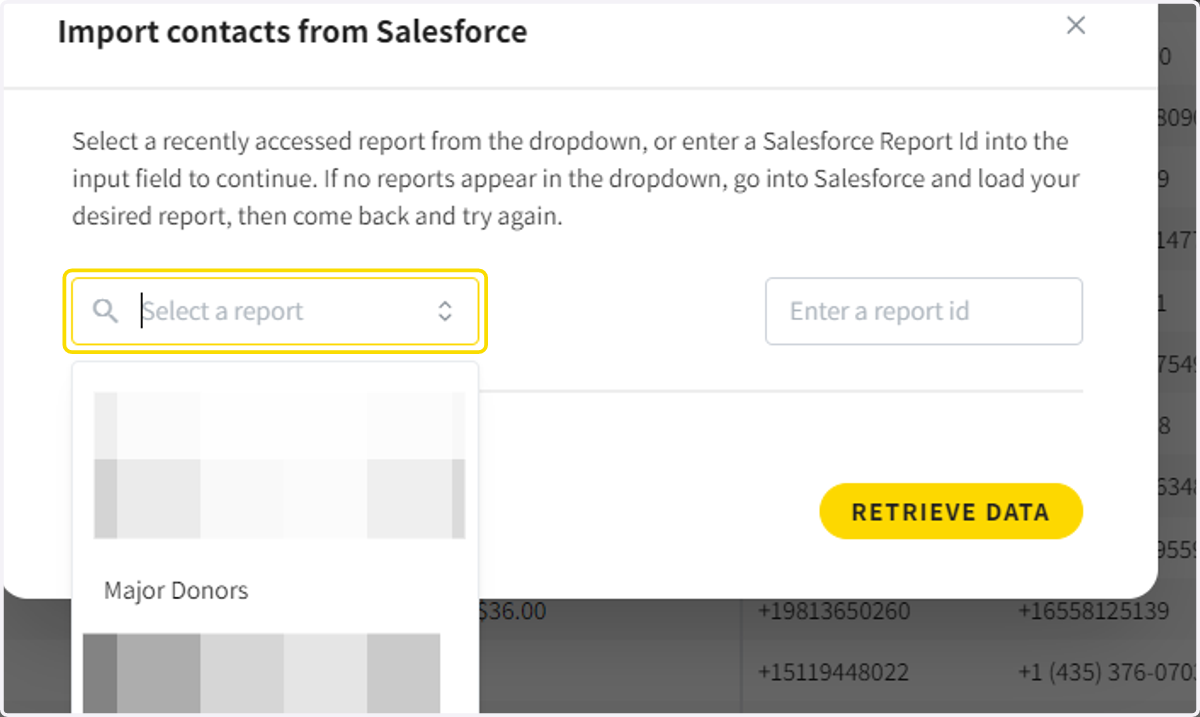
15. Choose the report to connect or enter the Salesforce Report ID
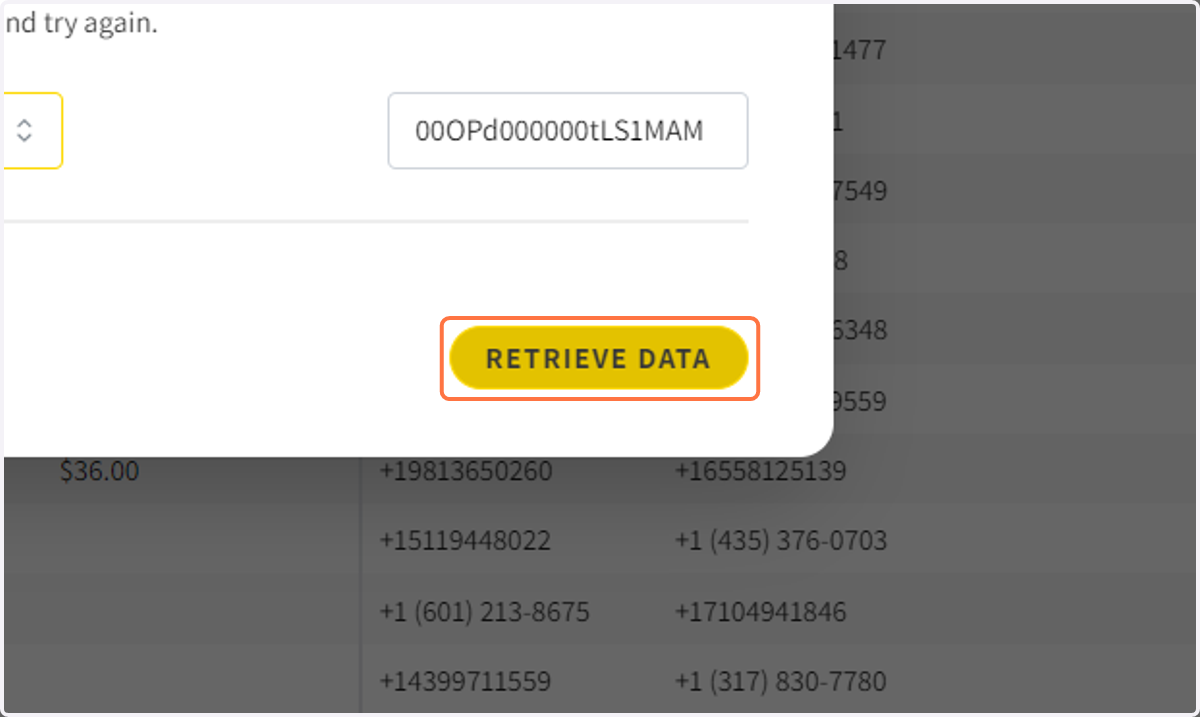
16. Click on Retrieve Data
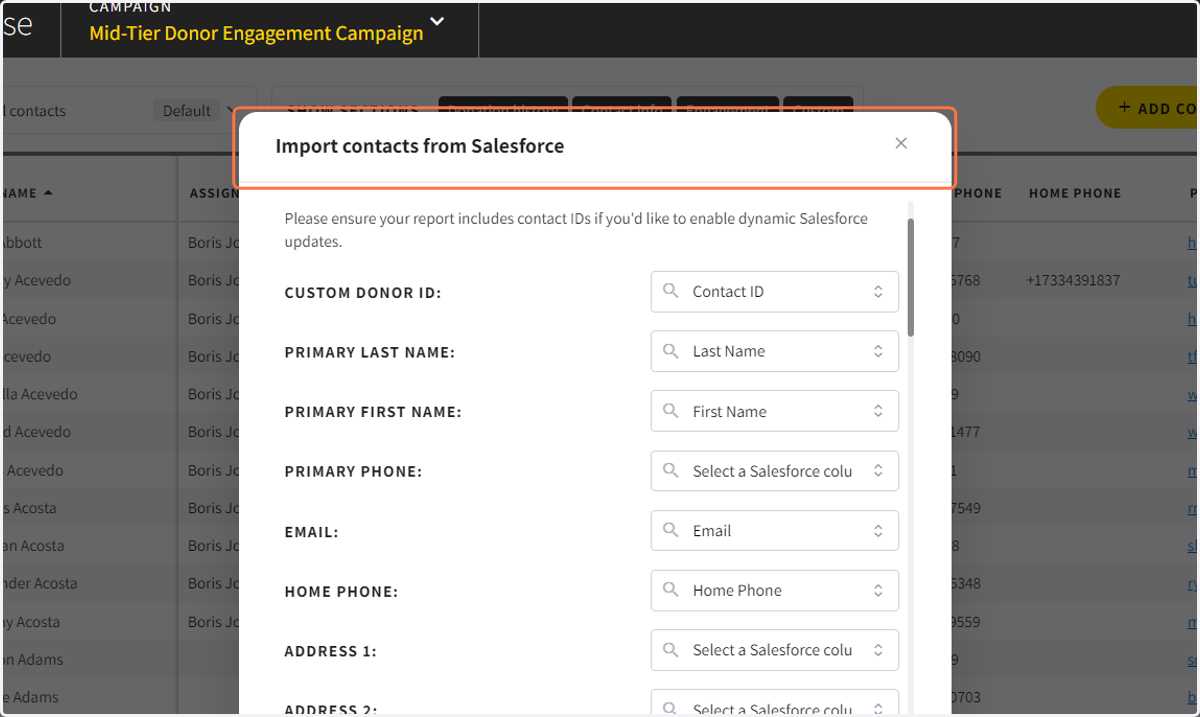
17. You can now map the Salesforce Fields with the PhoneRaise Fields
PhoneRaise will attempt to match the standard fields automatically. You can map and add any custom fields from the Salesforce report. If do not wish to include a field from Salesforce in PhoneRaise leave the default option (select a Salesforce Column)
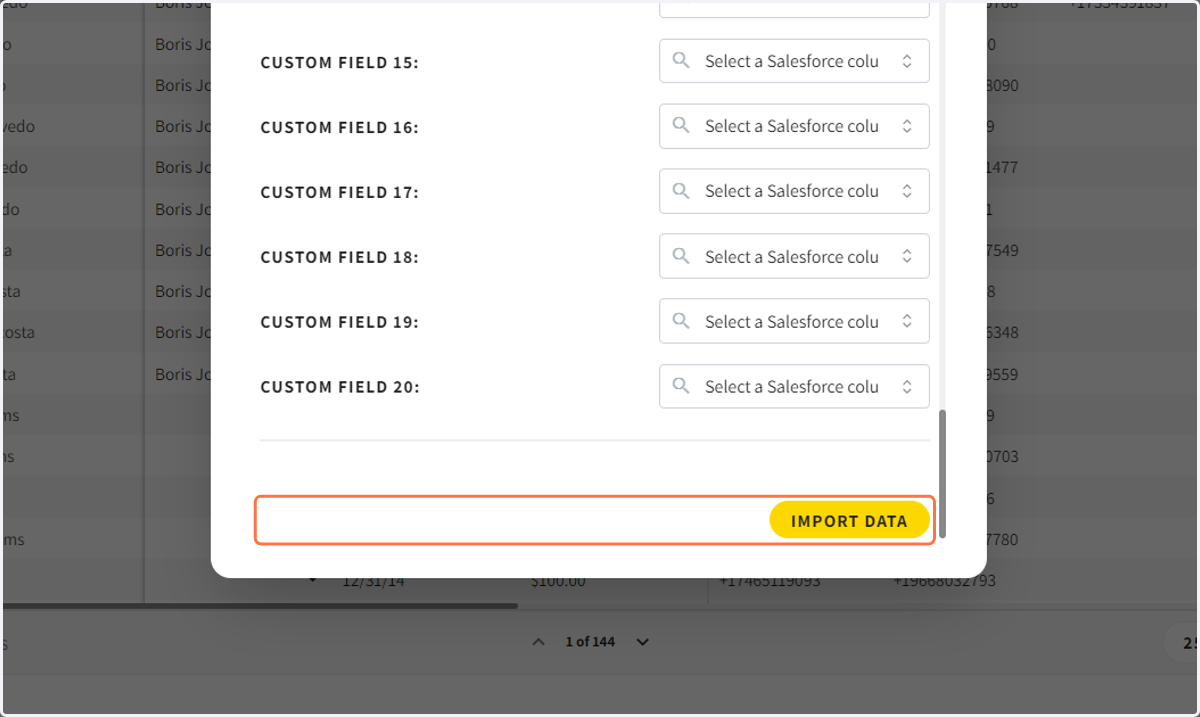
18. When finished click on Import Data
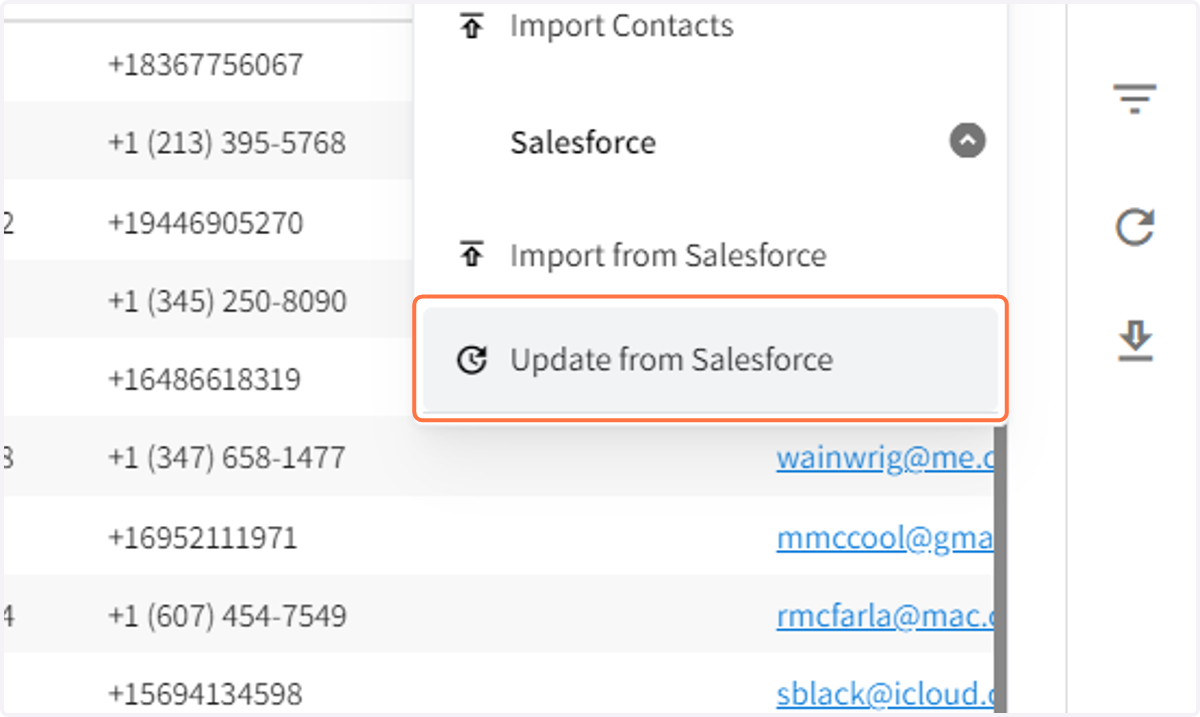
19. You can Sync your data with Salesforce at any time by clicking Update from Salesforce
This is helpful if you know your report was has new information but you do not want it to wait for 24 hours for it to automatically update.