Creating & Associating Approval Workflows
Create your Approval Workflow
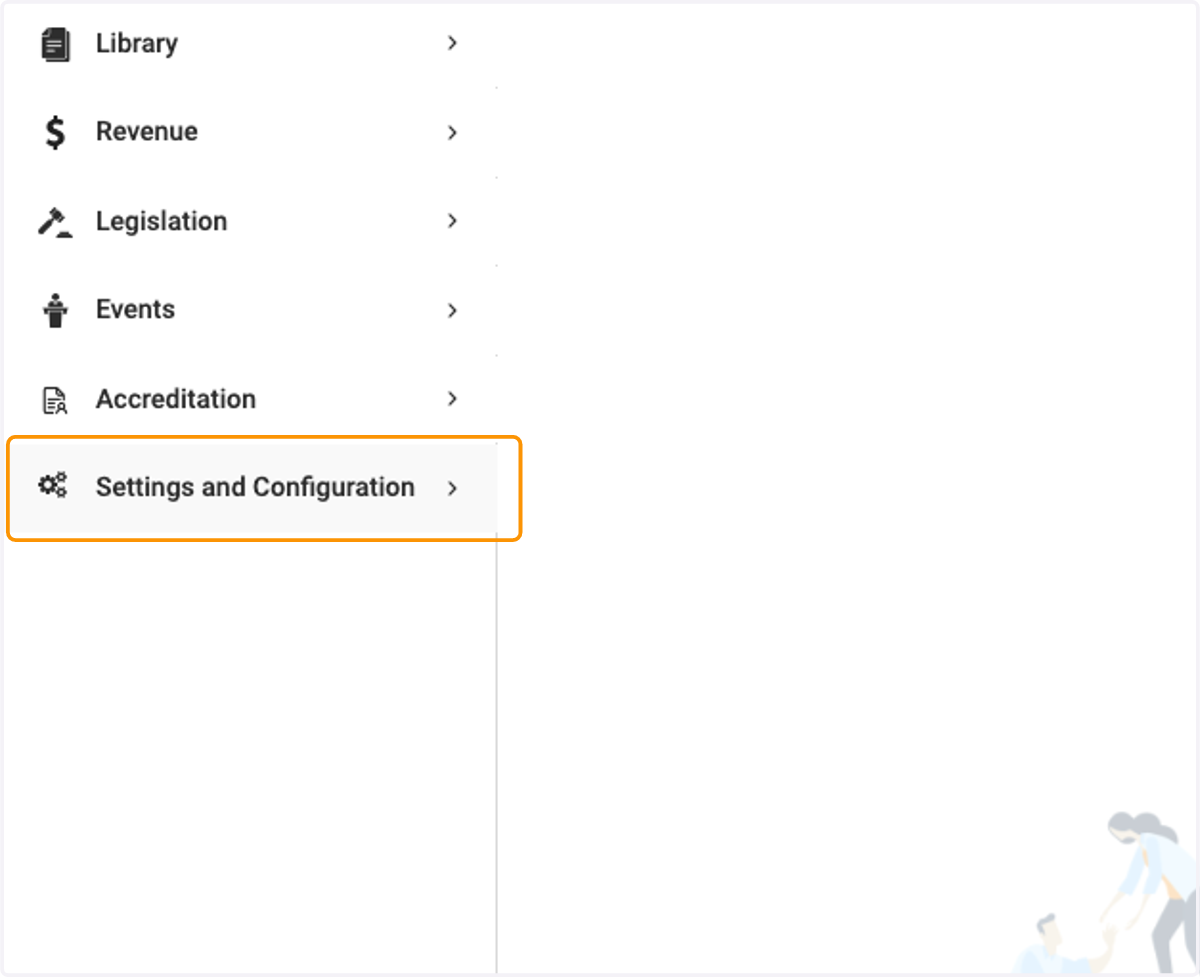
1. Click on Settings and Configuration
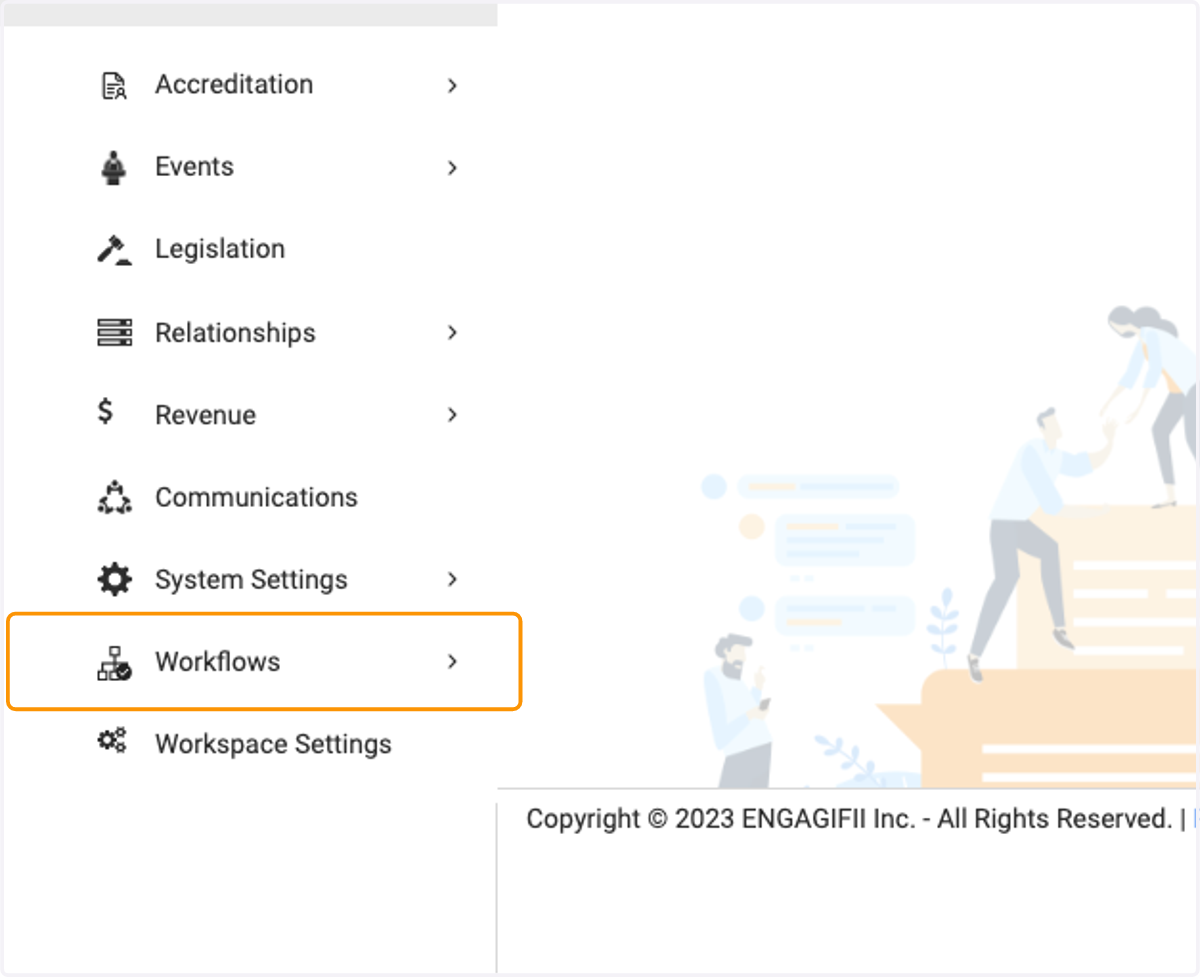
2. Click on Workflows
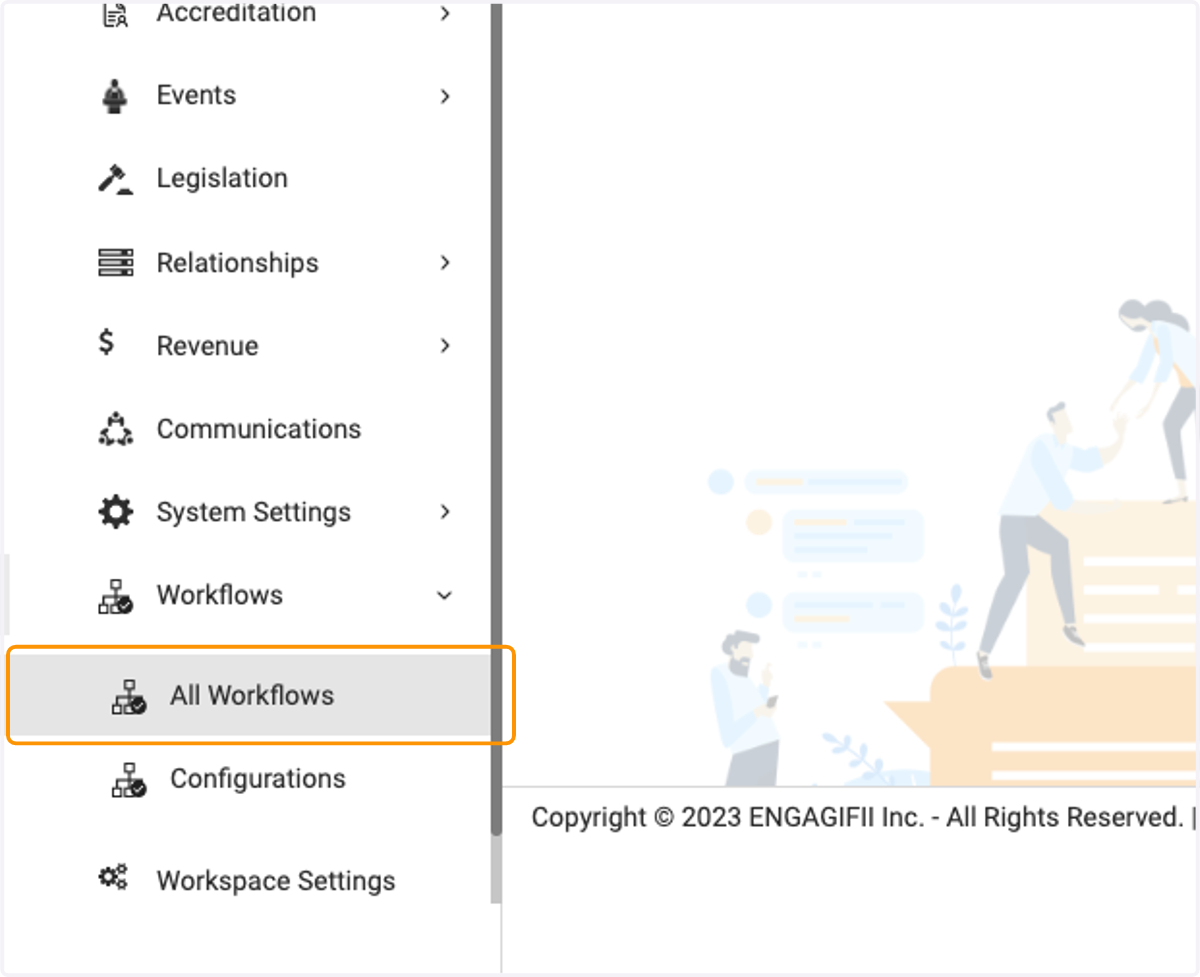
3. Click on All Workflows
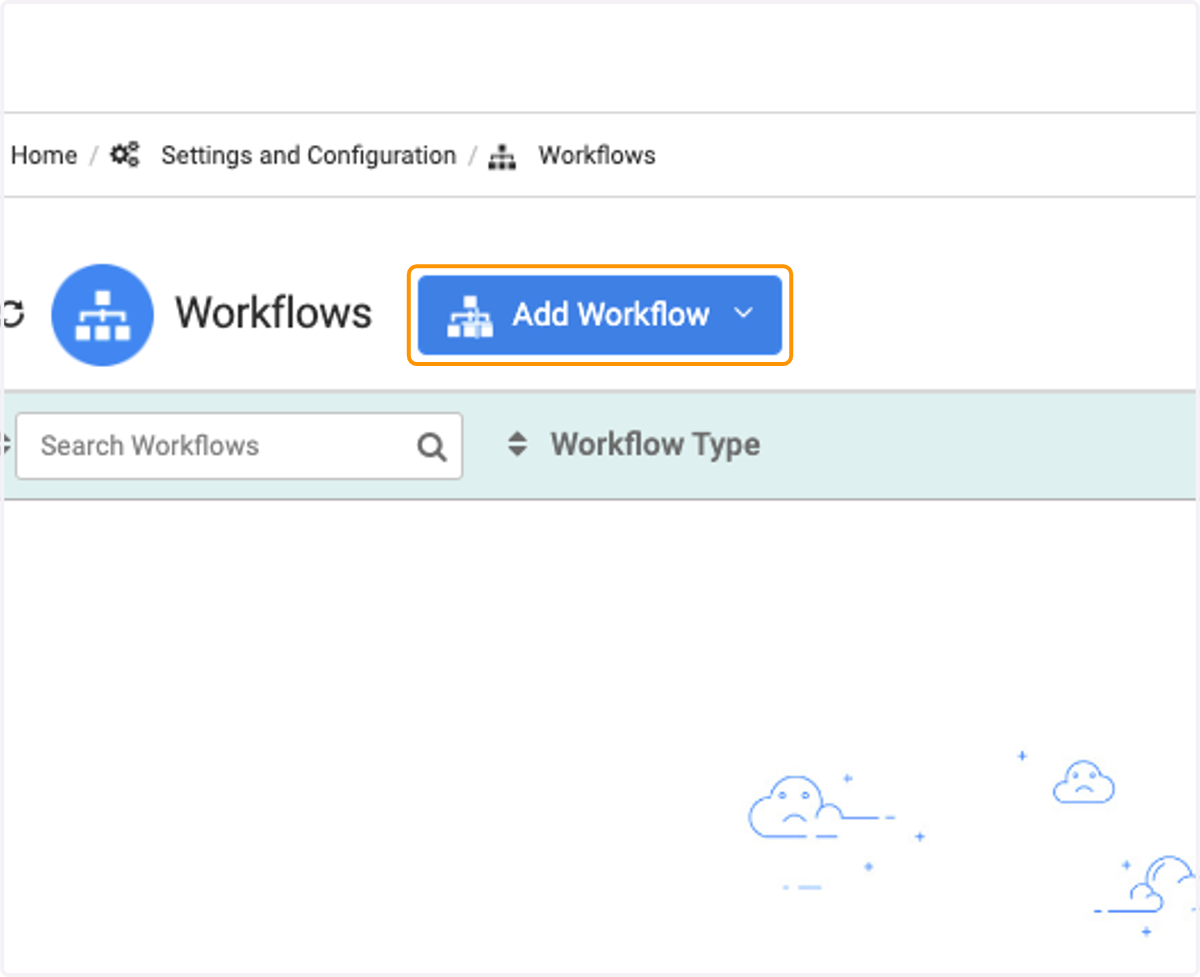
4. Click on Add Workflow
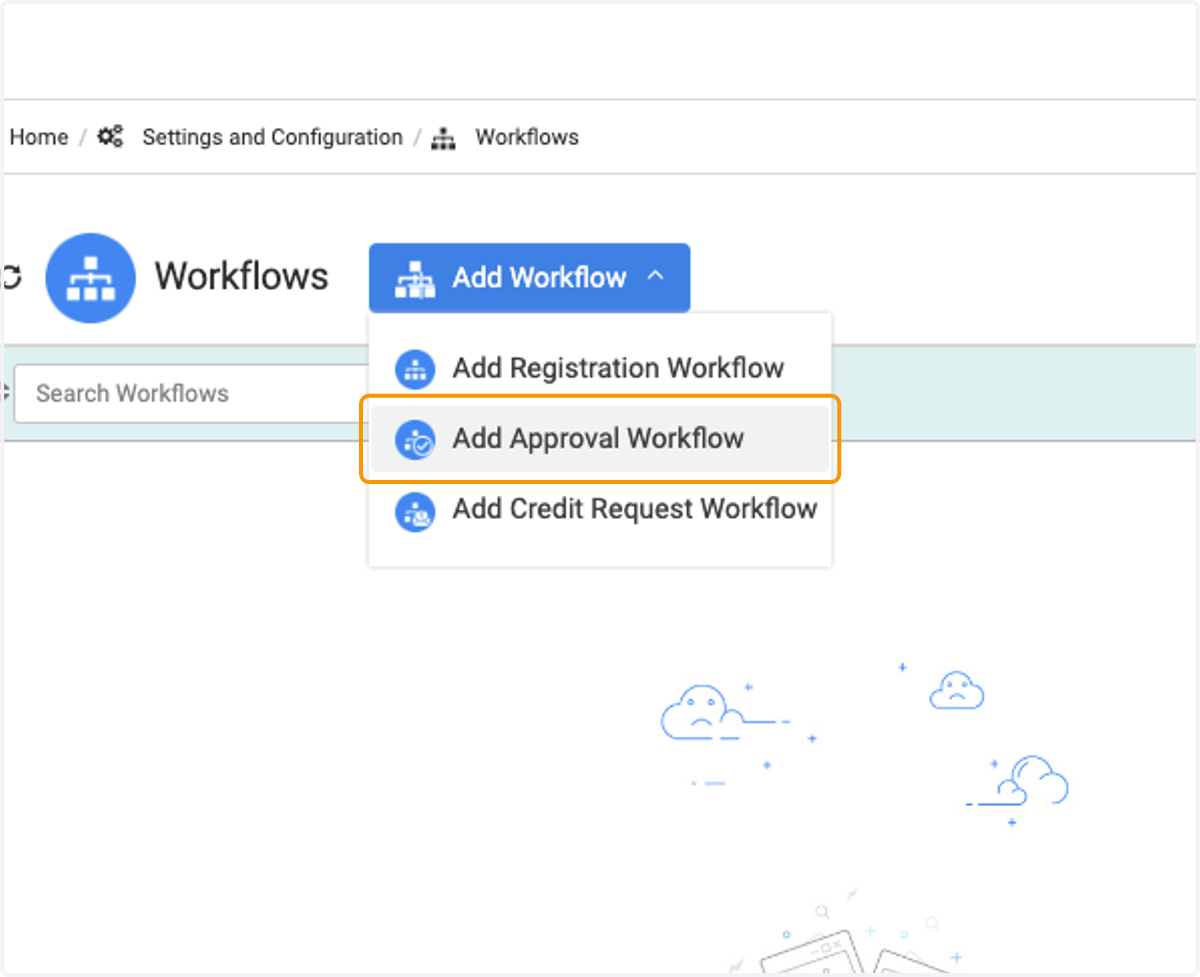
5. Select Add Approval Workflow
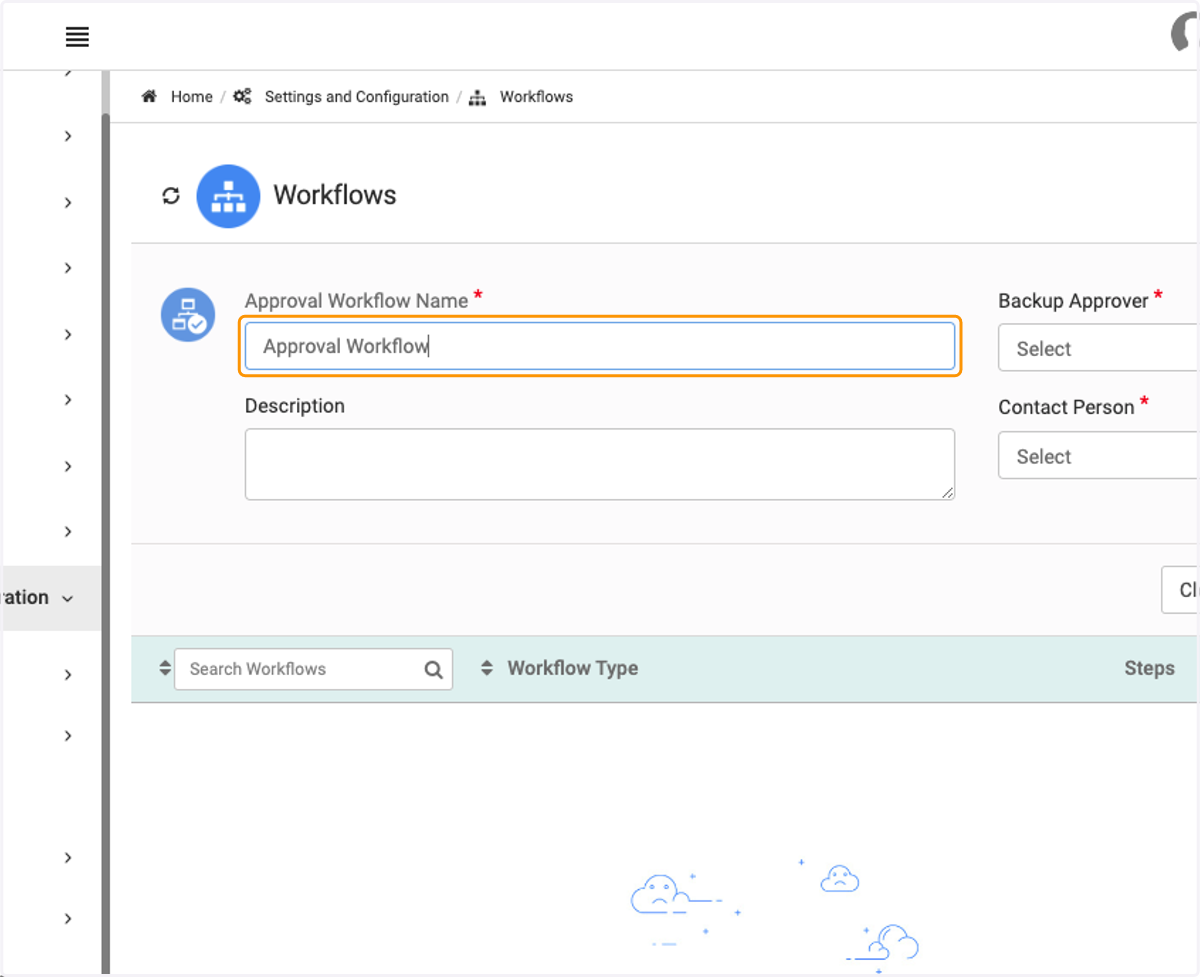
6. Type the name of your workflow into the Approval Workflow Name field
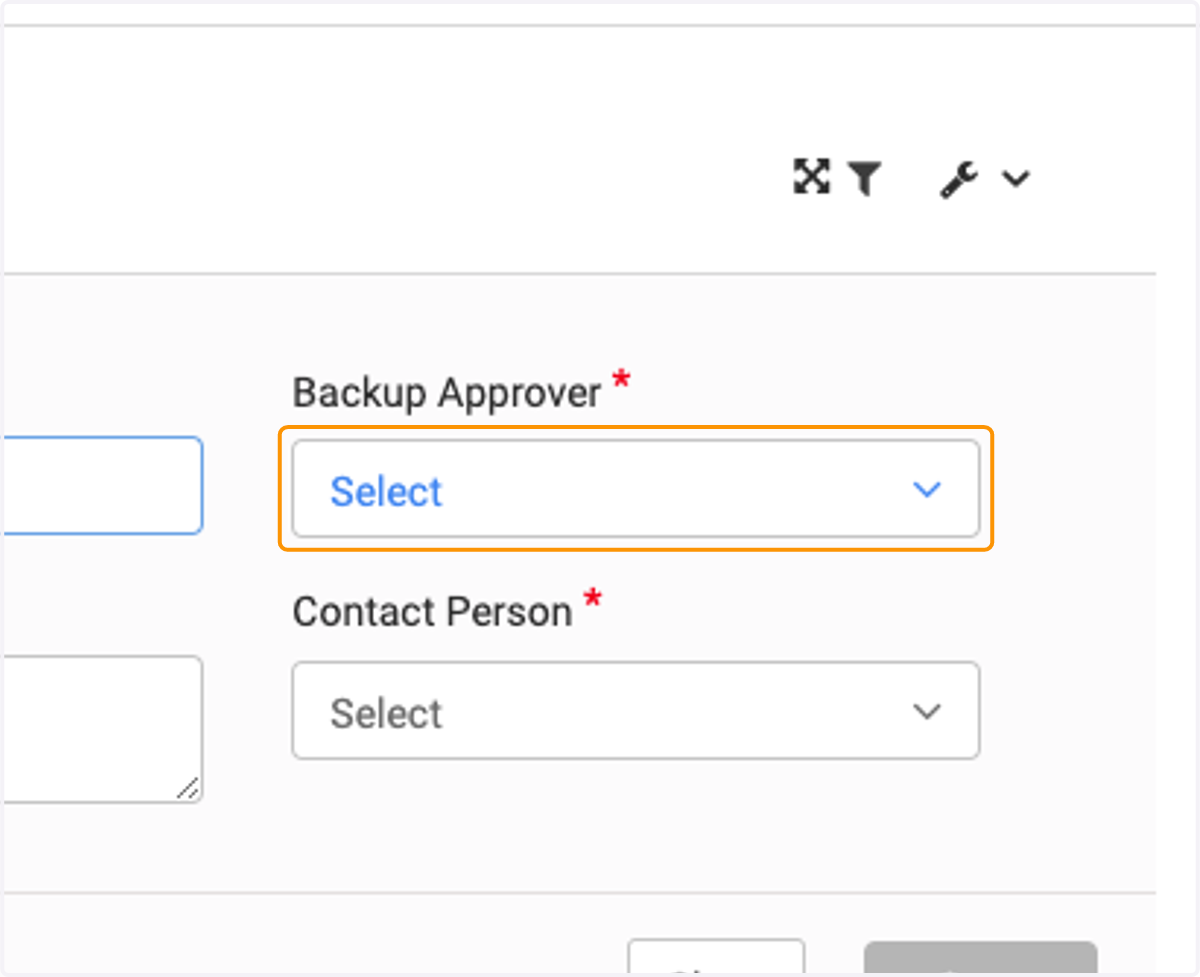
7. Select your Backup Approver
This is used if you have an slotted time for an approval, and the original approver does not process the request
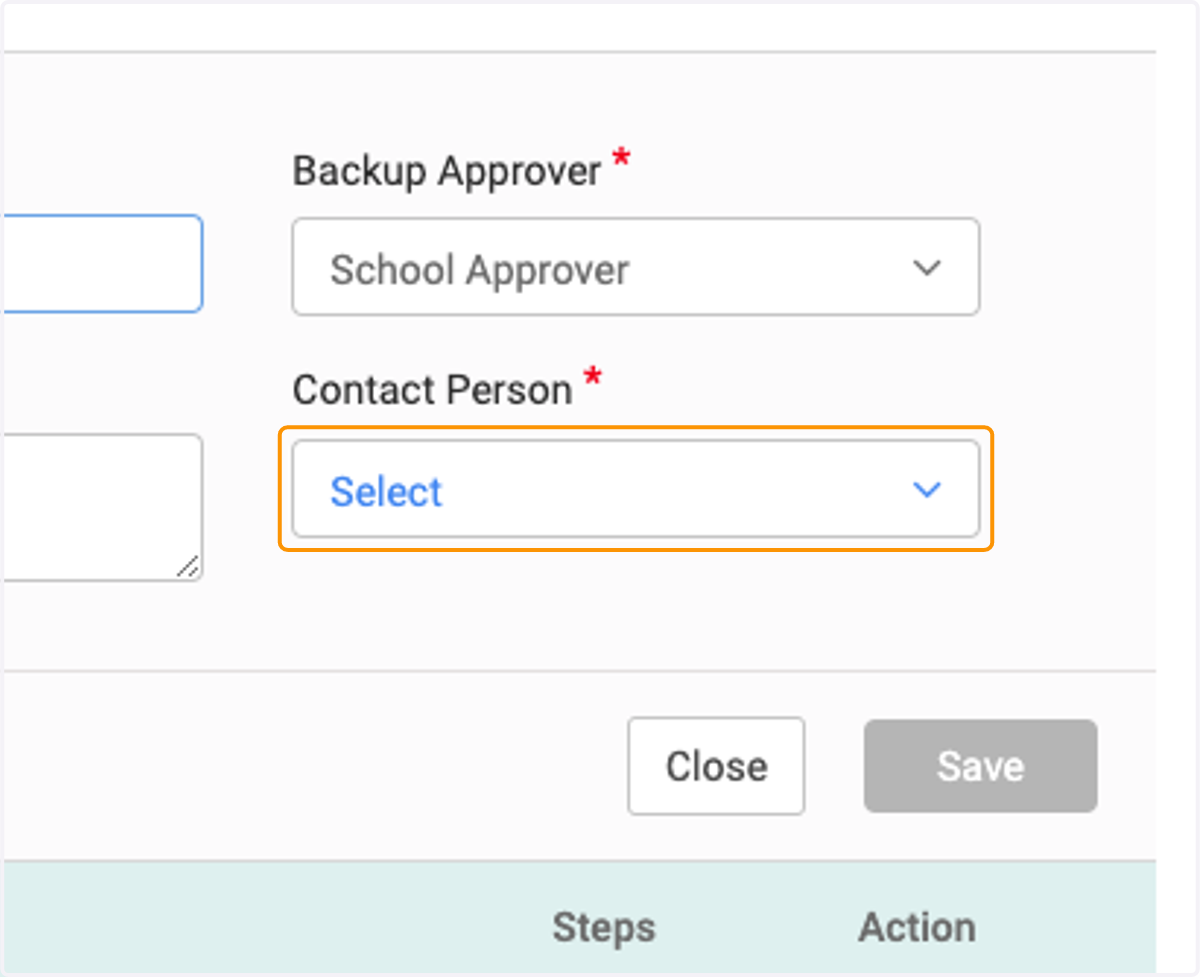
8. Select your Contact Person
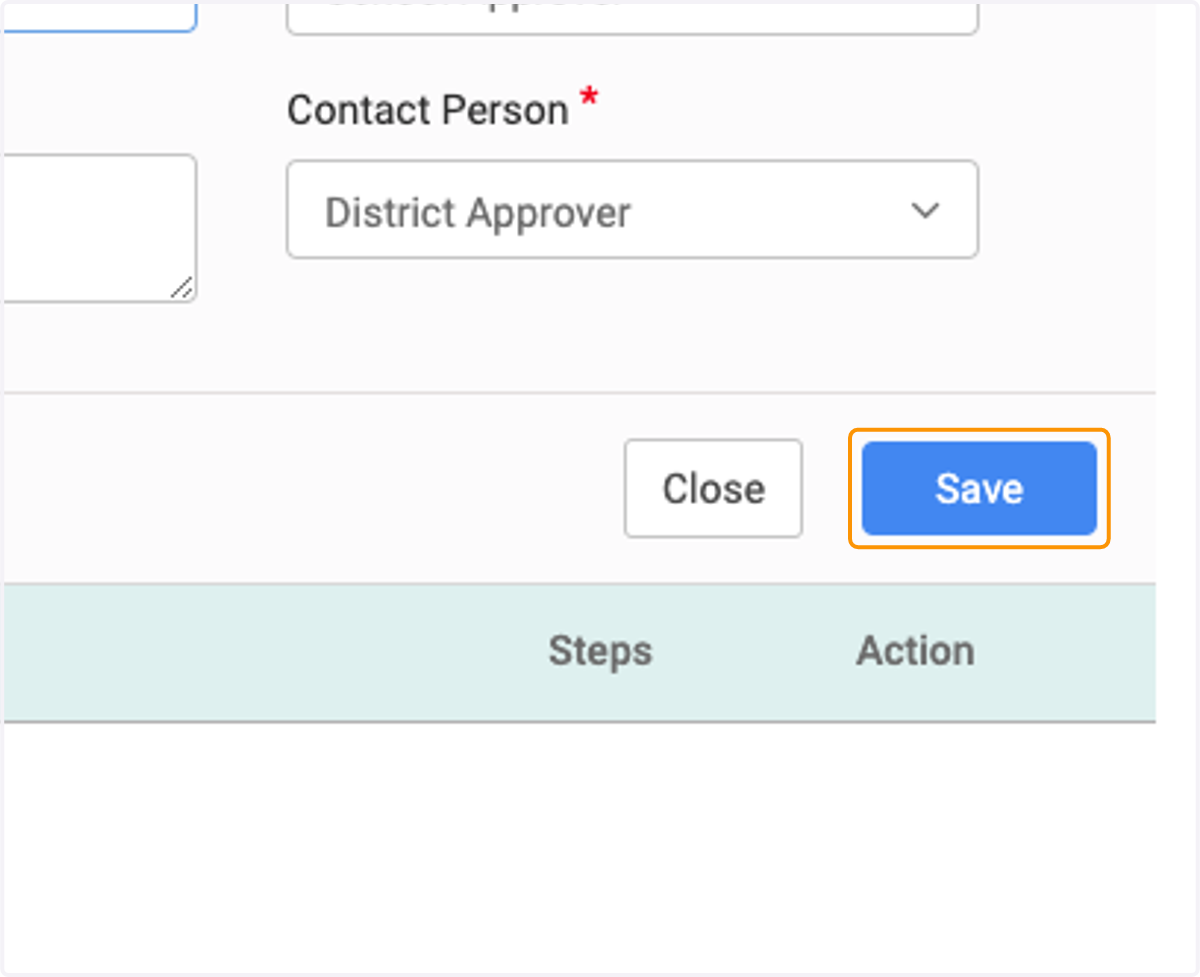
9. Click Save
✍️ Configuring your Approval Workflow
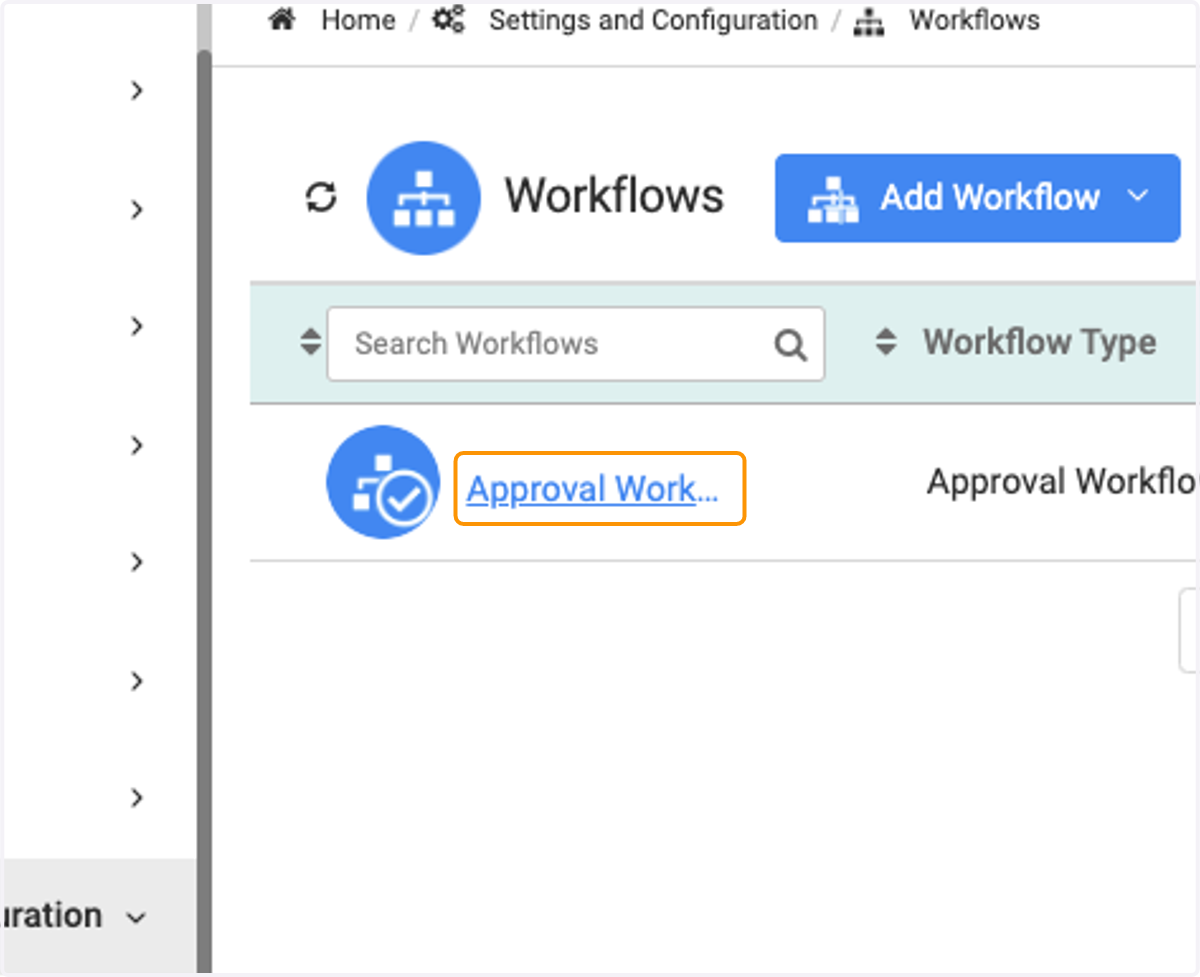
10. Click on your new Approval Workflow name
11. We'll first set up the approvee criteria
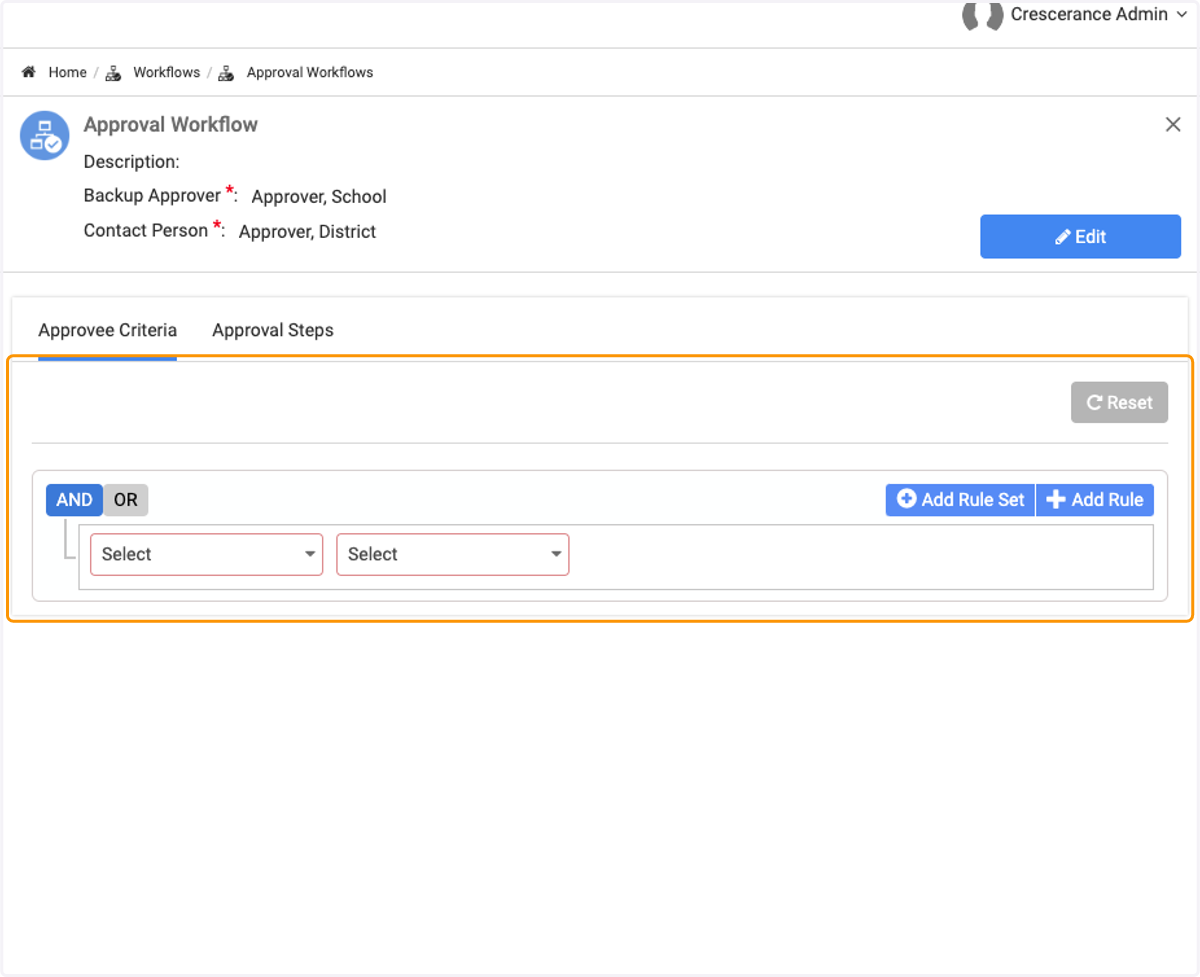
12. Click on Edit
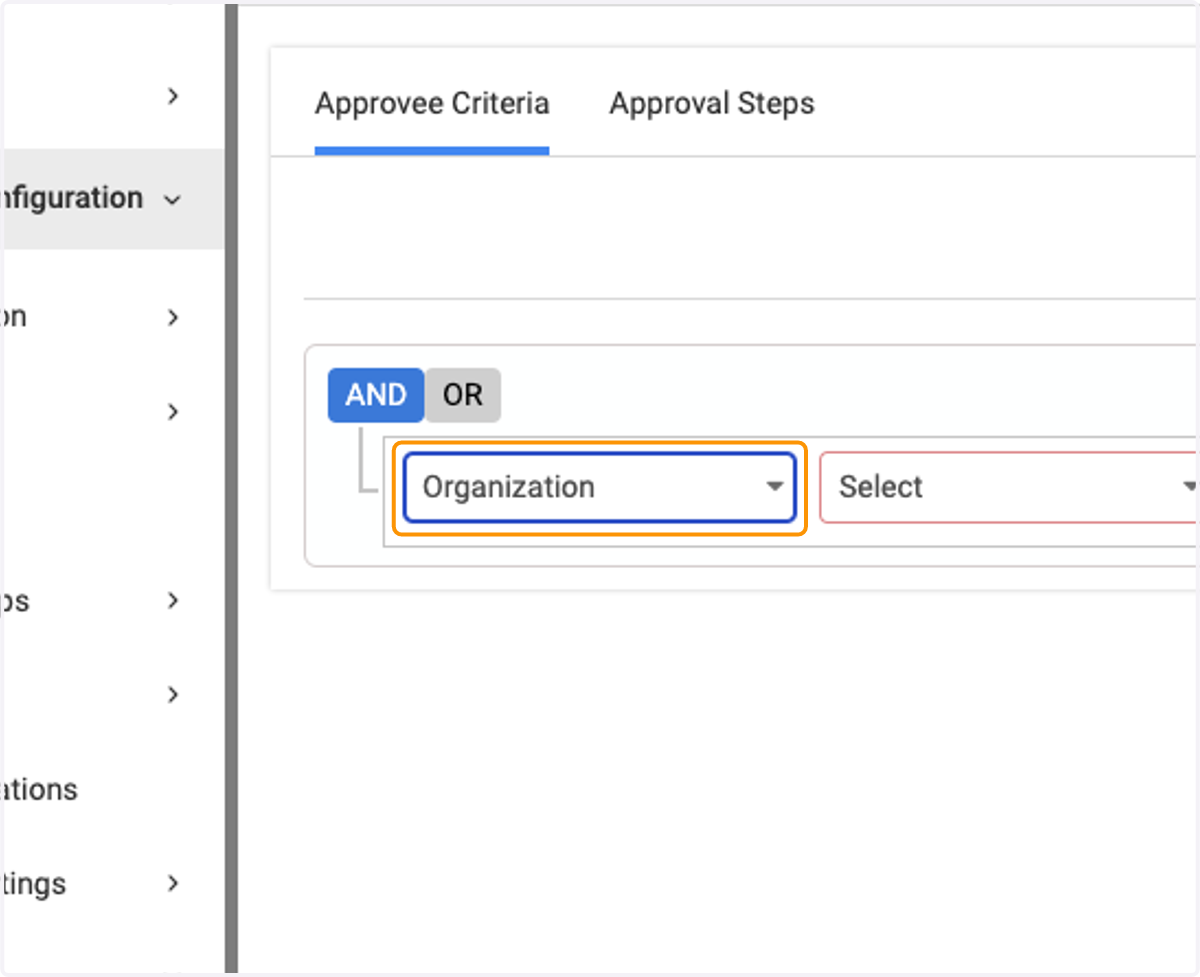
13. Select your Approvee Criteria settings
You have the option to choose from various fields/types here - Organization, Role, etc
14. Click on Save
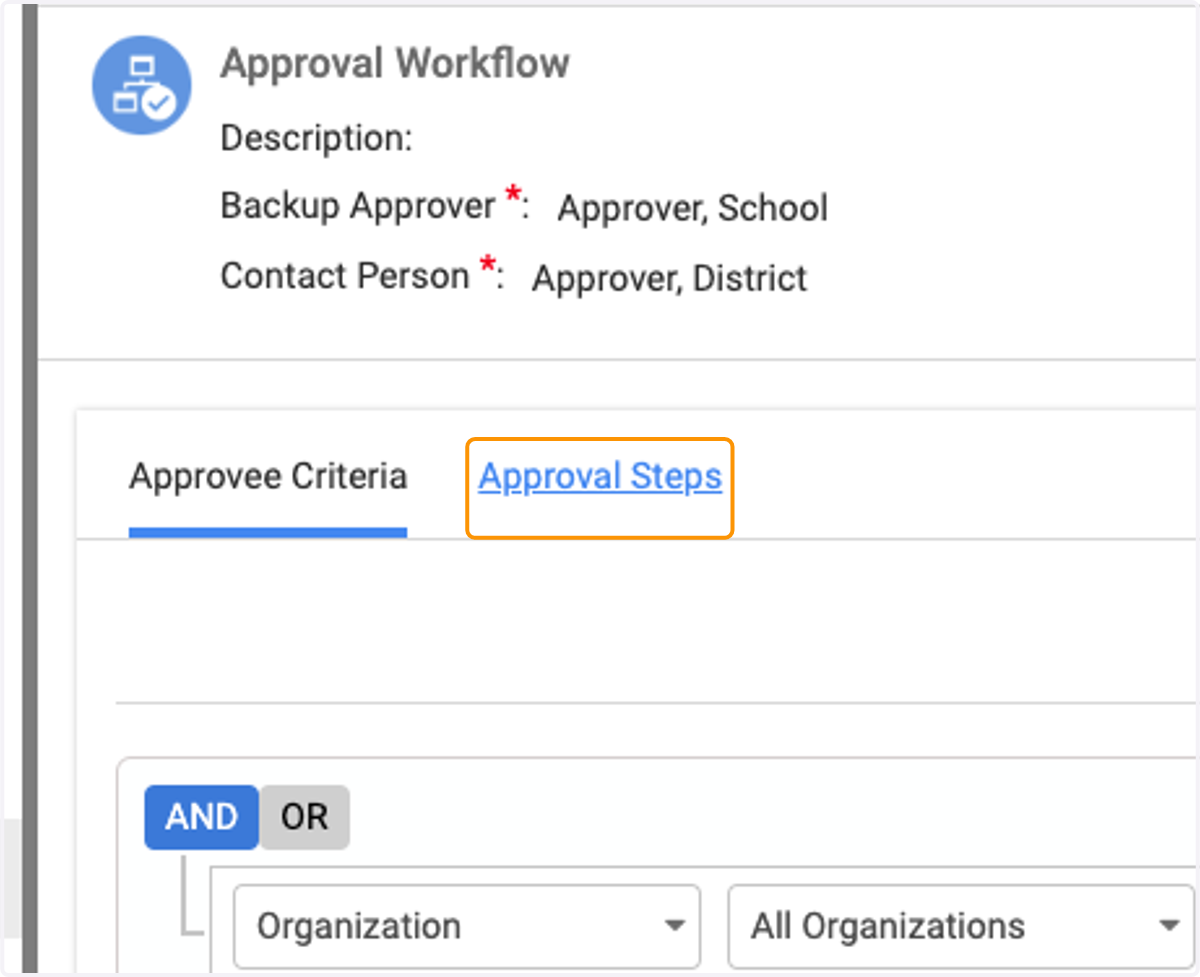
15. Click on Approval Steps
16. Click on Edit
17. Click on Add Step
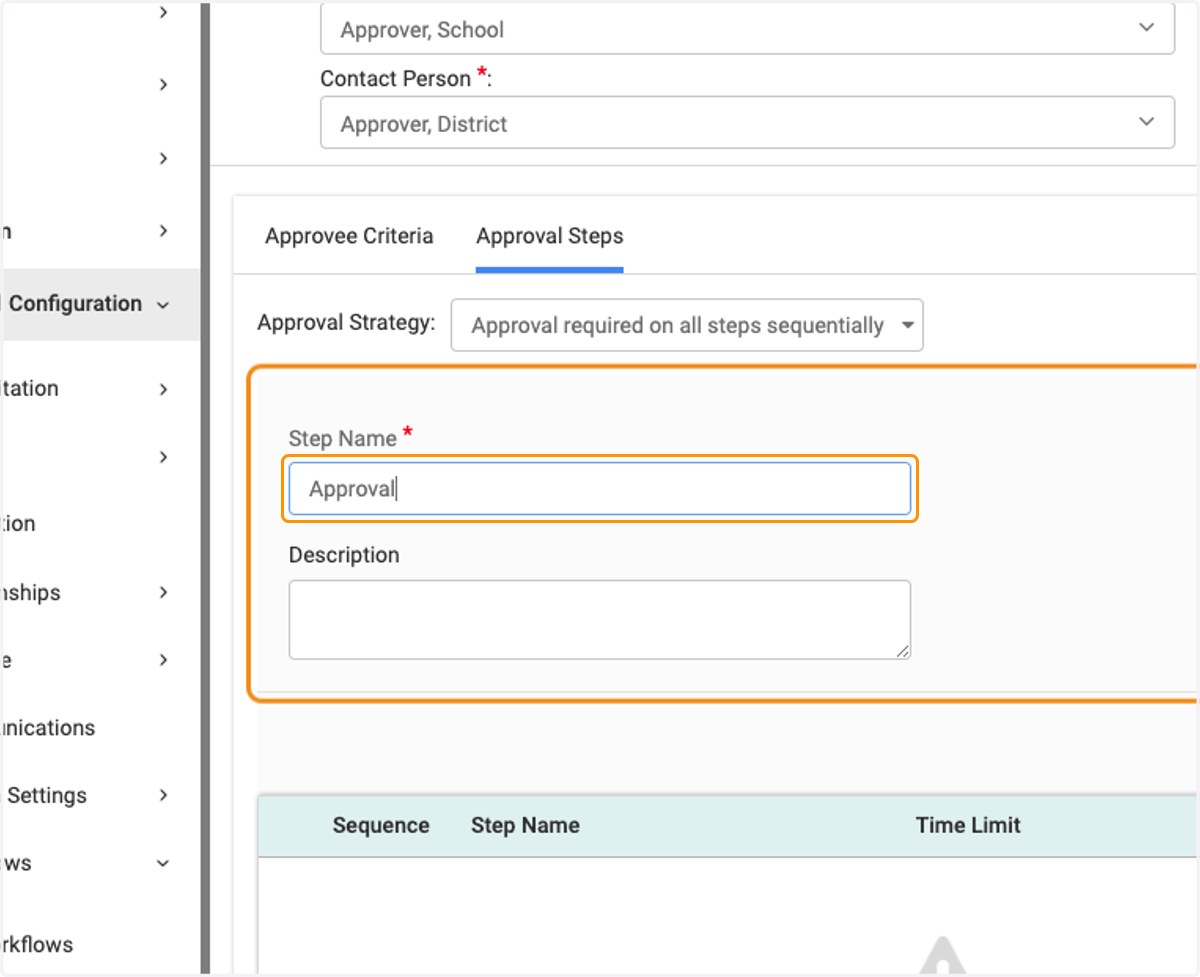
18. Add your Step Name
19. Click on Save
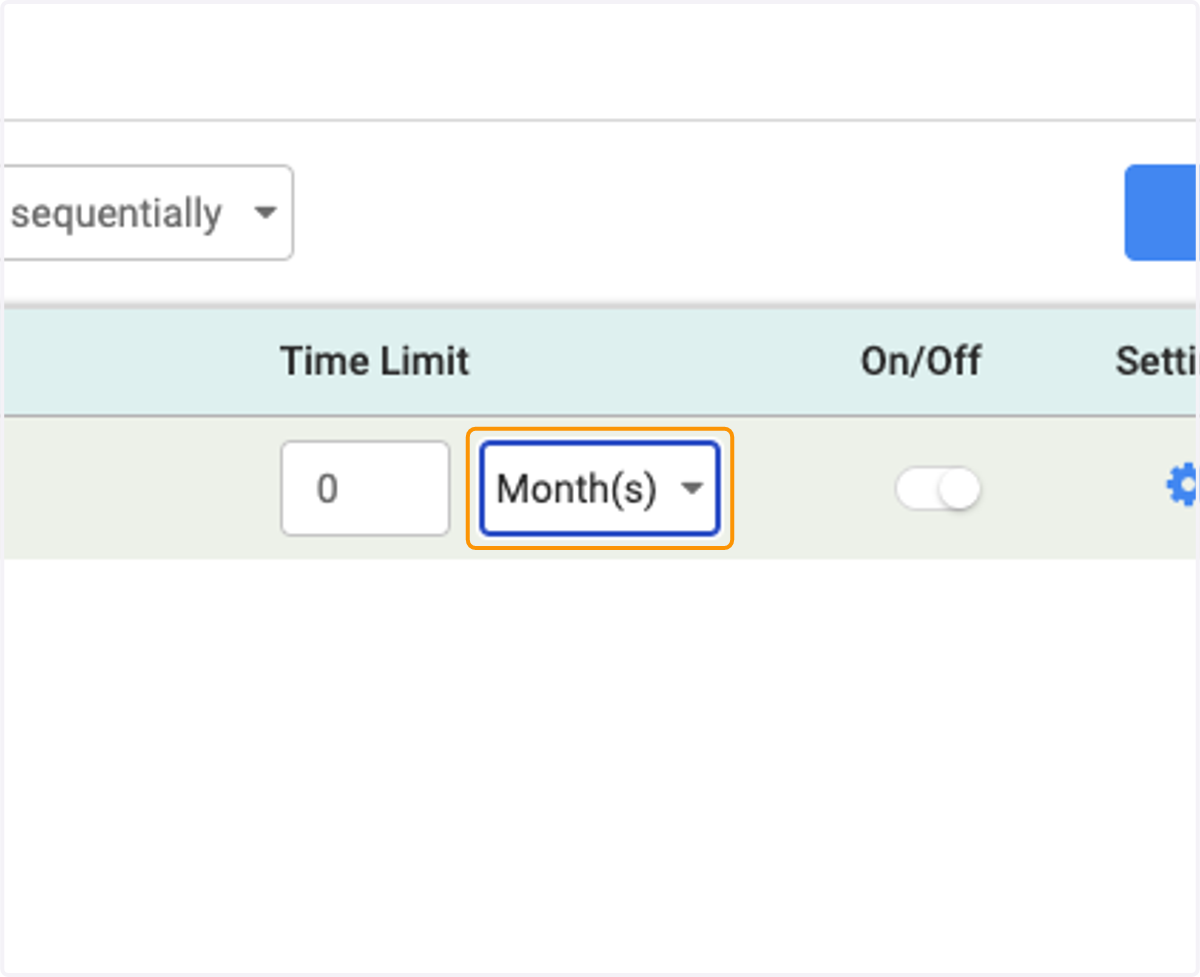
20. Choose your time limit, if applicable
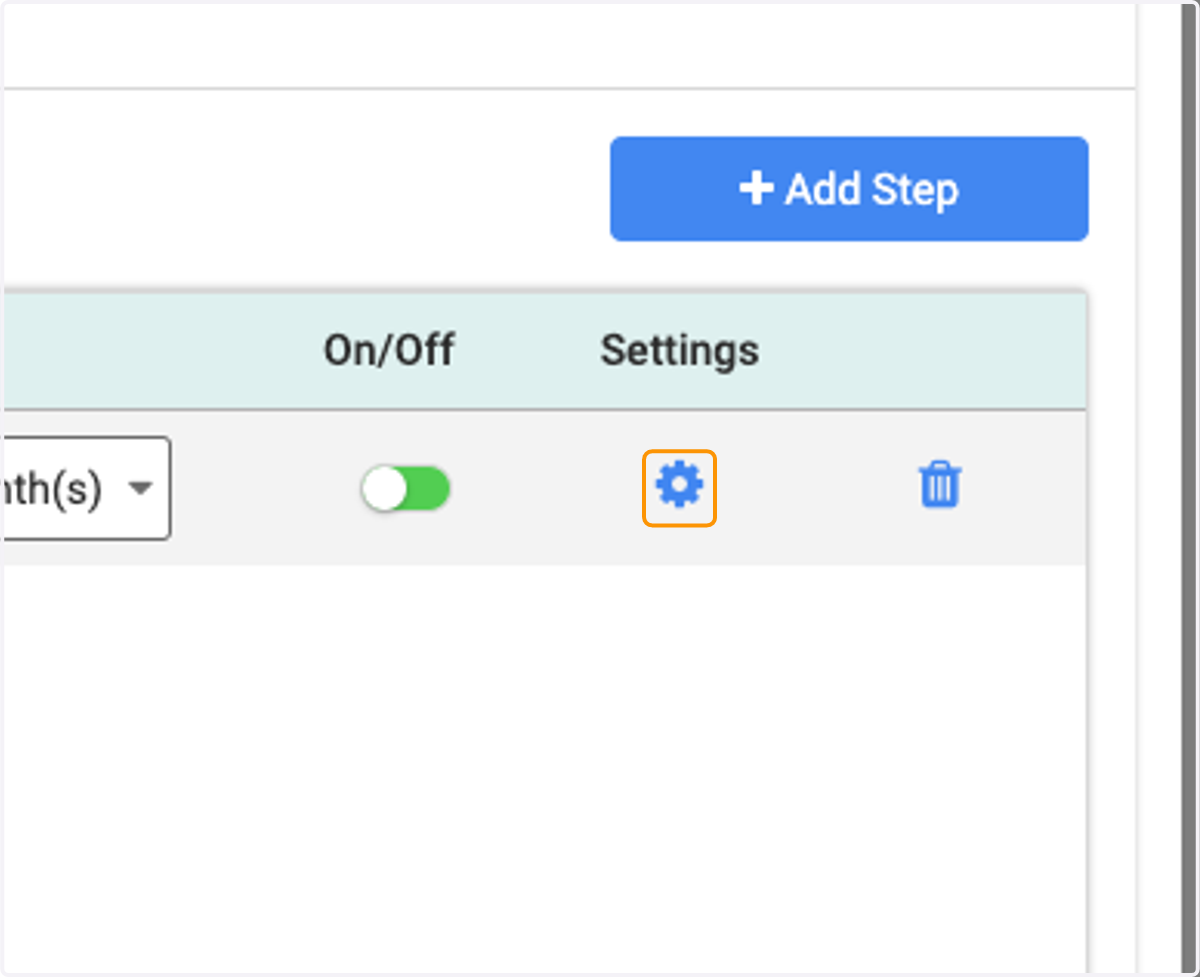
21. Click on the Settings wheel
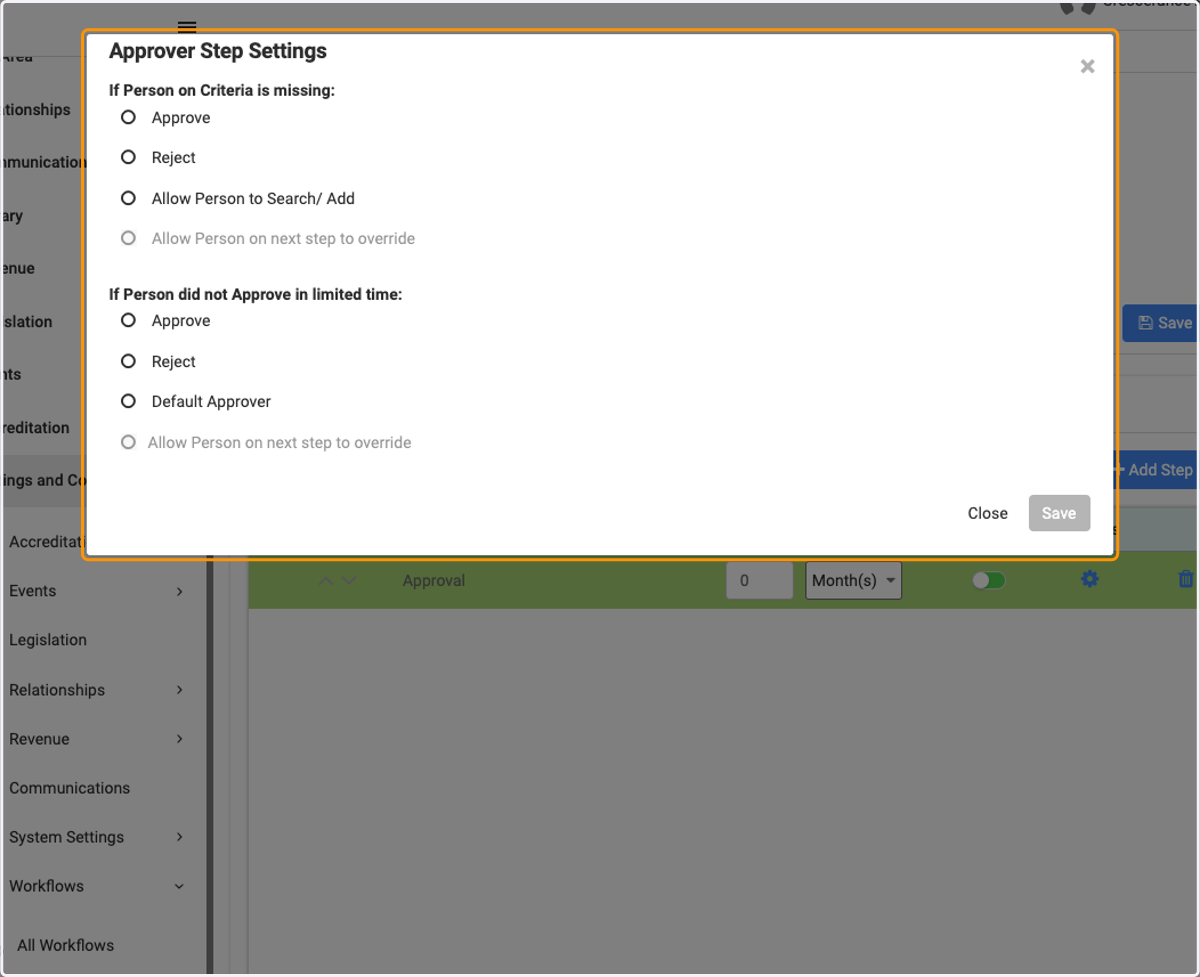
22. Select the relevant settings
✔️ Selecting your Approver
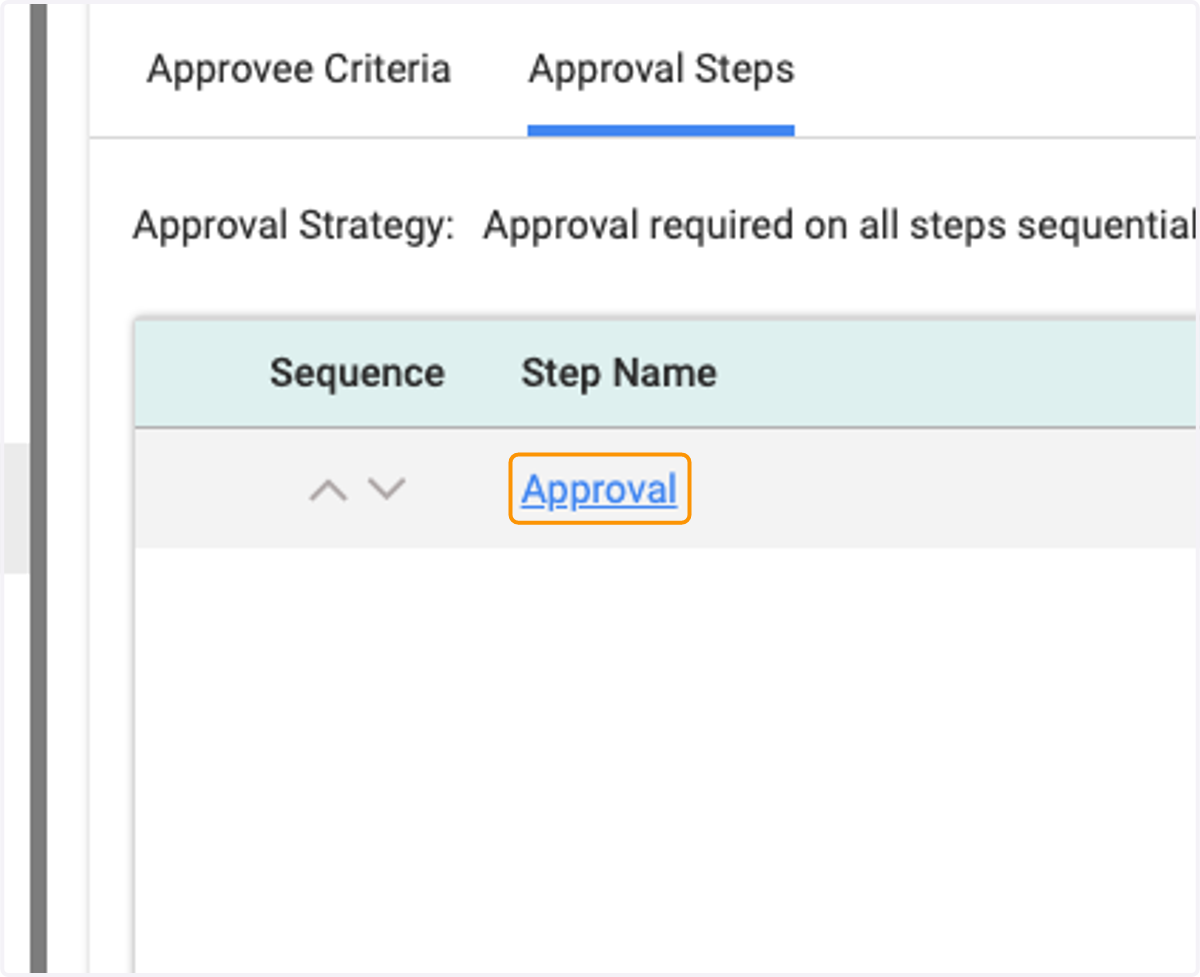
23. Click on the name of your Approval step
24.
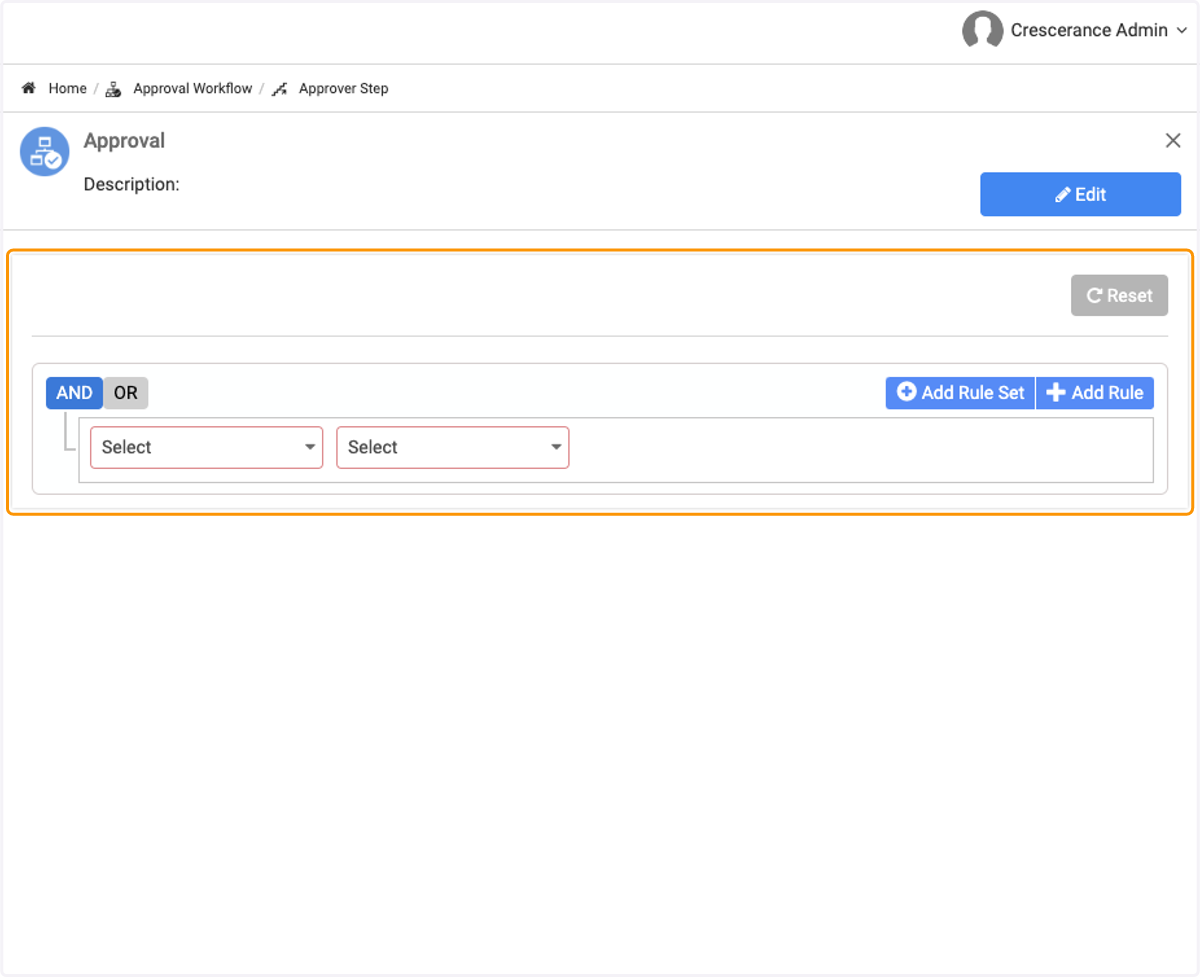
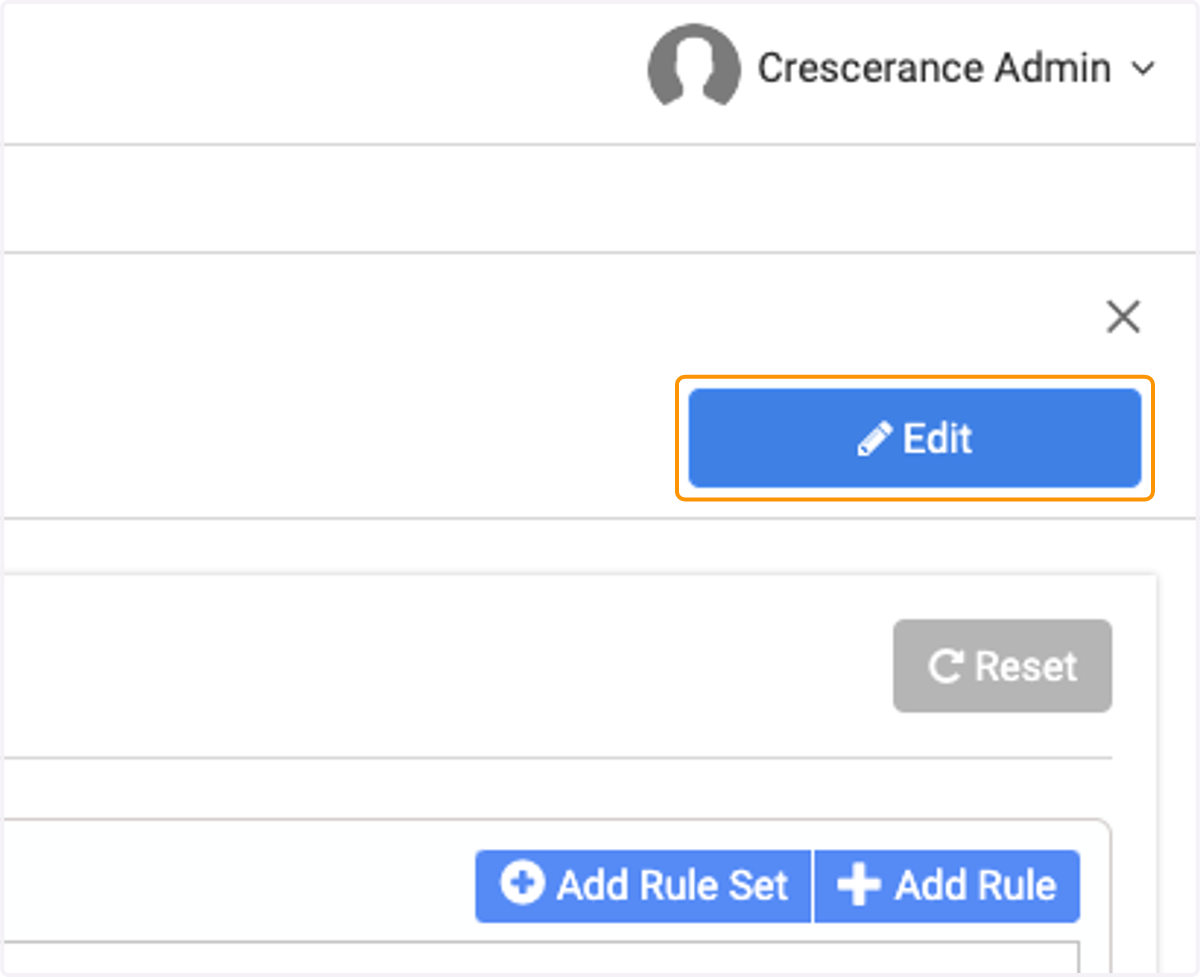
25. Click on Edit
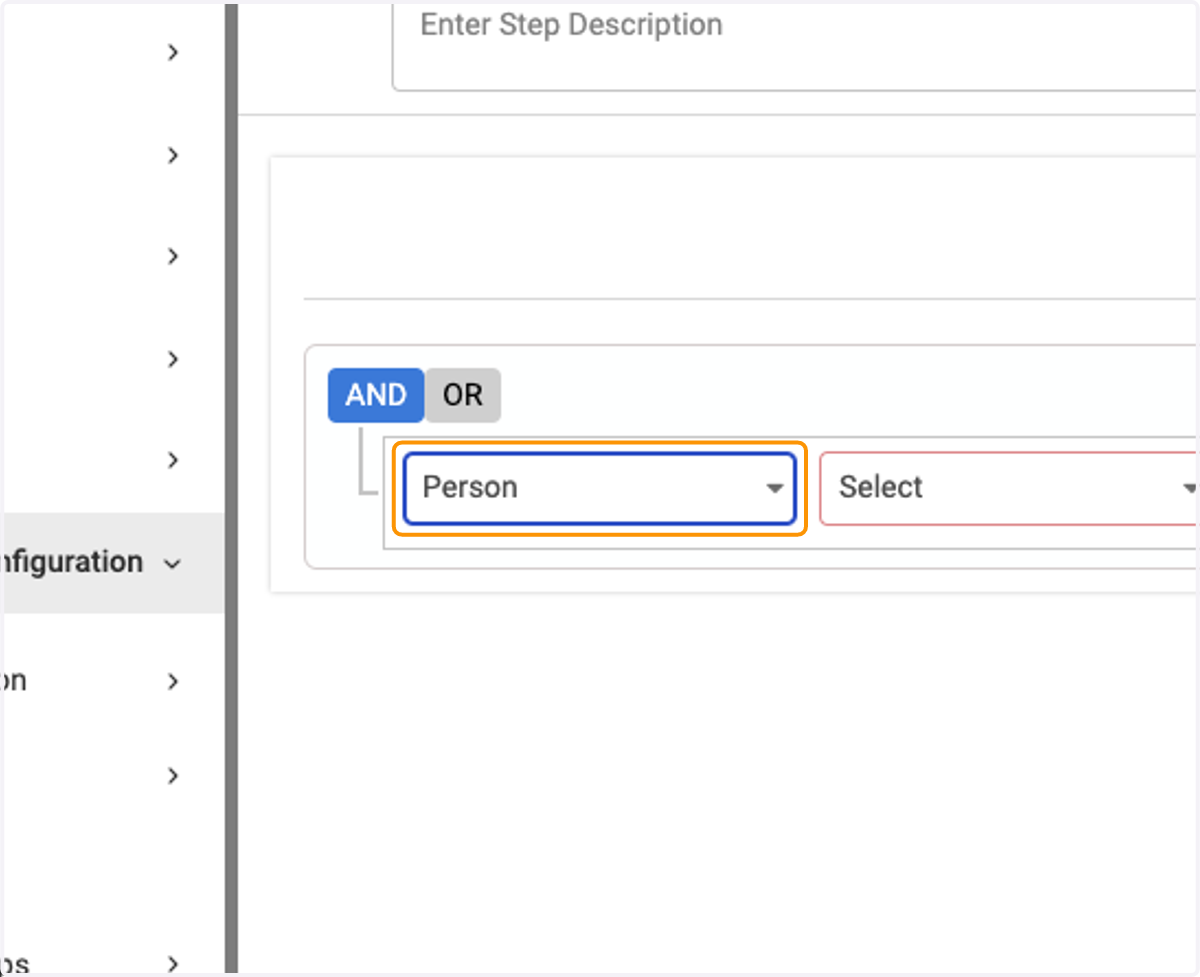
26. Set your criteria (in this example we are using a single individual). Choose Person from the first box
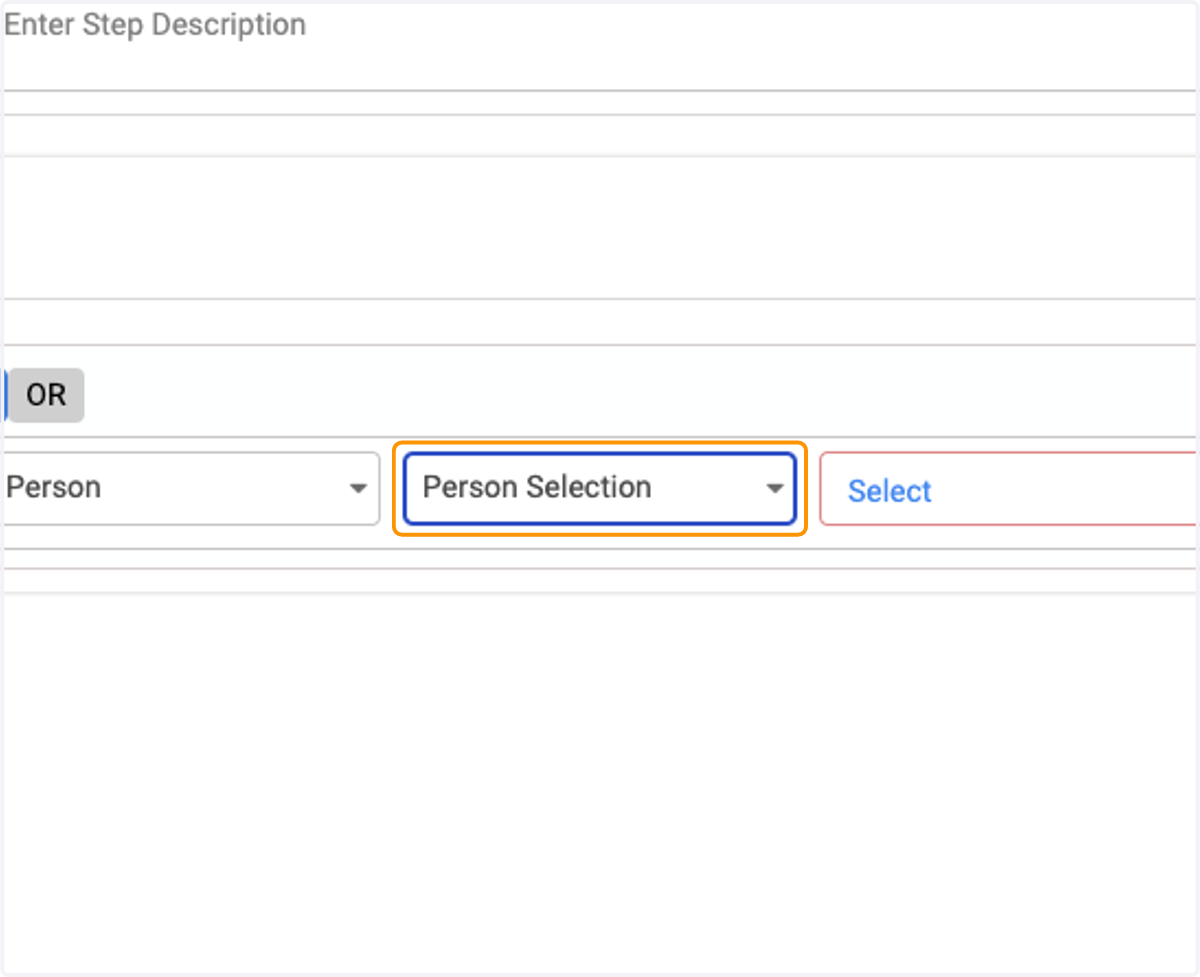
27. Select Person Selection in the second box
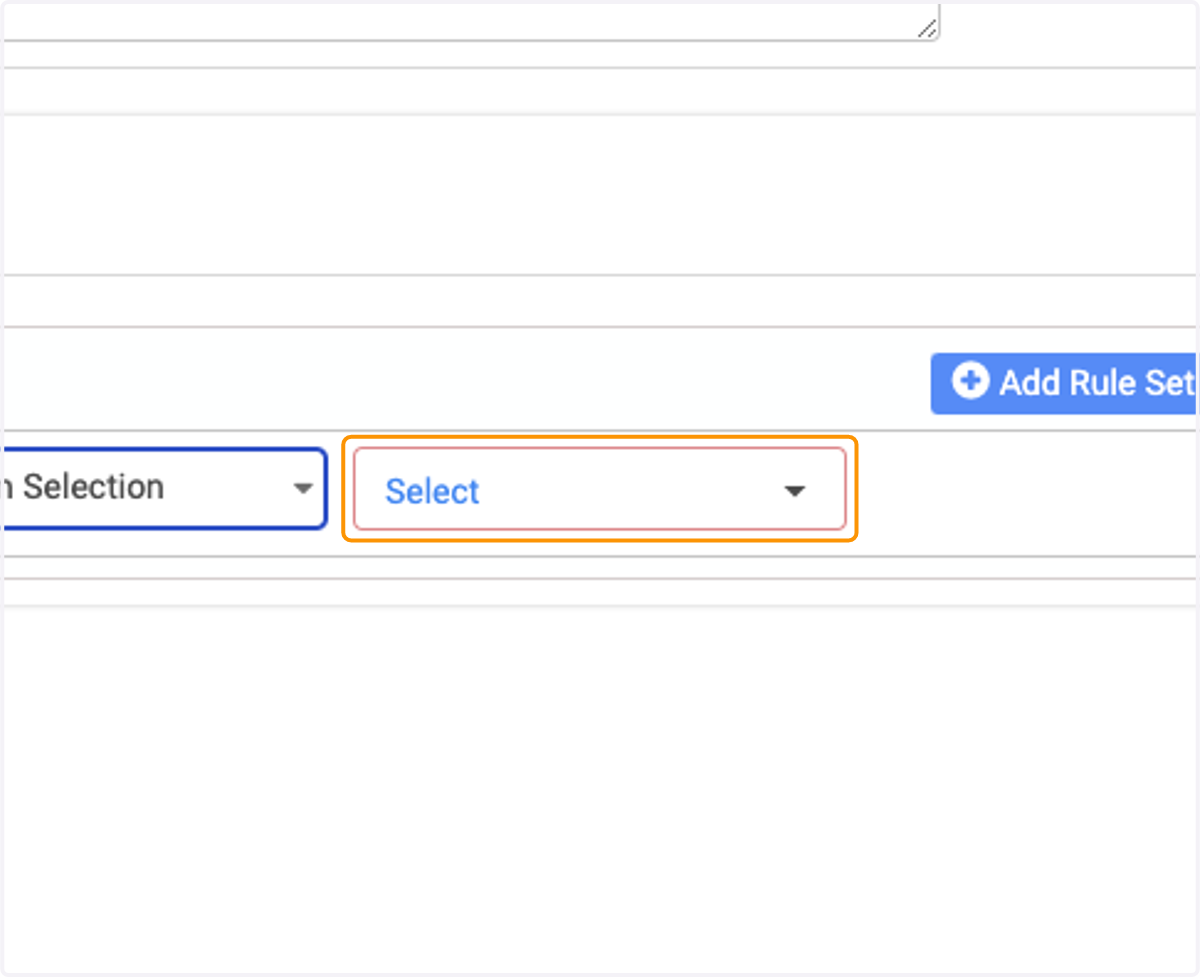
28. Click on Select to bring up the list of available approvers
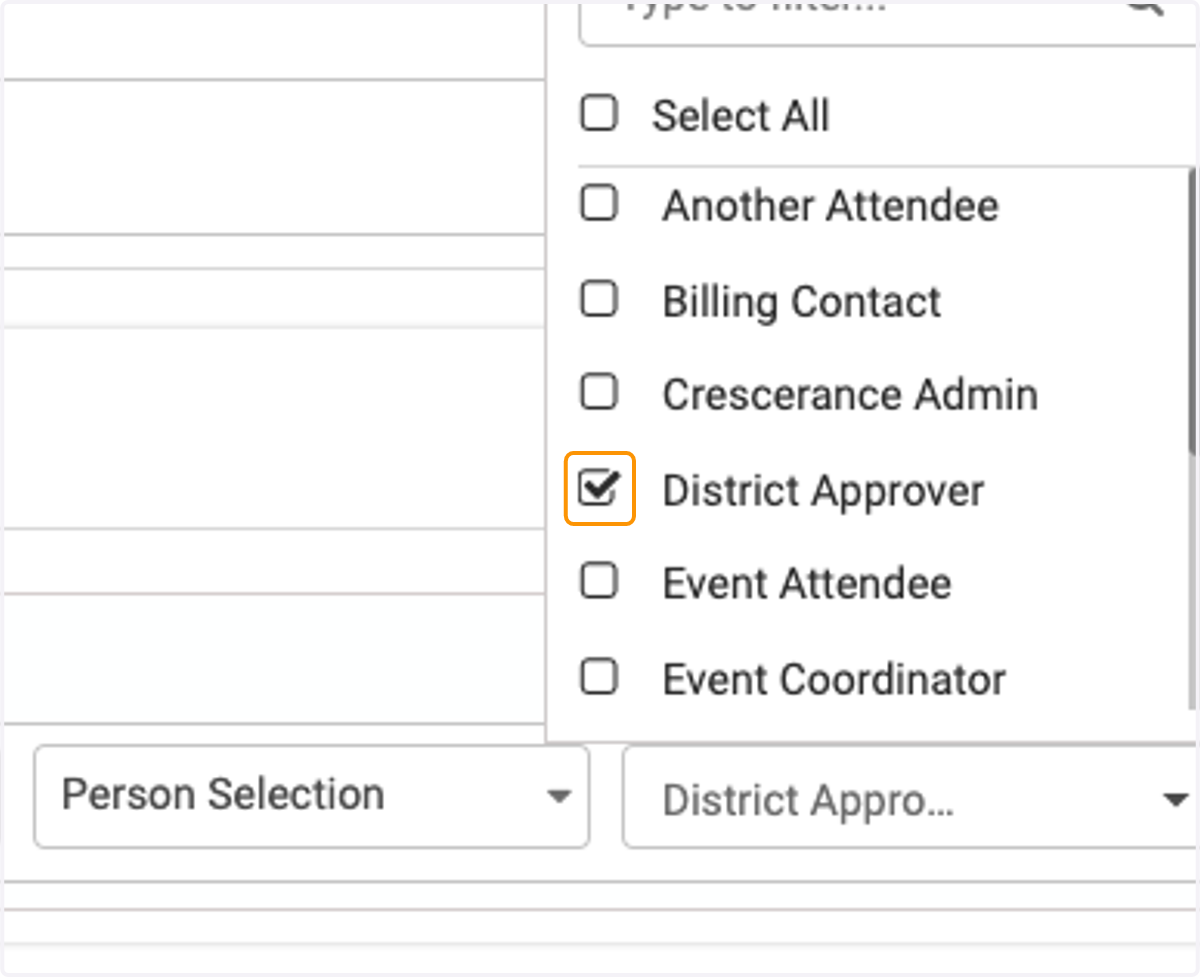
29. Check the box for the individual(s) you would like to be approvers
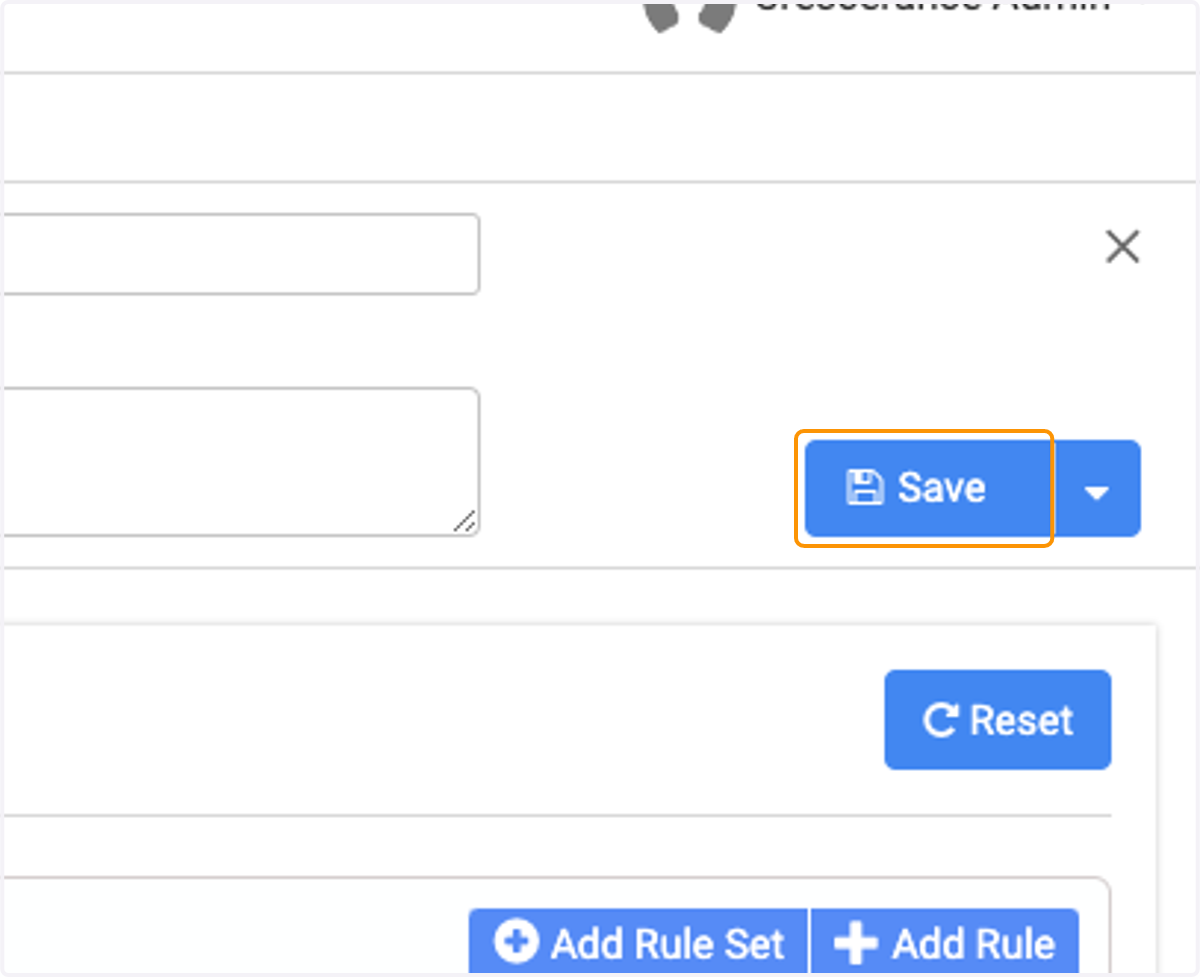
30. Click on Save
🤝 Associating your Approval Workflow with a Registration Workflow
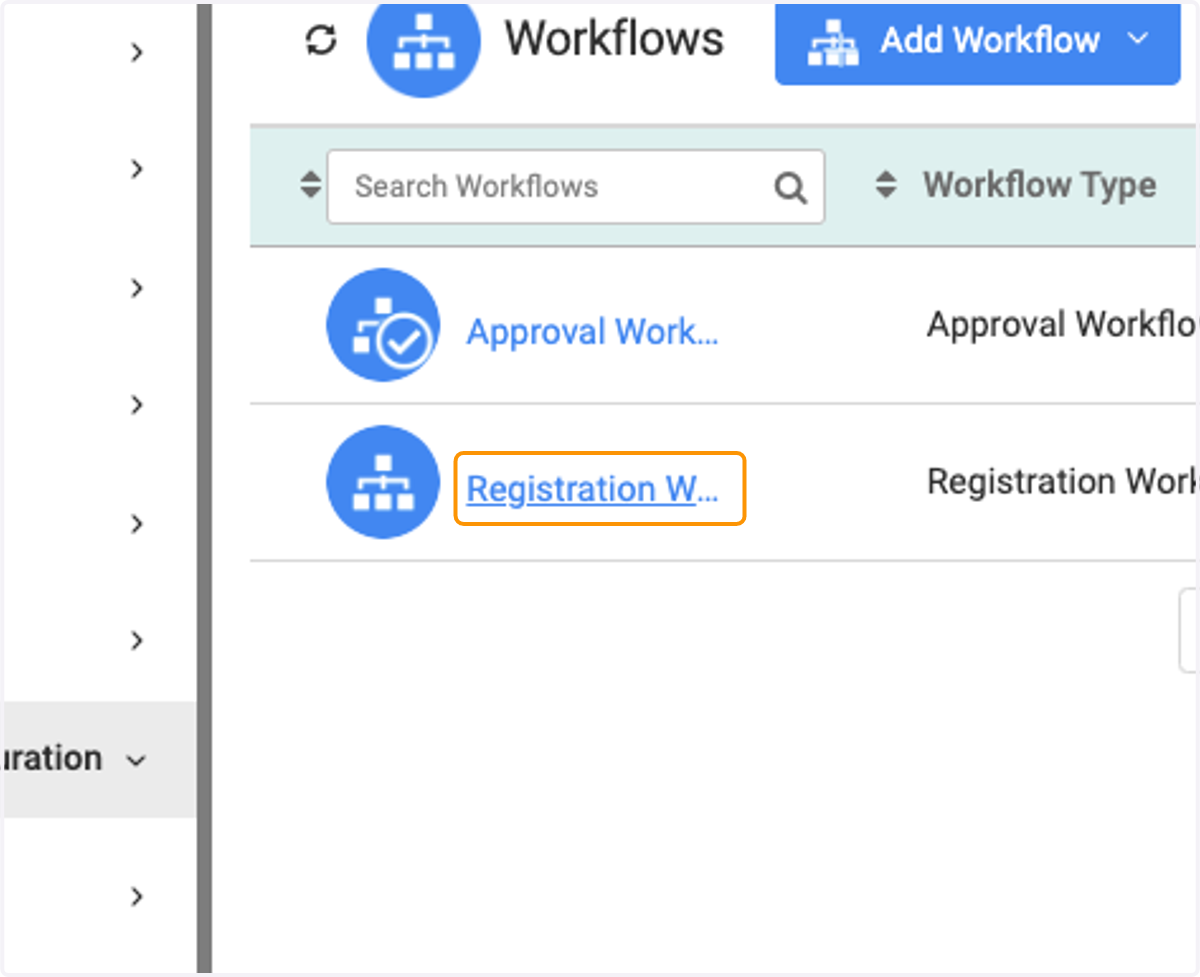
31. Click on your Registration Workflow
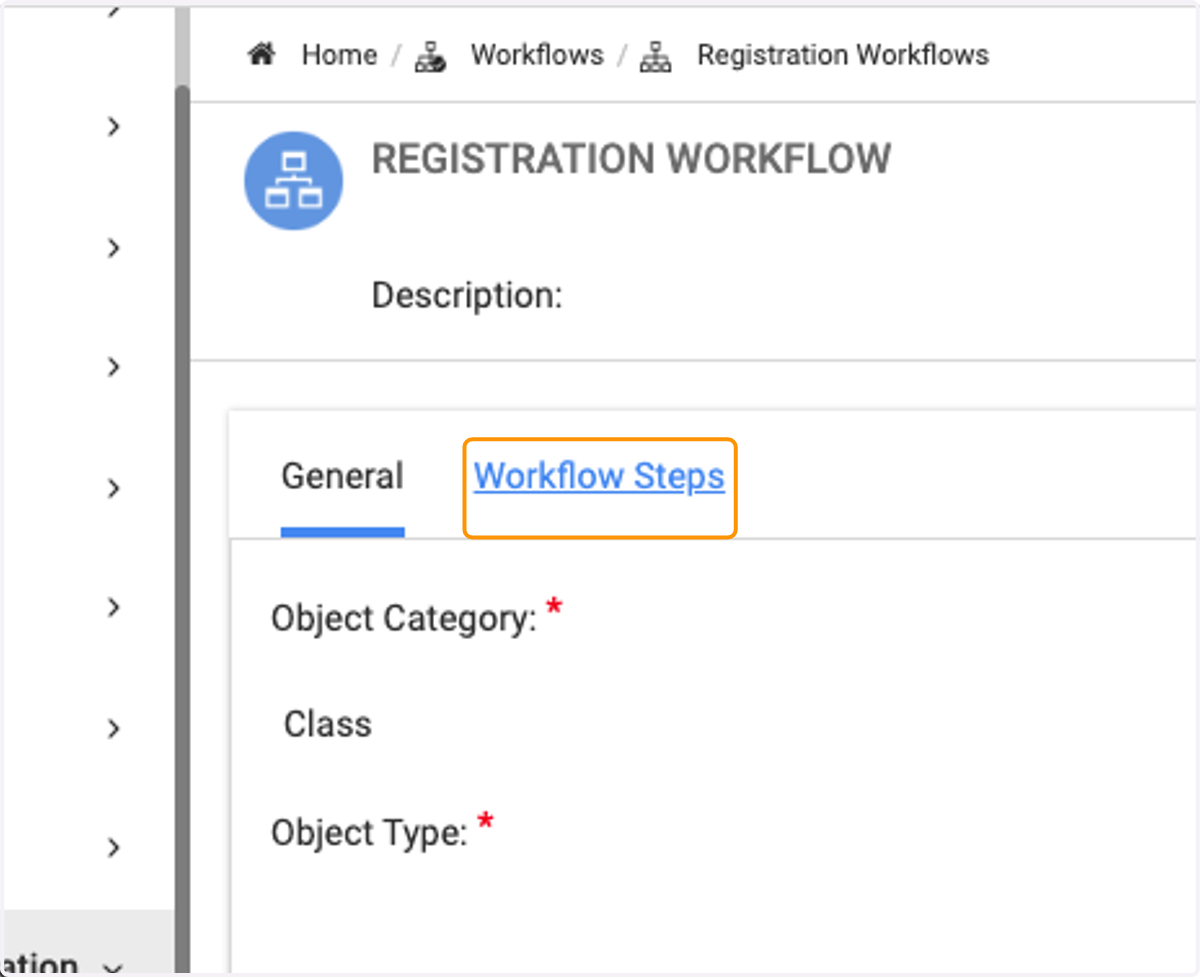
32. Click on Workflow Steps
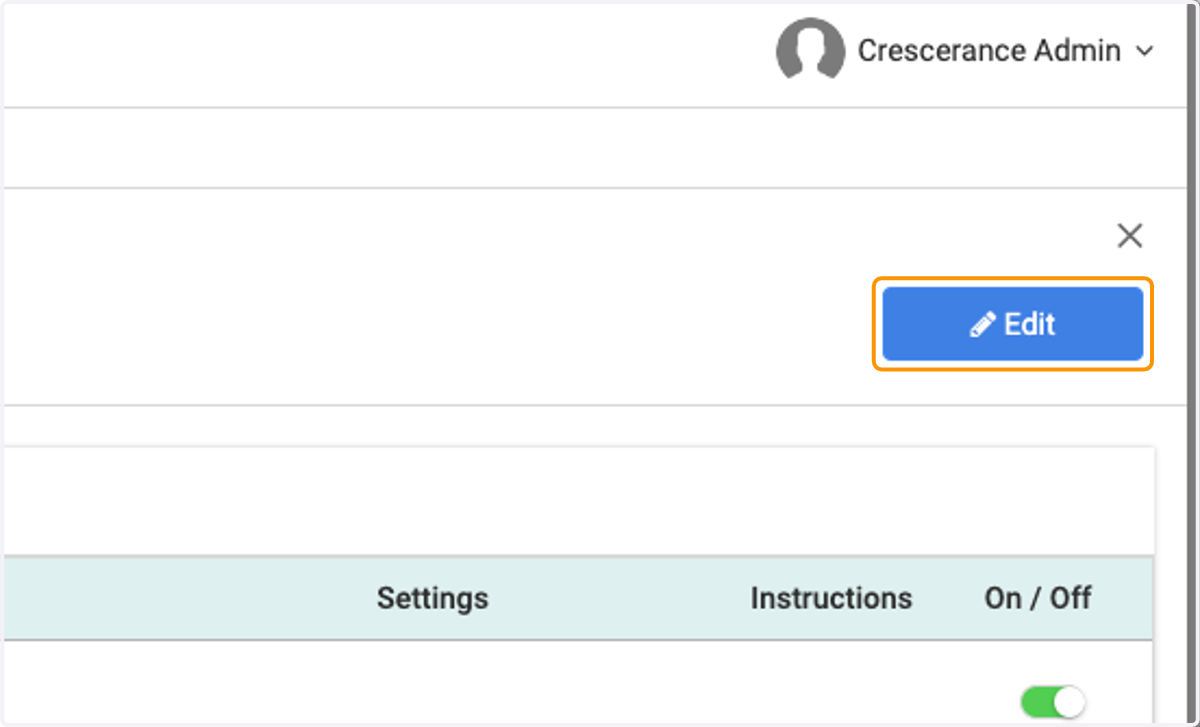
33. Click on Edit
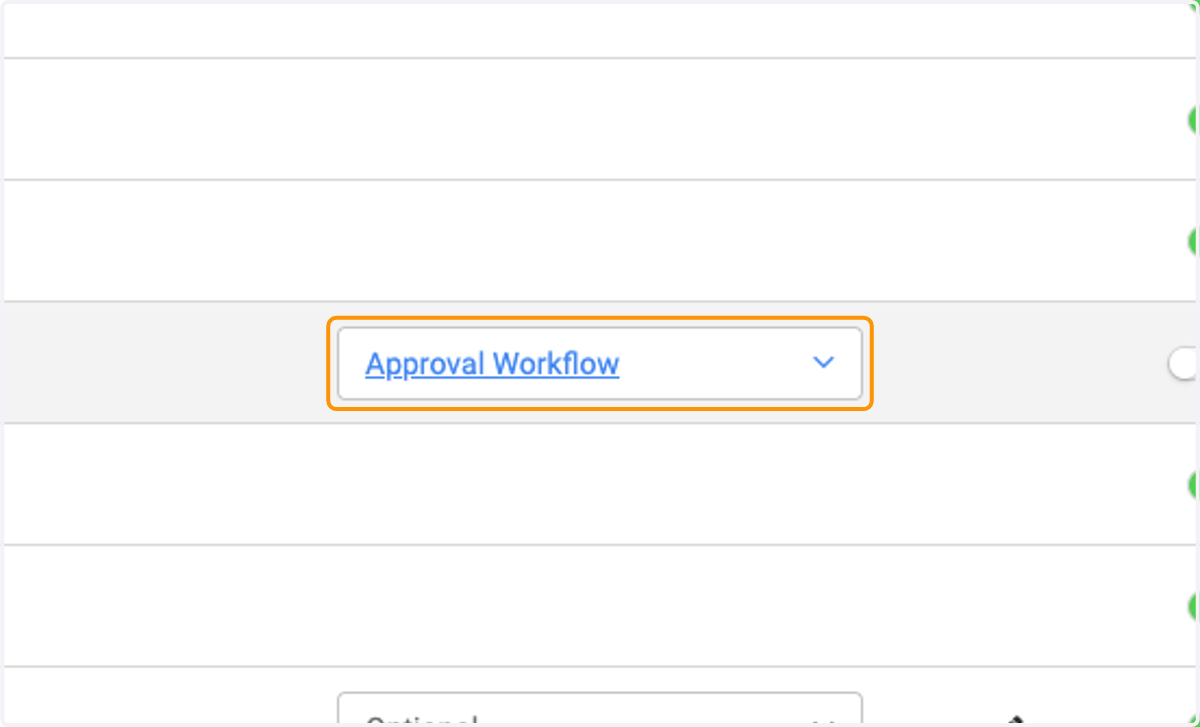
34. Click on the Approval Workflow dropdown
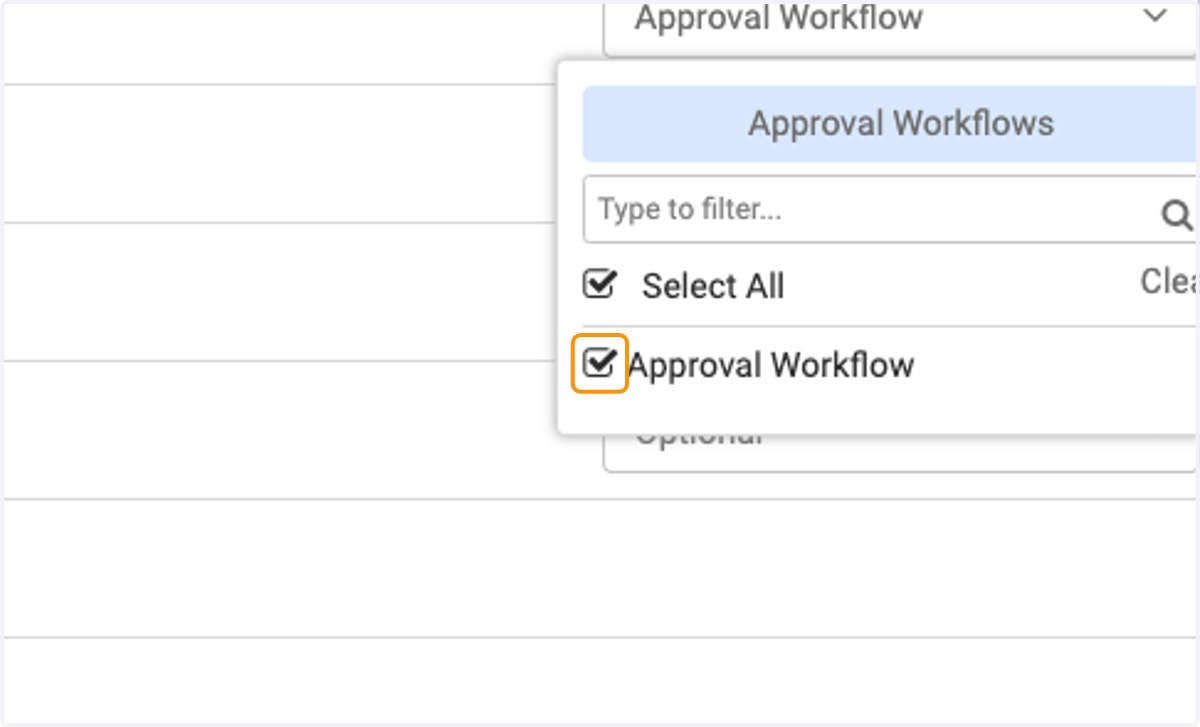
35. Select your Approval Workflow
36. Turn the toggle on
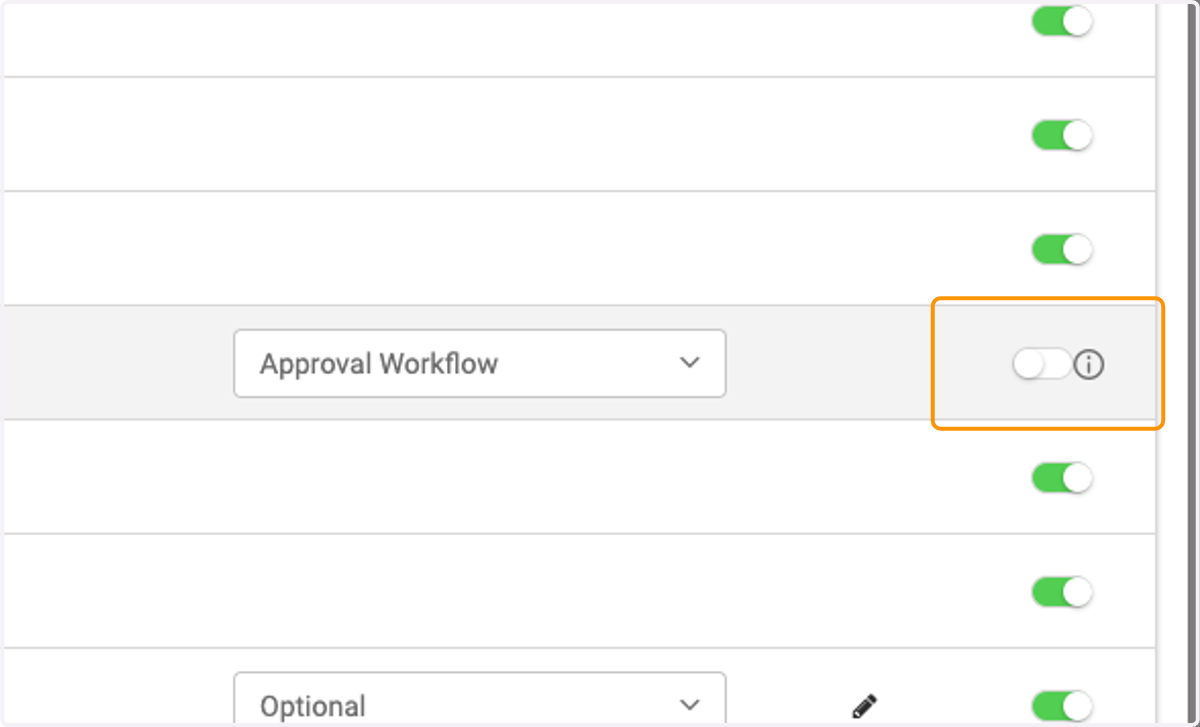
37. Click on Save