Importing Dates in PhoneRaise
Adding a date
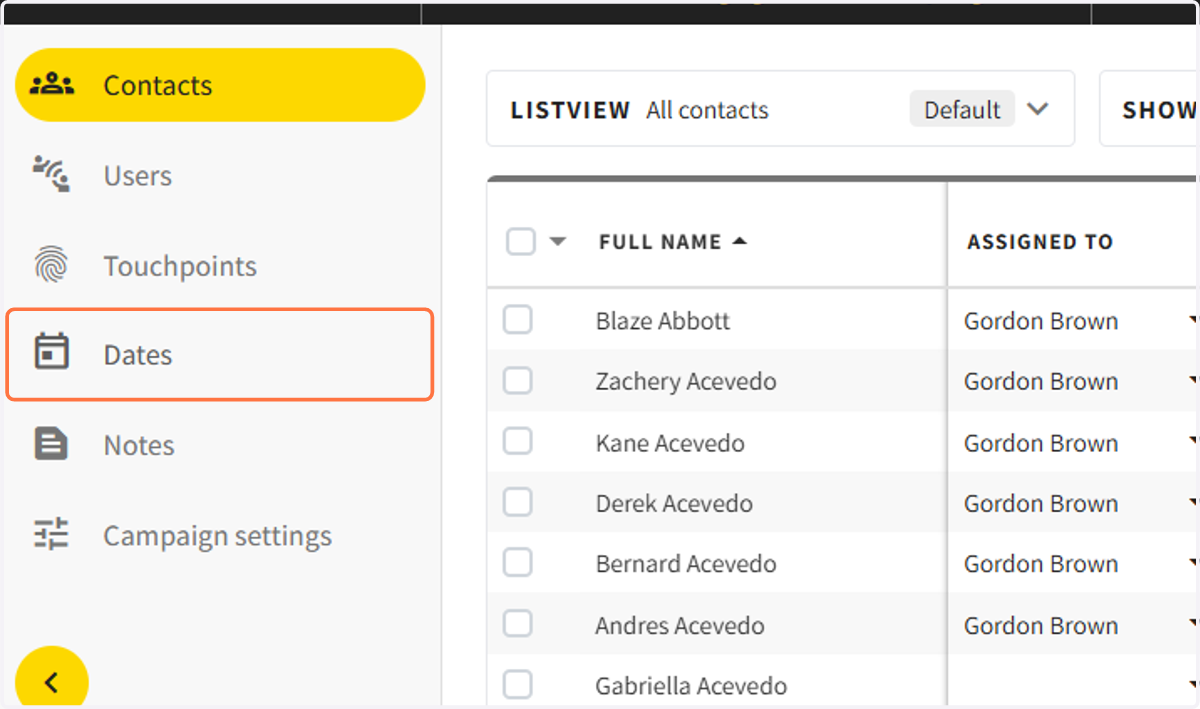
1. In your campaign, Click on the Dates section on the left side
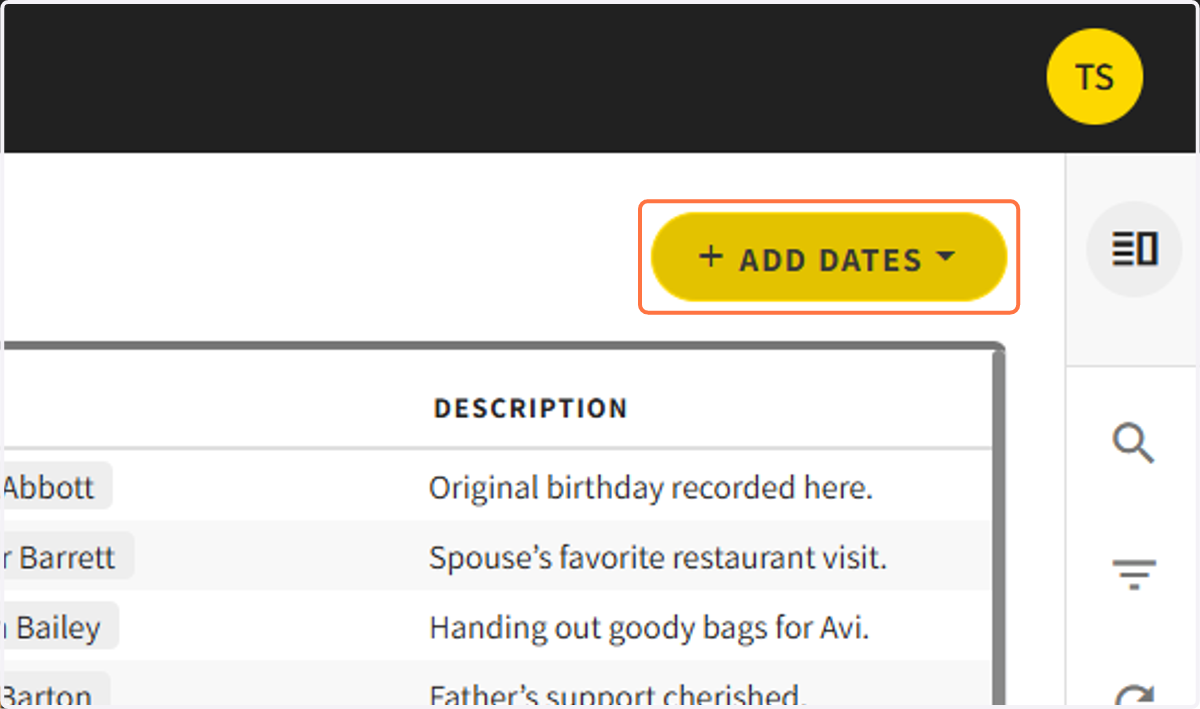
2. Click on add dates
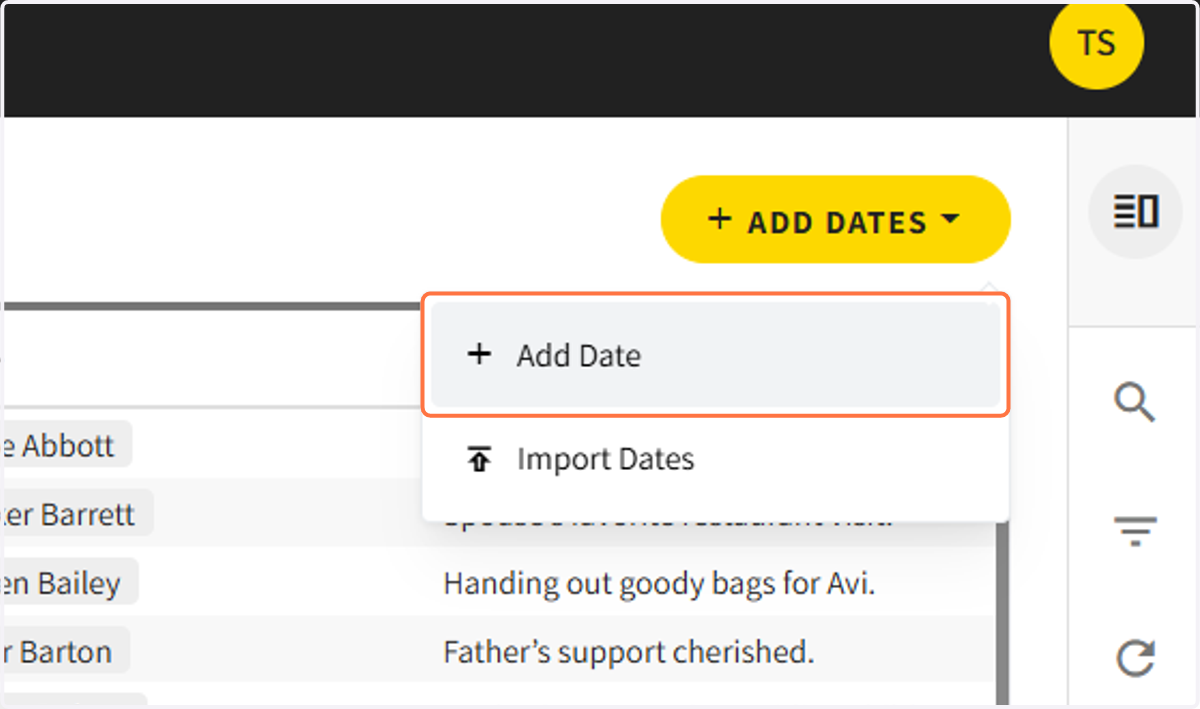
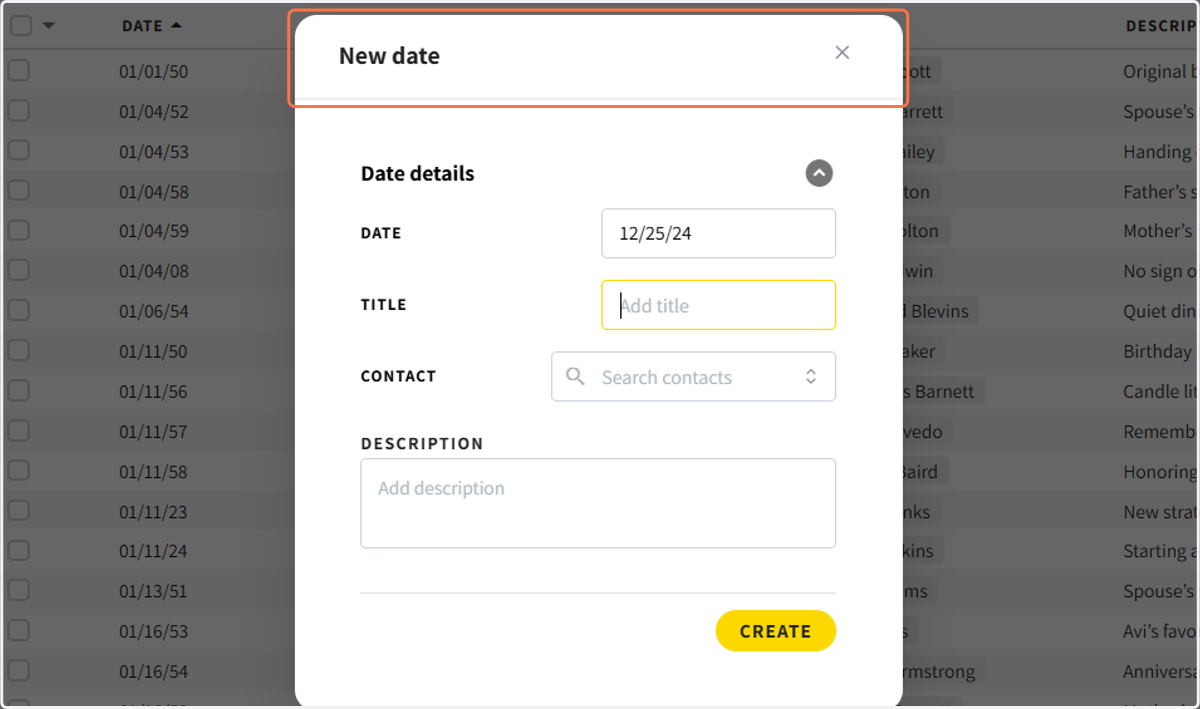
3. To add one date at a time, click on add date
4. Add the date, title, associated contact, and description. Then click Create.
Importing Dates
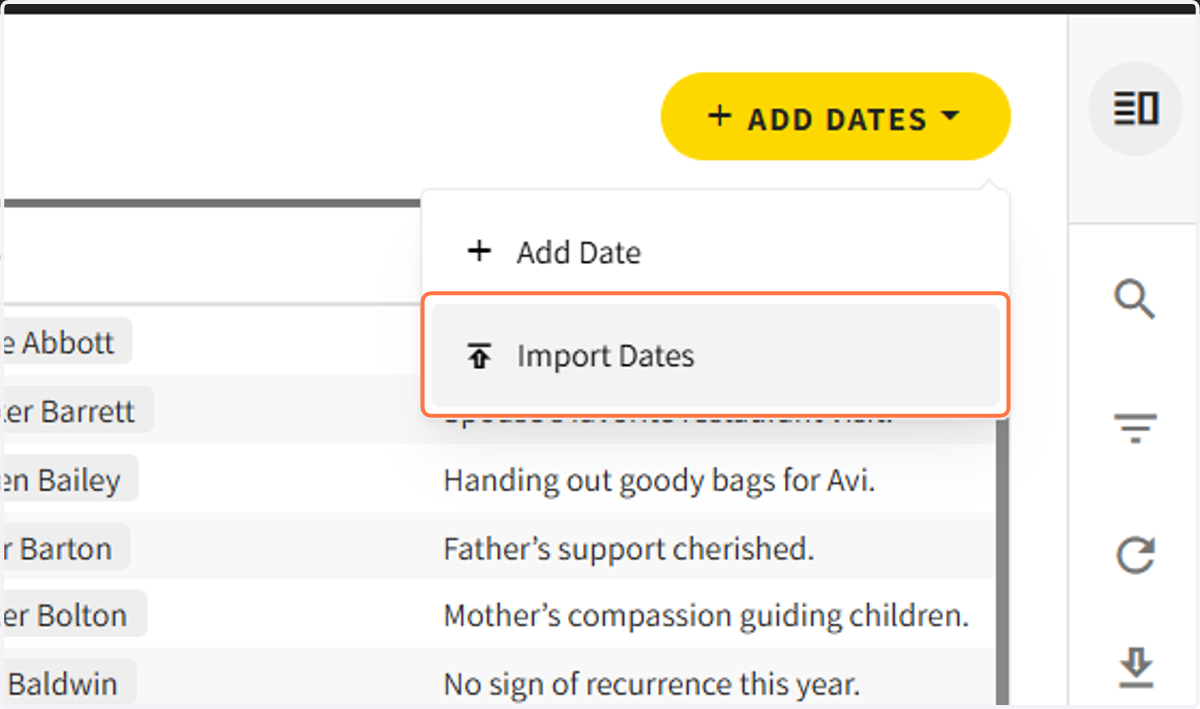
5. To import dates from a .CSV file click import dates
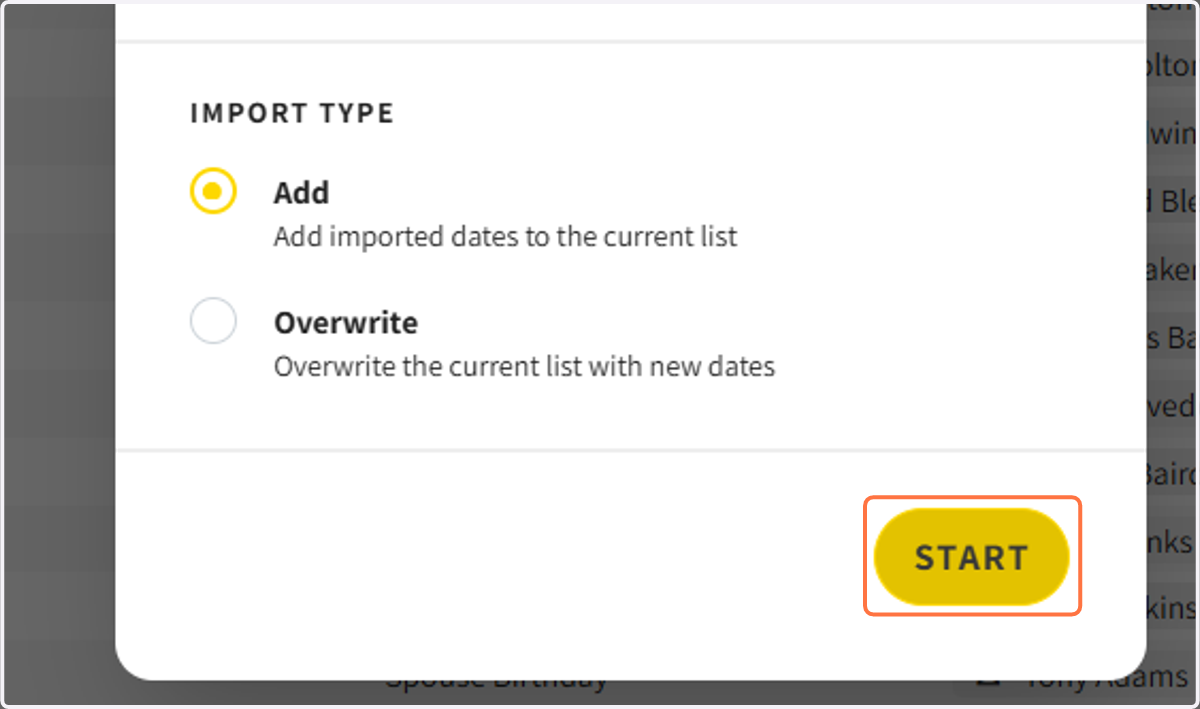
6. Click add or overwrite and click start
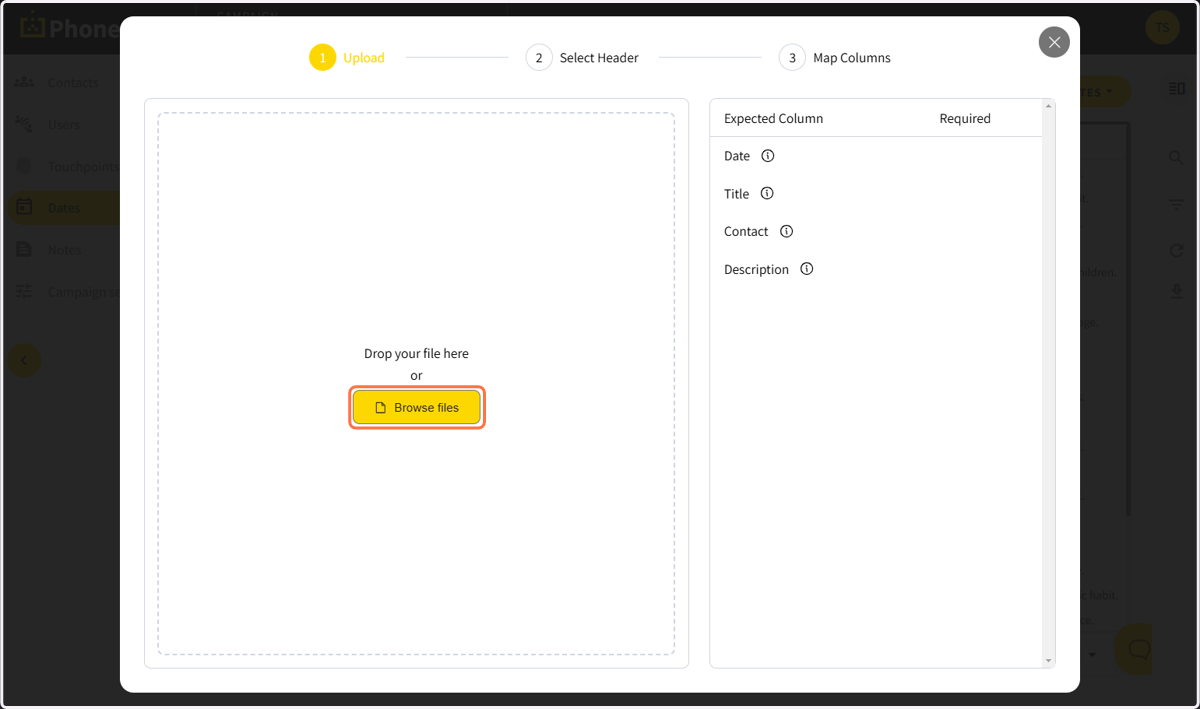
7. Add your .CSV file
8. You will see a preview of your imported data
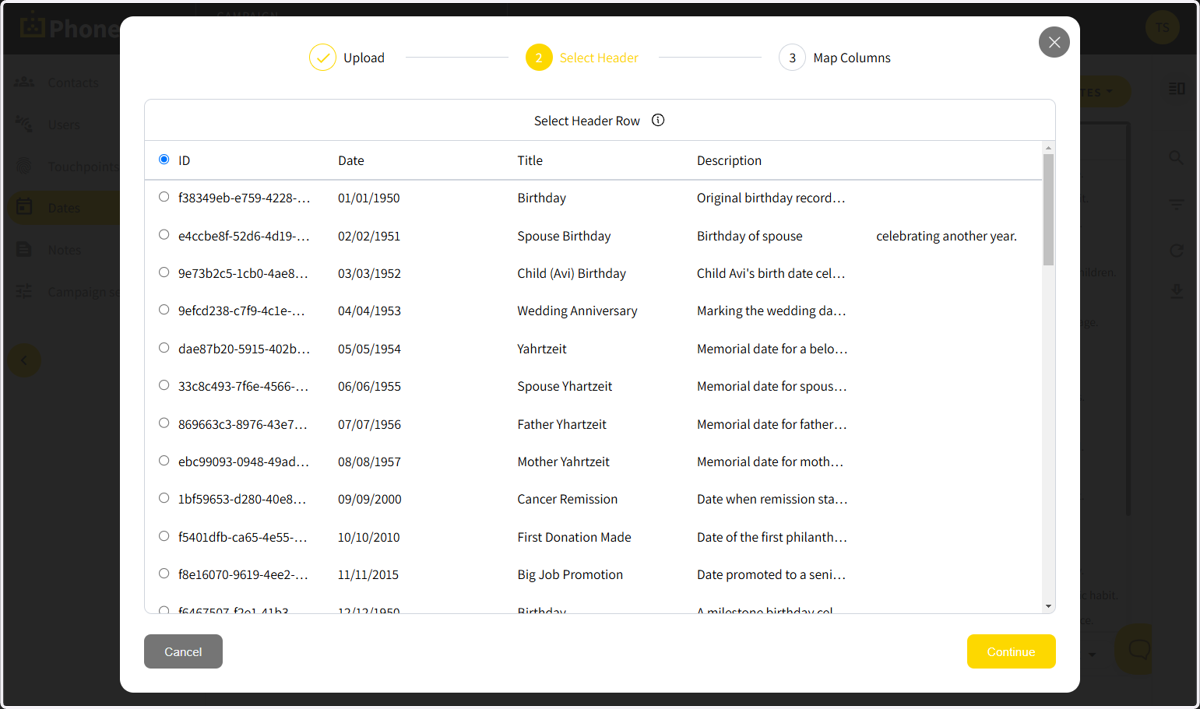
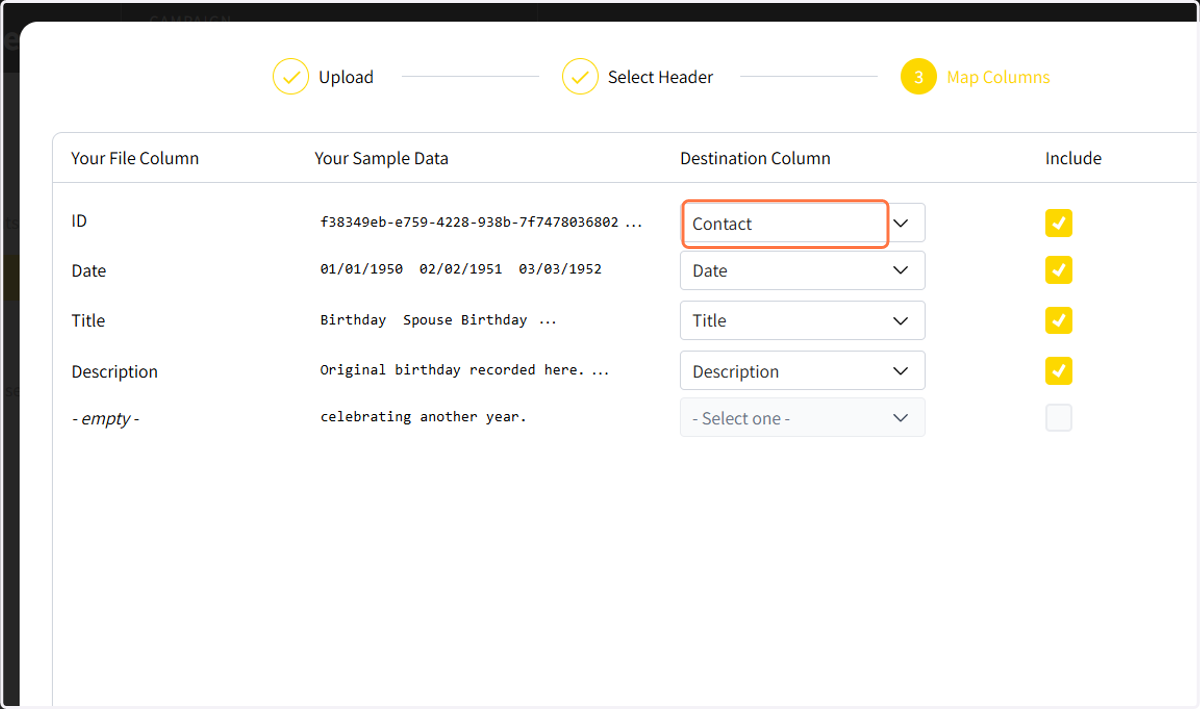
9. Make sure your data matches up to the dates in the data sections. Uncheck any column that is not relevant to the date fields
10. Click on Submit
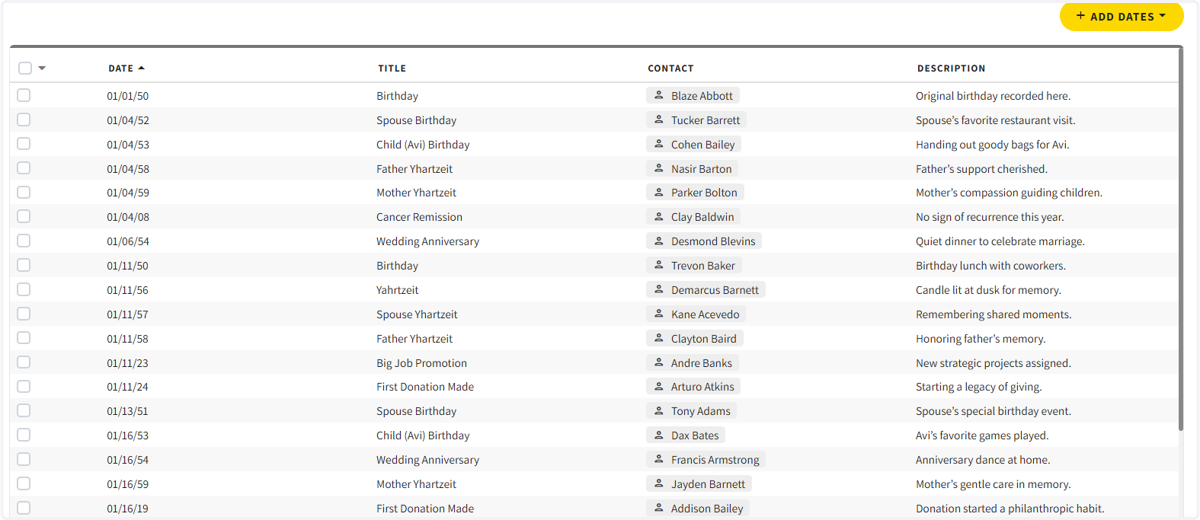
11. You will now see all your added or imported dates in the dates section.
12. If the touchpoint automation for dates has been turned on, dates will appear as touchpoints in your app and in the backend.
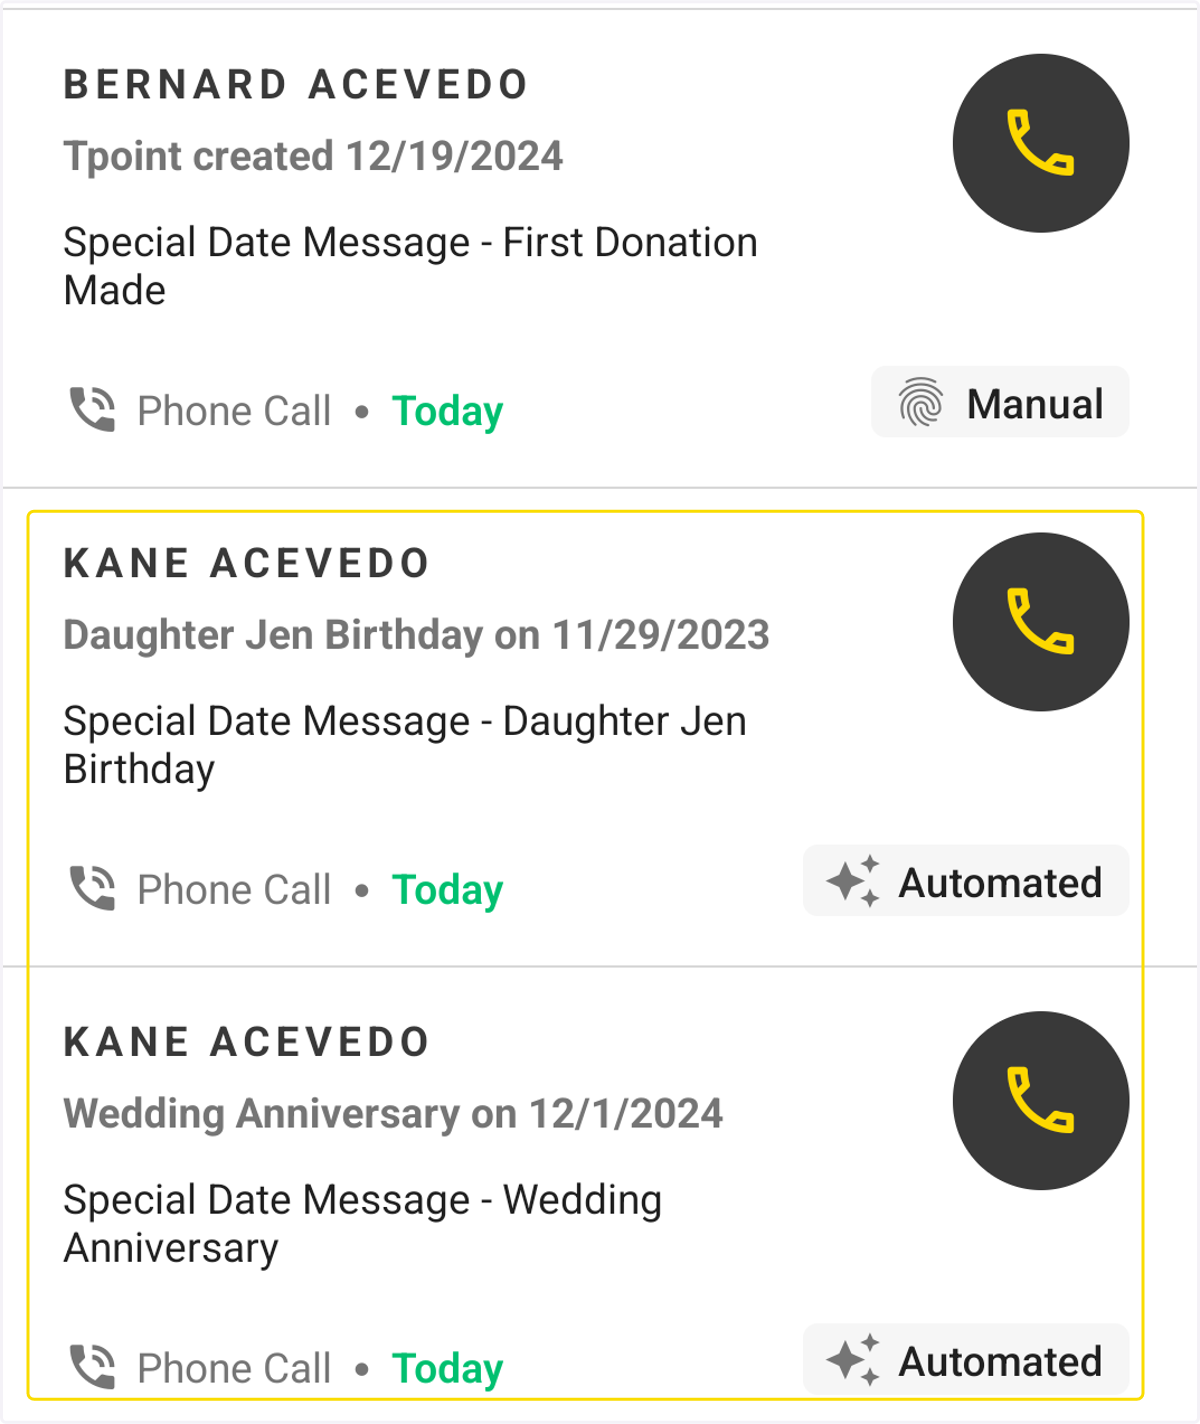
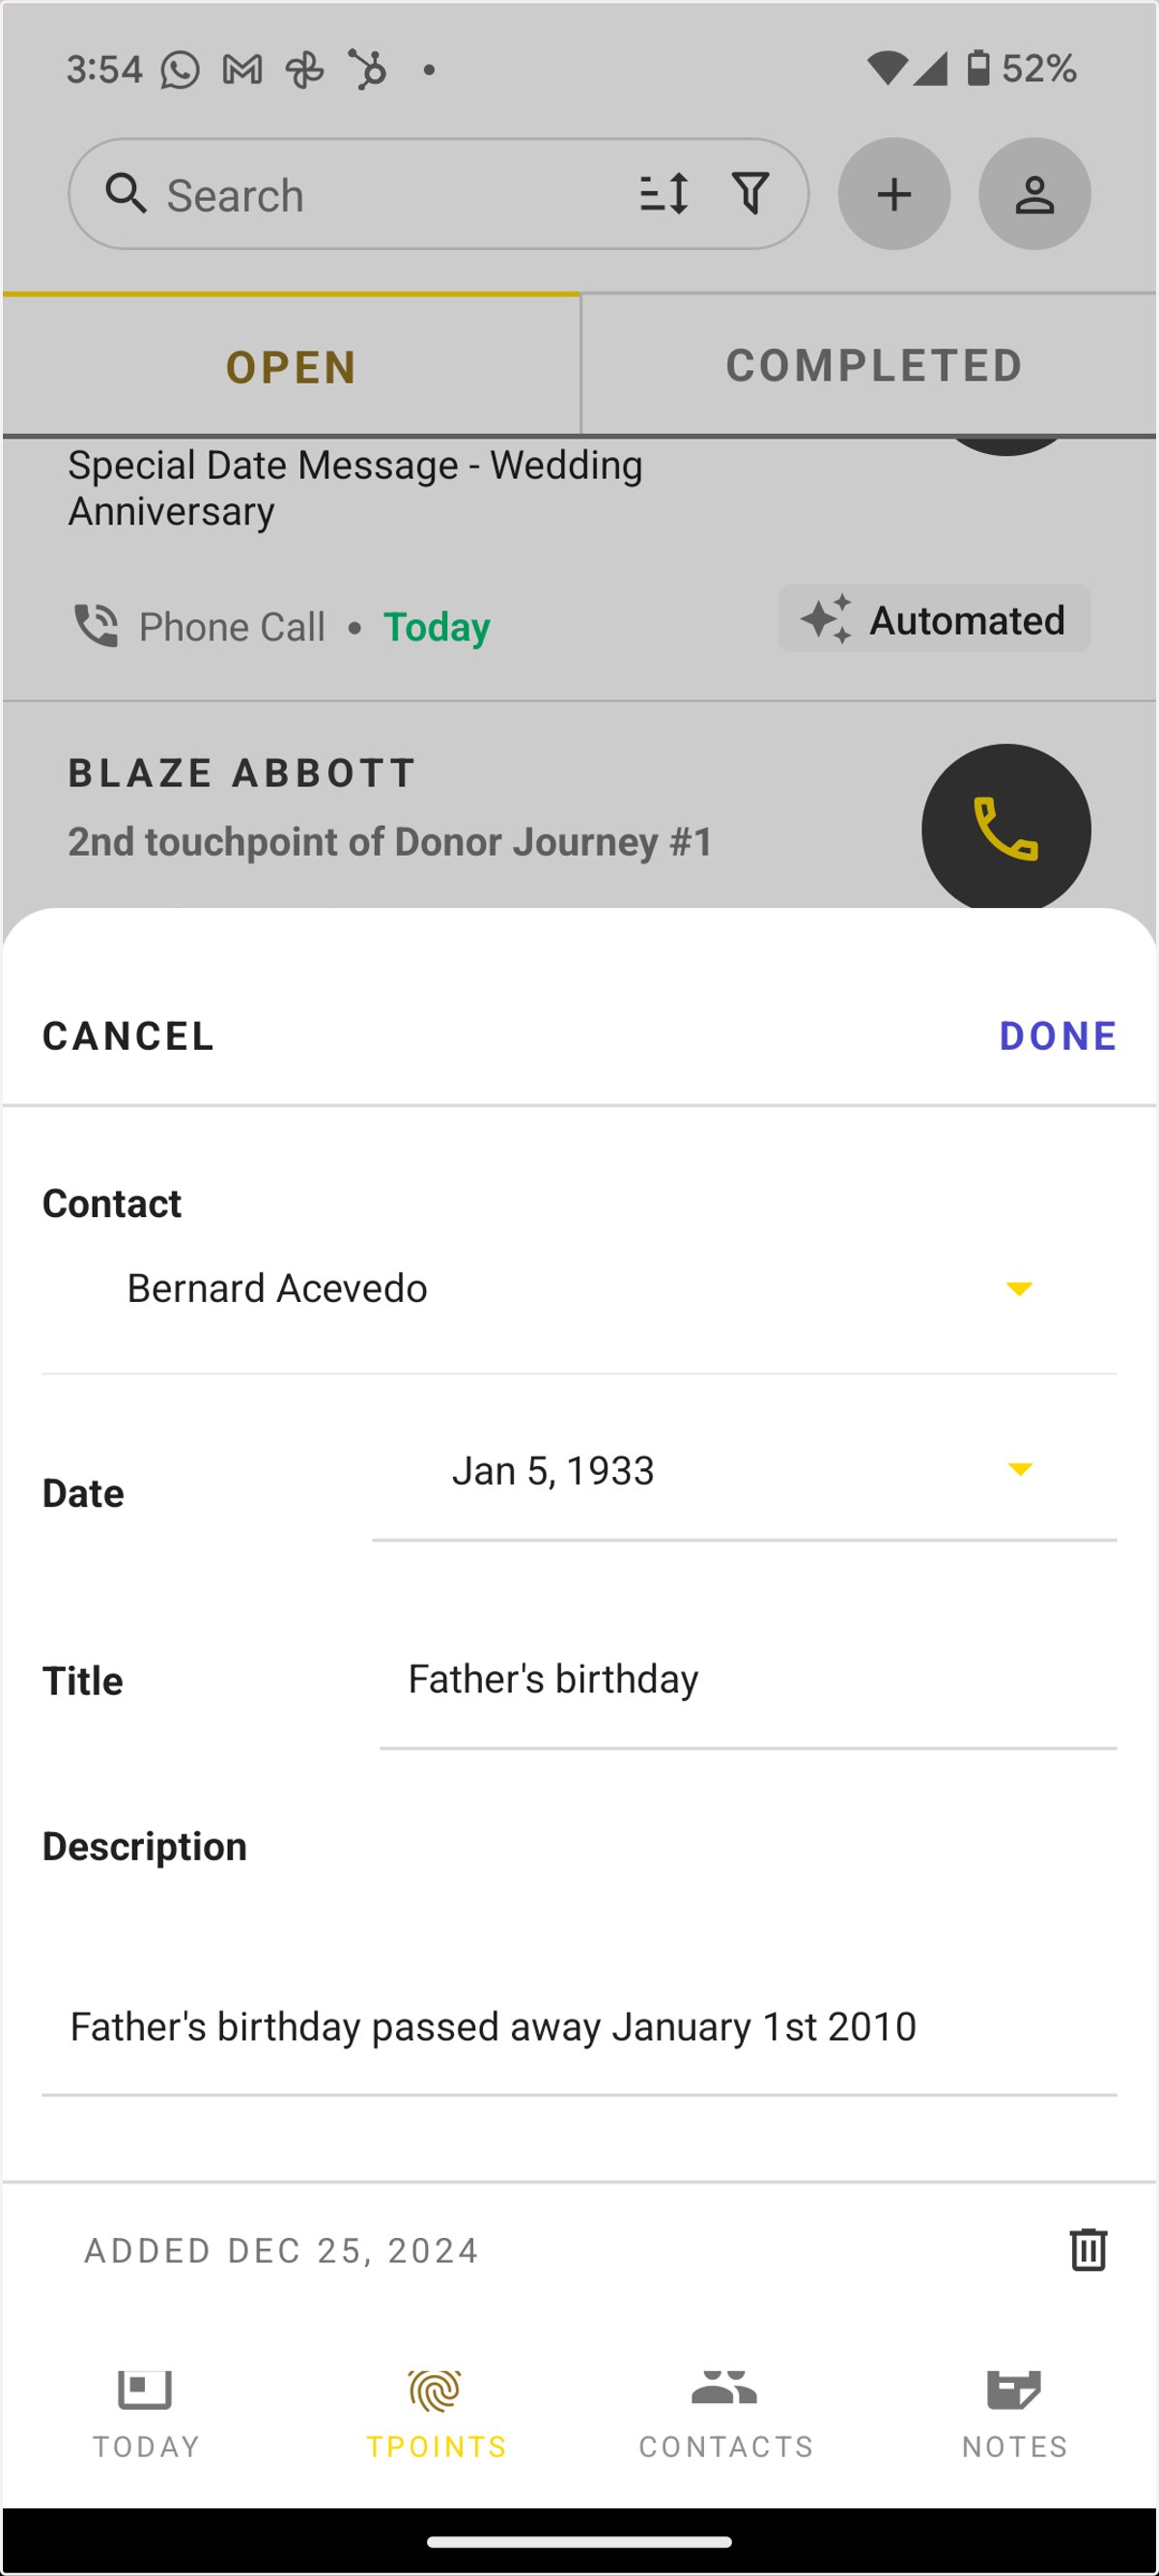
You can also add dates from the app
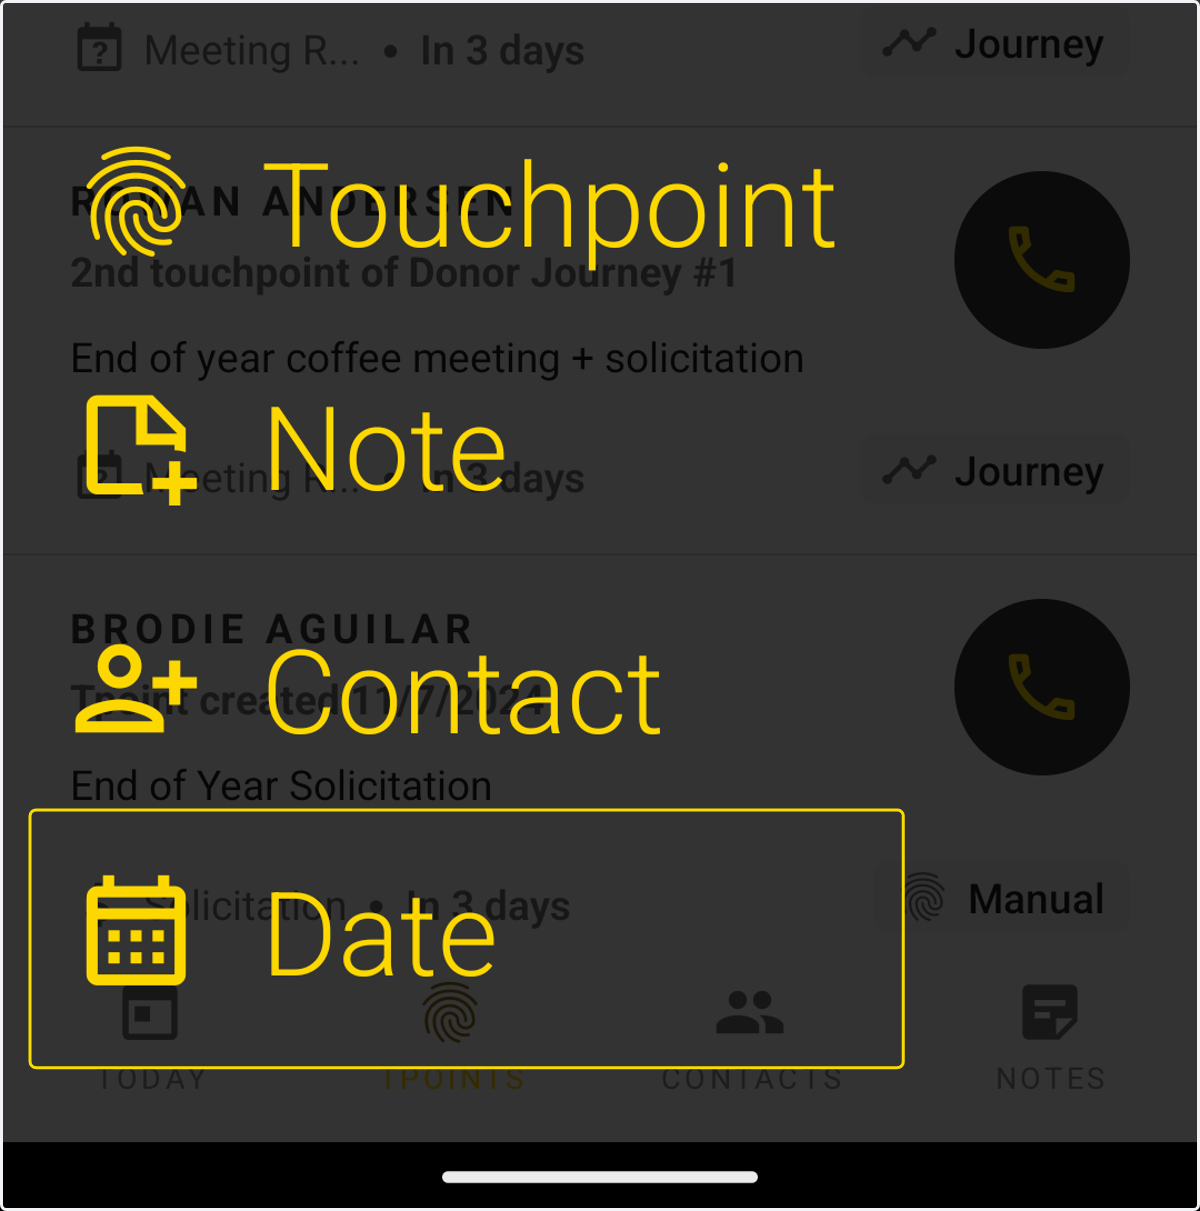
13. Click on the plus icon at the top of the app.
This is viewable in all sections besides for the today section.
14. Select the date option
15. Add the date, title, associated contact, and description. Then click done