How to Post to Social Media in the Topline Pro App
Increase your customer interaction and improve your SEO and Google ranking by utilizing Topline Pro's app to help you post engaging social media posts!
Open the Topline Pro App
app.toplinepro.com
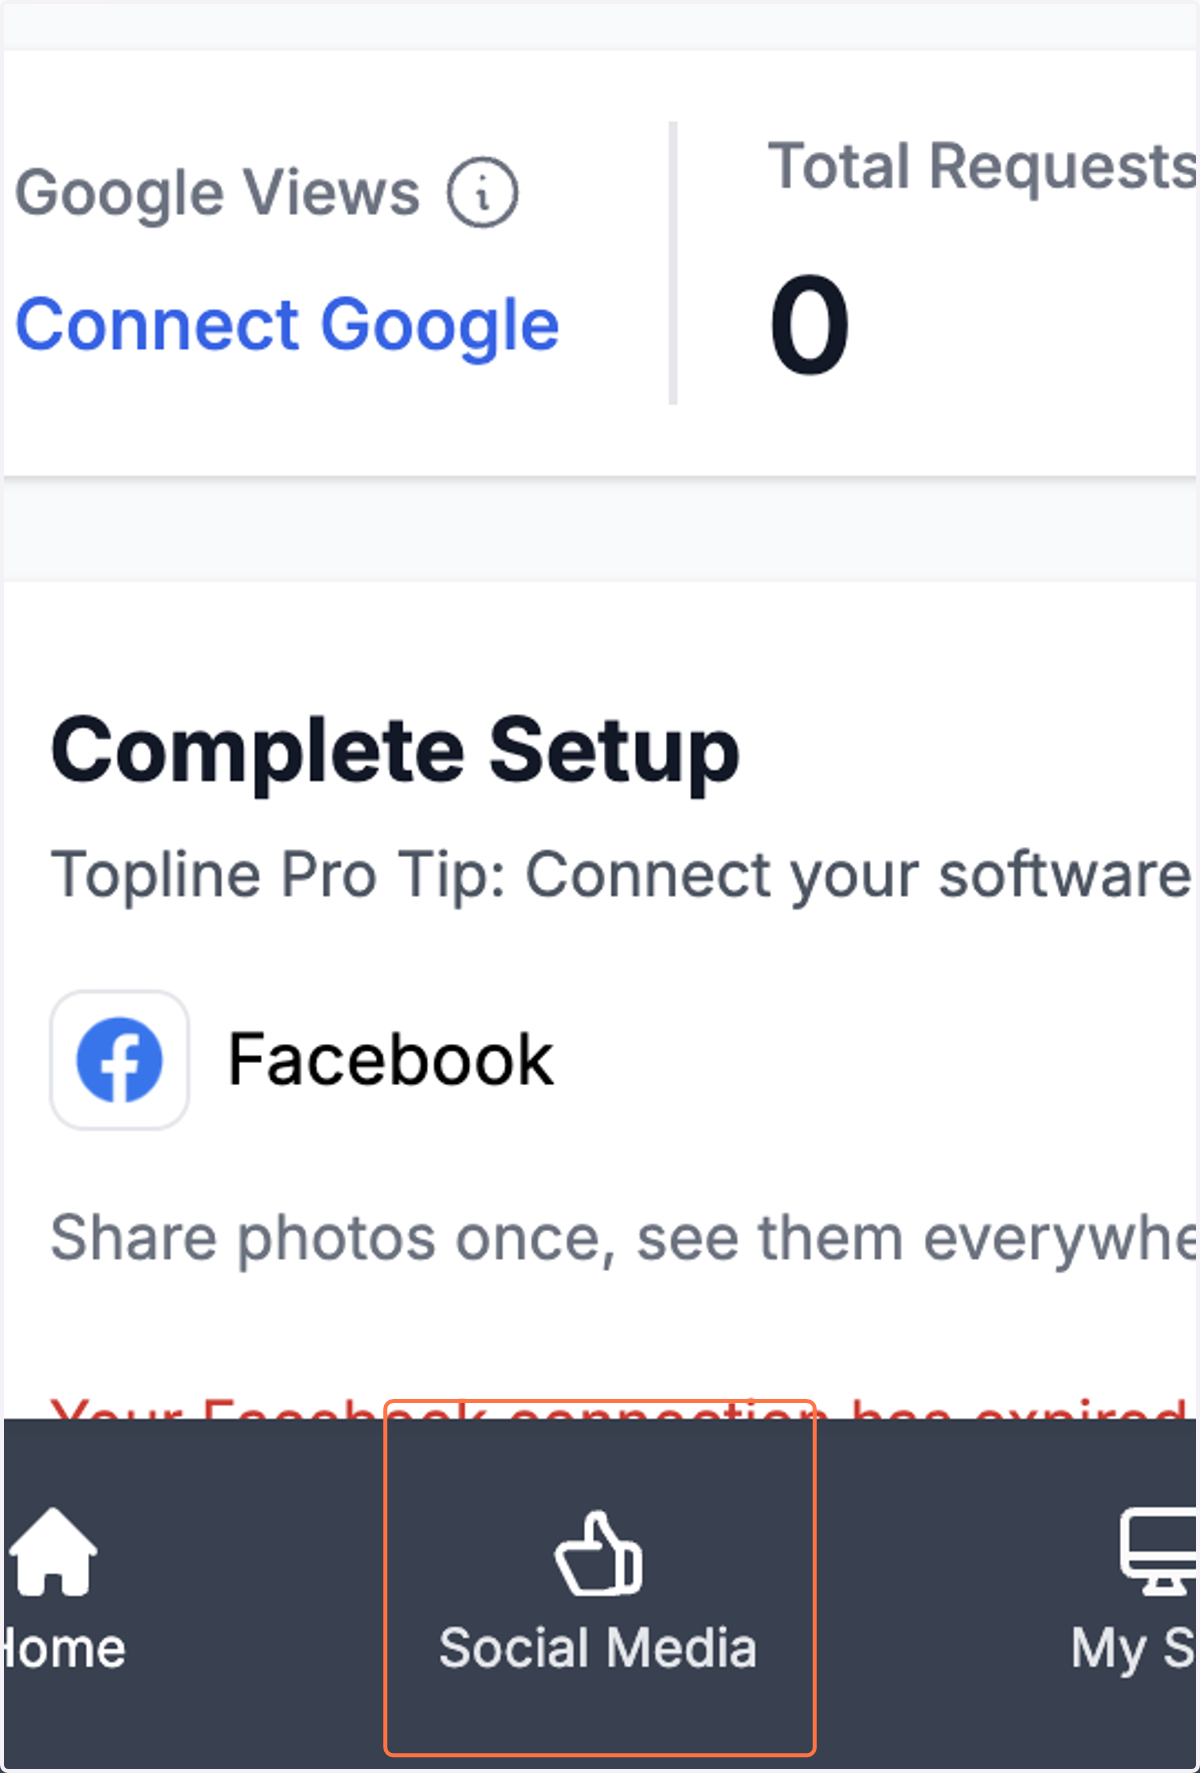
1. Click on 'Social Media' on the bottom or left side menu.
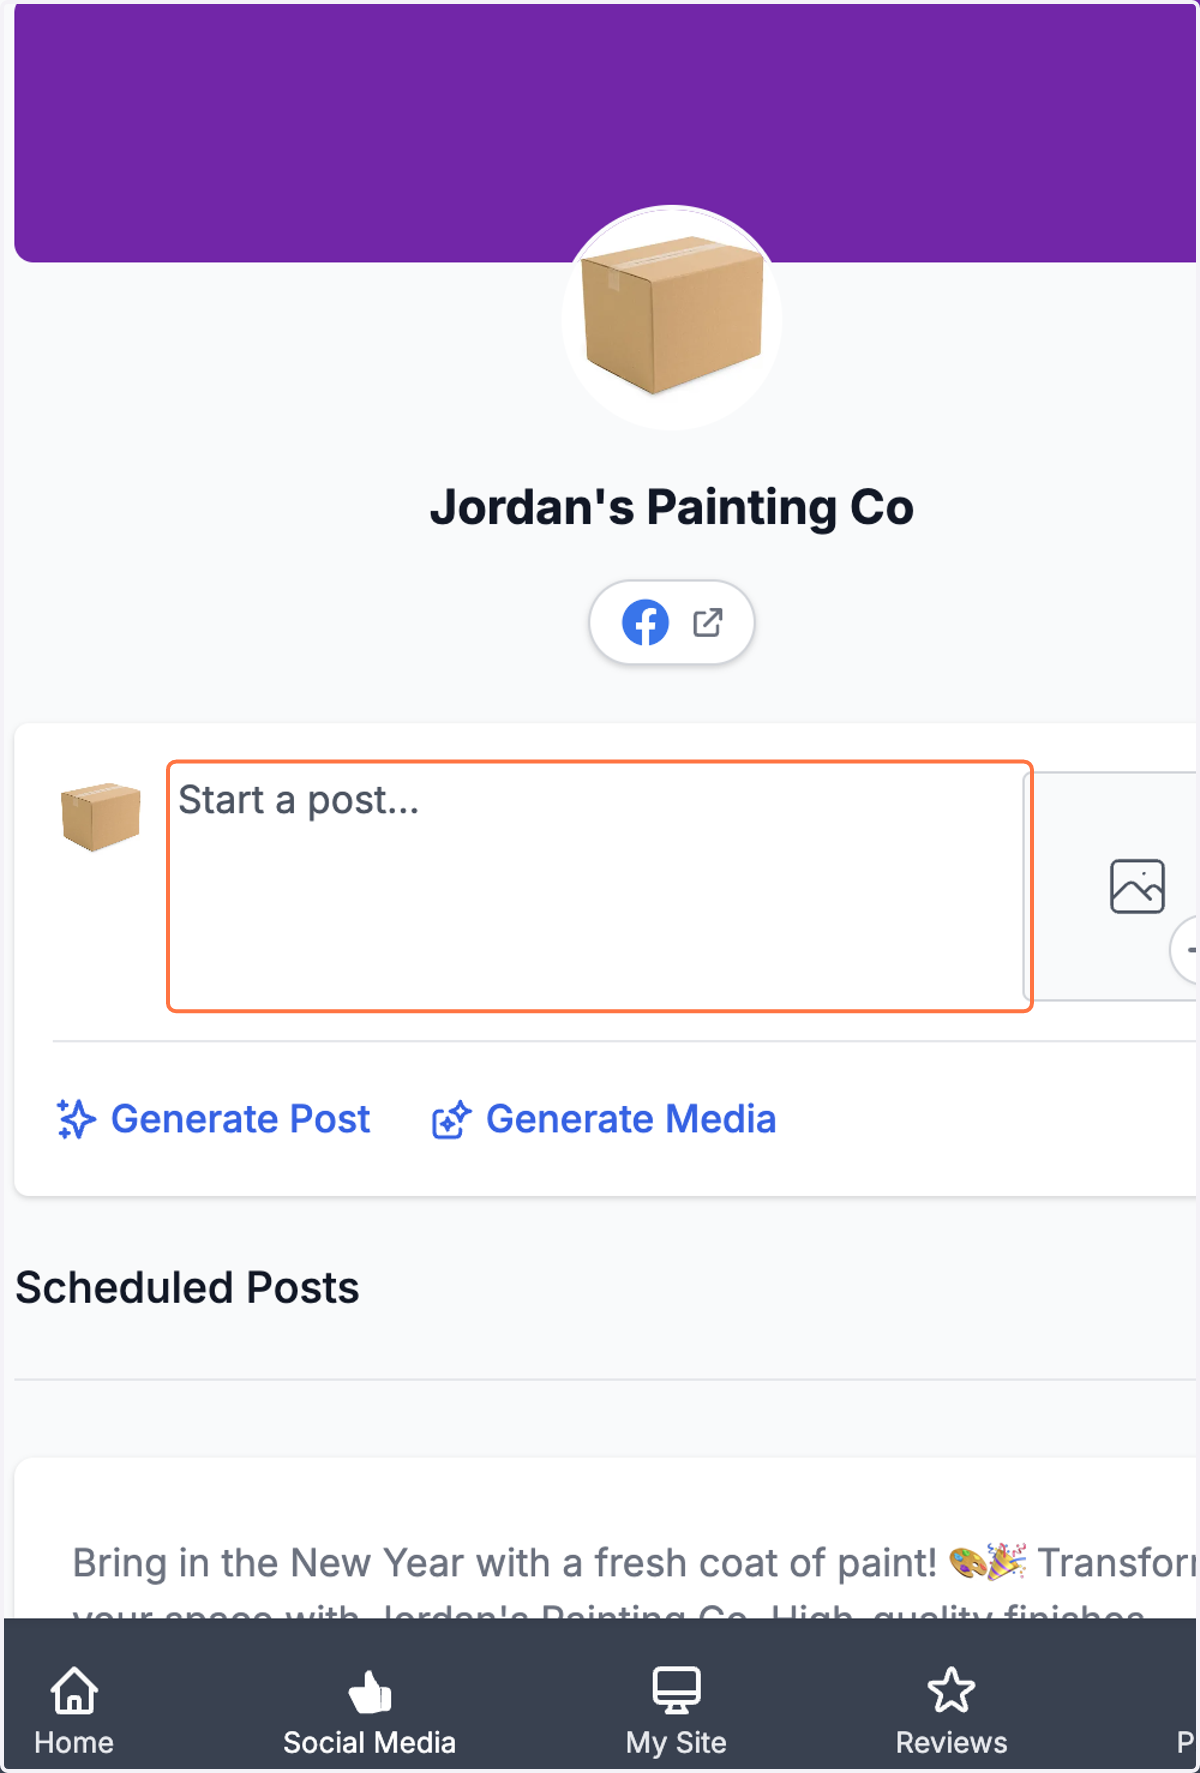
2. Click on Start a post...
You can either write your own post here or utilize our AI to help you write a post!
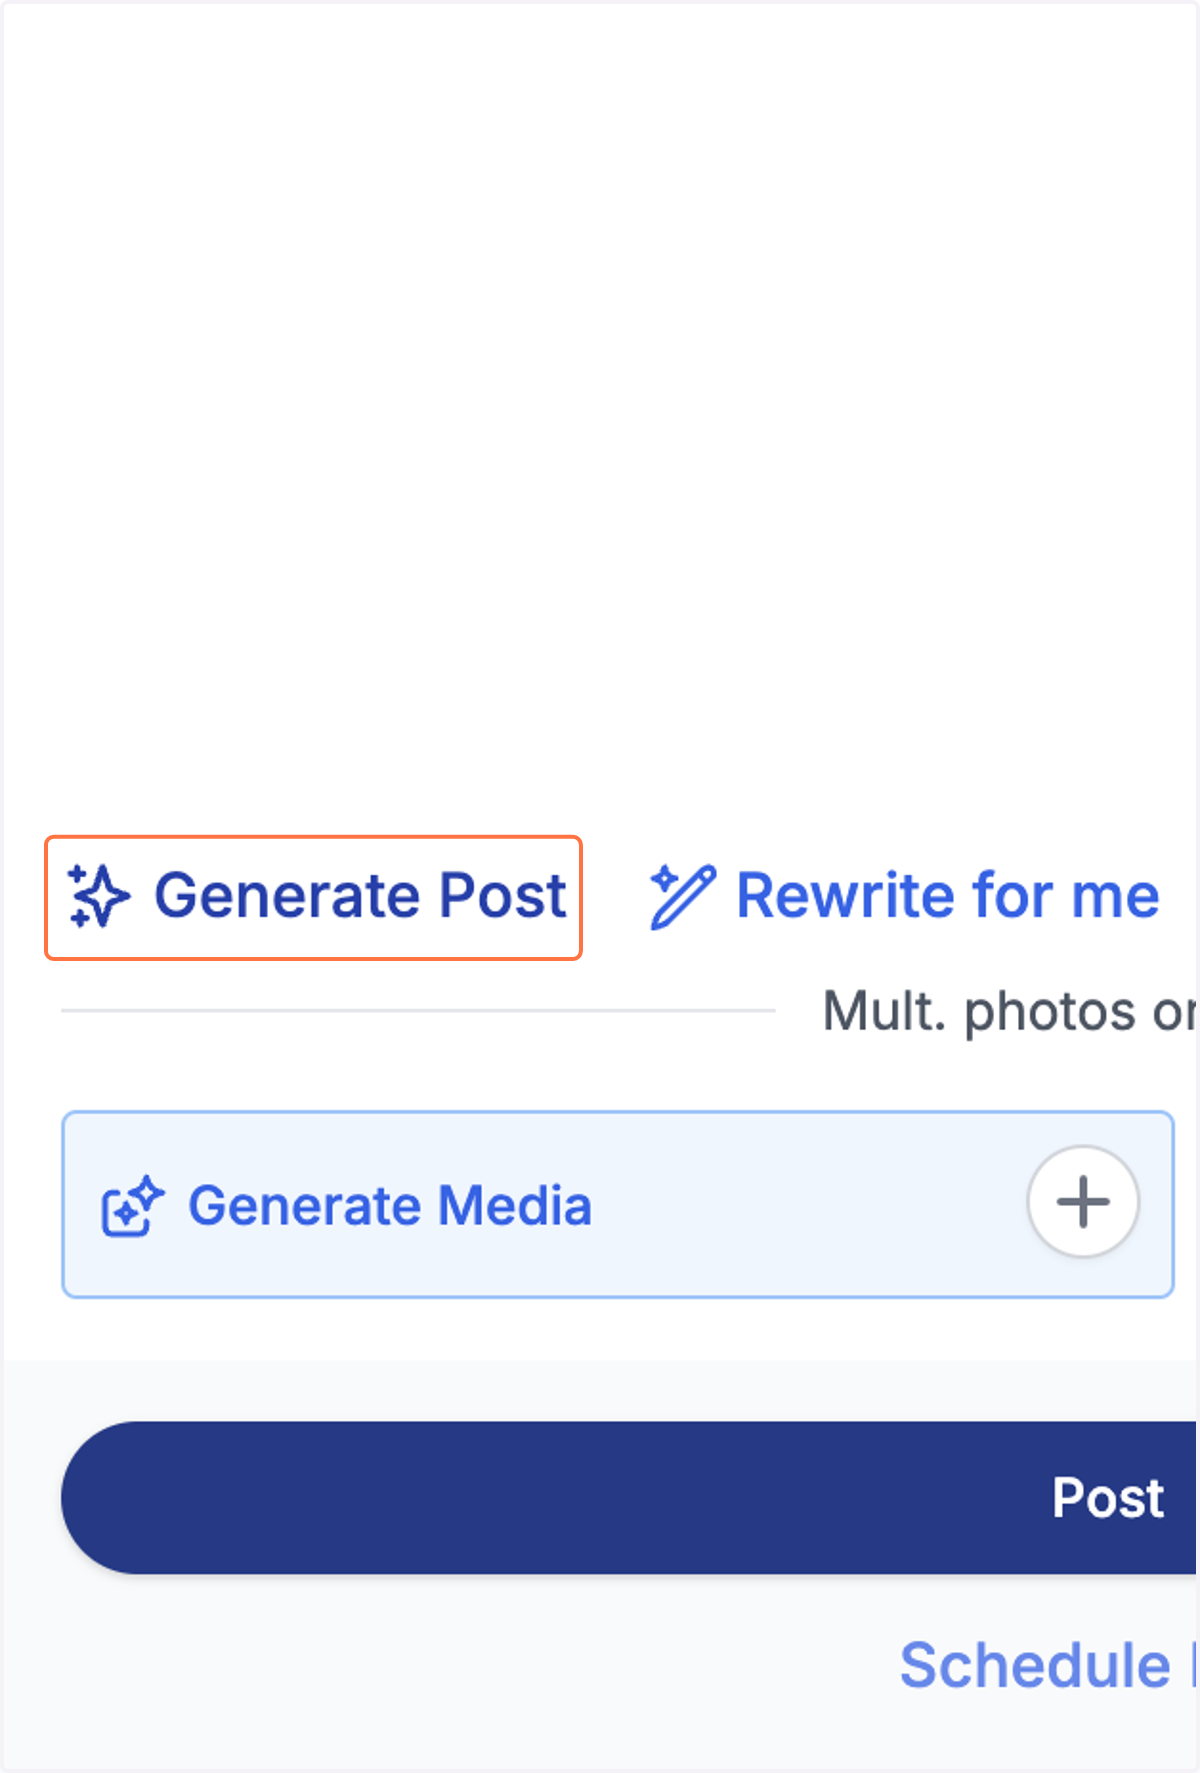
3. Click on Generate Post
If you want our AI to help you write a post, but you don't have any ideas what to write about, click 'Generate Post'!
4. Give the AI a starting point
If you do have an idea of what you'd like your social media post to be about, write that in the "Start a post" box. It can be a simple idea like it is here, try typing in "Happy New Year" or "Happy Independence Day!"
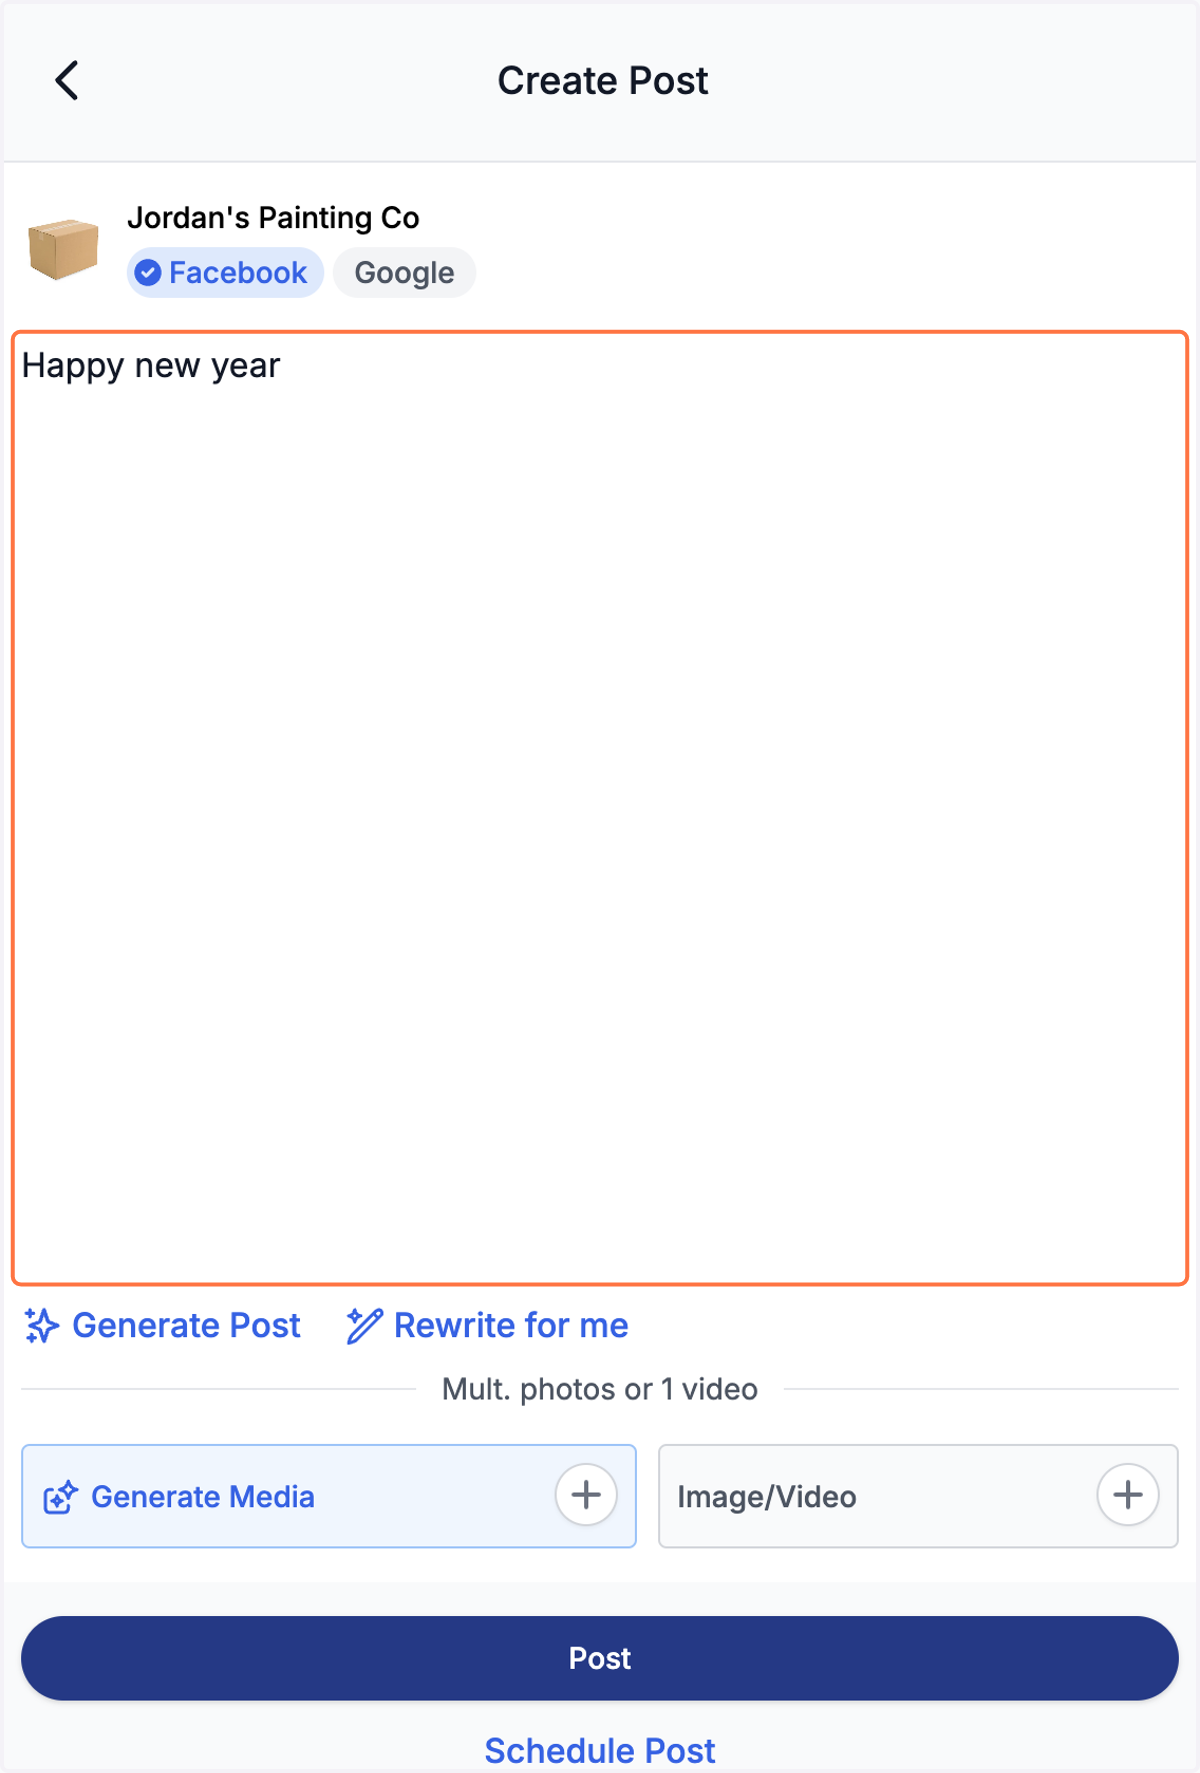
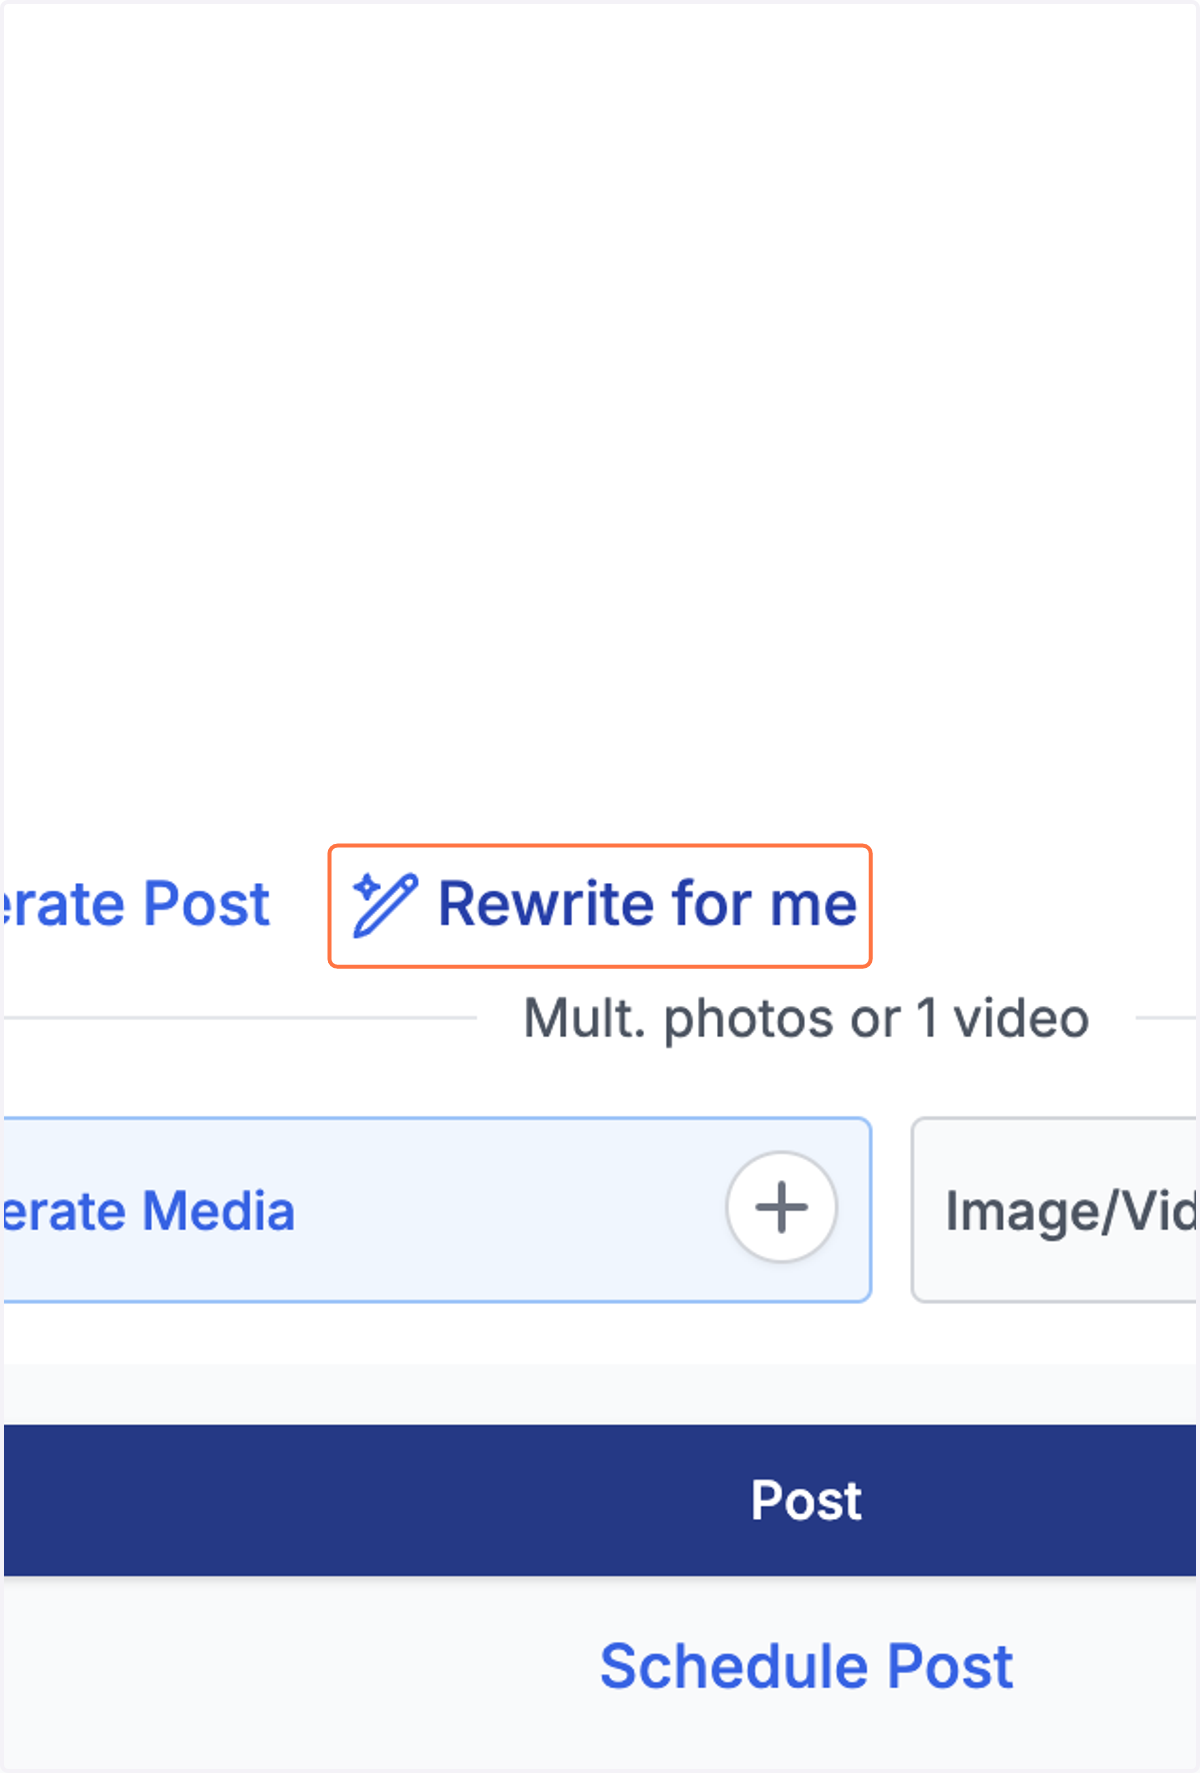
5. Click on Rewrite for me
This will tell our AI to write a post about whatever you put in that space.
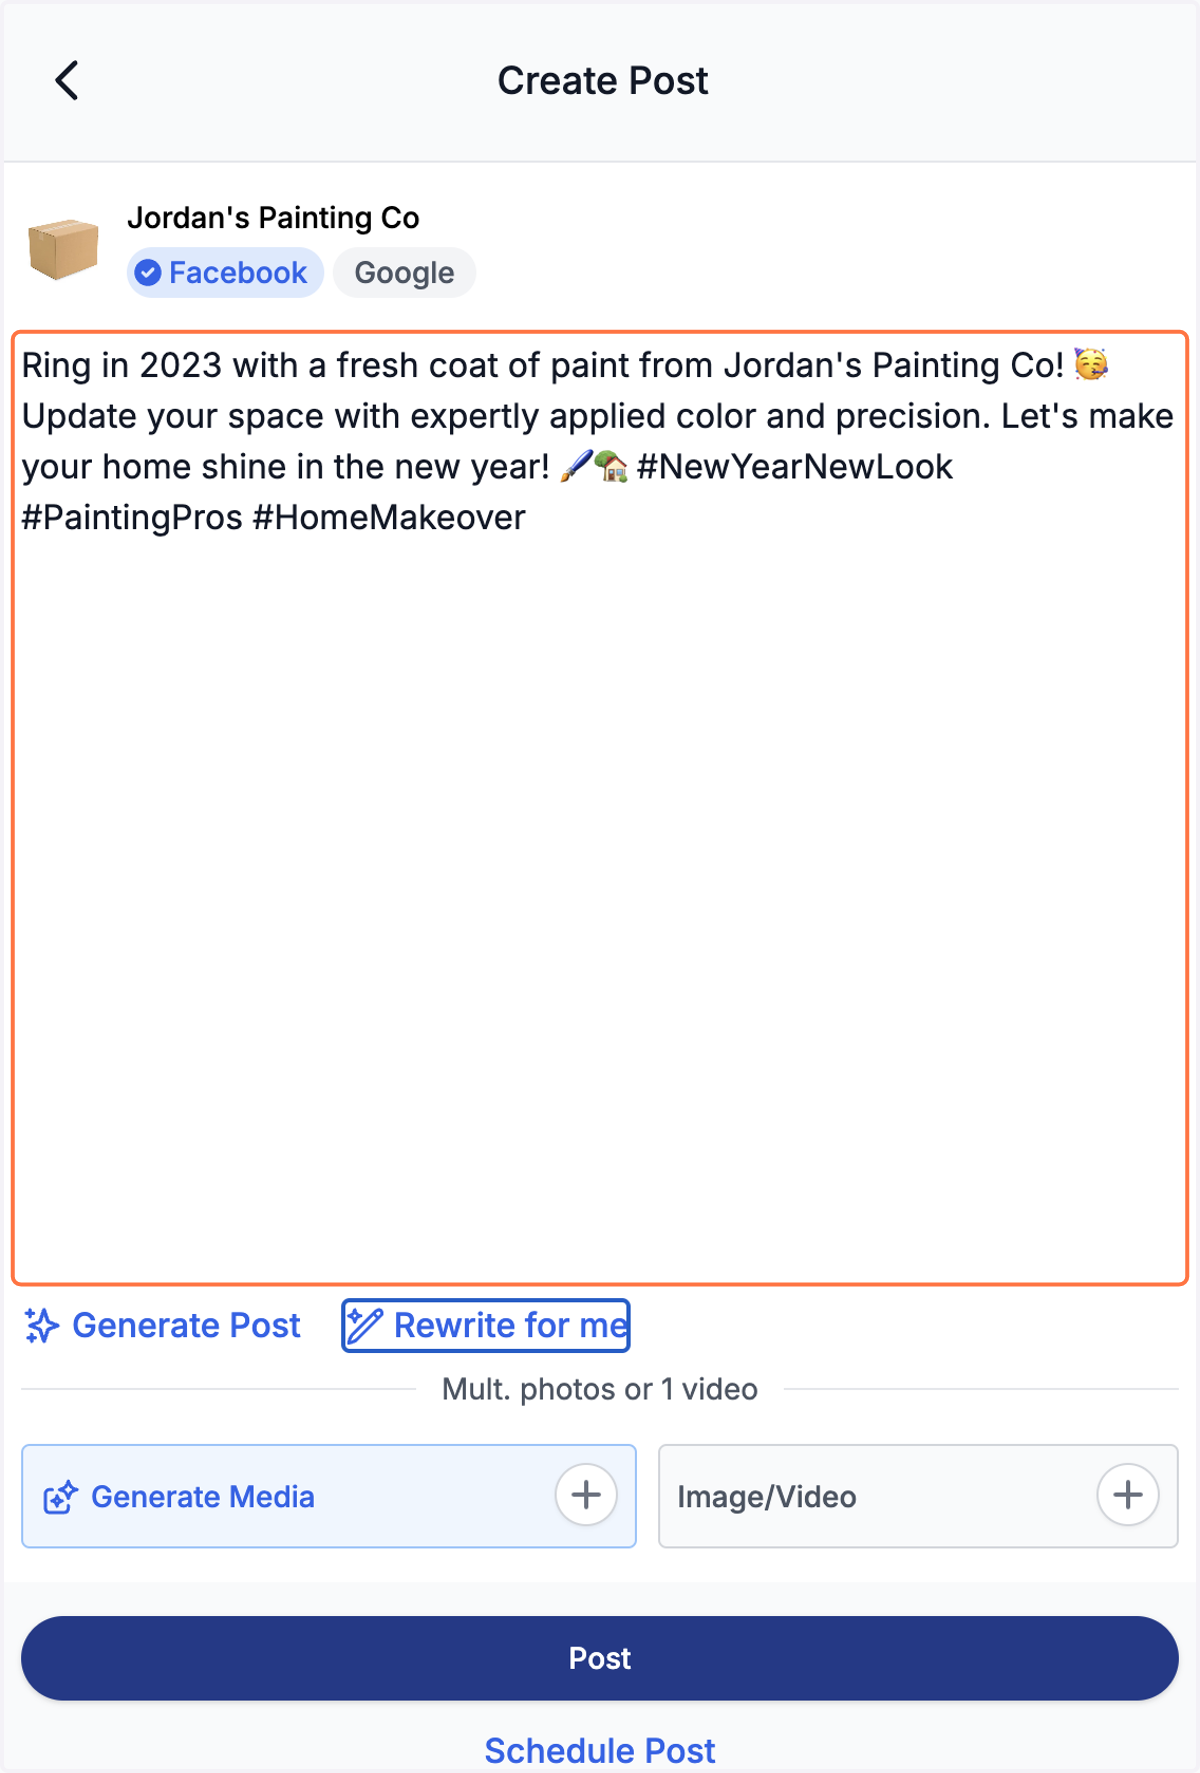
6. Check out what our AI came up with.
Before you post, make sure the post feels aligned with your company, services, and message.
Our AI will always look at your website and pull in information about your business and the services you provide!
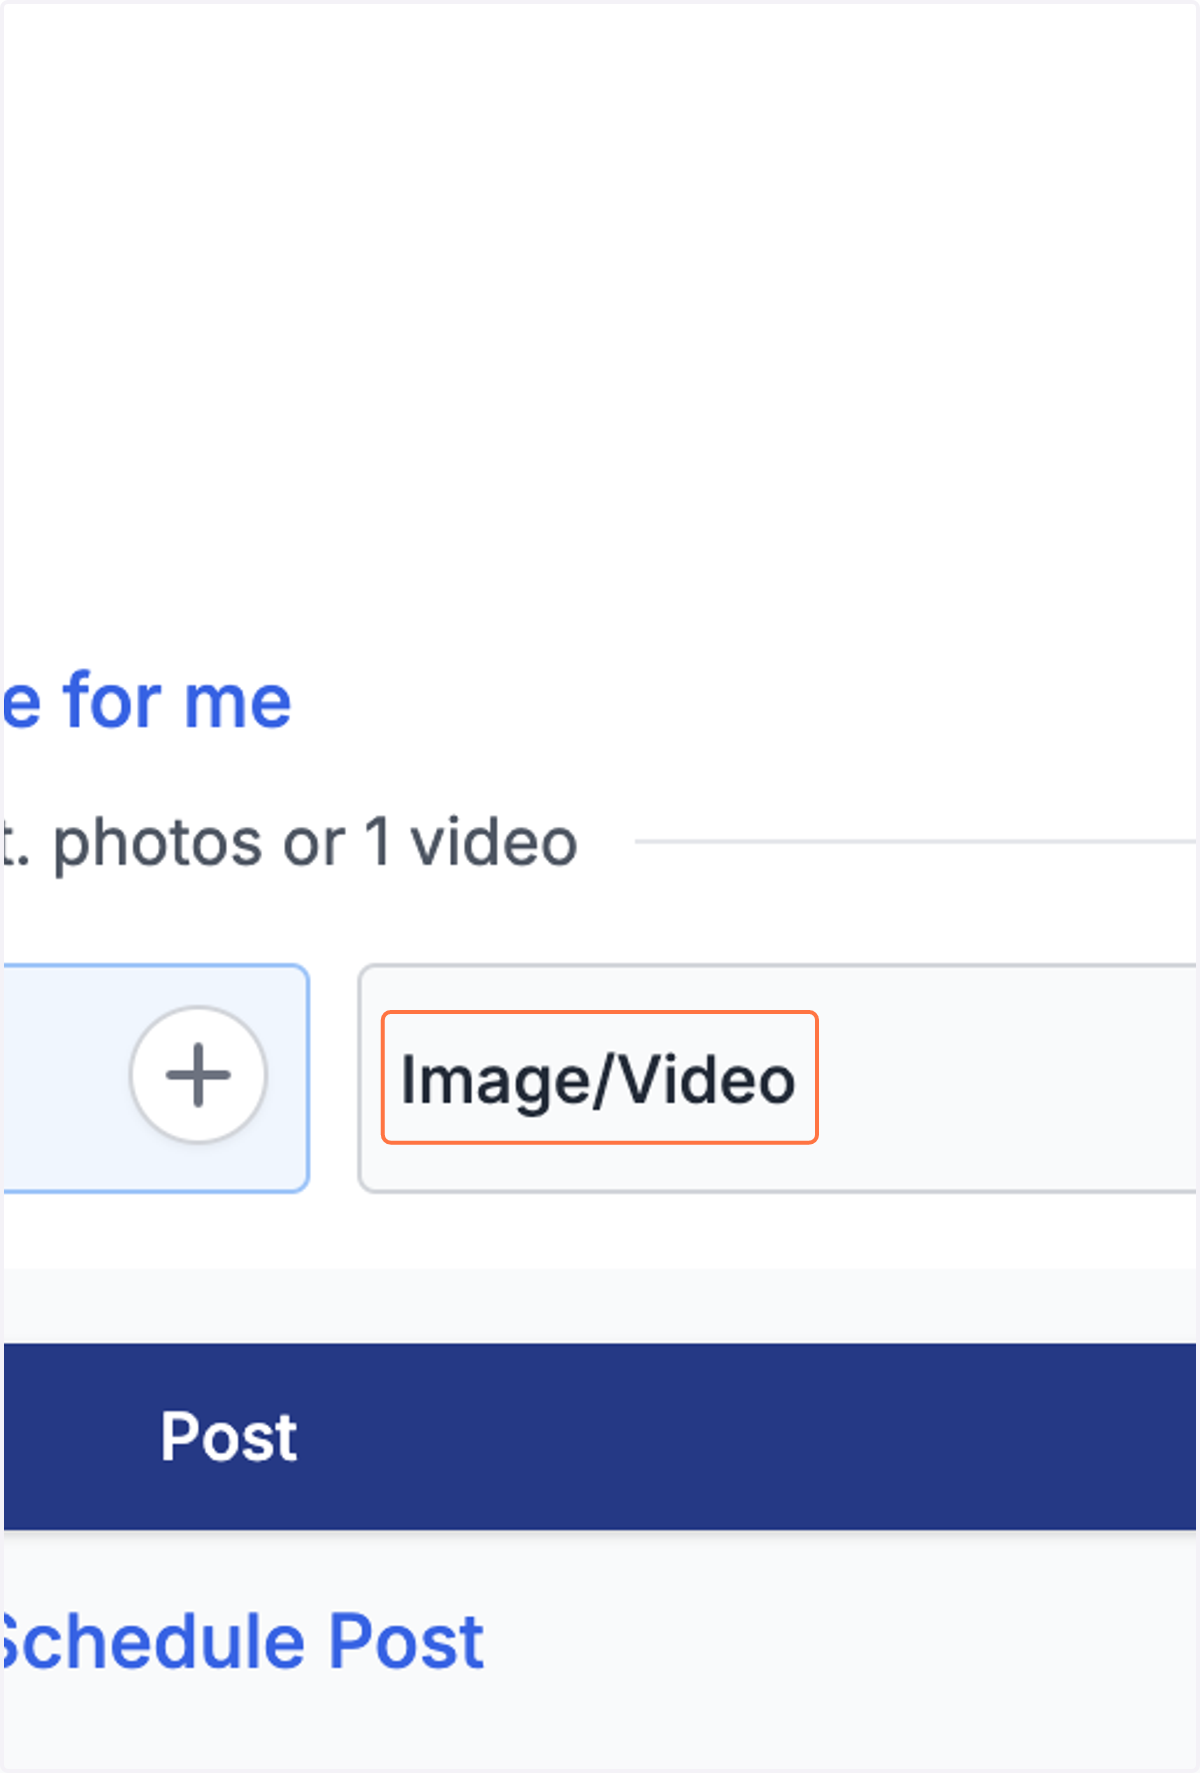
7. If you want to add a picture or video, click "Image/Video".
Note: You don't need to an images or videos to a post, a text-only is just as valuable!
You can also generate media assets from pictures and reviews already on your site!
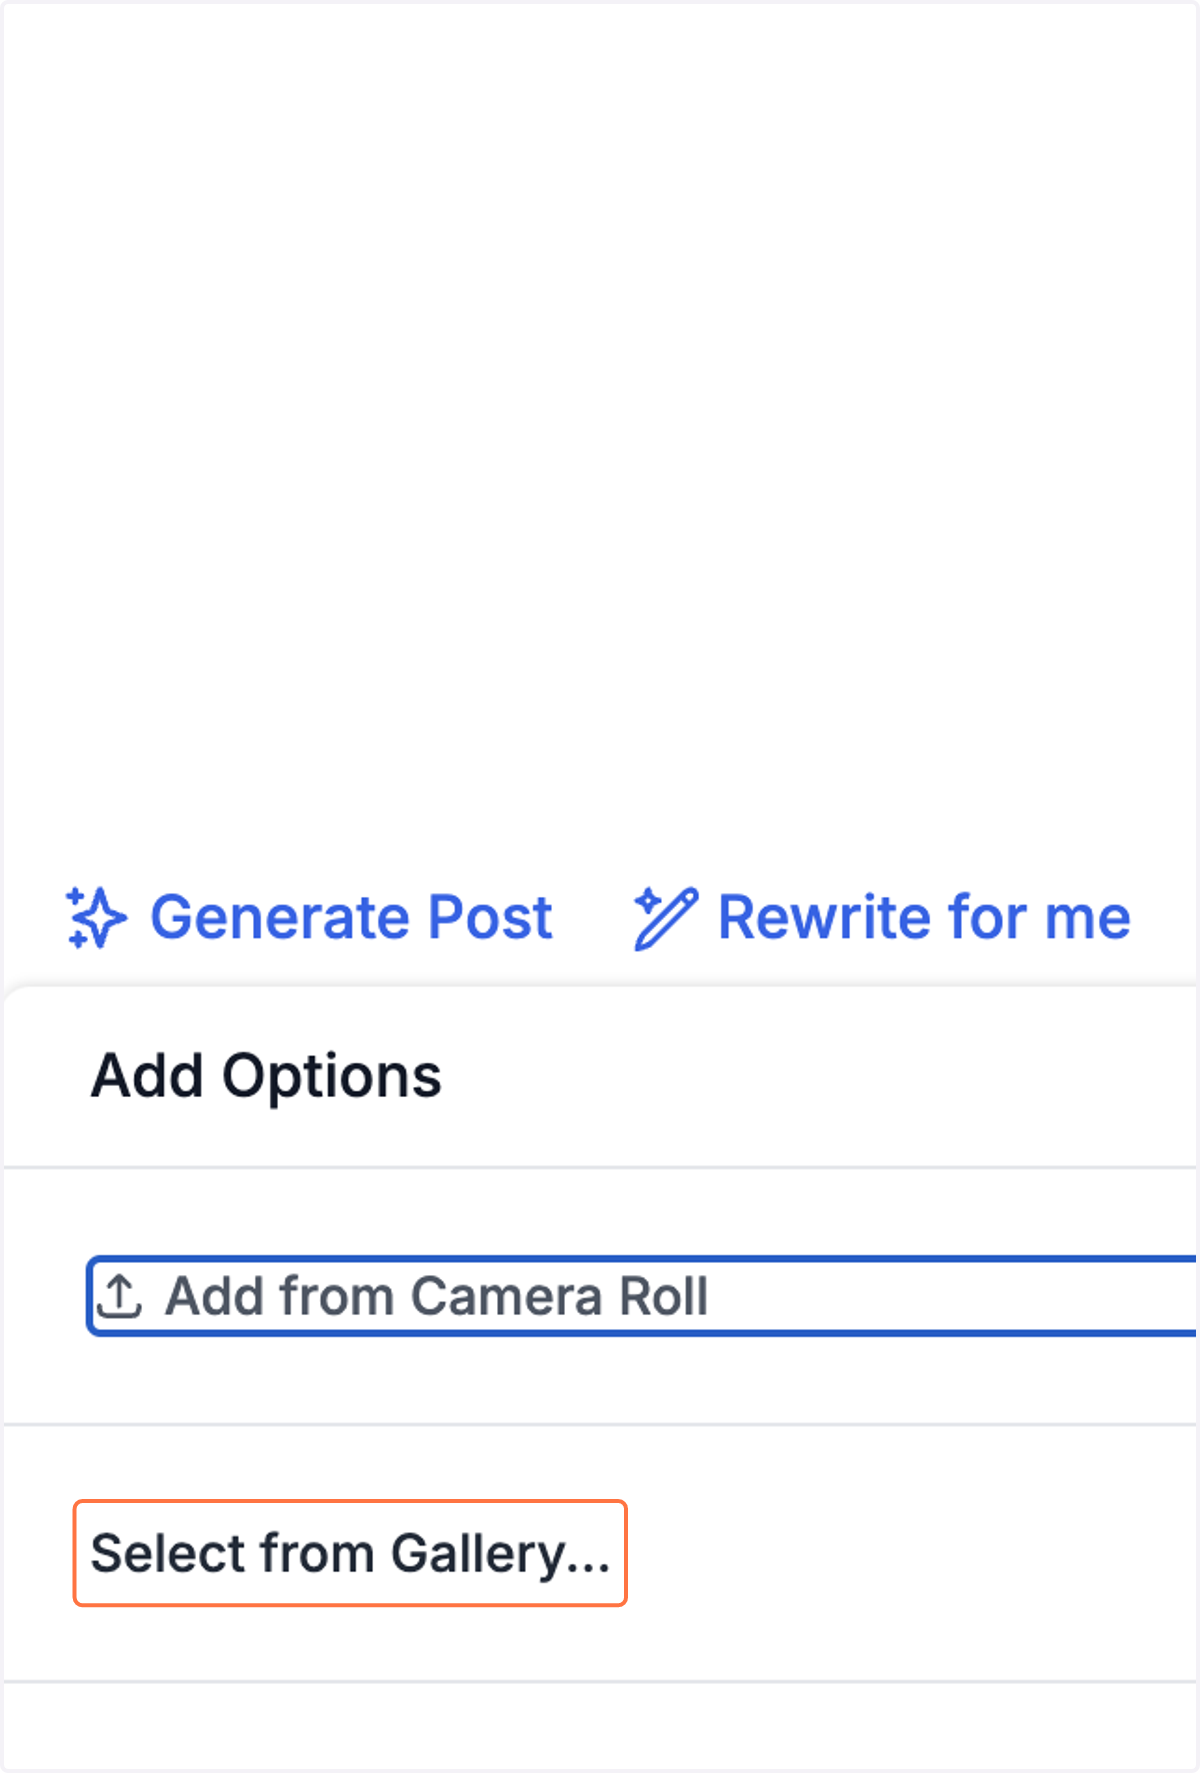
8. Click Add from Camera Roll to use a new photo or click "Select from Gallery" to use a photo you've already uploaded to your site.
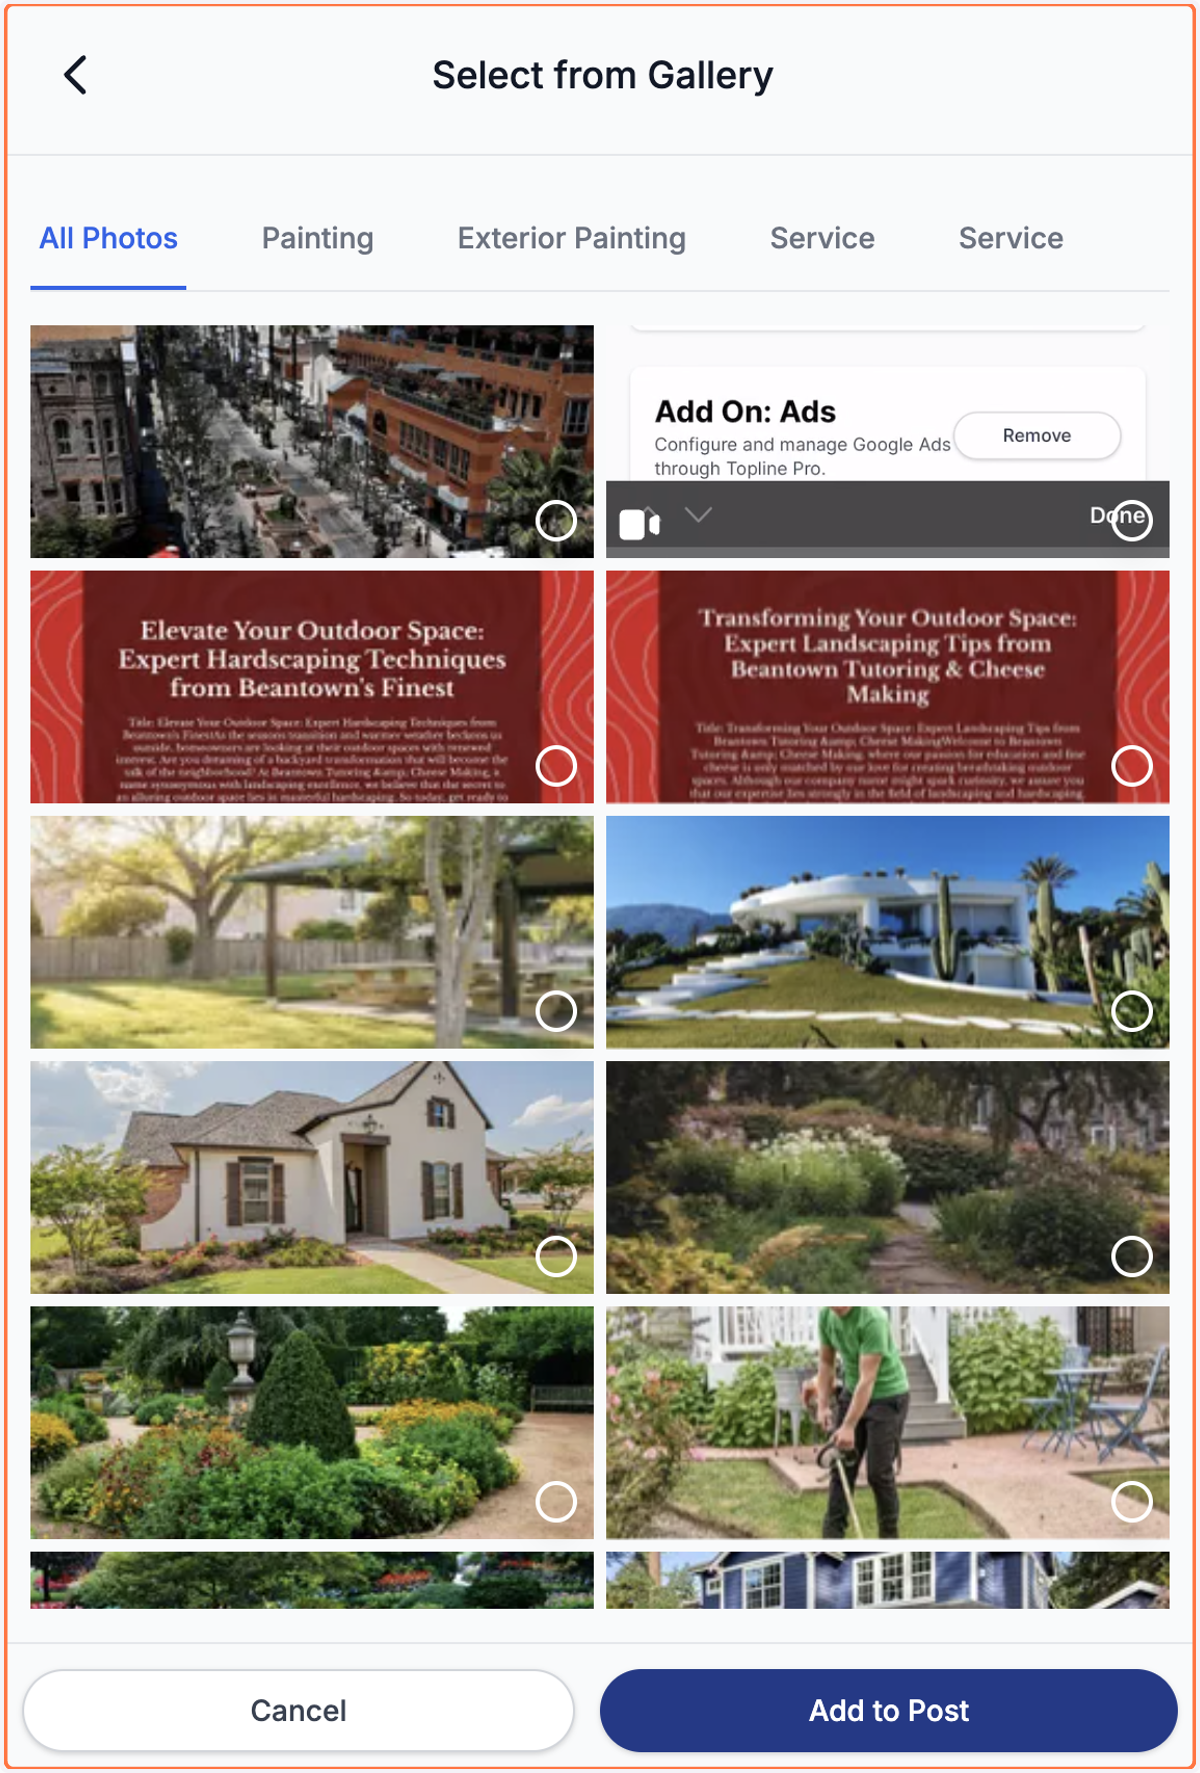
9. Select the photo you want included
You can select one or multiple photos for your post.
Note: Google only allows one photo per post, but Facebook allows multiple.
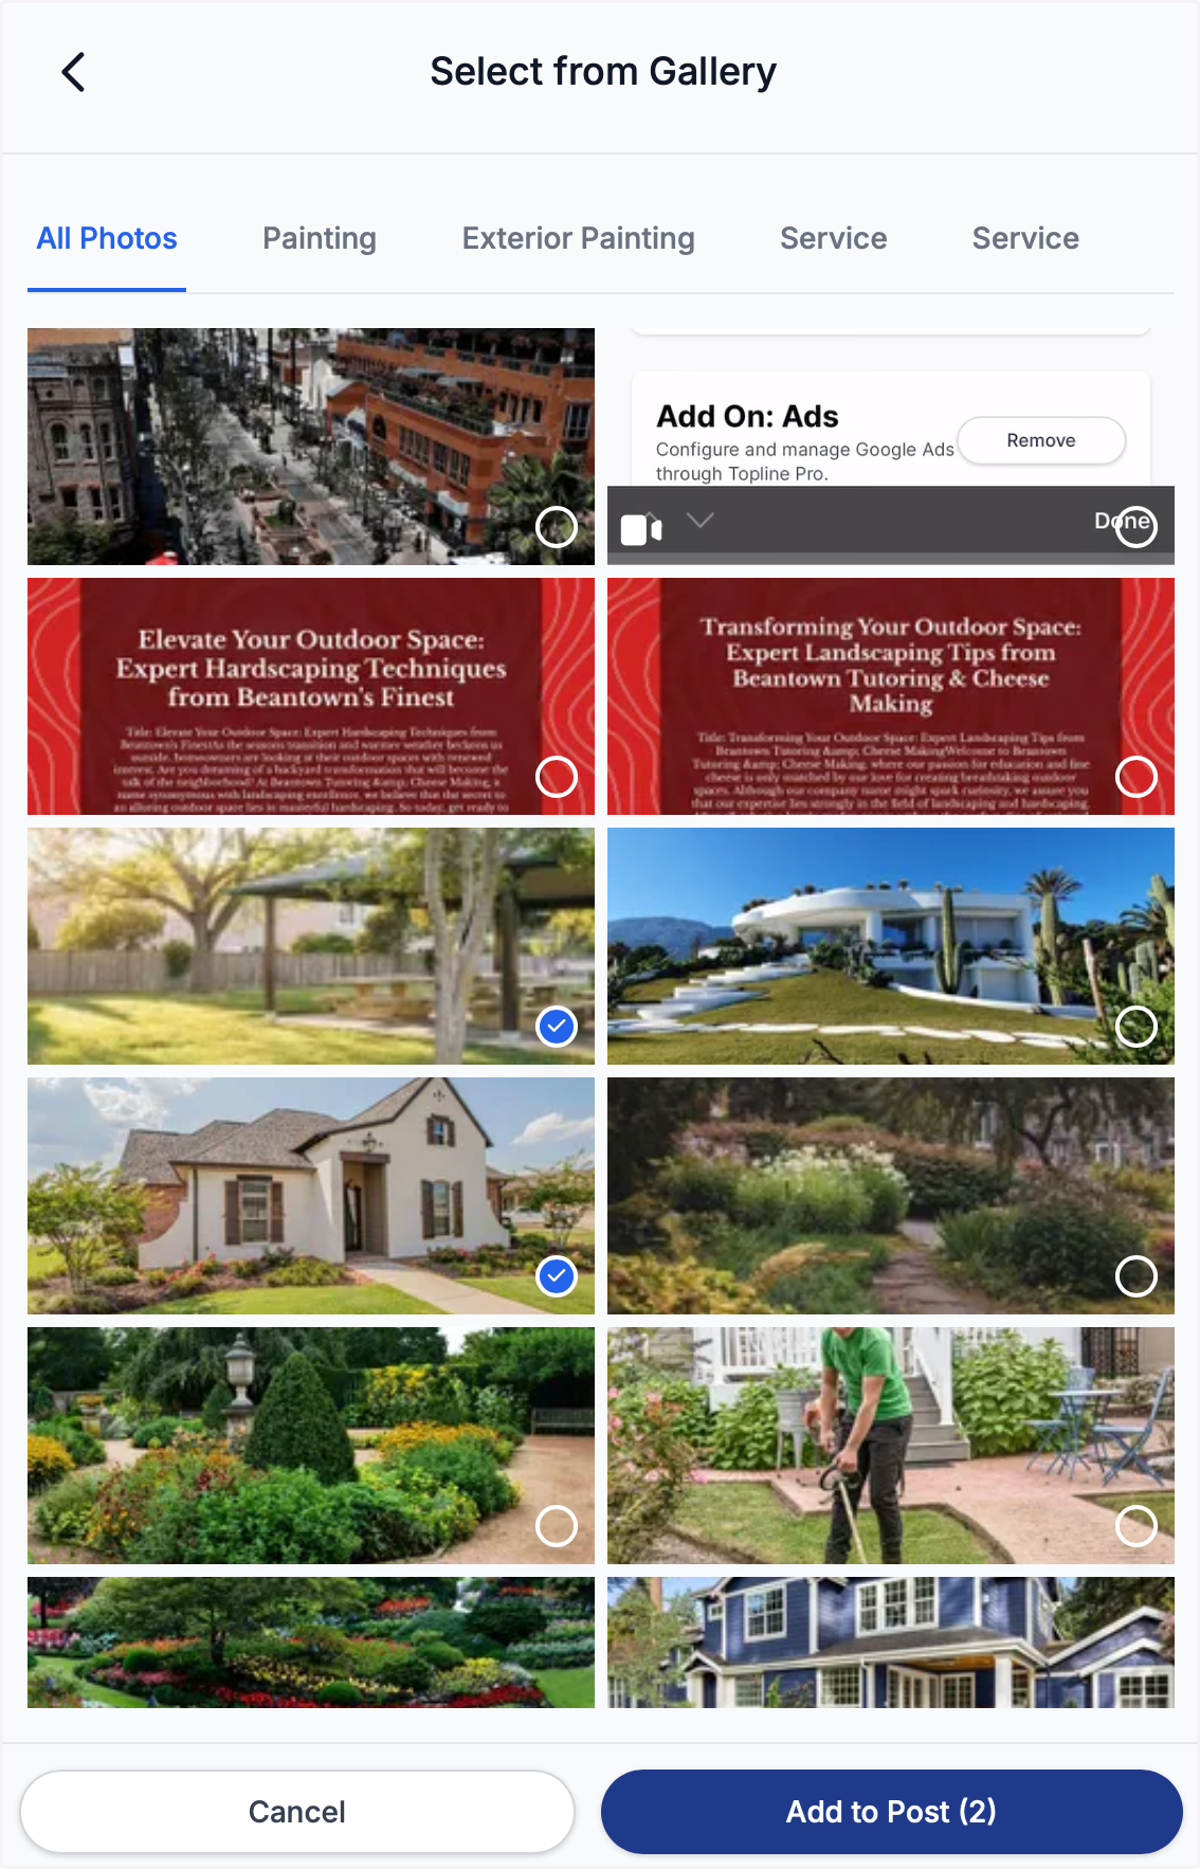
10. Click "Add to Post"
It will show you how many photos you've selected next to "Add to Post".
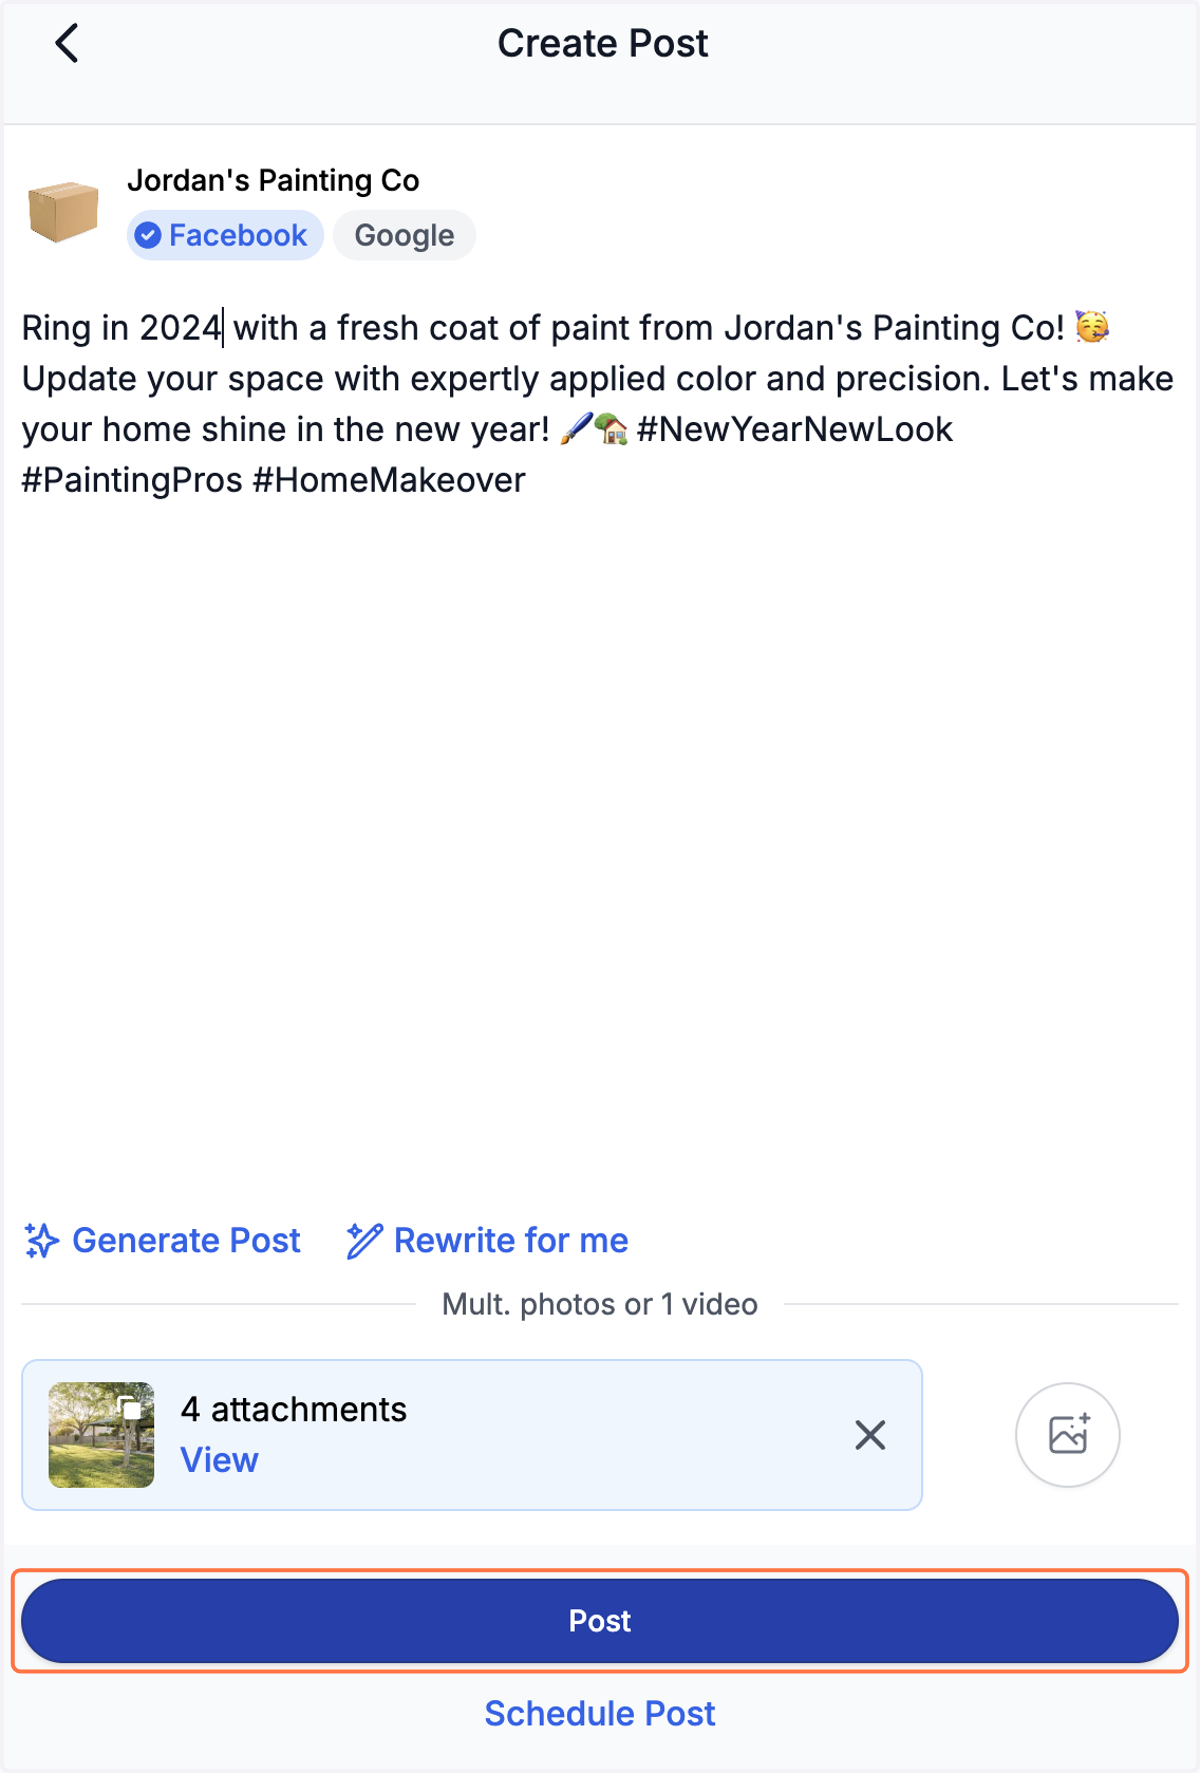
11. You will see an indication at the bottom showing you've selected photos to be included.
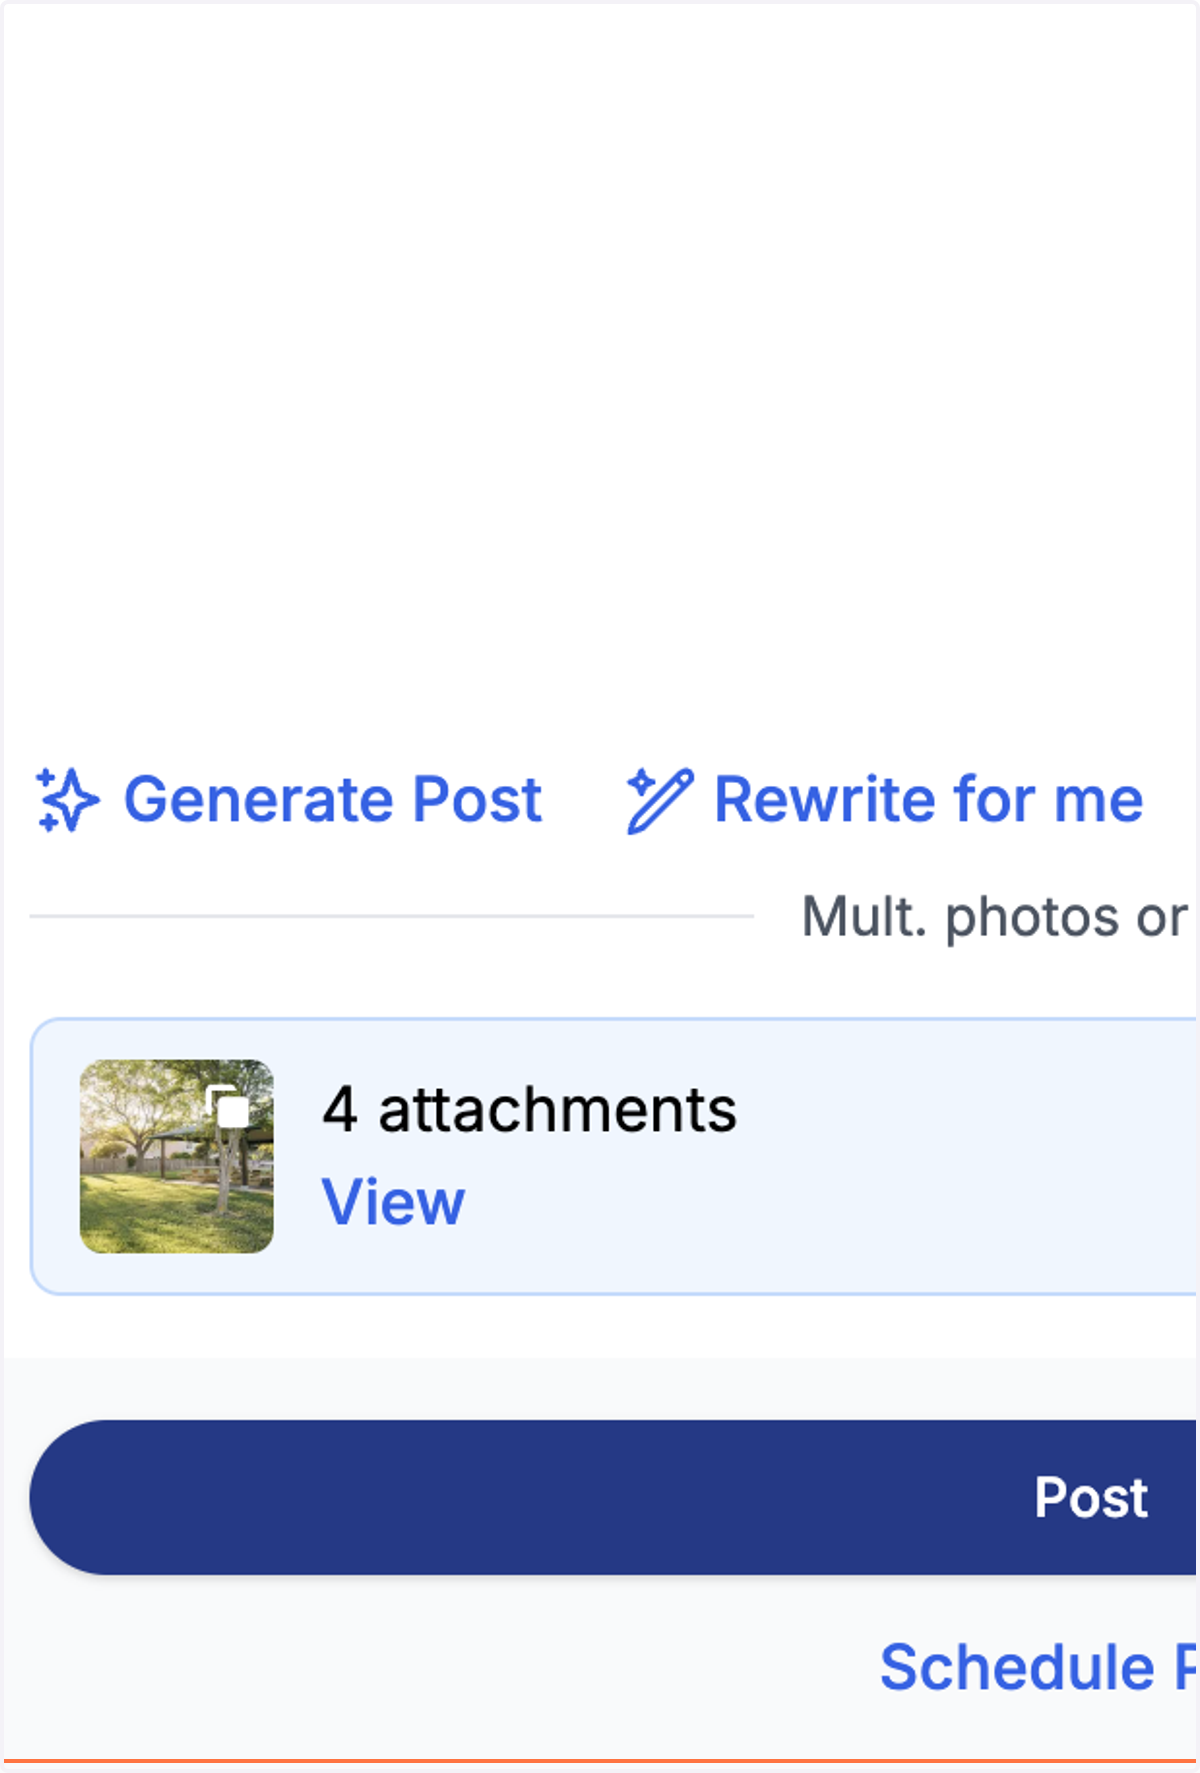
12. Click on Post, to post immediately.
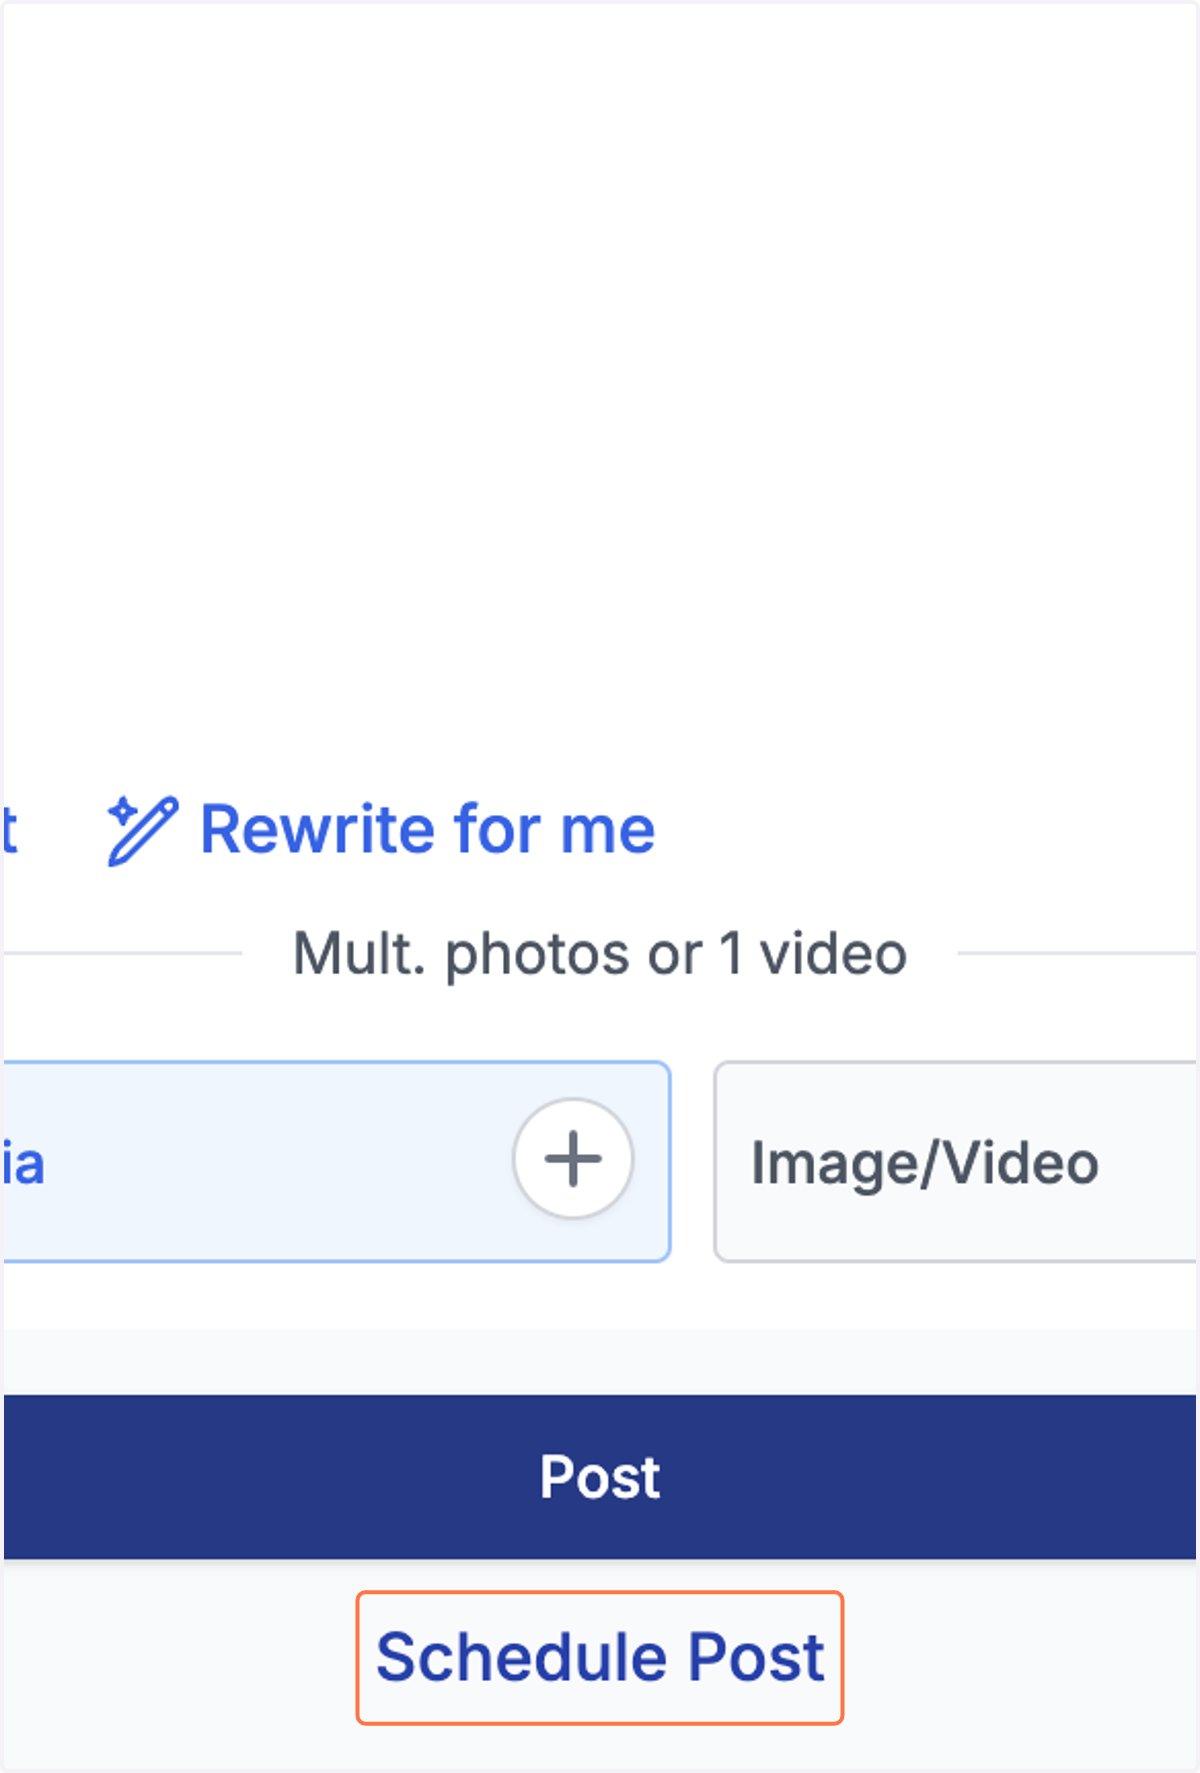
13. Click on Schedule Post, to schedule the post for later.
This can also be used to plan out a whole week's or month's worth of posts!
14. If you are scheduling a post you can select the date and time for the post.
Be mindful of the time zone!
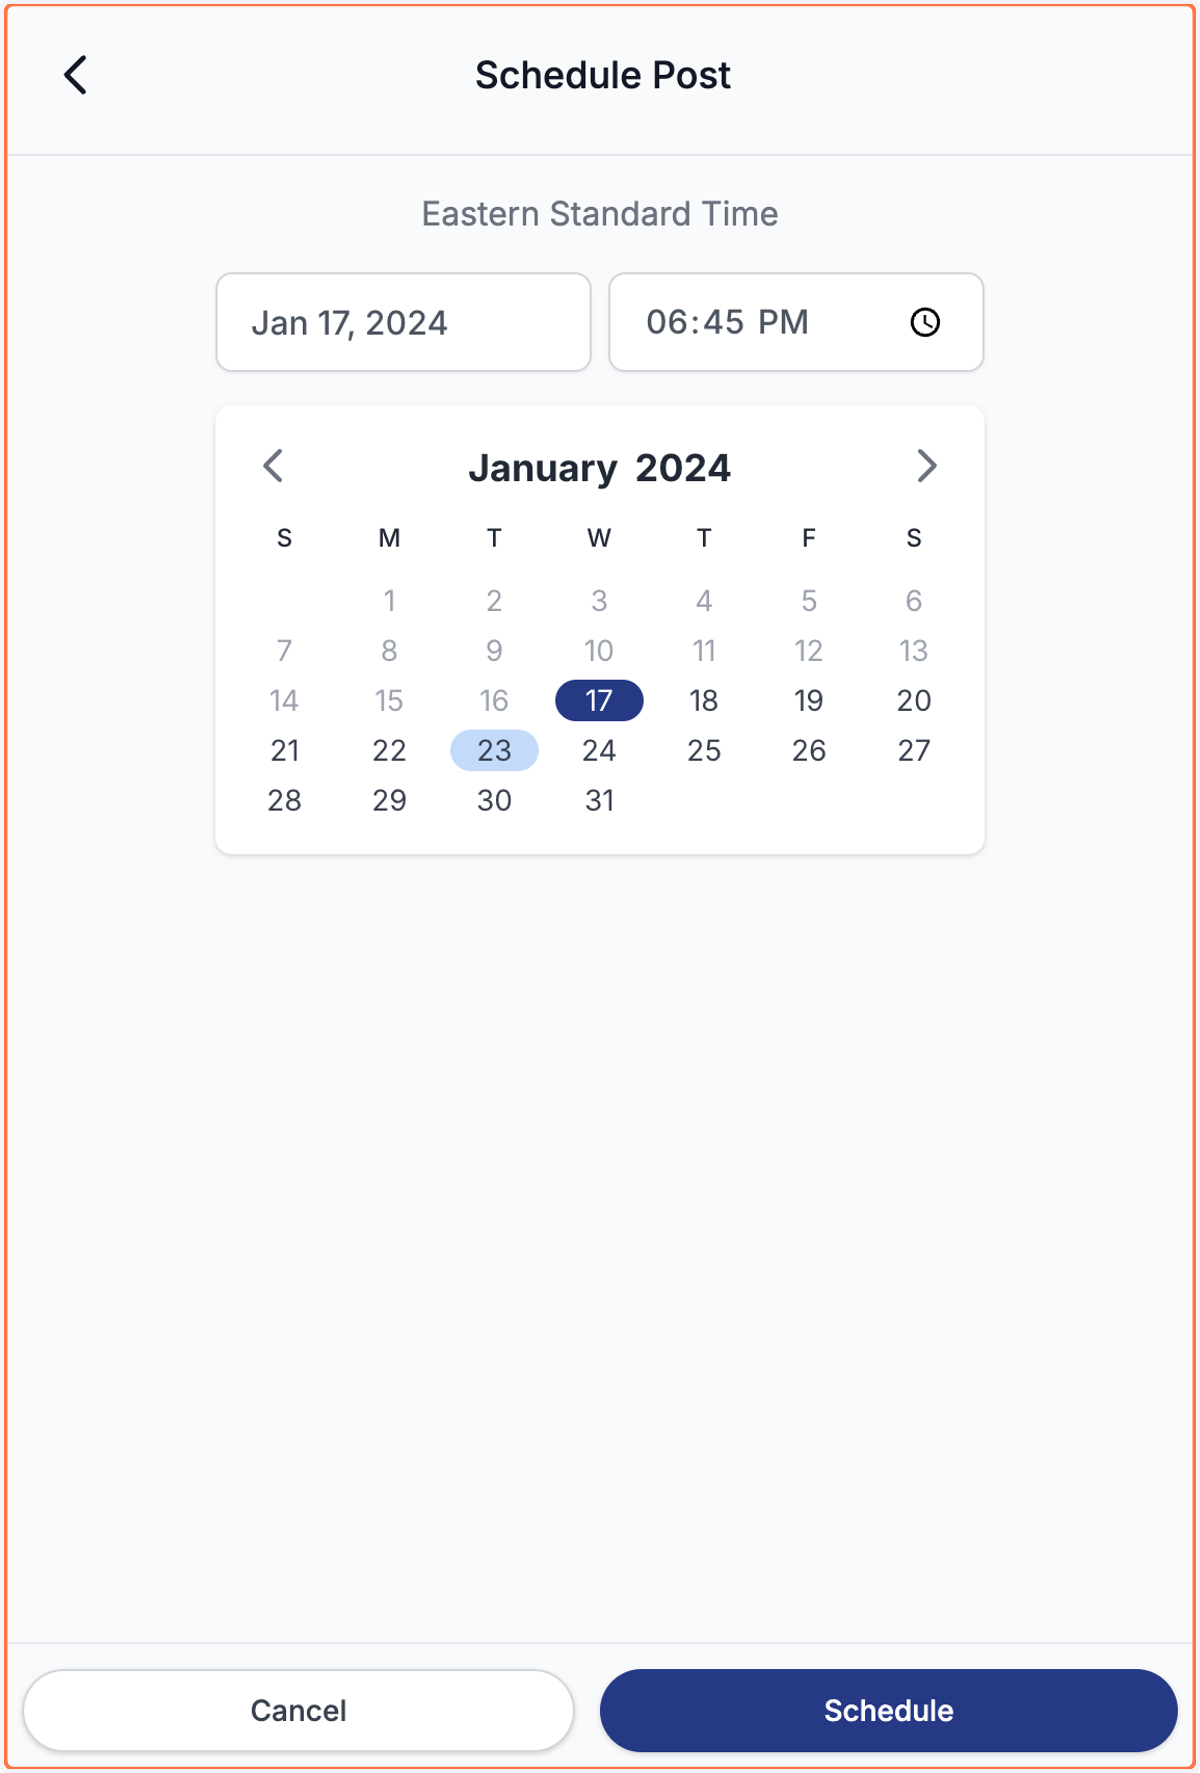
15. Click "Schedule" to confirm the date and time selected.

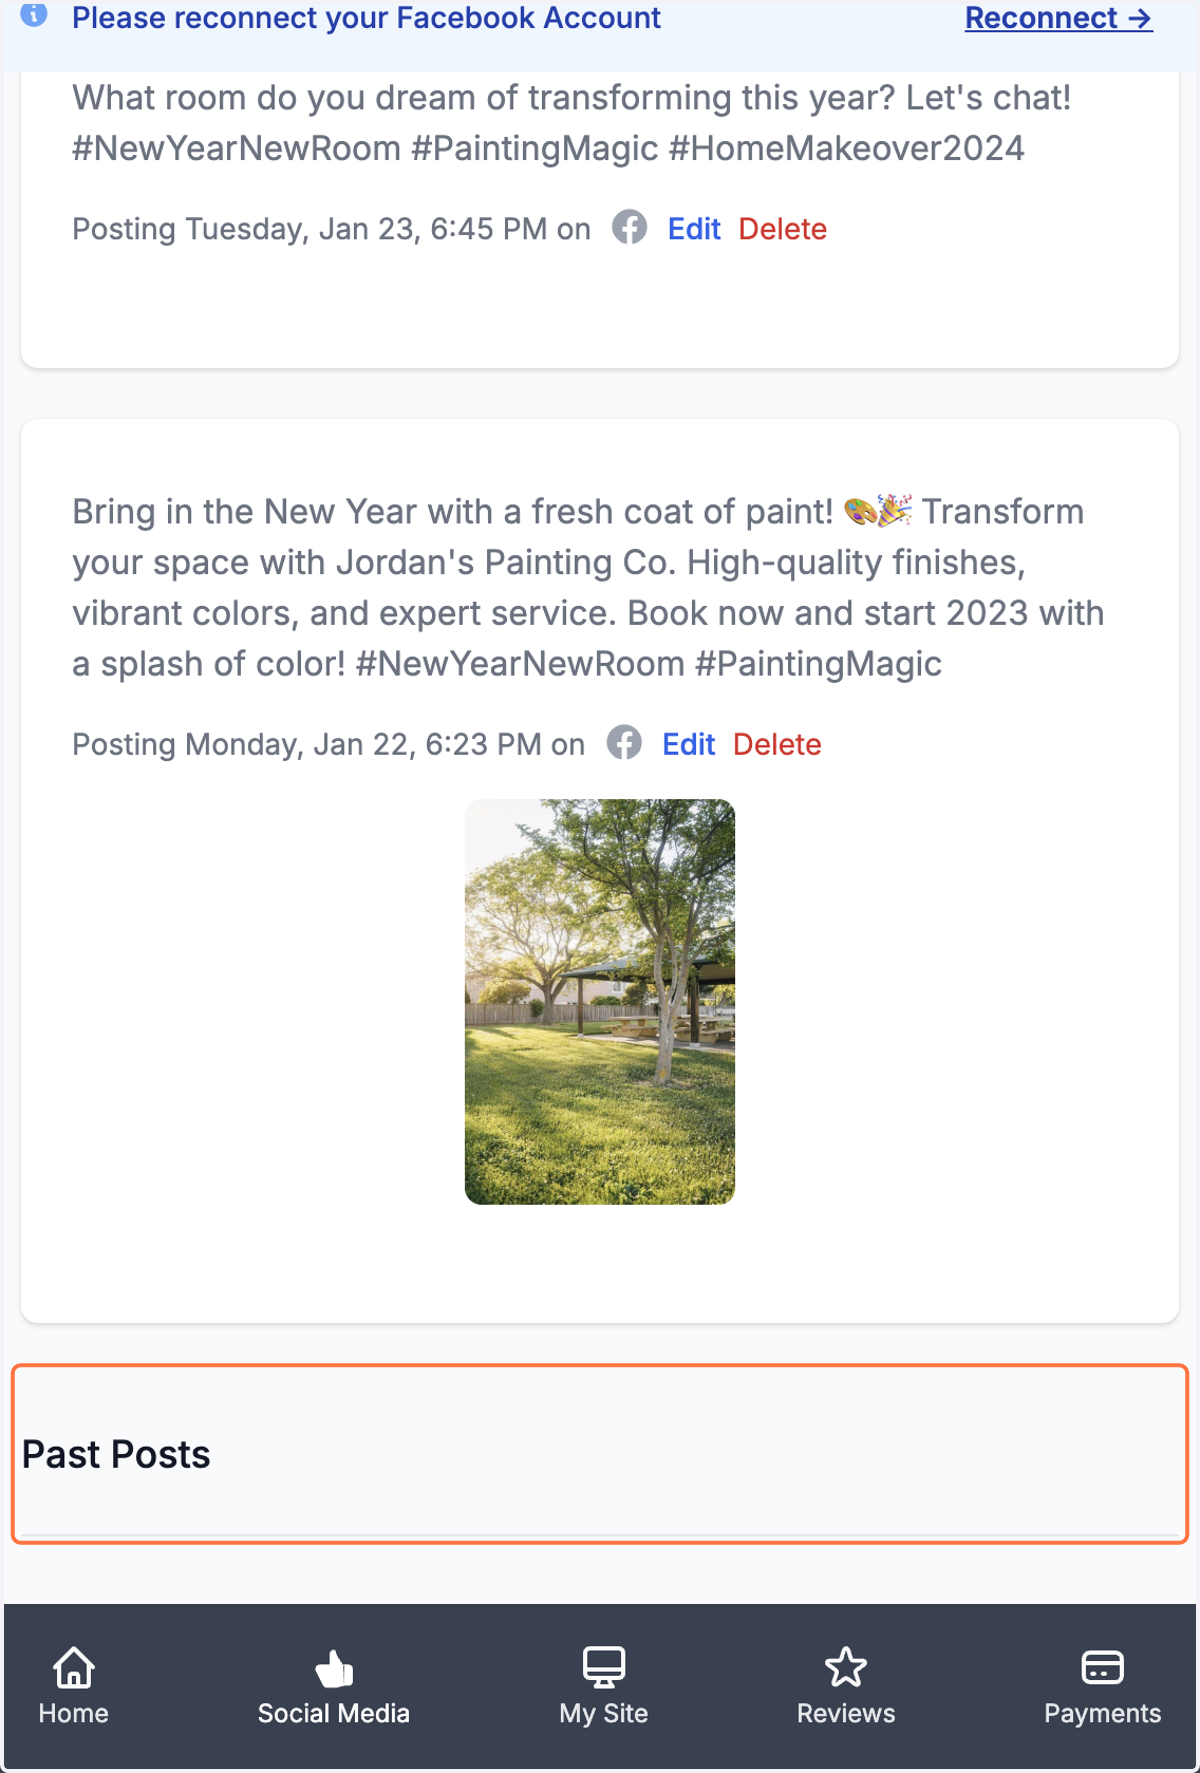
16. Back on the Social Media tab you can see future posts under "Scheduled Posts".
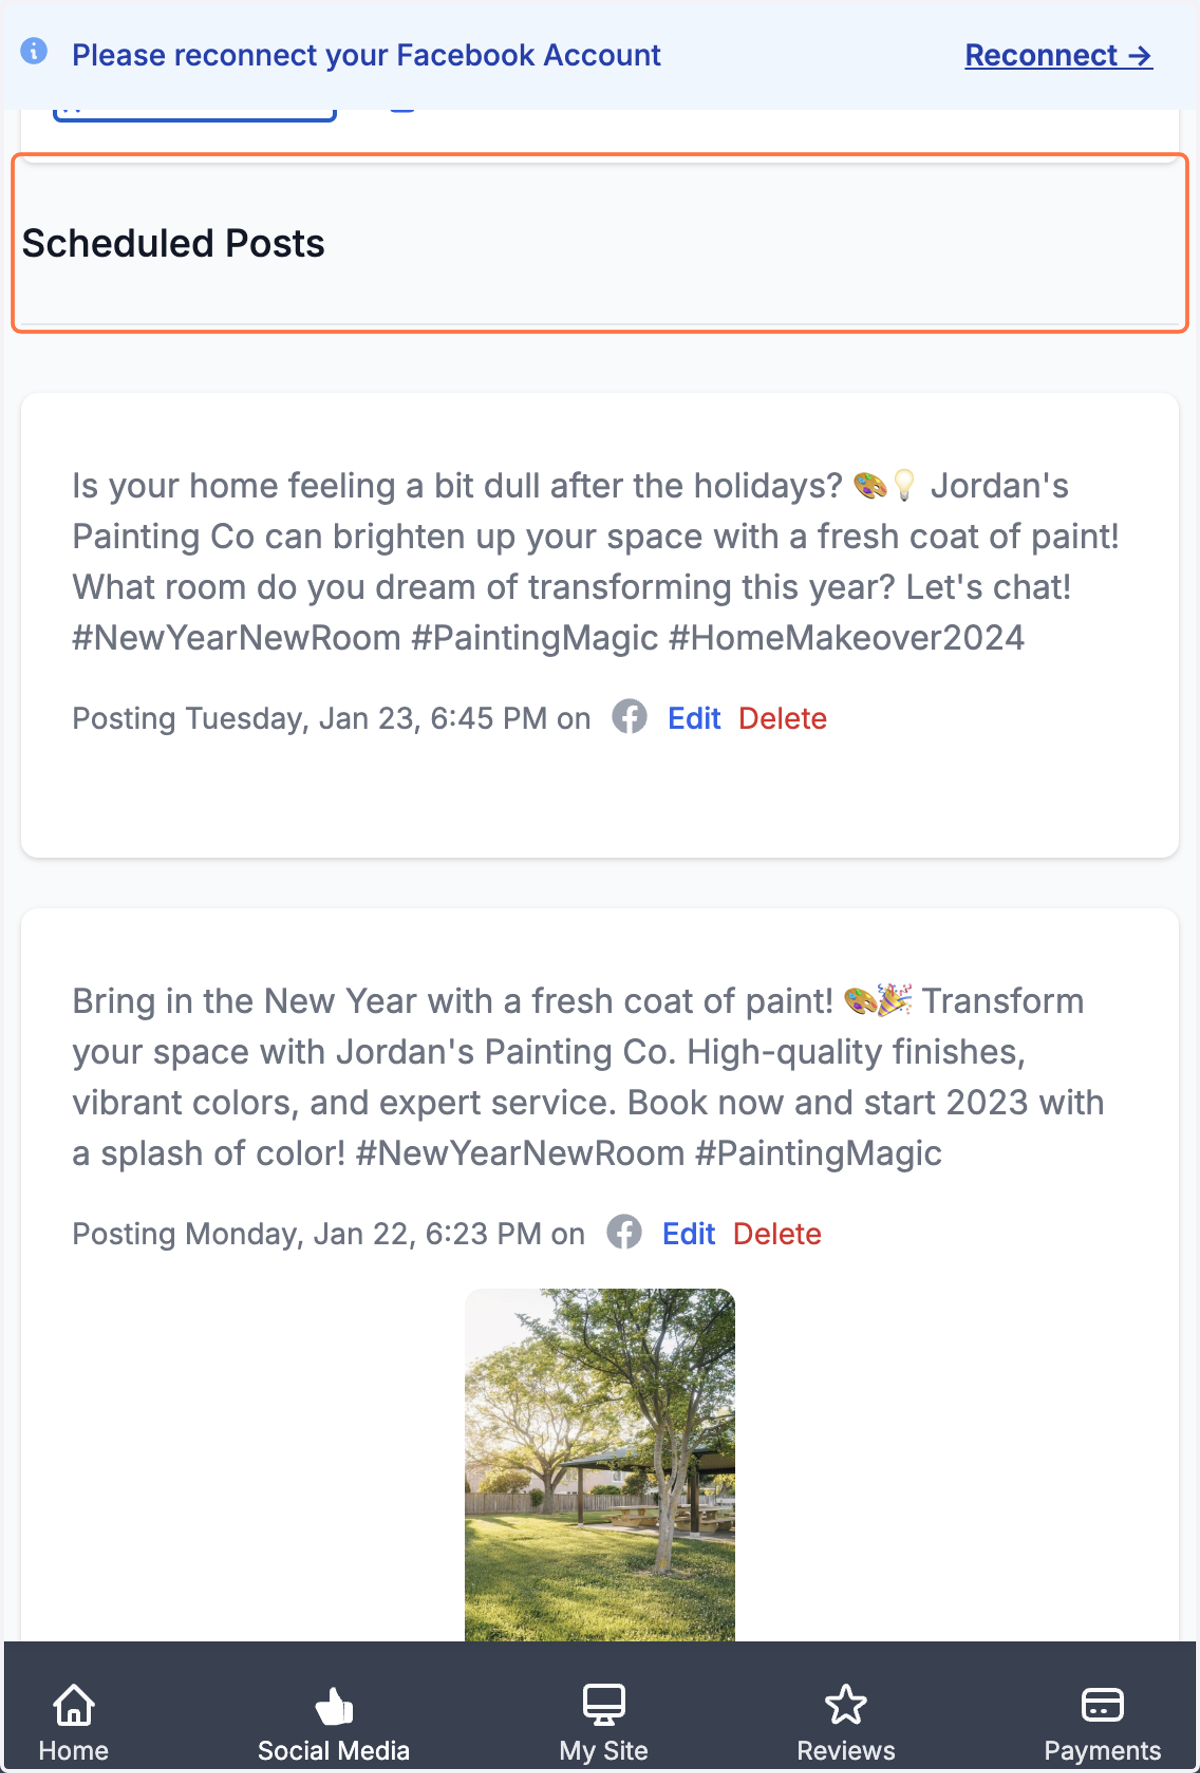
17. Or see content already posted under "Past Posts".