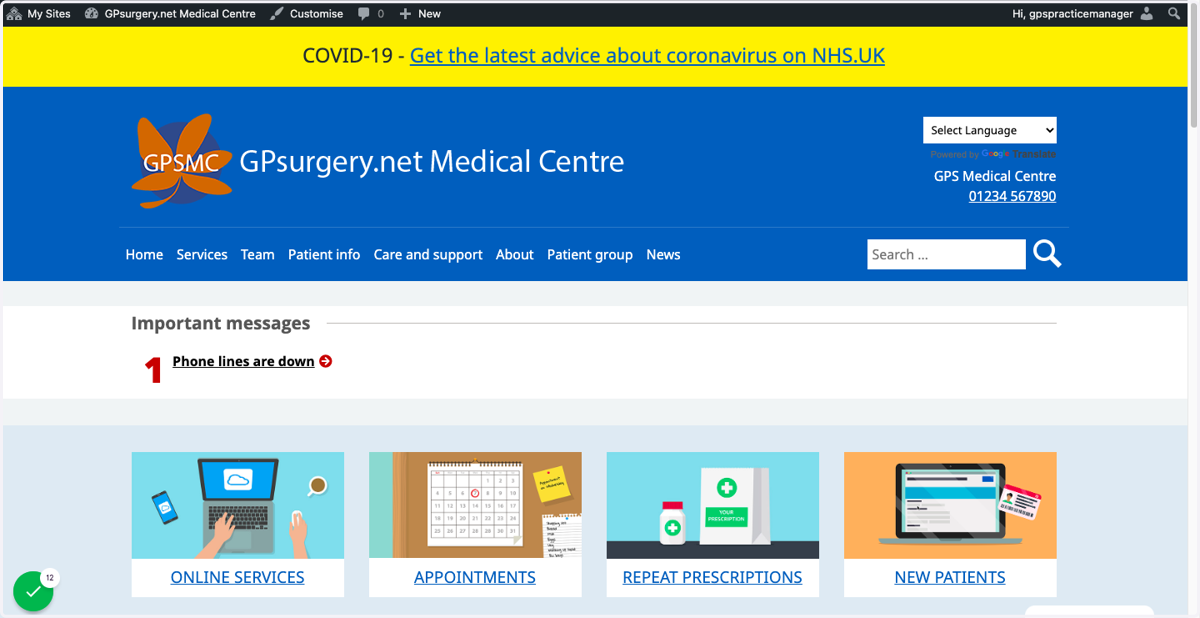
Add a logo/banner
This tutorial will show you how to add a logo to the Header of your website. You can move through the tutorial at your own pace using the NEXT button below.
1. Ensure that you are logged into your website. The black admin toolbar should be visible at the top of the screen.
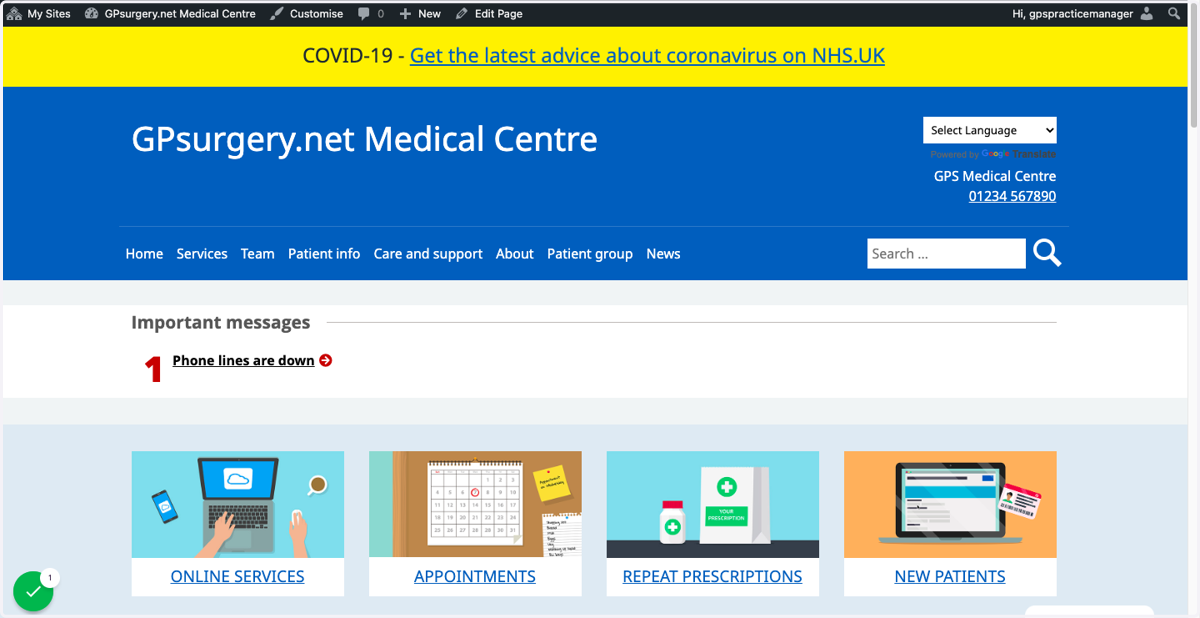
2. Select Customise from the admin toolbar.
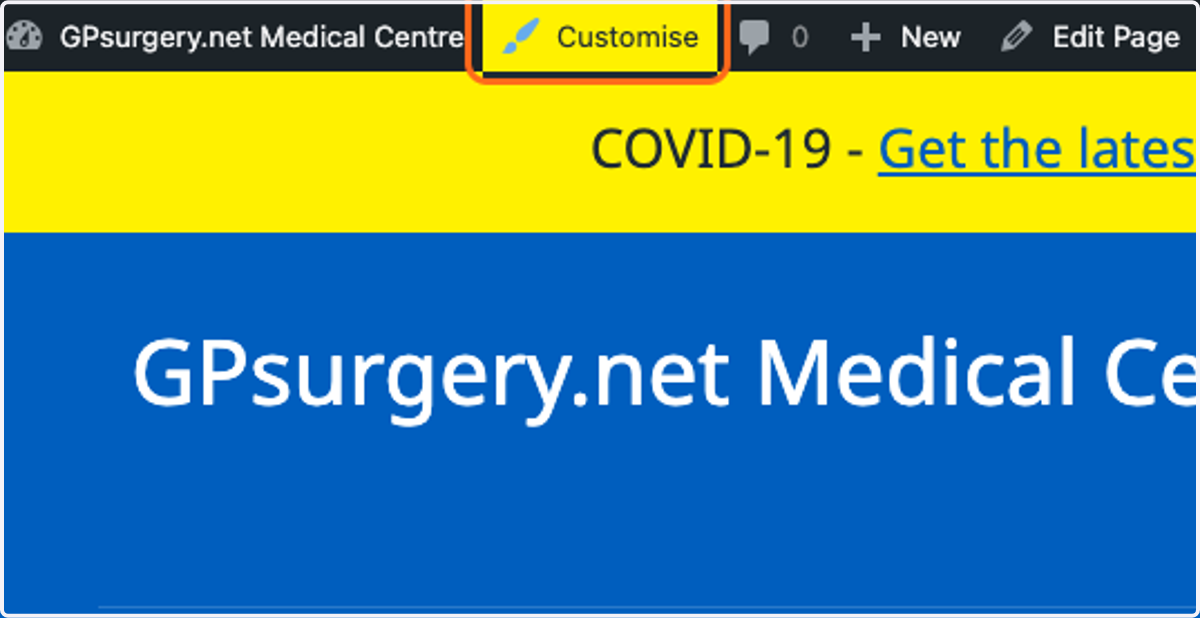
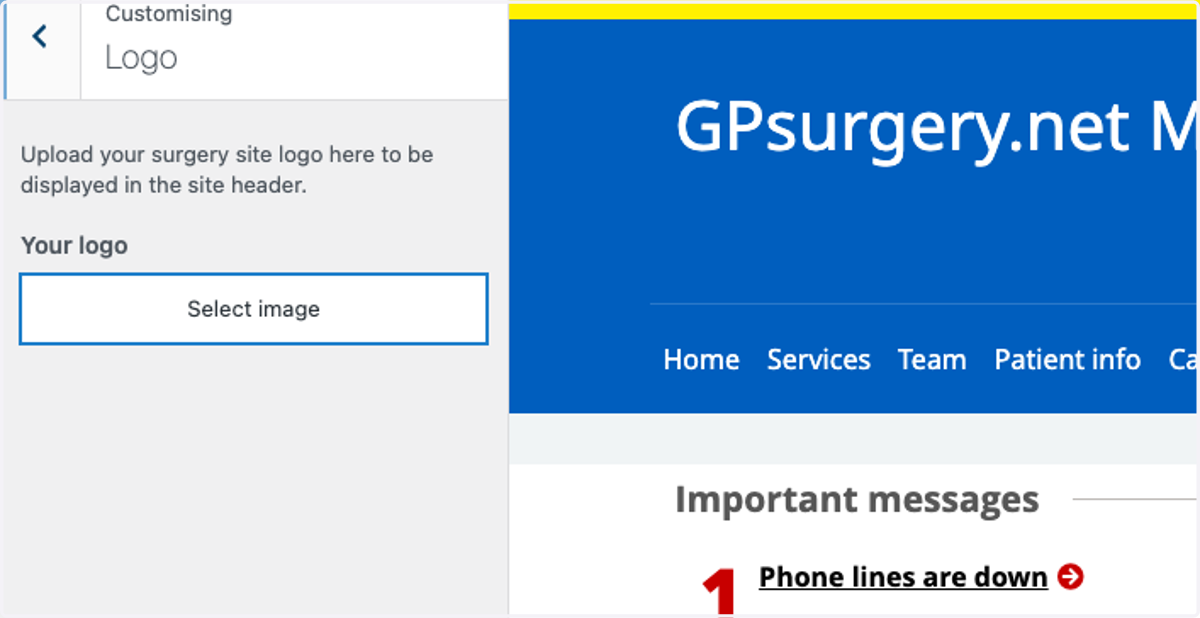
3. You are now using the Customiser. Select Logo from the left-hand sidebar of the Customiser.
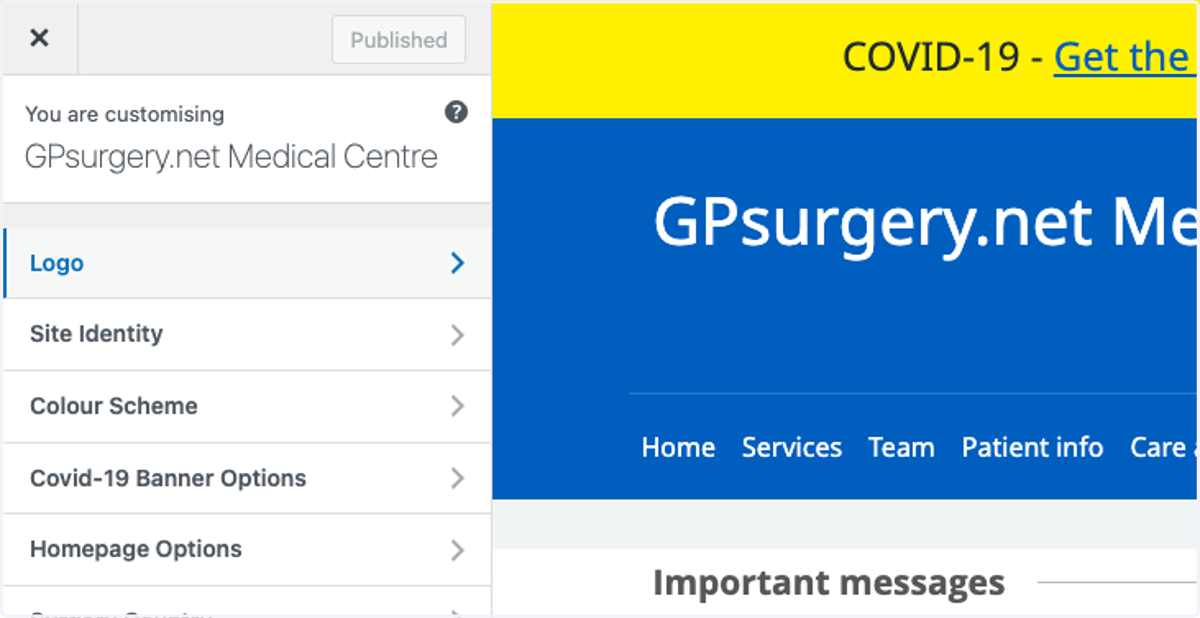
4. Click the Select image button.
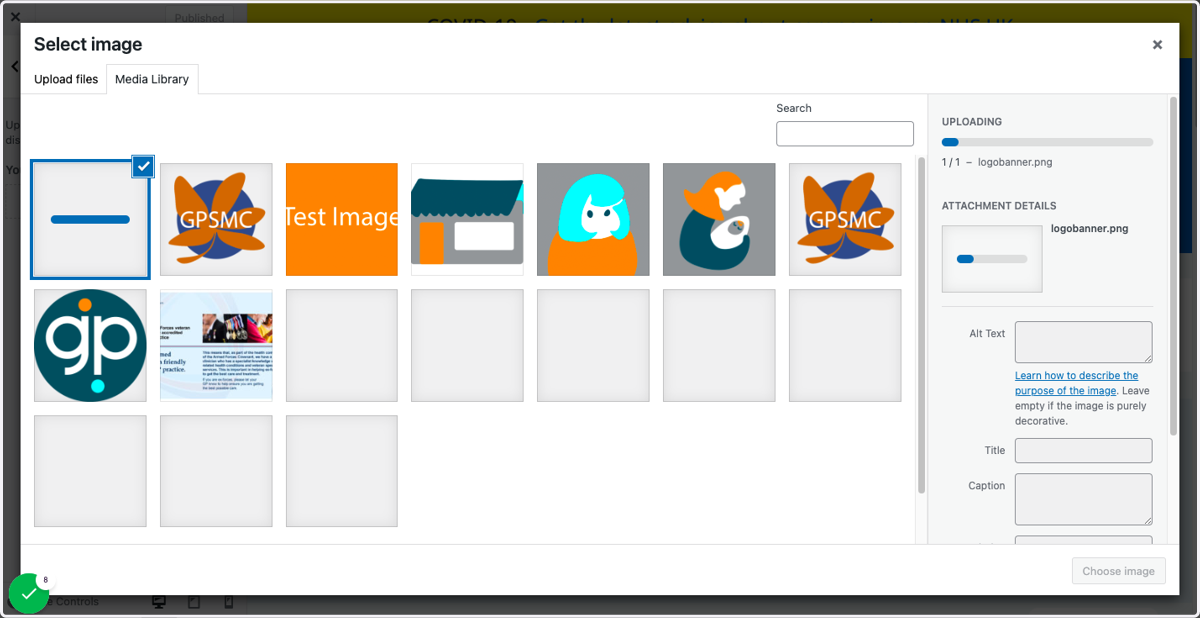
5. Drag and drop a new image into the Select image screen, or select an existing image from the Media Library.
Note: your logo should be around 600x120 pixels to make the most of the space available. Tutorial on scaling your logo to follow.
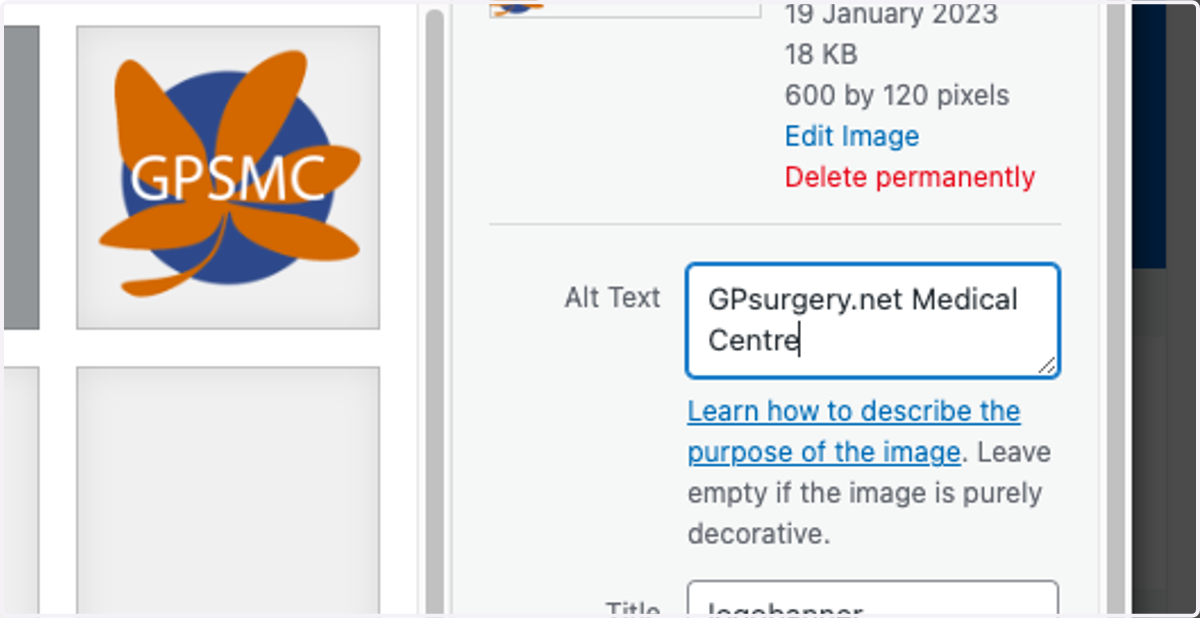
6. In the Alt Text box, type the use of the image. For your logo, this should be the full name of your practice.
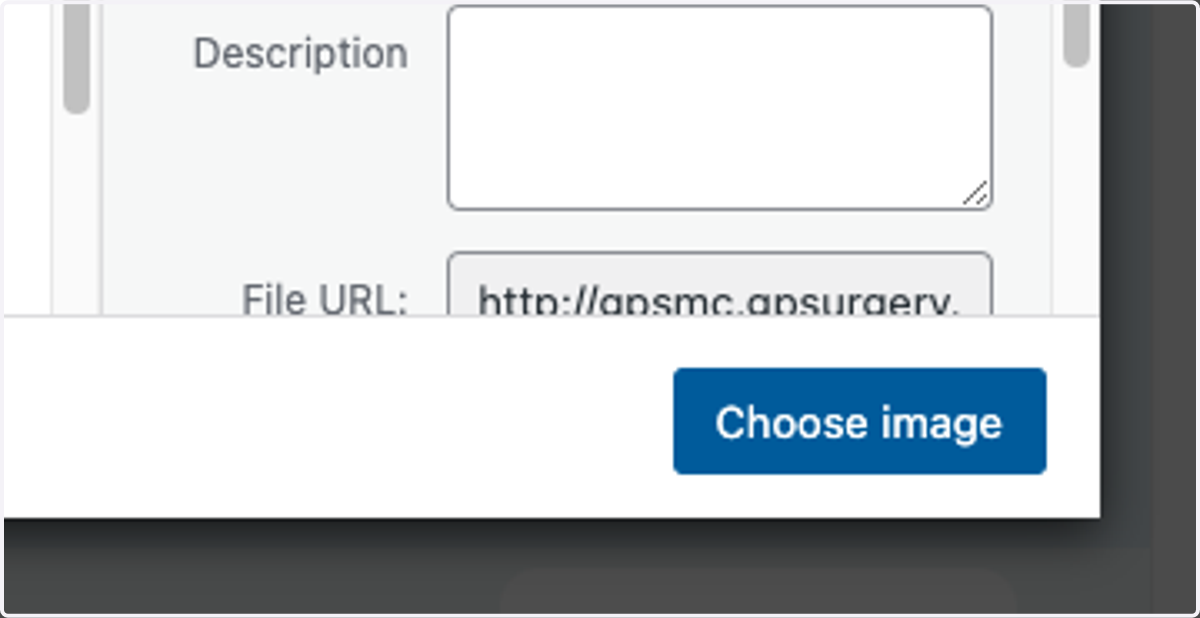
7. Once you are happy with your Alt text, click the blue Choose image button to set your logo.
8. Your logo will now appear in the Header of your website. When you are happy with how it looks, click the Publish button in the left-hand sidebar and your changes will be published on the website.
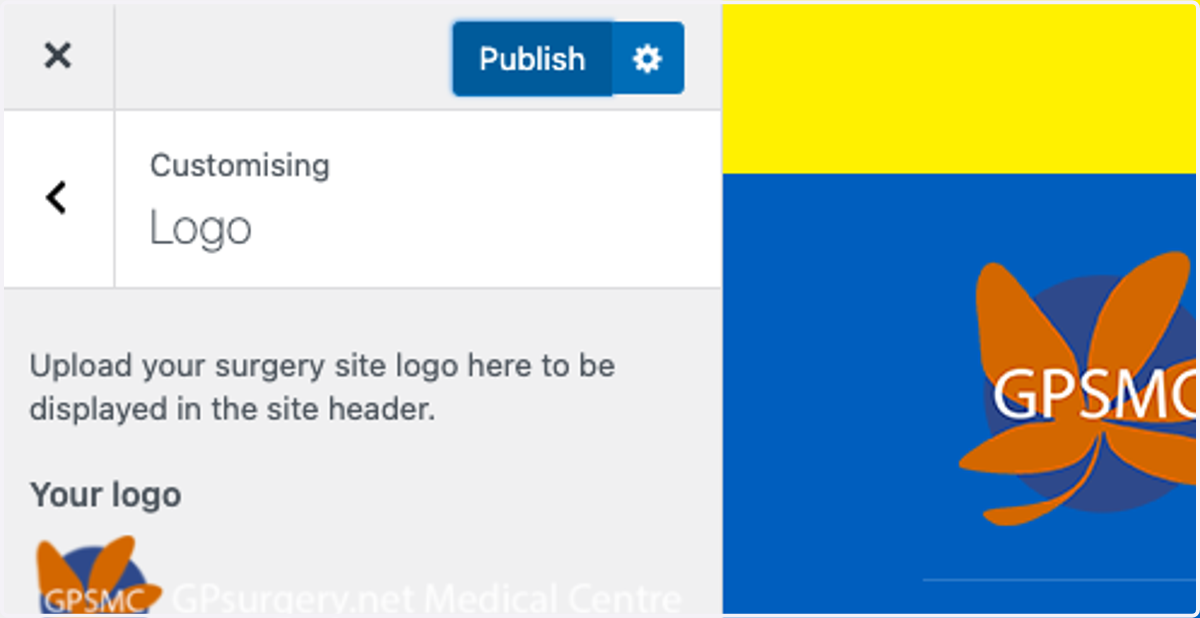
9. Click the X in the left-hand corner of the sidebar to close the Customiser.
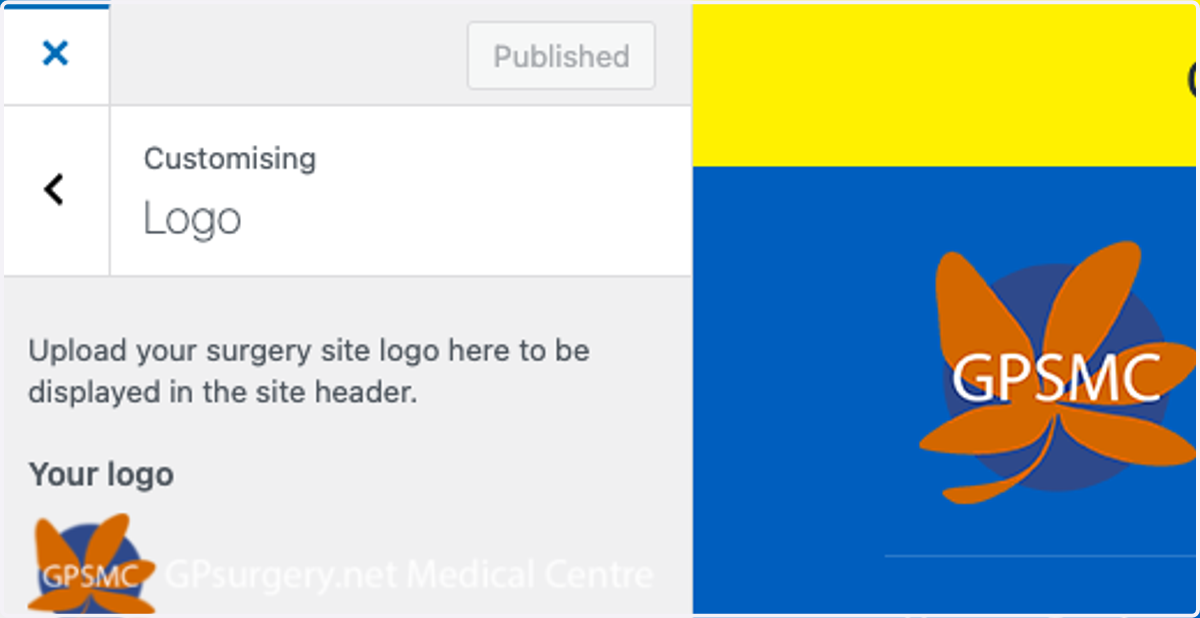
10. The logo will now be applied to the site.
NOTE: Your logo will replace the practice name in the Header, so please ensure that the name of the practice is clearly visible.