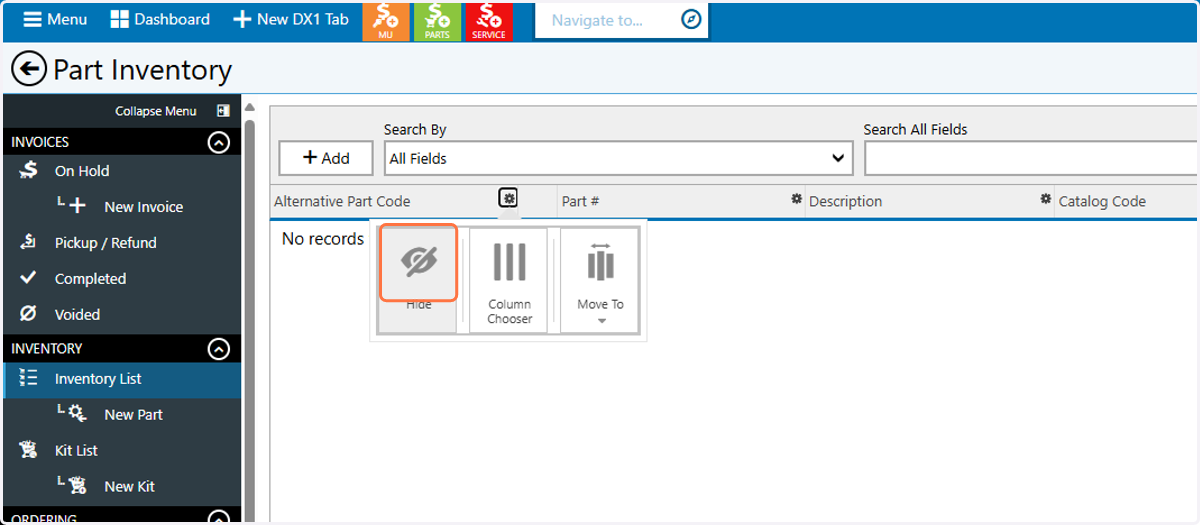
How to Customize Columns on the Part Inventory Page
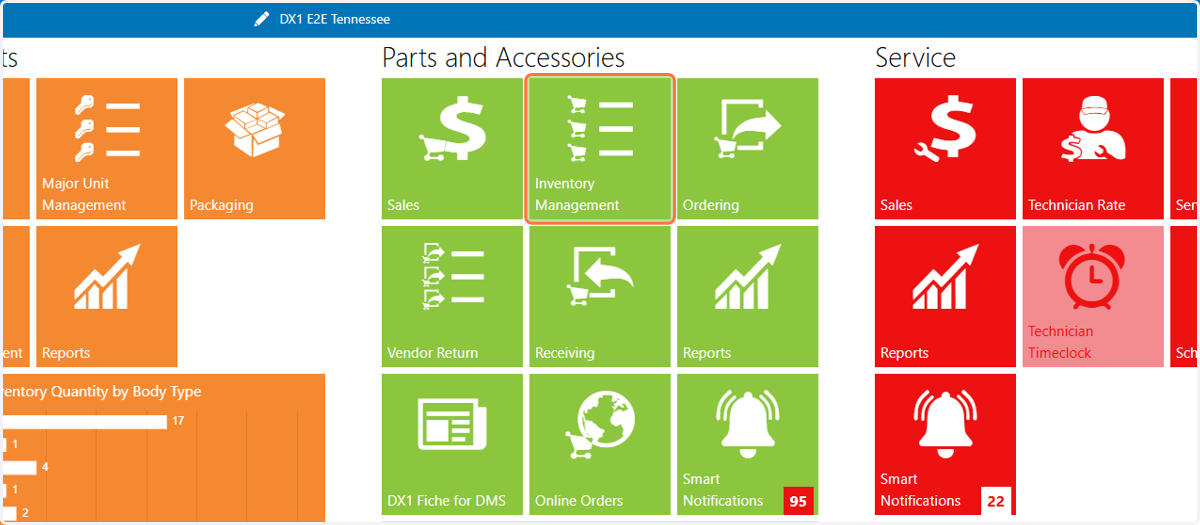
1. Click on the Inventory Management tile
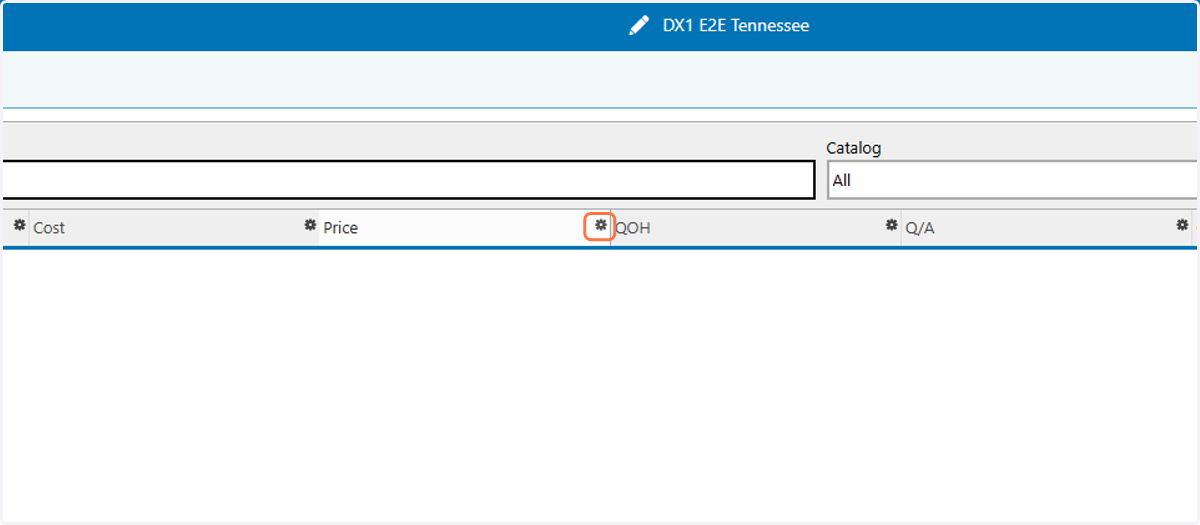
2. Click on Feature chooser icon, you can do this for any column, all the gear icons open the same selection pop-up
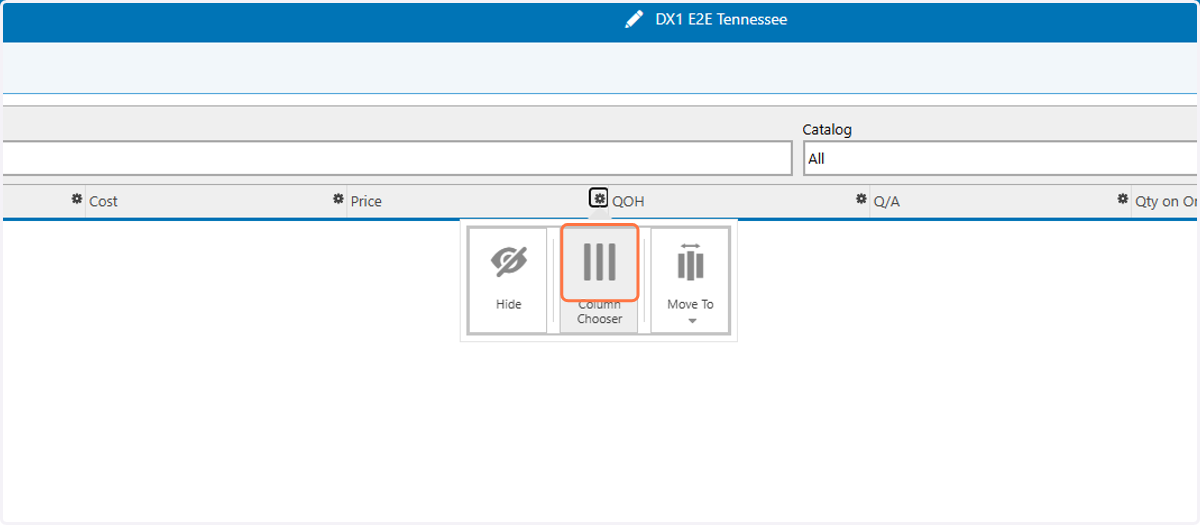
3. Click on the Column Chooser option
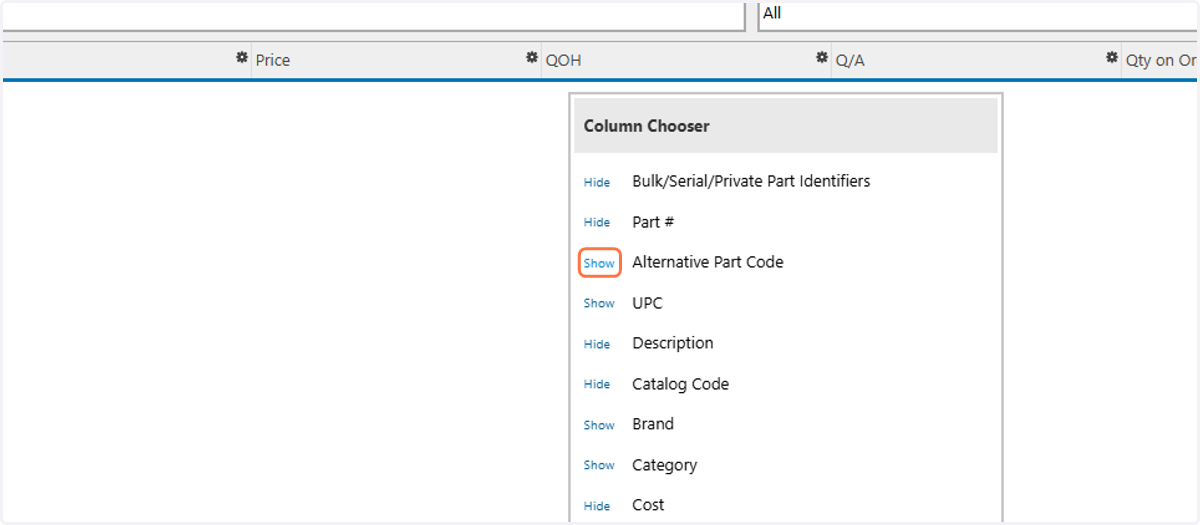
4. In this example, you may want to show the Alternative Part Code column in the grid. To do this, simply click the "Show" button
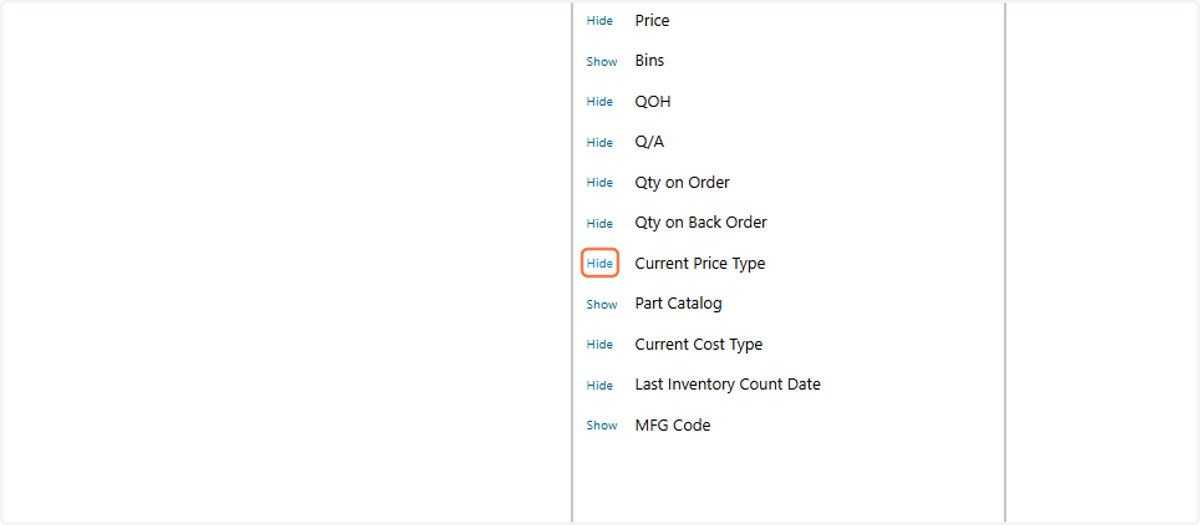
5. Additionally, you may want to hide a column that is displayed in the grid. To do that you can simply click "hide"
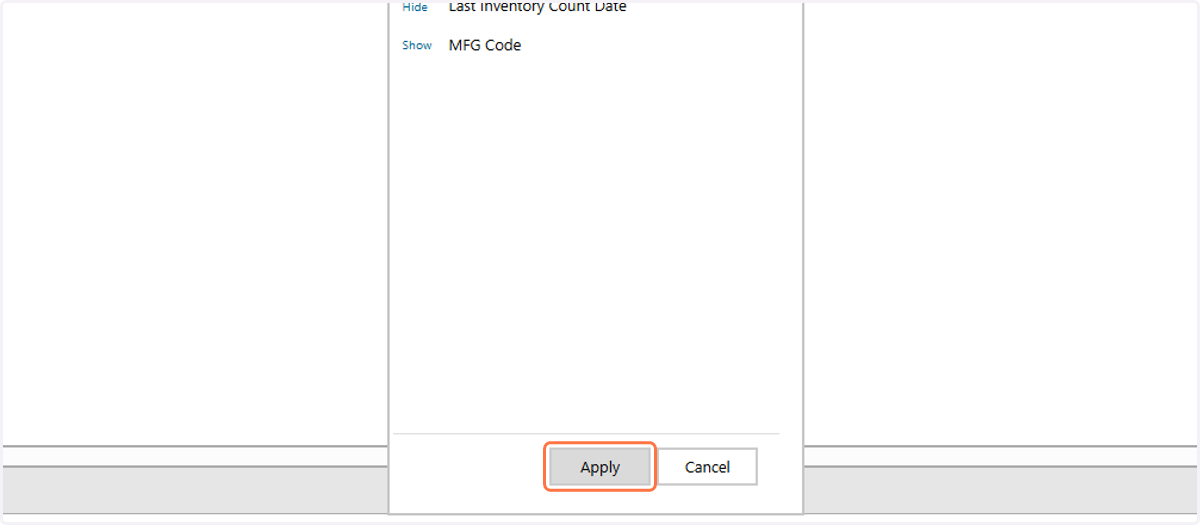
6. Click on Apply to make the changes to the grid
7. Additionally, you can click and drag columns in any order you would like
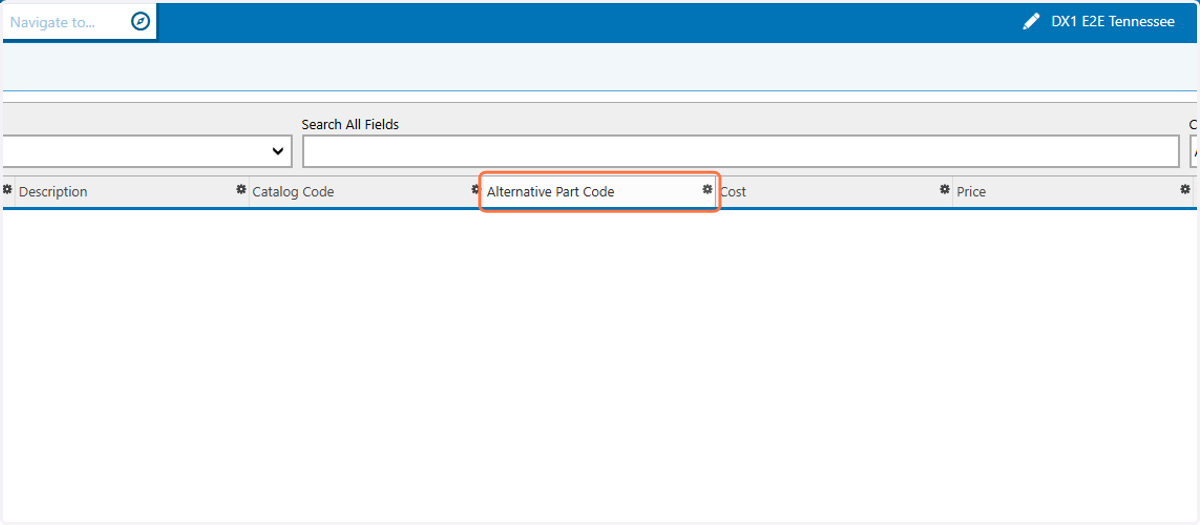
8. You can also move the position of the grid by clicking the Column Chooser icon
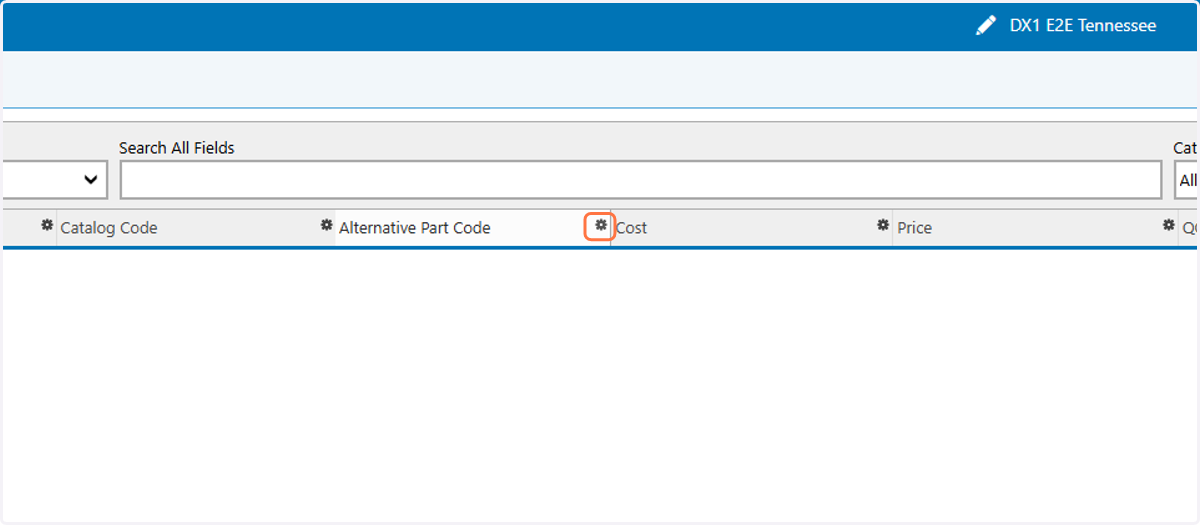
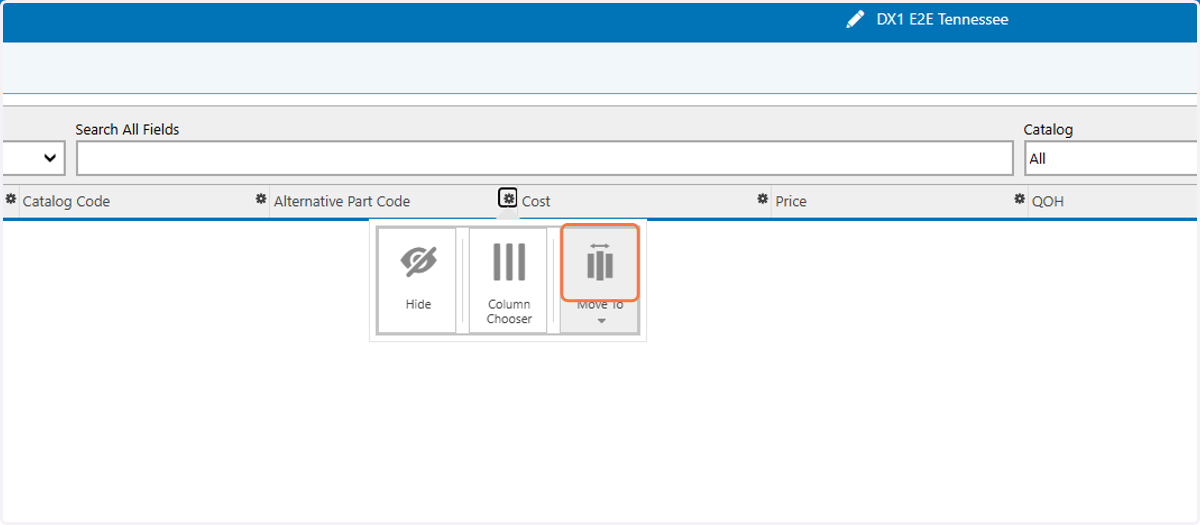
9. Click on Move To
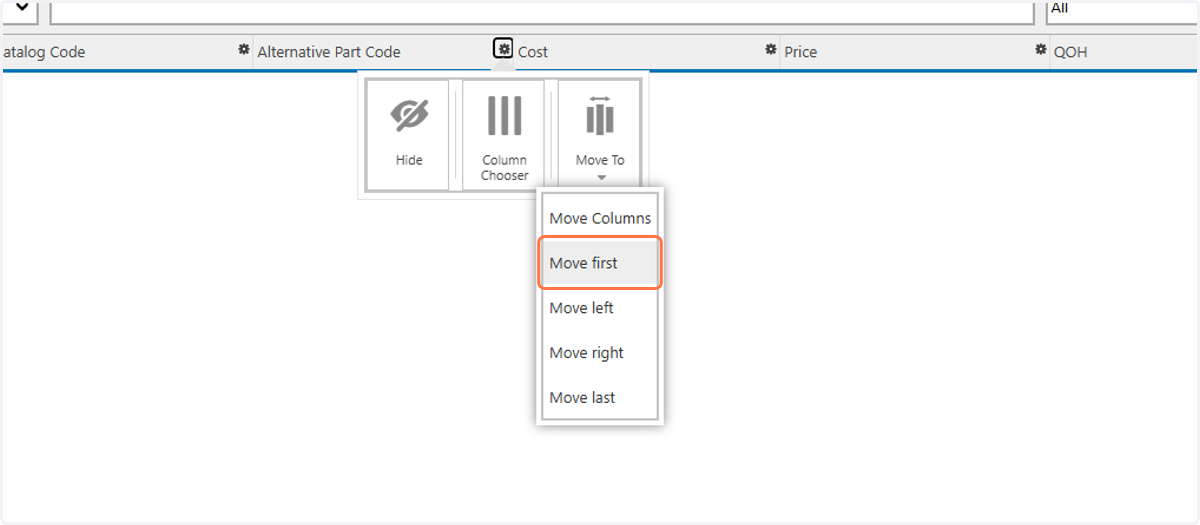
10. Click on Move first, left, right, or to last, with one click
11. You can also hide columns with out opening the Column Chooser list. You can click on the gear icon to open the column chooser pop-up
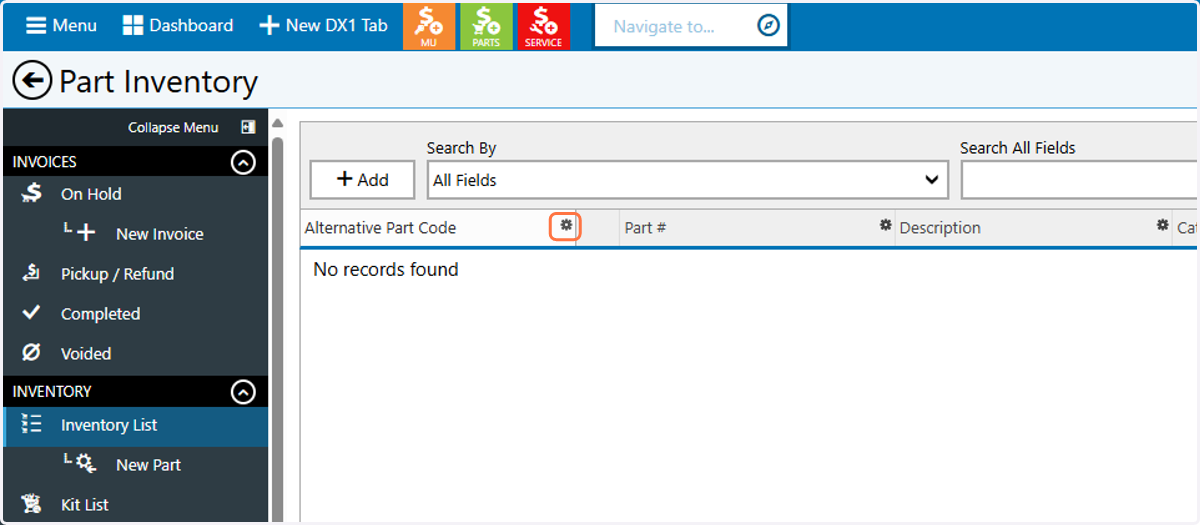
12. Click on Hide for the column and it will instantly be hidden on the grid