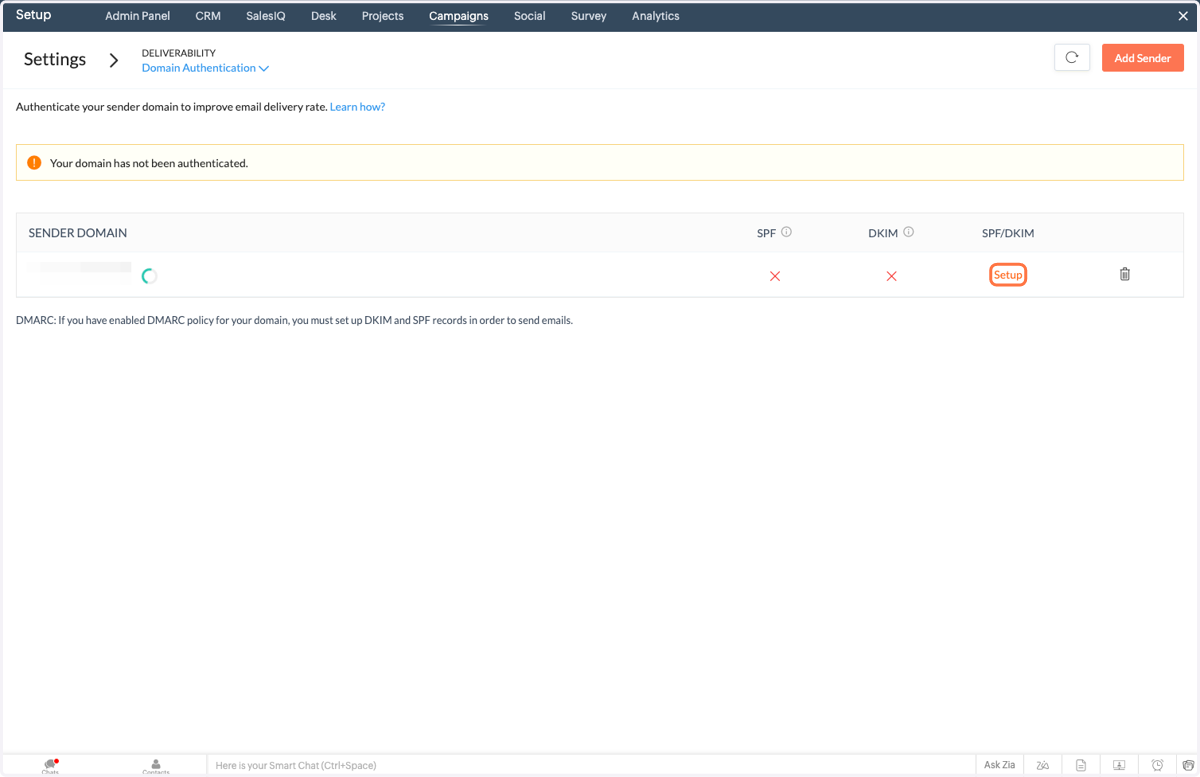
Authenticating Email in Zoho: A Step-by-Step Process
DKIM for Zoho CRM
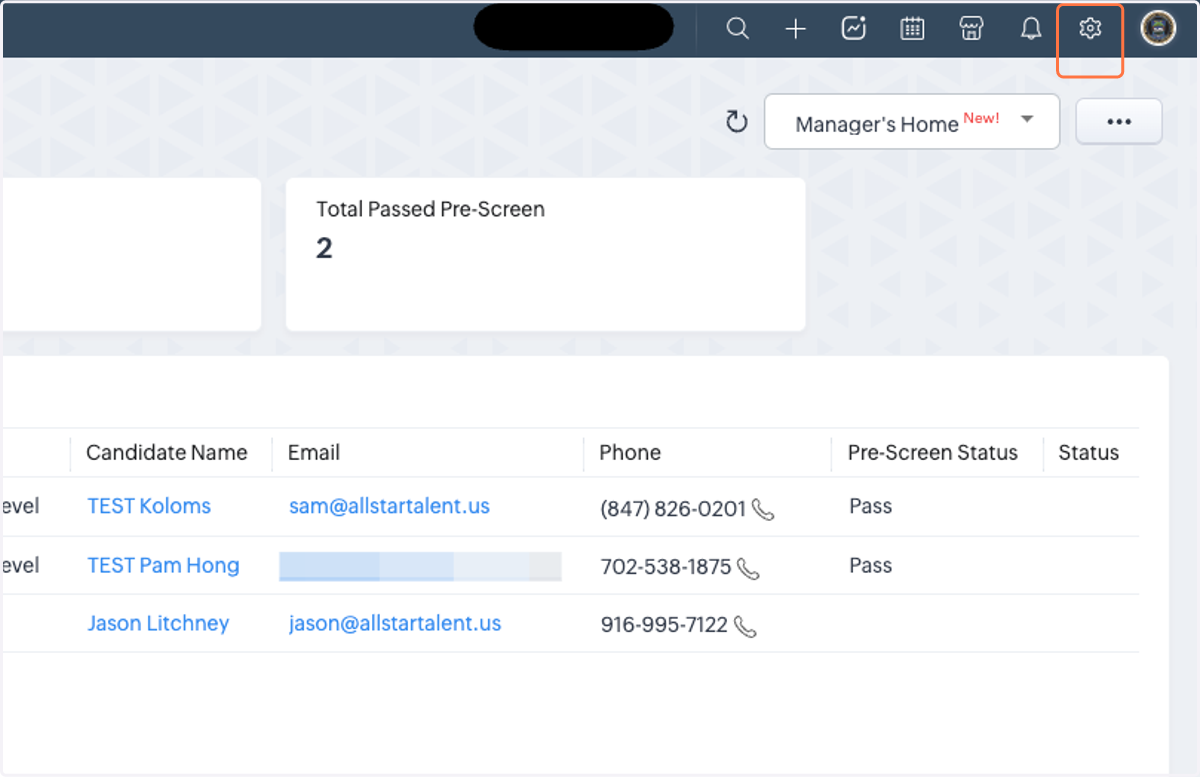
1. Click on "Settings" gear icon on top right next to your profile picture.
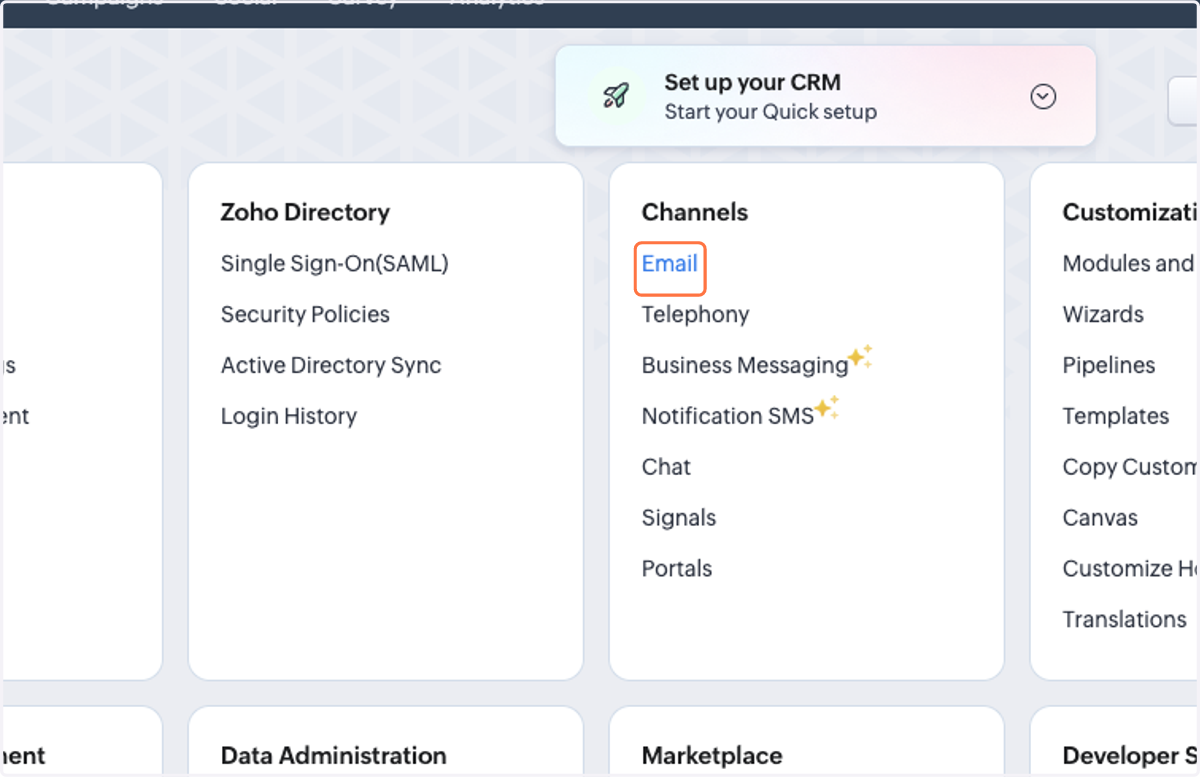
2. Click on "Email" under Channels.
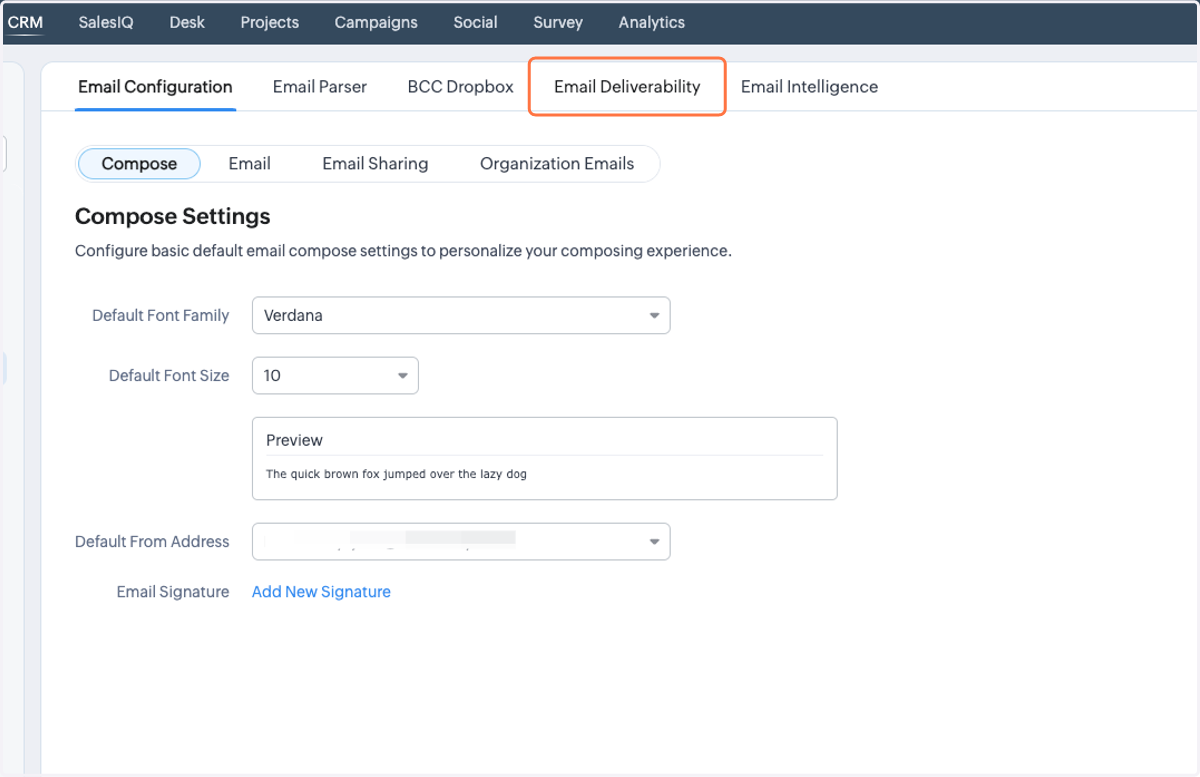
3. Click on "Email Deliverability"
4. Click on "Validate Records"
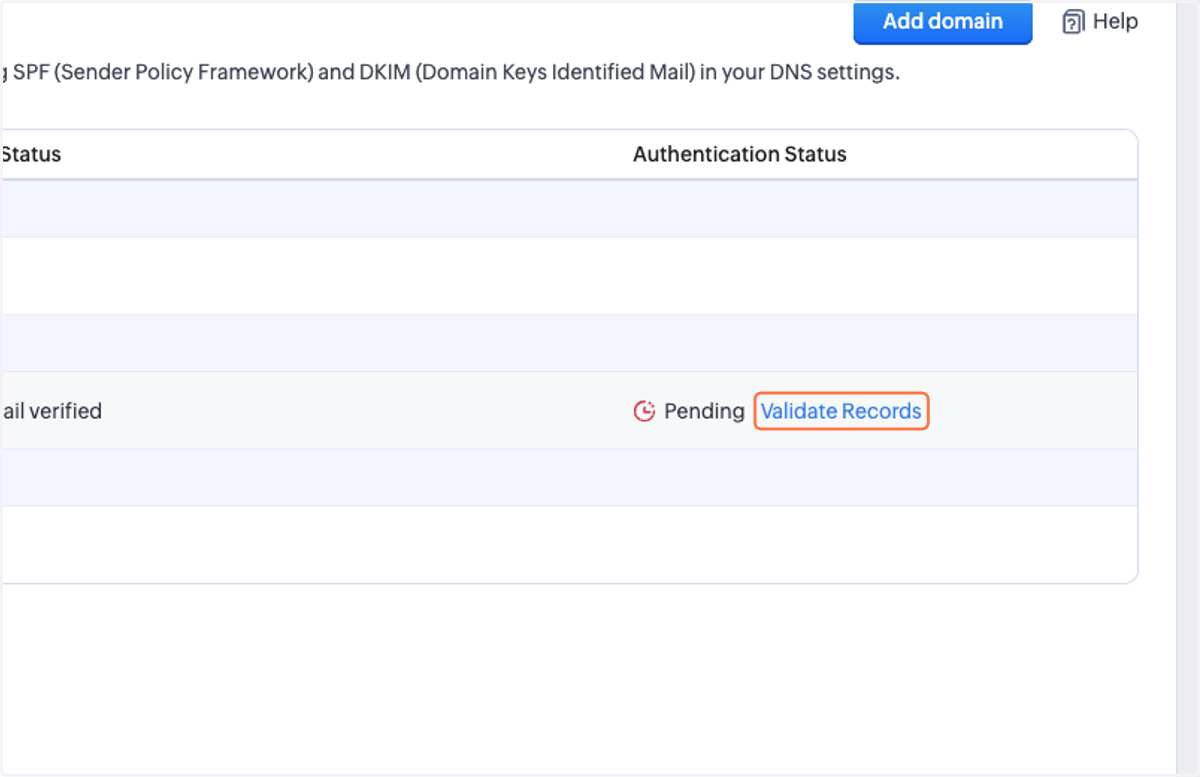
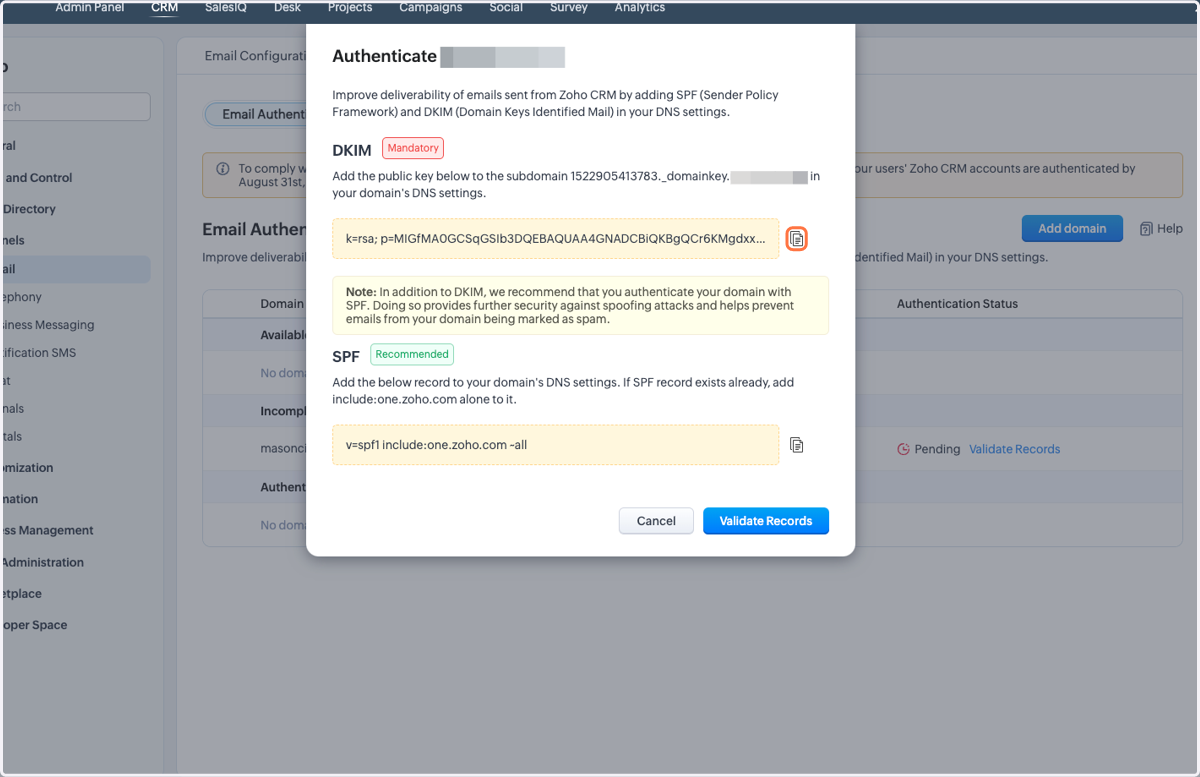
5. Your DKIM will pop up. Copy this for your IT to configure the DNS settings.
The SPF is also on the same screen.
DKIM for Zoho Campaigns
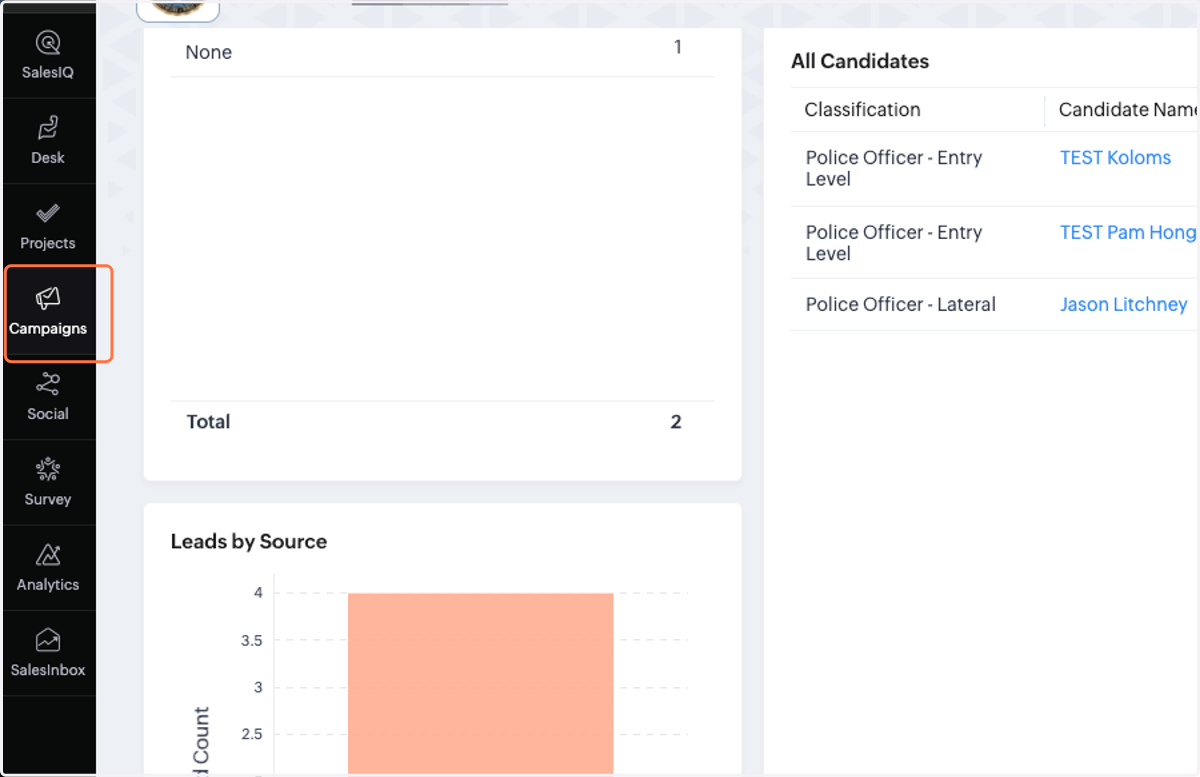
6. Click on "Campaigns" in the left black toolbar.
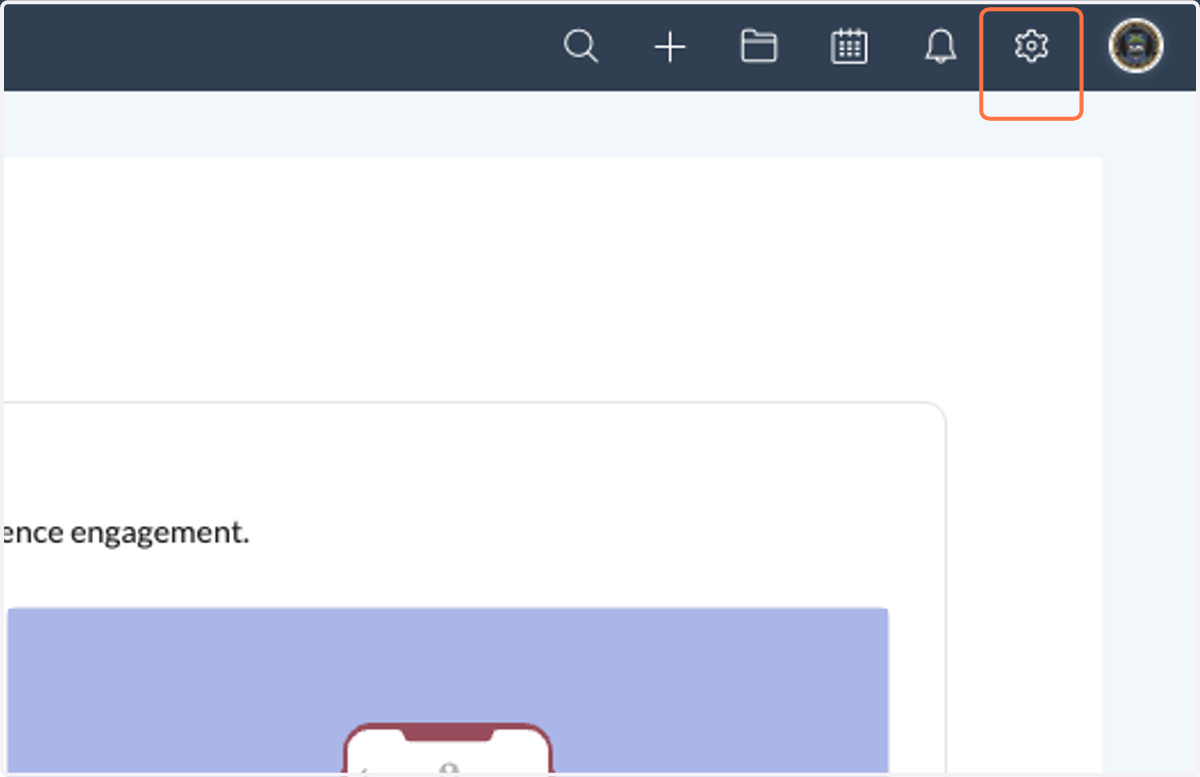
7. Click on "Settings" gear icon.
8. Click on "Domain Authentication" under Deliverability.
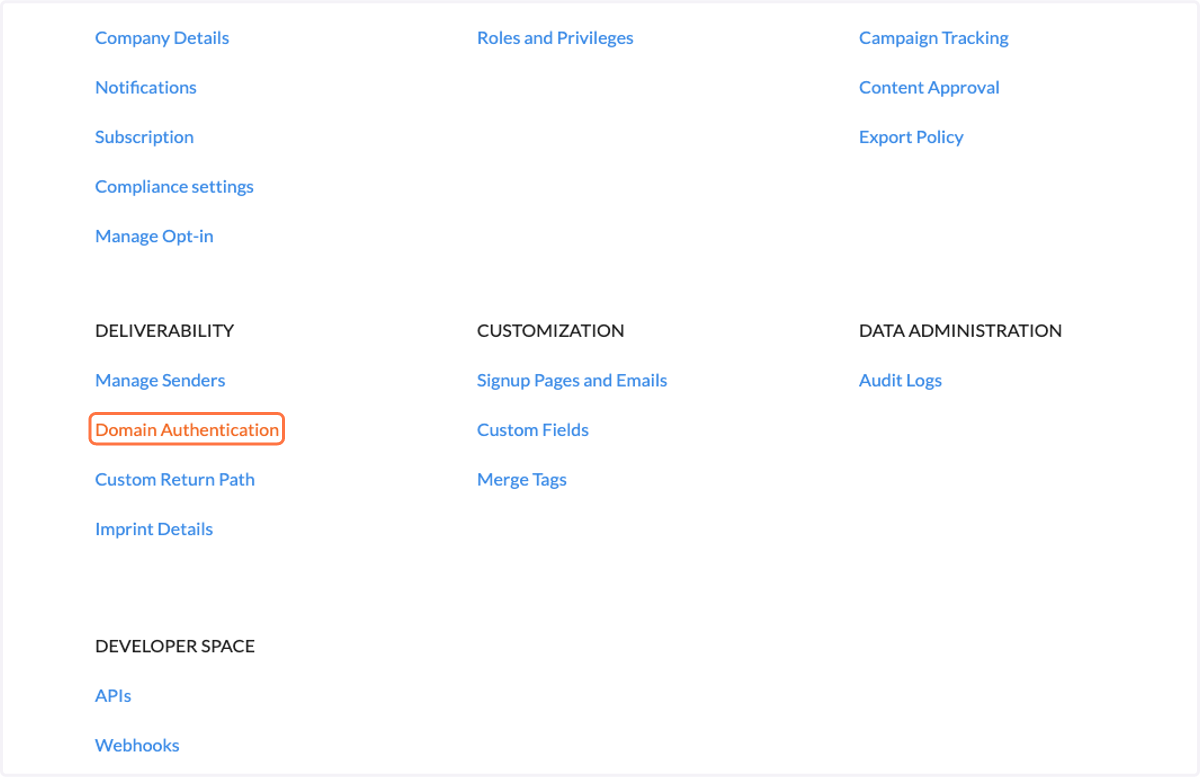
9. Click on Setup