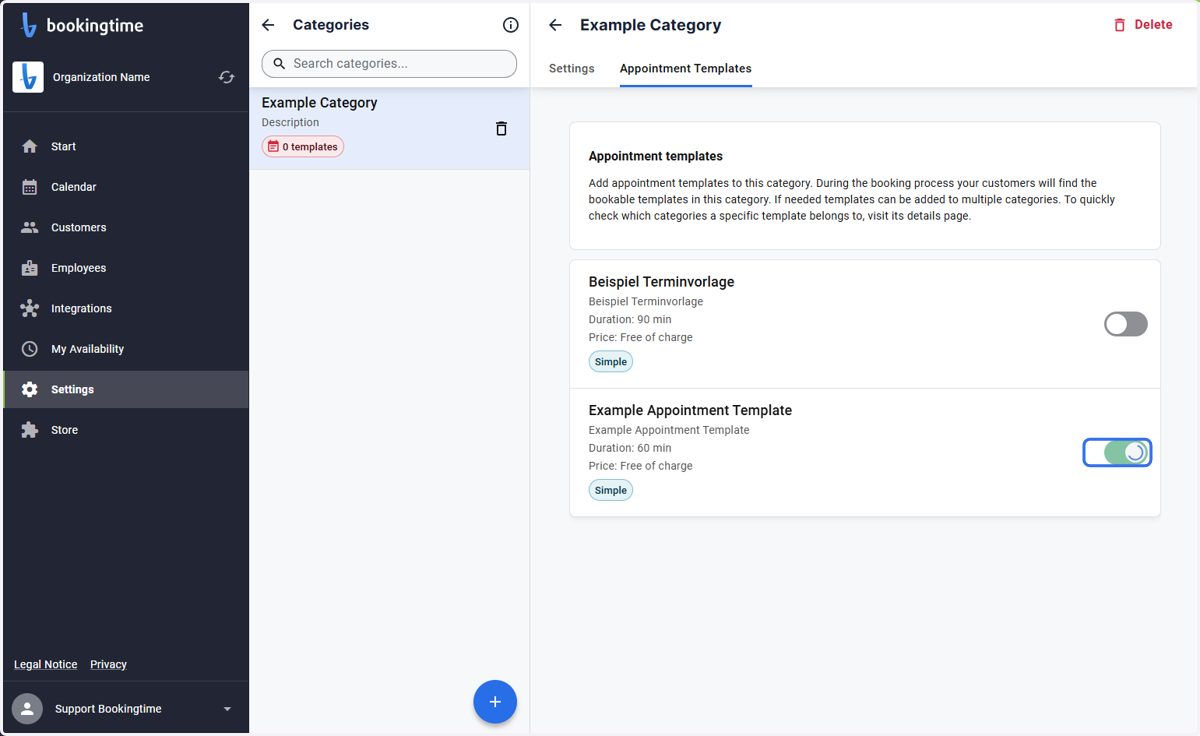
Add Category in Settings - Using categories to organise your appointment templates
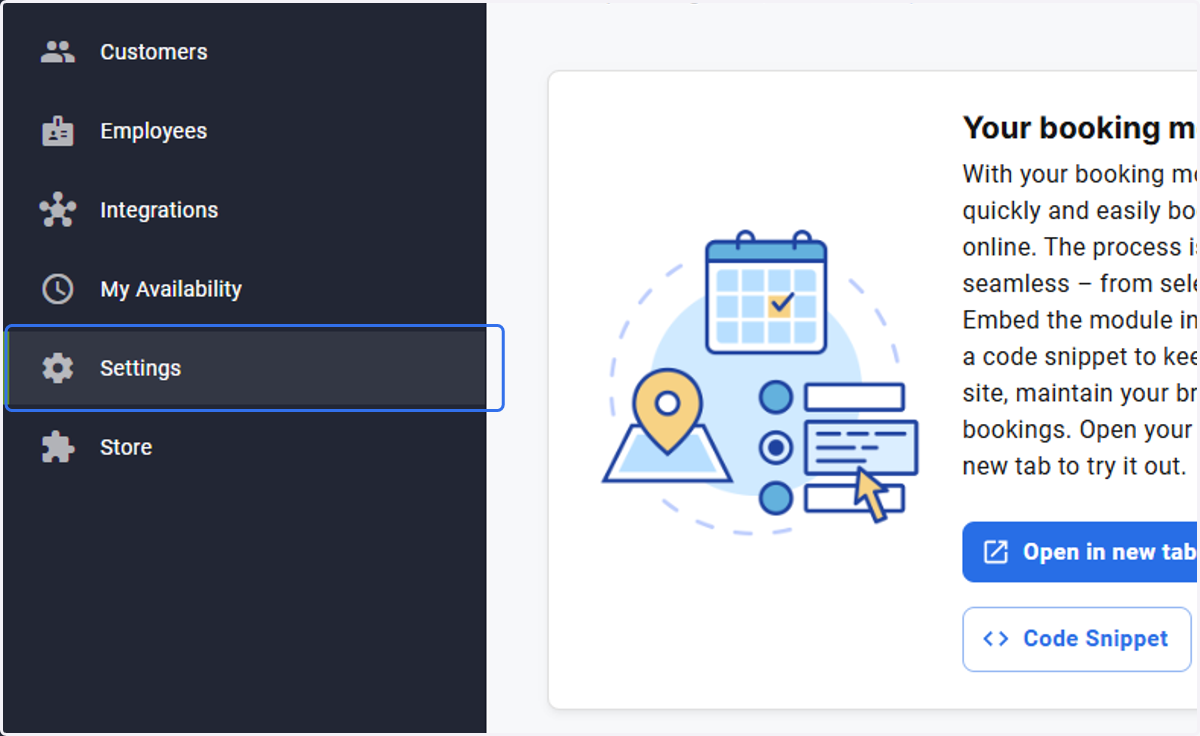
1. Click on Settings
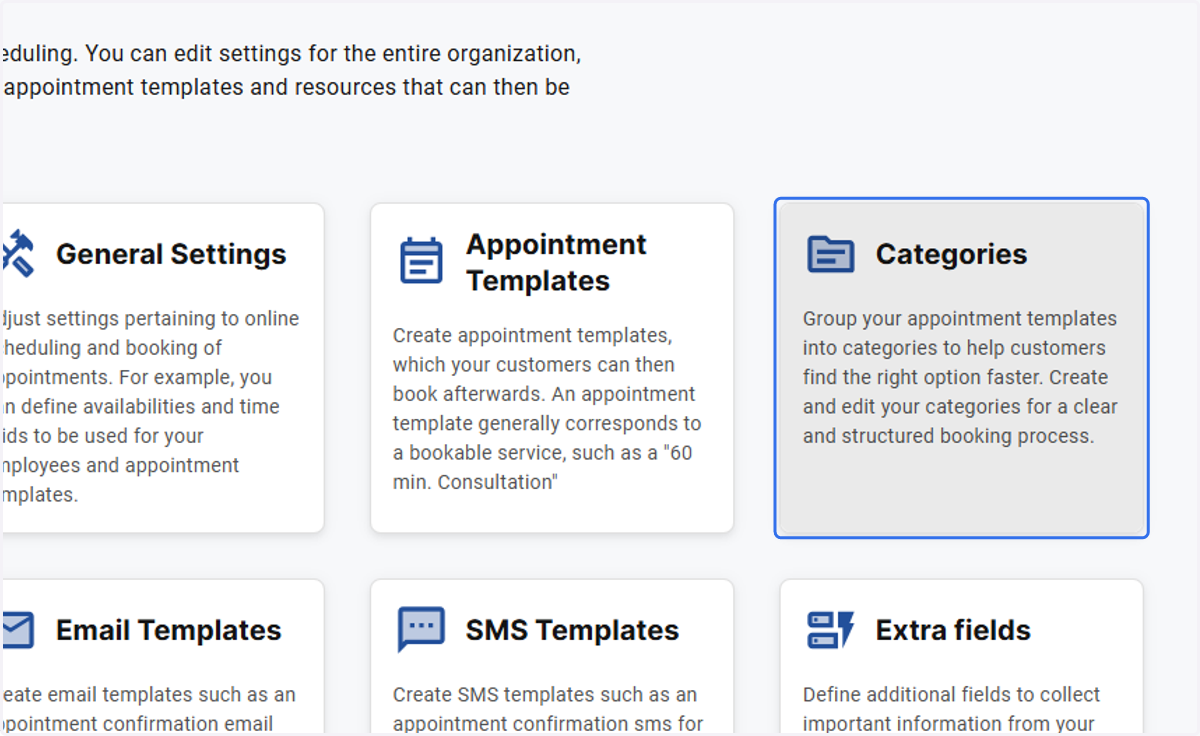
2. Click on Categories…
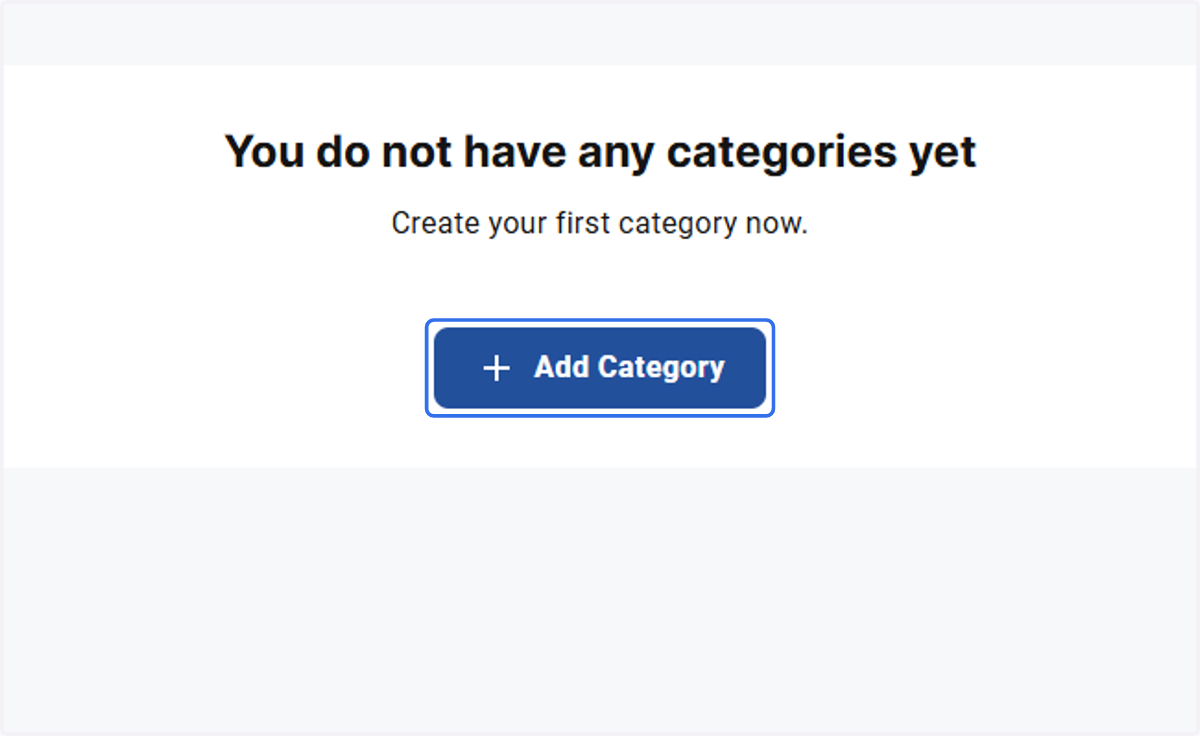
3. Click on Add Category
4. Choose a name for your category. This will appear on the first booking step
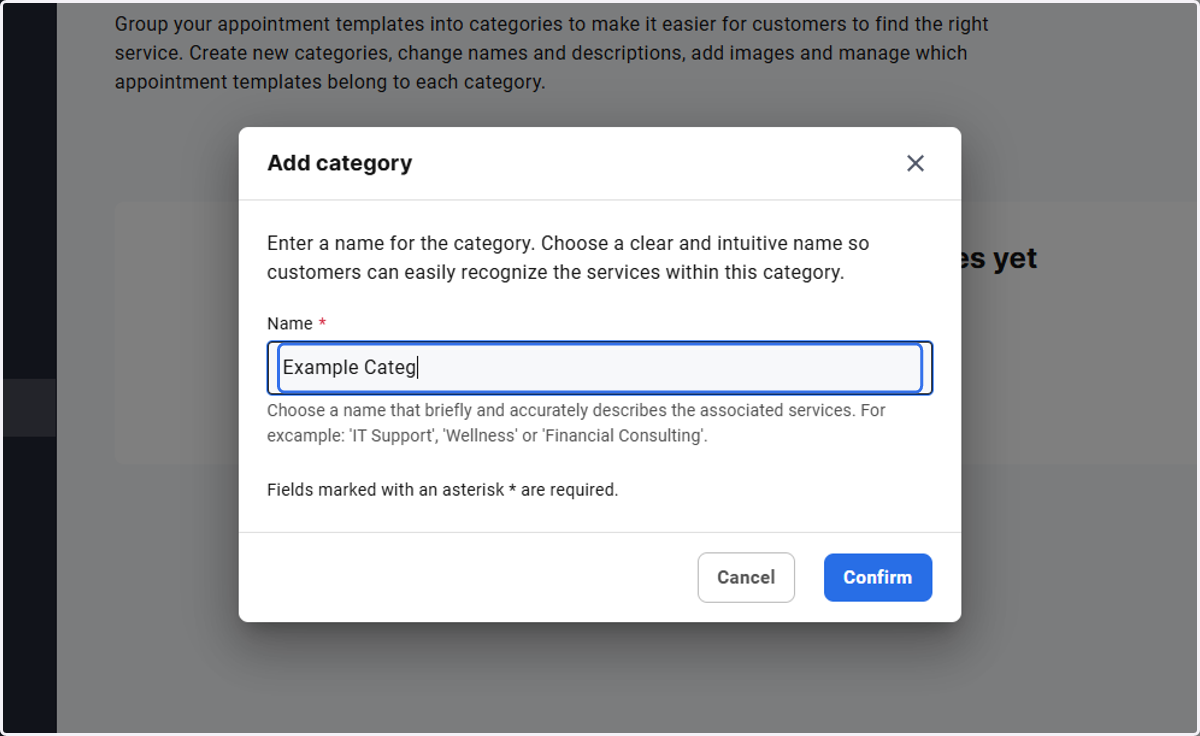
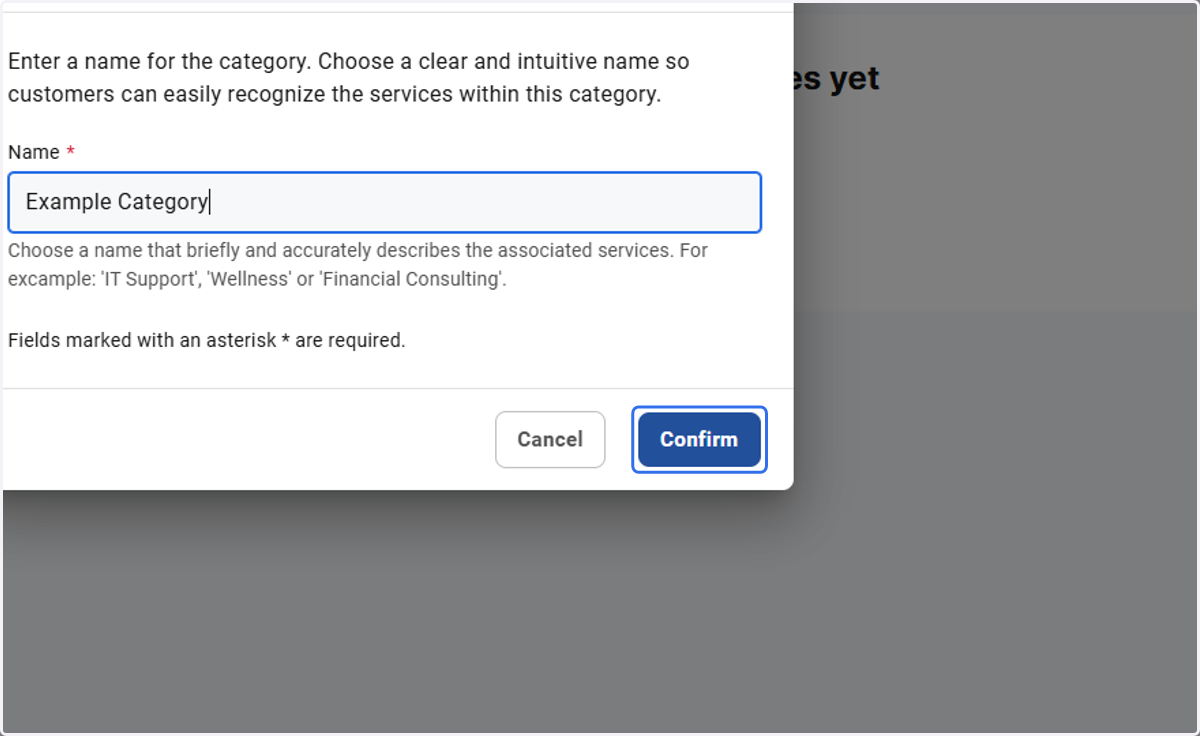
5. Click on Confirm
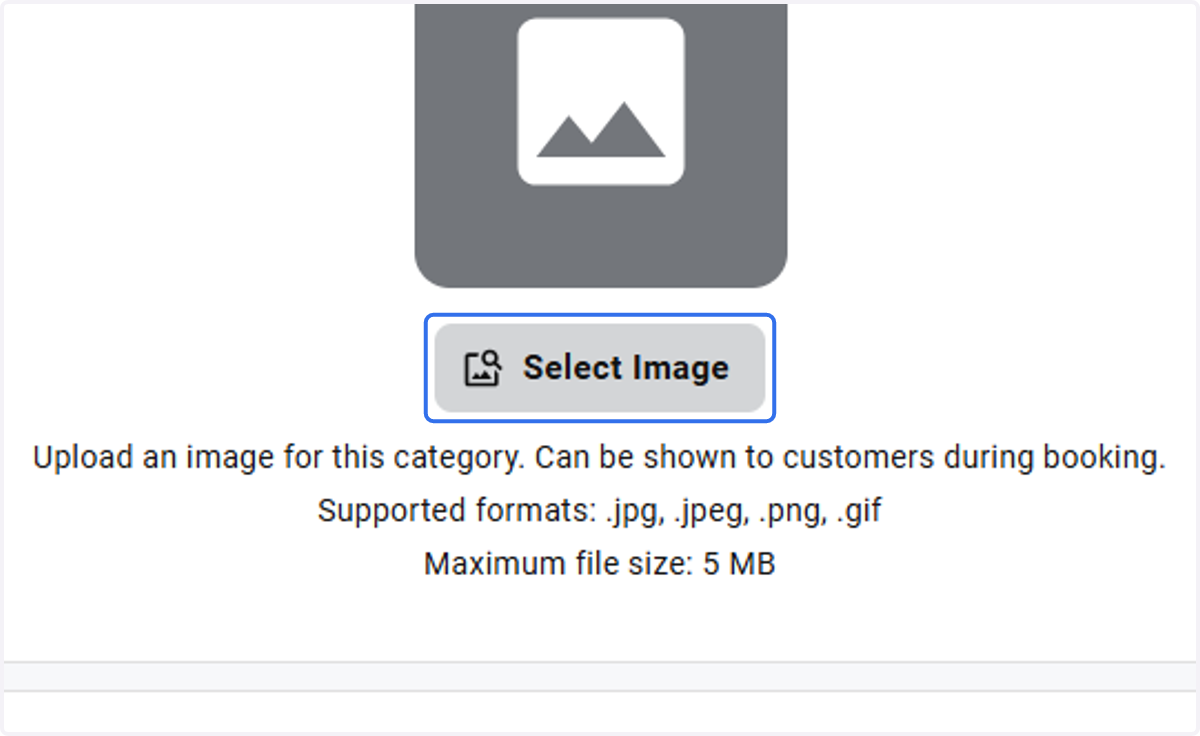
6. Click on Select Image if you would like to add an image (e.g. Logo)
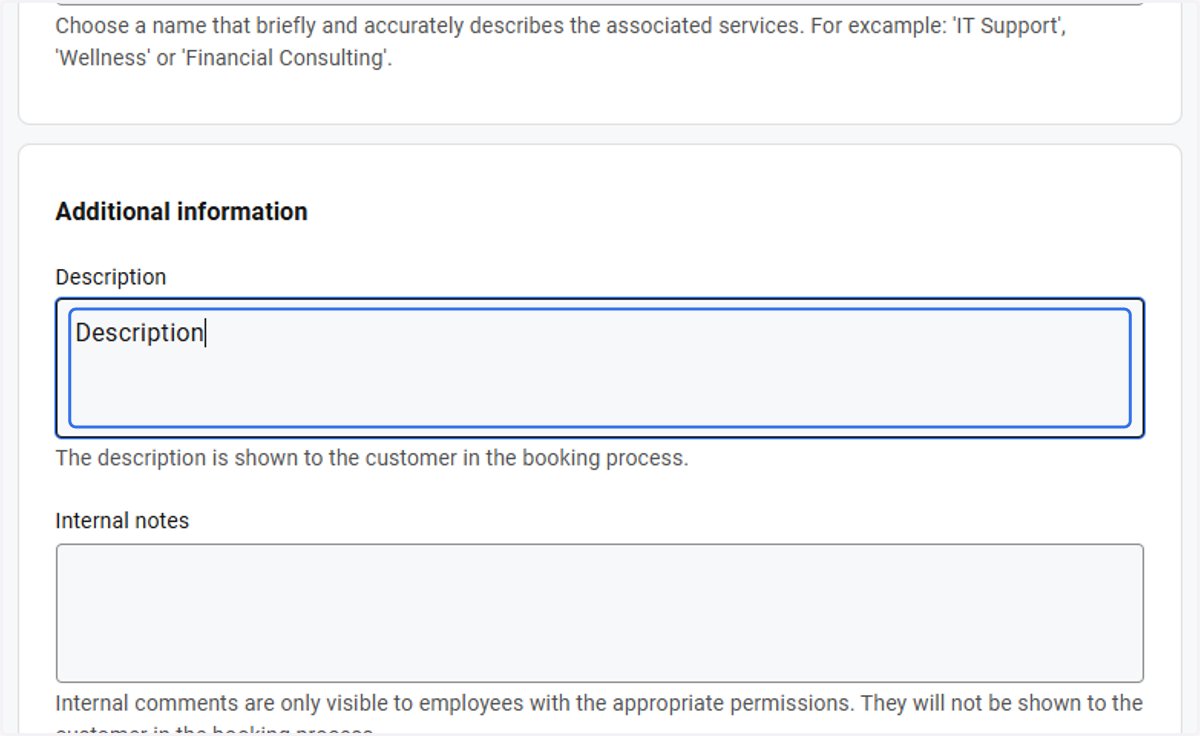
7. You could also add a description for the category
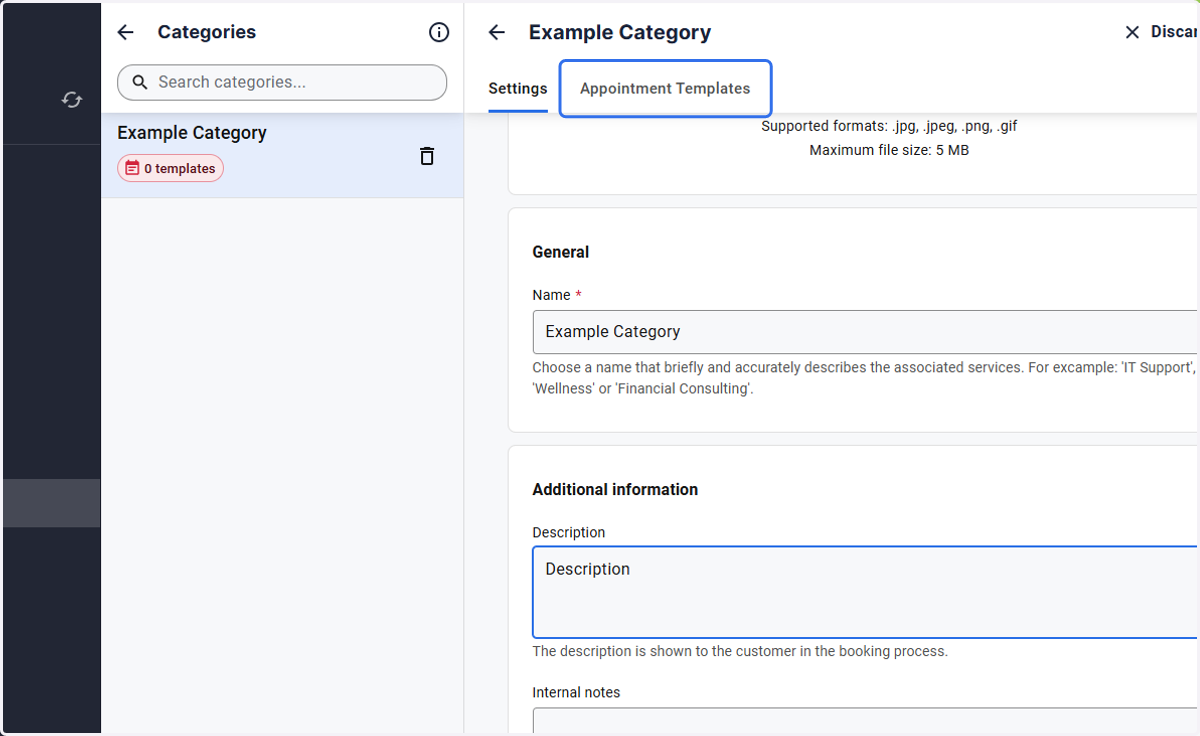
8. Click on Appointment Templates to assign the relevant appointment templates to this category
9. Activate the relevant appointment template for this category