Comprehensive Platform Administration Guide
A guide for System Administrators on a Comprehensive Induction Platform
Access your platform via the unique URL provided
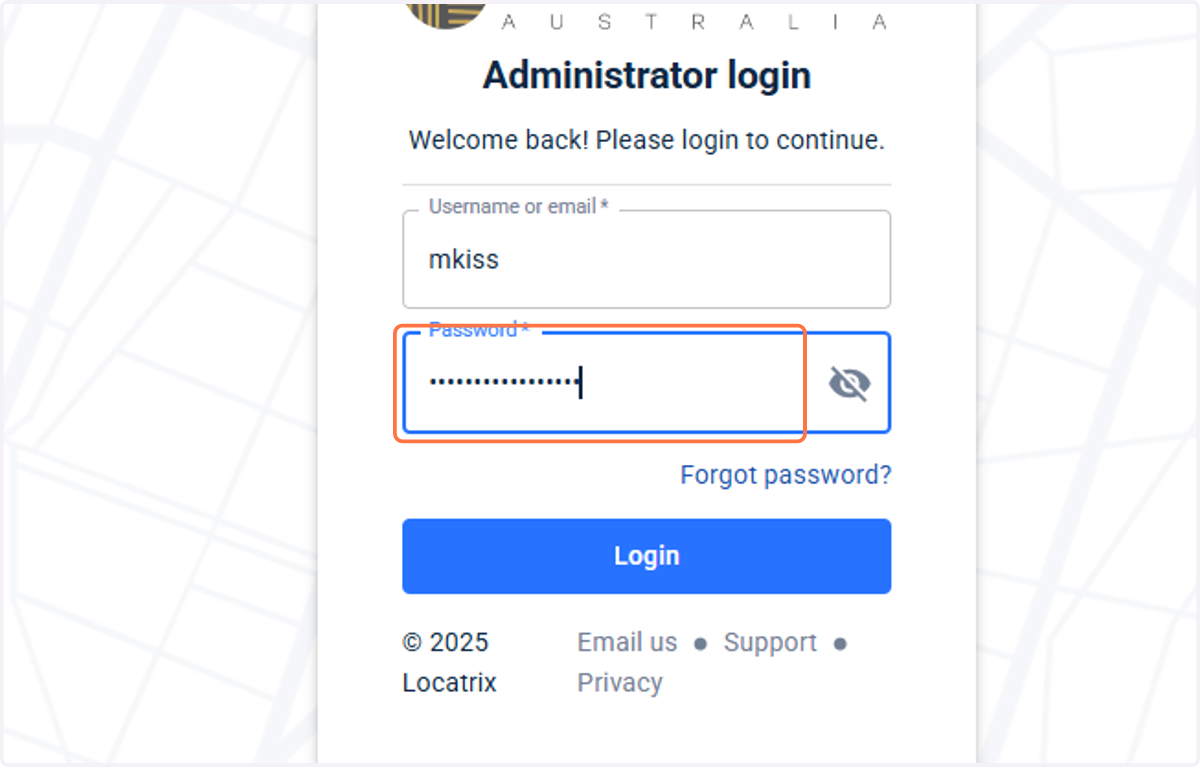
1. Logging in.
Enter your login details and click Login
2. Administration dashboard
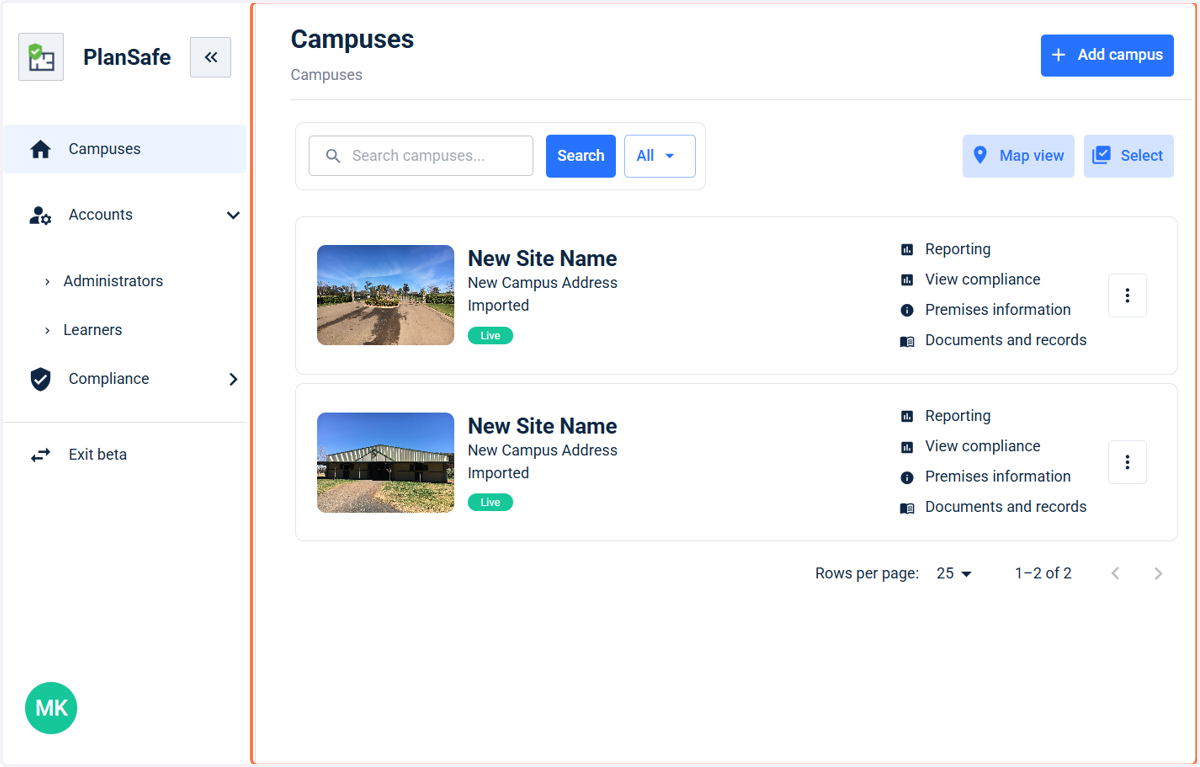
The dashboard will show your site or sites, depending on your setup. NOTE: these are called "Campuses"
We will go through the various dashboard menu items, starting with previewing an induction
3. Previewing an Induction
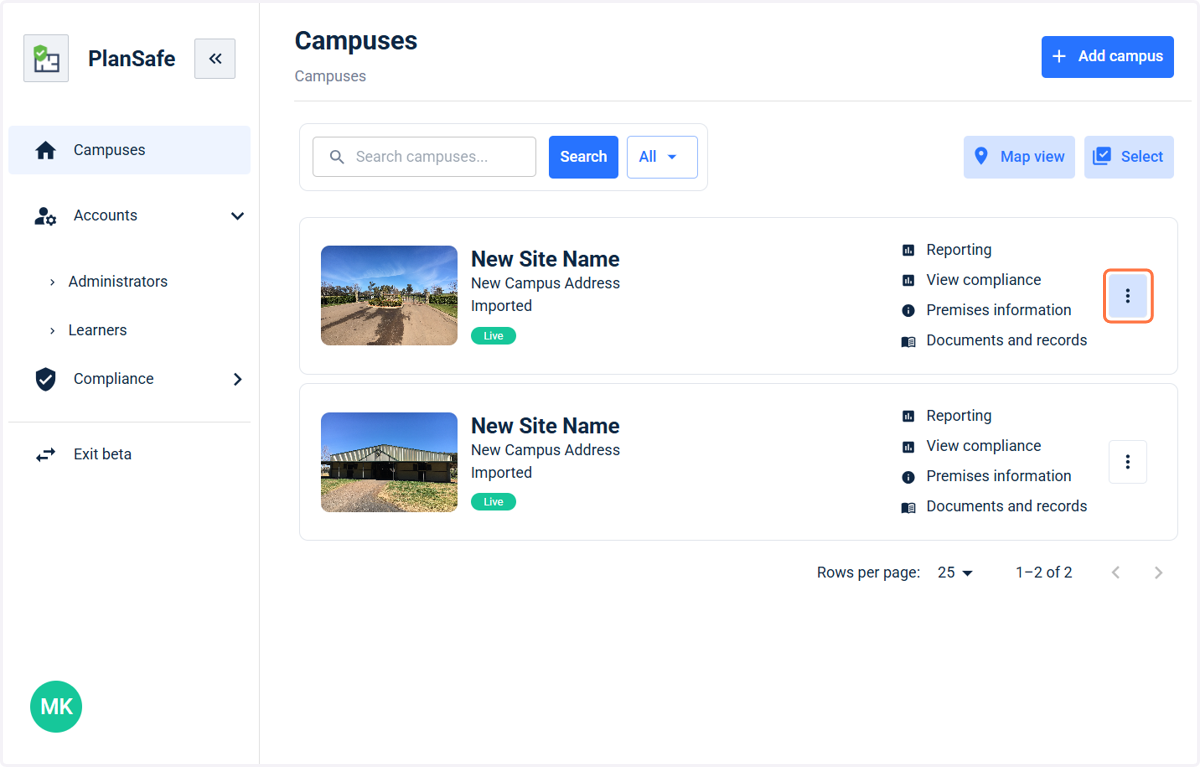
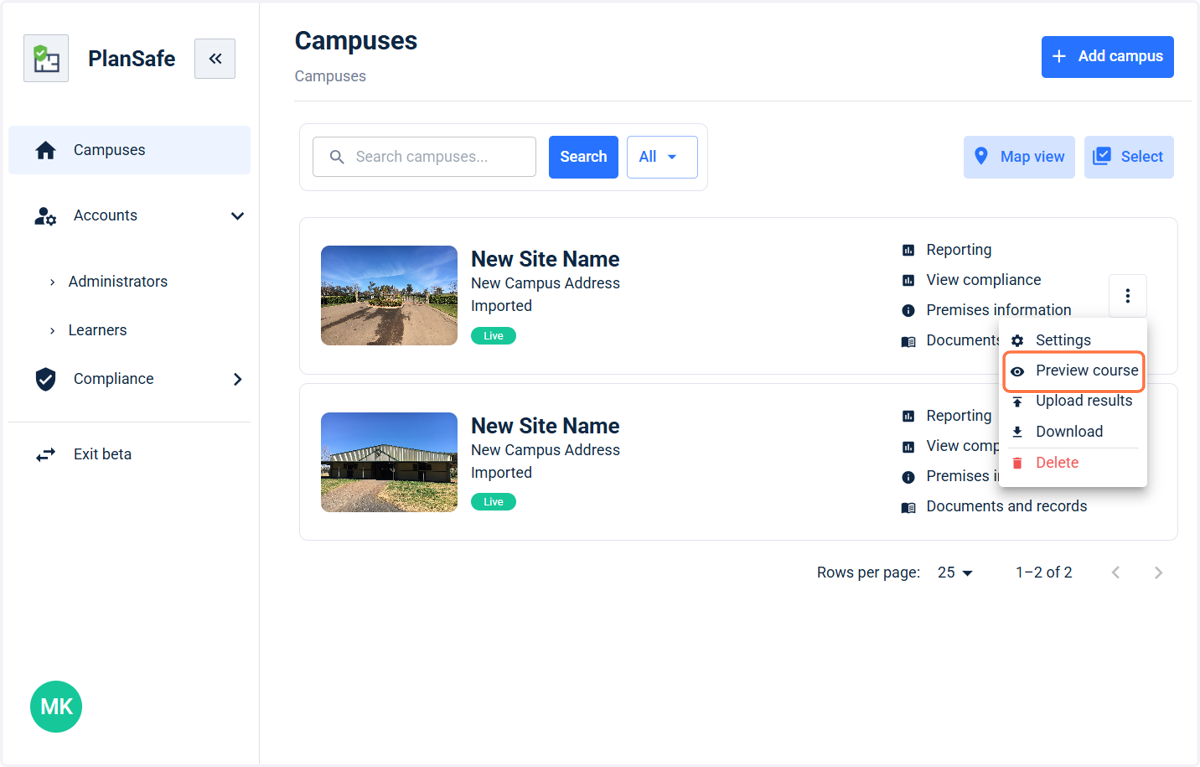
Use the 'breadcrumb' icon to access Induction Preview
4. Click on preview course
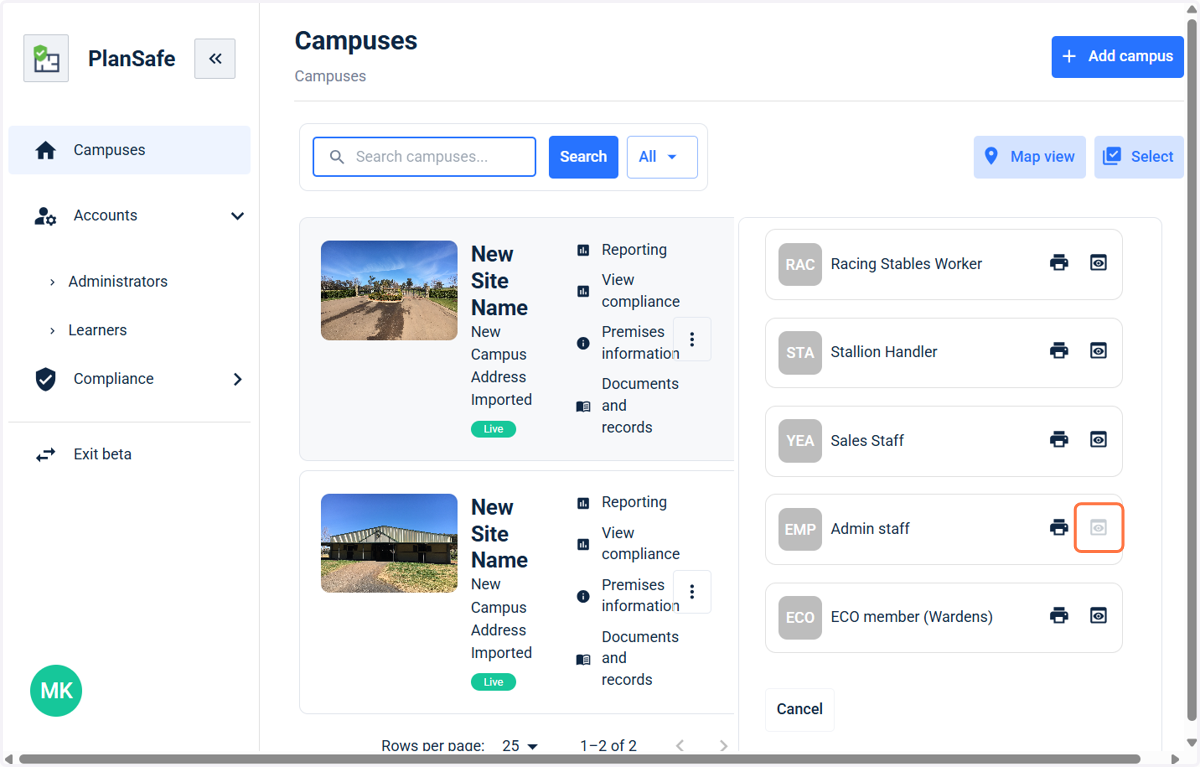
5. Then select the course you would like to preview
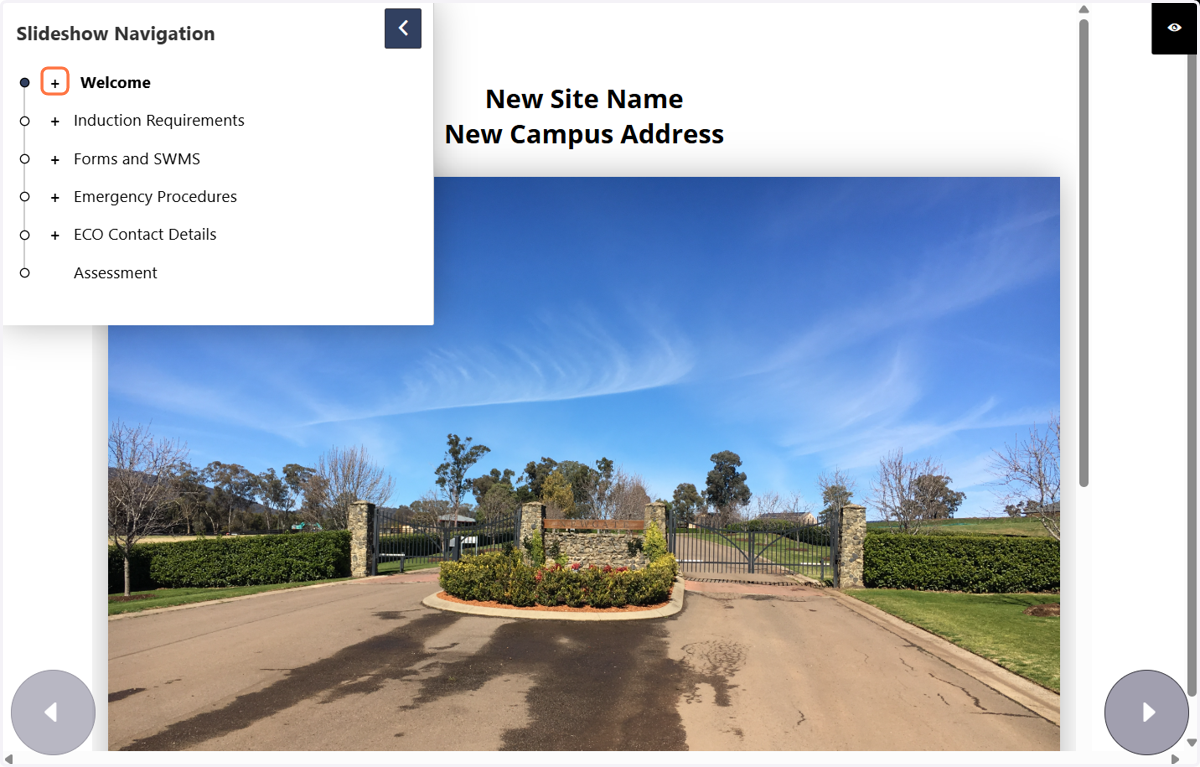
6. You will be taken to a preview of the induction content.
Use the + navigation buttons to expand the view
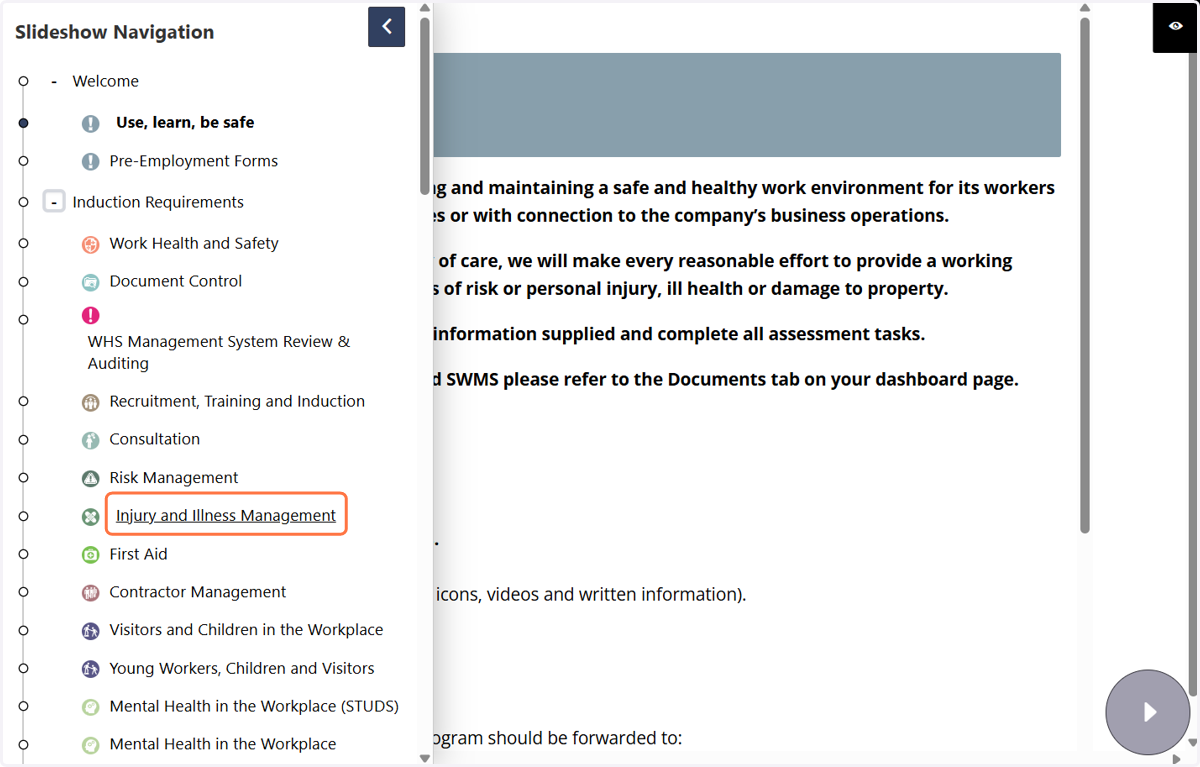
7. From here you can navigate to the slides you wish to preview
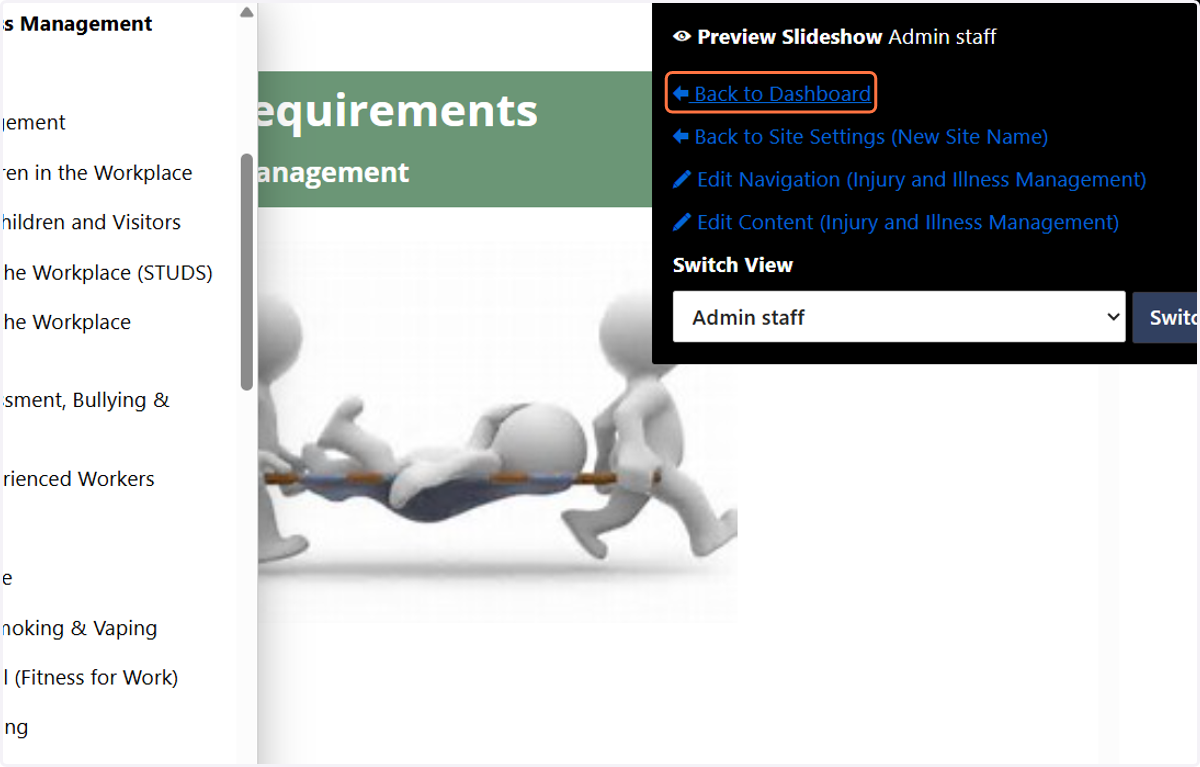
8. To return to the main dashboard, use the eye symbol or 'back button'.
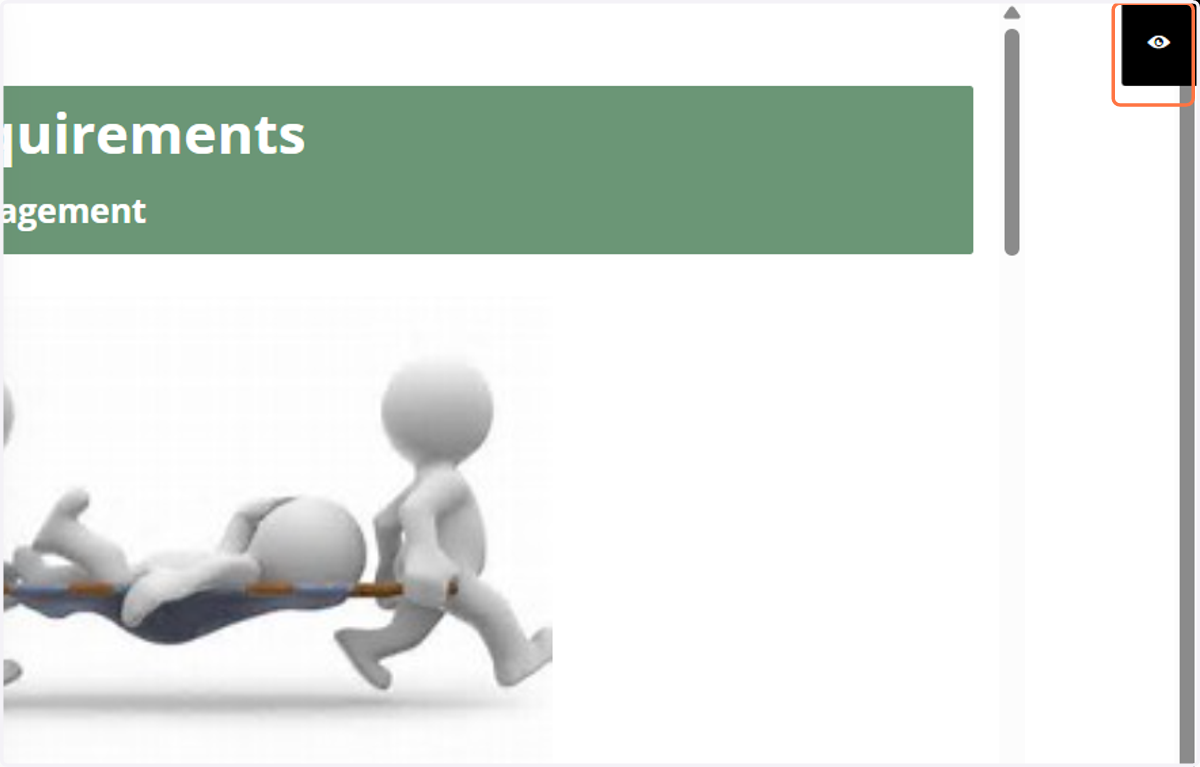
9. Click on back to dashboard
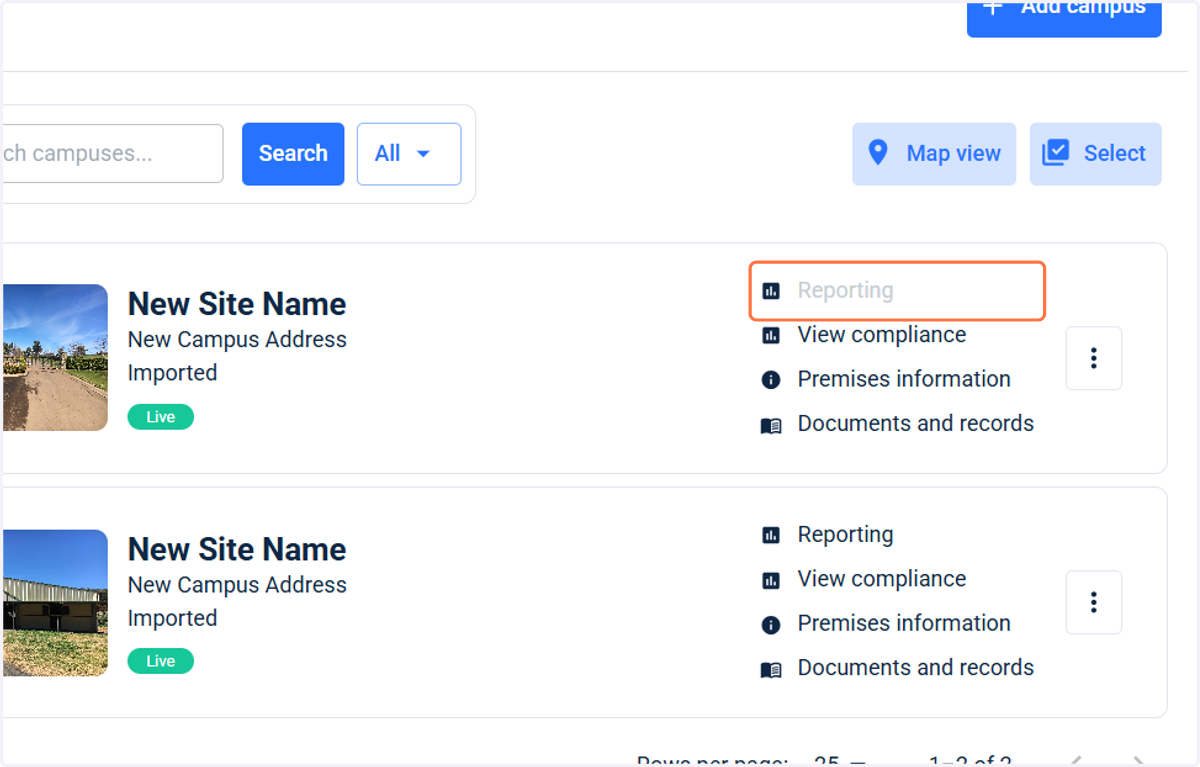
10. Reports
Use the reporting icon to access the reports section.
Run reports for current or expired induction records.
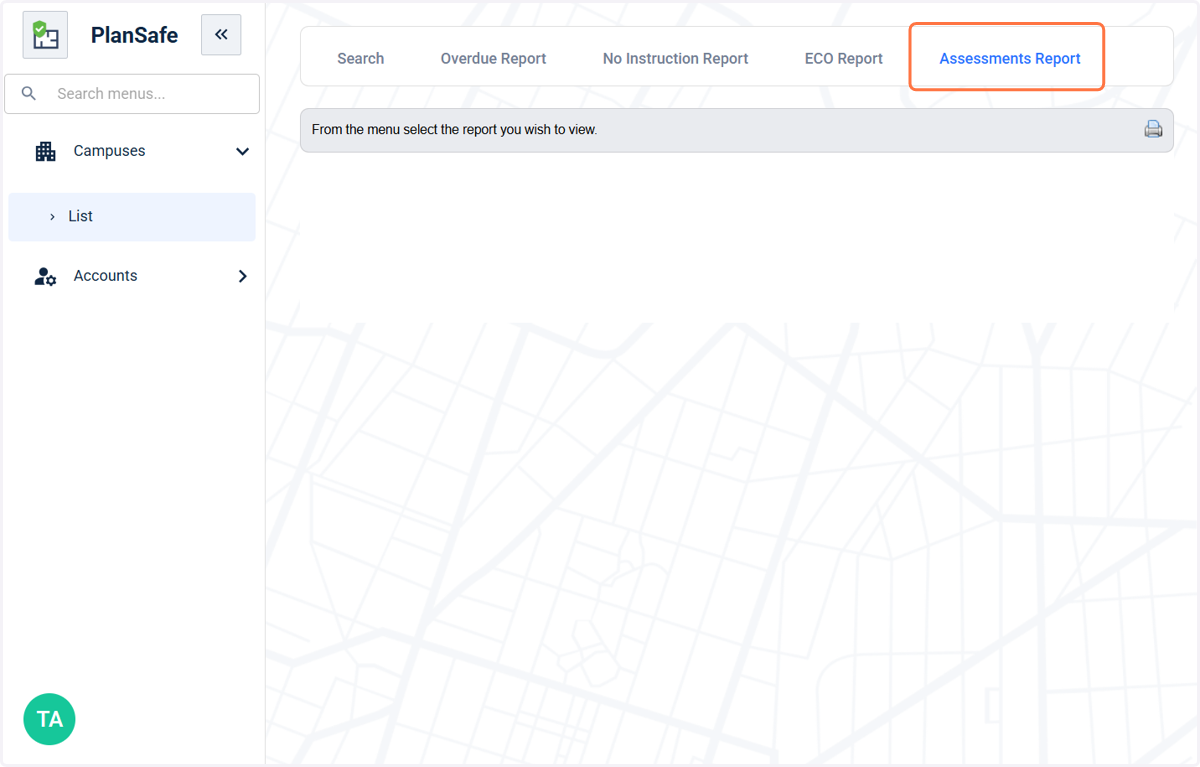
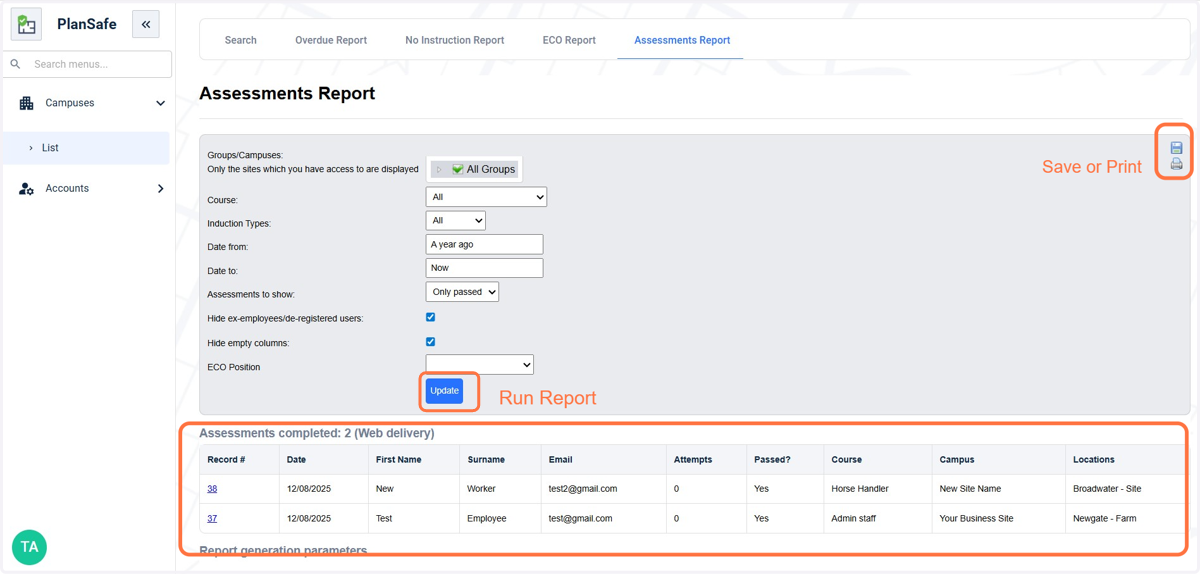
11. Assessment report
Displays all inductions current within 12 months
12. Report filters
Filters are hard coded to show all current inductions (within 12 months)
Inductions expire after 12 months and become "overdue"
To save the report or print, use the icons in the top right corner.
13. Overdue report
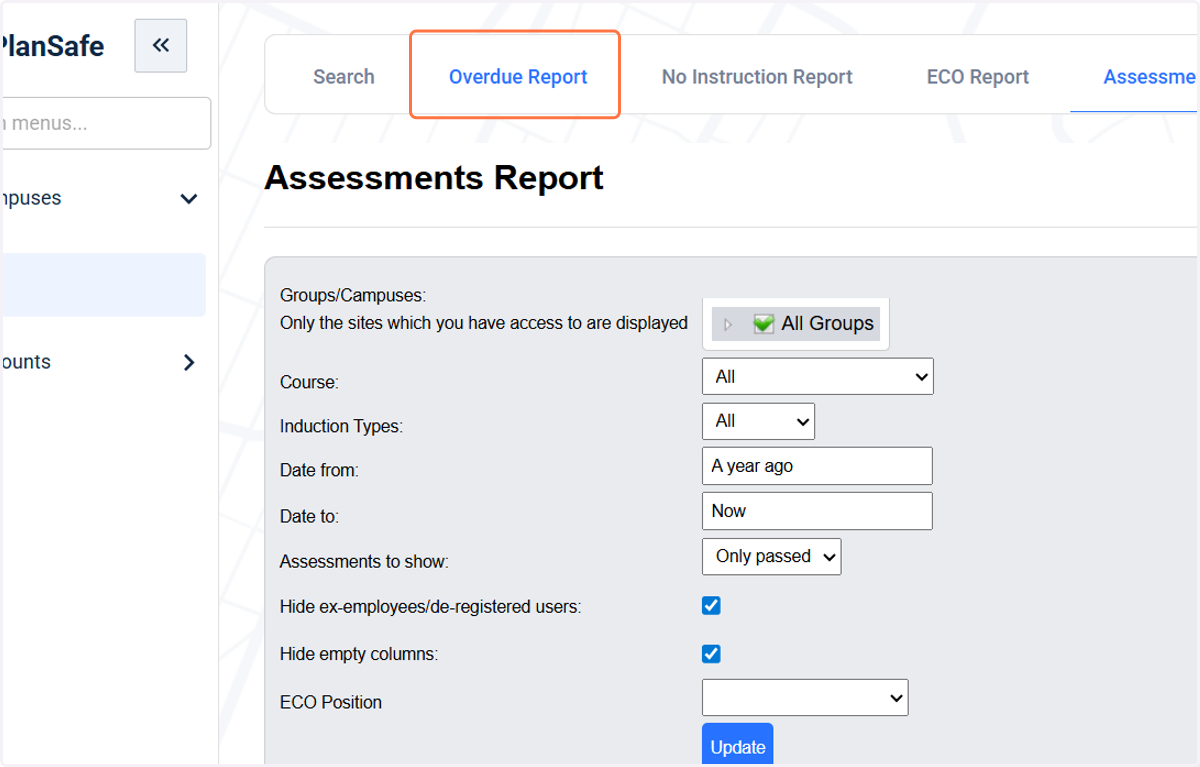
This report shows inductions that have passed the 12 month valid date.
Learners receive reminders to re-sit their induction at this time, but they may need a reminder.
Follow steps above to run, save or print your overdue report
14. Document library
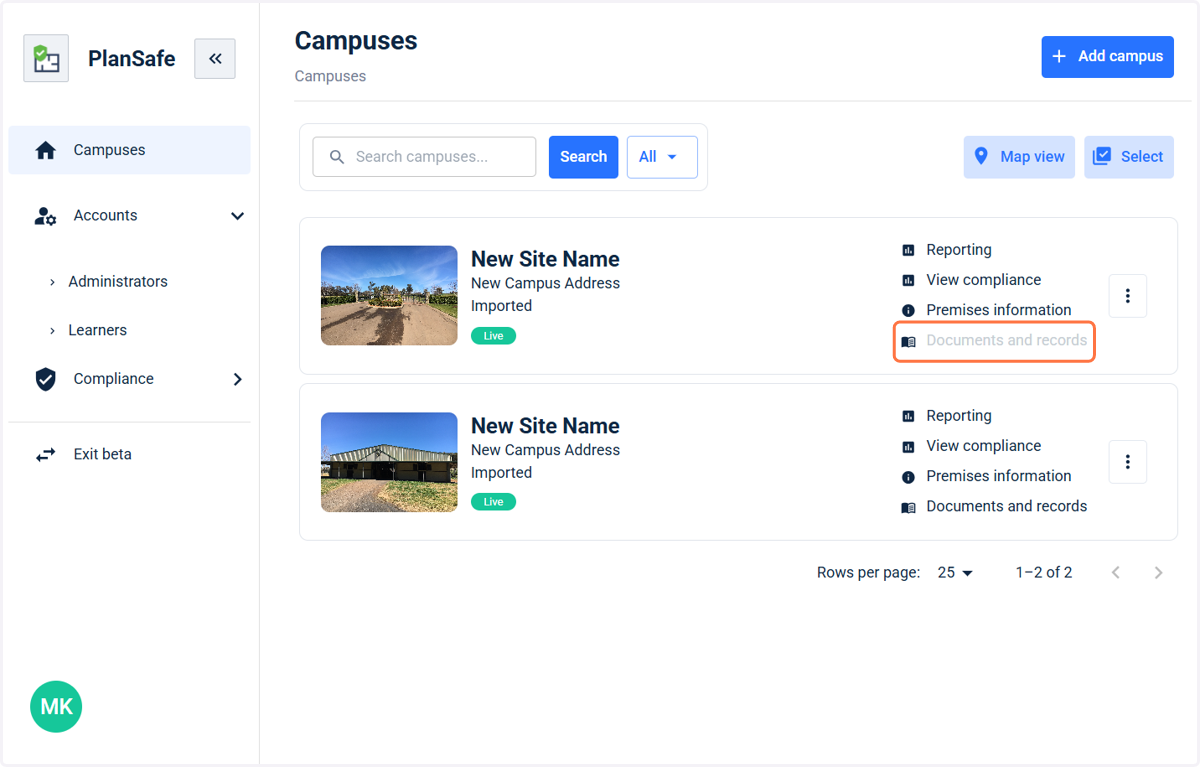
Access the document library to view OHS/WHS policies and procedures.
Click on documents and records.
15. Categories
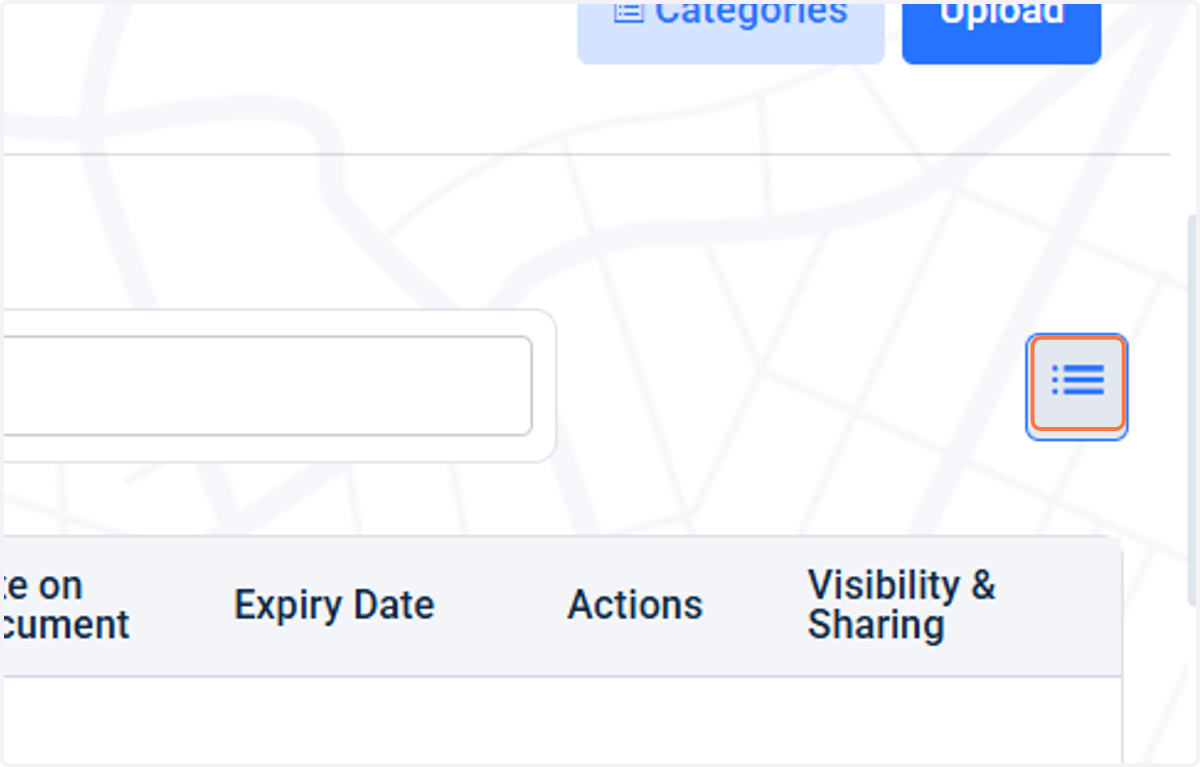
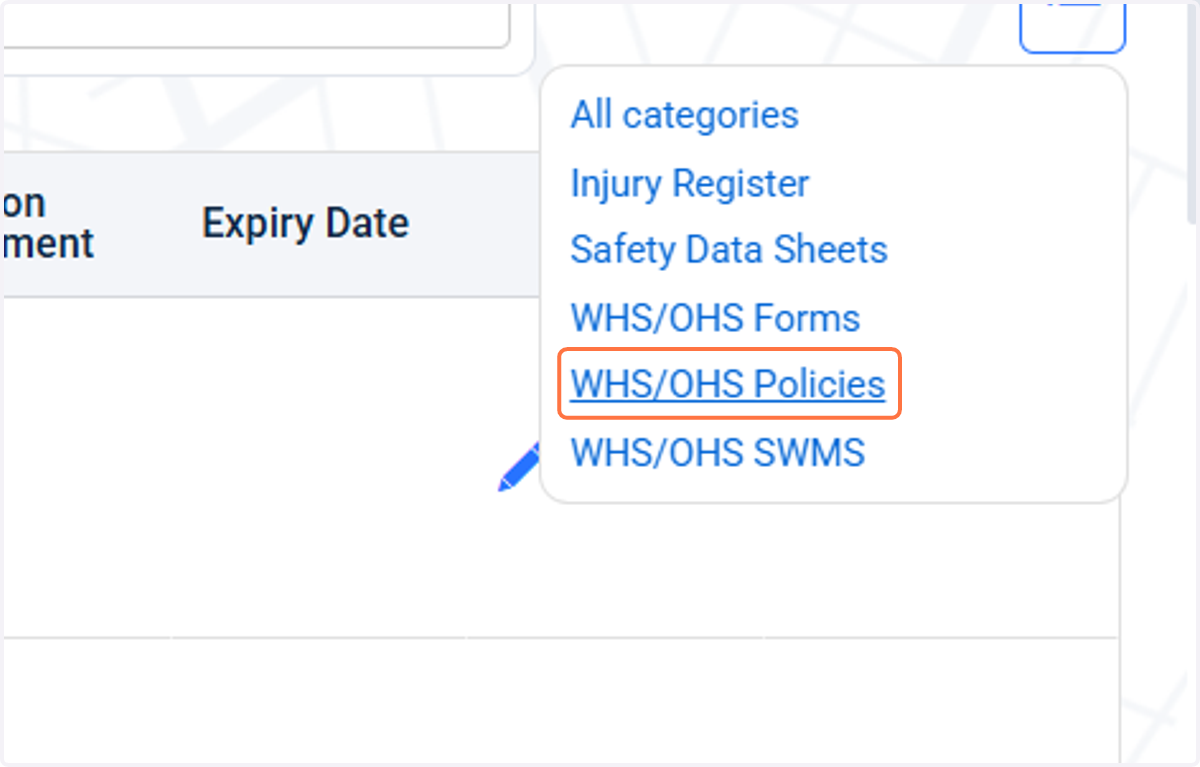
Use the drop down menu to toggle between document categories
16. Policy category
For example, if you click on WHS/OHS policies, this will filter for policies only
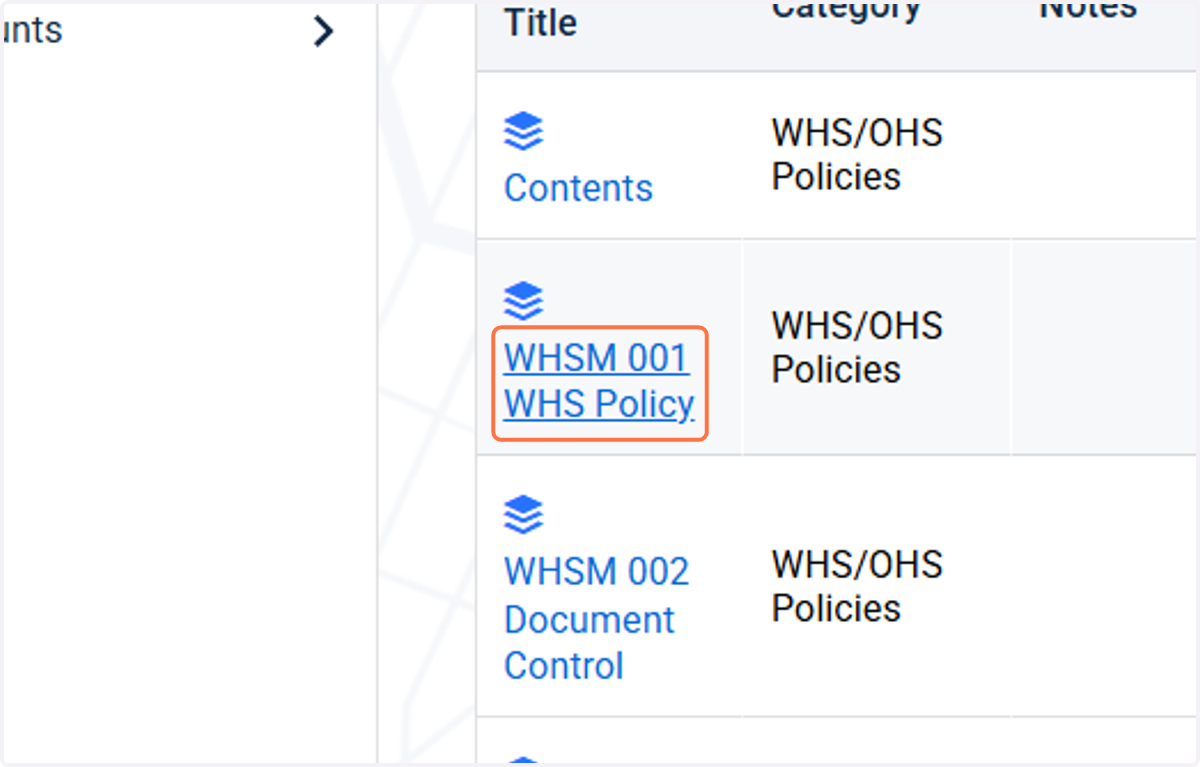
17. Download a document
To open and download a document, click on the hyperlink.
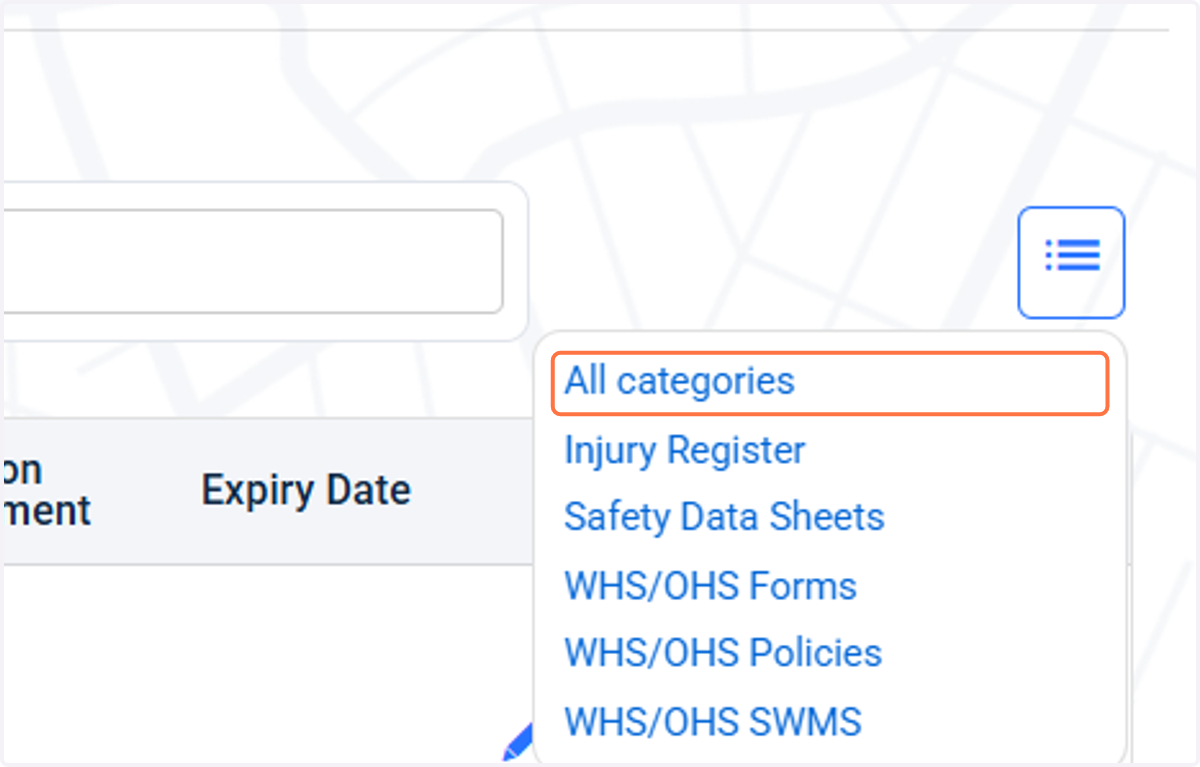
18. All categories
To see all documents, select all categories from the menu
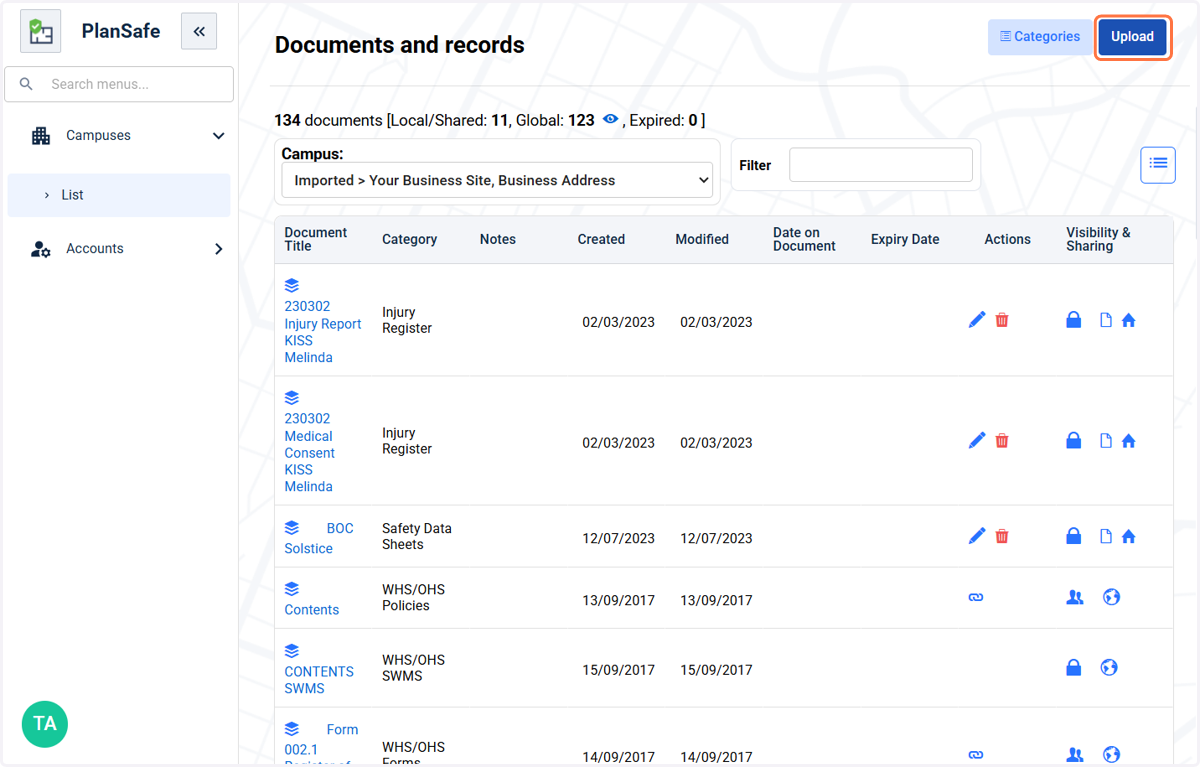
19. Uploading your own company documents
The system can store documents confidentially or to share with workers
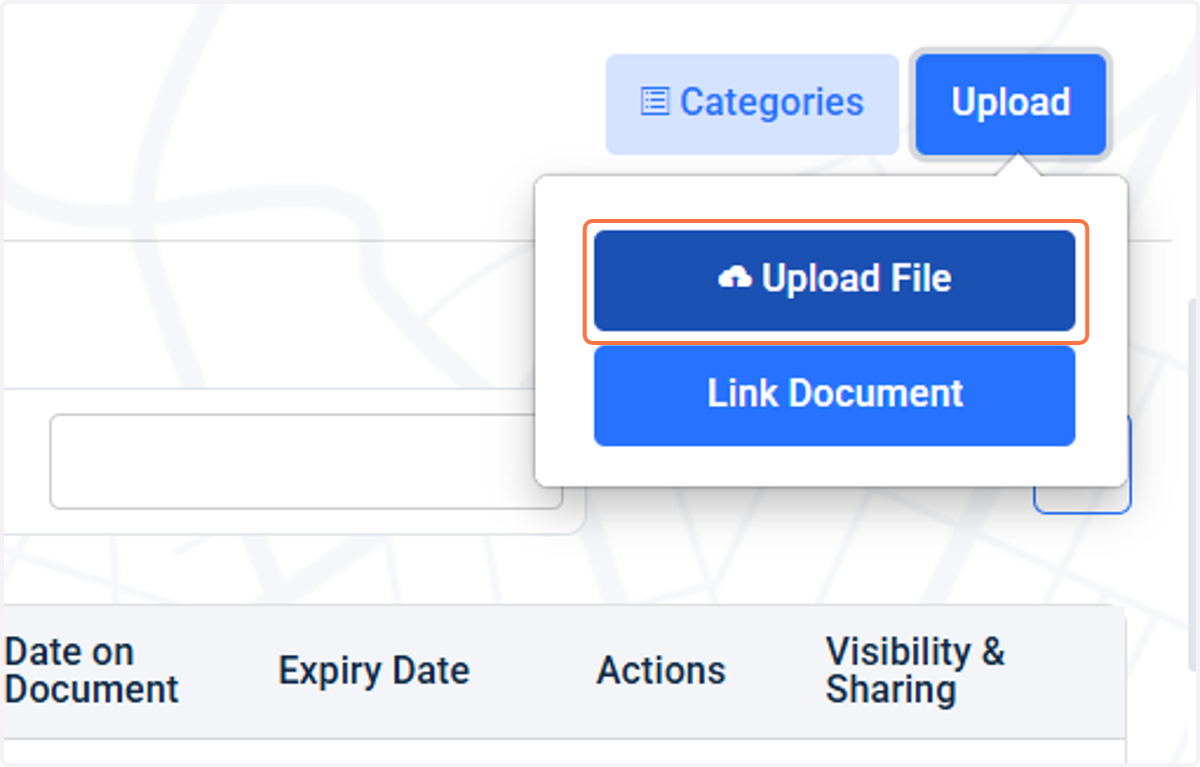
Click the Upload button to upload a document.
20. Search for your file to upload
TIP: assign a naming convention for your company documents, prior to uploading
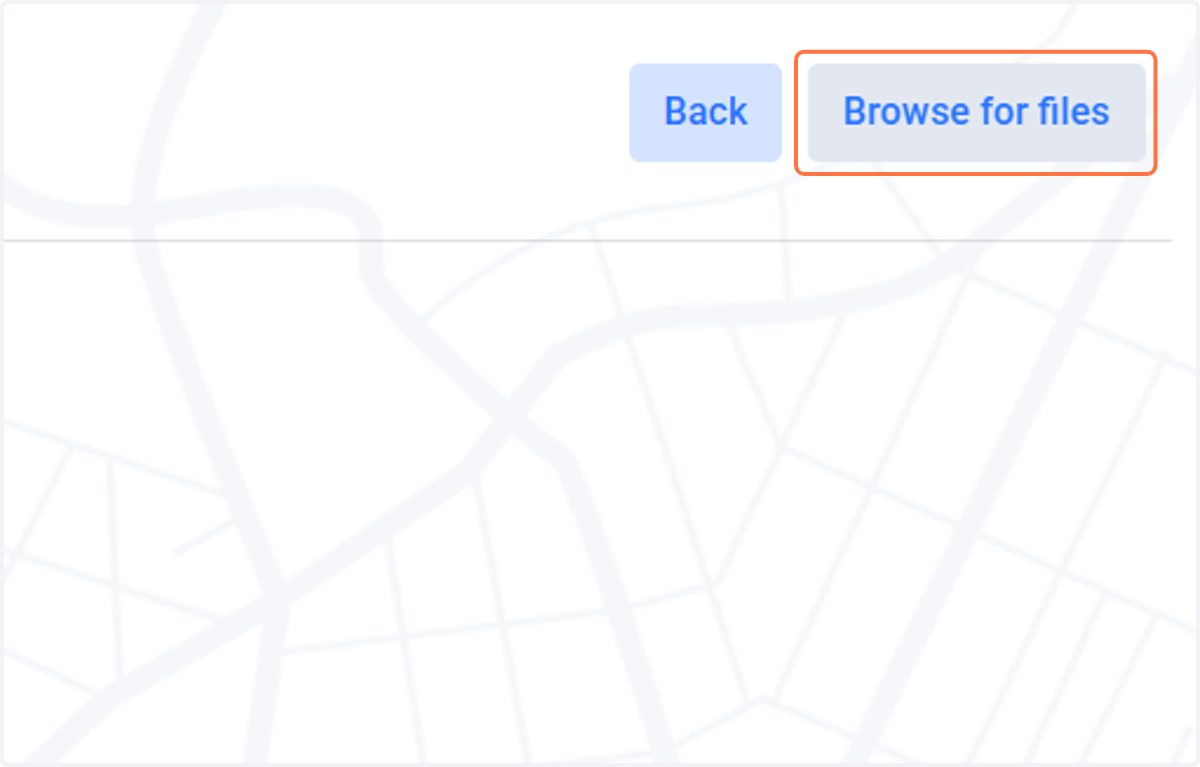
21. Click on browse for files
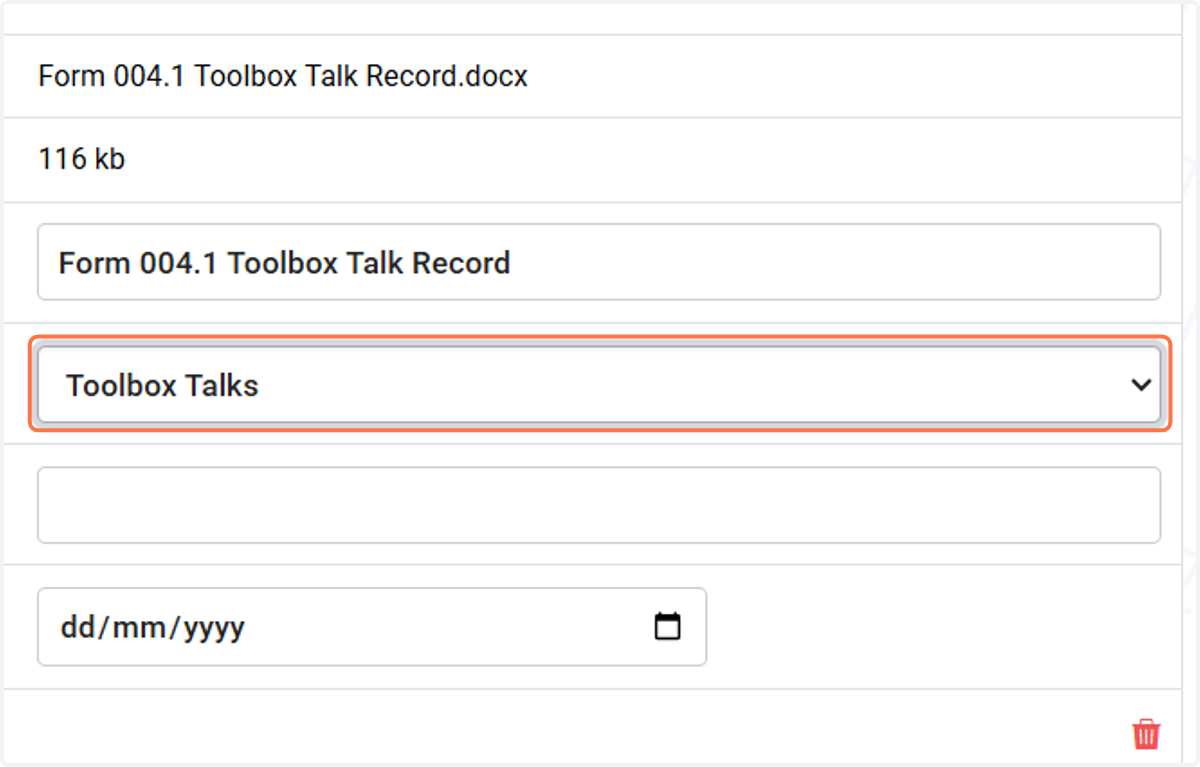
22. Select an appropriate category
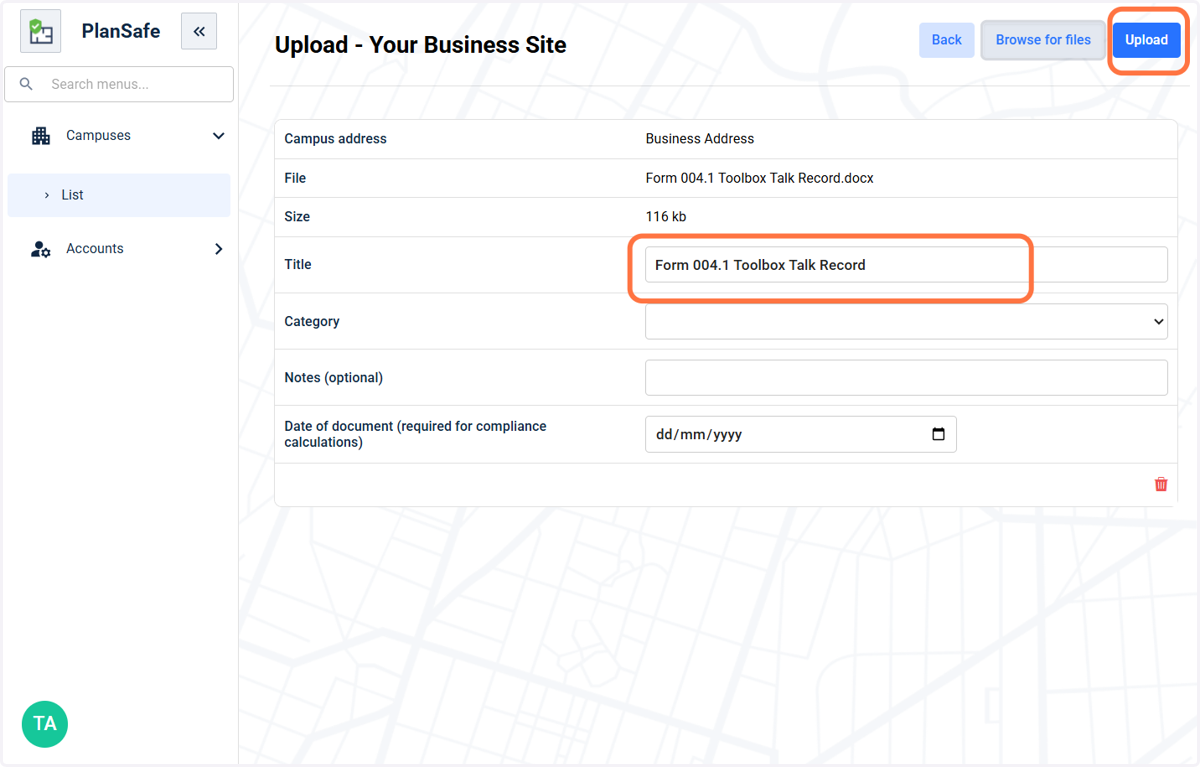
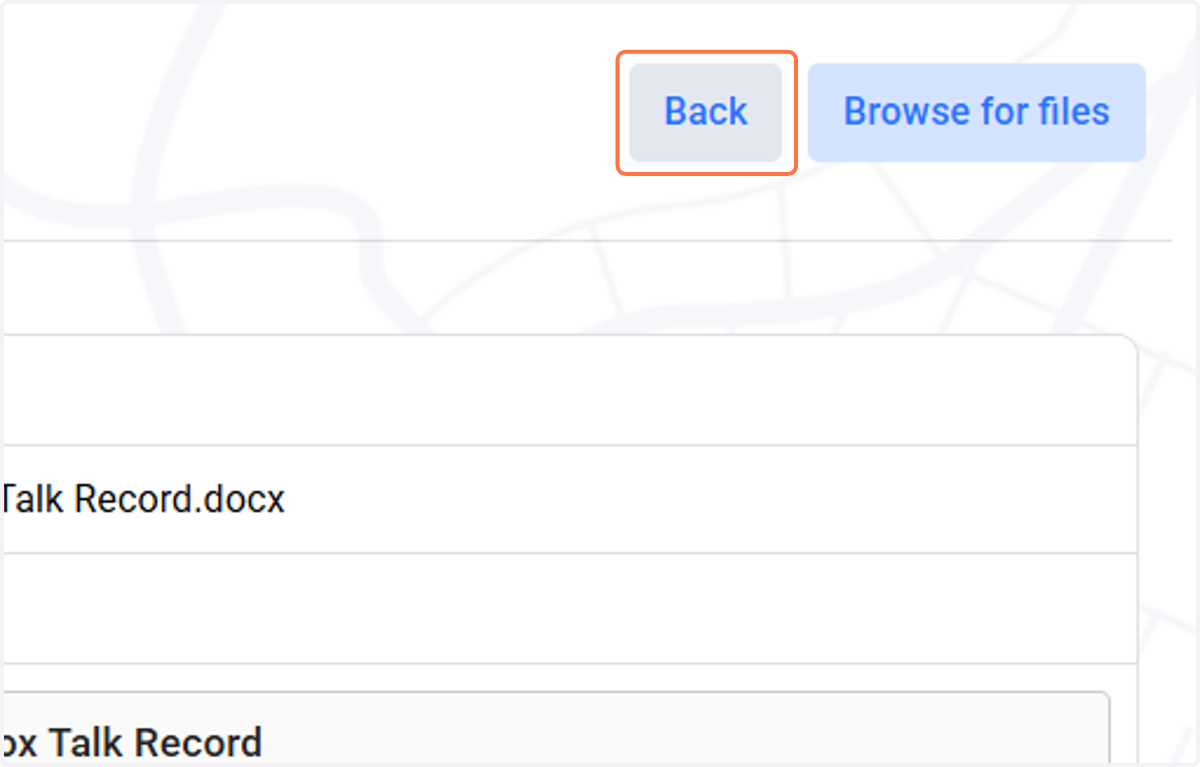
23. Upload settings
You can adjust the title of document here prior to clicking Upload
24. Click on back
25. Your new document will appear in the list.
It is currently only visible to administrators
To make visible for everyone, click on the padlock icon
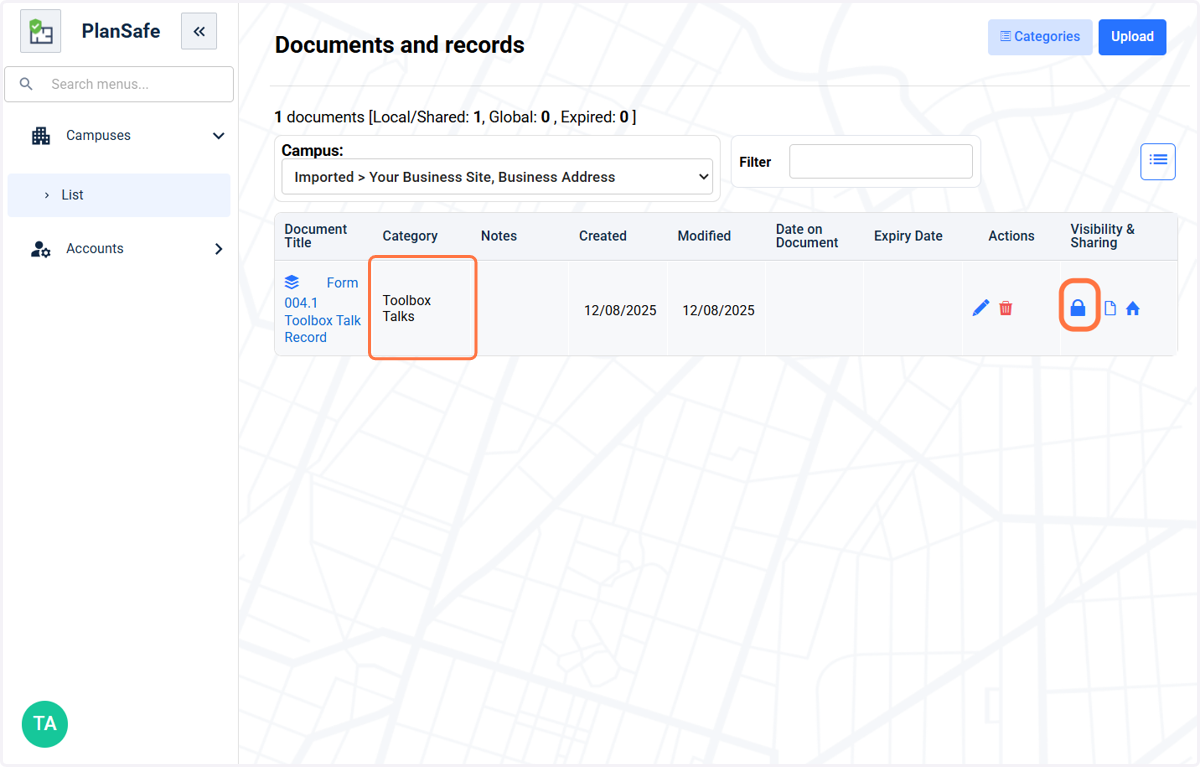
26. Change visibility to shared

27. Premises Information
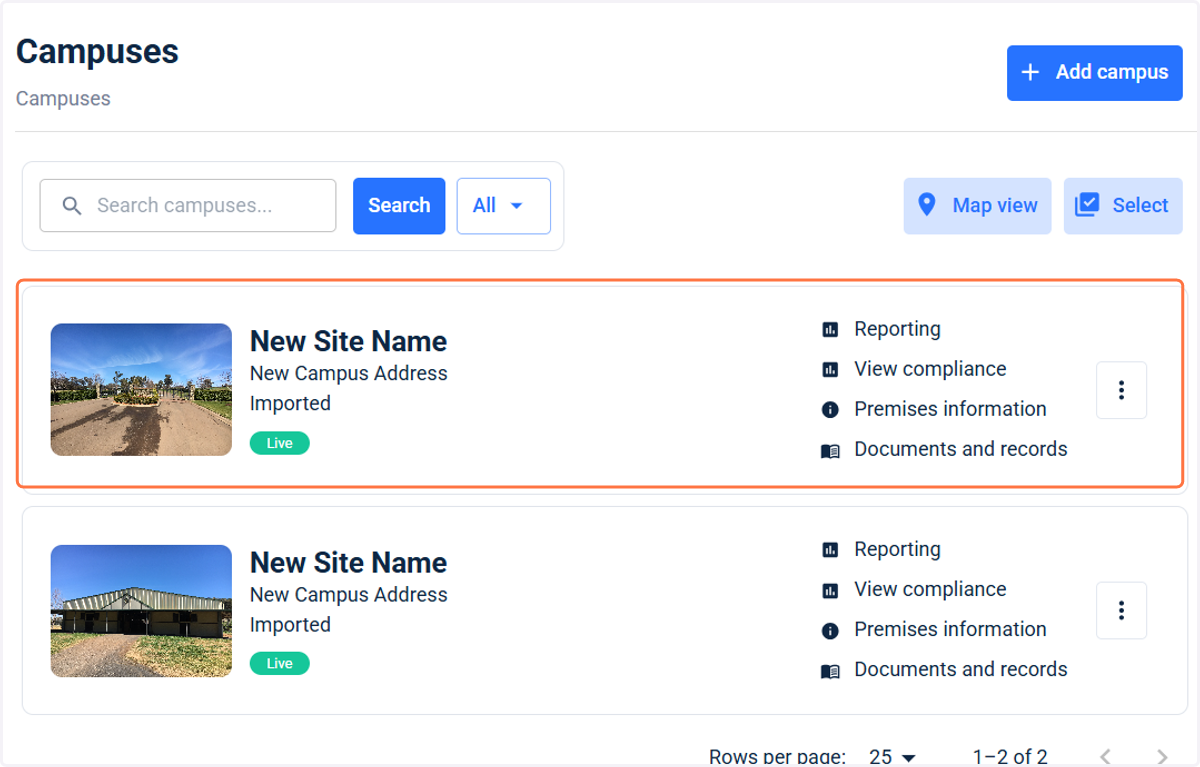
28. Click on premises information
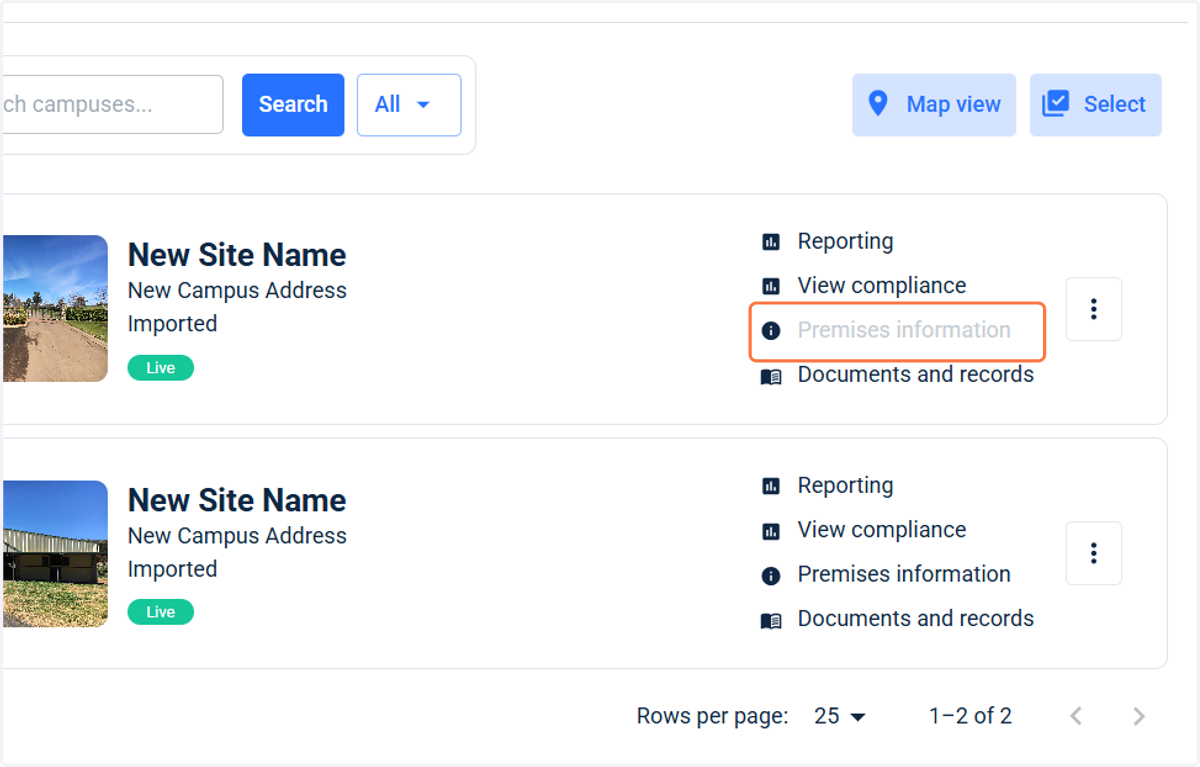
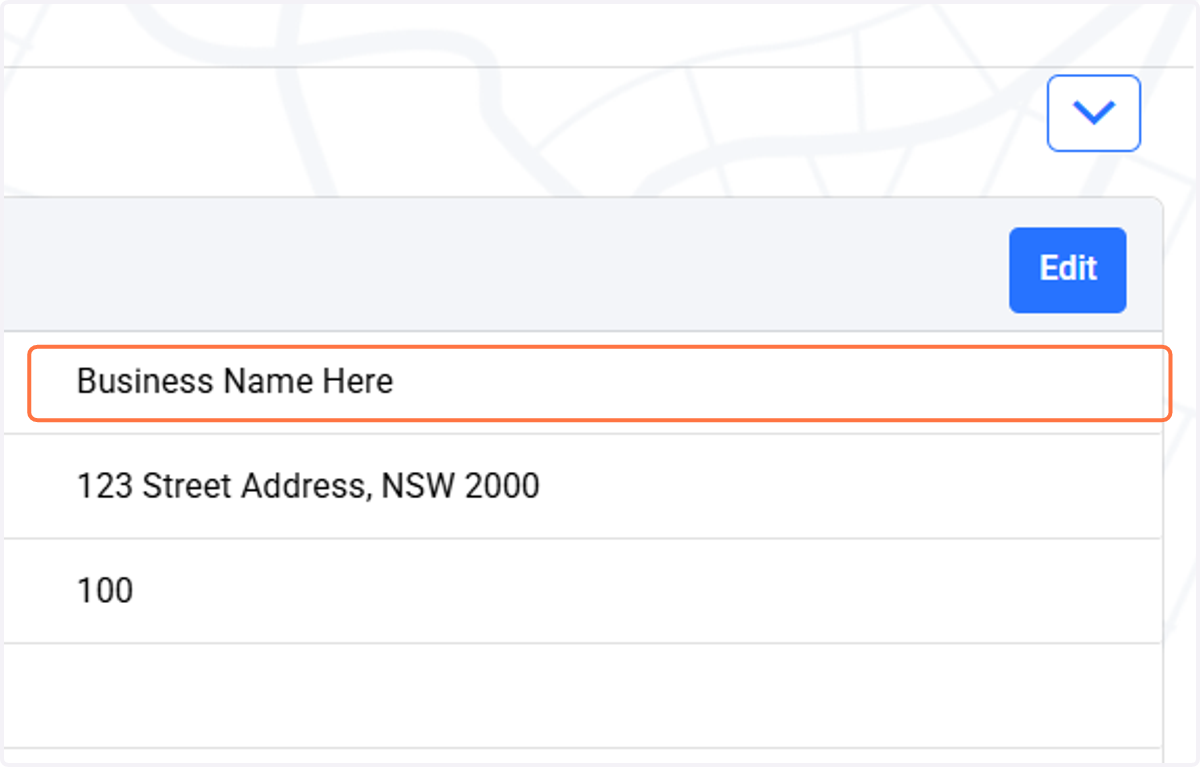
29. Add business details
By completing this section, premises information becomes a part of your emergency management plan.
30. Wardens and First Aid Officers
Add Fire Wardens and/or First Aid Officers in this section
Uploading a photo is optional
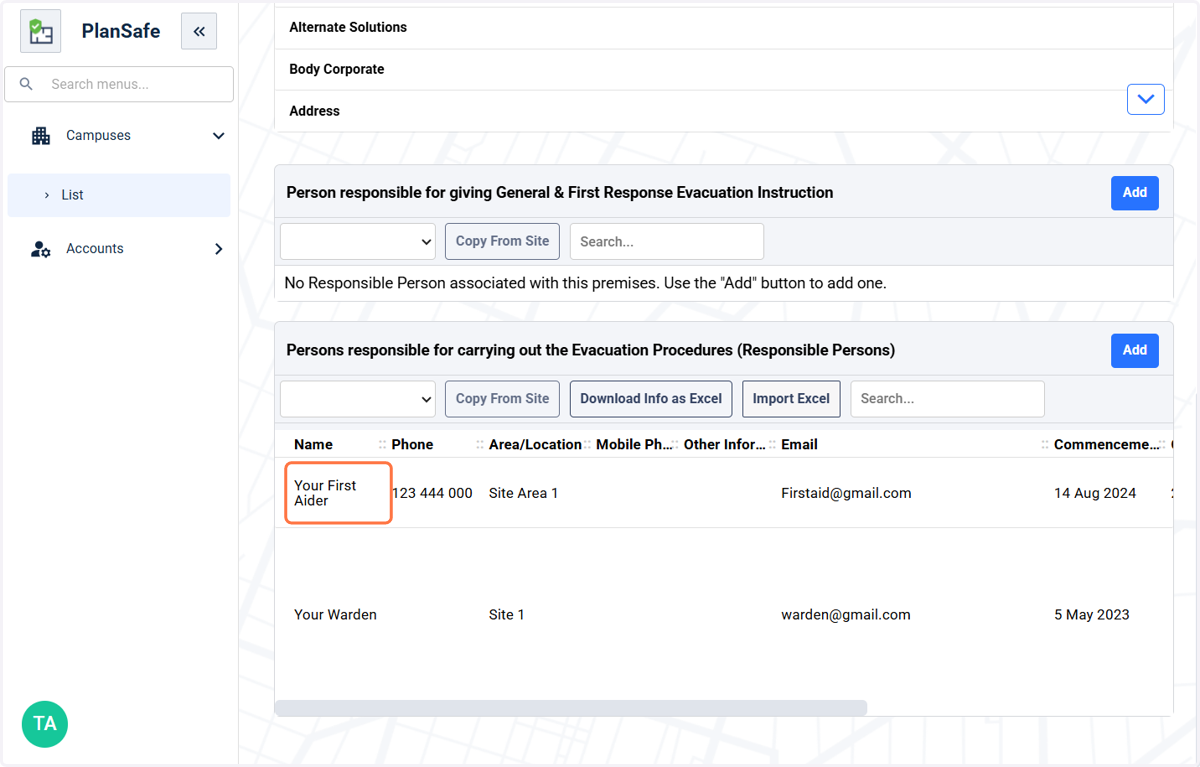
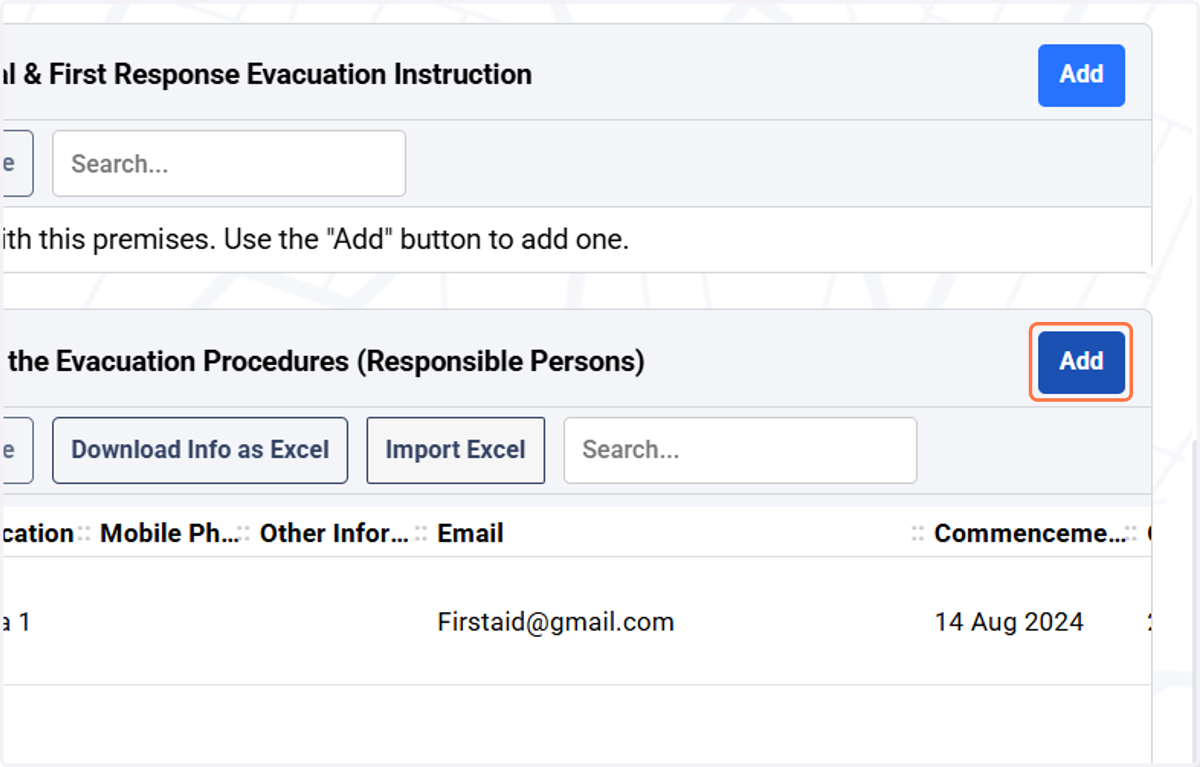
31. Click on Add
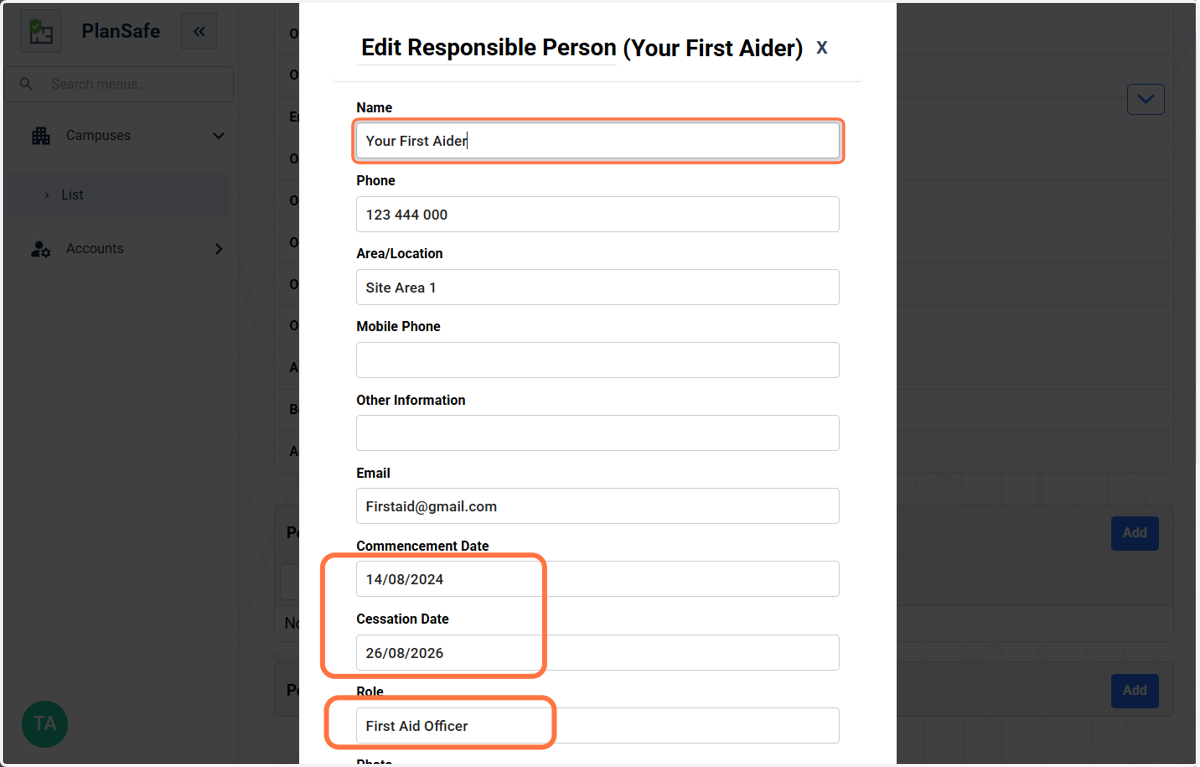
32. Enter details
Be sure to include a start and end date
Add the role title as below
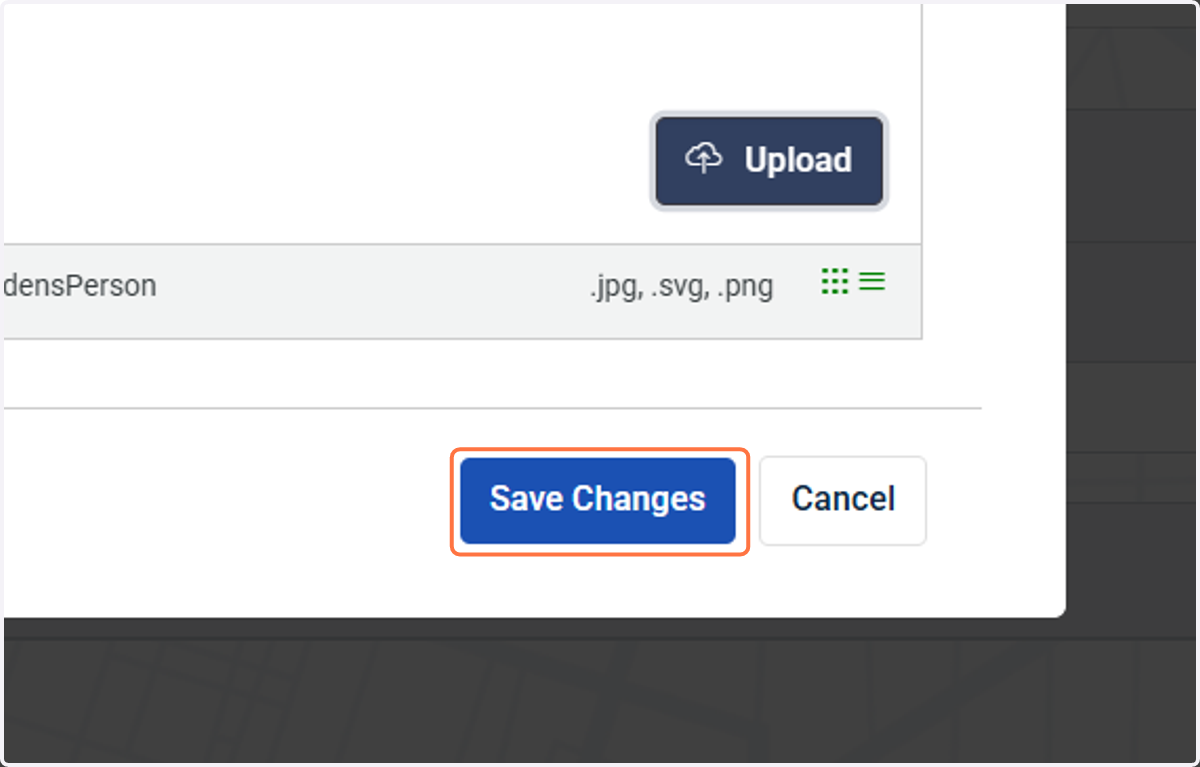
33. Click on save changes
34. Managing learners
Deactivate people if they leave, or reactivate if they return.
From the right hand slide menu, select accounts
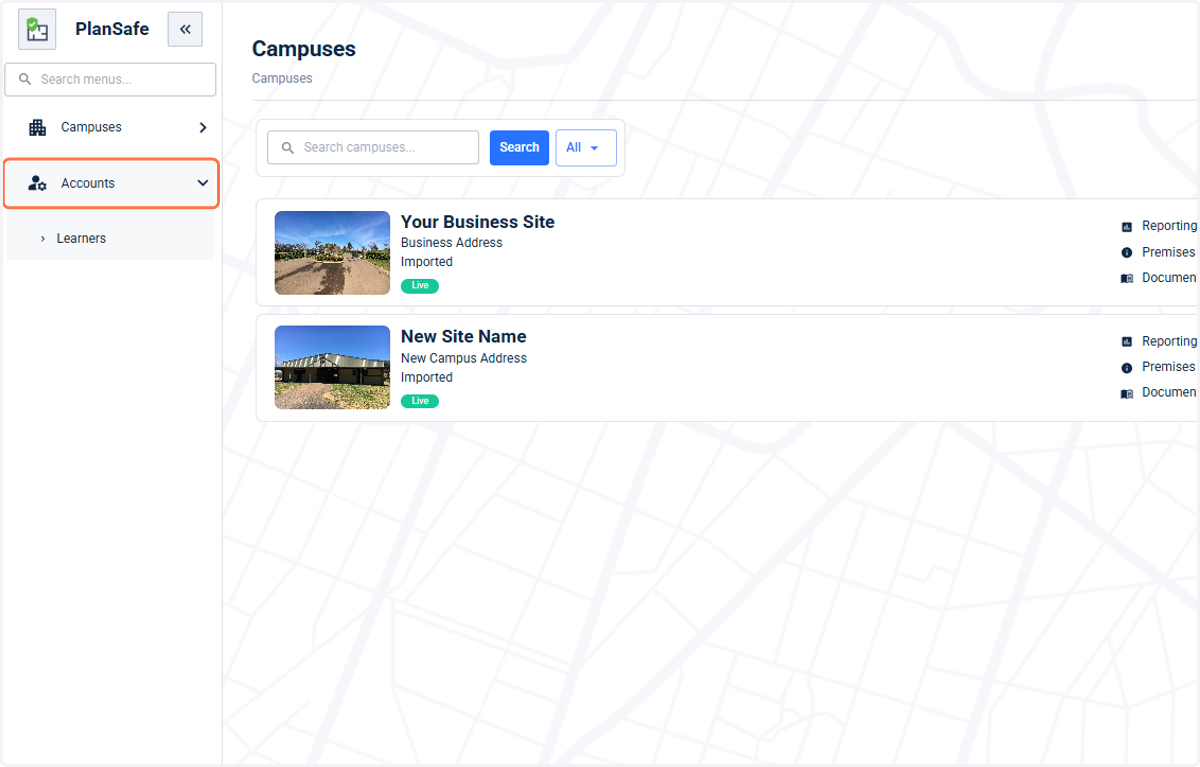
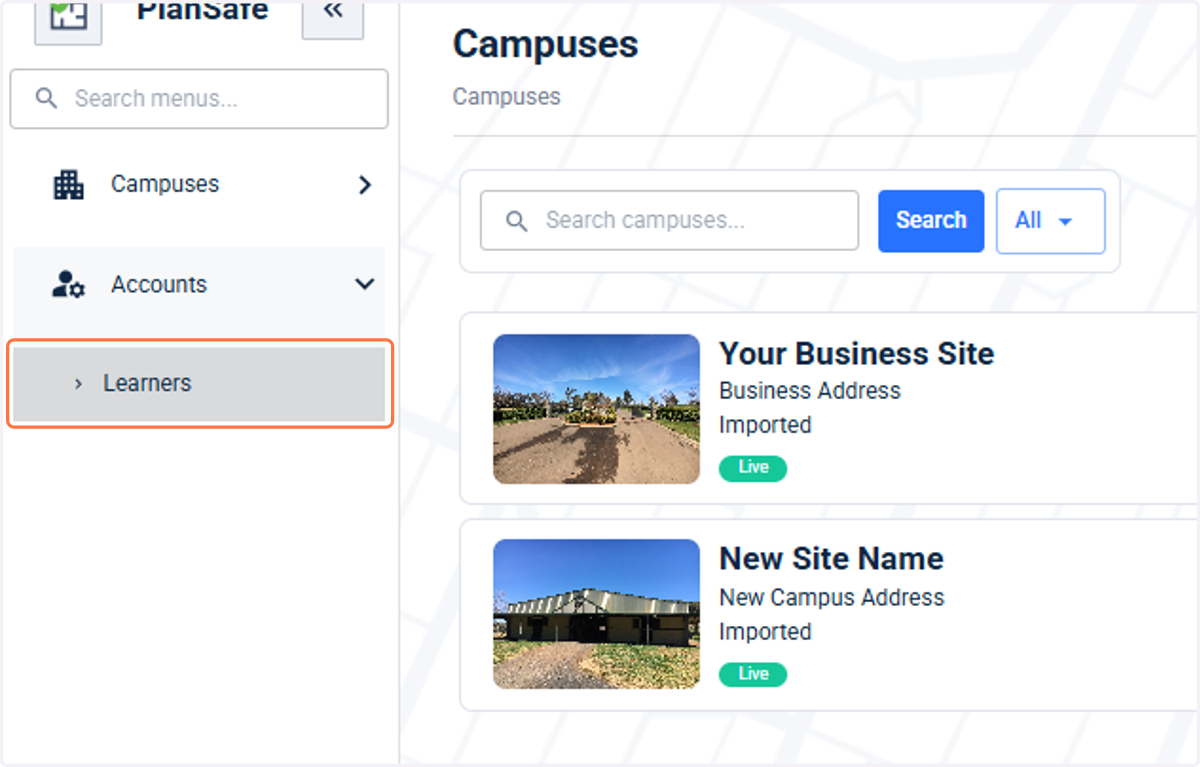
35. Click on learners
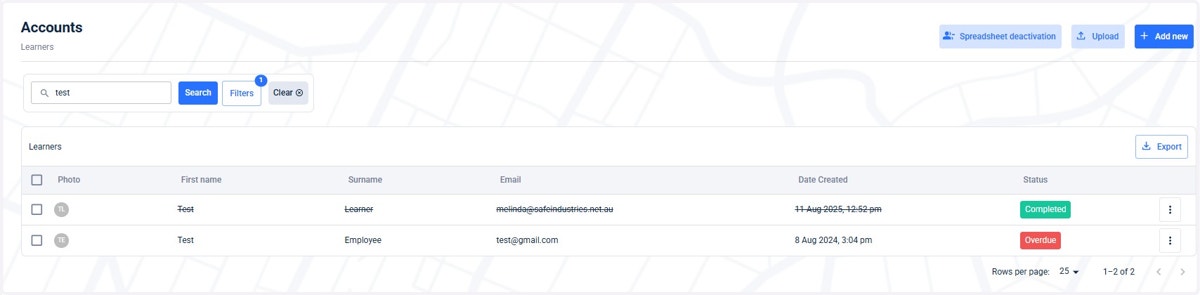
36. Search for the learner by First or Surname and click Search
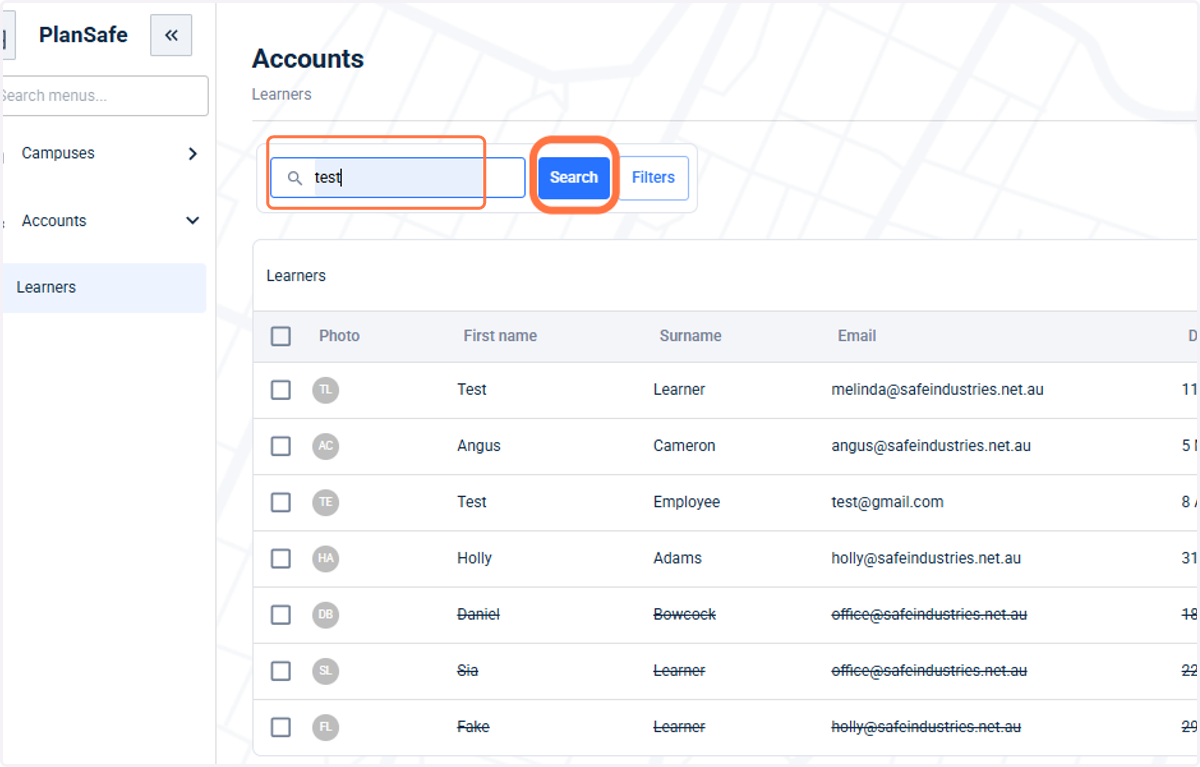
37. Find the correct learner and check the tick box
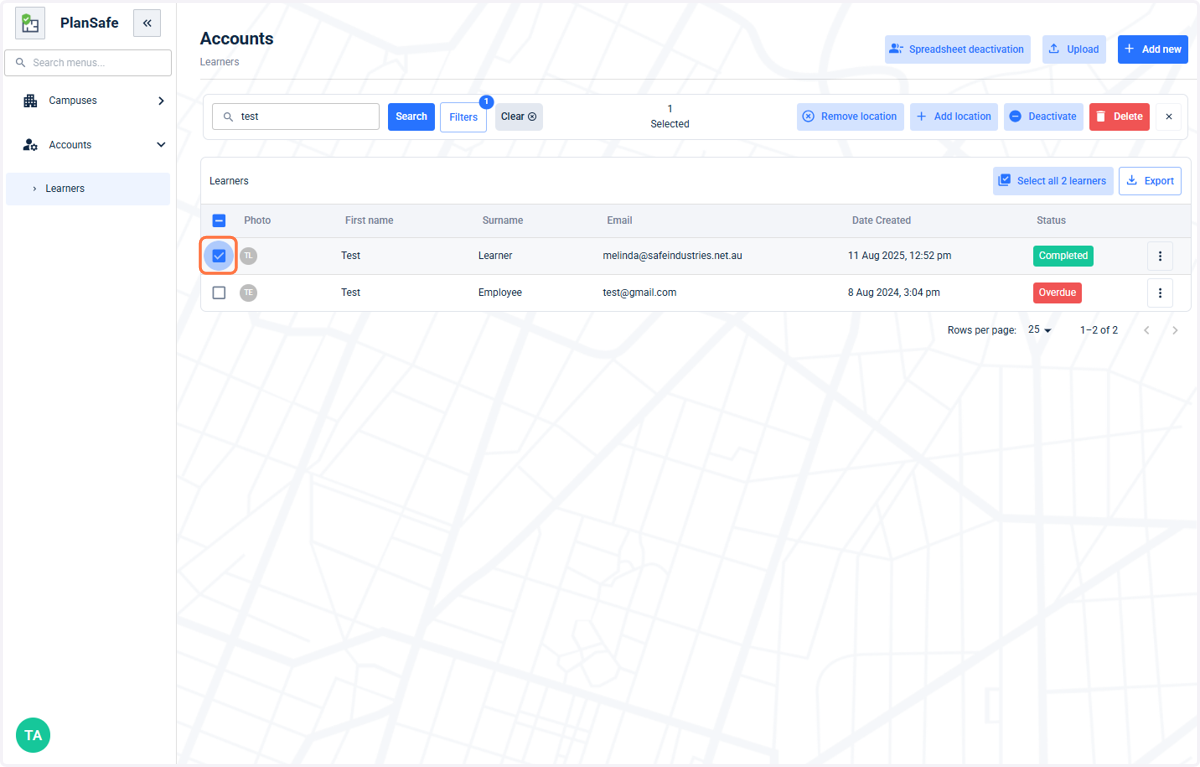
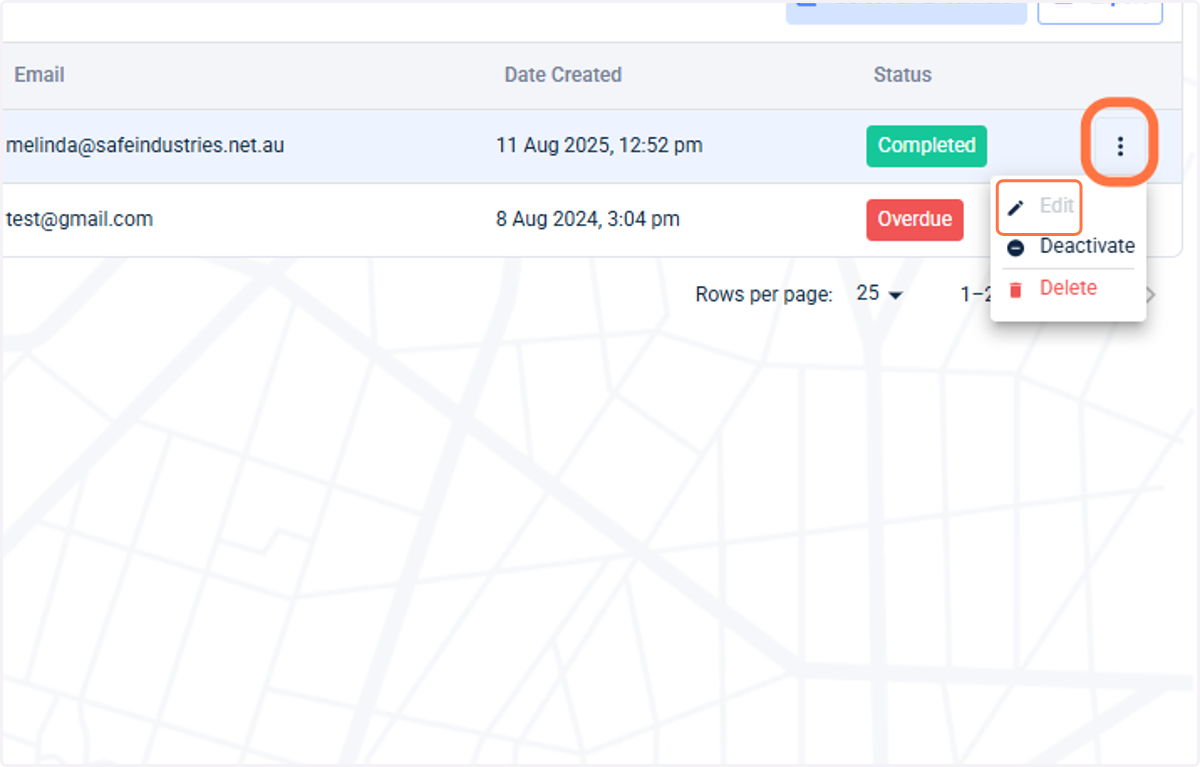
38. Access more details by using the 'breadcrumb symbol' and then click Edit
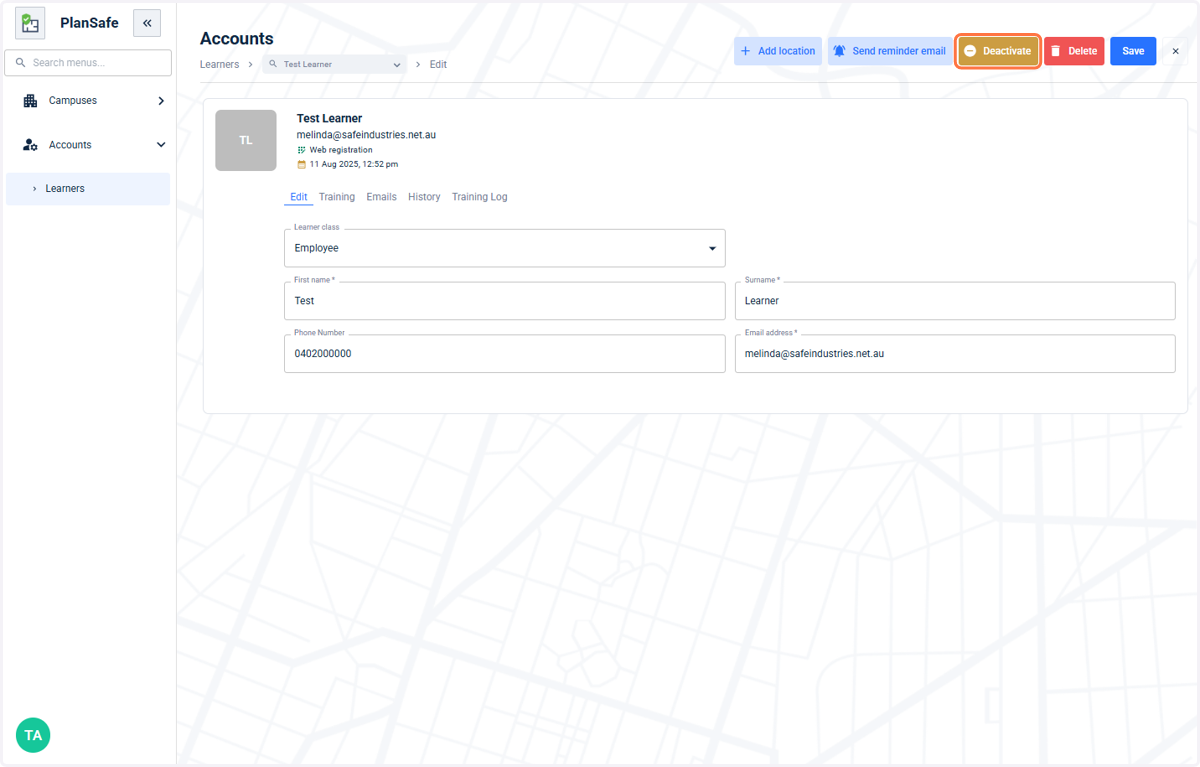
It pays to check you have the correct profile before deactivating the profile
39. Click on Deactivate
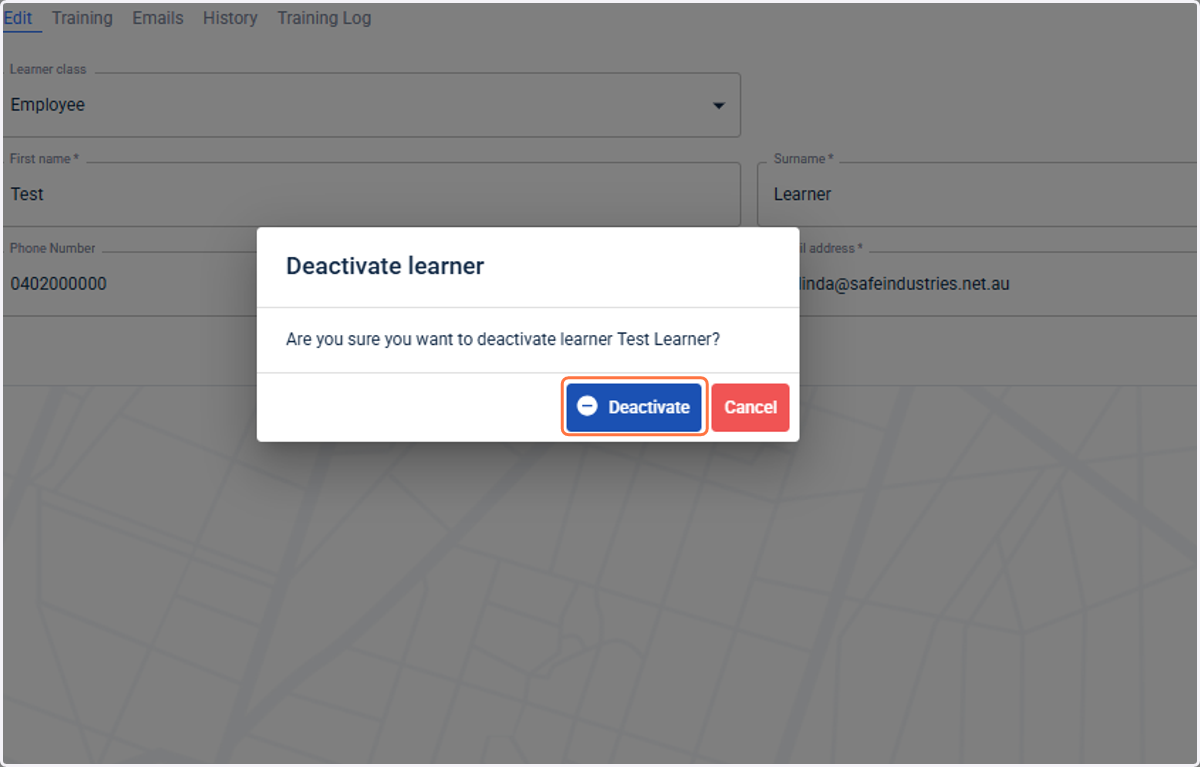
40. Click on deactivate
41. Click on Save
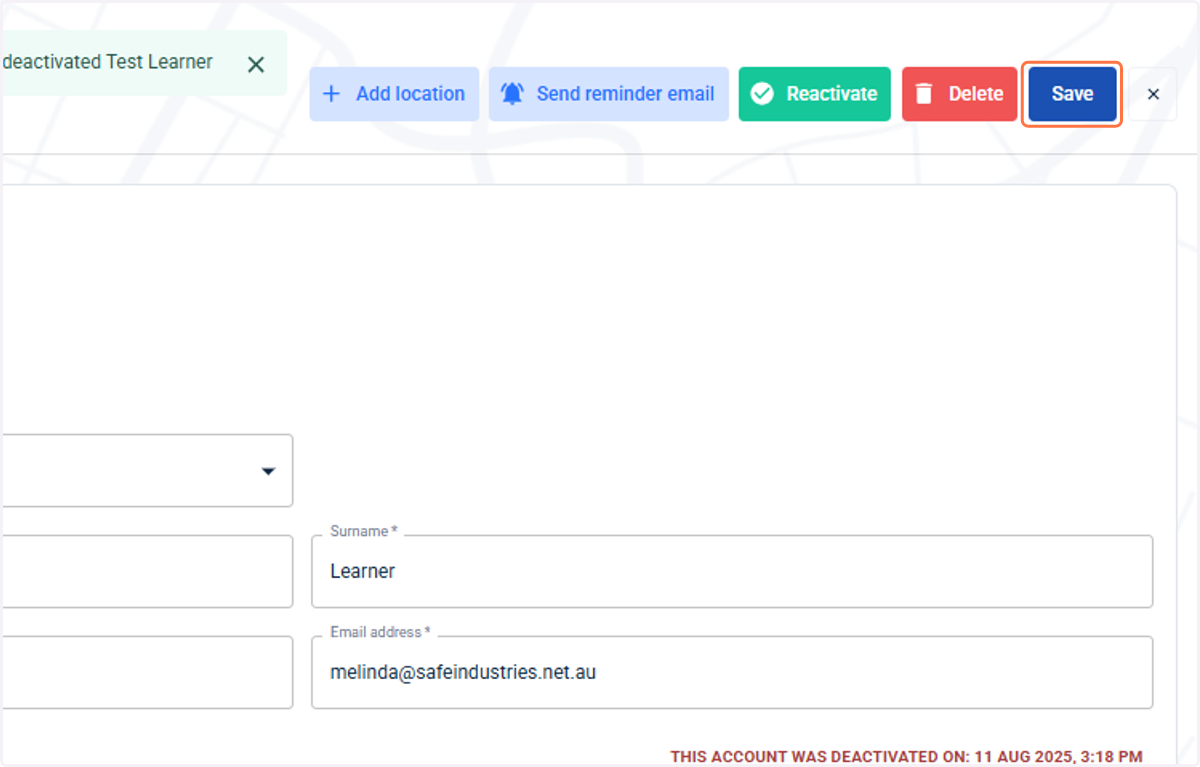
42. This learner profile now shows as inactive. You can re-activate them any time.
This learner will no longer appear on company reports or receive induction reminders from the system.