Finding and Taking Your Free Diagnostic
Recommended Tasks
1. Go to Recommended Tasks
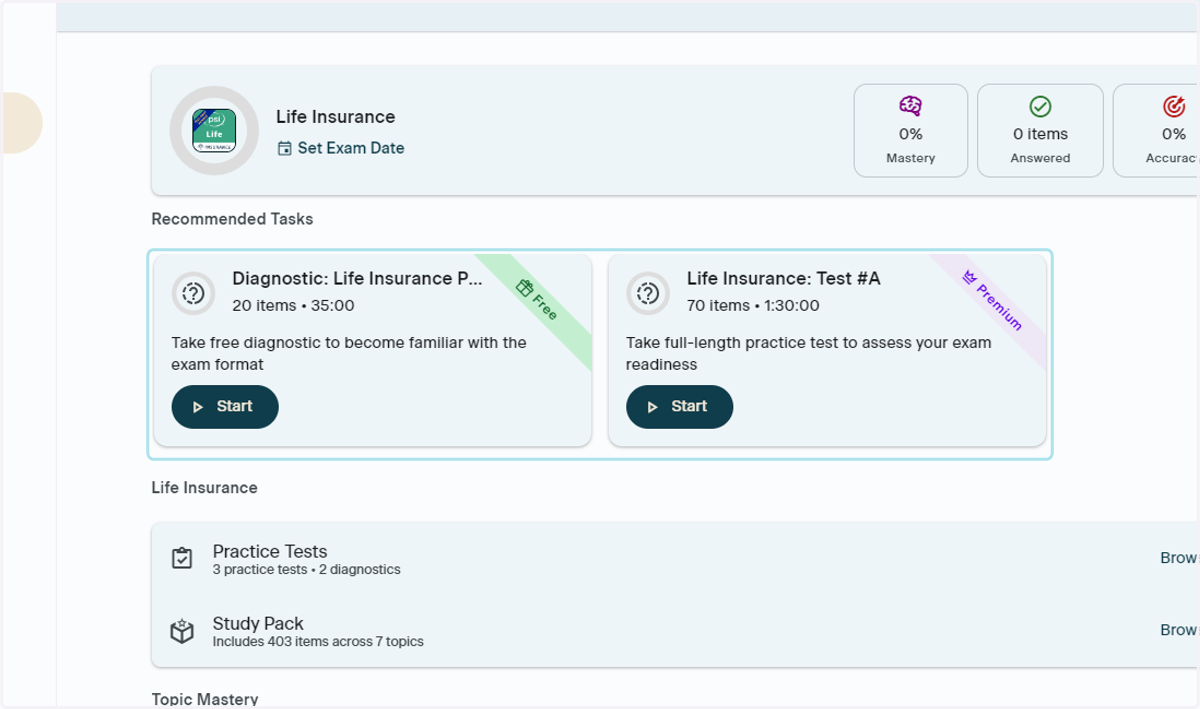
Go to the Home page button and click it. Once you are on the Home page, you will see a Recommended Tasks section to the right of the navigation panel, under your product name.
2. Start Diagnostic
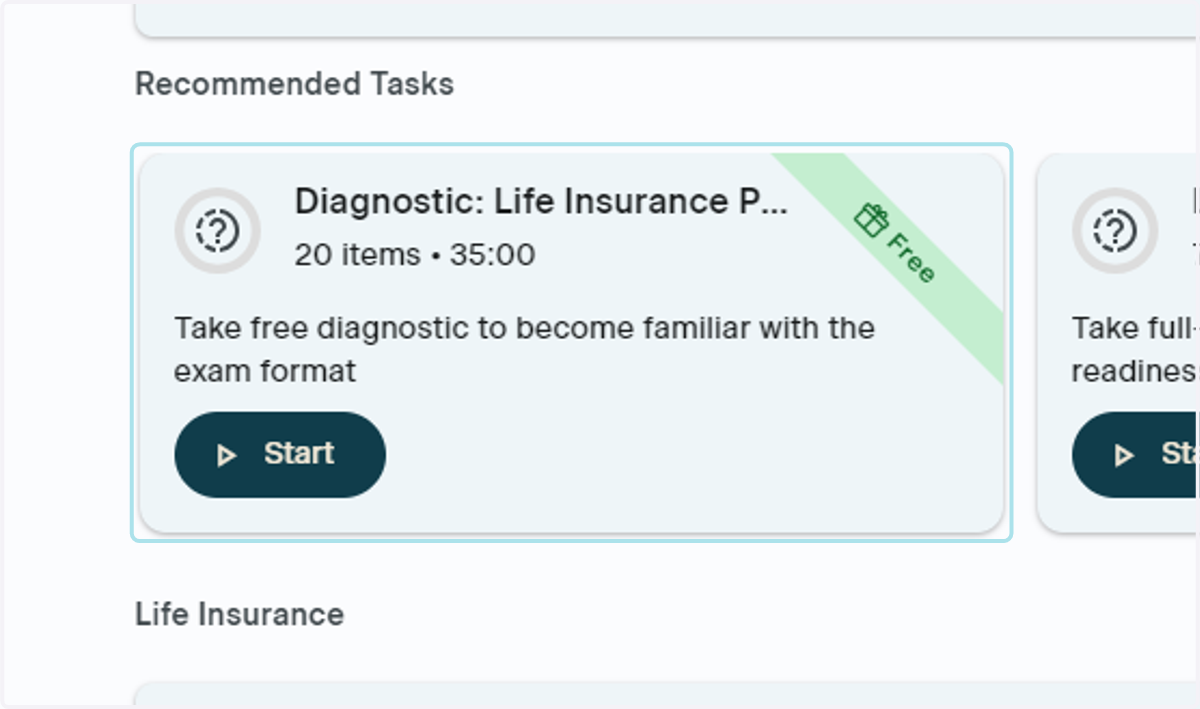
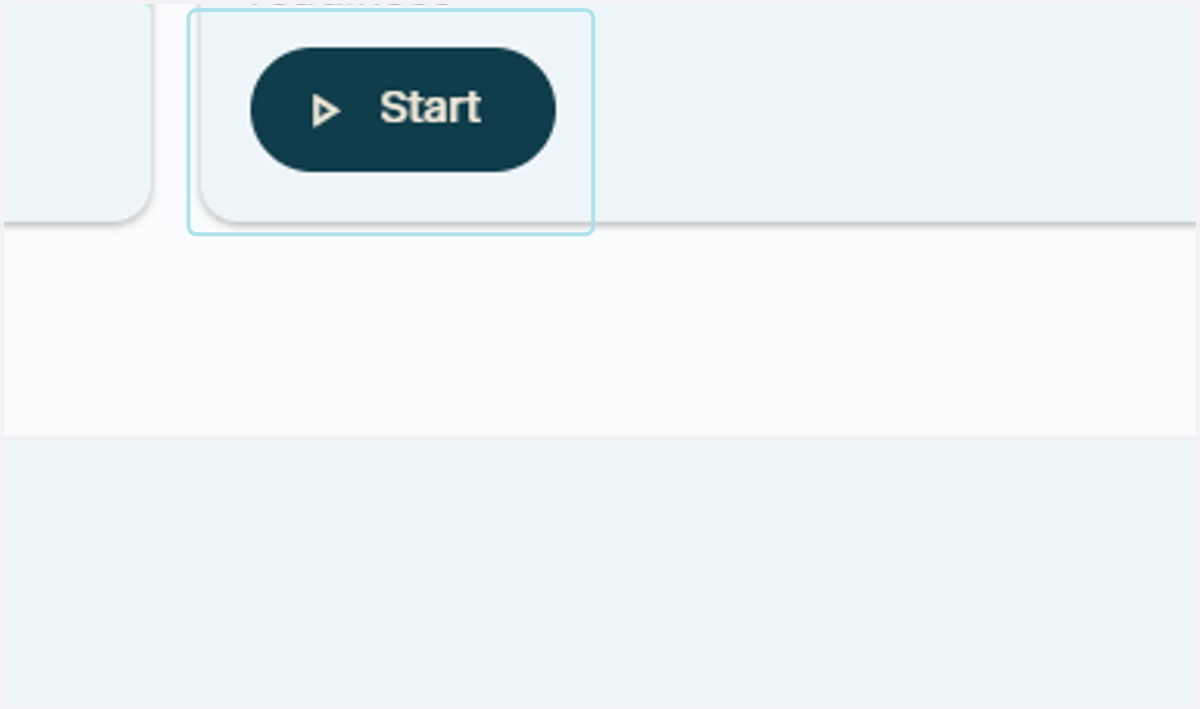
Once you are under Recommended Tasks, you will see the Diagnostics. Click Start to begin your Diagnostic
3. Begin Your Diagnostic
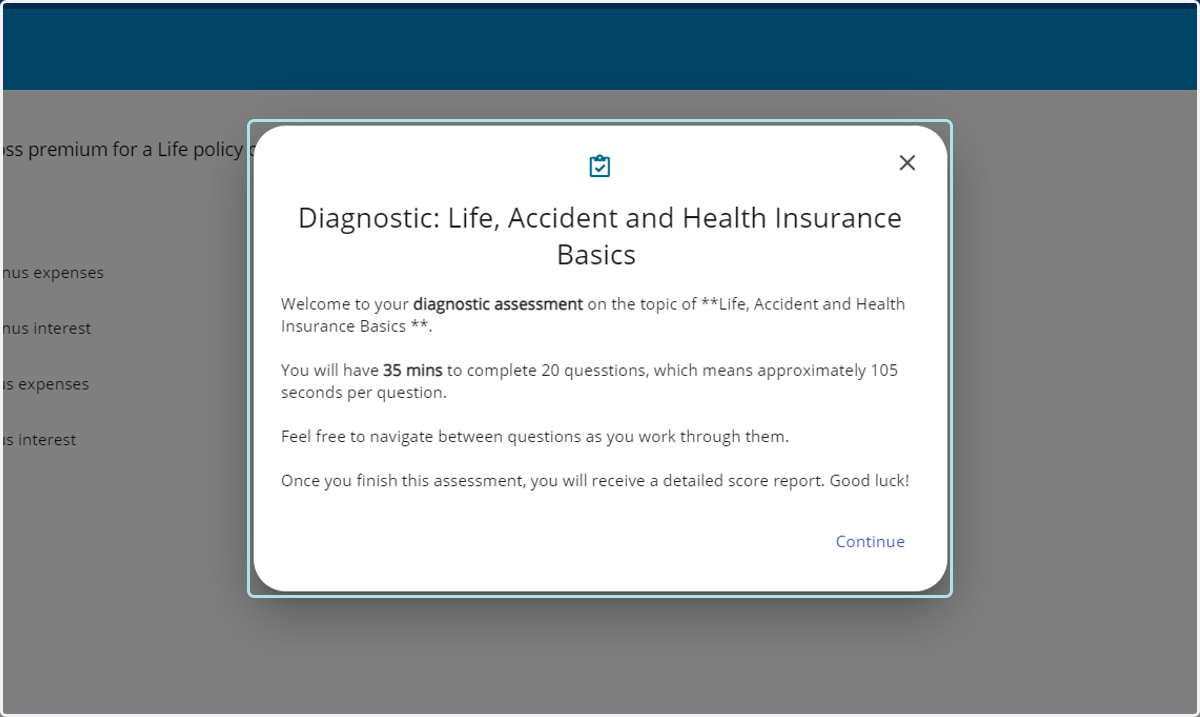
Your diagnostic will begin once you click Start. Click the Continue button to the diagnostic, or use the "X" in the upper righthand corner of the window to close out your diagnostic and take it at a later time
Using the Practice Tests Button
4. Go to Practice Tests
In the lefthand navigation bar, click the Practice Tests button
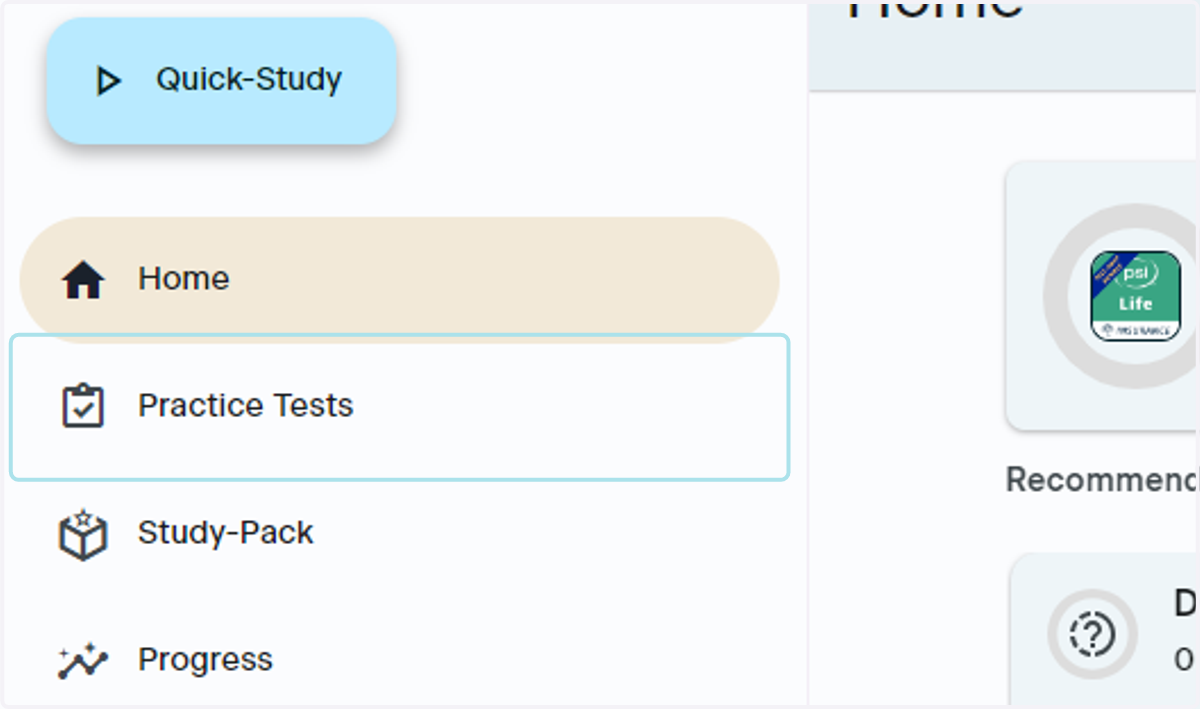
5. View Diagnostics
Once you have clicked Practice Tests, you will see the Diagnostic Assessments at the top of the page. Diagnostics test your skills in one topic area
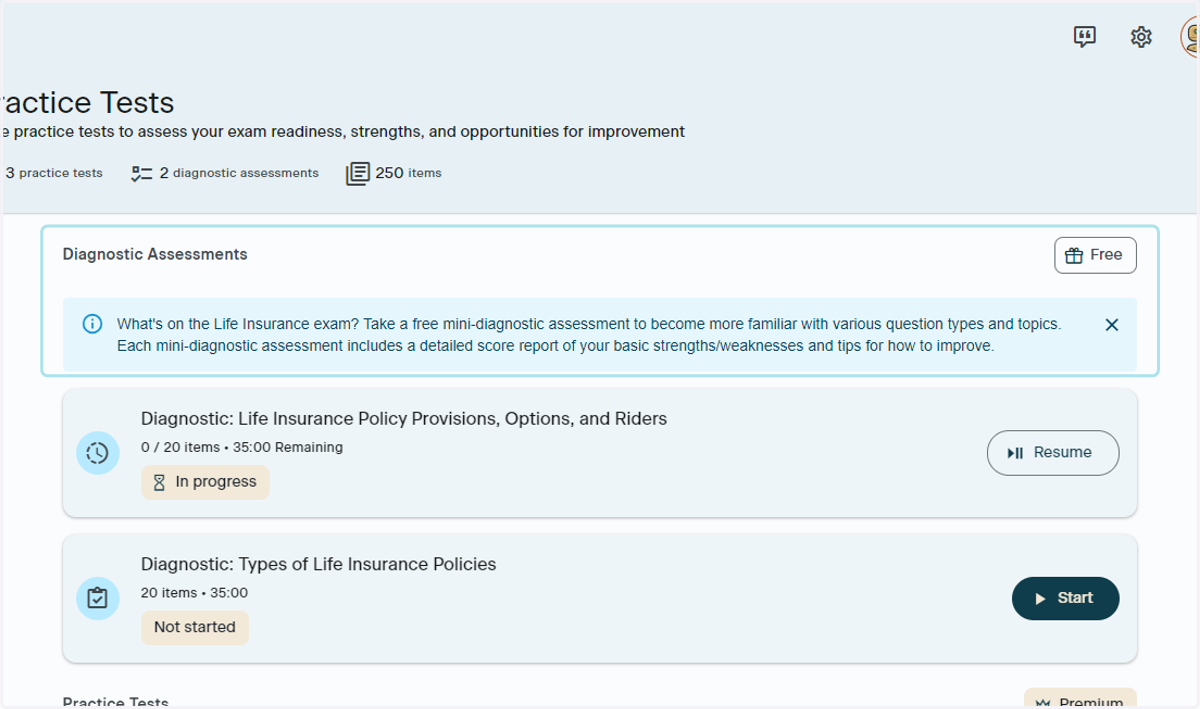
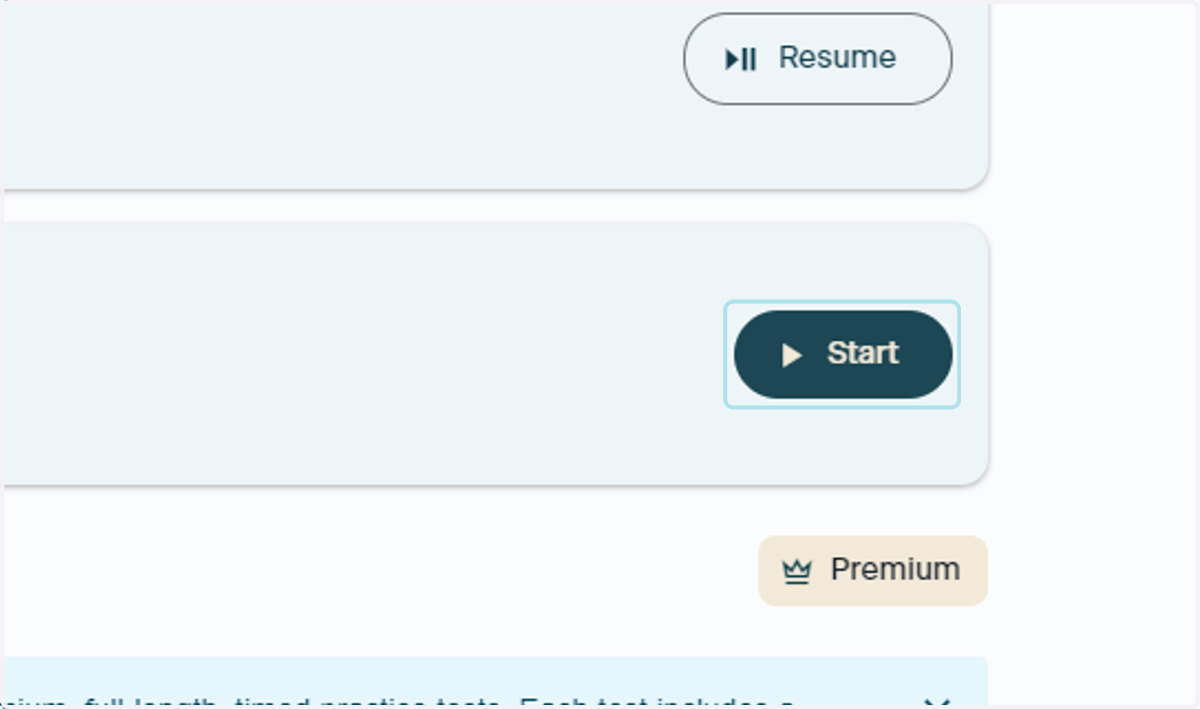
6. Click on Start
Click the Start button to begin your diagnostic
Using Find Anything
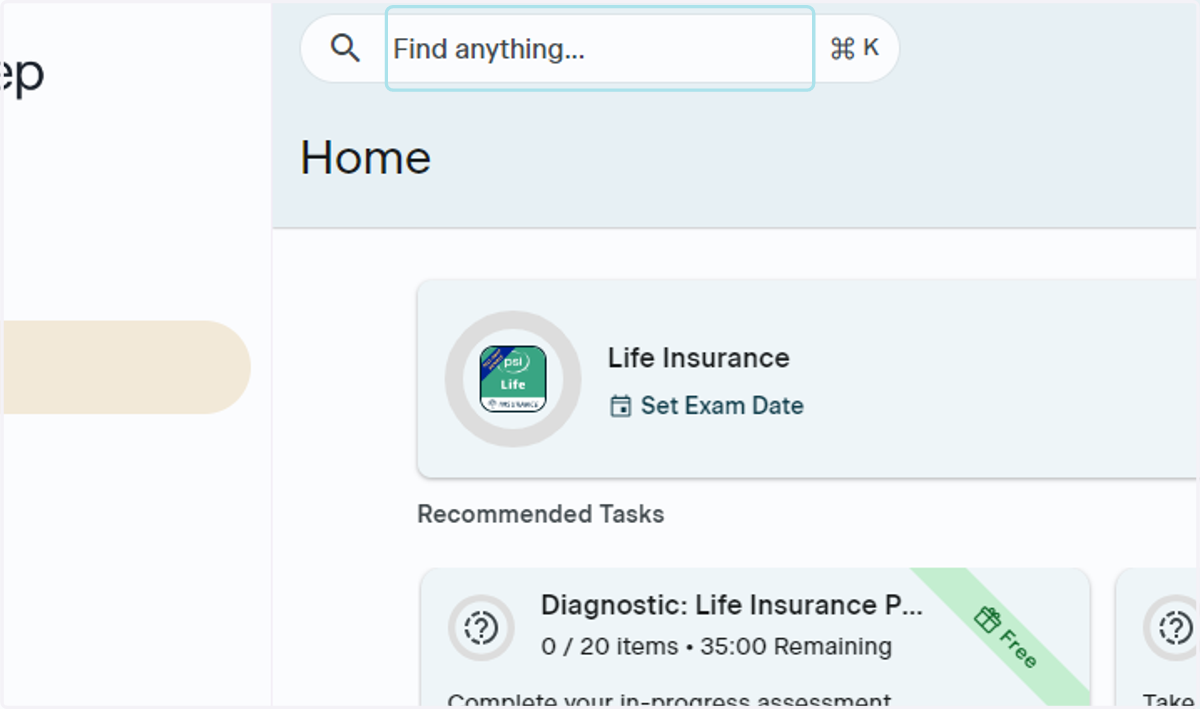
7. Click on Find Anything
Navigate to the Home page button in the lefthand navigation bar. Click Home if you are not on the Home page. Once you are there, go to the top of the page to the Find Anything search bar and click it
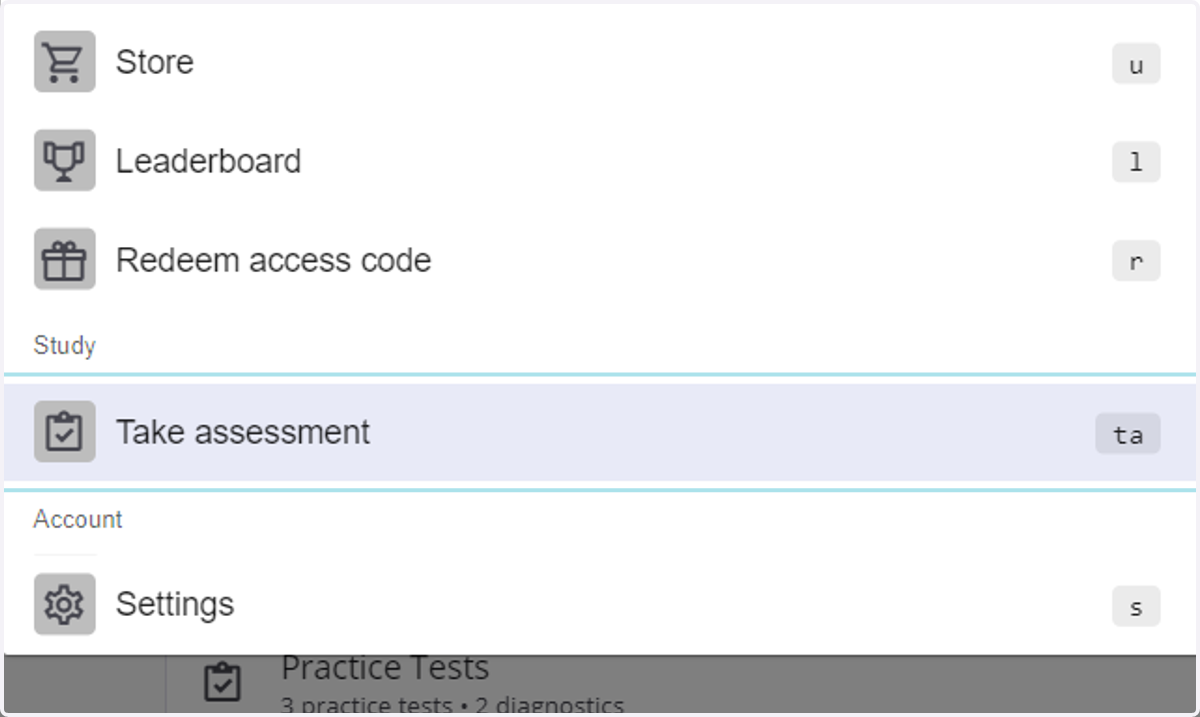
8. Click Take Assessment
Once you have clicked Find Anything, scroll down to the Study section of the drop down and click Take Assessment
9. Go to Diagnostic Assessments
You will now be brought to the Practice Tests section. You will see your free diagnostics at the top of the page under Diagnostic Assessments
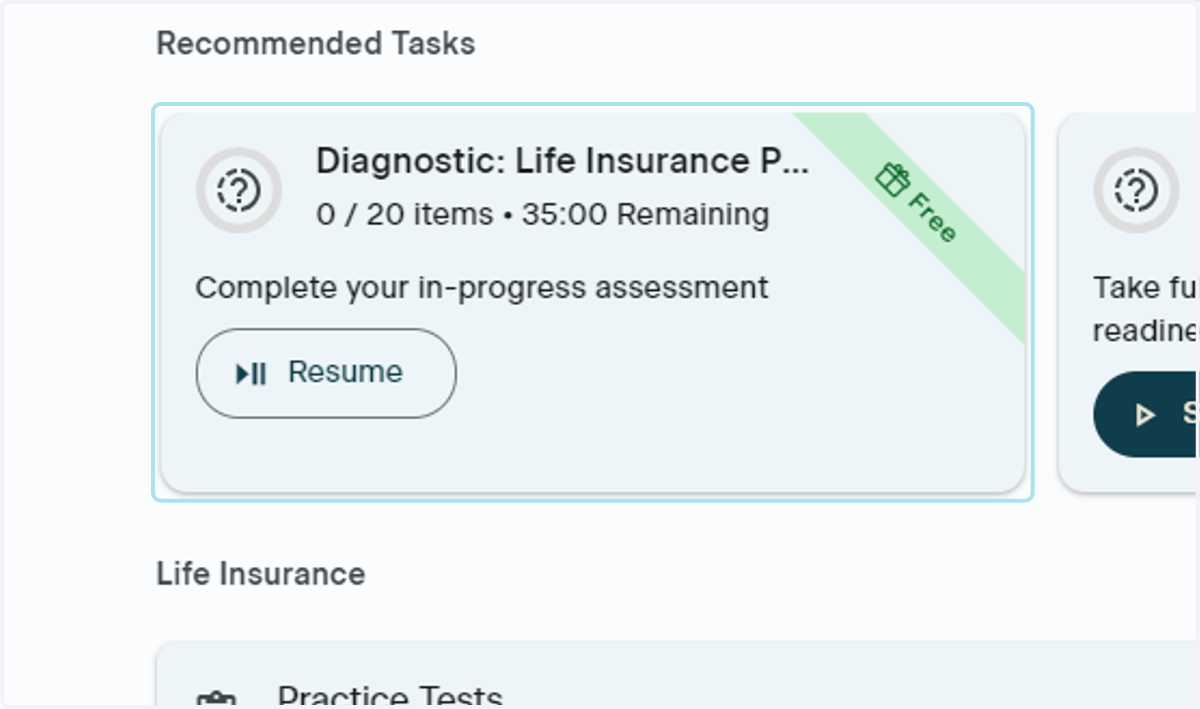
10. Click on Start
Click the Start button to begin your diagnostic
Inside the Diagnostic
11. Answer Multiple Choice Questions
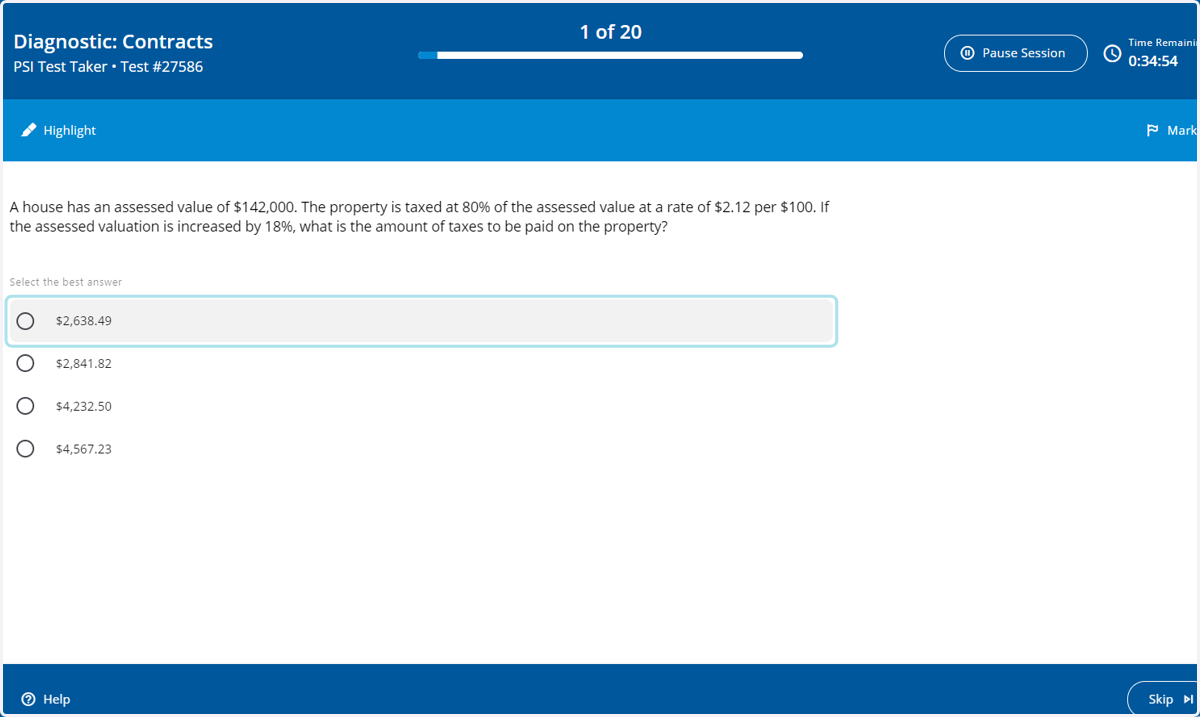
Once the test begins, you will be presented with multiple choice questions in one topic area. Each diagnostic is timed
12. Skip a Question
In the bottom righthand corner of your diagnostic, click the Skip button to move on to the next question
13. Highlight a Question
Use this option to highlight an important question
14. Mark a Question
Under the Time Remaining area at the top right of the diagnostic, click Mark. This will Mark the question off for something you may want to review later
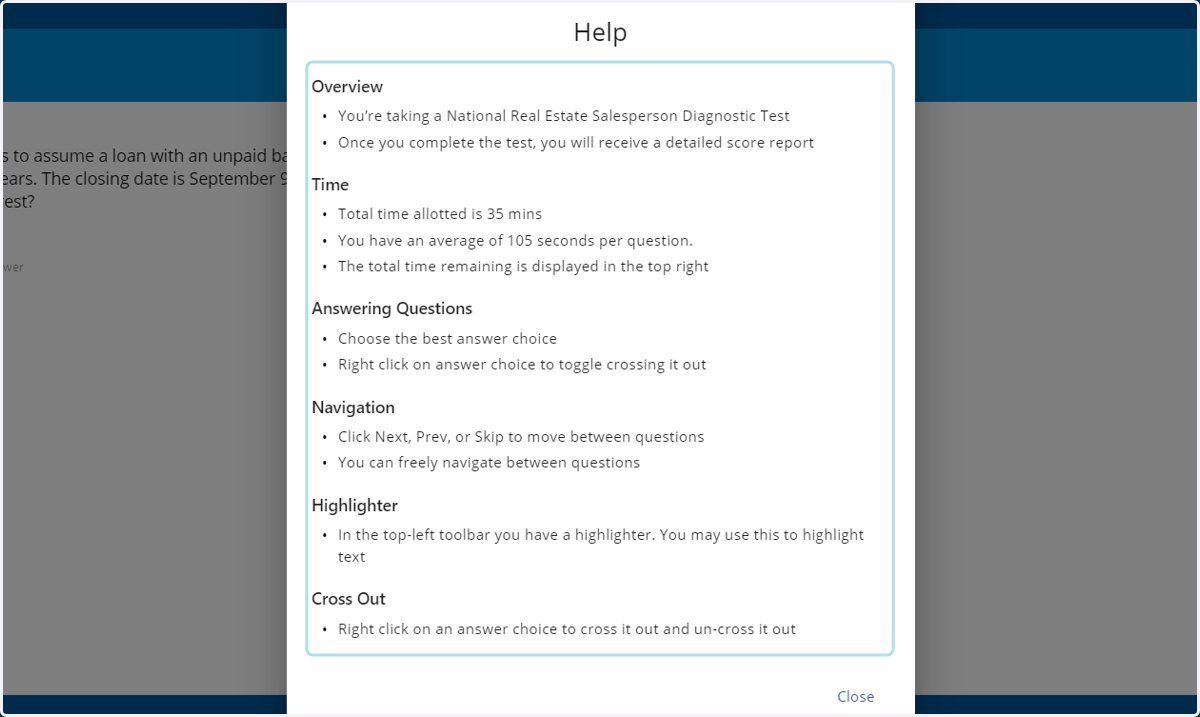
15. Diagnostic Help
At the bottom lefthand corner of your diagnostic, click the "?" icon for help and instructions about your diagnostic
16. Read the Help Section
Once you have clicked the "?" icon, the Help page will populate on your screen. To exit, click the "X" in the top right corner of the window
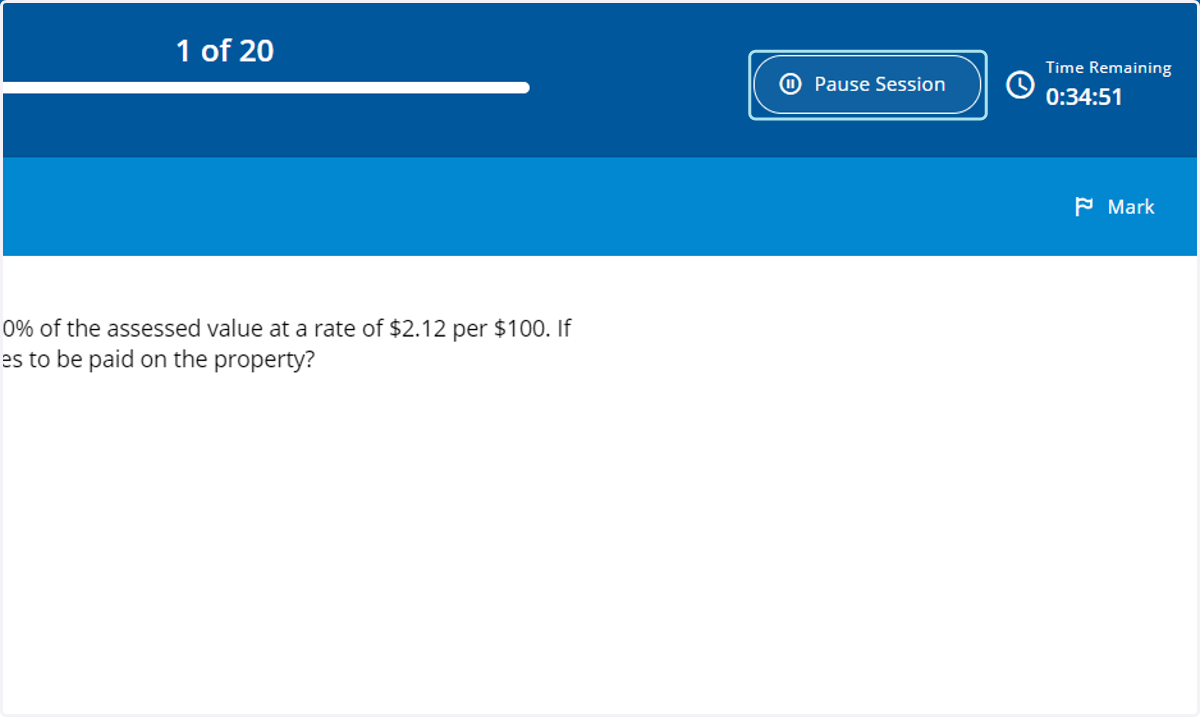
17. Pausing the Diagnostic
At the top righthand corner of the screen next the time remaining, click the Pause button
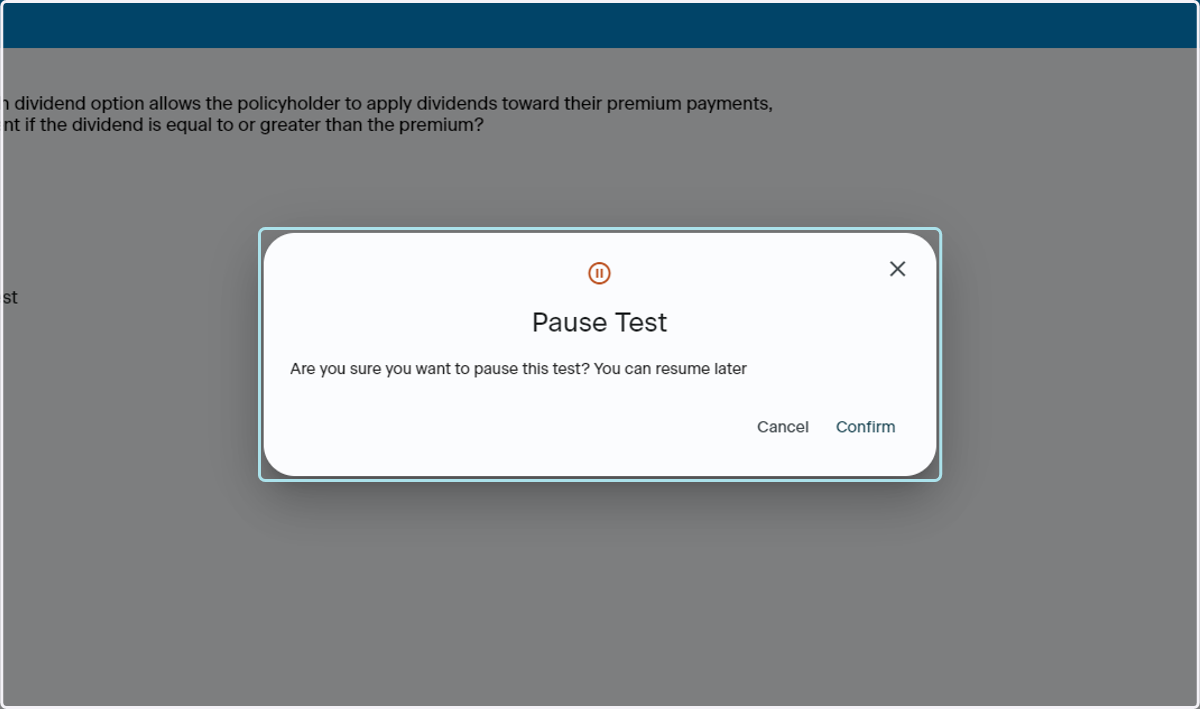
18. Click Confirm
Click Confirm to exit the diagnostic
Purchase Products
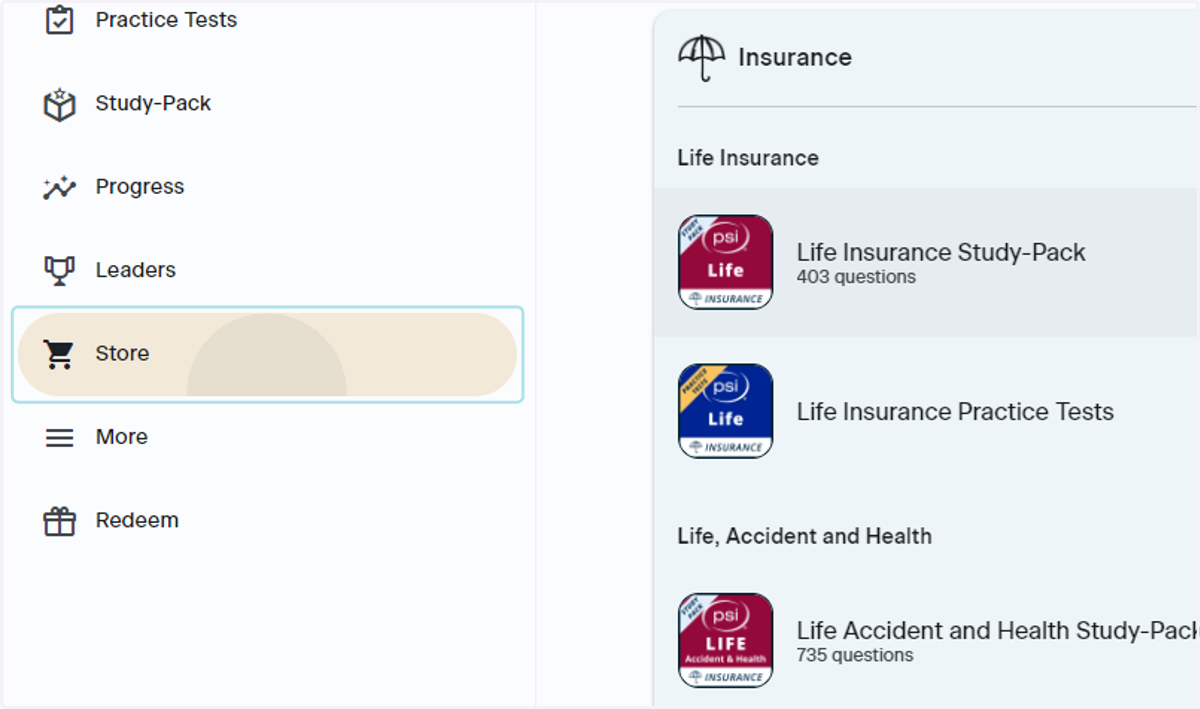
19. Click on Store
In the lefthand navigation bar, click the Store button
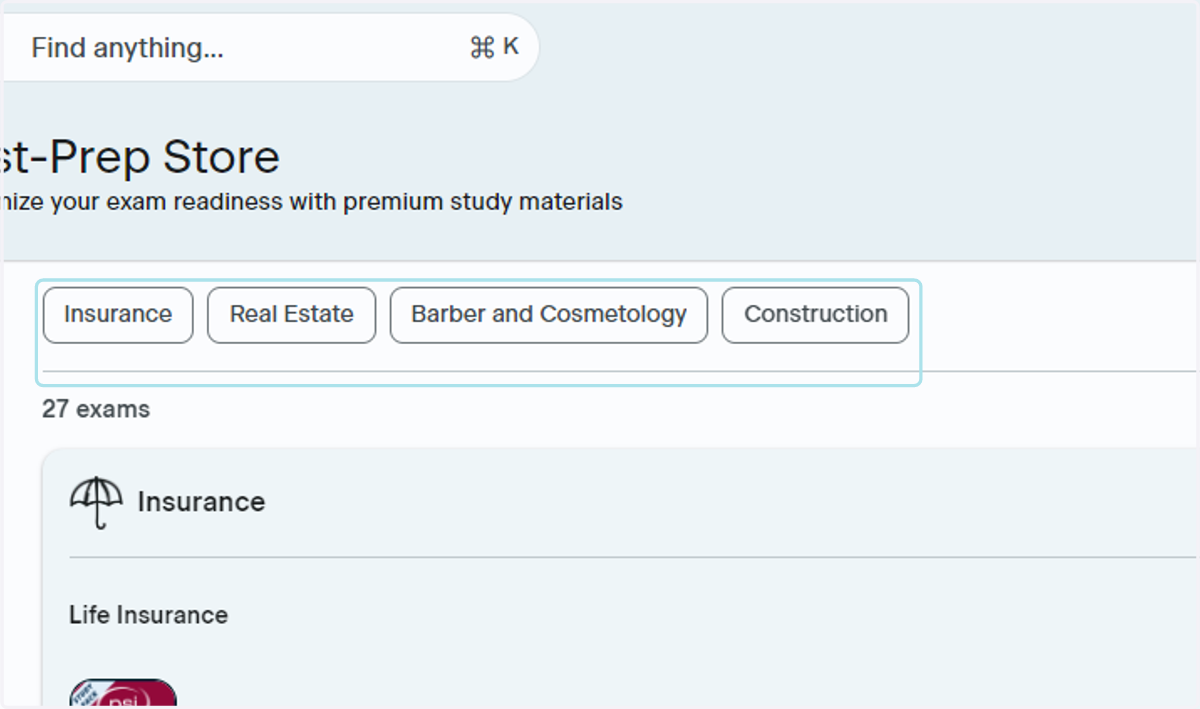
20. Find Your Industry
Once you are in the Test Prep Store, select the industry that you would like to purchase a product in
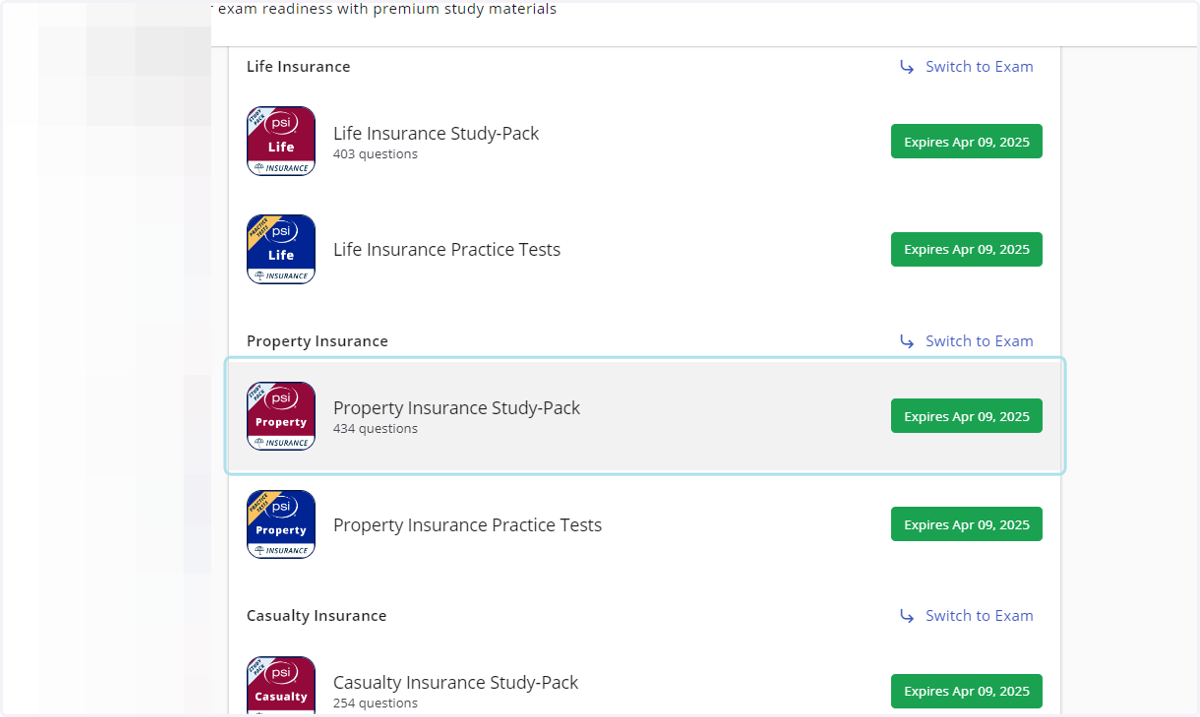
21. Select Your Product
Scroll through your selected industry to find the product you would like to purchase. Once you have selected the product you would like to purchase, click it
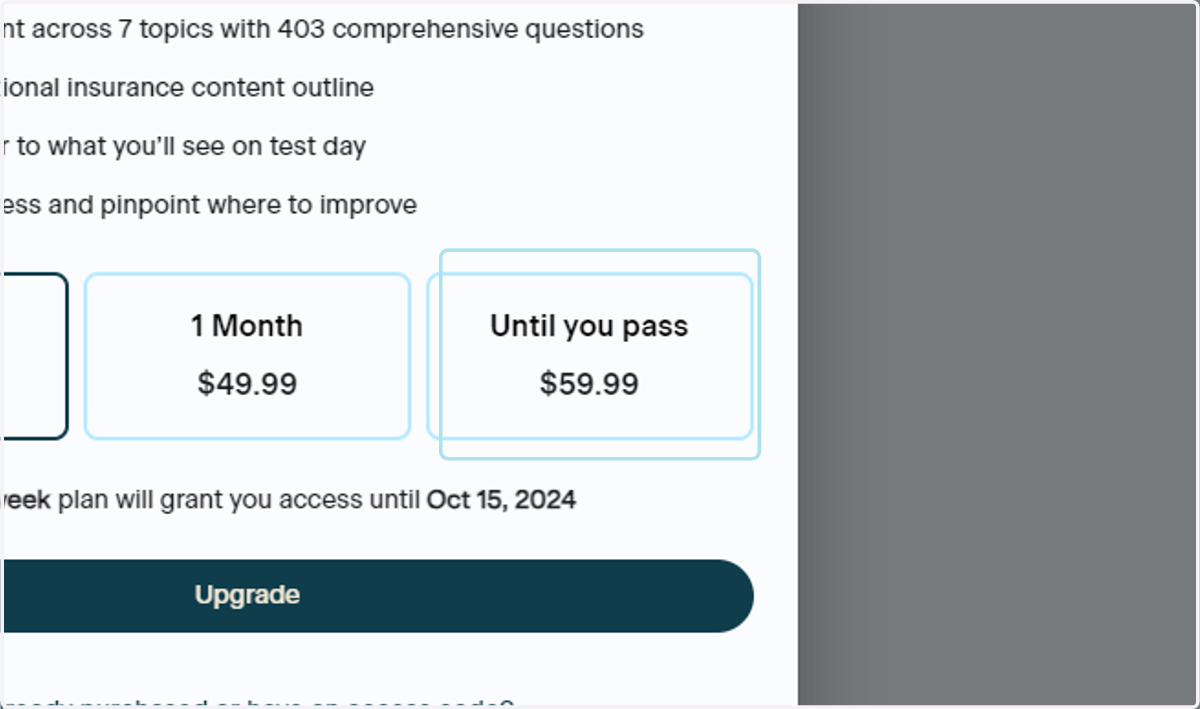
22. Select a Subscription
Choose the subscription model that works best for you
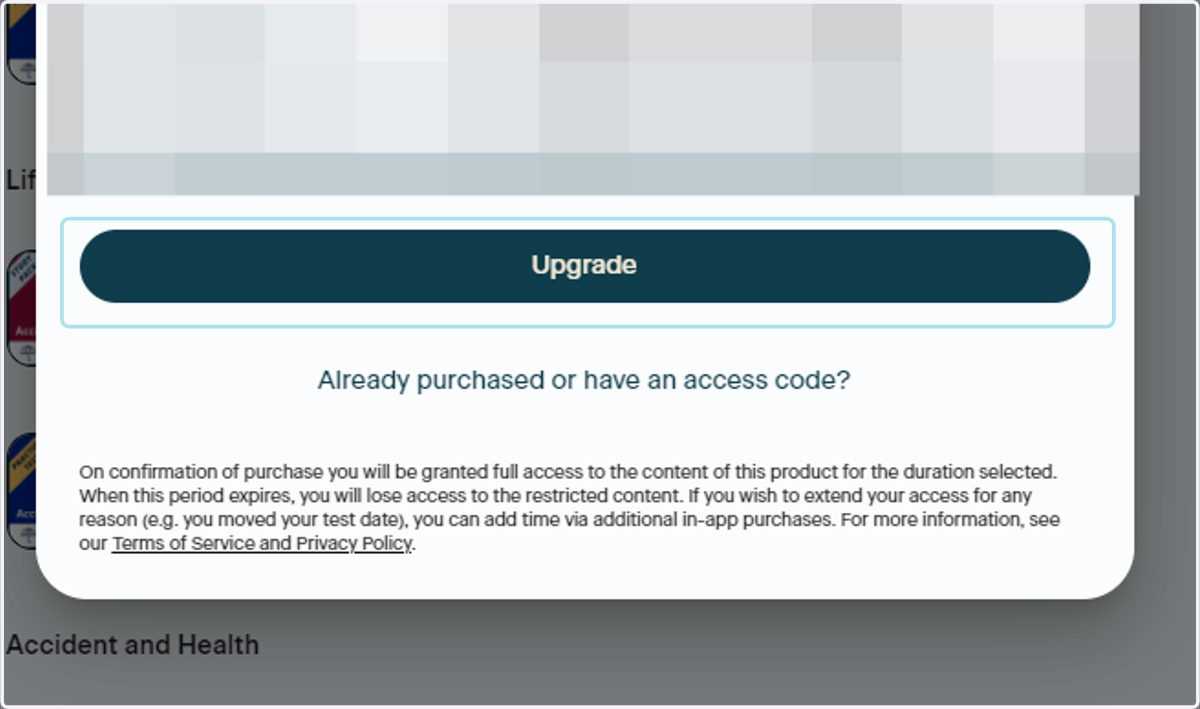
23. Click on Upgrade
Once you have selected your subscription plan, click Extend Access
24. Complete Payment
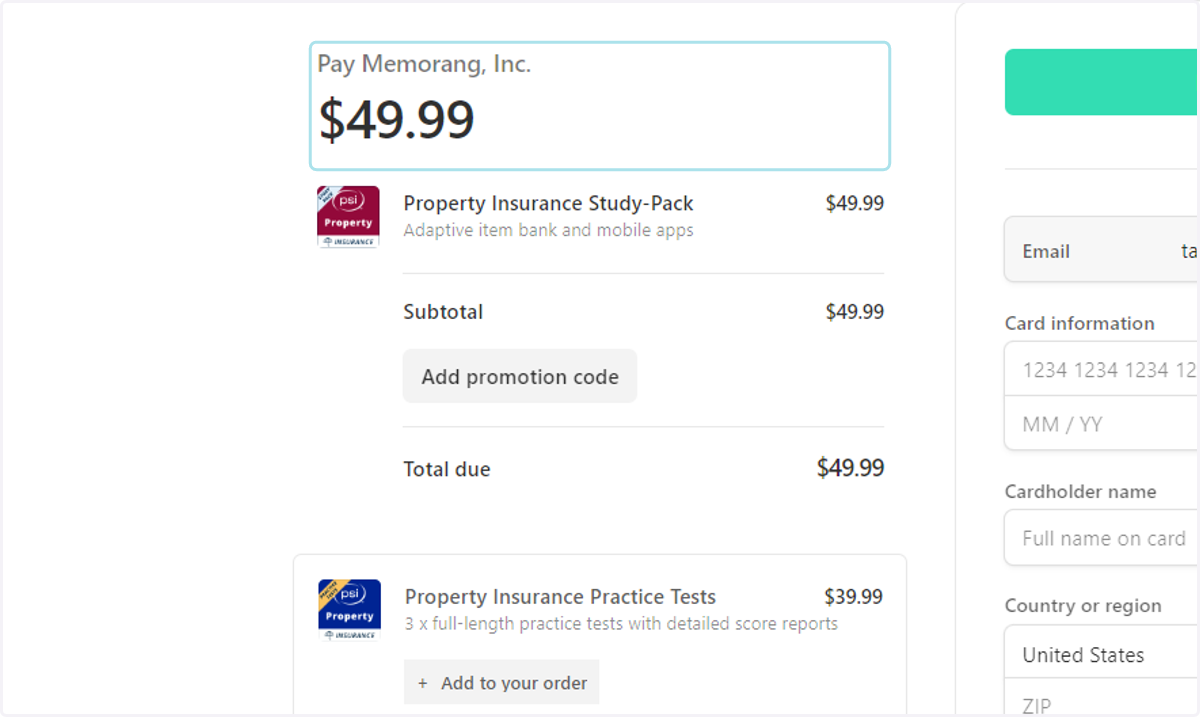
Now that you have clicked Extend Access, you will be brought to the payment screen. You will see the cost of your subscription and the product that you intend to purchase
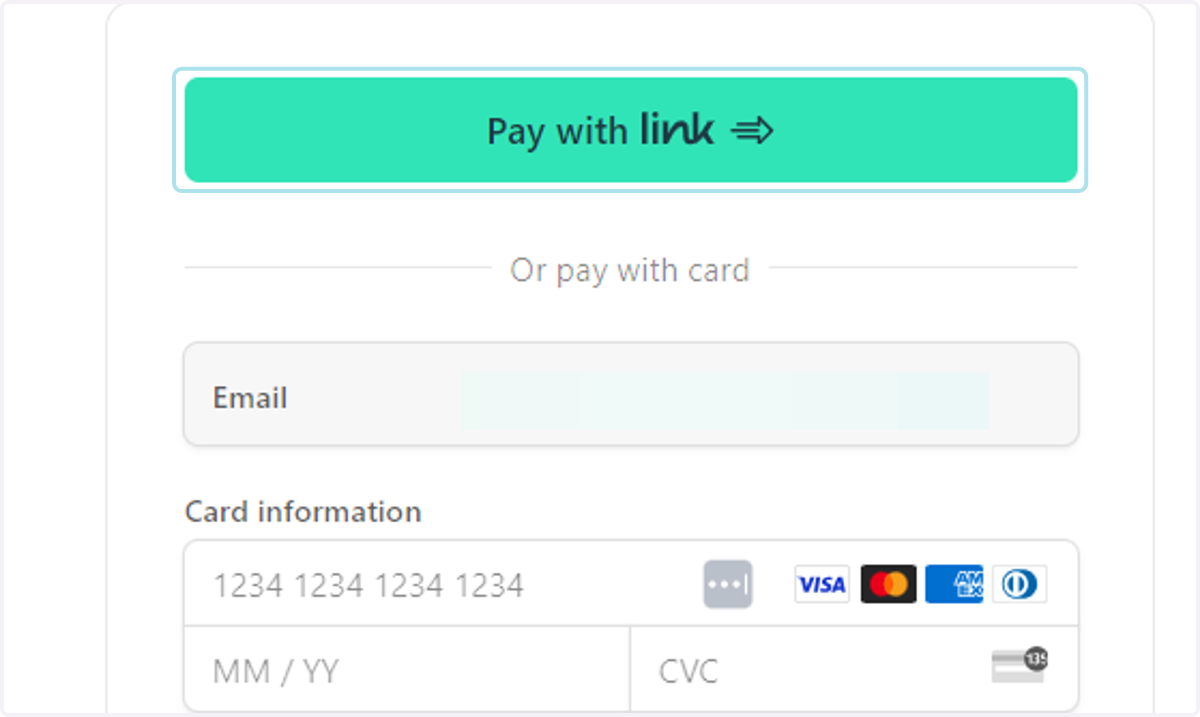
25. Pay with Link
If you have a Link account, use the Link button to complete your payment using your Link account
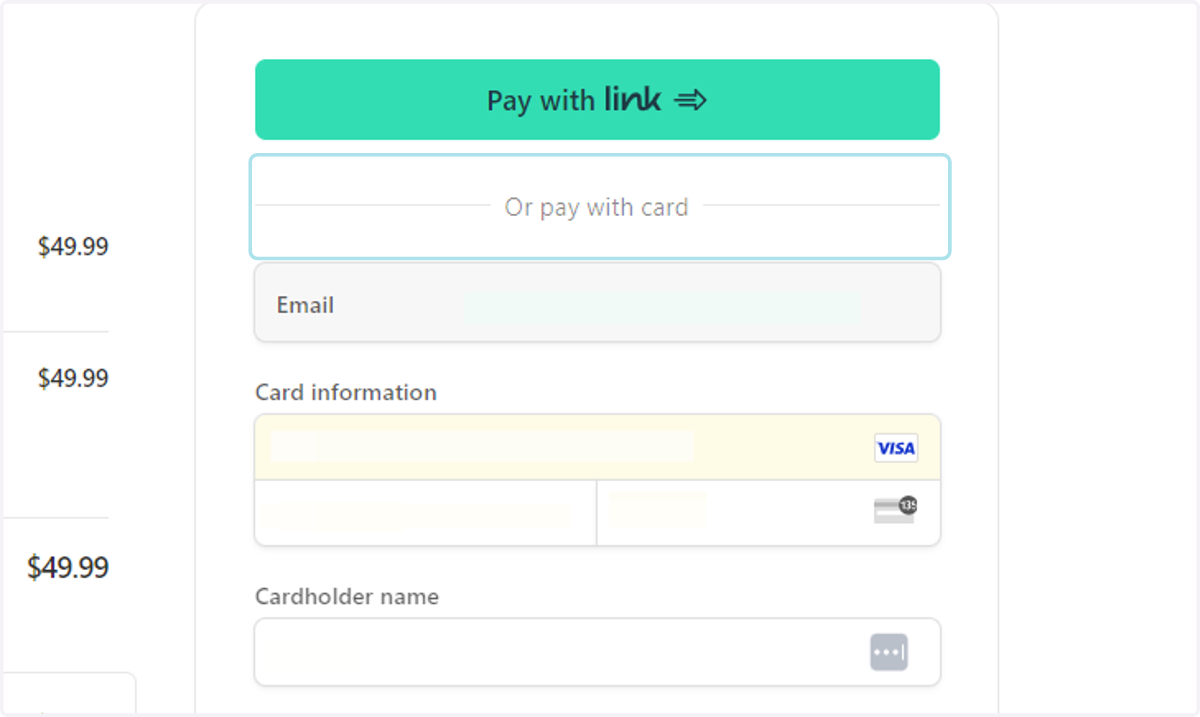
26. Enter Credit Card Credentials
If you do not have a Link account or would like to use a card, navigate to the section under the Link button to enter your payment details
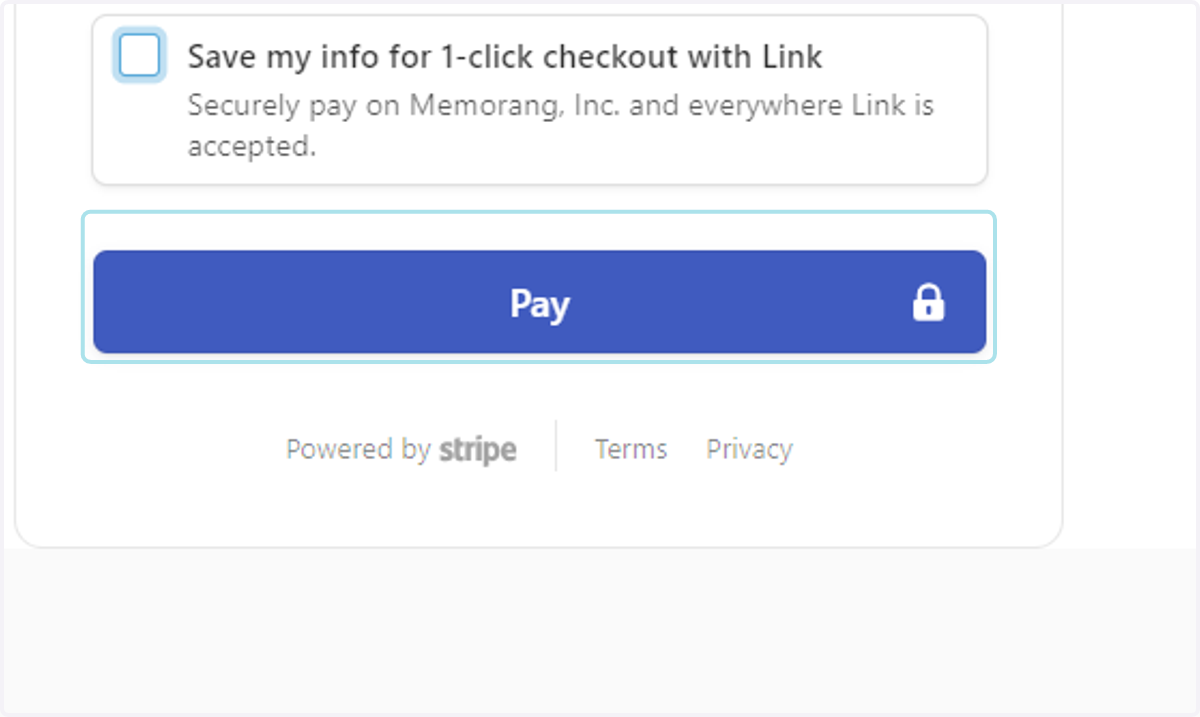
27. Pay for Your Product
When you have filled out your payment credentials, click Pay to process your payment and begin your subscription
Contact Support
28. Where to Contact Support
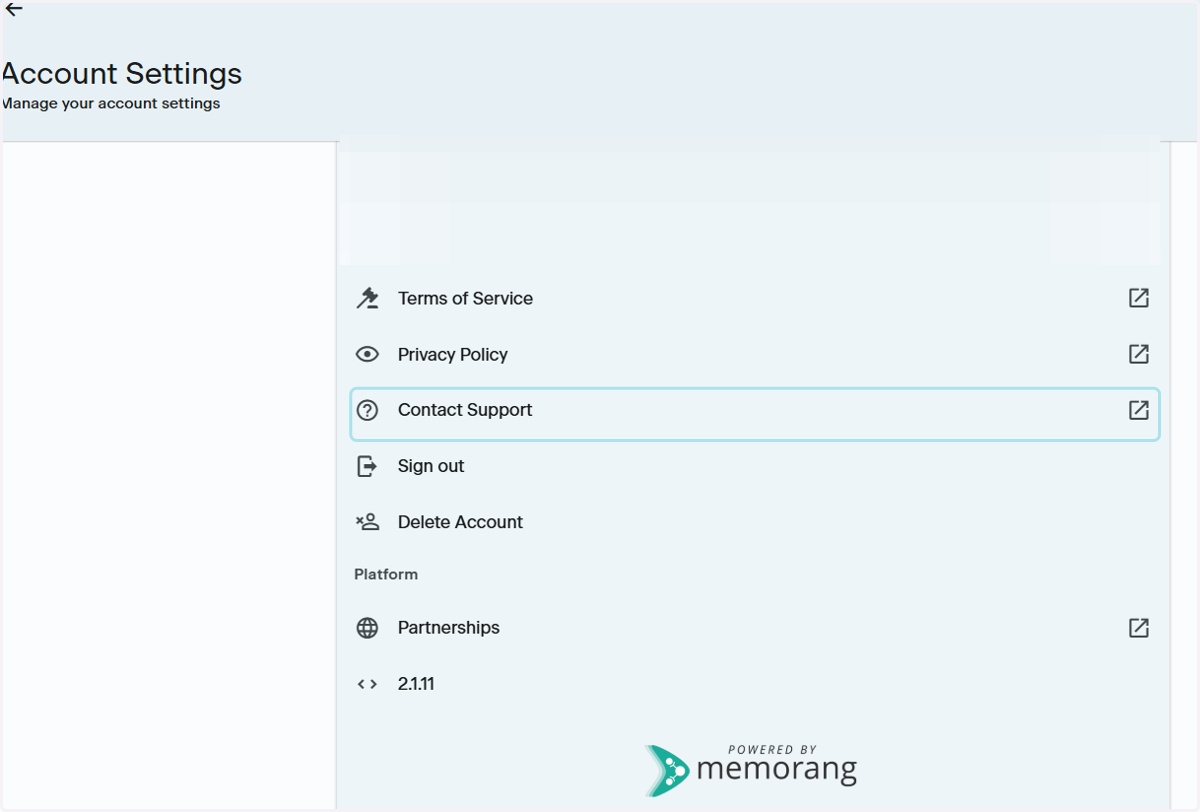
Go to your Account Settings by clicking the Gear icon in the upper righthand corner of the App and click Support. This will launch an email to the PSI Support Team, ptsupport@psionline.com
For help with:
Profile details
Order related issues
Access code assistance
Change username
Errors
Please be sure to take screenshots of any errors
Please include the following in your email:
First name
Last name
Email associated with your order
Order Number
Order Confirmation