Add a new employee - Workflow
Offshore Payroll
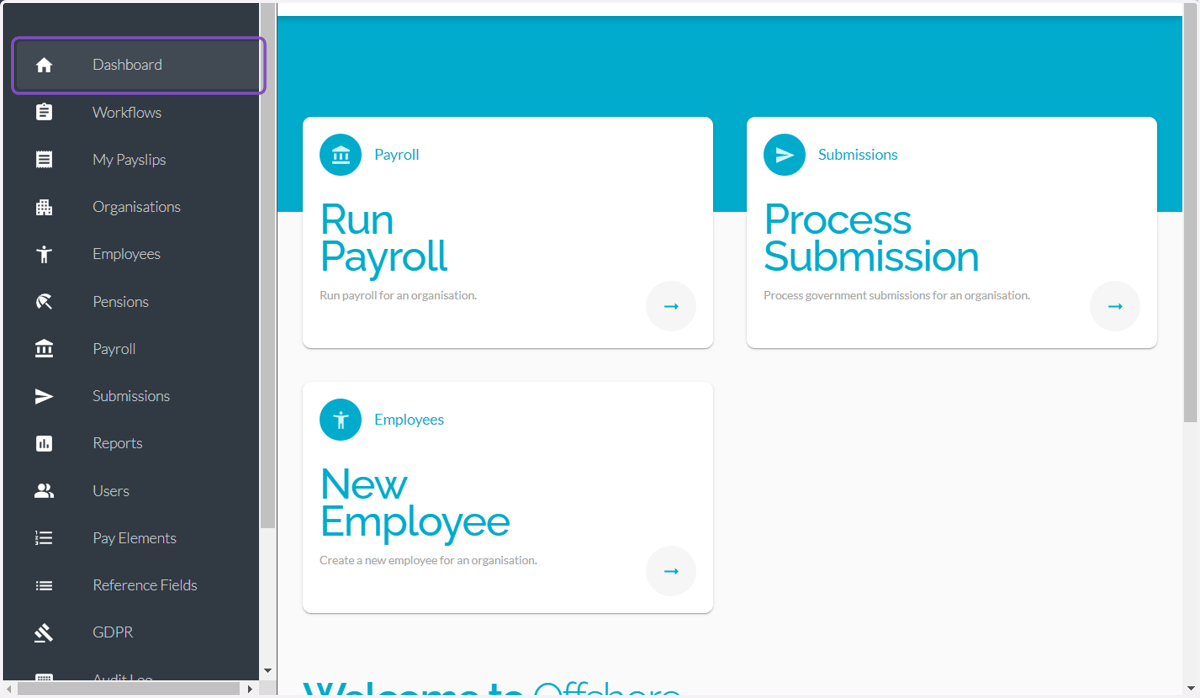
1. Click on Dashboard
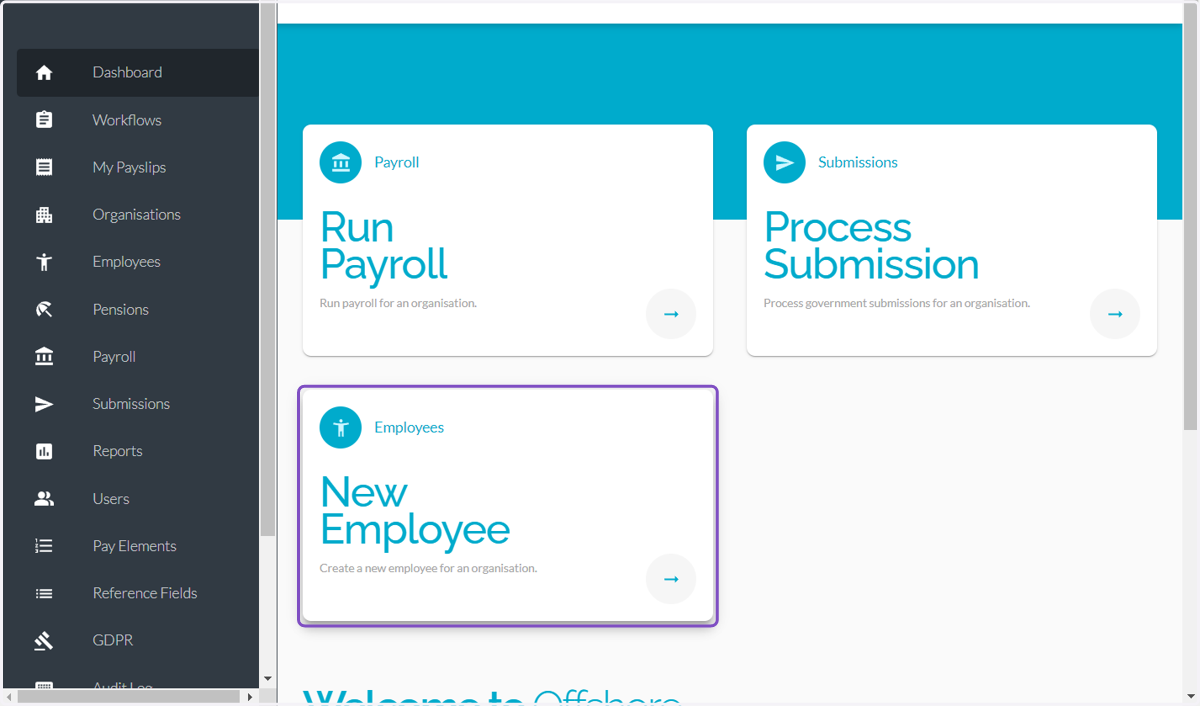
You can access this workflow from two different locations. The first one is dashboard where you see 3 workflows: Run Payroll, Process Submission, and New Employee.
2. Click on New Employee
3. This step is an alternativve way of reaching the same workfow and is shown for educational purposes: Click on Workflows
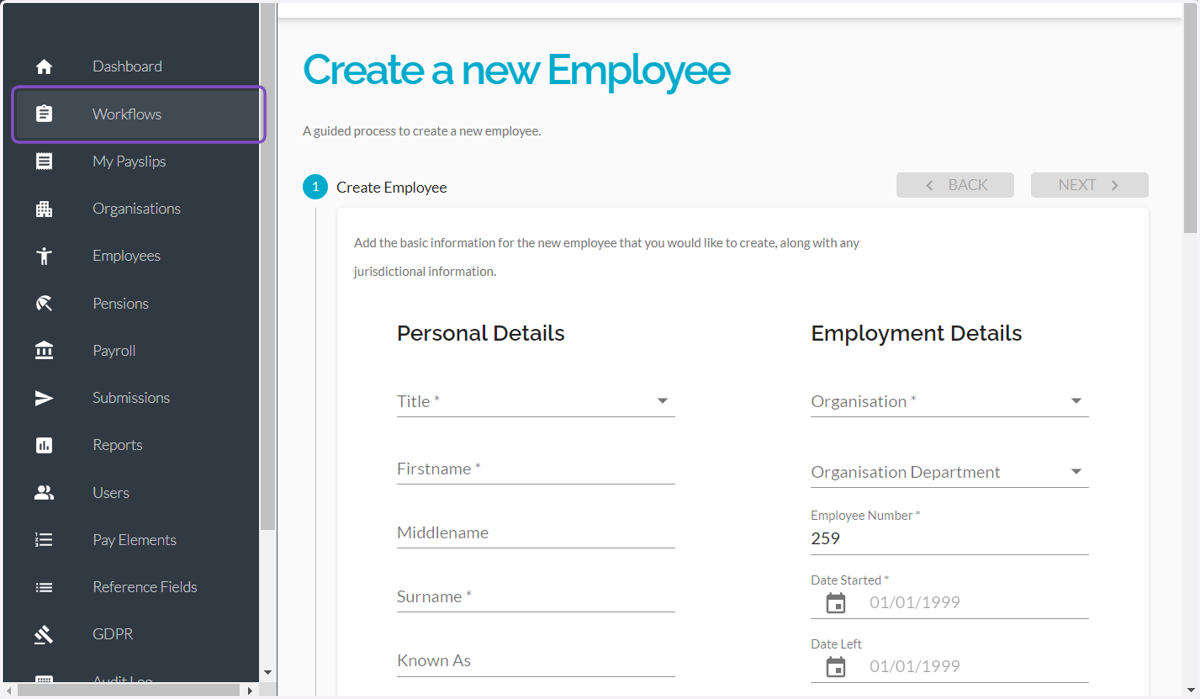
4. Click on New Employee
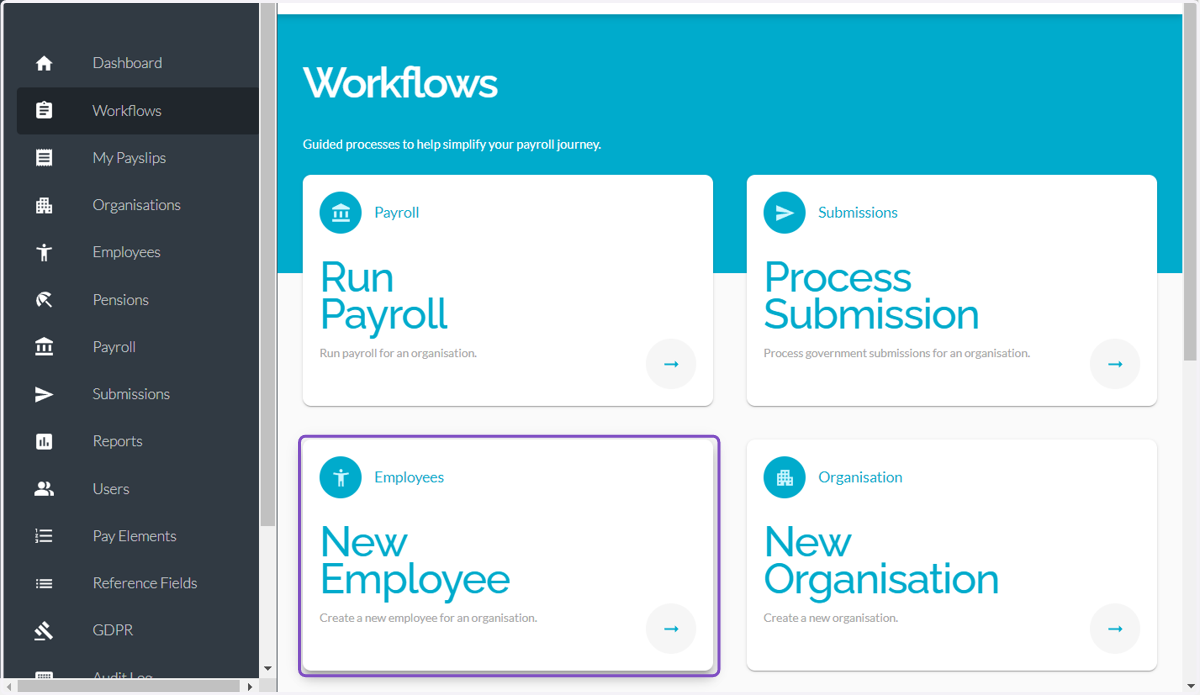
5. Click on Title field and select the suitable option from the drop down
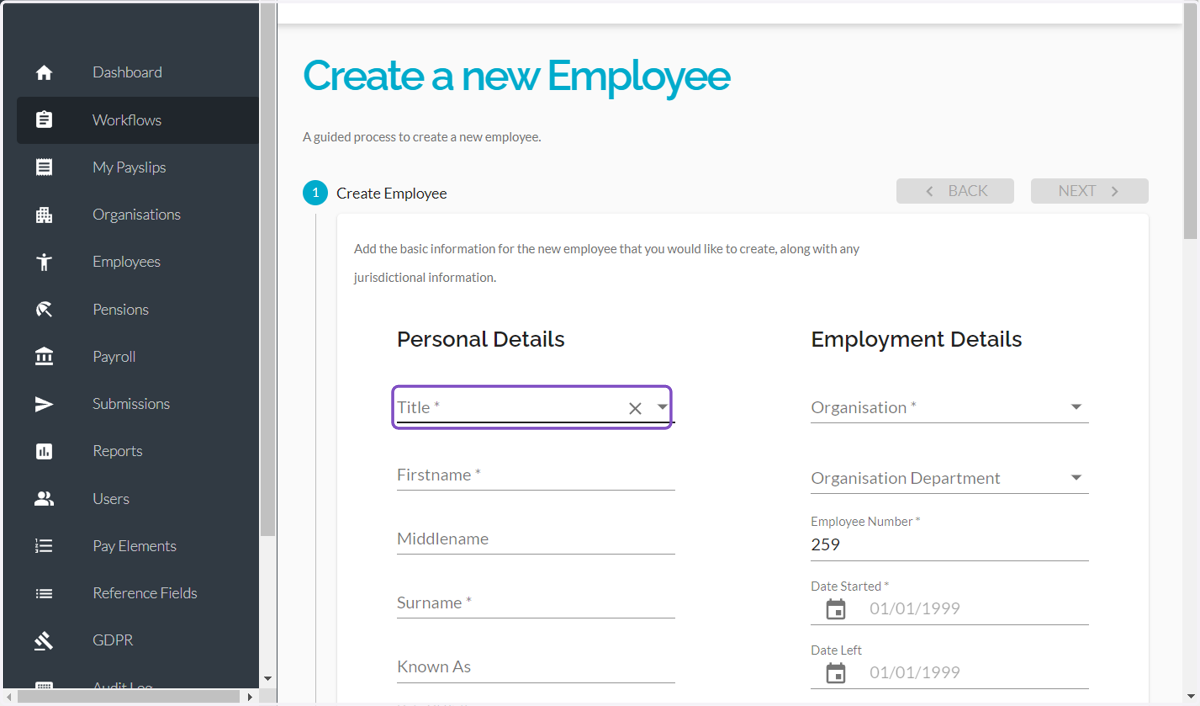
6. Select an Option
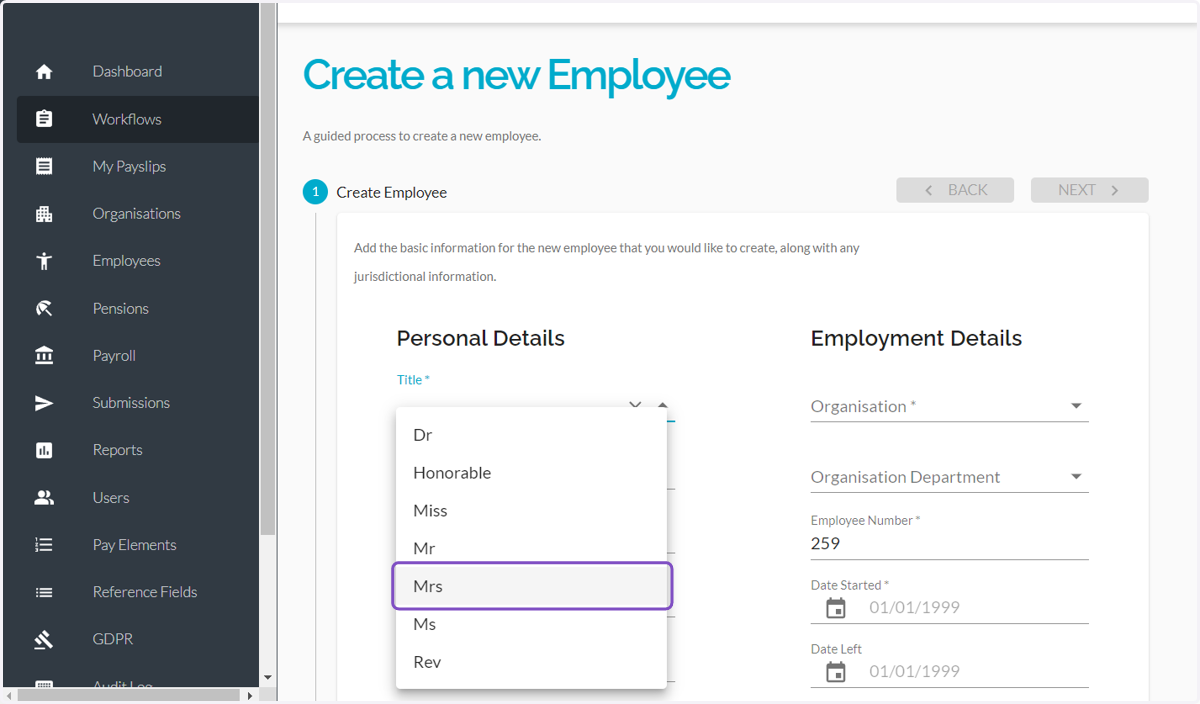
7. Click on First Name
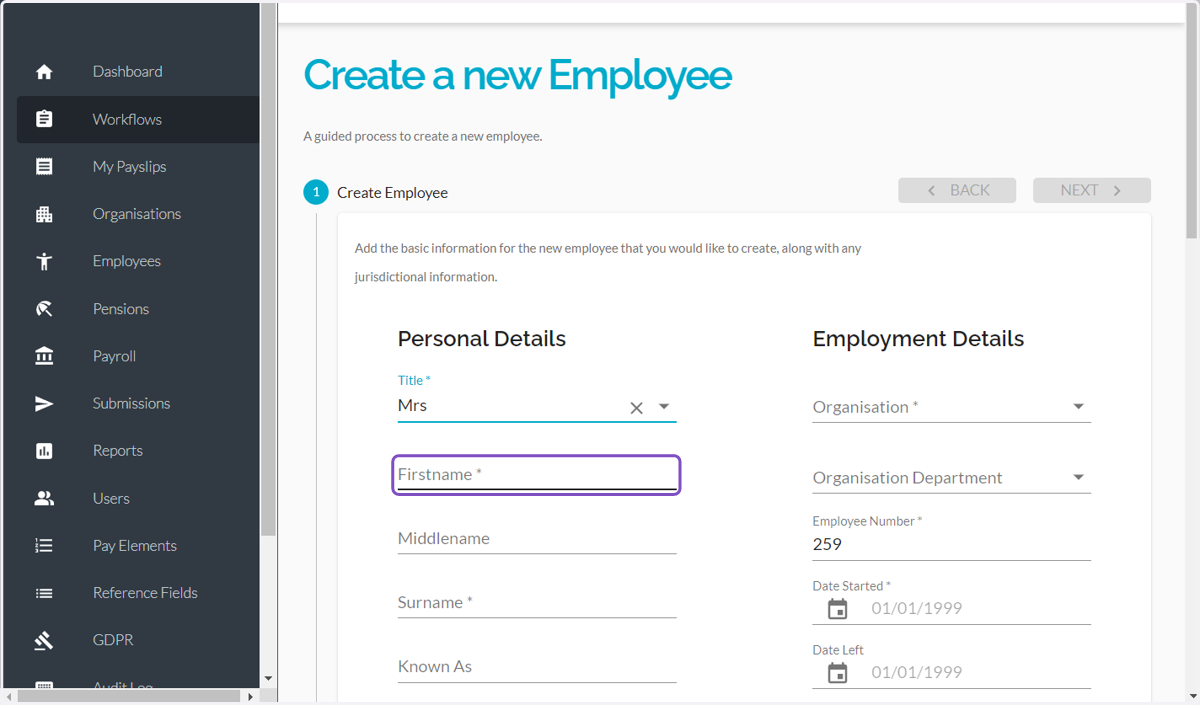
8. Type First Name
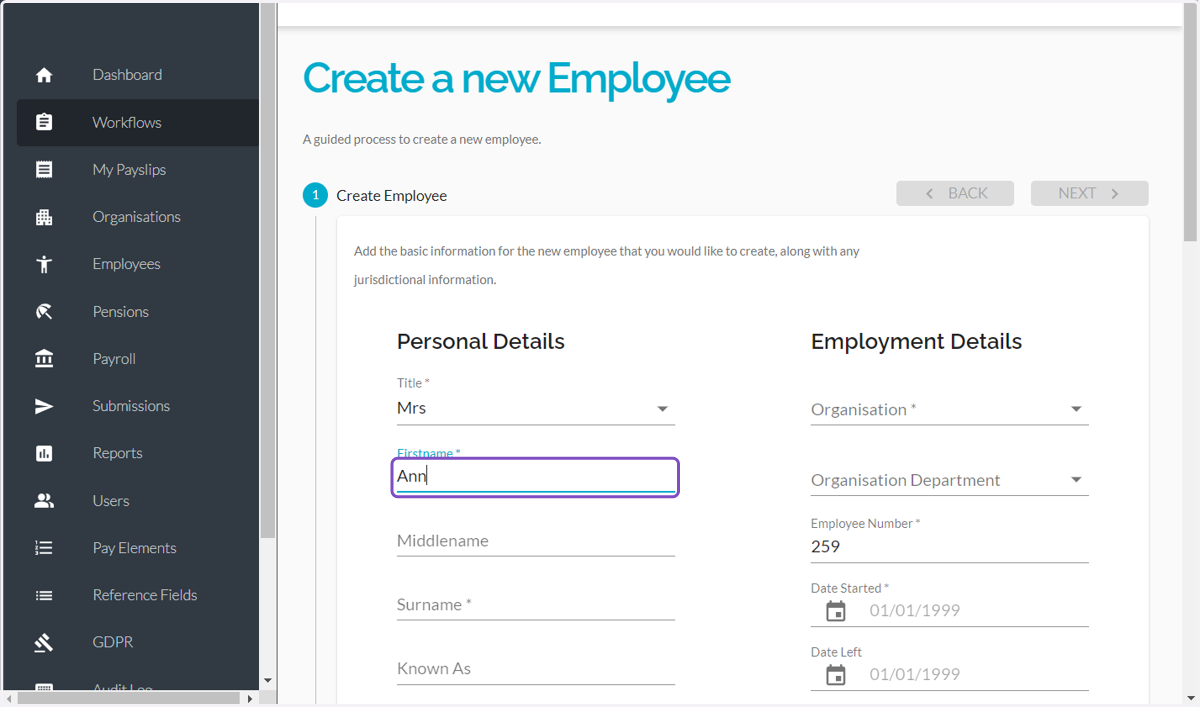
9. Type Surname
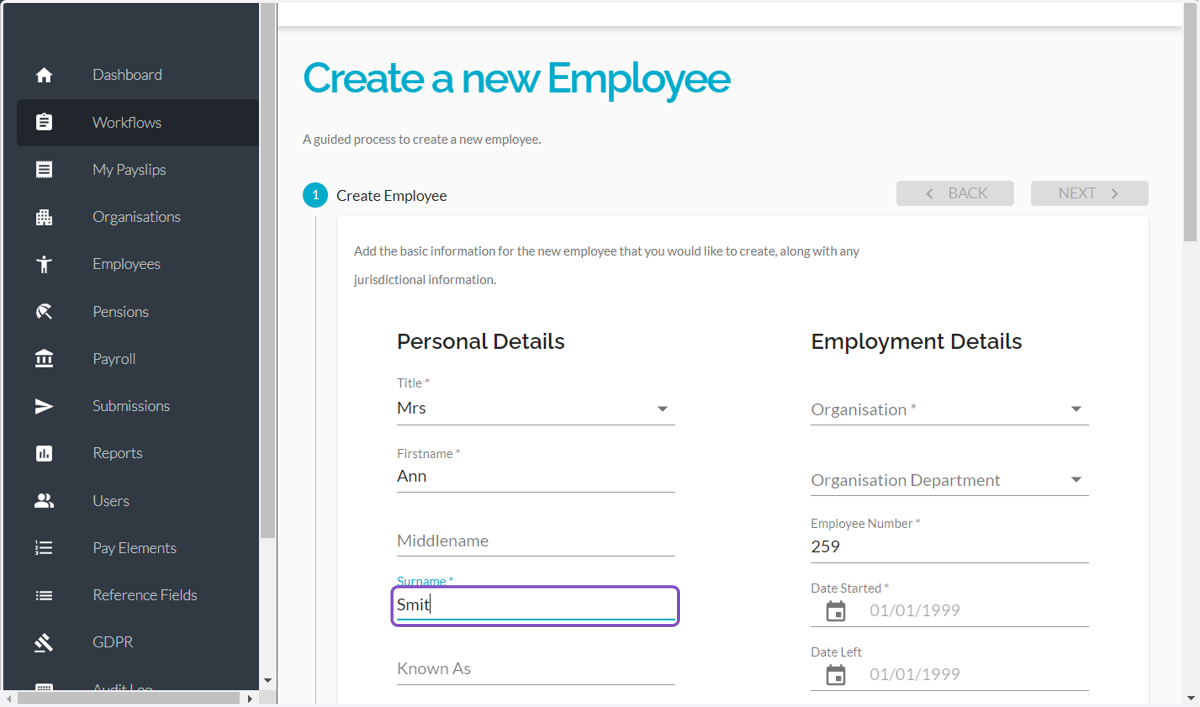
10. Click on calendar
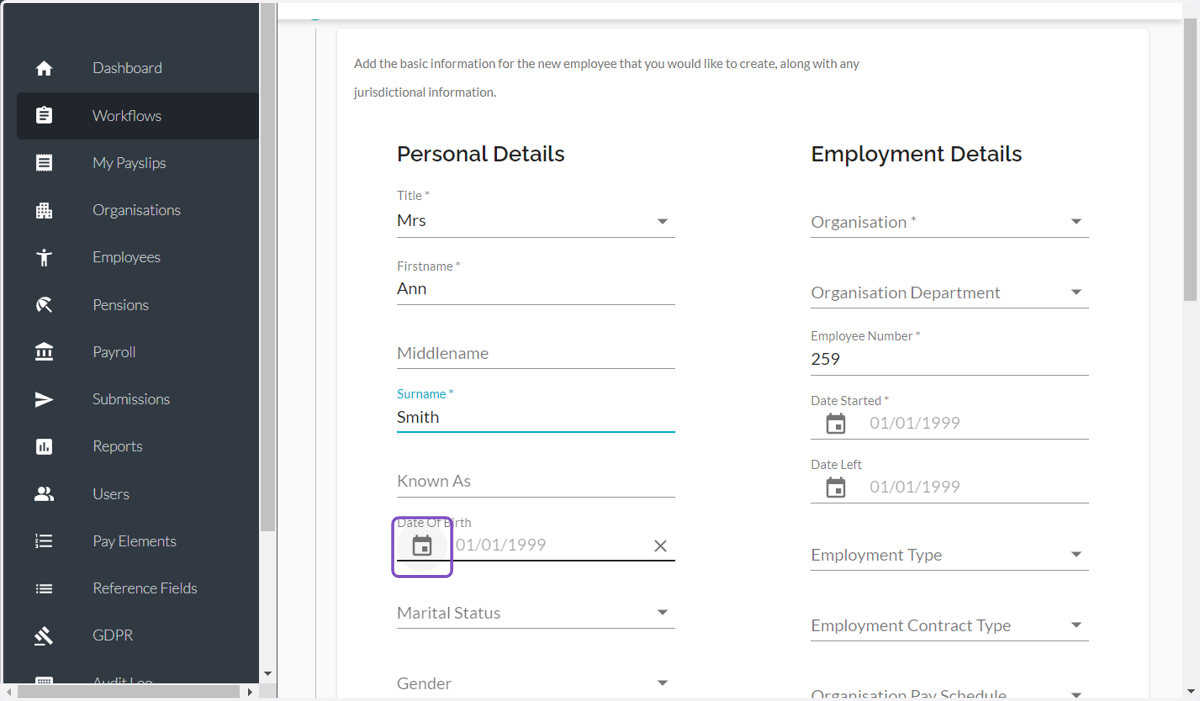
11. Select the Year of Birth
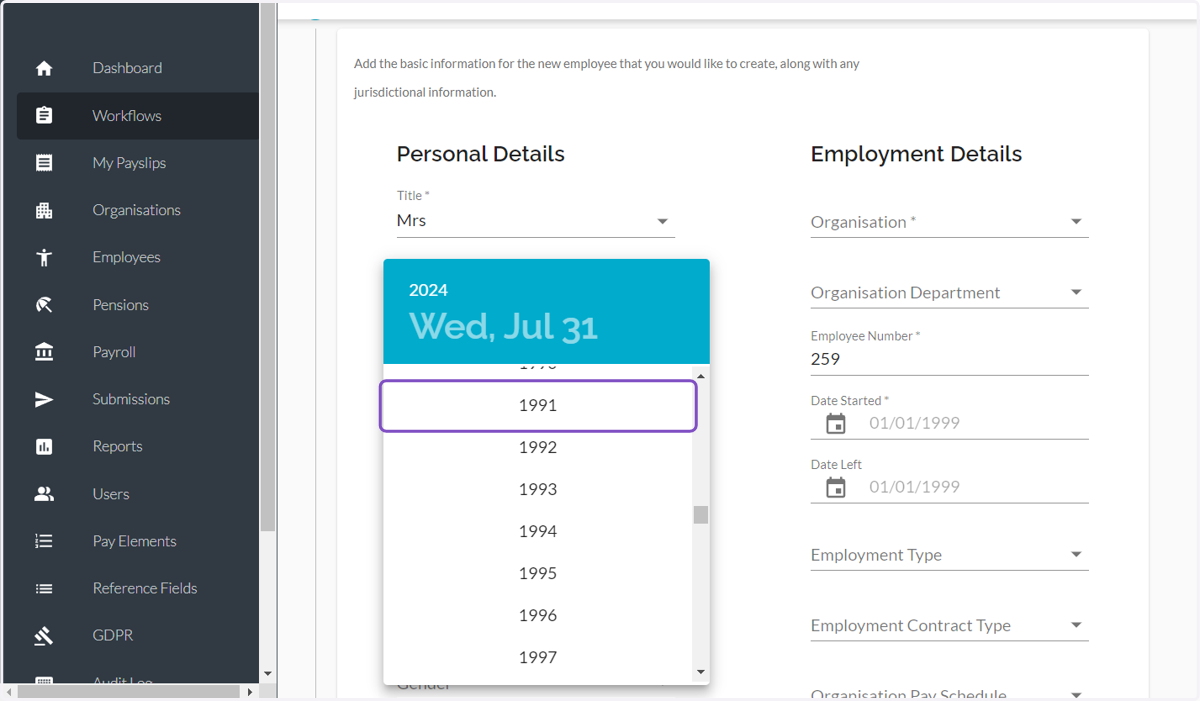
12. Select the Month and the Day
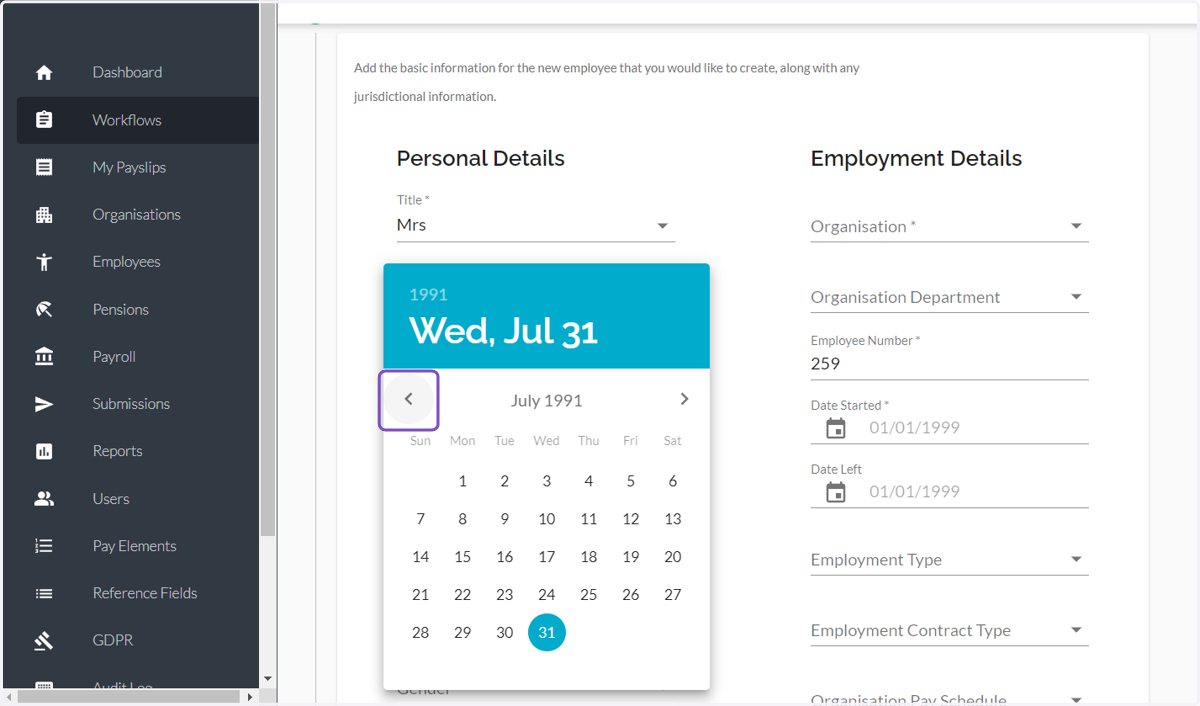
13. Click the date
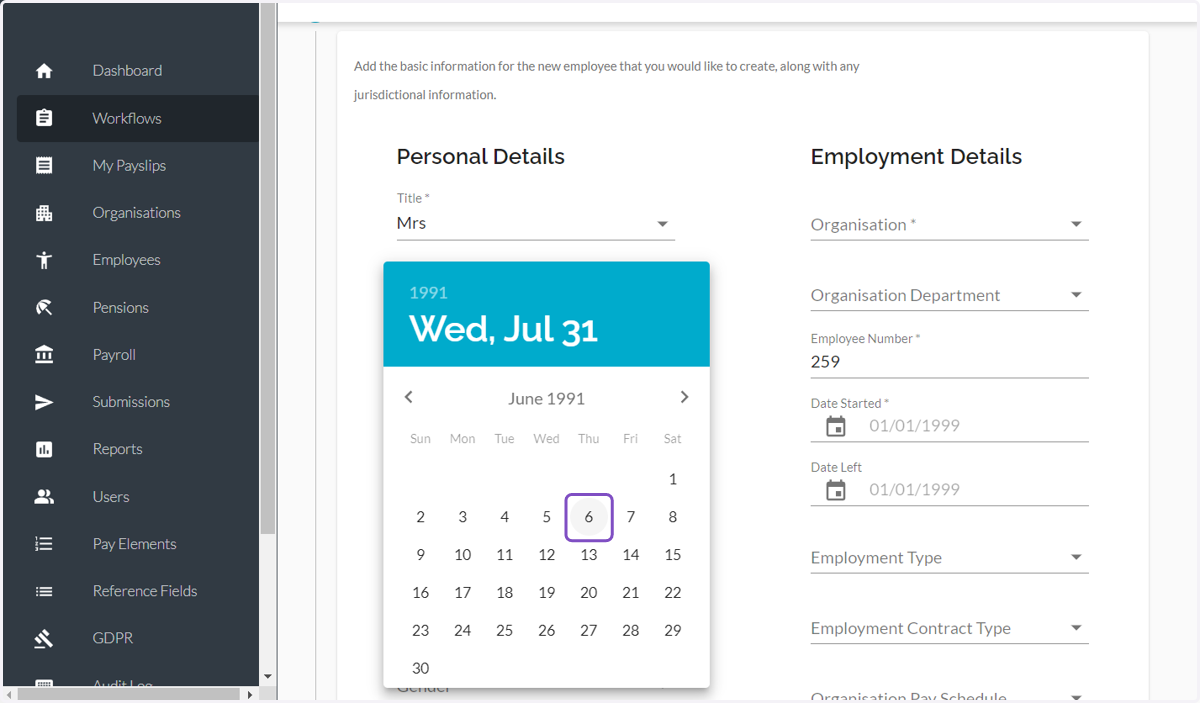
14. Select the Marital Status from the dropdown
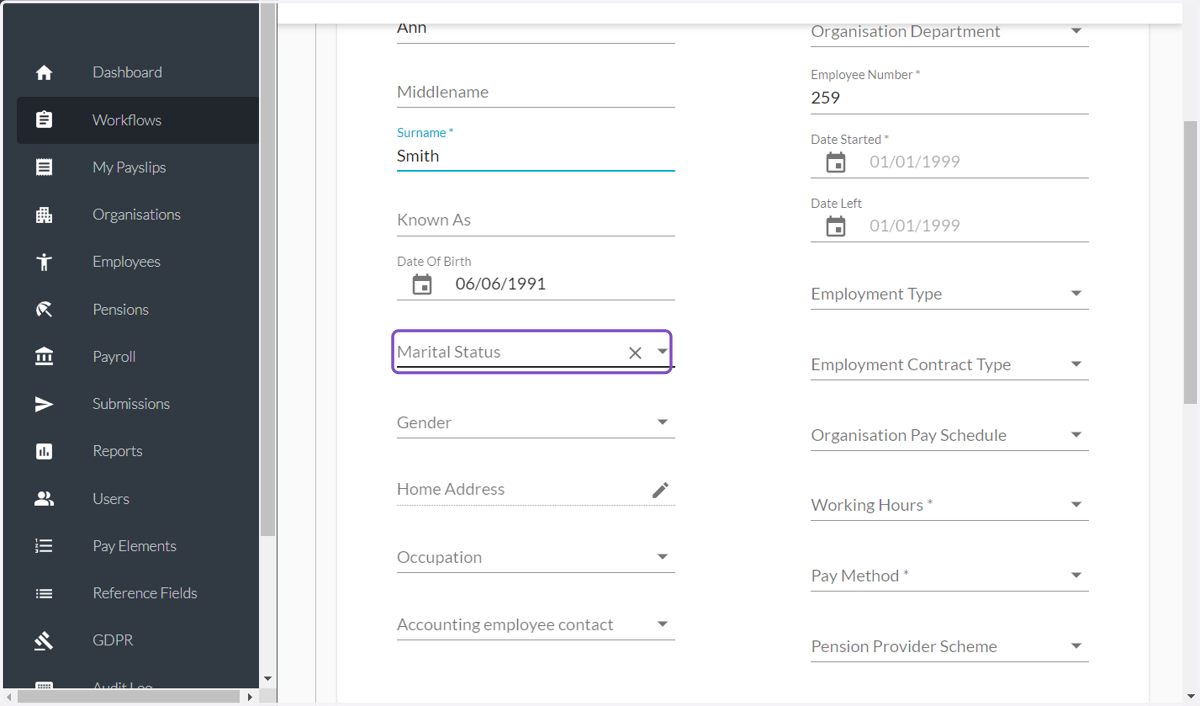
15. Select an Option
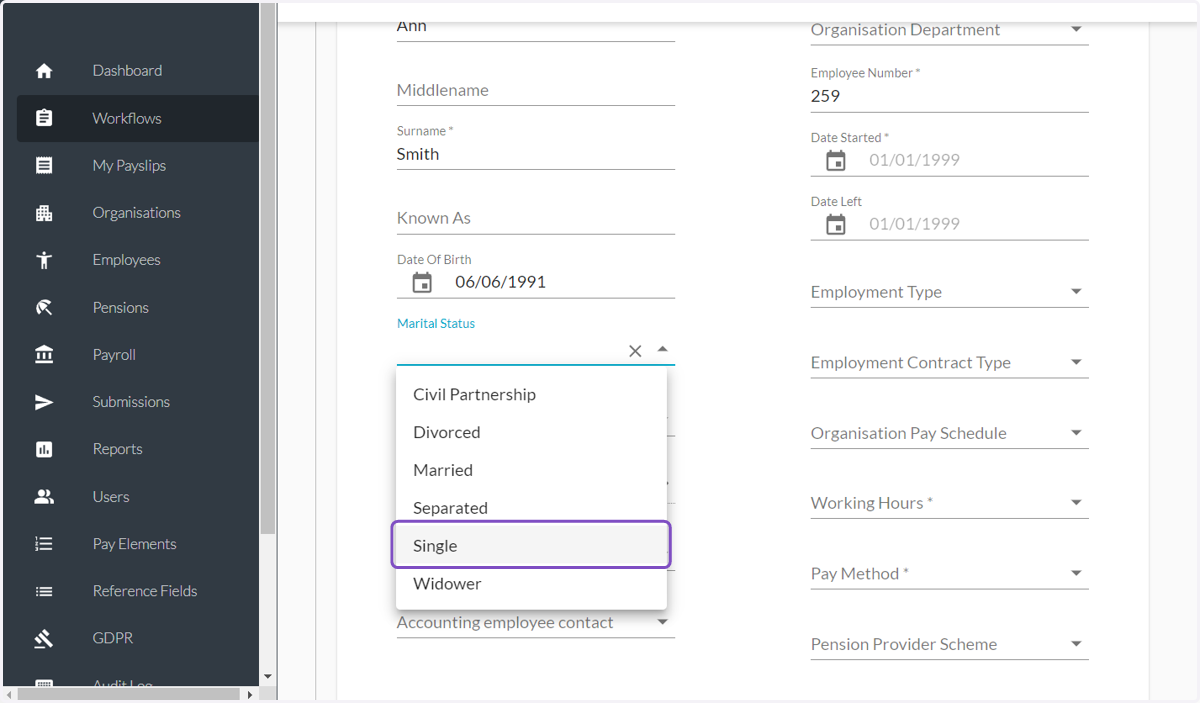
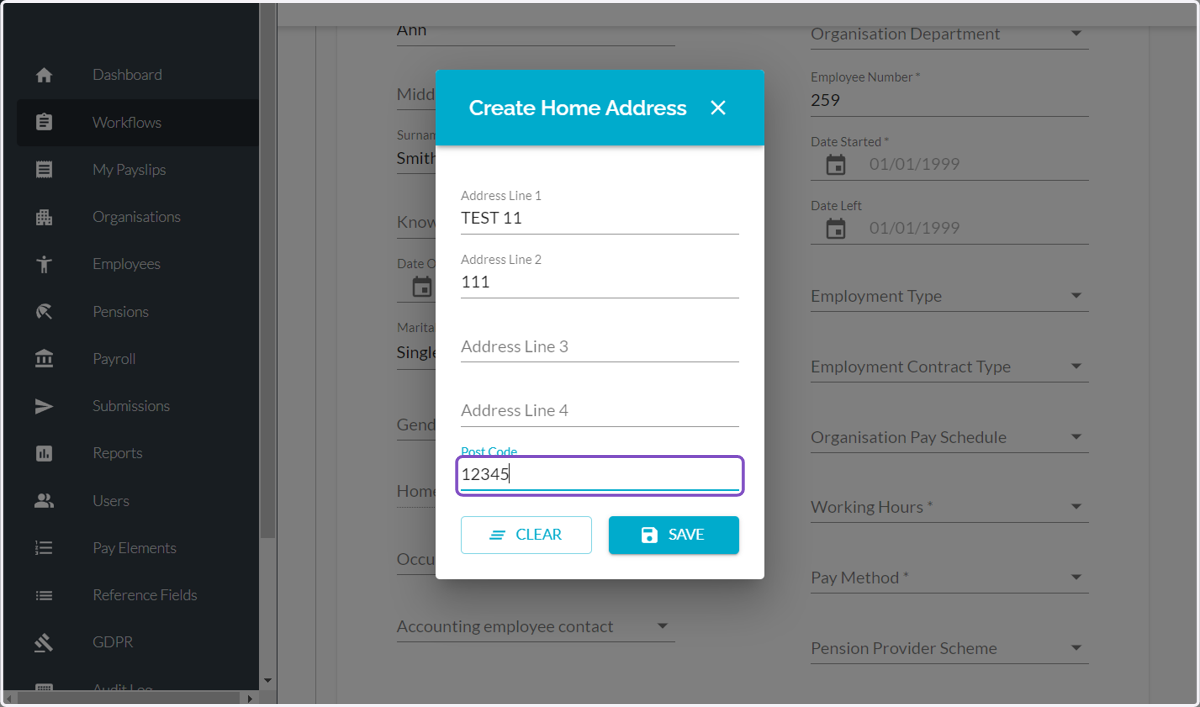
16. Click on Home Address and fill in the information
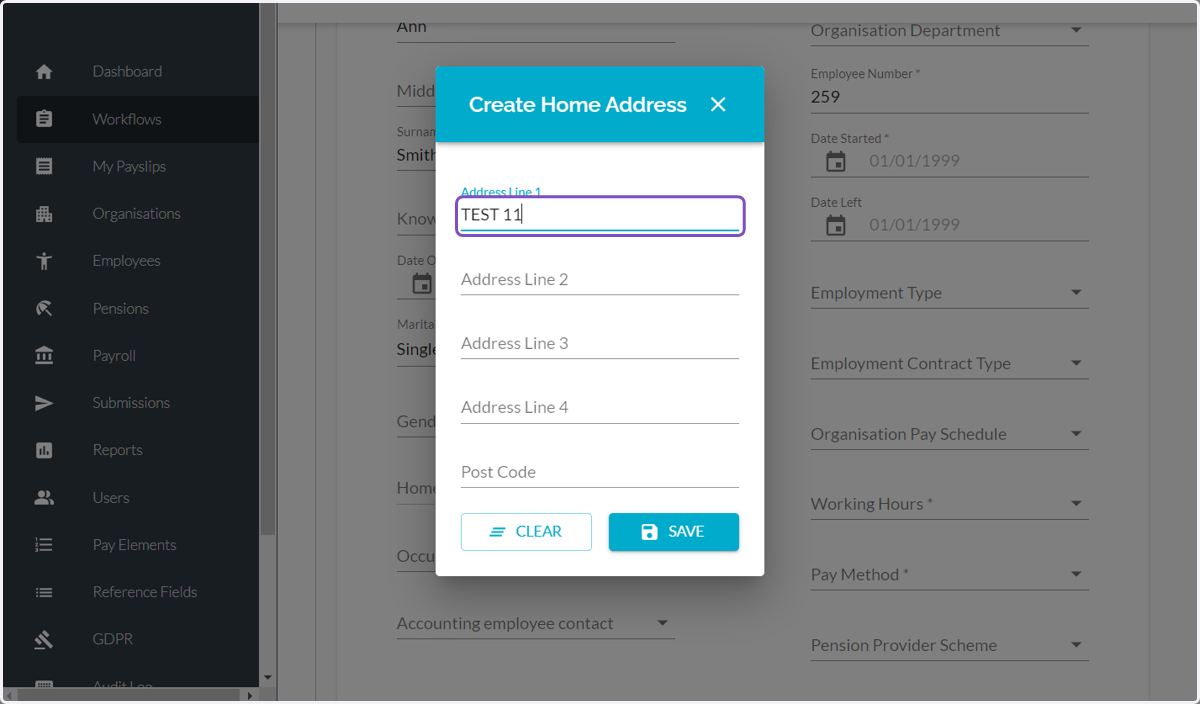
17. Type Address
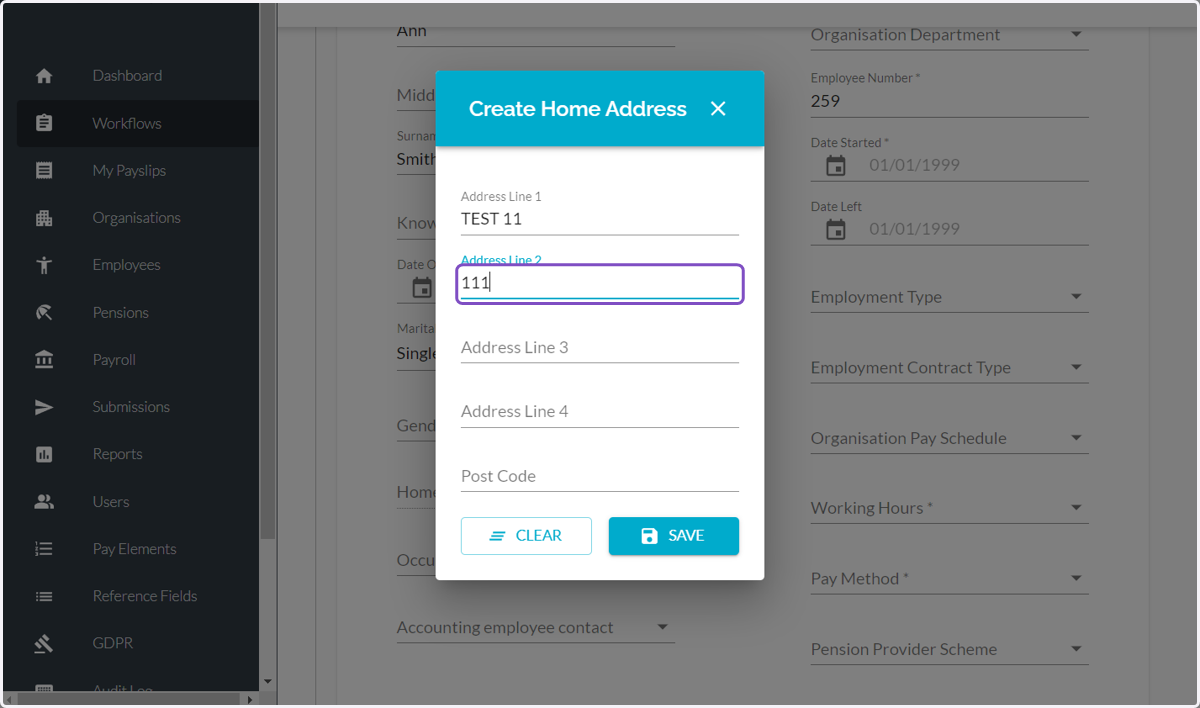
18. Type Address
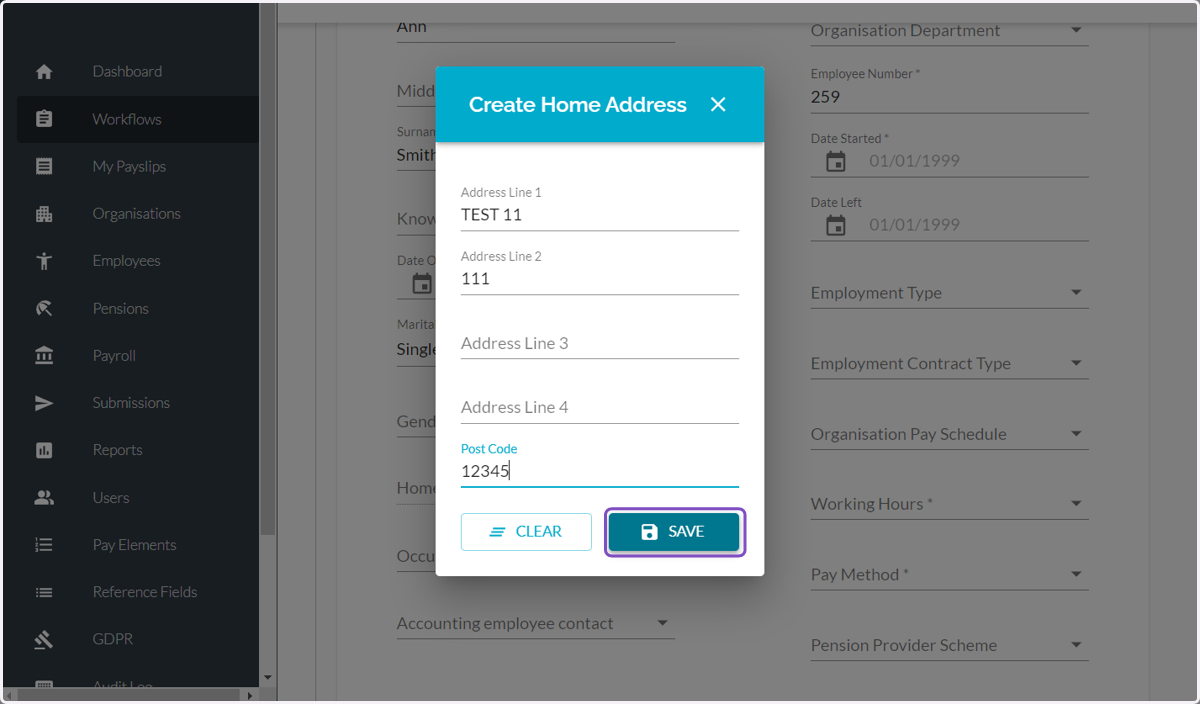
19. Click on SAVE
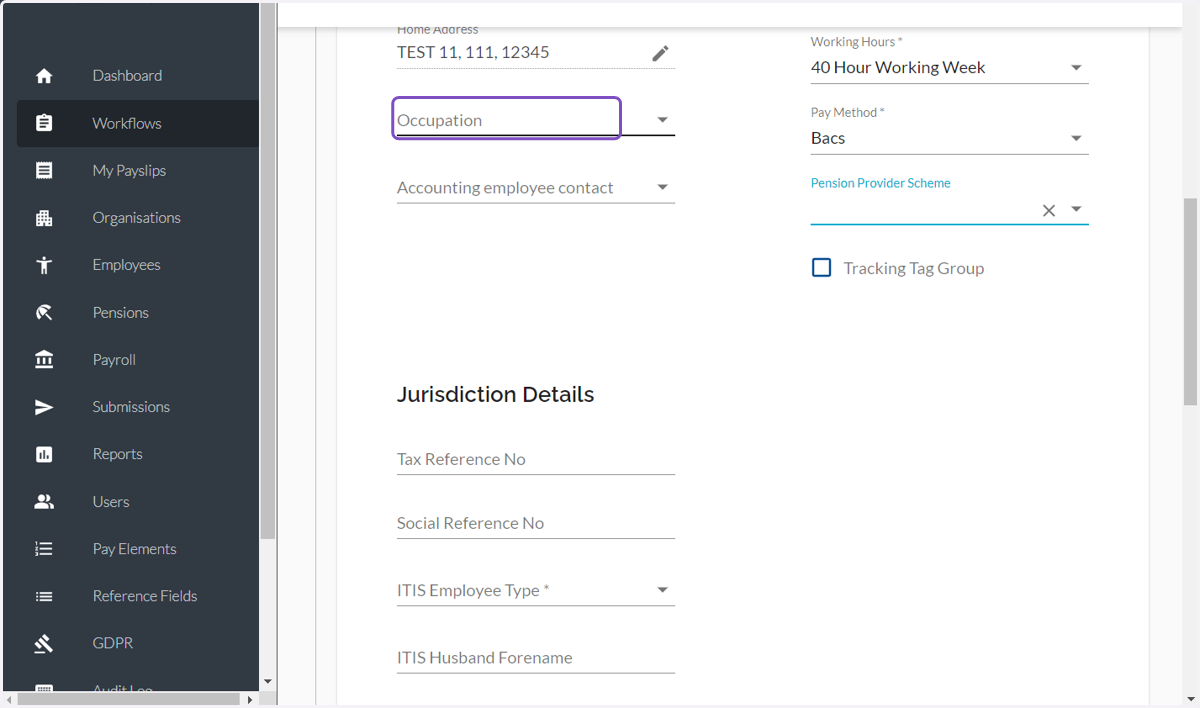
20. Click on Occupation
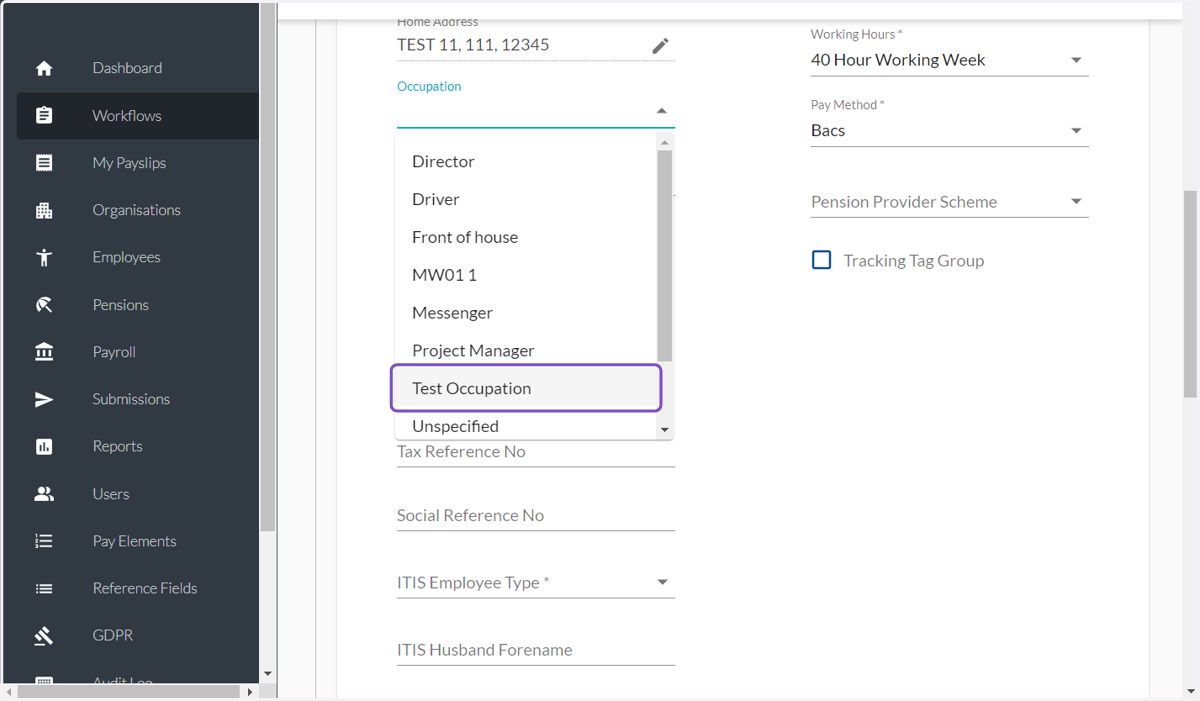
21. Click on Test Occupation
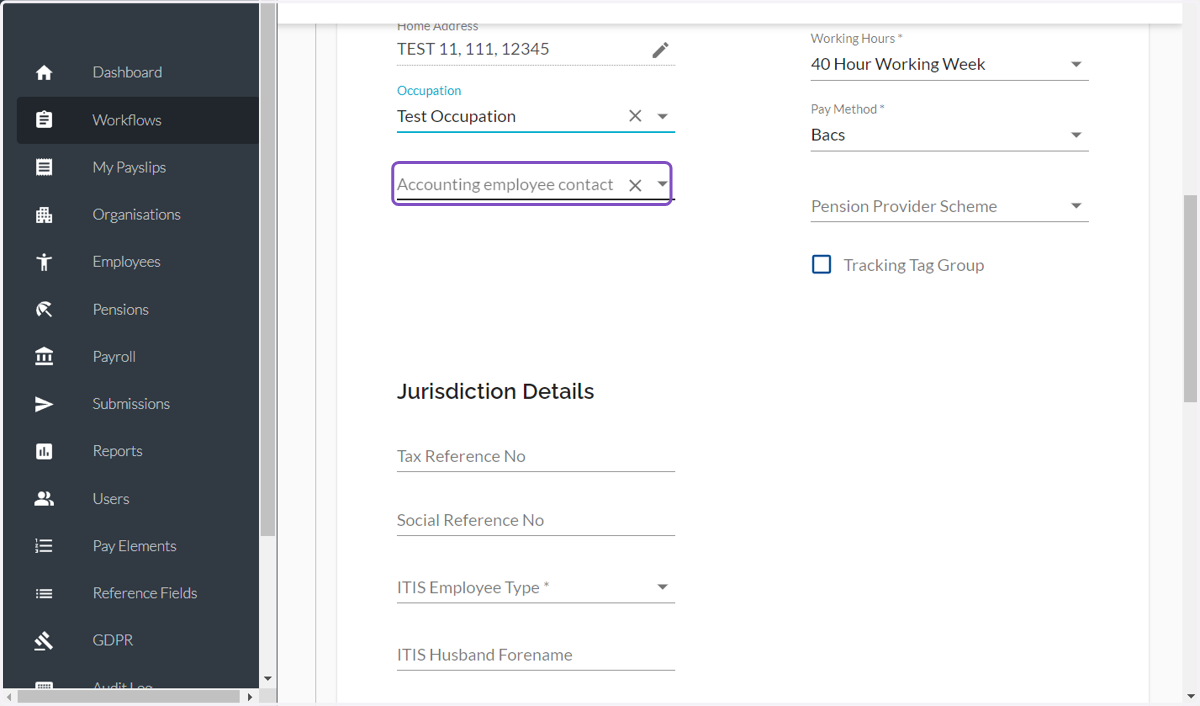
22. Click on Accounting employee contact
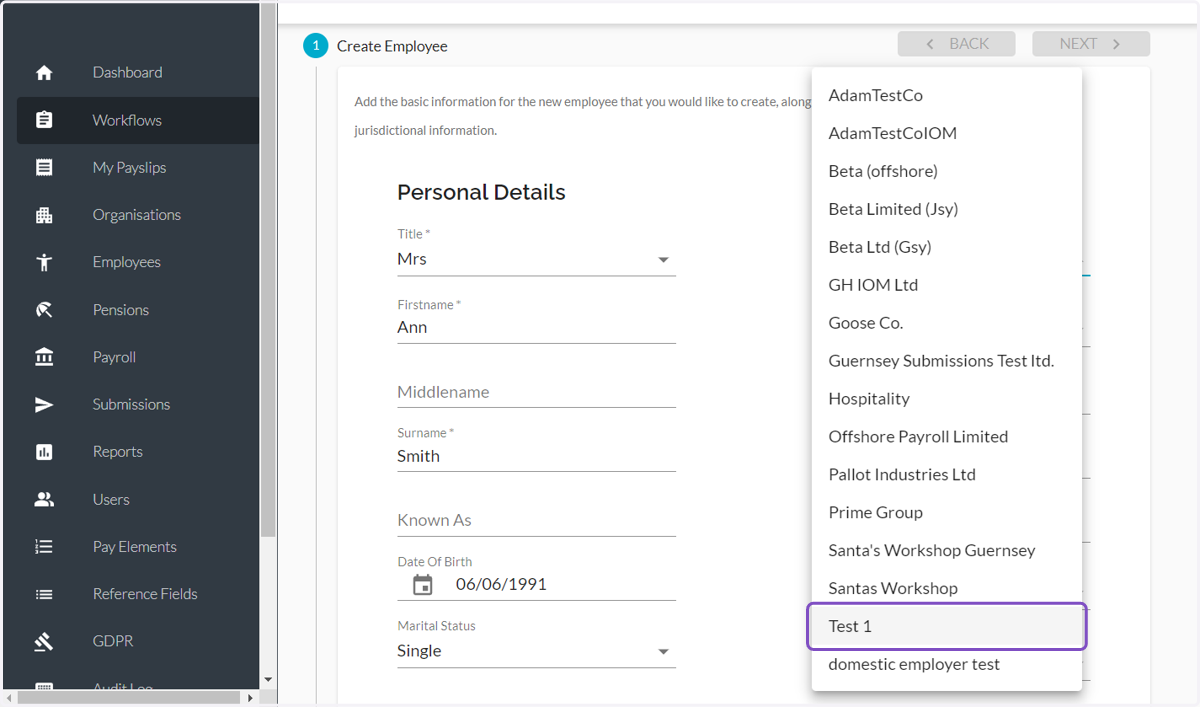
23. Select the Organisation
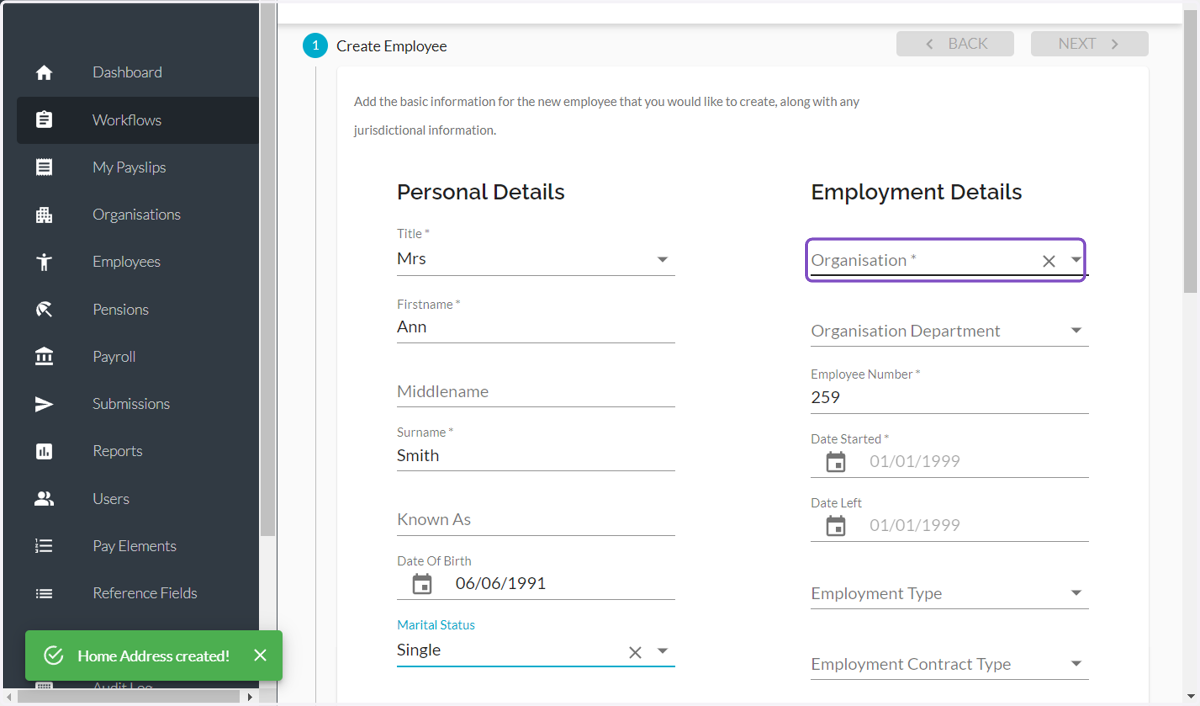
24. Select an option
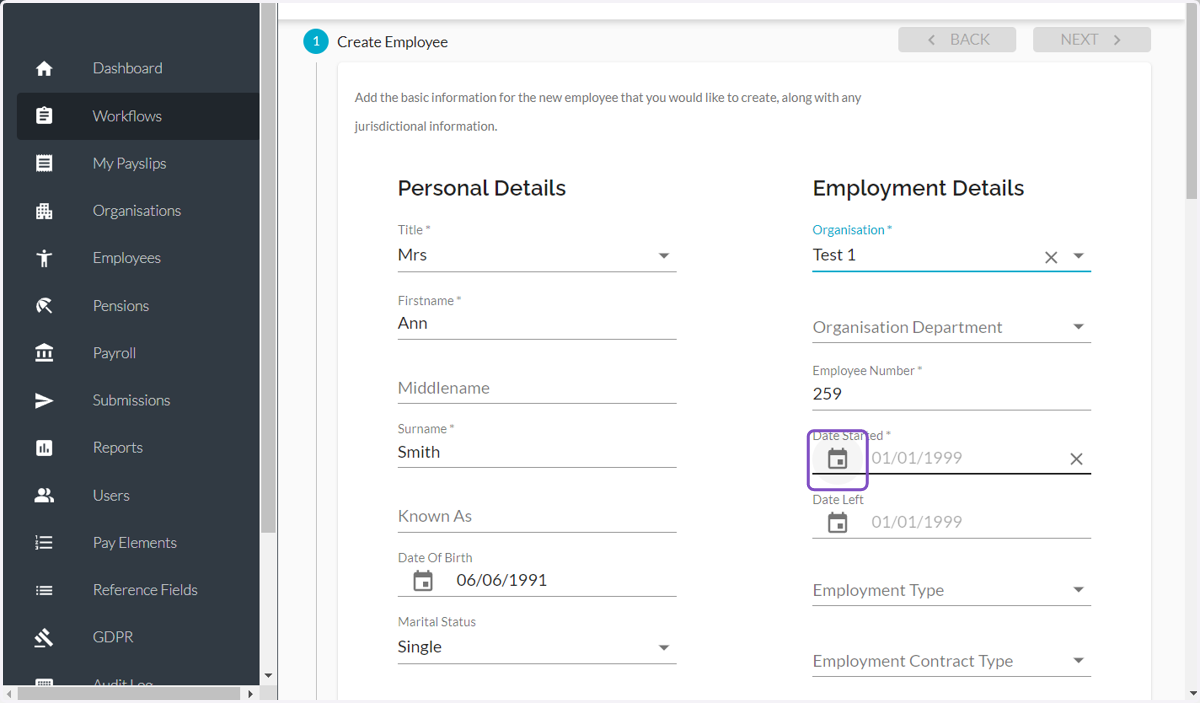
25. Click on the calendar icon
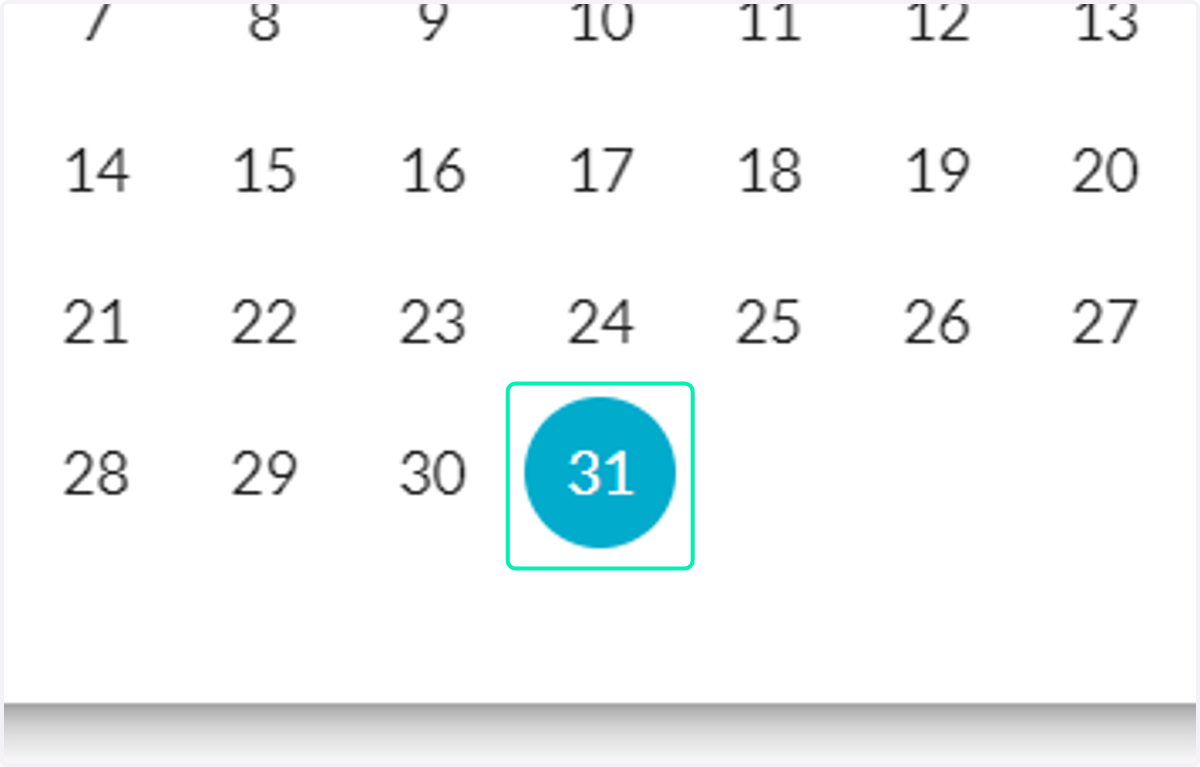
26. Select or type a date
27. Click on Employment Type
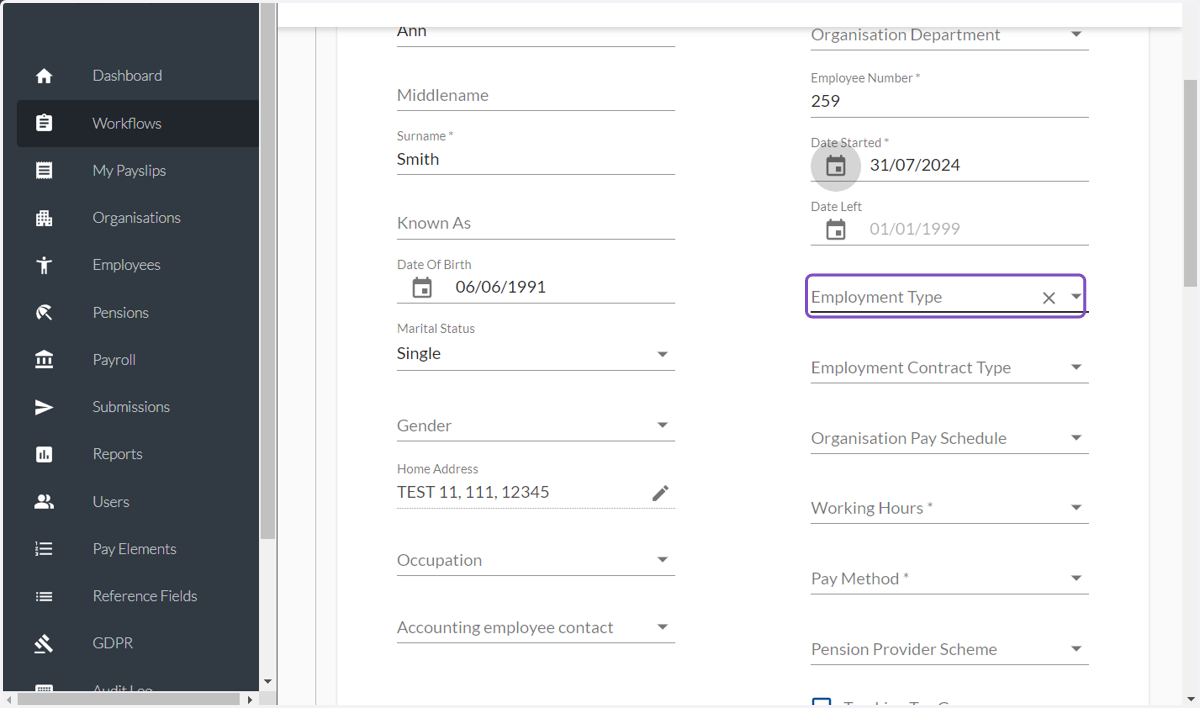
28. Select the suitable option
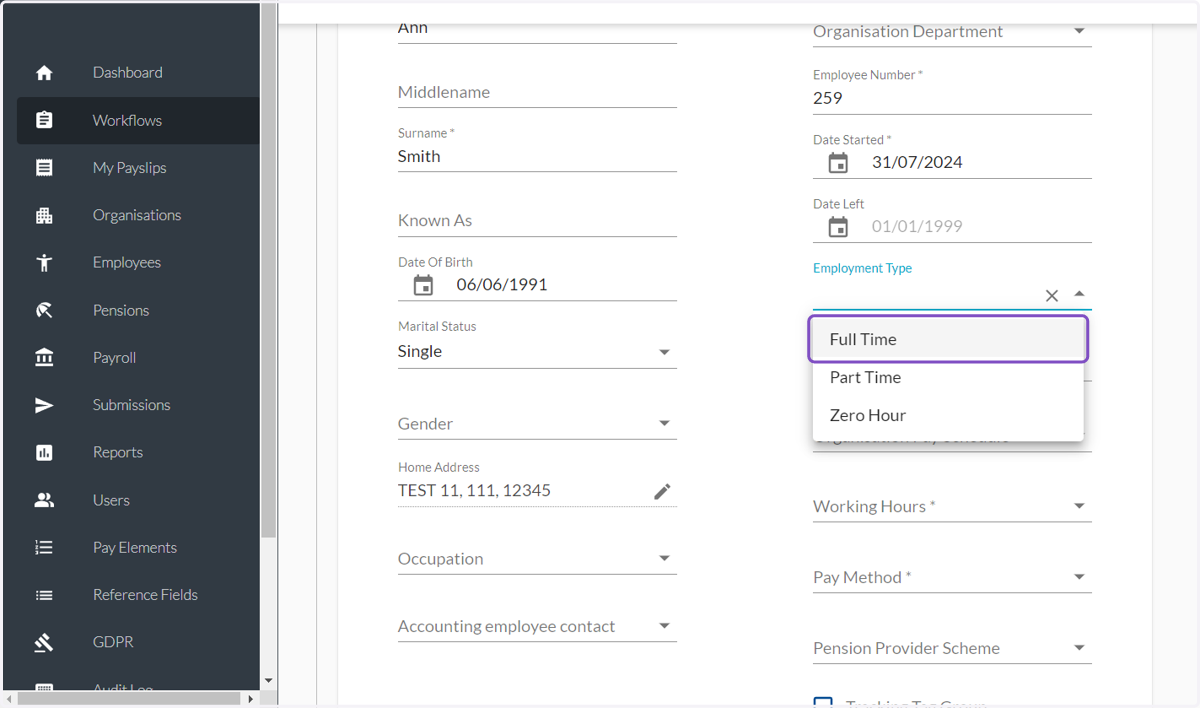
29. Click on Employment Contract Type
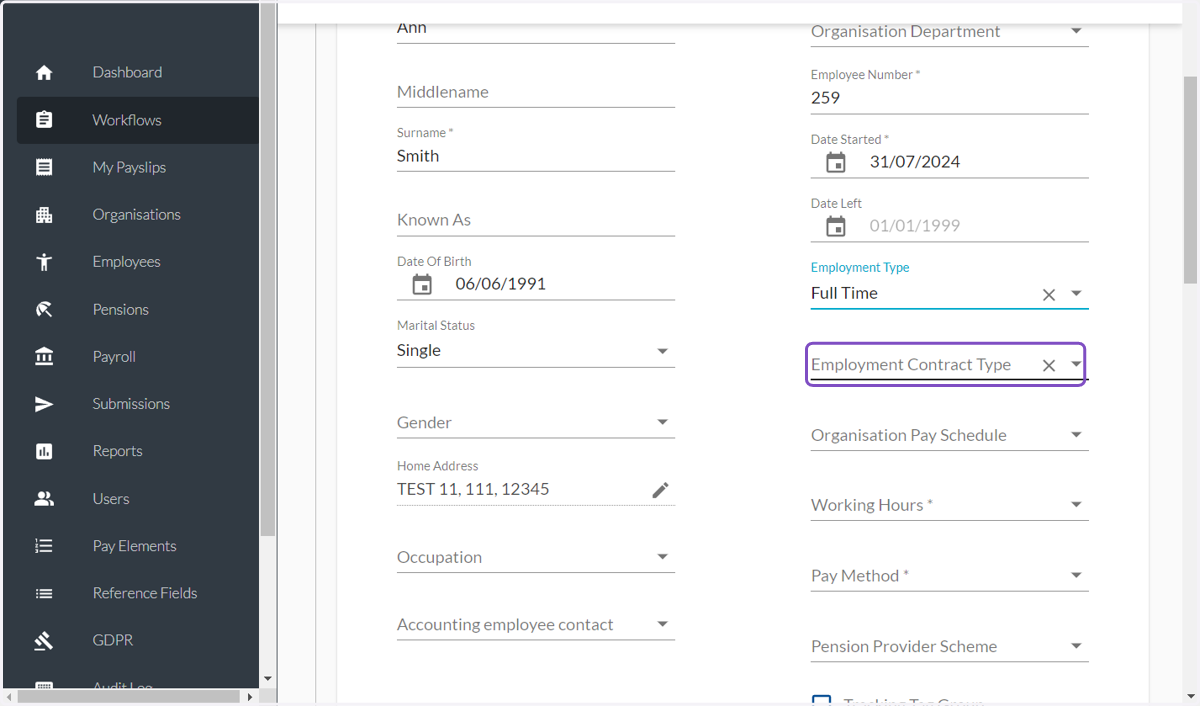
30. Select the applicable option
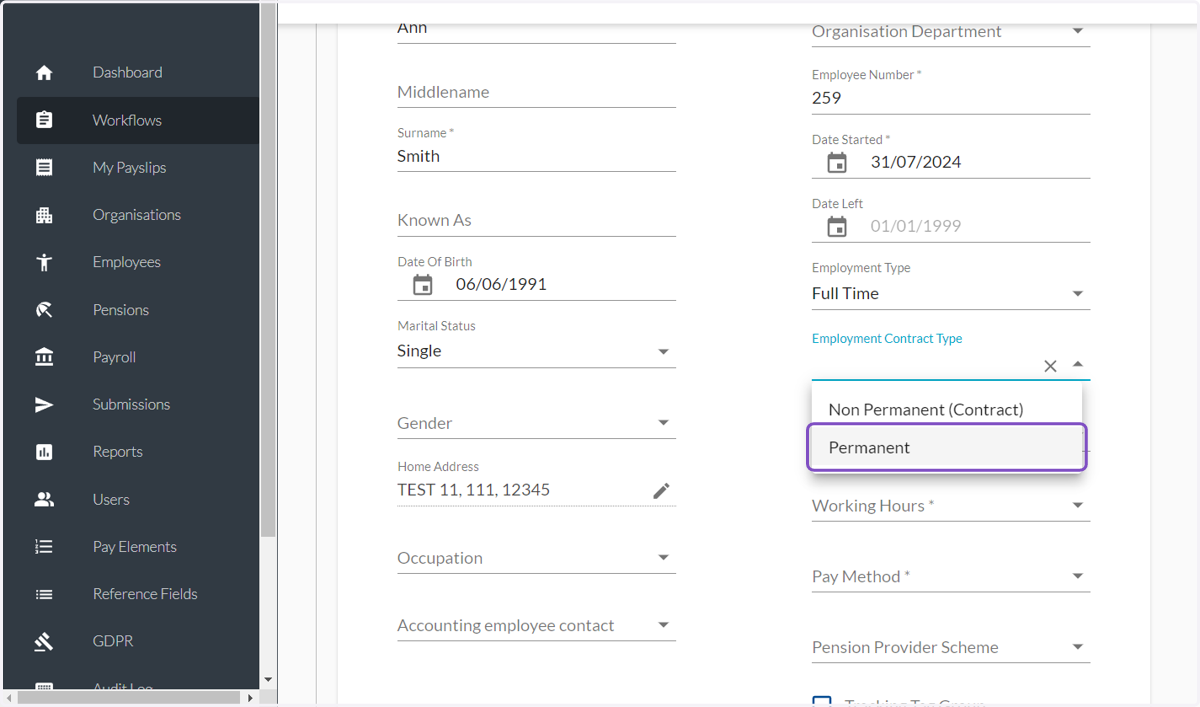
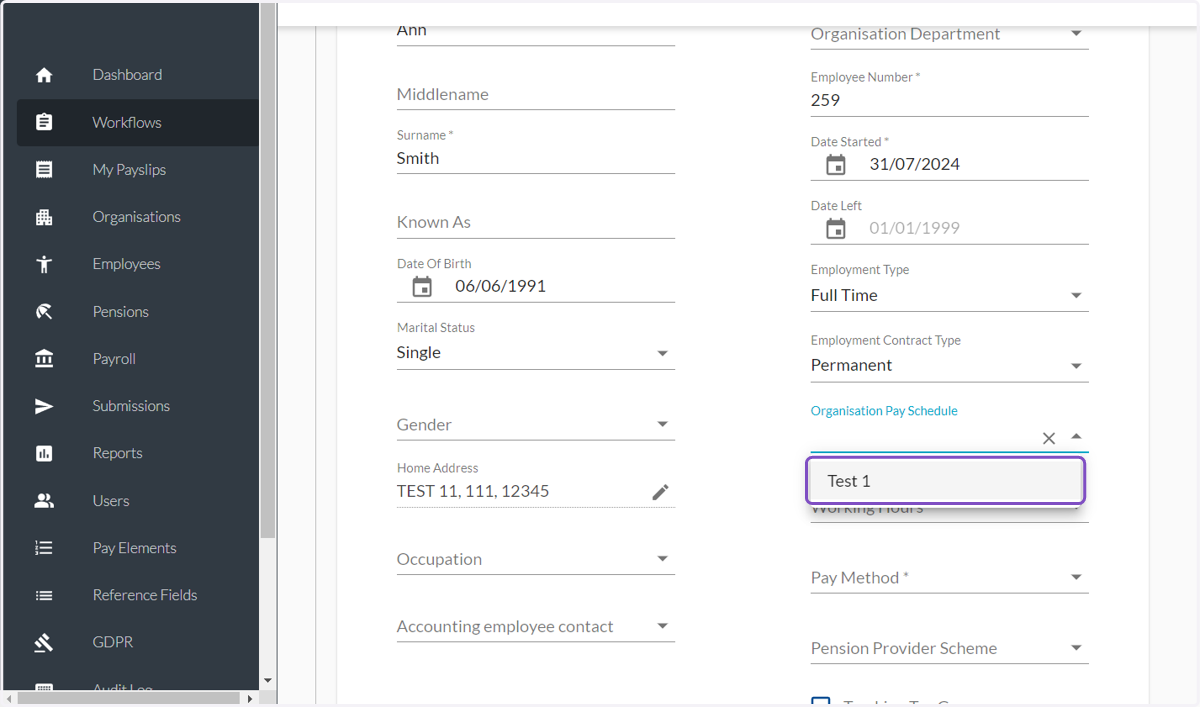
31. Click on Organisation Pay Schedule
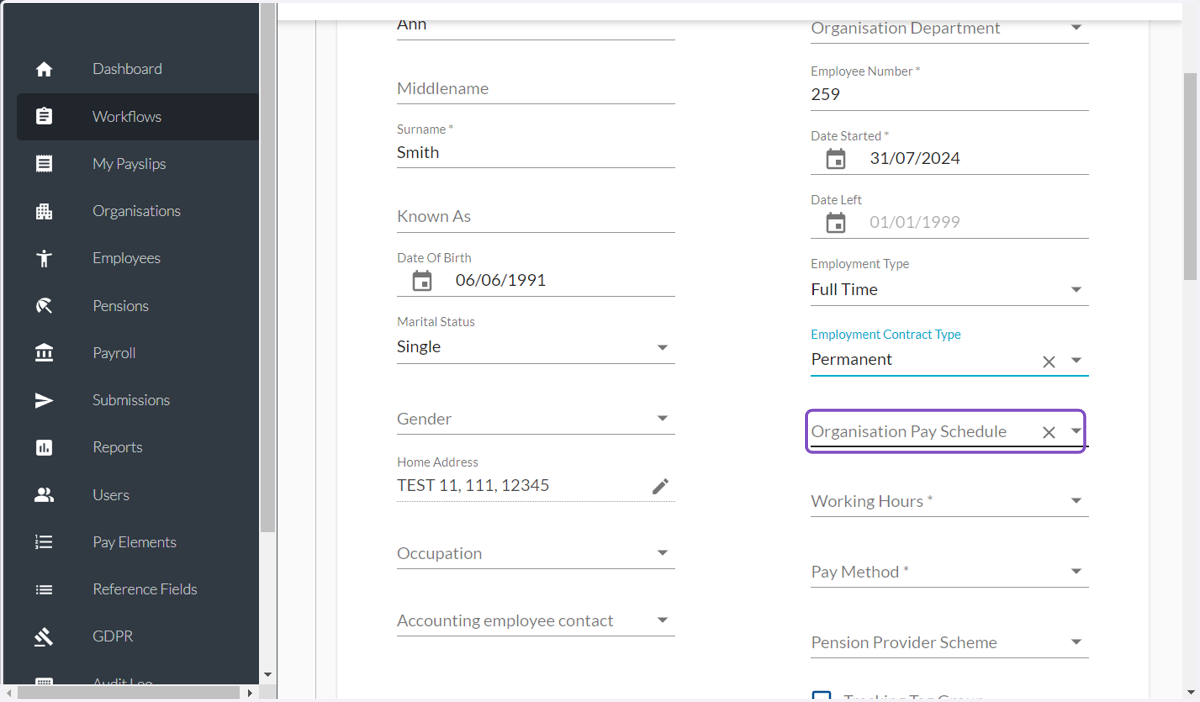
32. Select the Pay Schedule from the dropdown
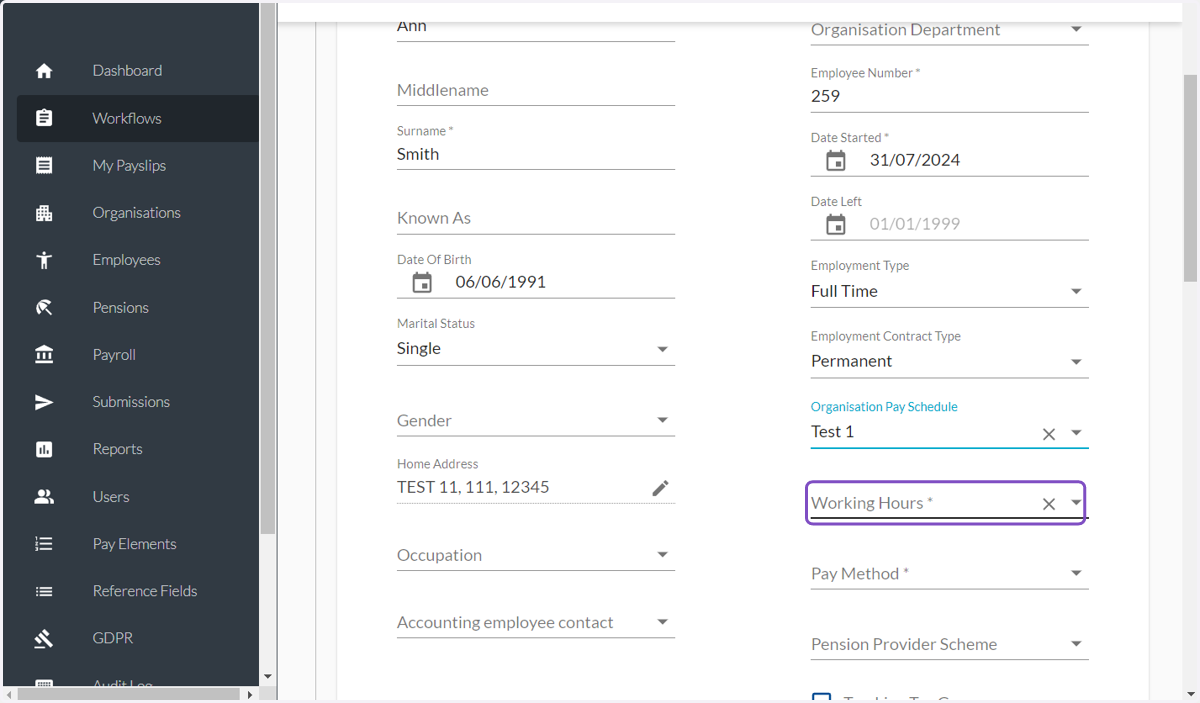
33. Click on Working hours
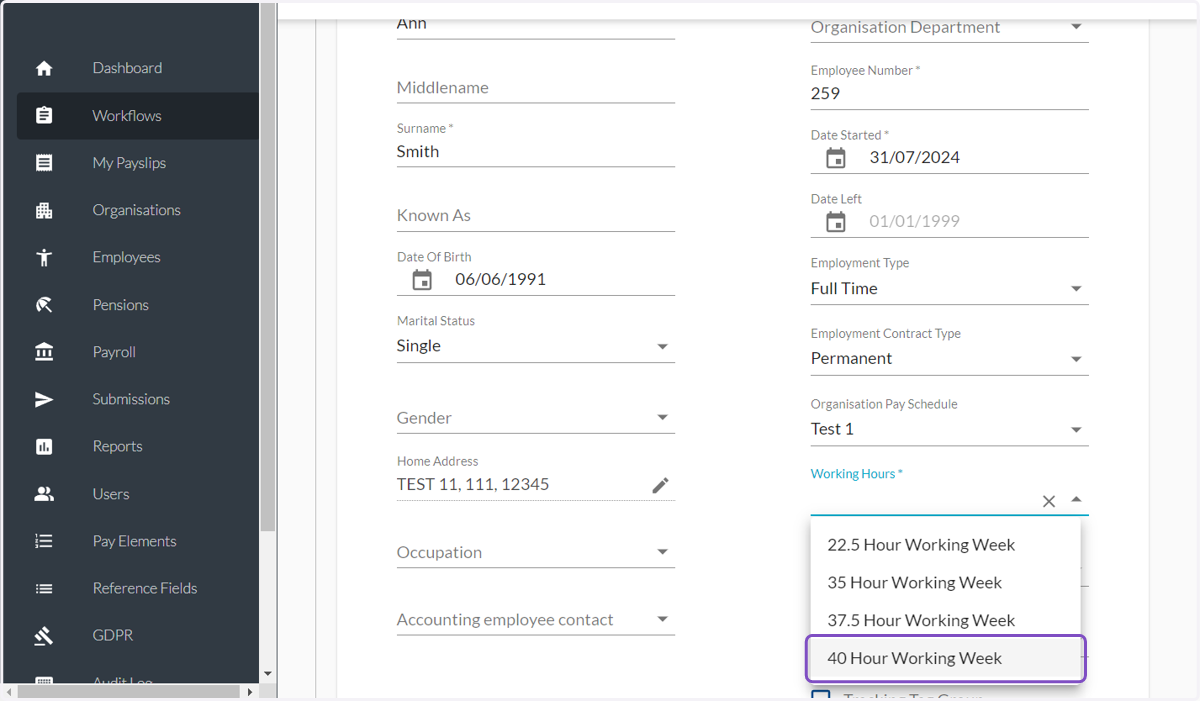
34. Select the suitable option from the dropdown
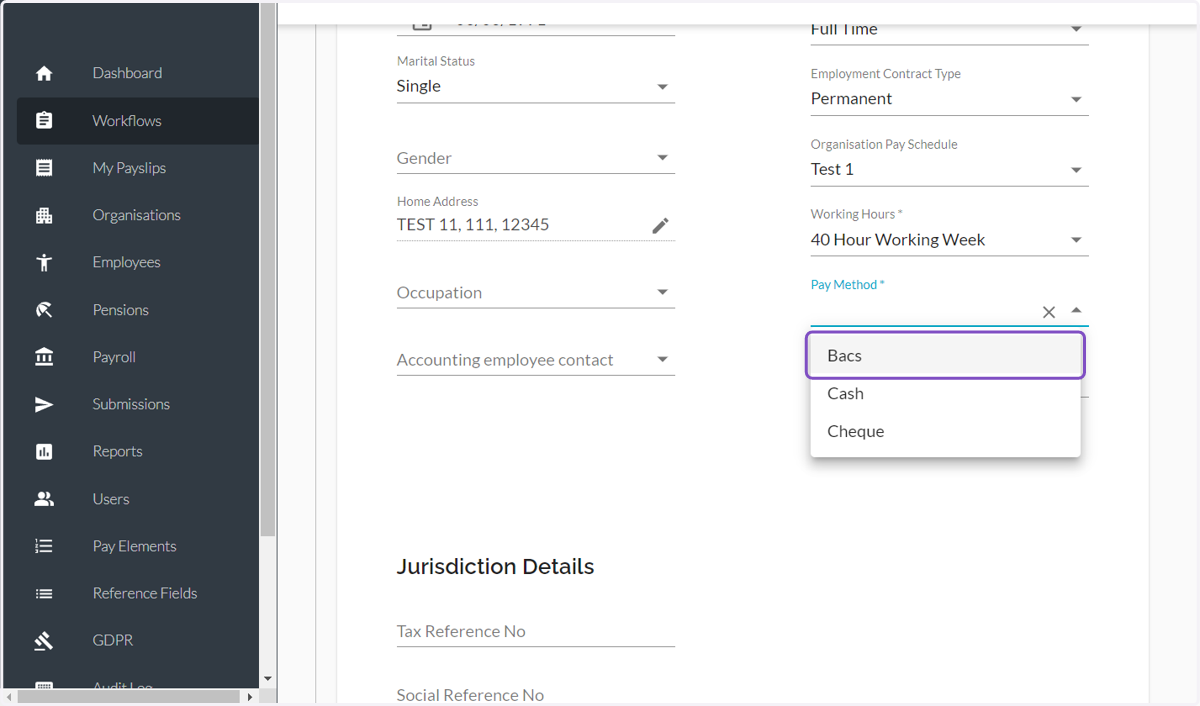
35. Click on Pay Method
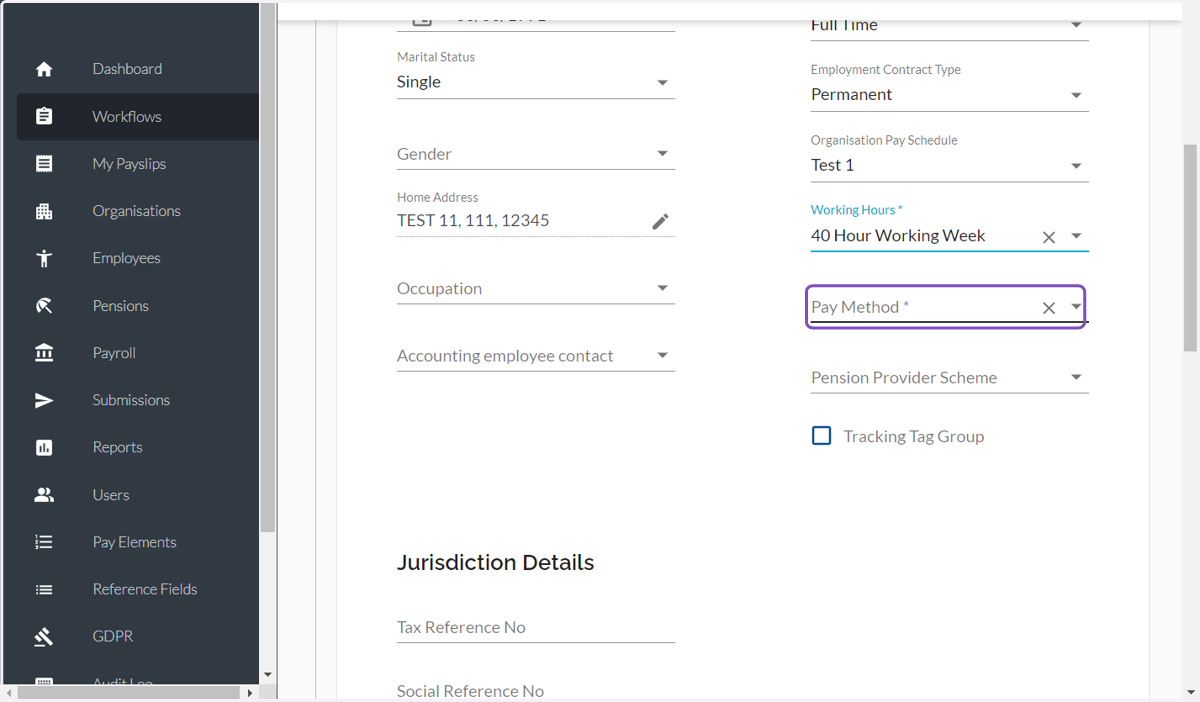
36. Select the option you need
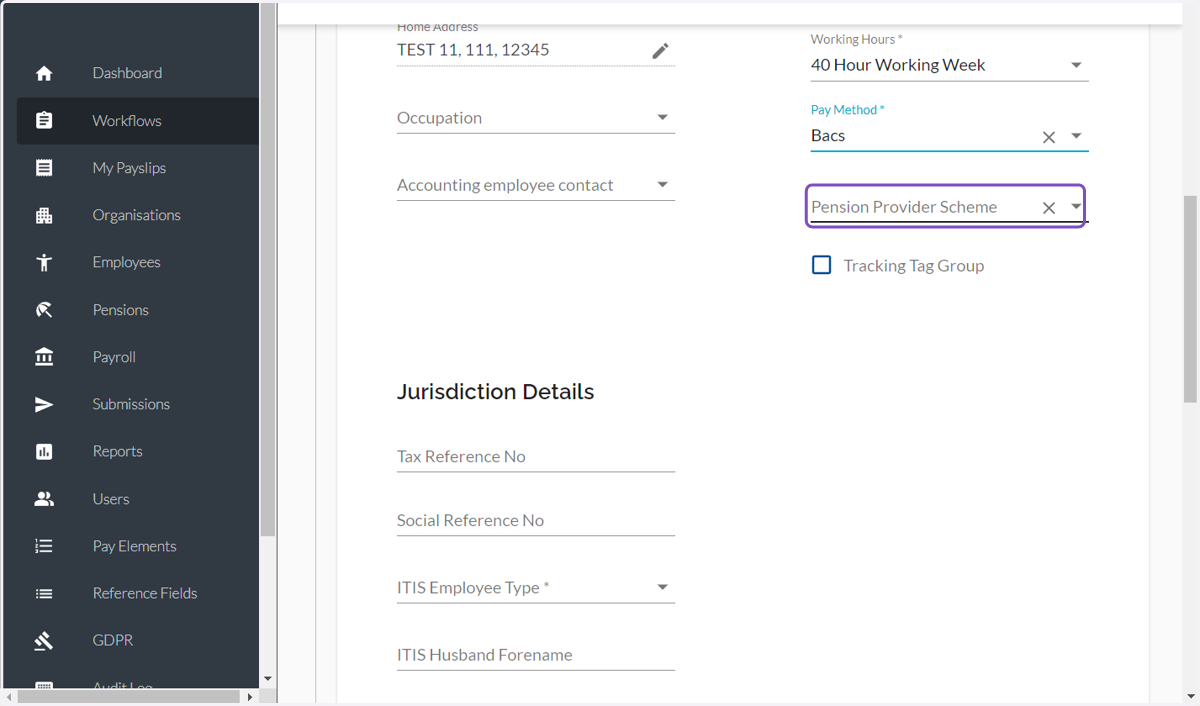
37. Click on Pension Provider Scheme
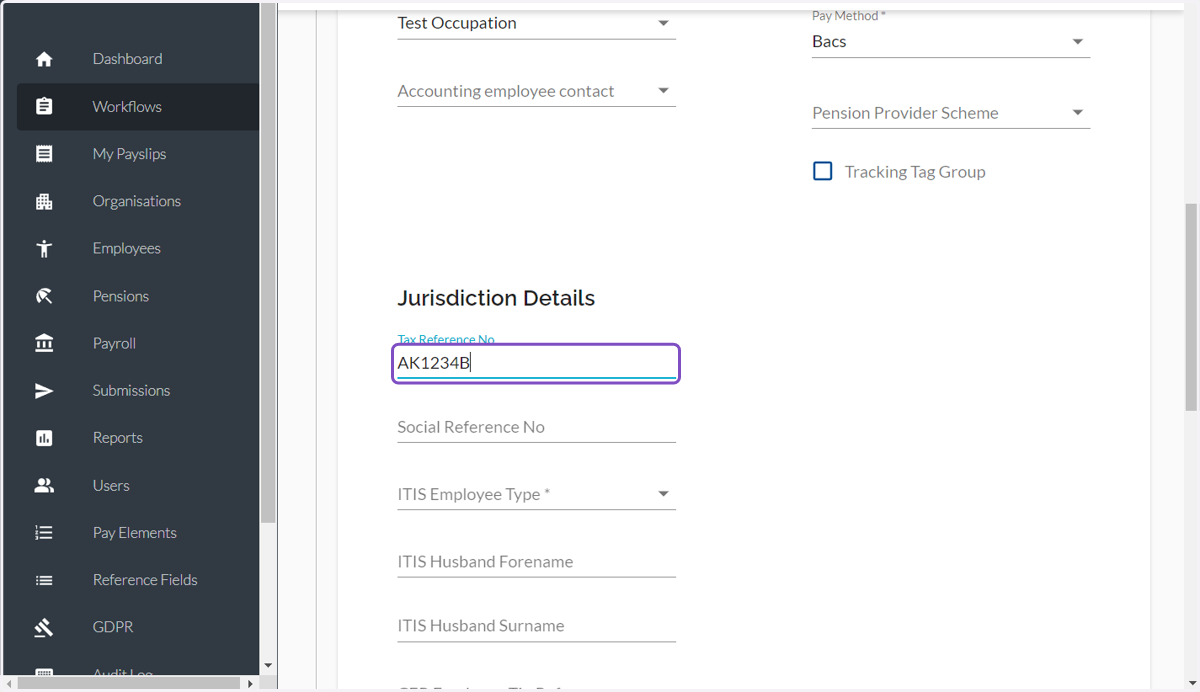
38. Type your tax reference
39. Click on Jurisdiction Details…
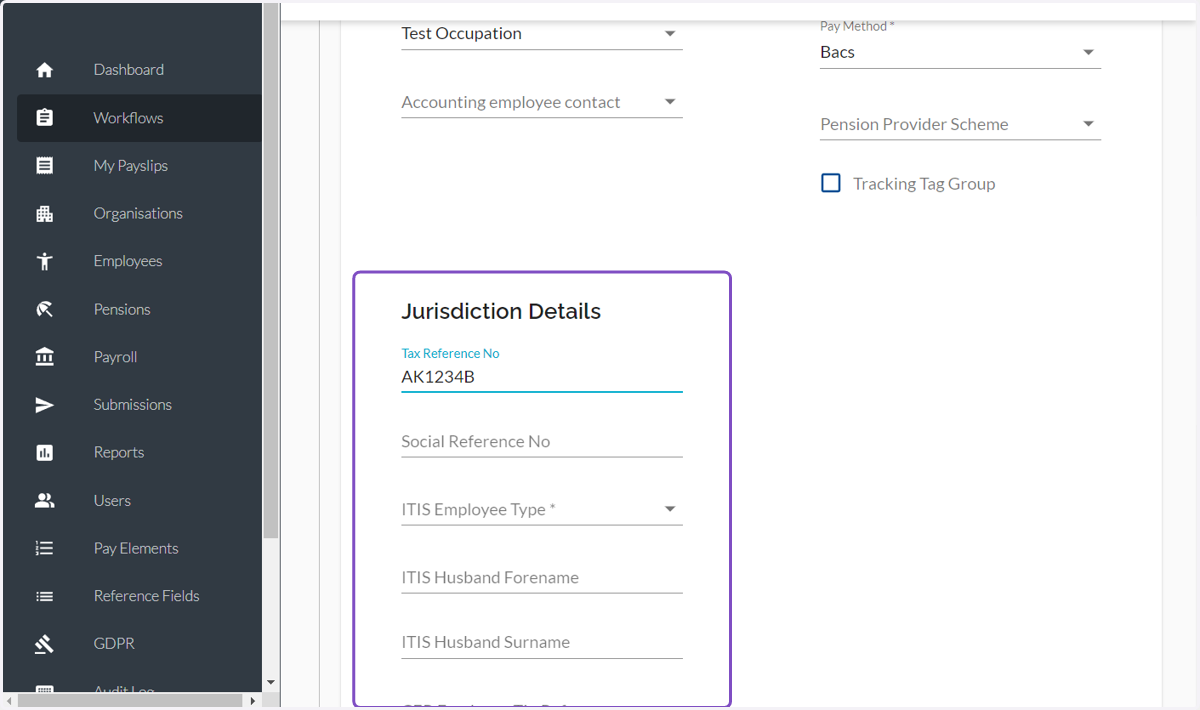
40. Click on Social Reference No
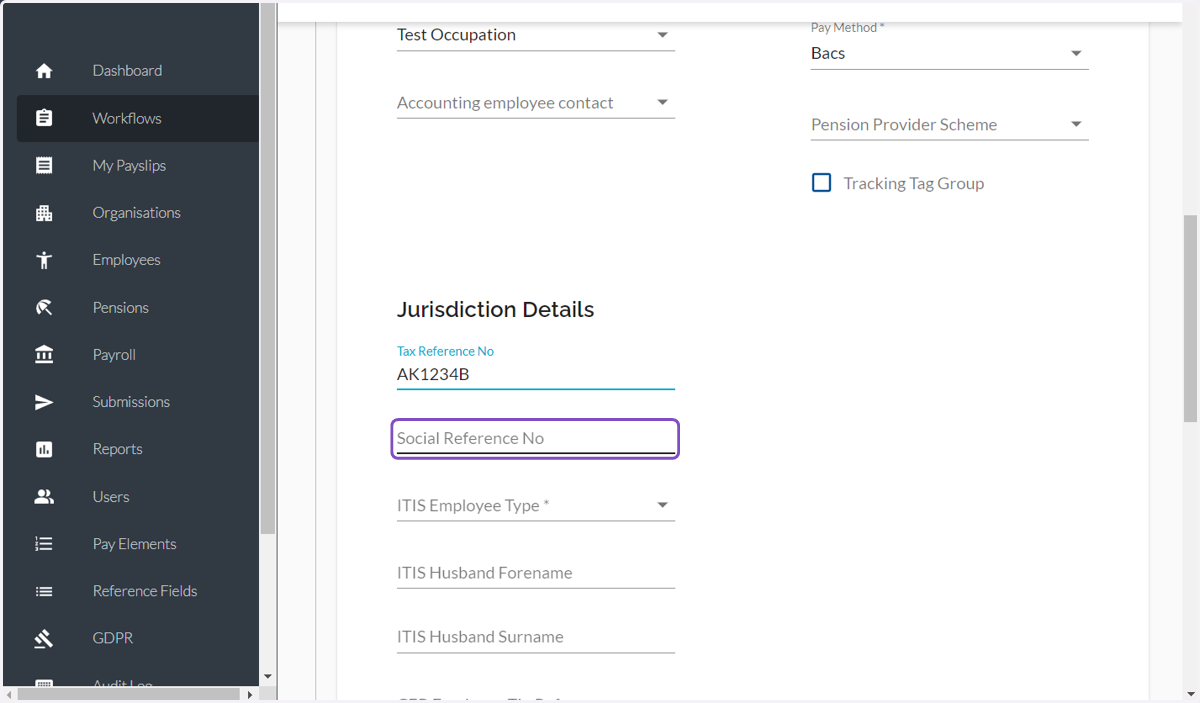
41. Type Tax Reference No
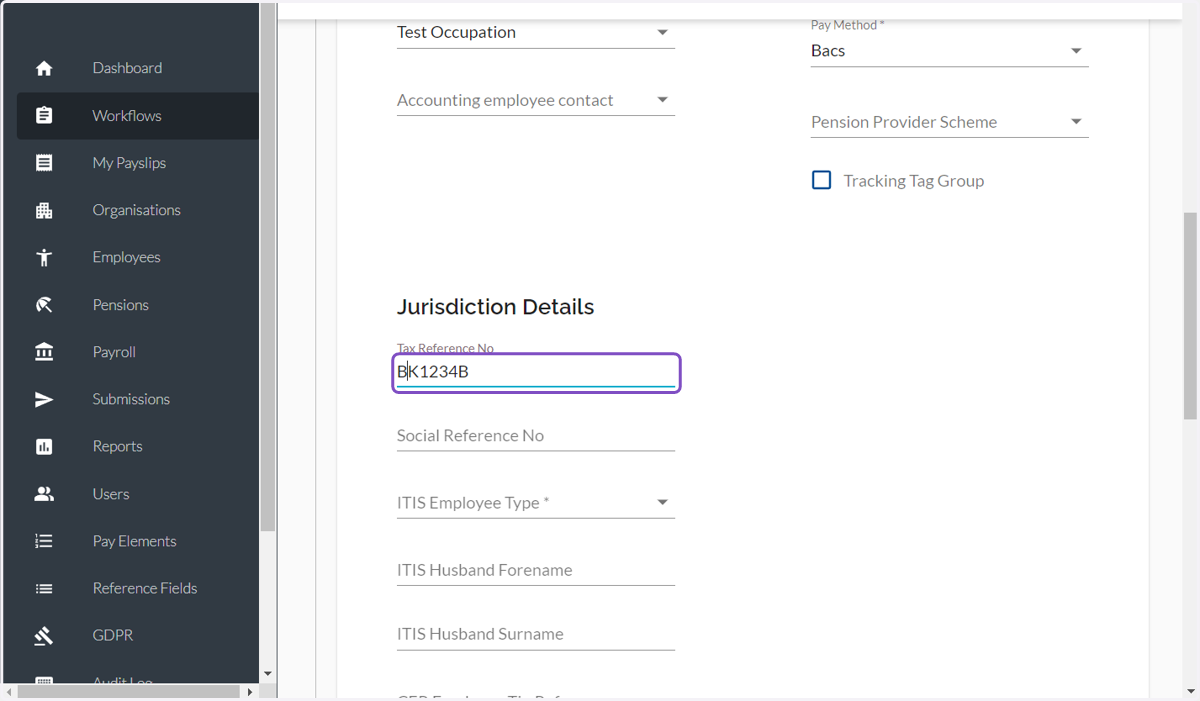
42. Type the Social Reference No
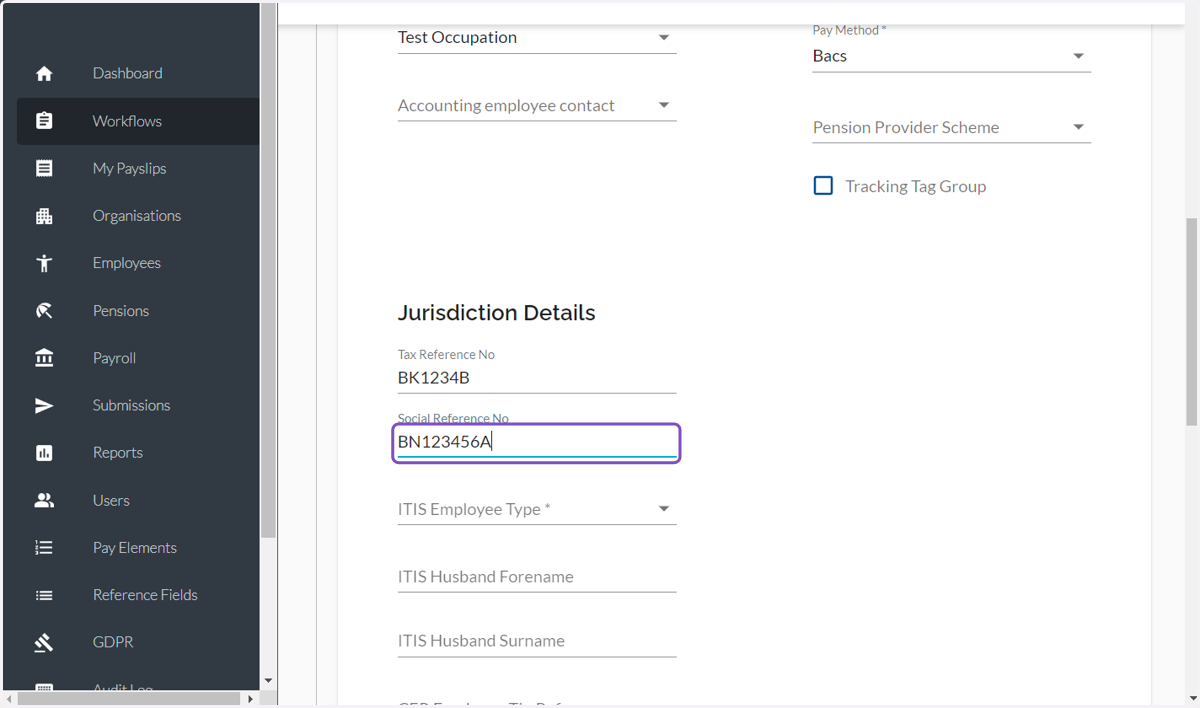
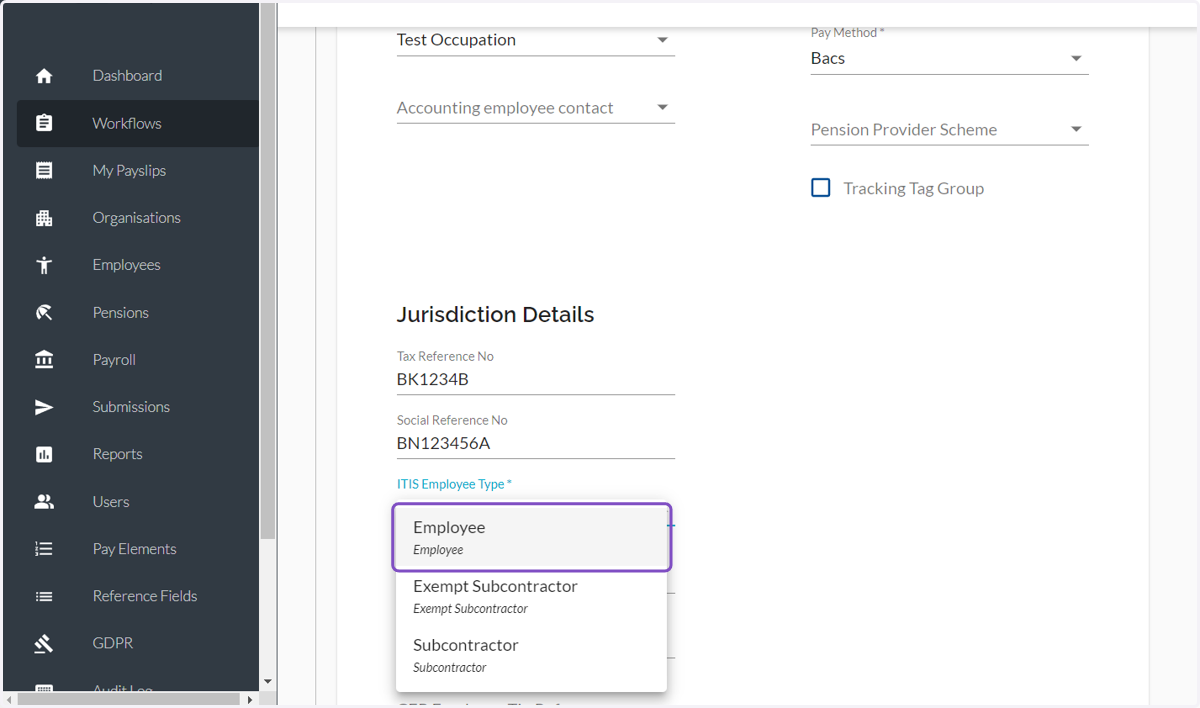
43. Click on ITIS Employee Type
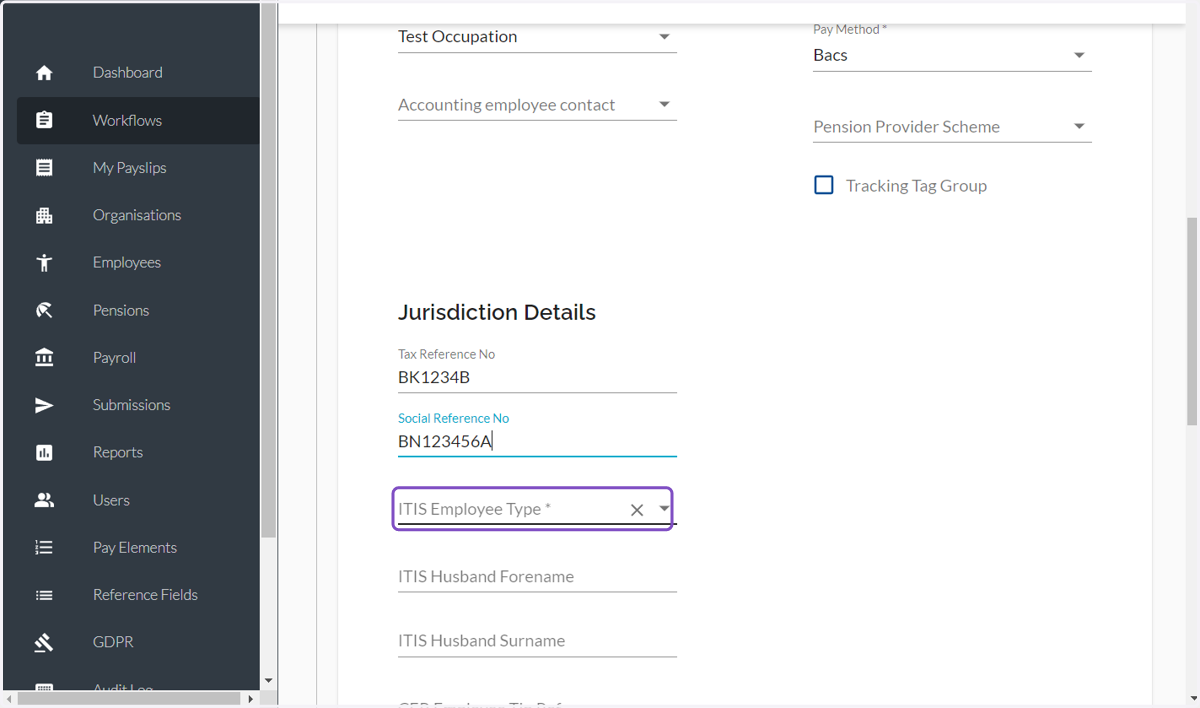
44. Select the the suitable option frm the dropdown
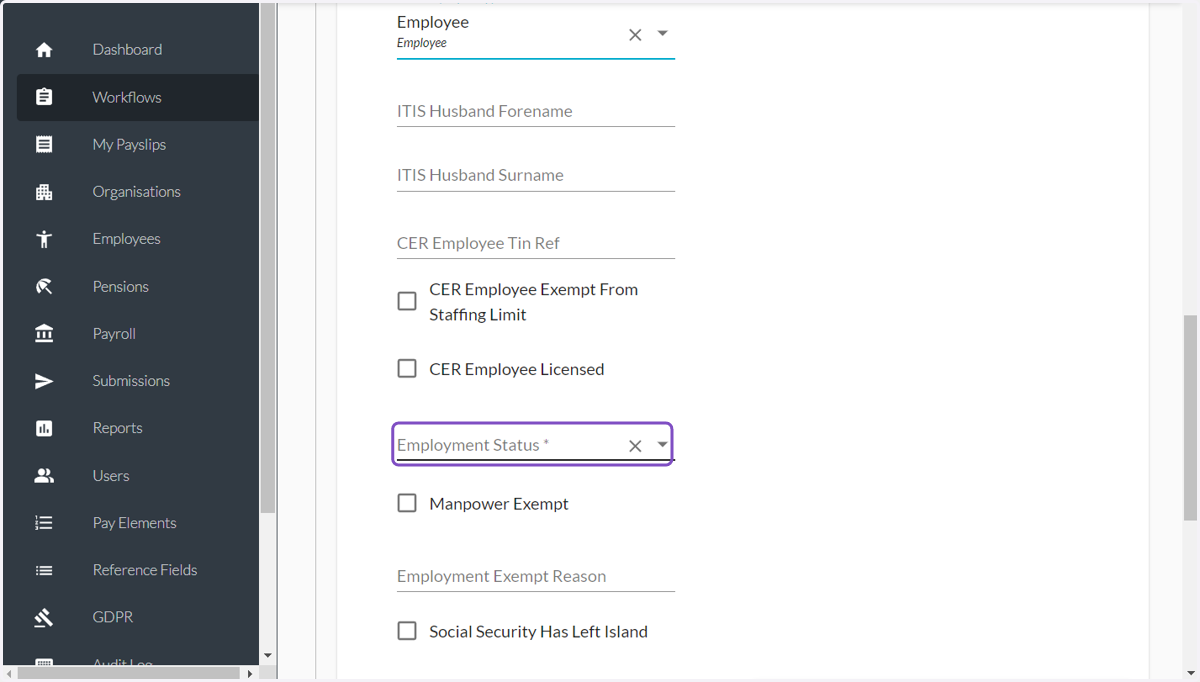
45. Click on Employment Status
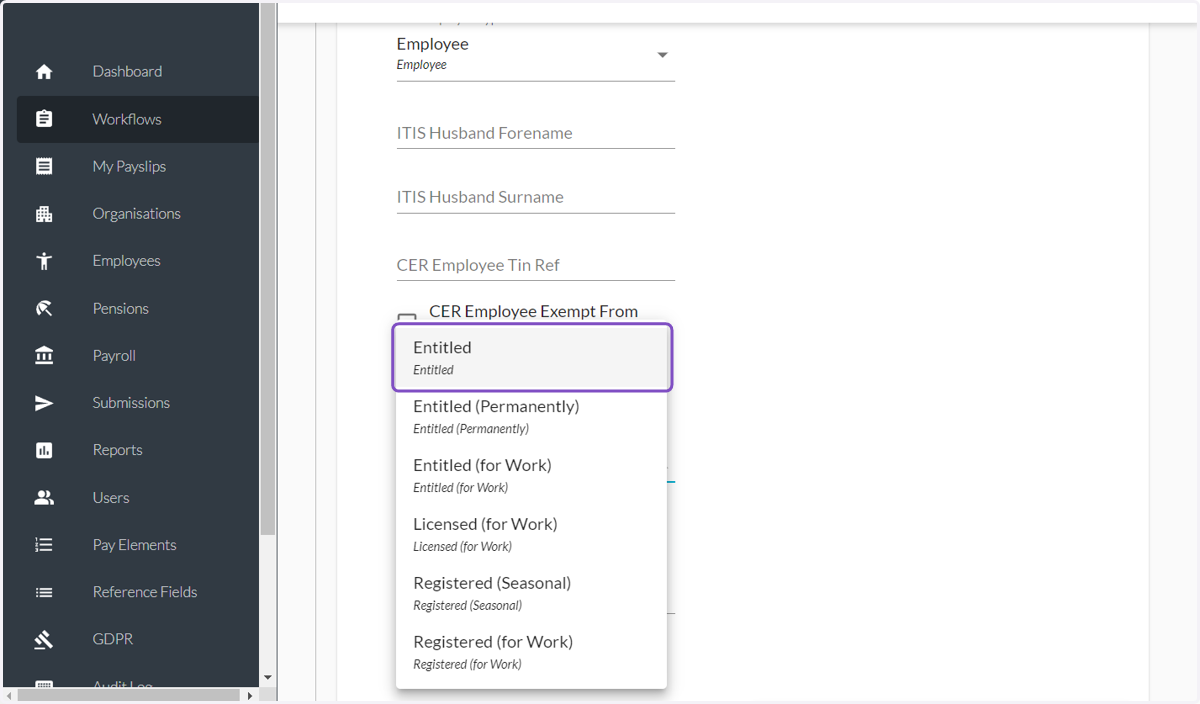
46. Select one of the options from the dropdown
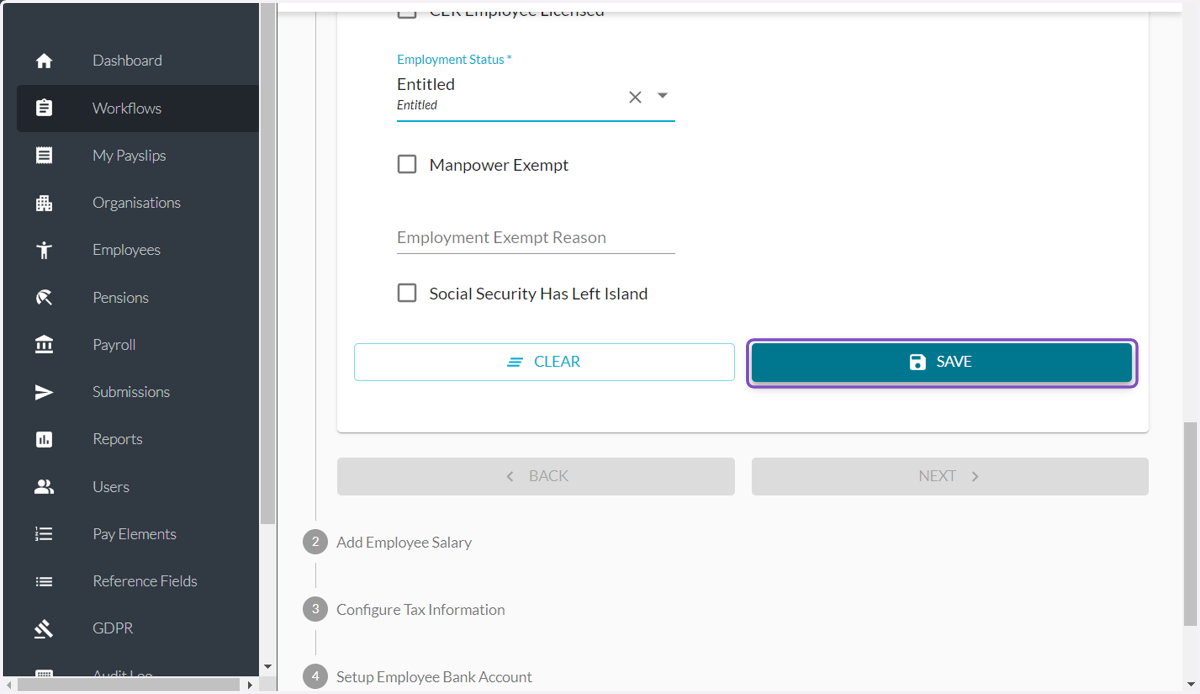
47. Click SAVE
48. Click on the calendar icon
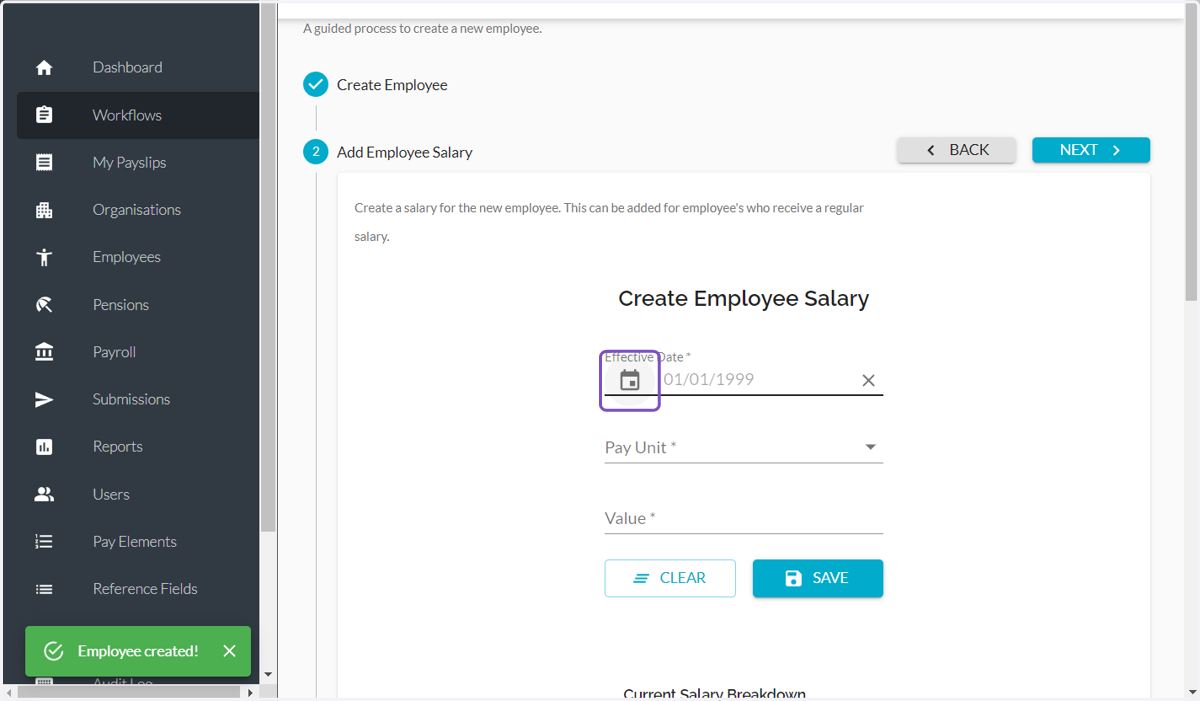
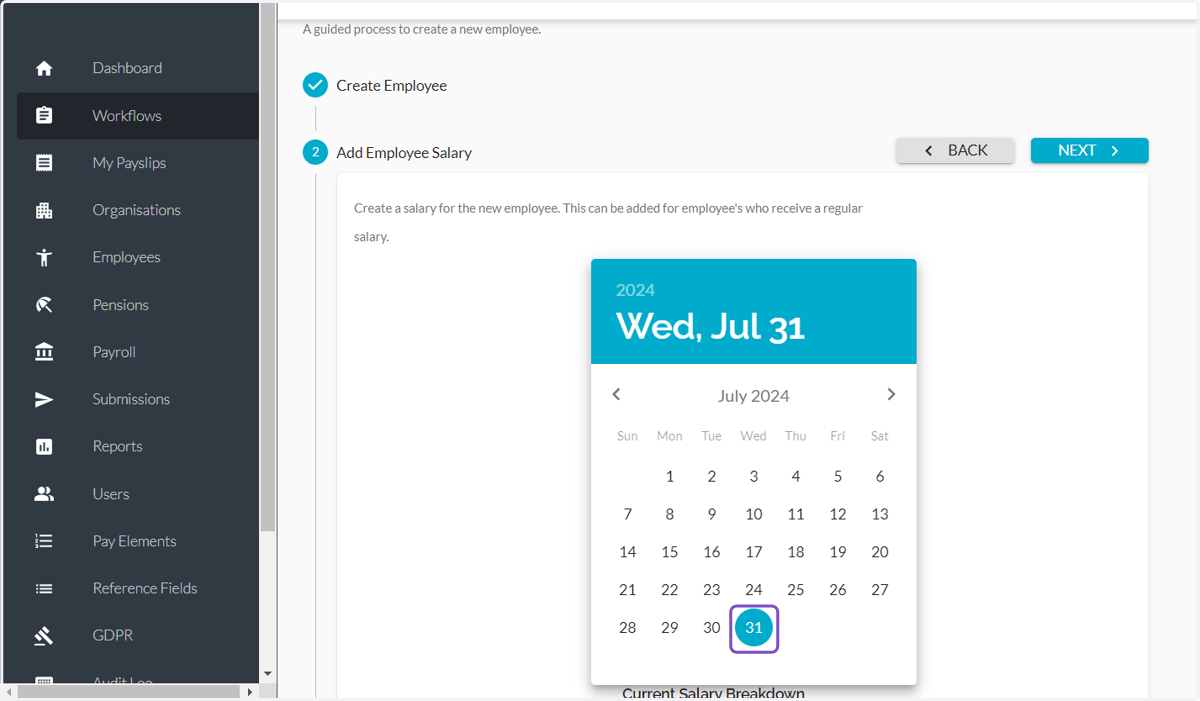
49. Select the date
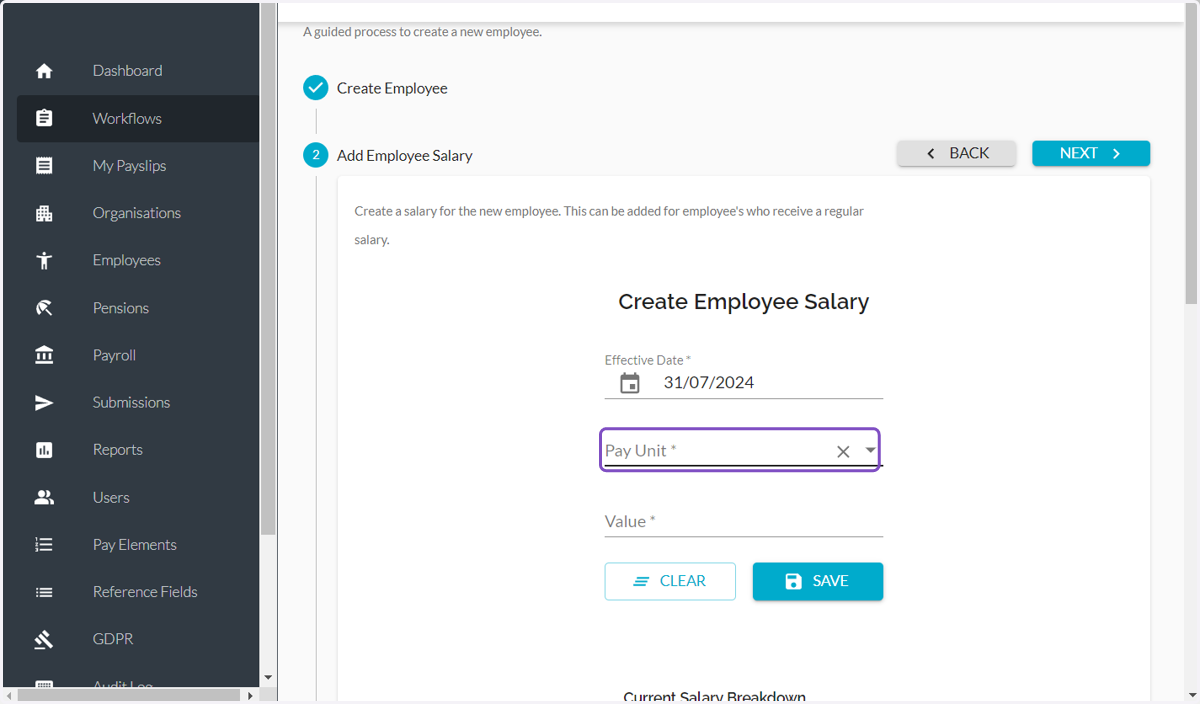
50. Click on Pay Unit
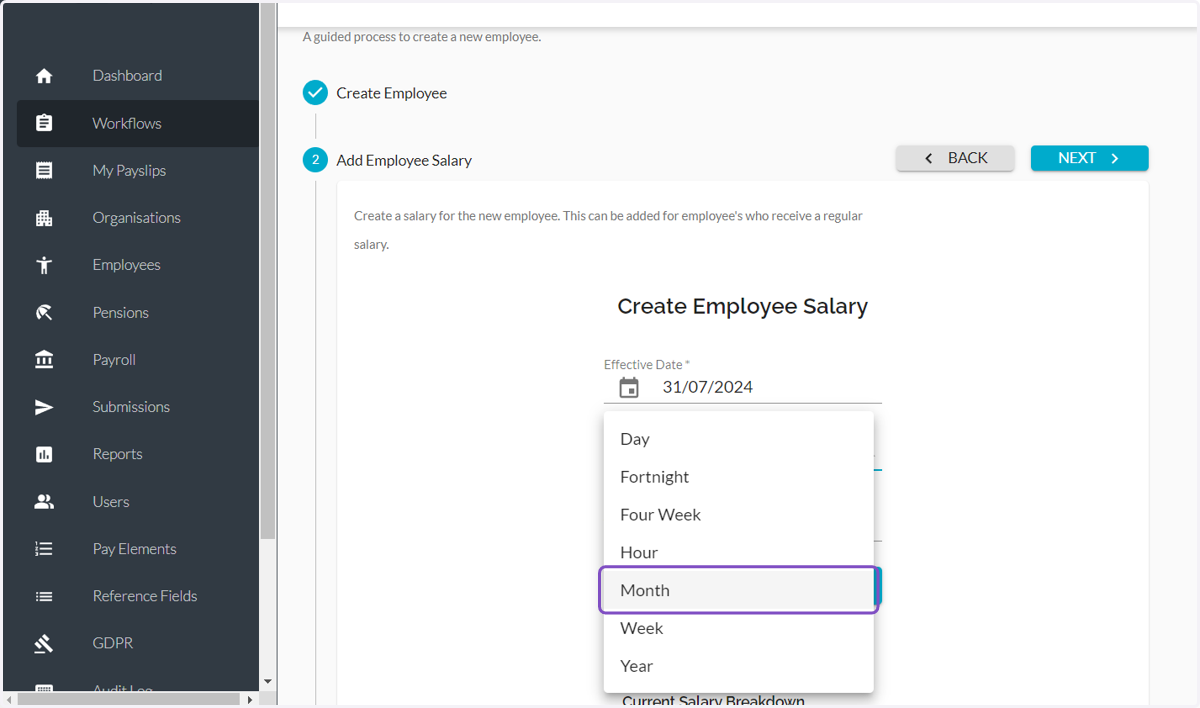
51. Select one of the options from the dropdown
52. Type the value
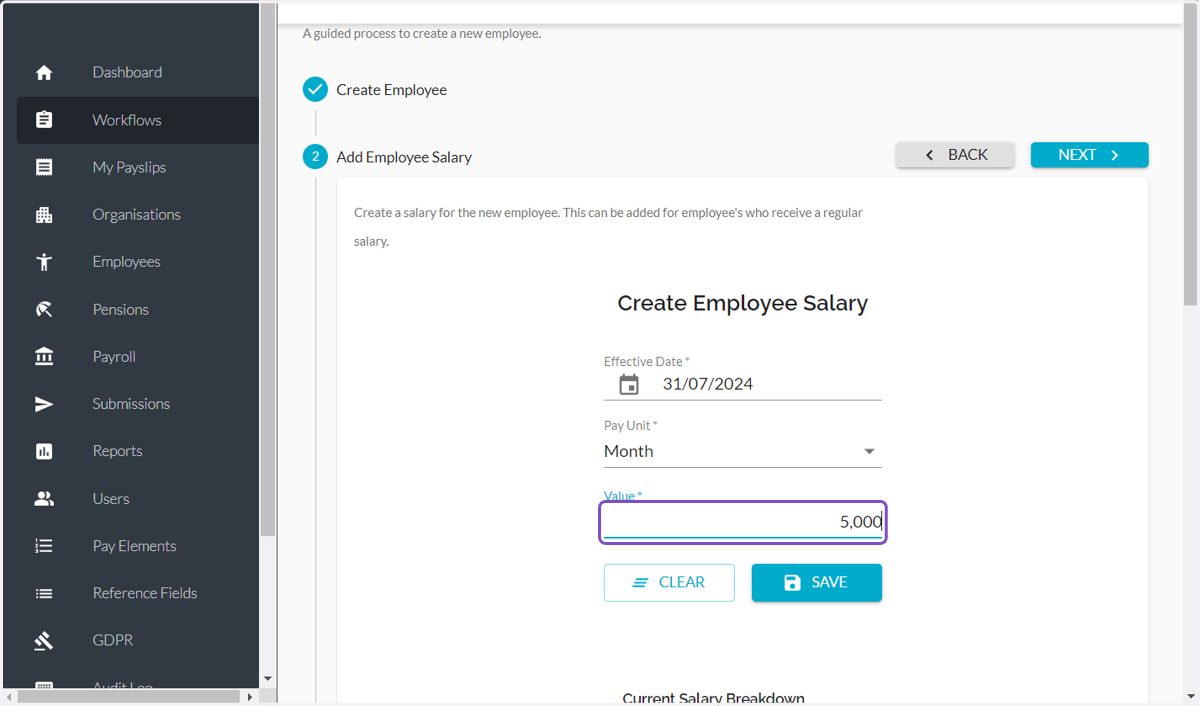
53. Click SAVE
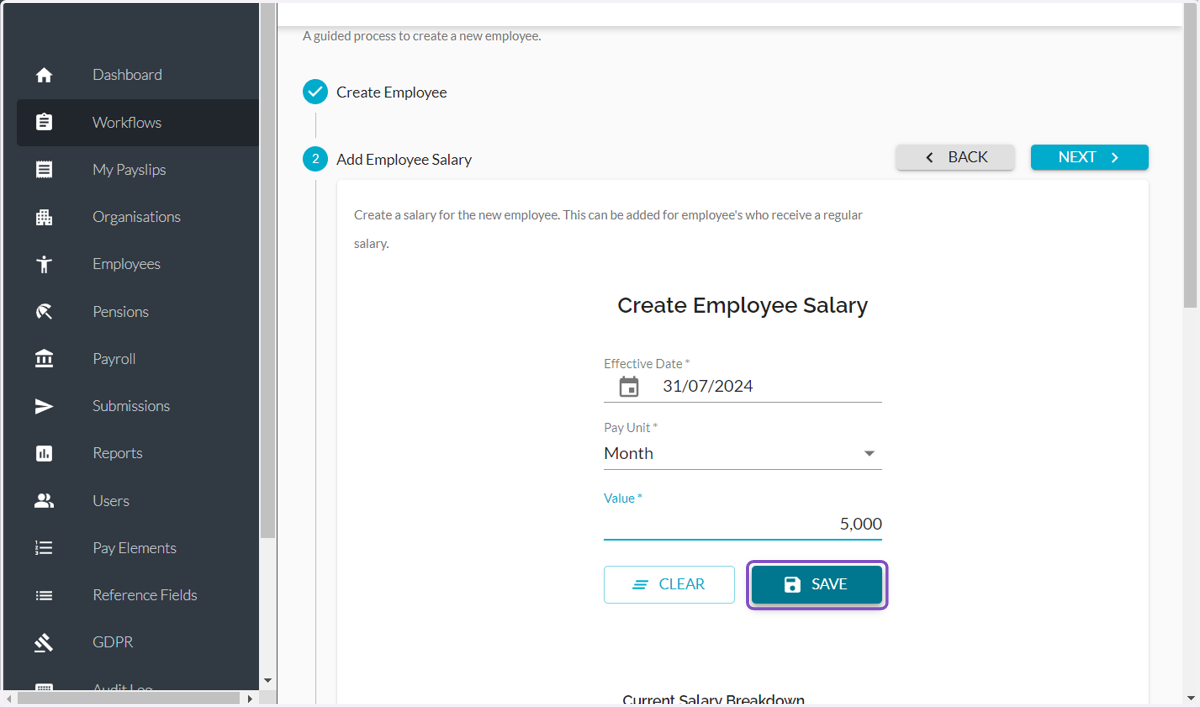
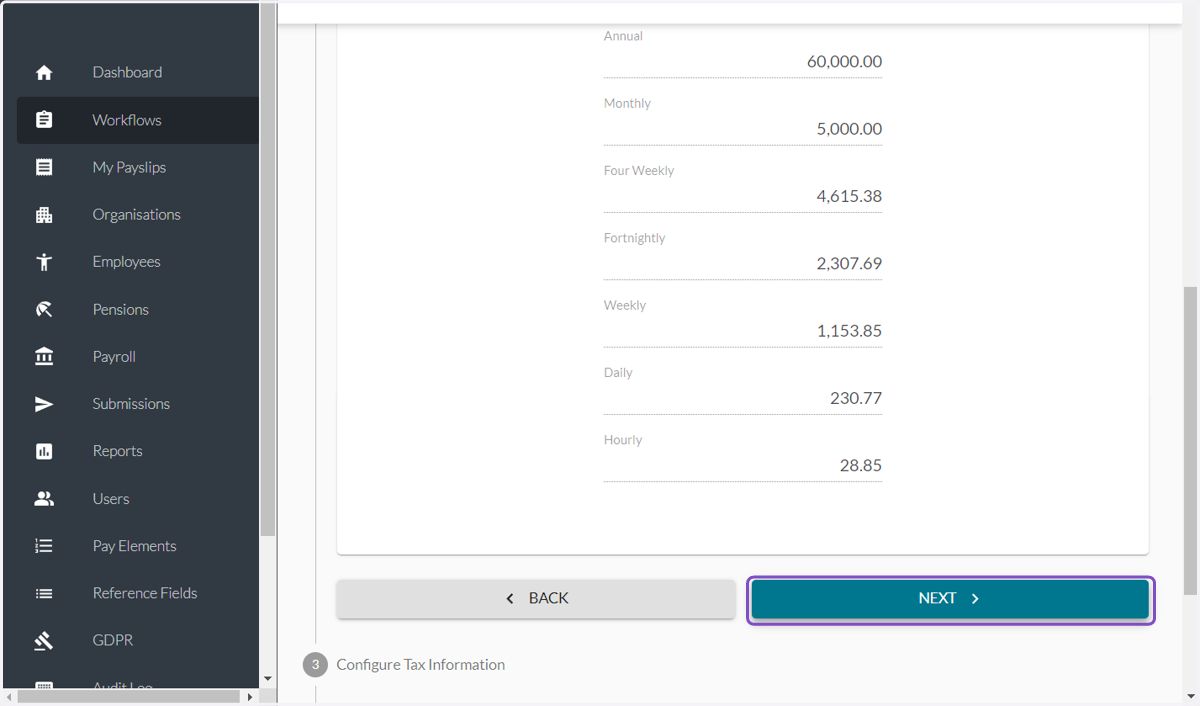
54. Click NEXT
55. Either type or click on the calendar icon to select the Effective Date
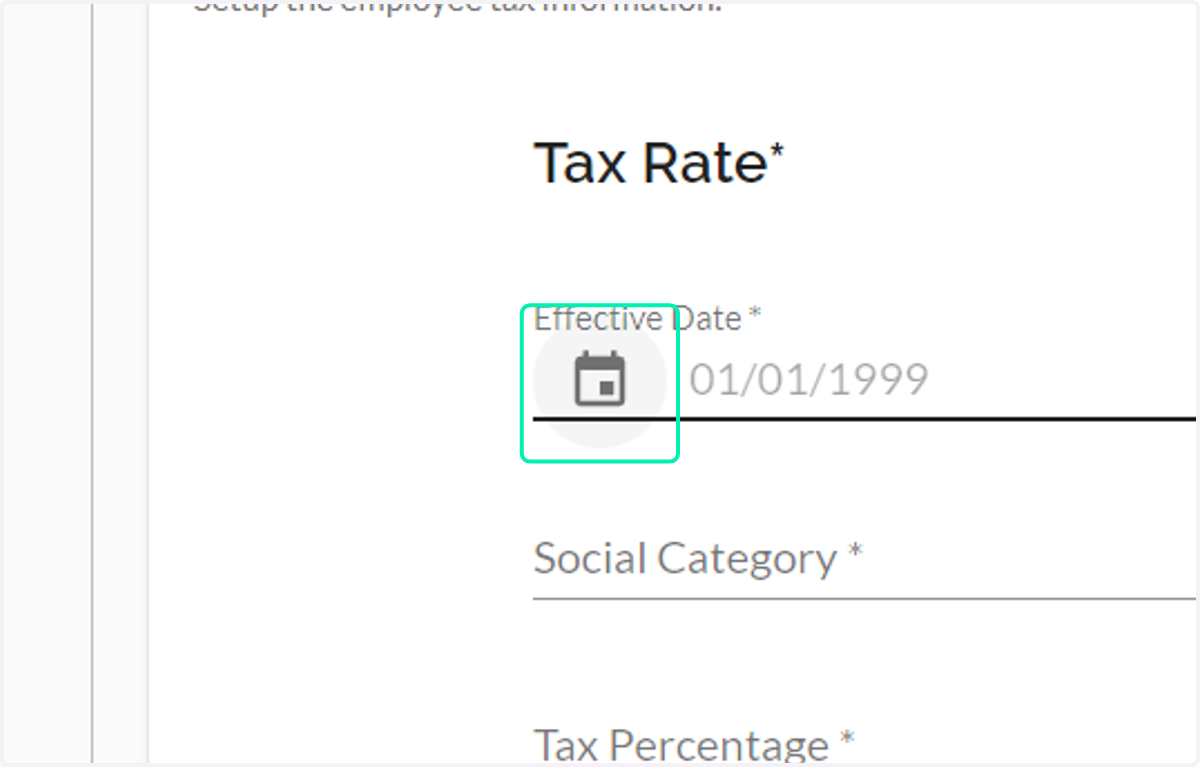
56. Select the effective date
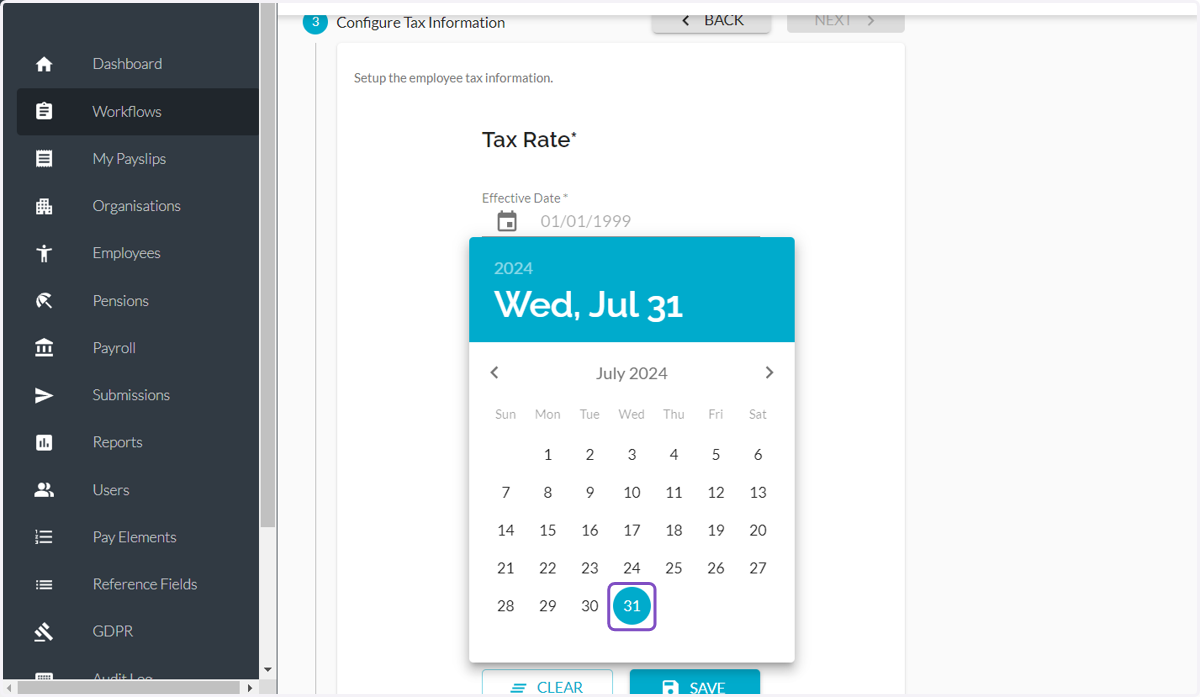
57. Click on Social Category
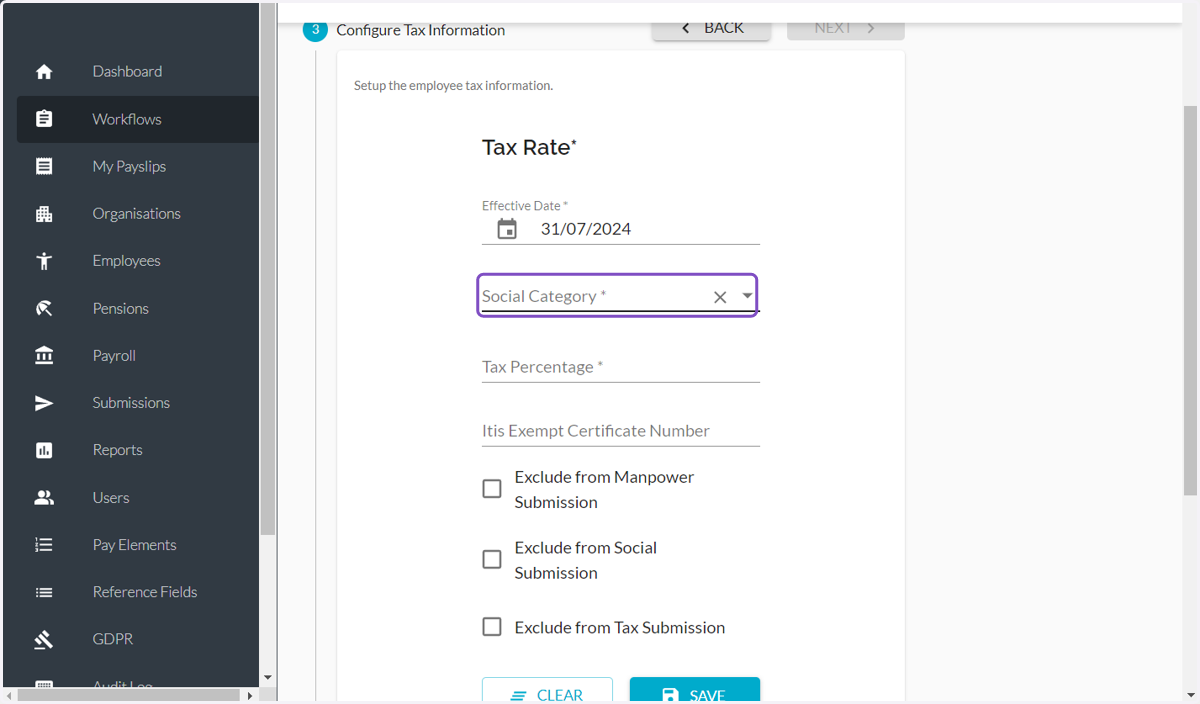
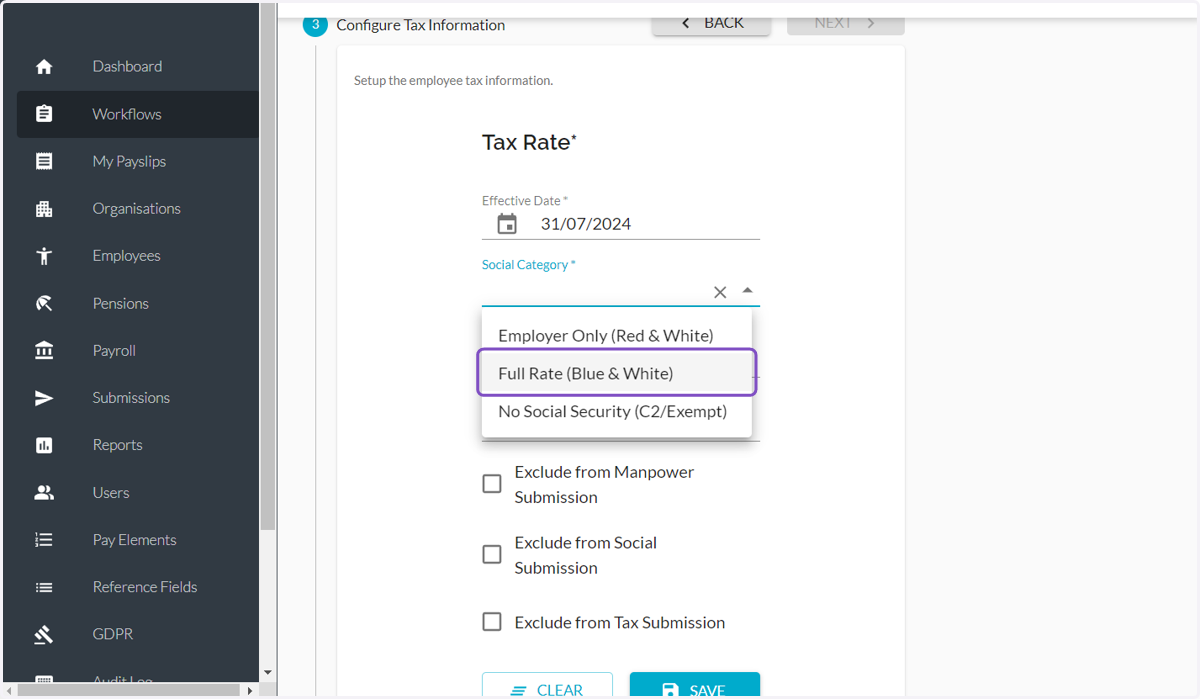
58. Select one of the options
59. Type the percentage
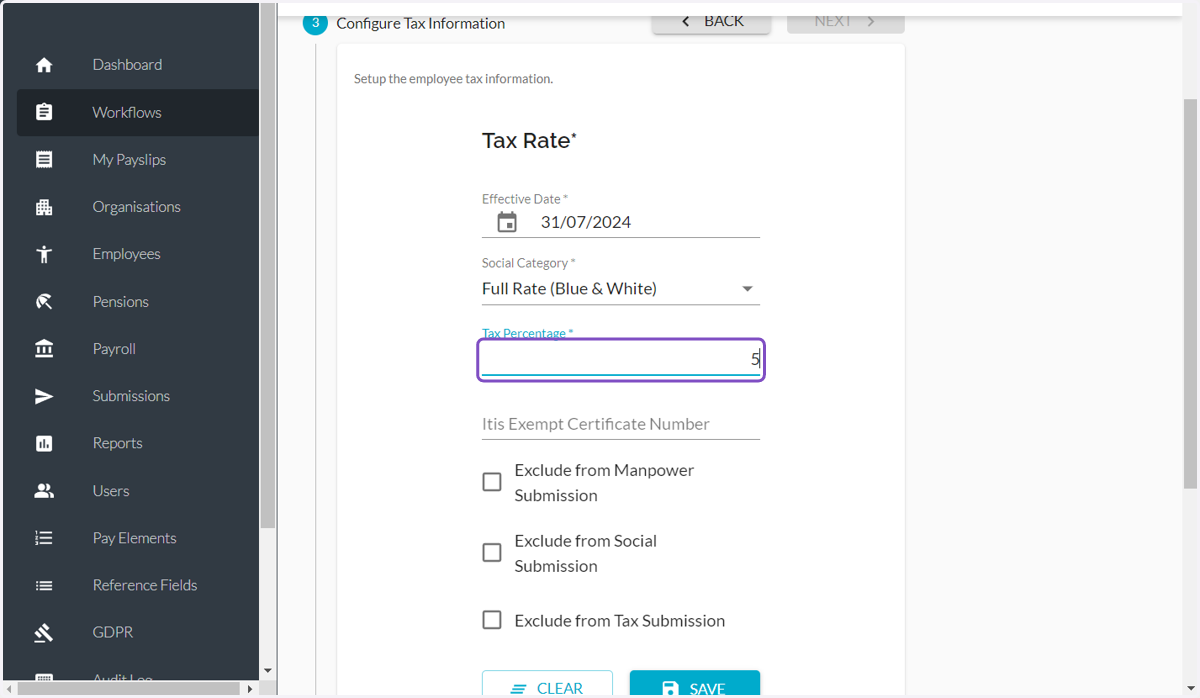
60. Click SAVE
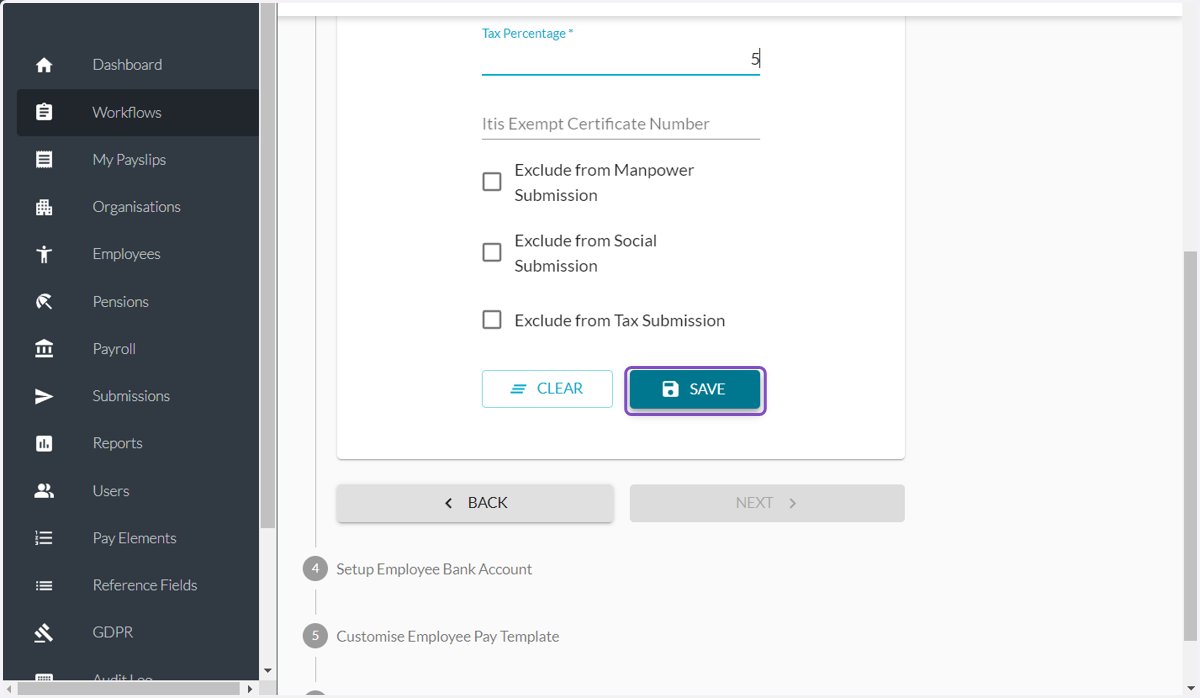
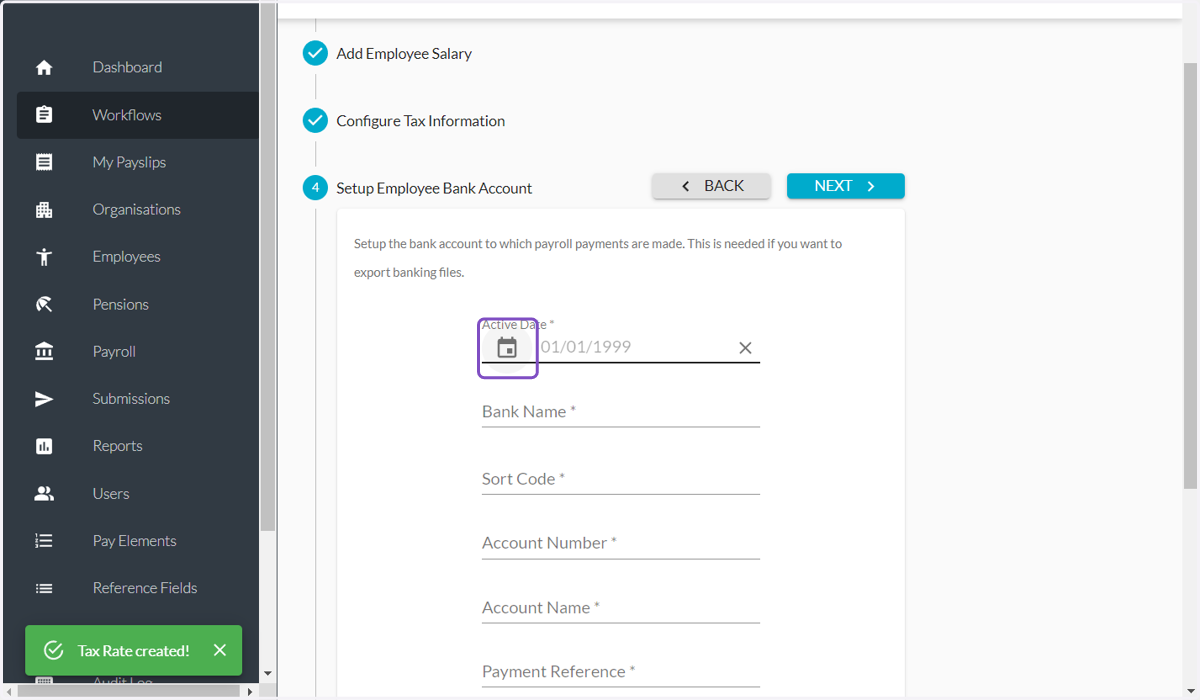
61. Click on the Calendar icon
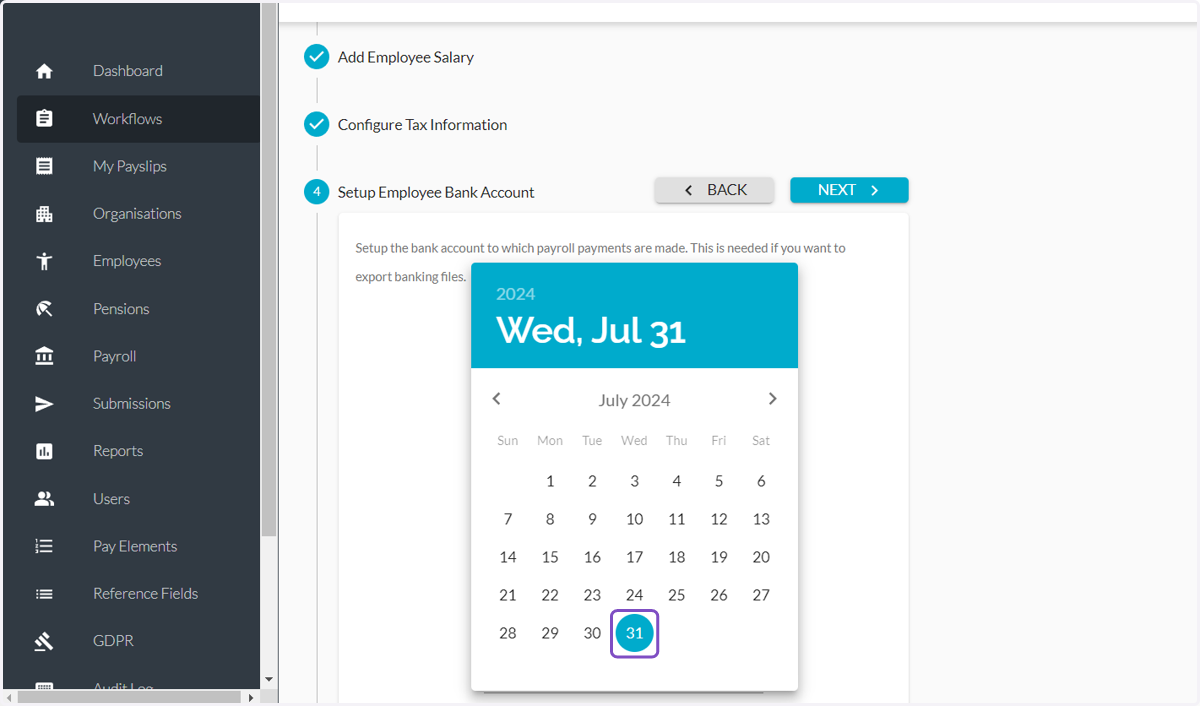
62. Select the date
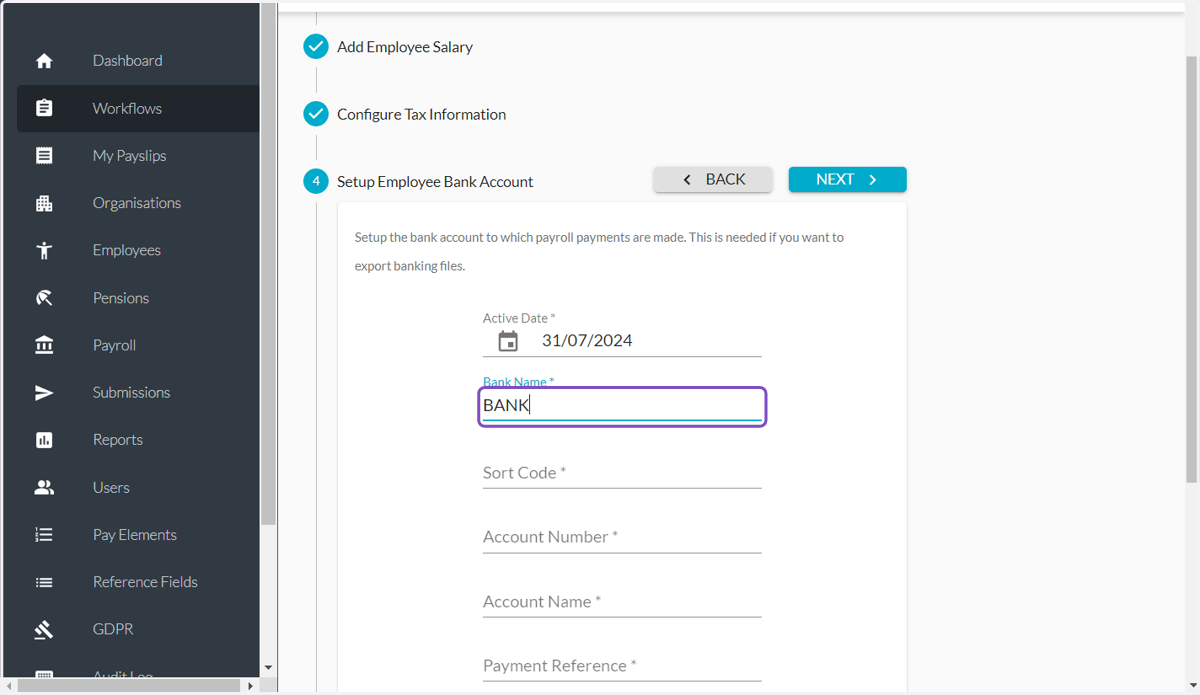
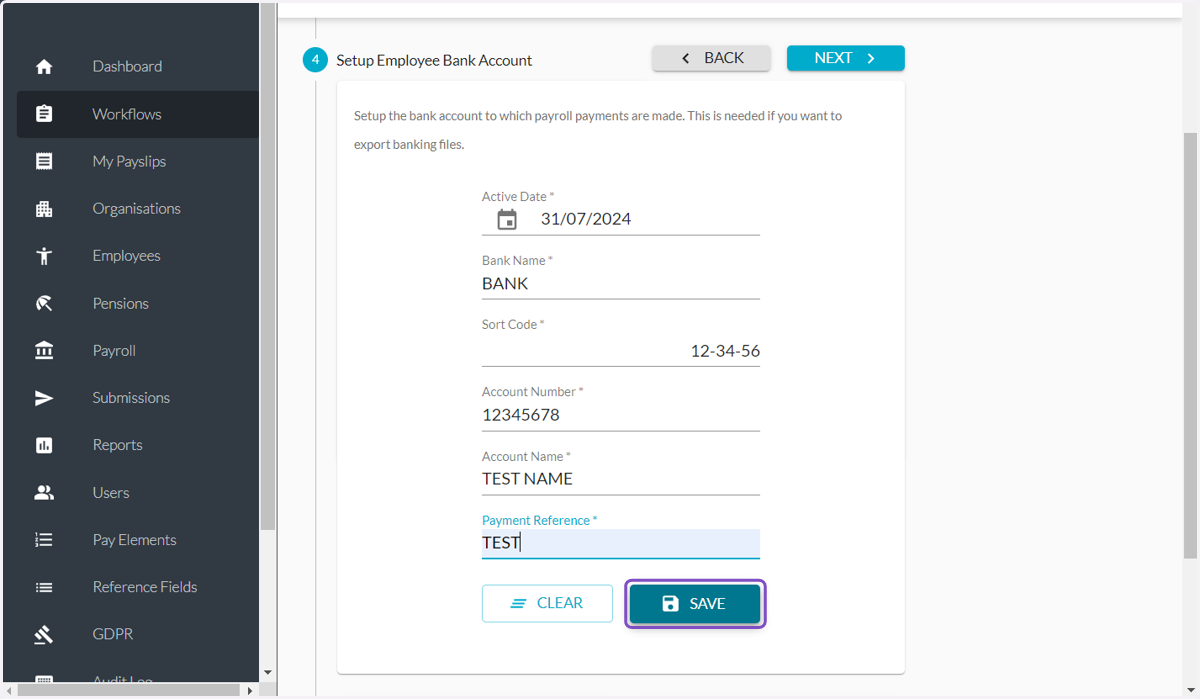
63. Type Bank Name
64. Type the Sort Code
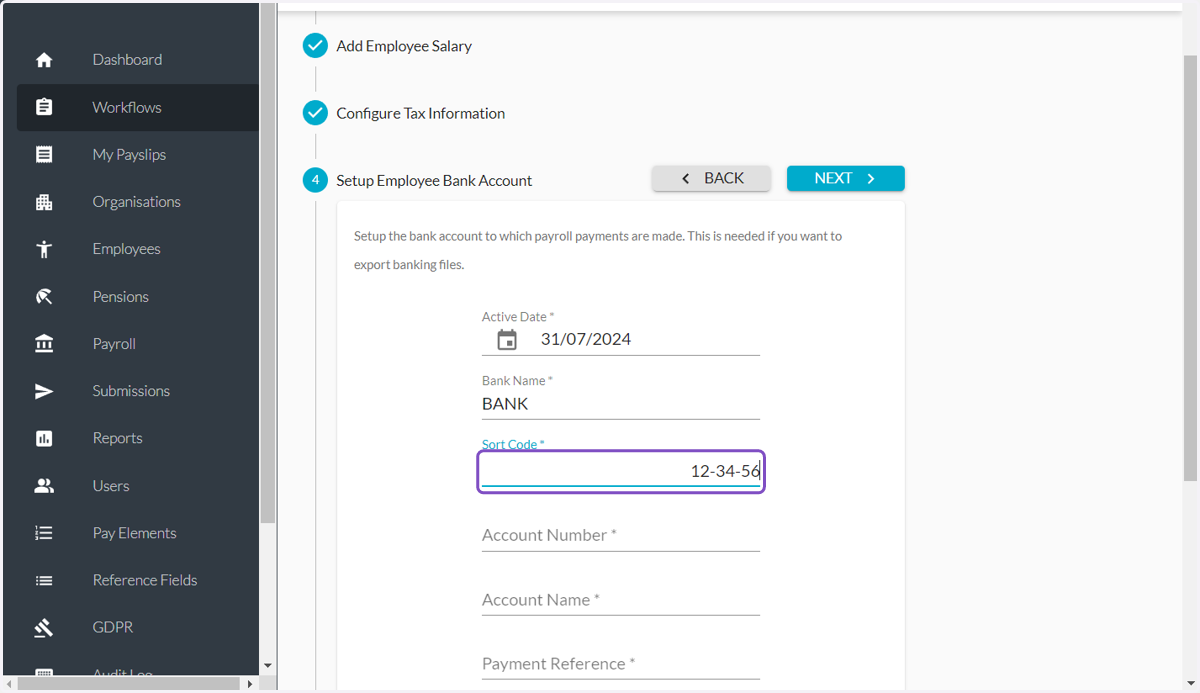
65. Type the Account Number
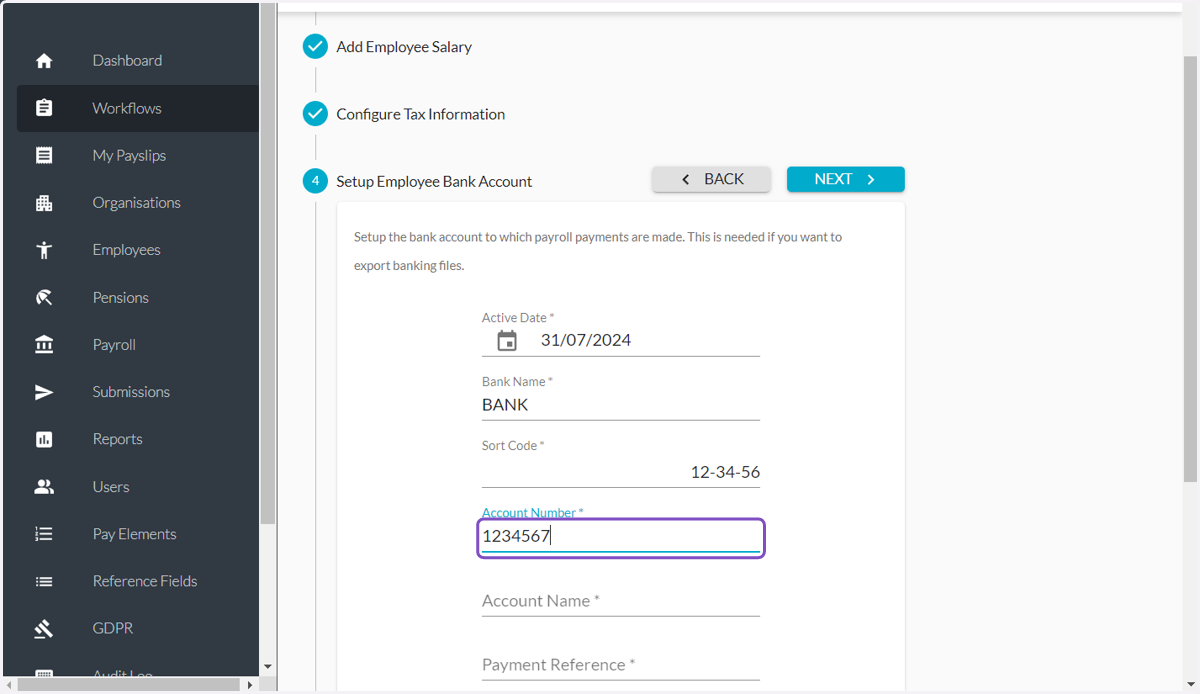
66. Type the Account Name
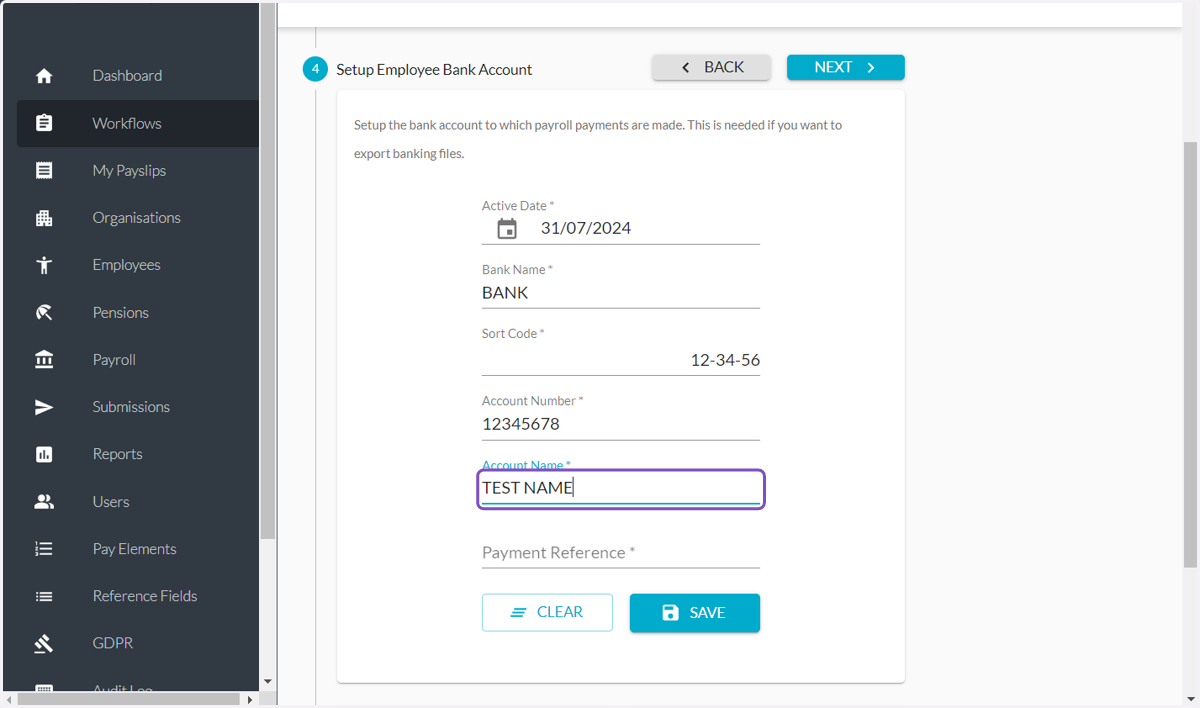
67. Type Payment Reference
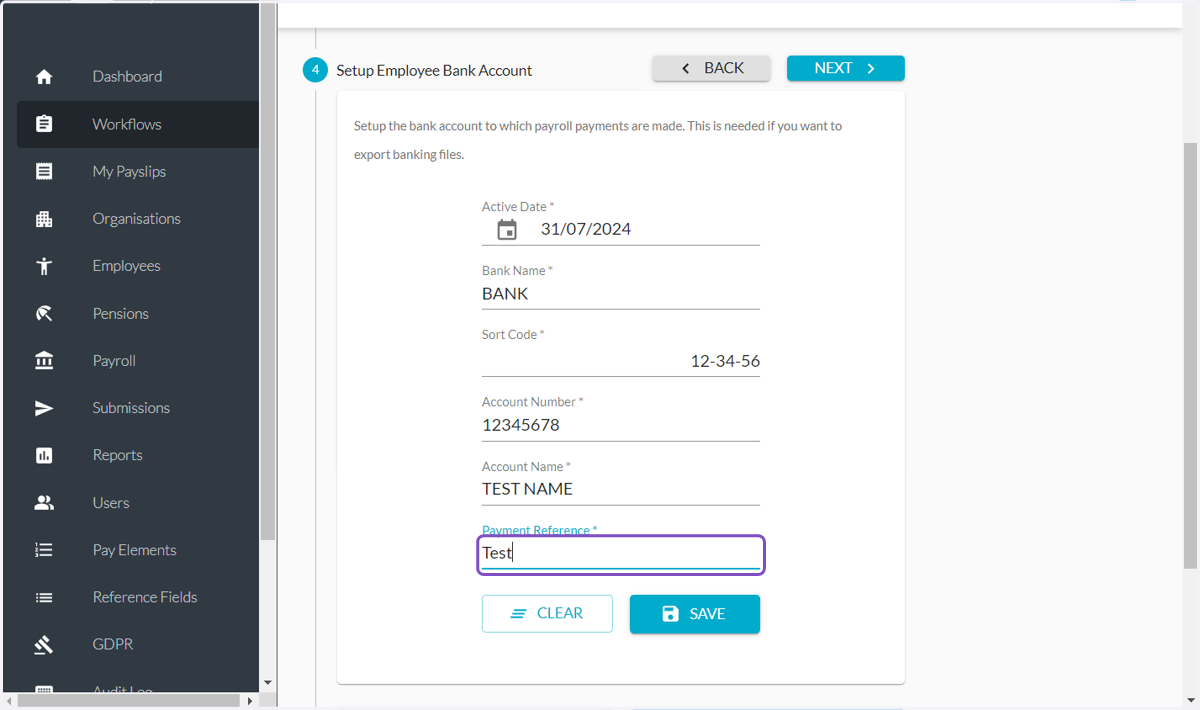
68. Click SAVE
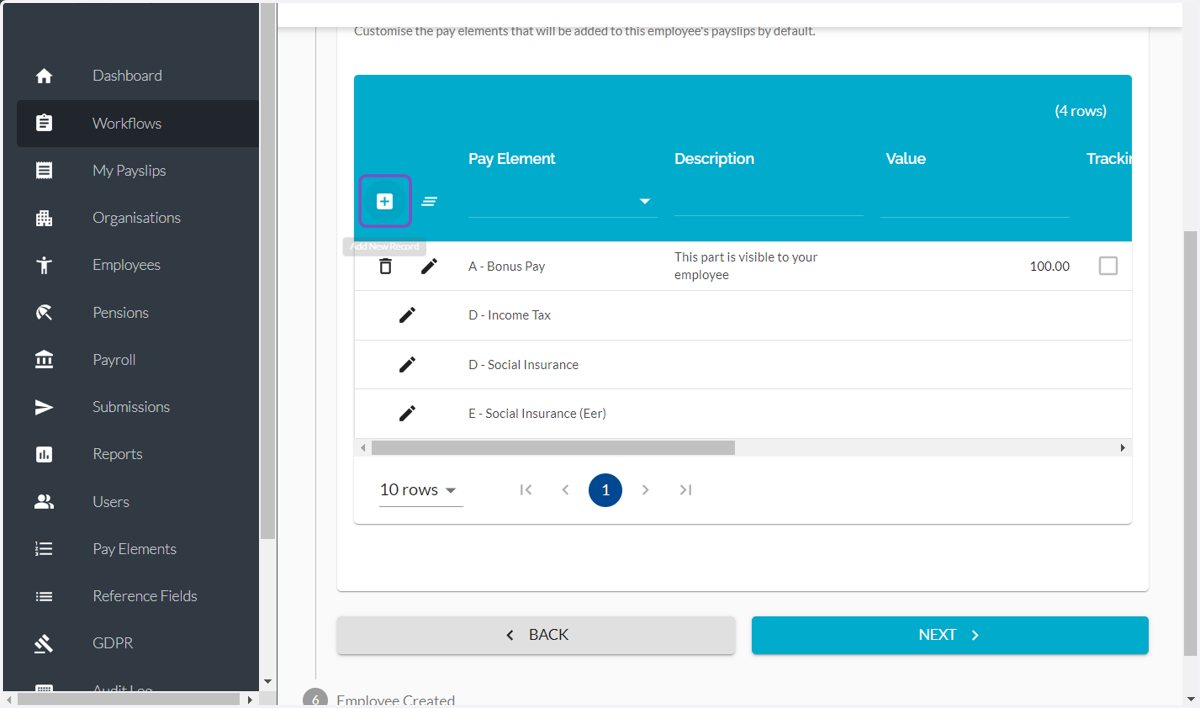
69. Click on Add New Record
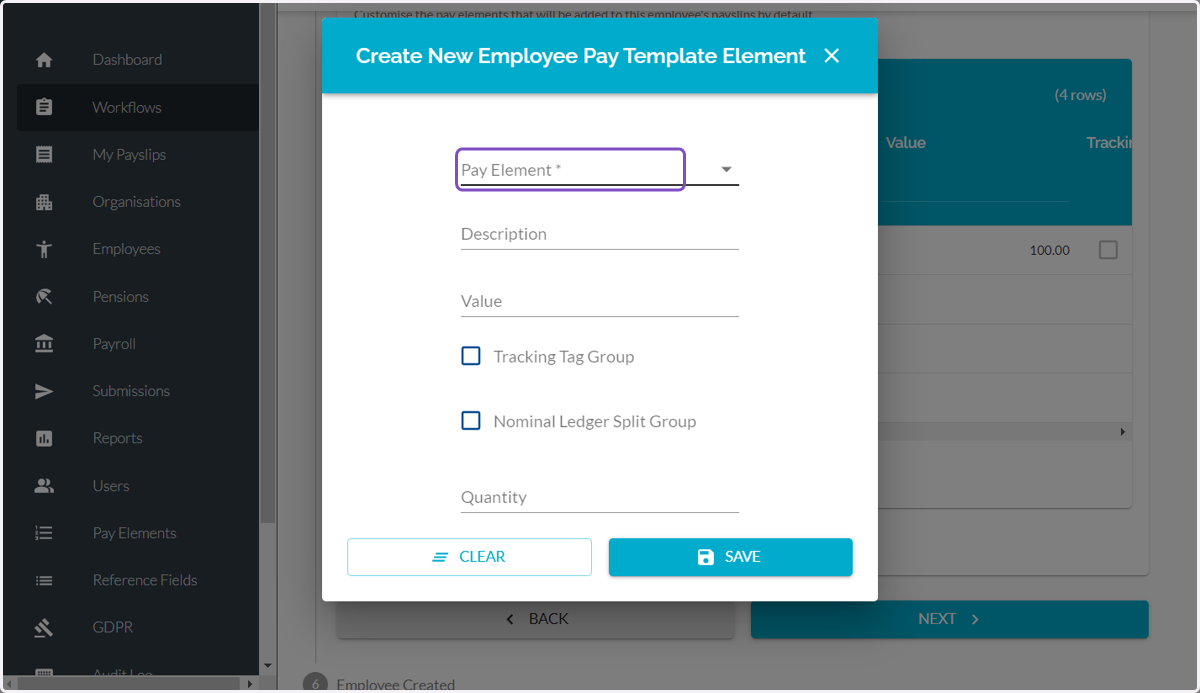
70. Click on Pay Element
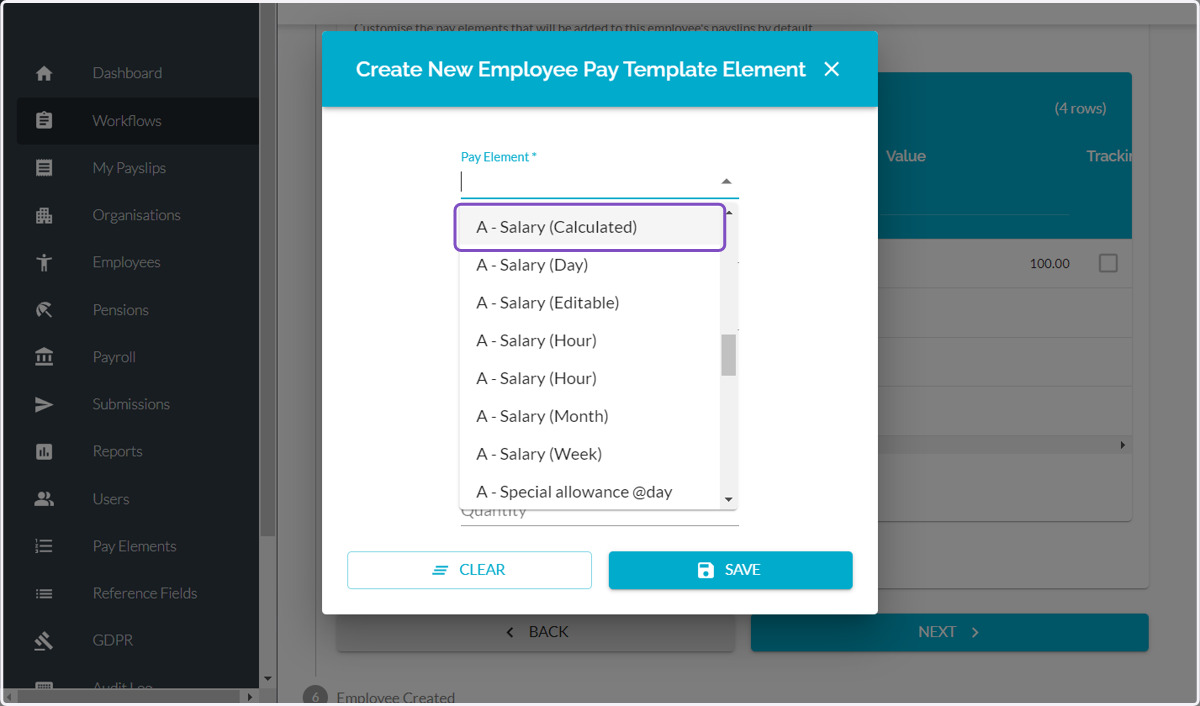
71. Select one of the options
72. Type a description
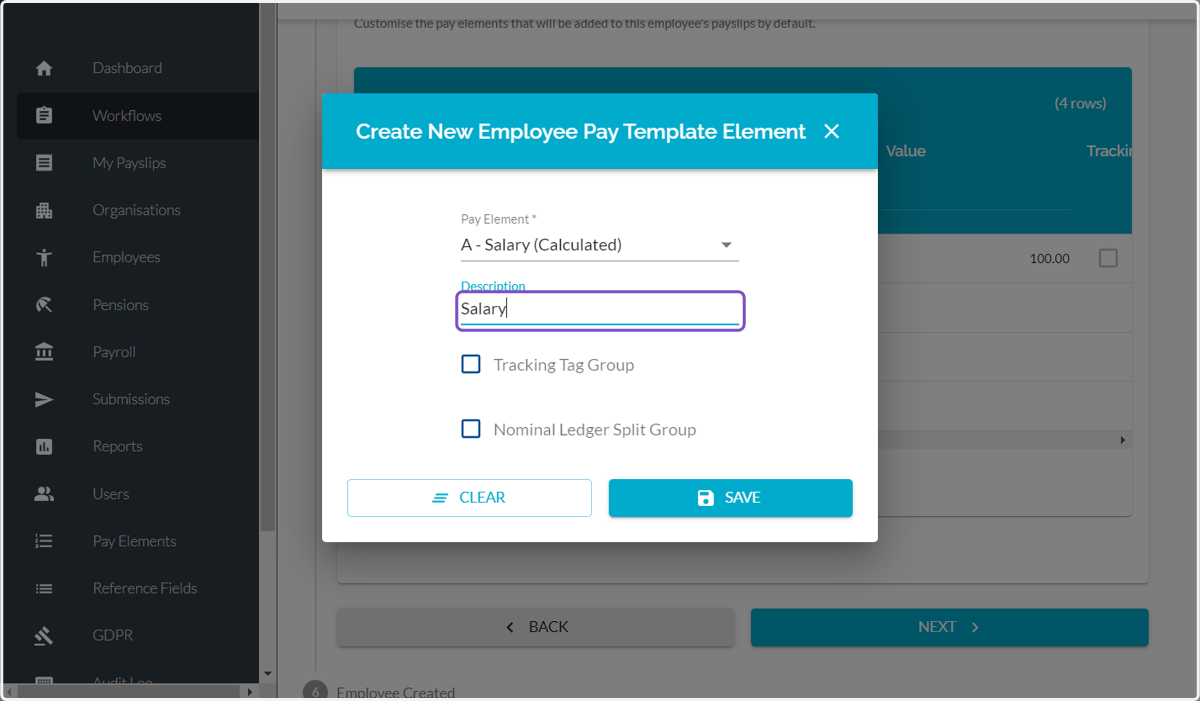
73. Click SAVE
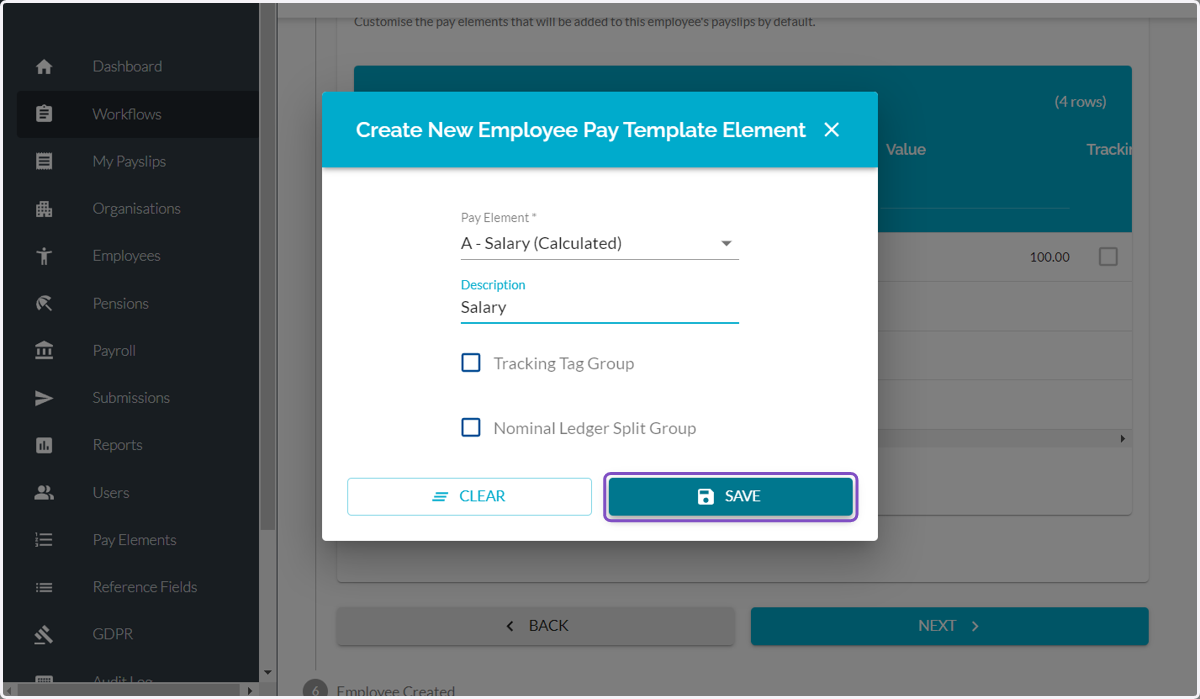
74. Click NEXT
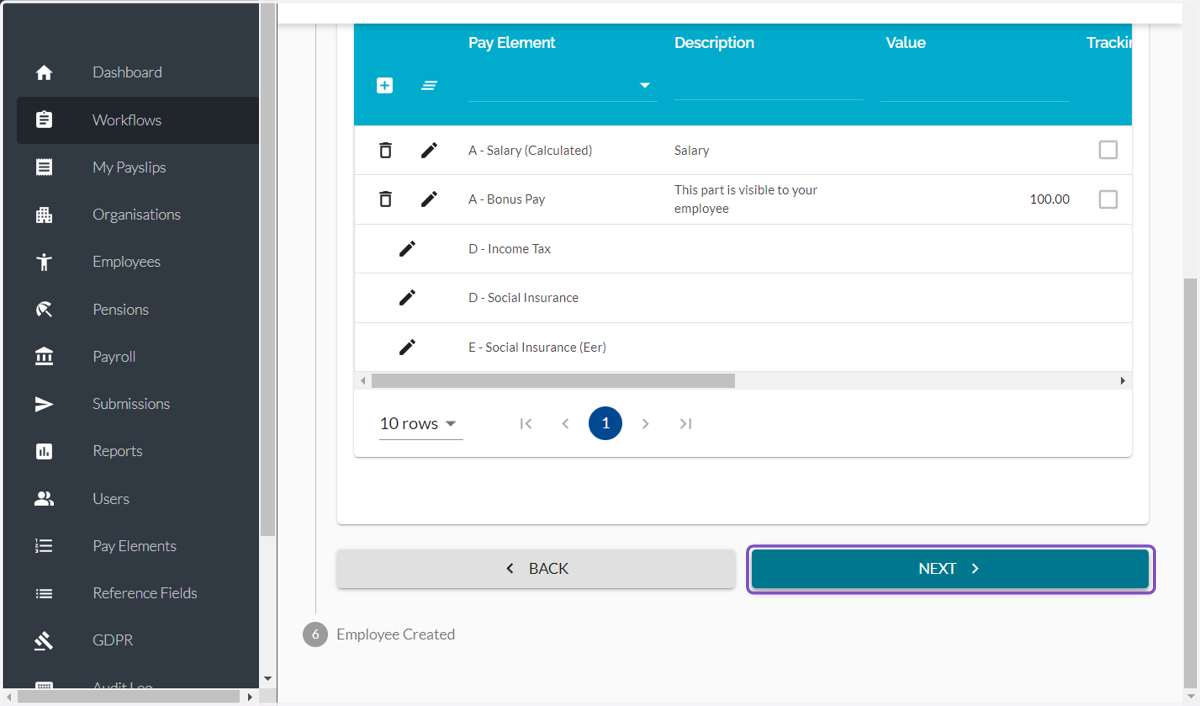
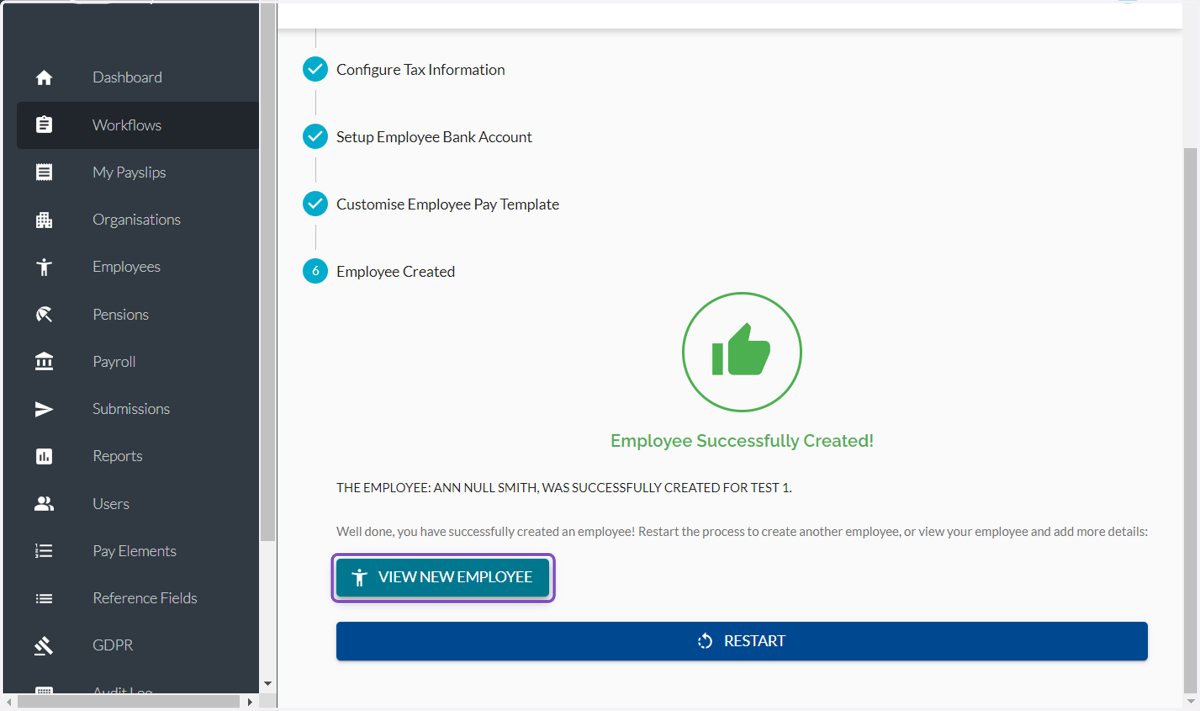
75. Congrats! The Employee is Successfully Created!
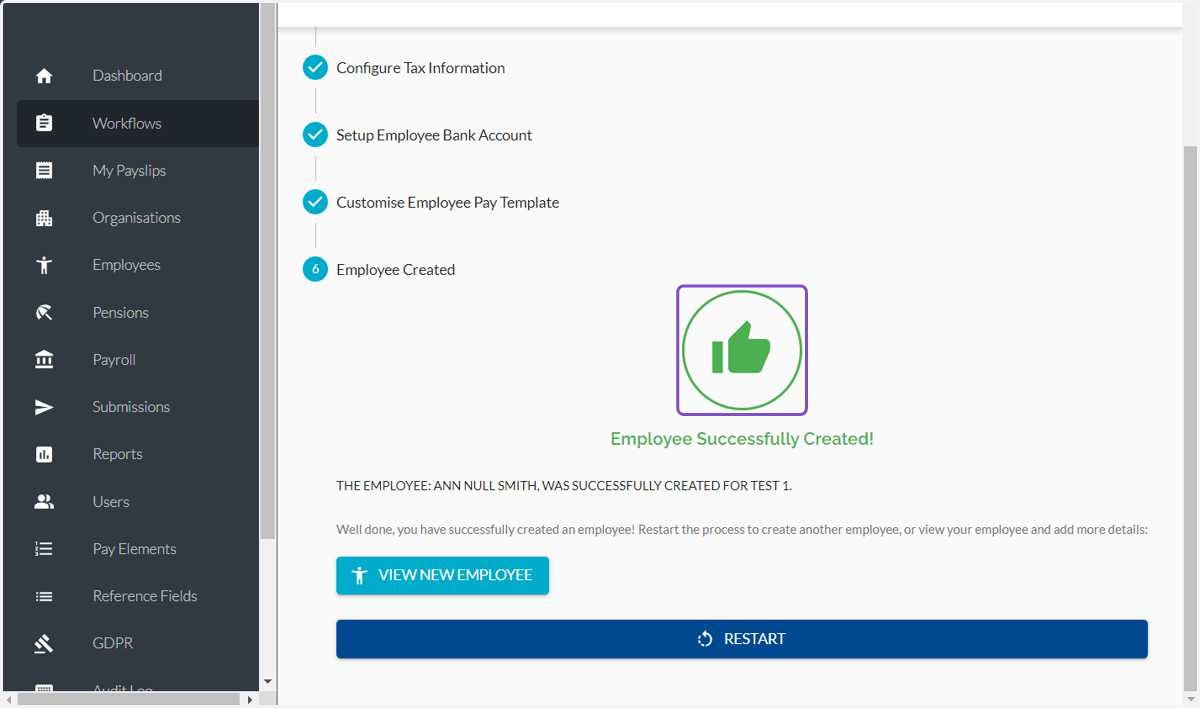
76. You can now Click on VIEW NEW EMPLOYEE to review the information