Webassessor Test Form Creation
Creating and Publishing Test Forms
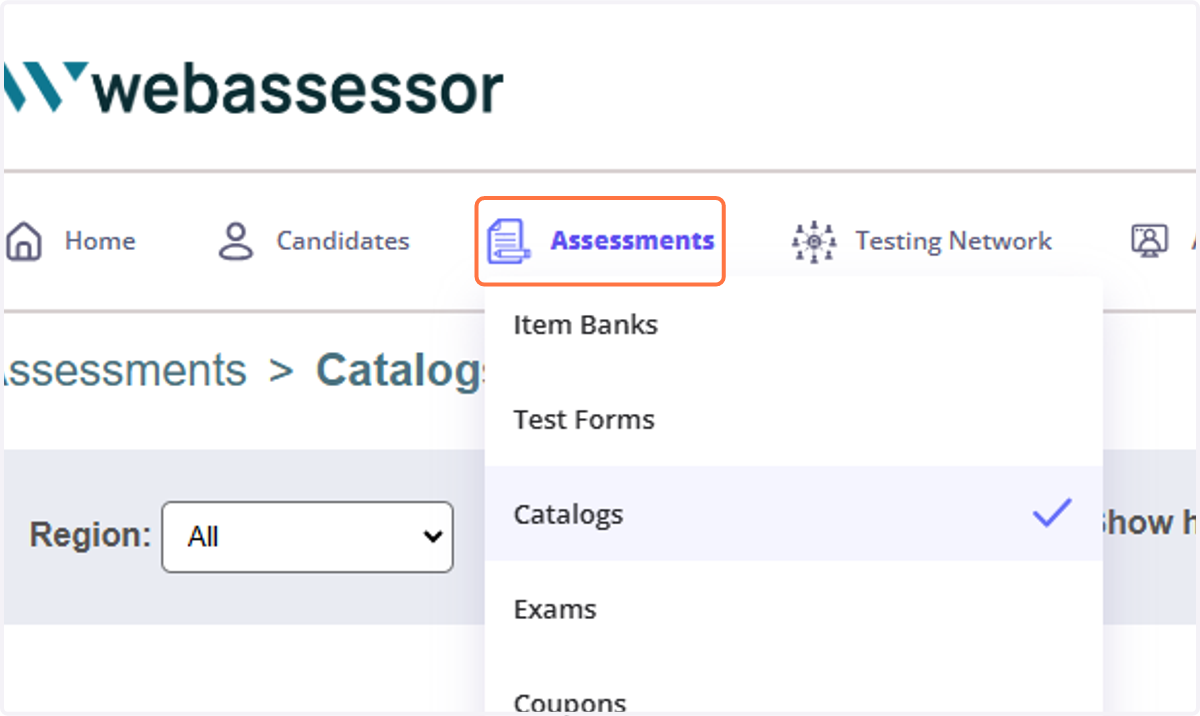
1. Click on Assessments
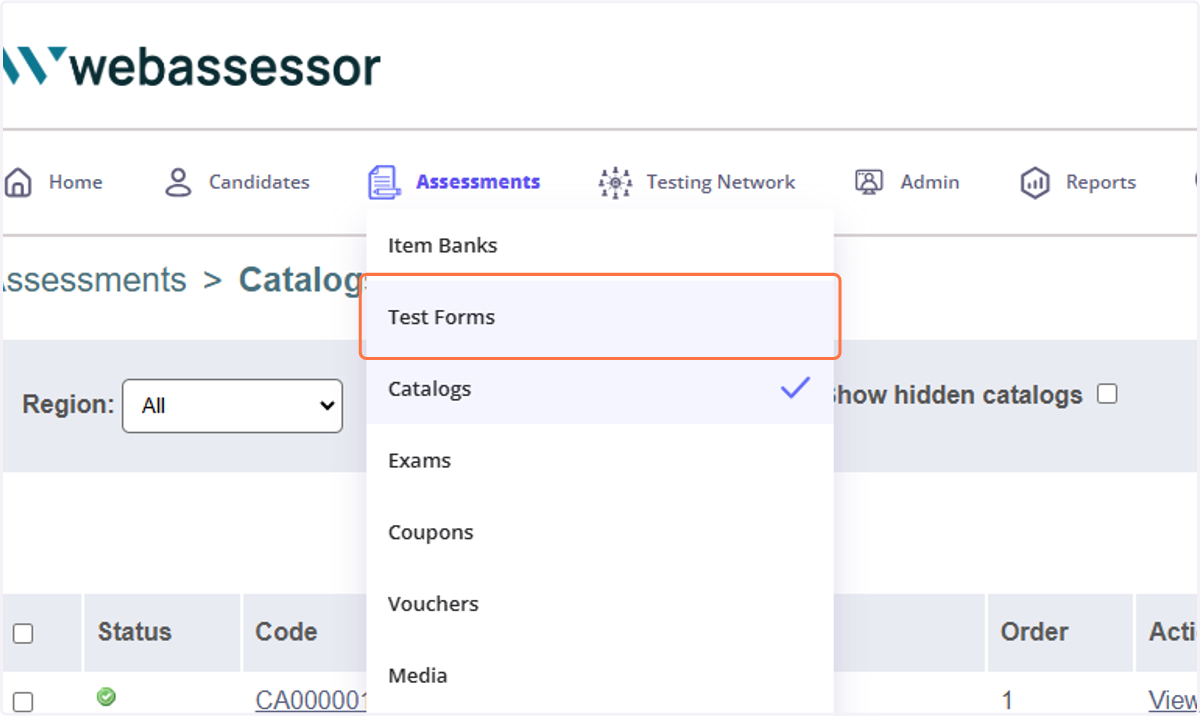
2. Click on Test Forms
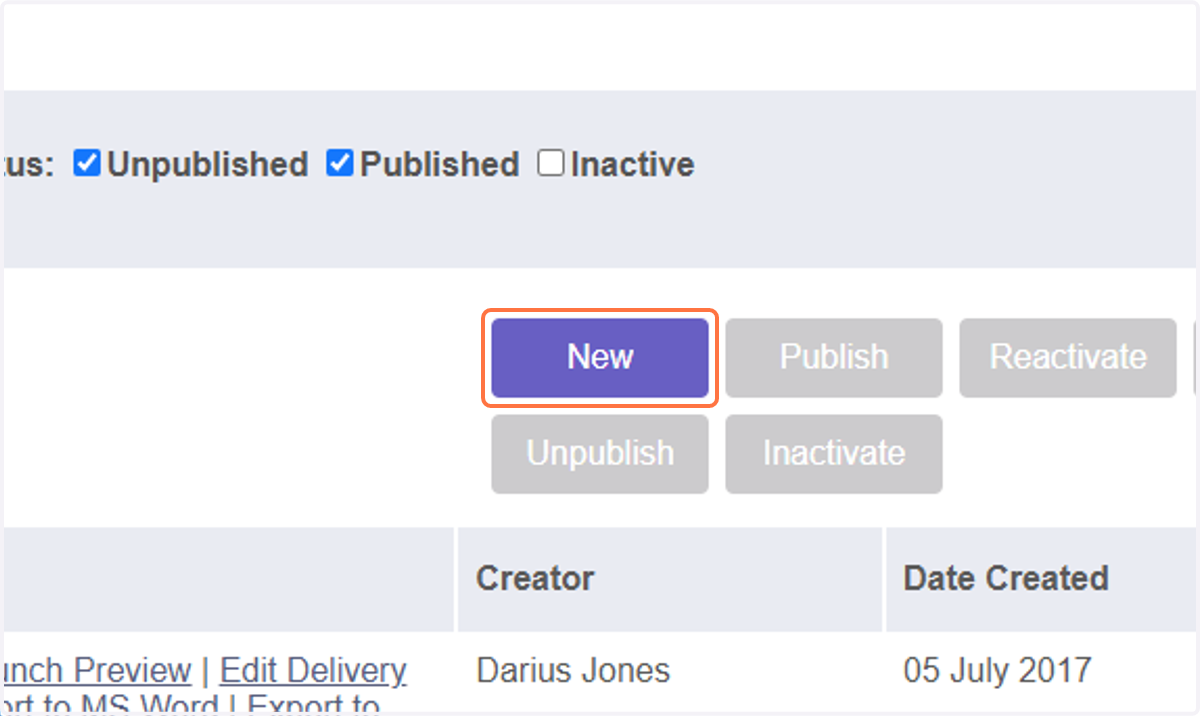
3. Click on New
4. Select the region to create the form for.
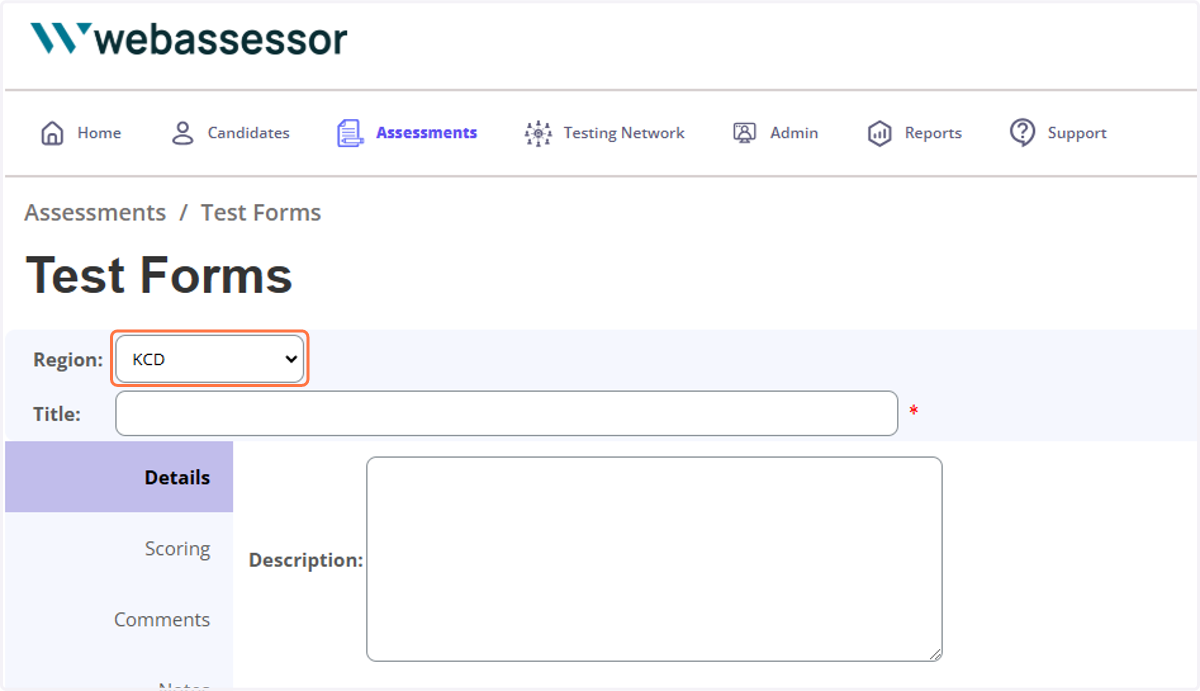
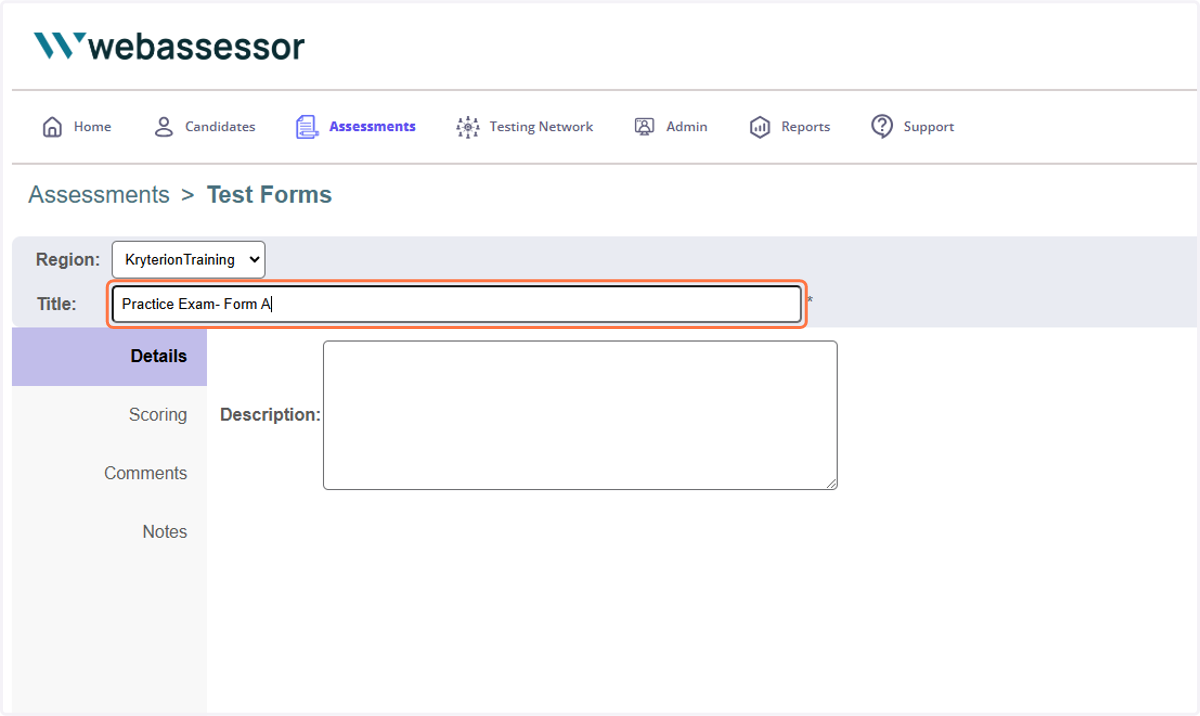
5. Type in a 'title' for the form.
*Candidates are not exposed to form level data fields.
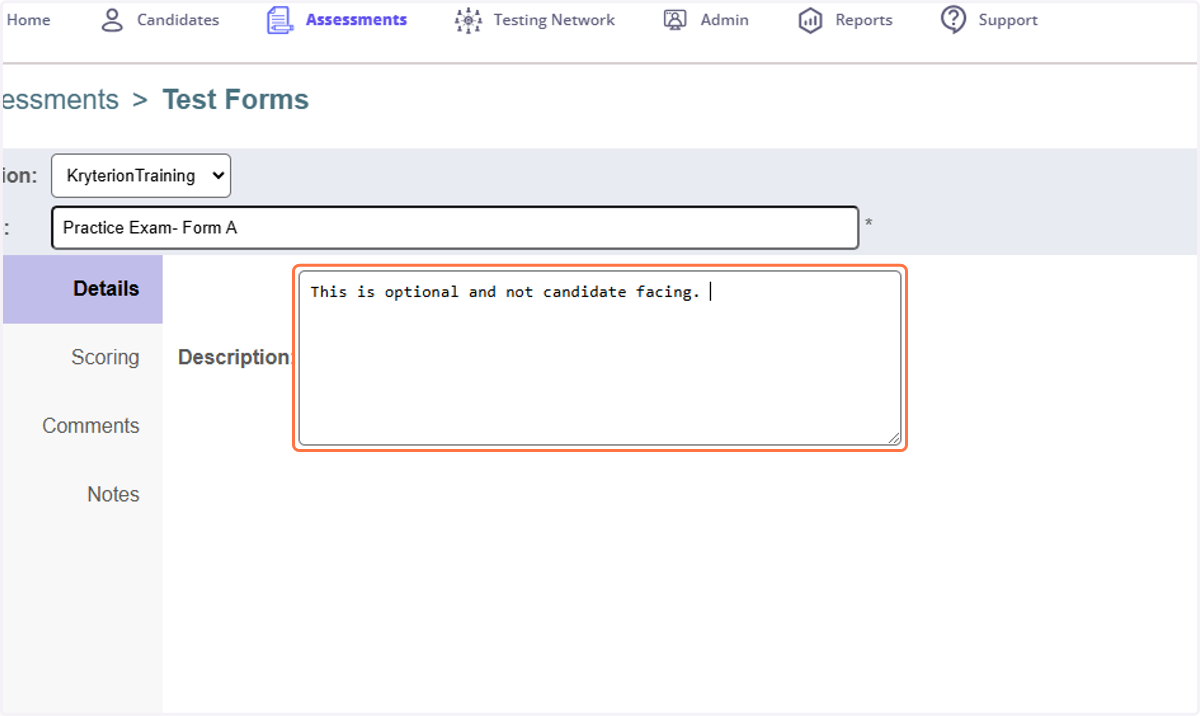
6. Optional: add a test form description, if desired.
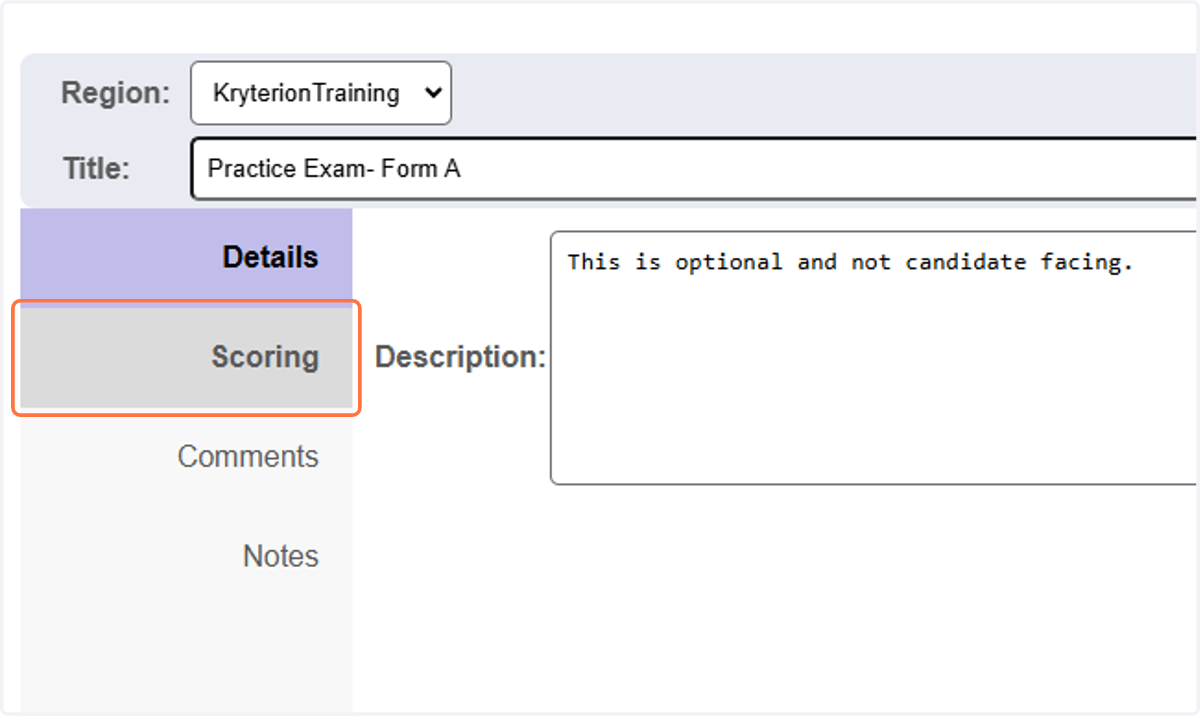
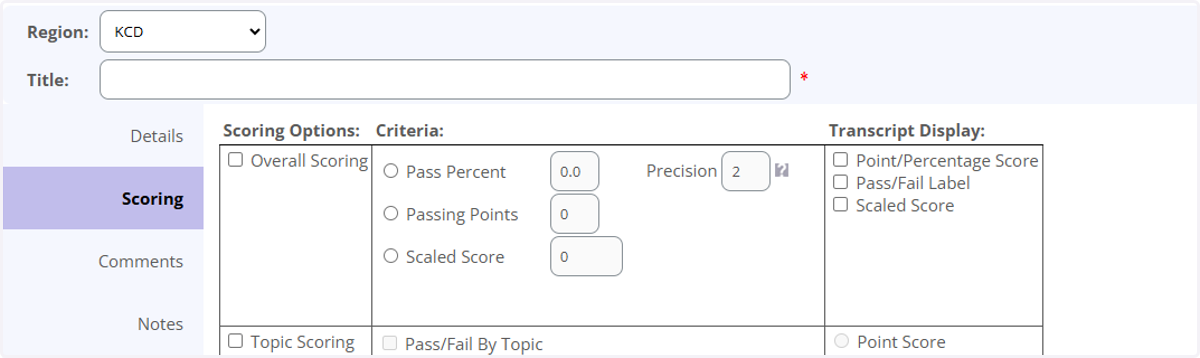
7. Click on Scoring
8. Set your 'Overall Scoring' options.
Enable 'overall scoring" in the scoring options if you want the exam to be scored.
Set the 'passing points'/'pass percent' in the criteria section, if applicable. If you need assistance with scaled scoring, please reach out to your Kryterion CSM for assistance.
Apply the appropriate settings that you want the candidate to see on-screen after assessment submission in the 'Transcript Display' section.
Note- if you do not enable pass/fail label to display, the completed exams will not have a transcript label in the database to show a pass/fail later down the road if you choose to enable it later.
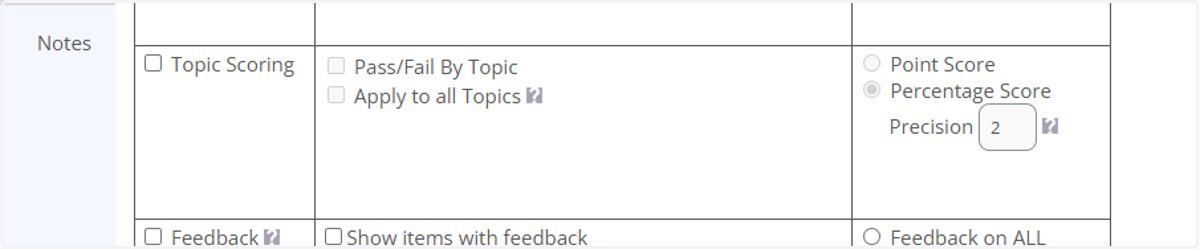
9. Set your 'Topic Scoring' settings.
Enable 'topic scoring" in the scoring options if you want to have each topic calculate a score.
If you want candidates to have a pass/fail transcript for each topic, enable 'Pass/Fail By Topic'.
In addition to a pass/fail by topic, you can set a pass cut score/points to all topics as well. If that is enabled, a section will appear to set the scoring options similar to overall scoring.
Apply the appropriate settings that you want the candidate to see on-screen after assessment submission in the 'Transcript Display' section.
Note- if you do not enable pass/fail label to display, the completed exams will not have a transcript label in the database to show a pass/fail later down the road if you choose to enable it later.
10. Optional: Item feedback options.
Enable 'Feedback' in the 'scoring options' section, if you want to set up feedback display parameters.
Enable 'Show items with feedback' in the 'Criteria" section.
Enable 'Feedback on ALL' or 'Incorrect Only' in the 'Transcript Display' section.

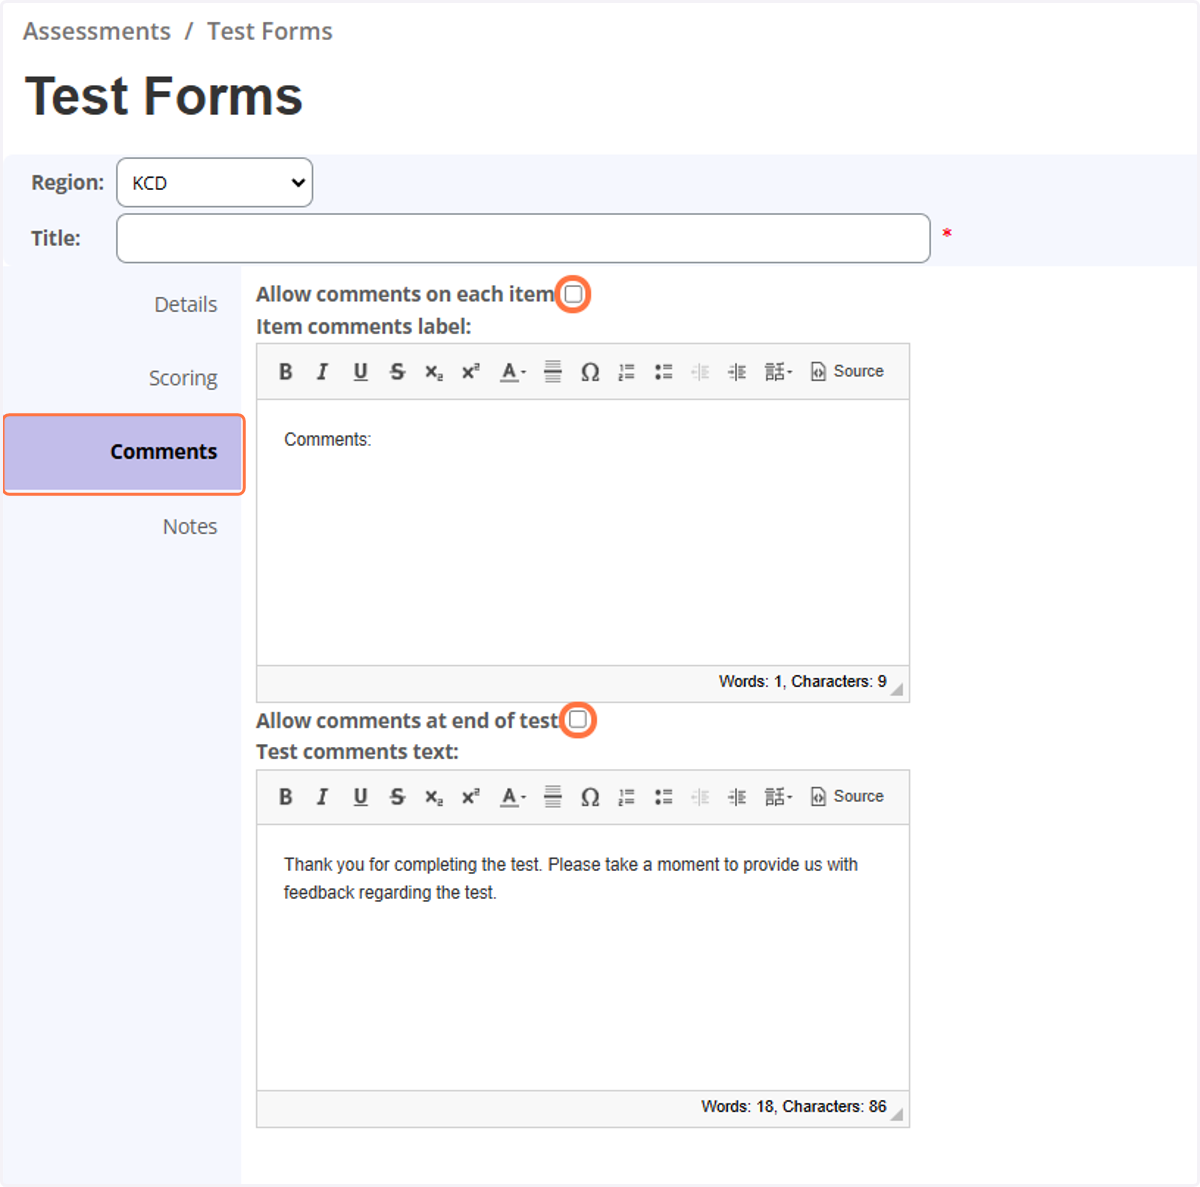
11. Optional: Select 'Comments' tab to see item comments options
Enable the options(s) that you would like candidates to be able to add comments to.
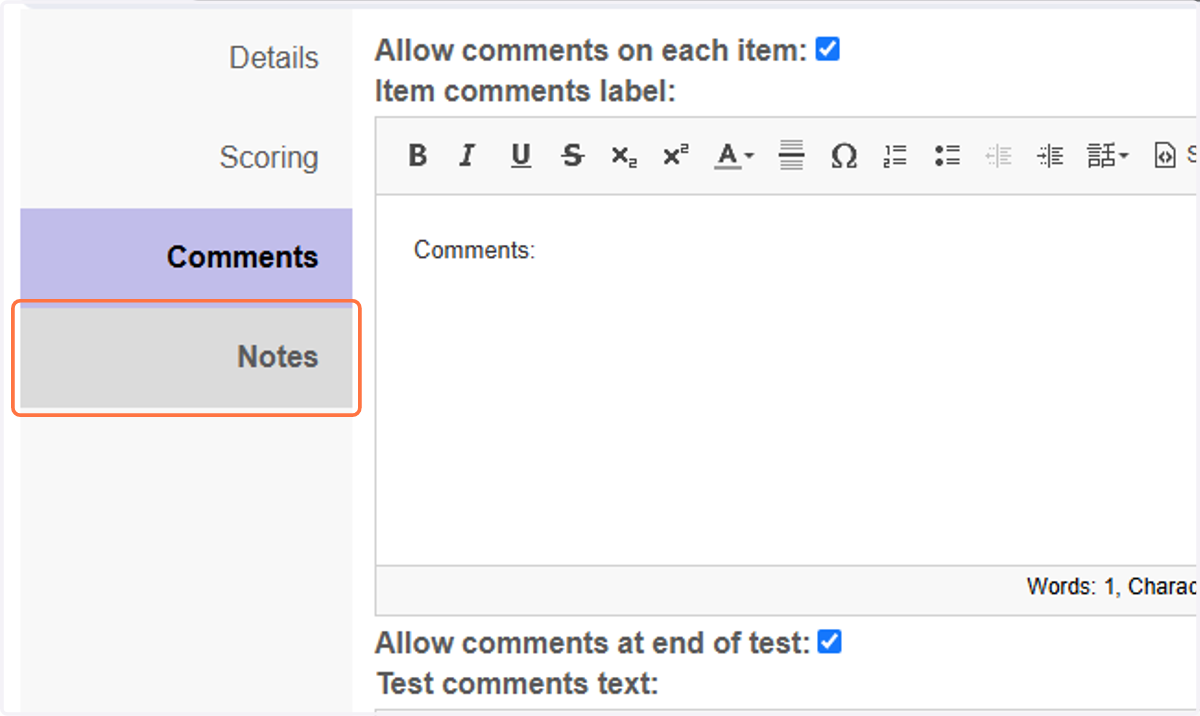
12. Optional: Notes page can be leveraged for administrator notes for the form.
13. Click on Save
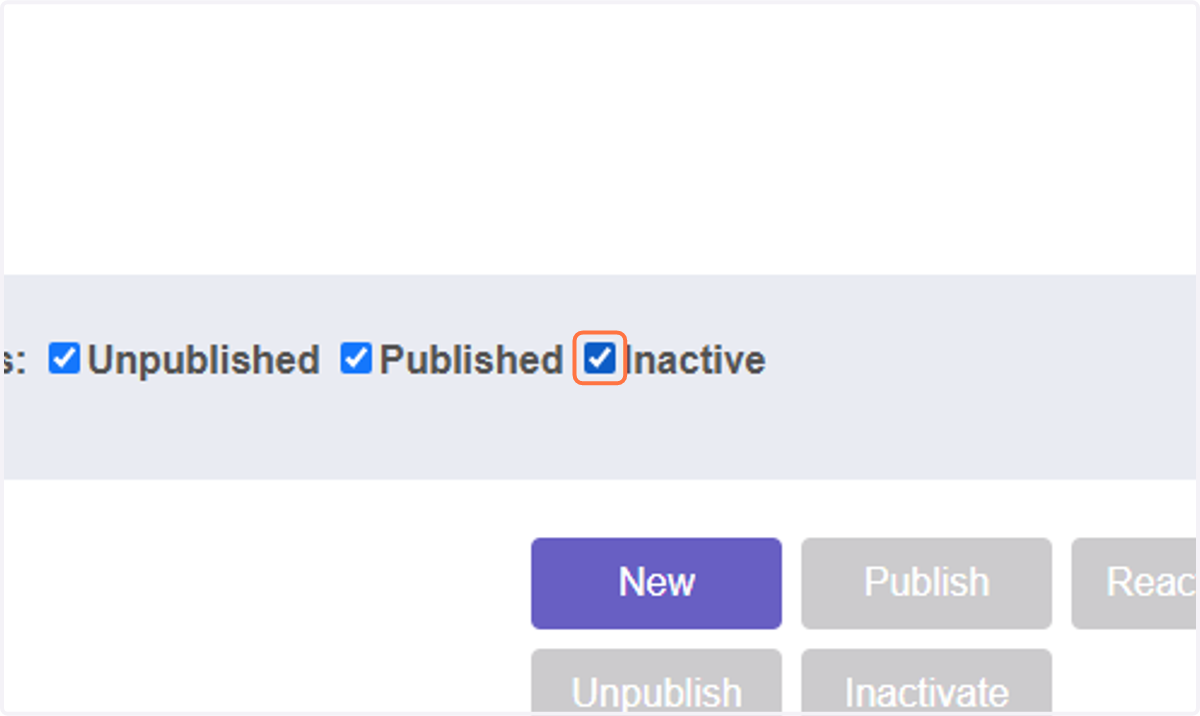
14. To find your form to complete the set-up, select to show inactive and select 'Find" button and navigate to the form.
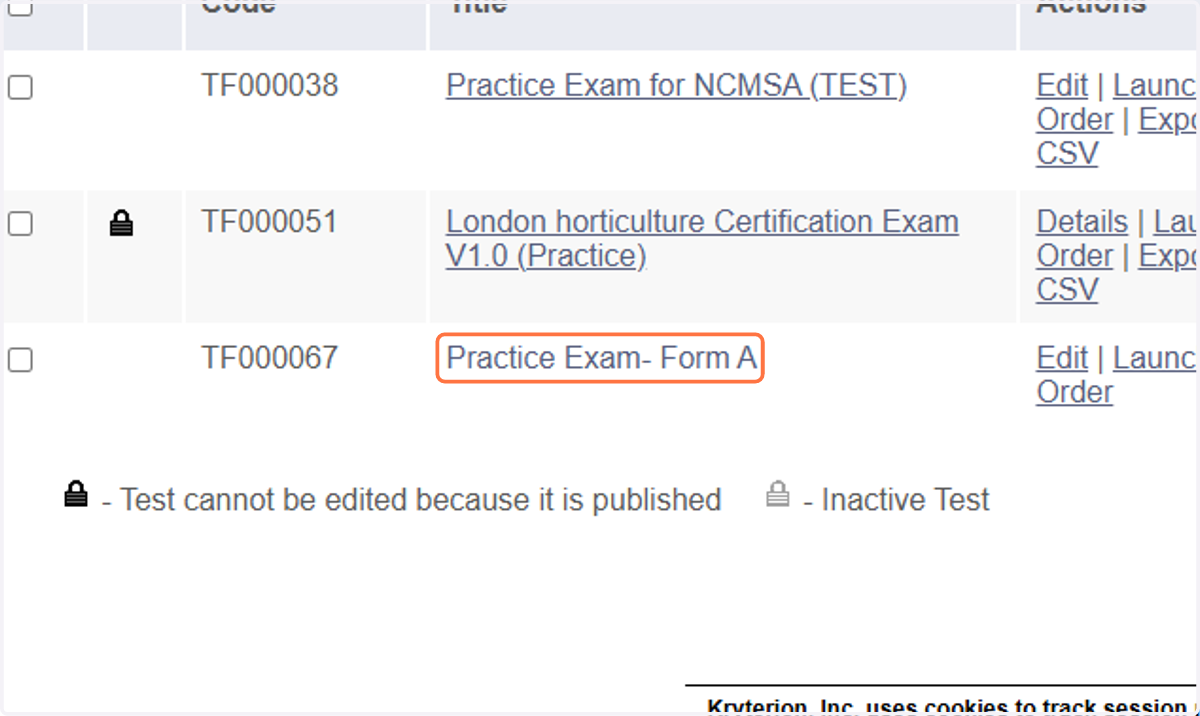
15. Once you have navigated to the form, select the hyperlink form title
16. Select 'New' to create at least one topic.
Note-Test forms require at least one topic to be created.
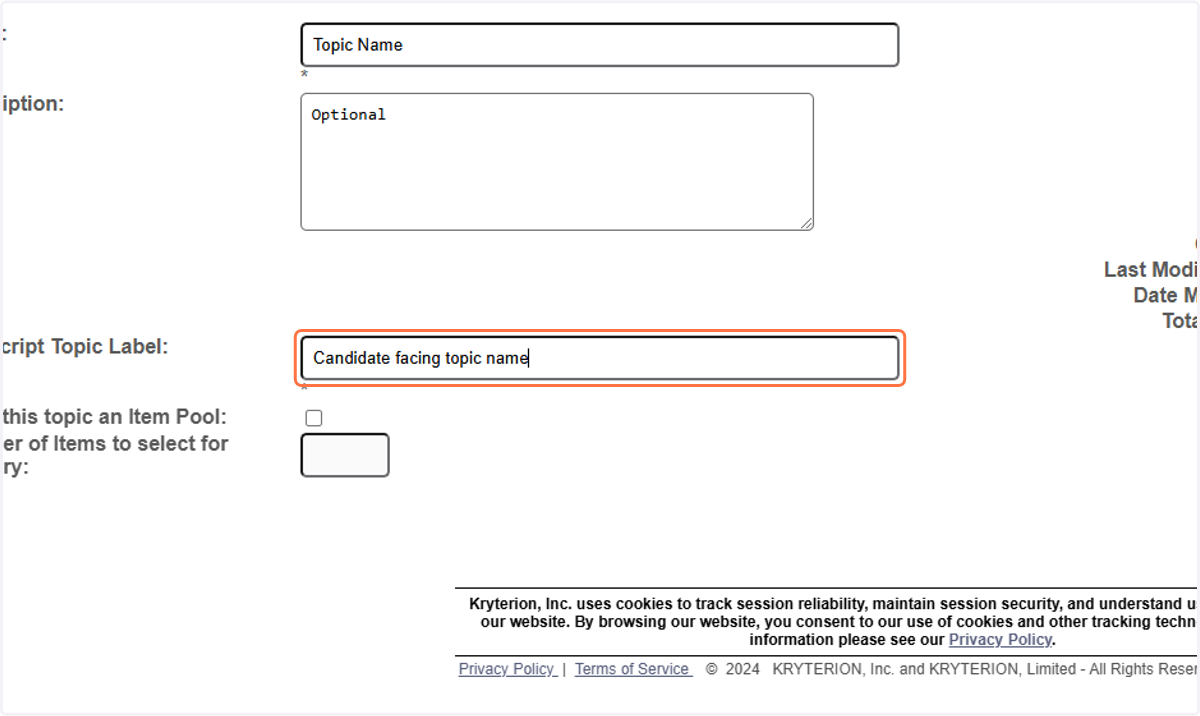
17. Type "Candidate facing topic name"
Enter the topic 'Name' (this is not candidate facing.
Optional: enter a topic description.
Enter a candidate facing topic name in 'Transcript Topic Label' field. (The topic will only show in the ui and/or customized email templates that have topic scoring enabled and email templates customized to show.)
18. Optional: Set item pooling options.
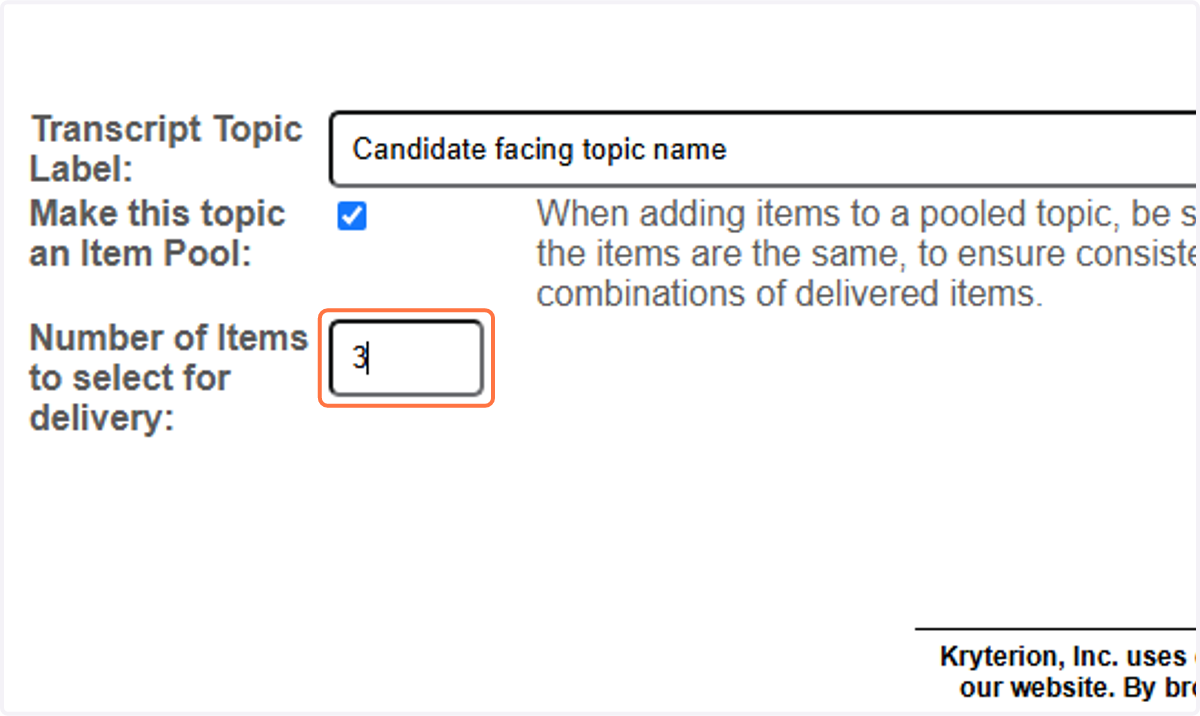
If you want items to pool a random amount of items out of this topic (ex: deliver only 10 random questions of a pool of 40), you will need to enable 'Make this topic an Item Pool'.
Once enabled, you can set the amount of items that you want to select for delivery.
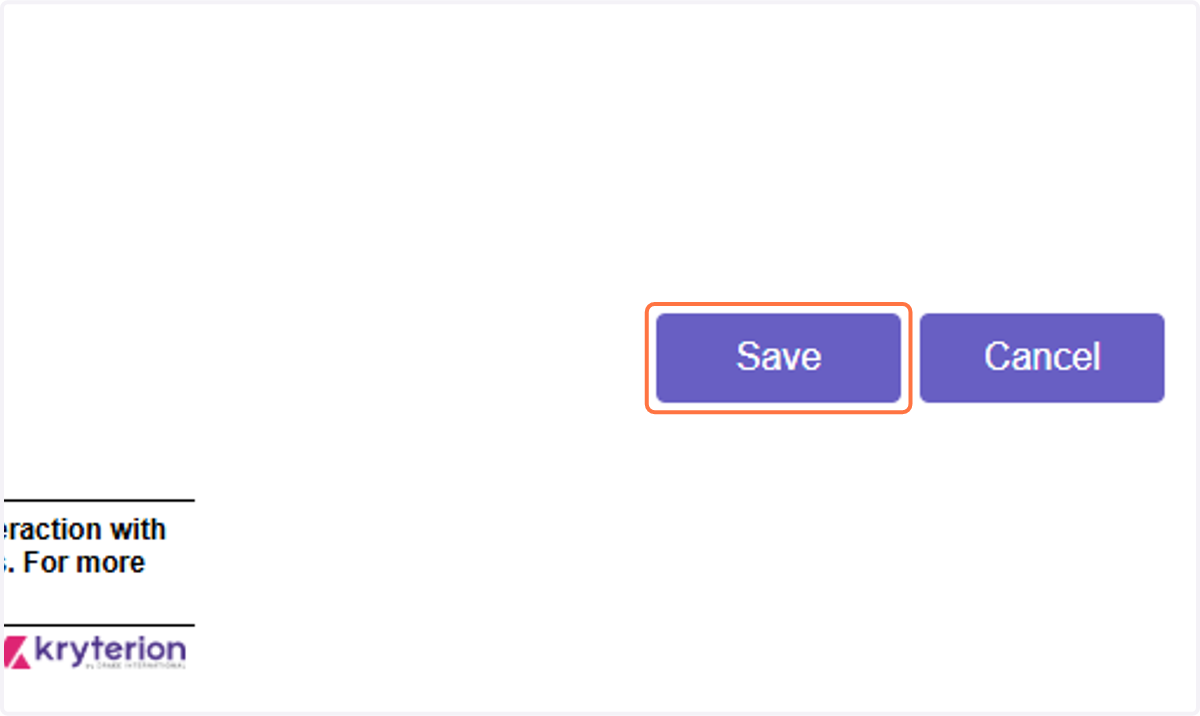
19. Click on Save and Repeat topic creation steps until you are done adding topics.
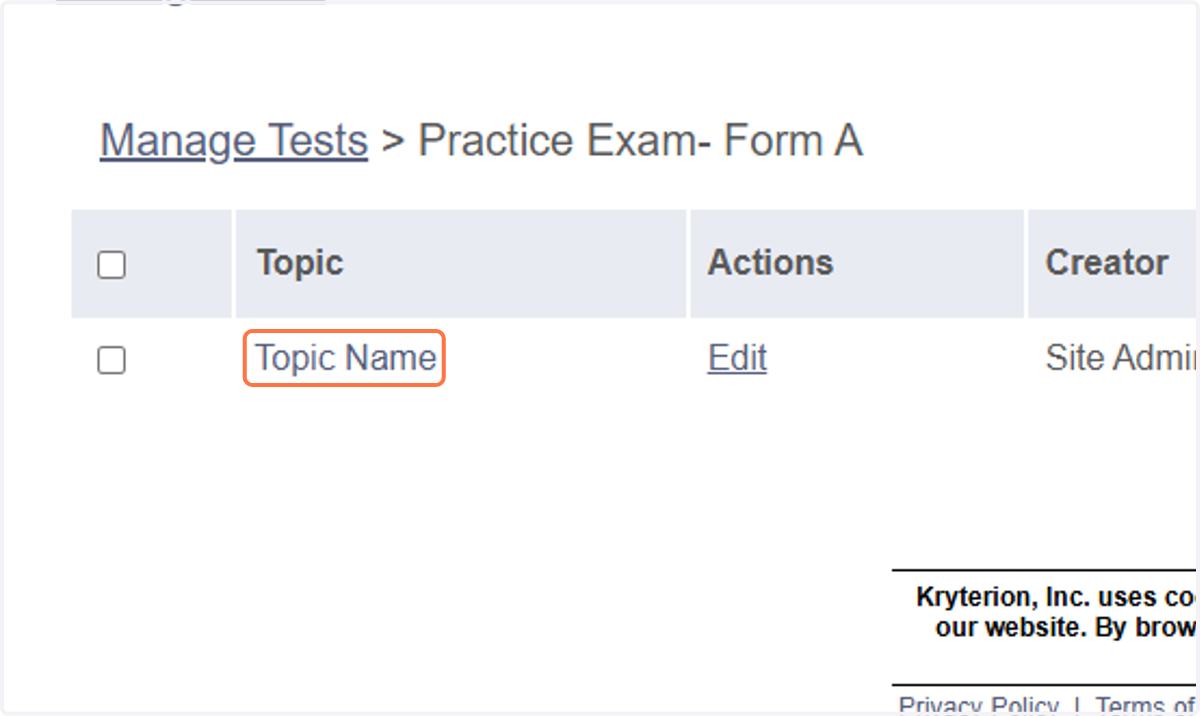
20. To add items to your topics, select the topic name hyperlink, one at a time.
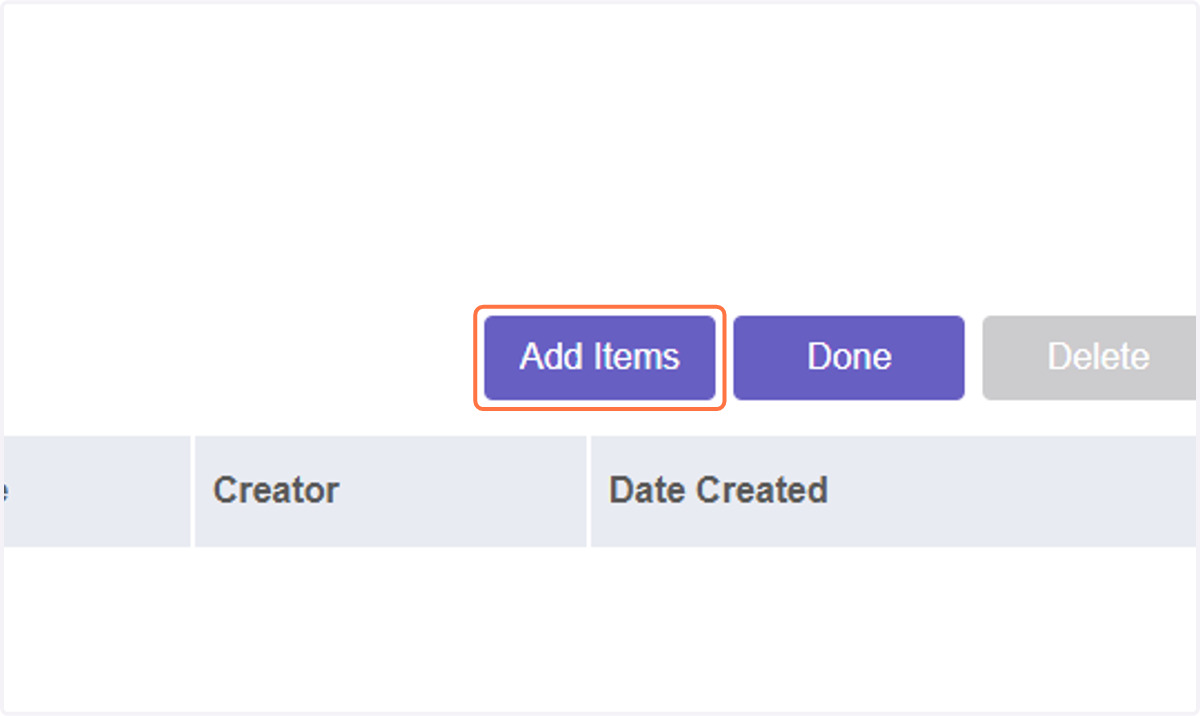
21. Click on Add Items
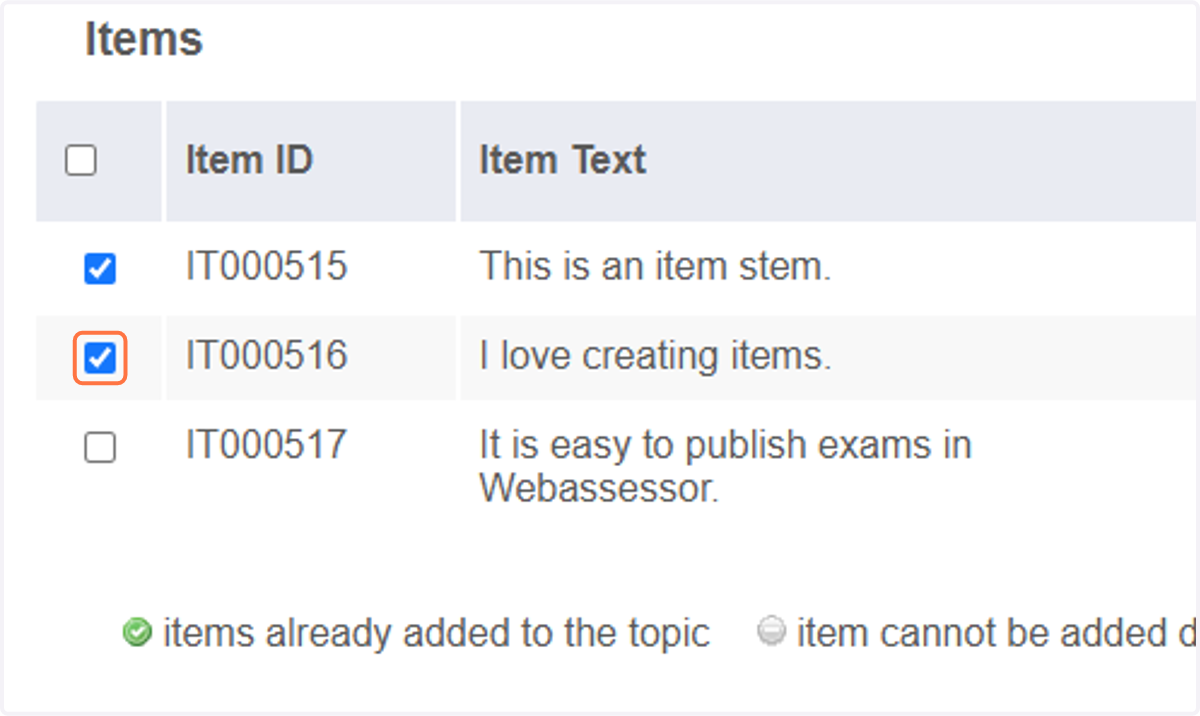
22. Navigate to the folder or the individual items that you want to add and select the box to the left of each item/folder.
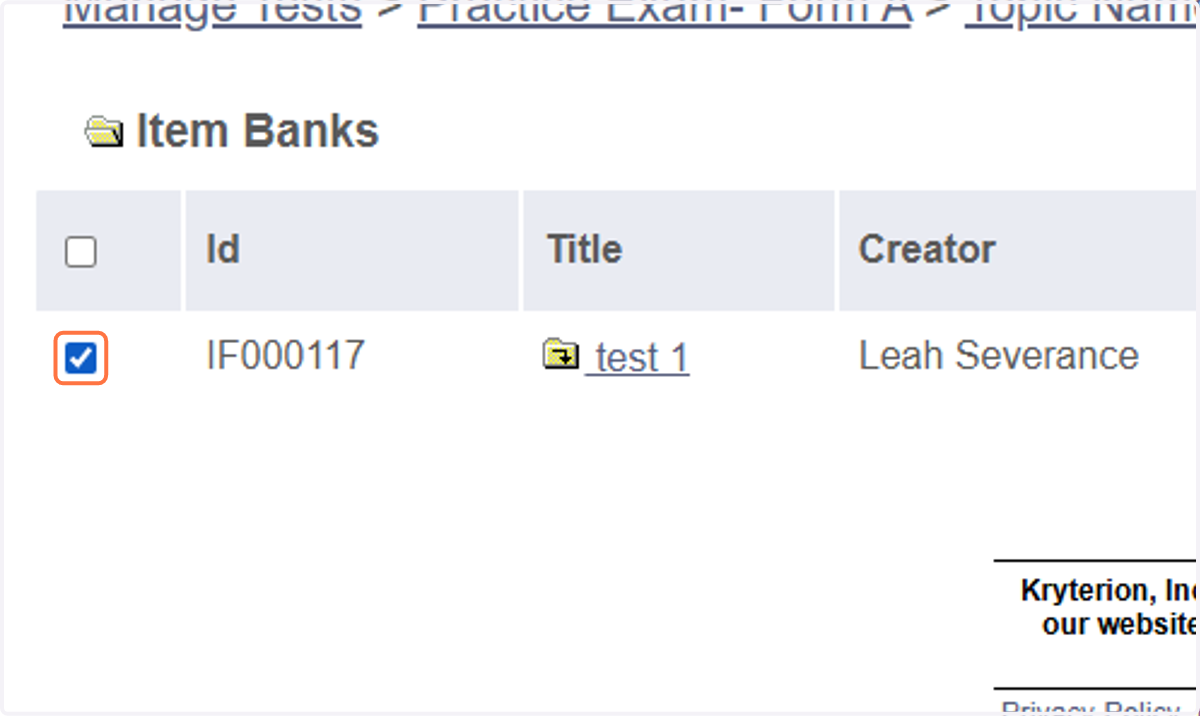
23. Example of adding individual items within a folder/subfolder.
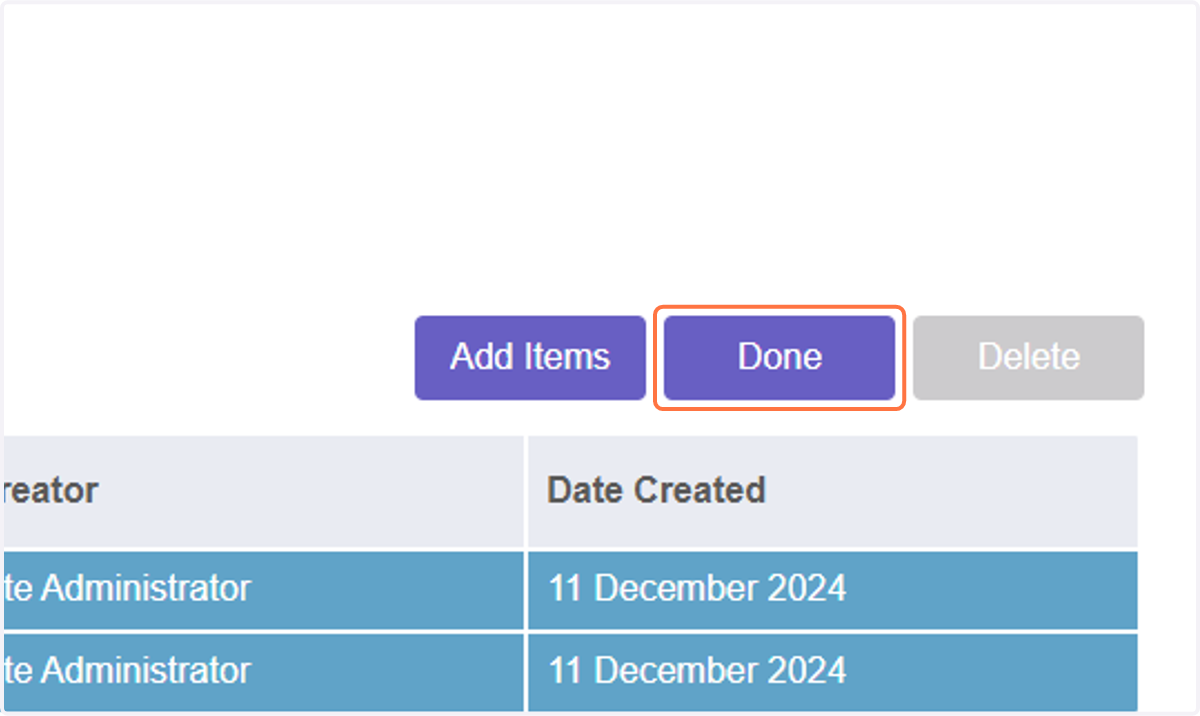
24. Click on Done
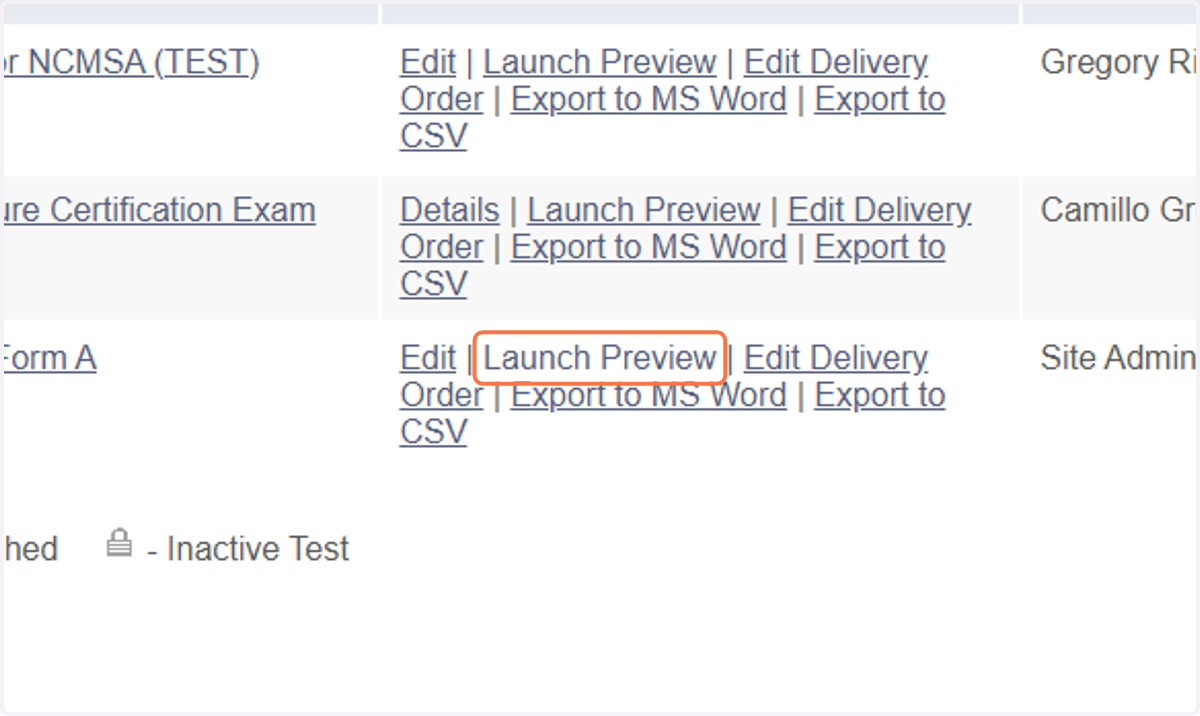
25. Select 'Launch Preview'.
Once all of your items are added to your topics, navigate back to the form to do a launch preview of the items.
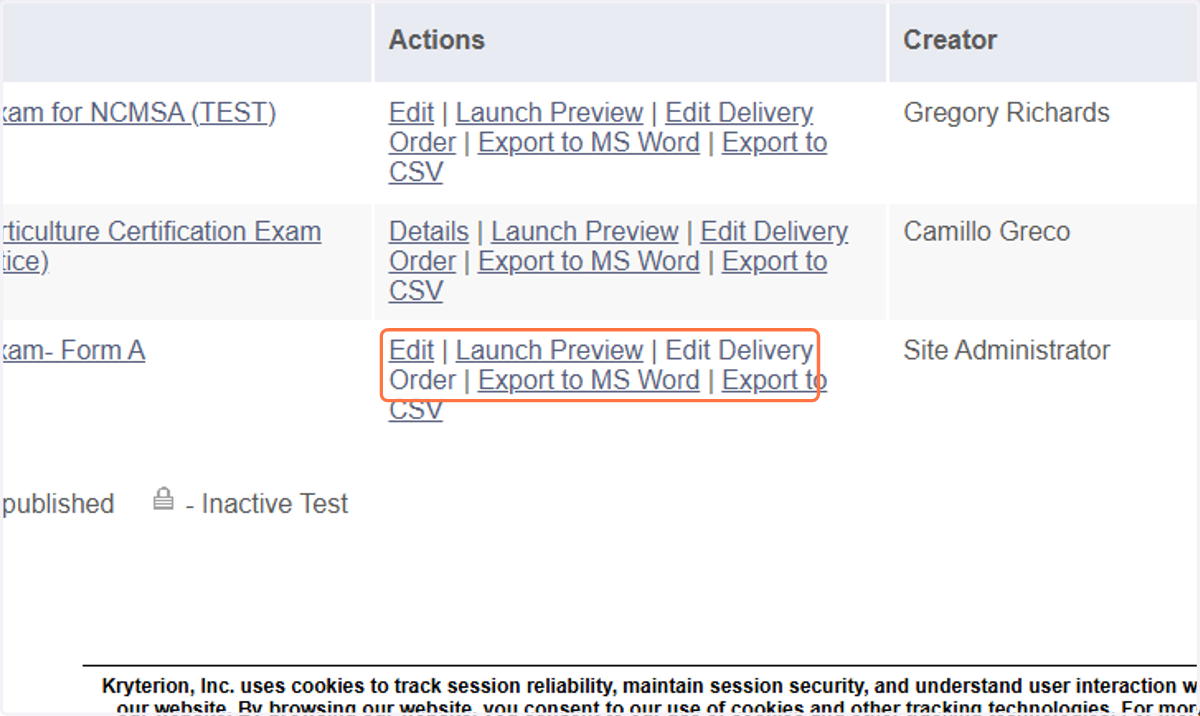
26. Select 'Edit Delivery Order' to set the delivery order of your items.
Default: Topics and Items will be delivered to the Candidate based on their natural order - the order in which they were stored.
Randomize Topics with Items grouped by topic: Topics will be randomly delivered to the Candidate. Items within the Topics will be delivered to the Candidate based on the following "Randomize Items" option. If unchecked items will be delivered in order to the Candidate.
Order Topics with Items grouped by Topic: Topics will be delivered in the following order to the Candidate. Items within the Topics will be delivered to the Candidate based on the following "Randomize Items" option. If unchecked items will be delivered in order to the Candidate.
Randomize Items across Test Form with no Topic Grouping: Items will be randomly delivered to the Candidate irrespective of their placement in the Topics.
Order Items across Test Form with no Topic Grouping (does not work with topics using pooled items):
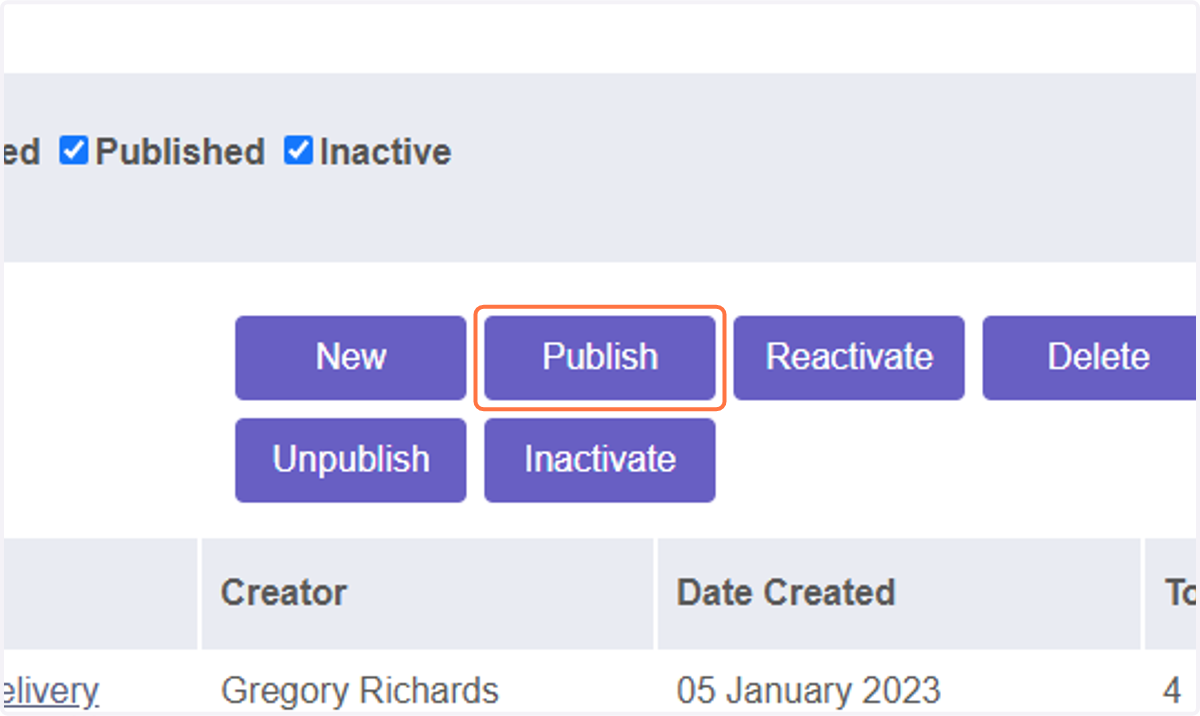
27. Ready to publish? Select the form(s) that you want to publish.

28. Click on Publish
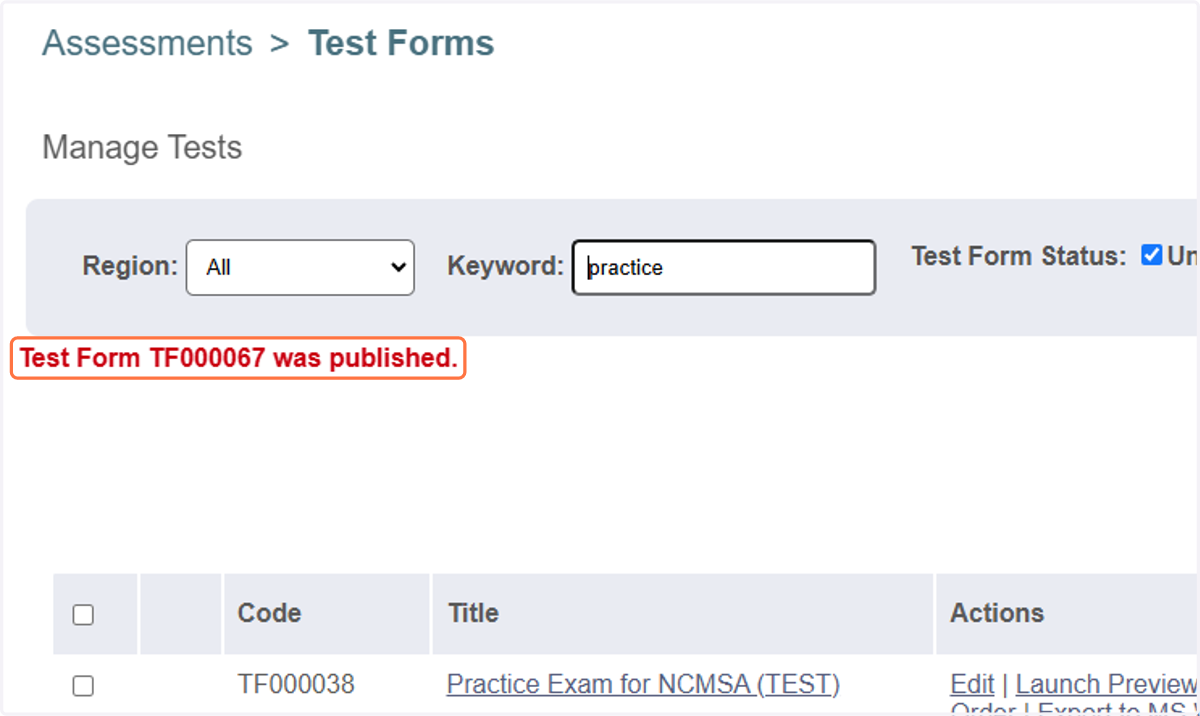
29. CONGRATULATIONS!!! A message will to appear to validate that your form(s) has been published. Now you are ready to create your exam.