How Community and Campus Chapter Leaders Can Create Events in Mobilize
In this workflow, you'll learn how to create events in Mobilize, so you can register, track, and communicate with participants.
Go to your Event Creation Form
Chapter and Student Leaders will be given a link to an Event Creation Form. Contact your Audubon staff representative if you have questions.
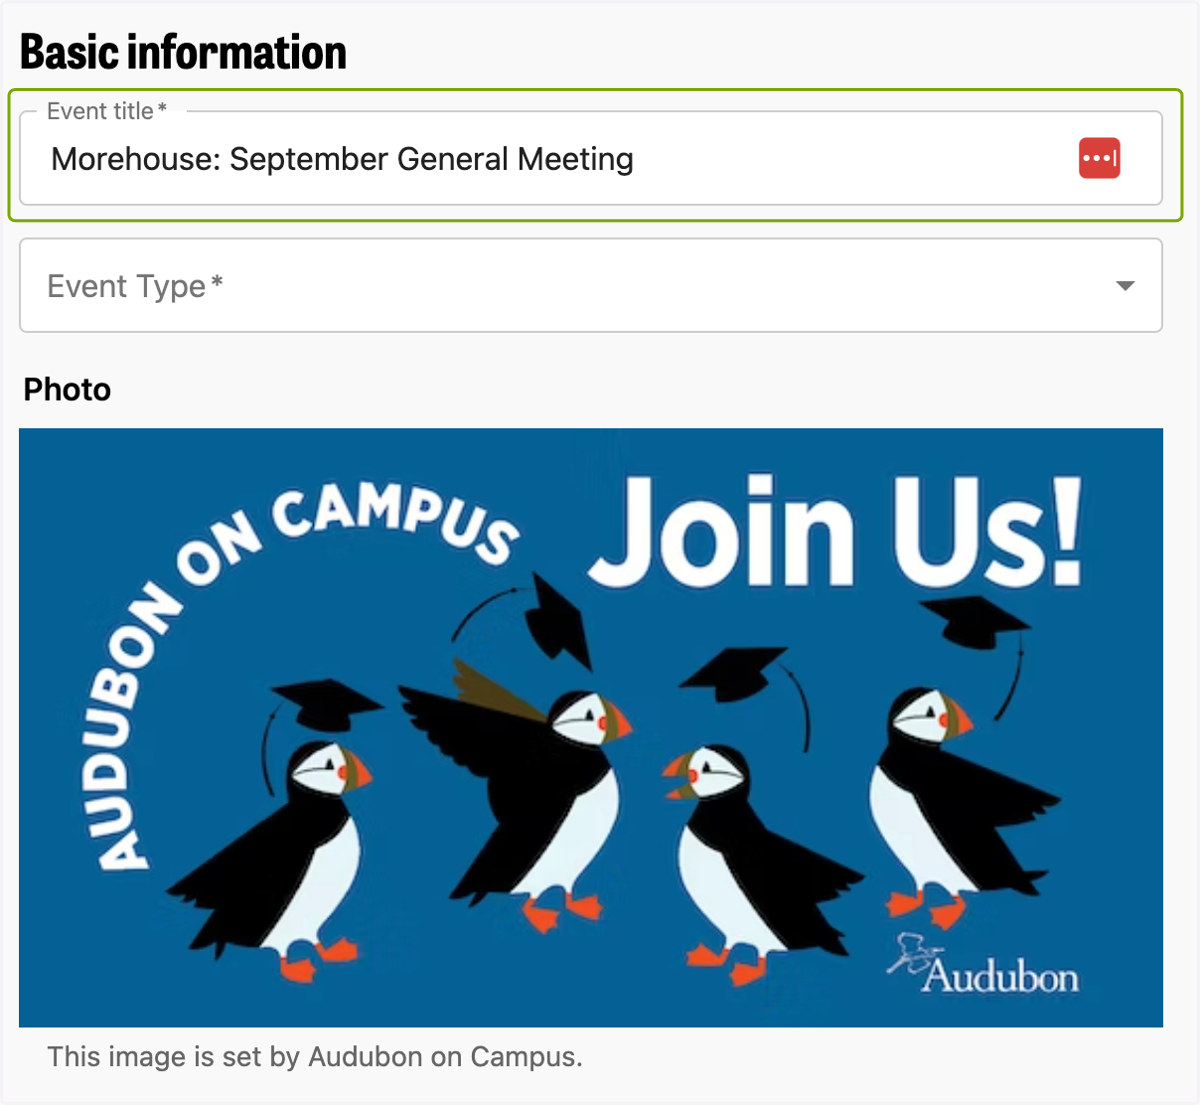
1. Enter an Event Title (see note)
To make your event a little more clear, please use the naming convention - Name of Chapter: Event Title
Example: Morehouse: September General Meeting
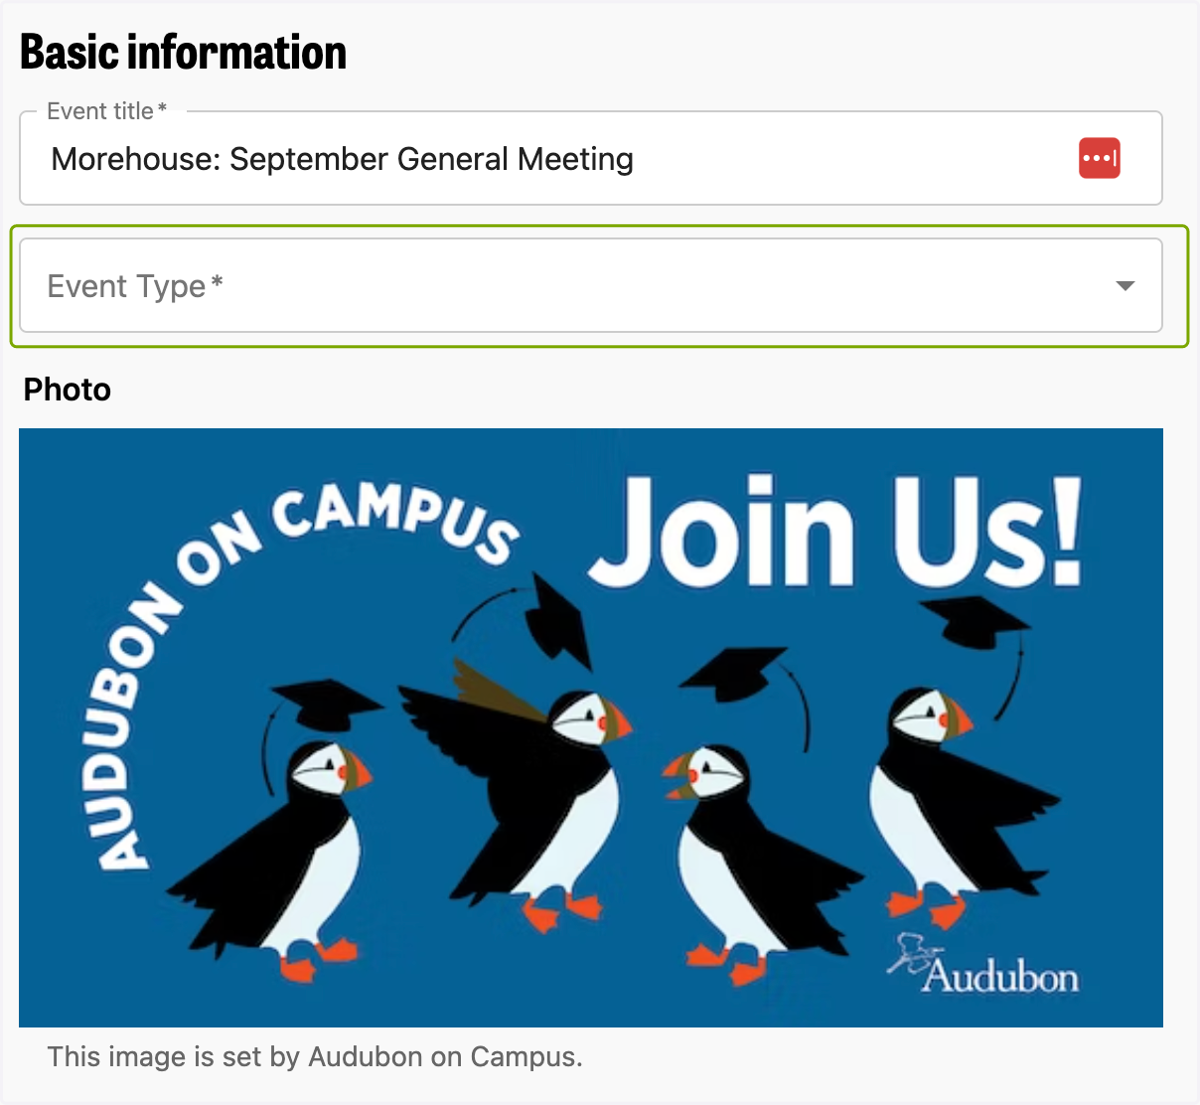
2. Select an Event Type using the Dropdown Menu
If there isn't an event type matching closely to your event, use "Community Event" as the default.
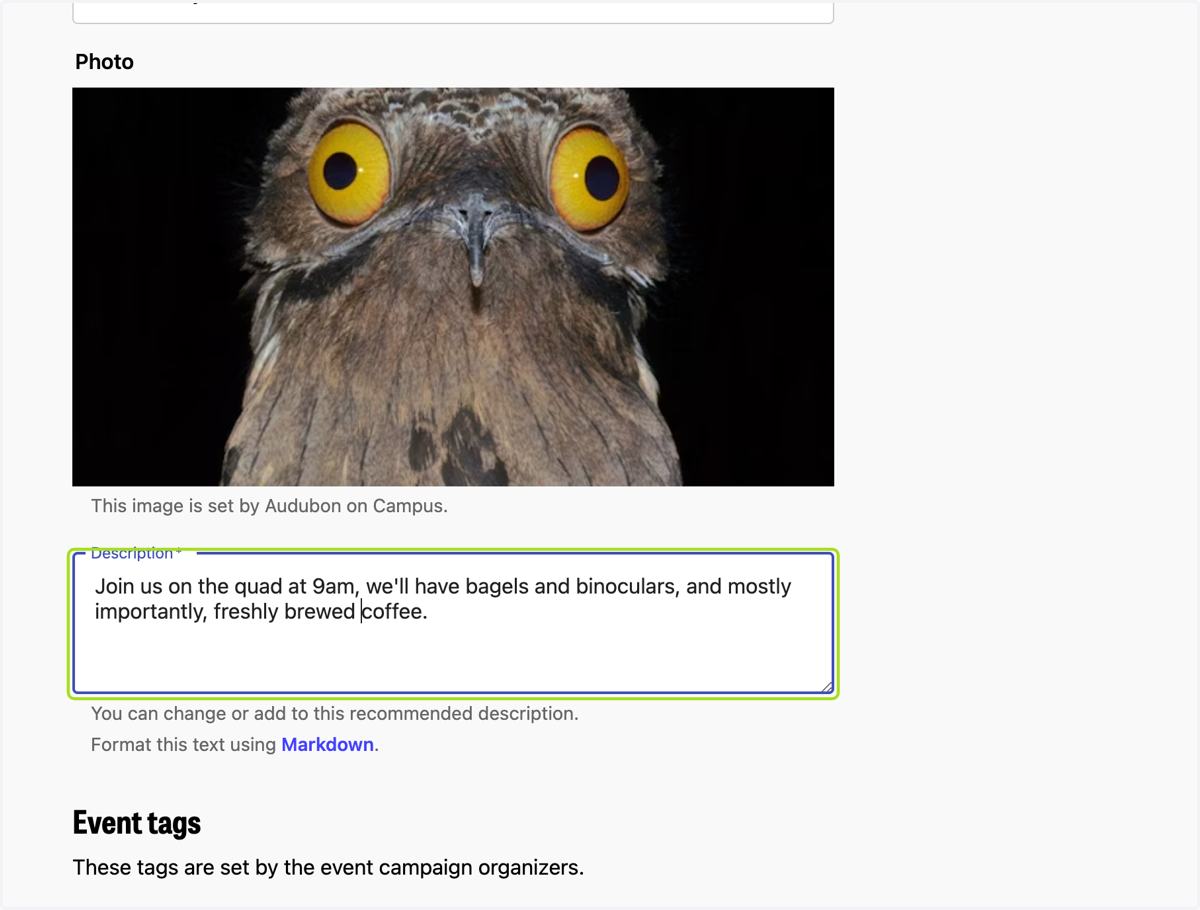
3. Add a short Public Description of the event
Use language that is enticing and summarized (no more than a paragraph or two). There will be an opportunity to create private details for those who sign up in a later step.
If you want to format the text, click the link below the window to learn how to use Markdown to make your text pop.
4. Select a Visibility for your event
Note: For the time being, all Audubon on Campus Chapters are asked to make their events Private, unless otherwise discussed with staff.
Public Events will show up on our Audubon Mobilize feed, as well as the chapter specific feeds.
Private Events are only accessible with a link.
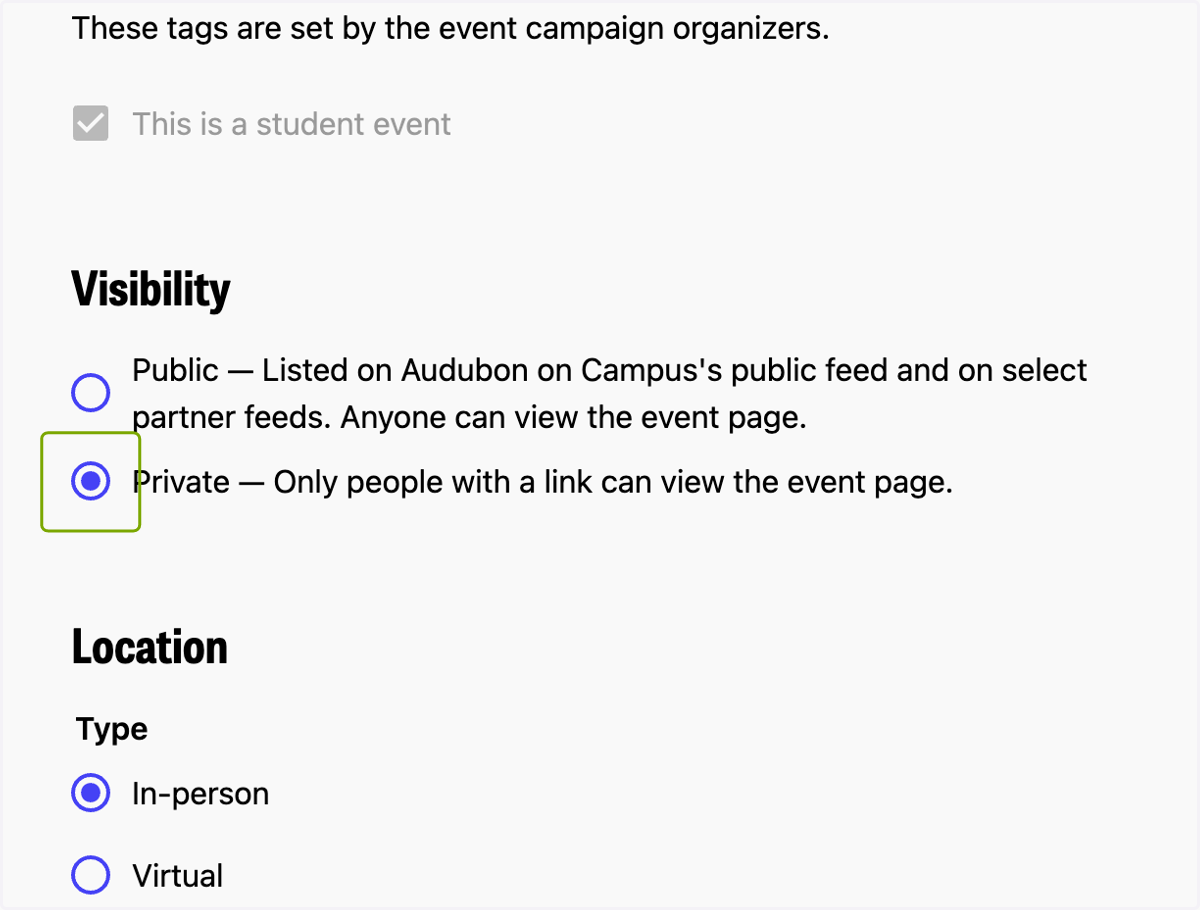
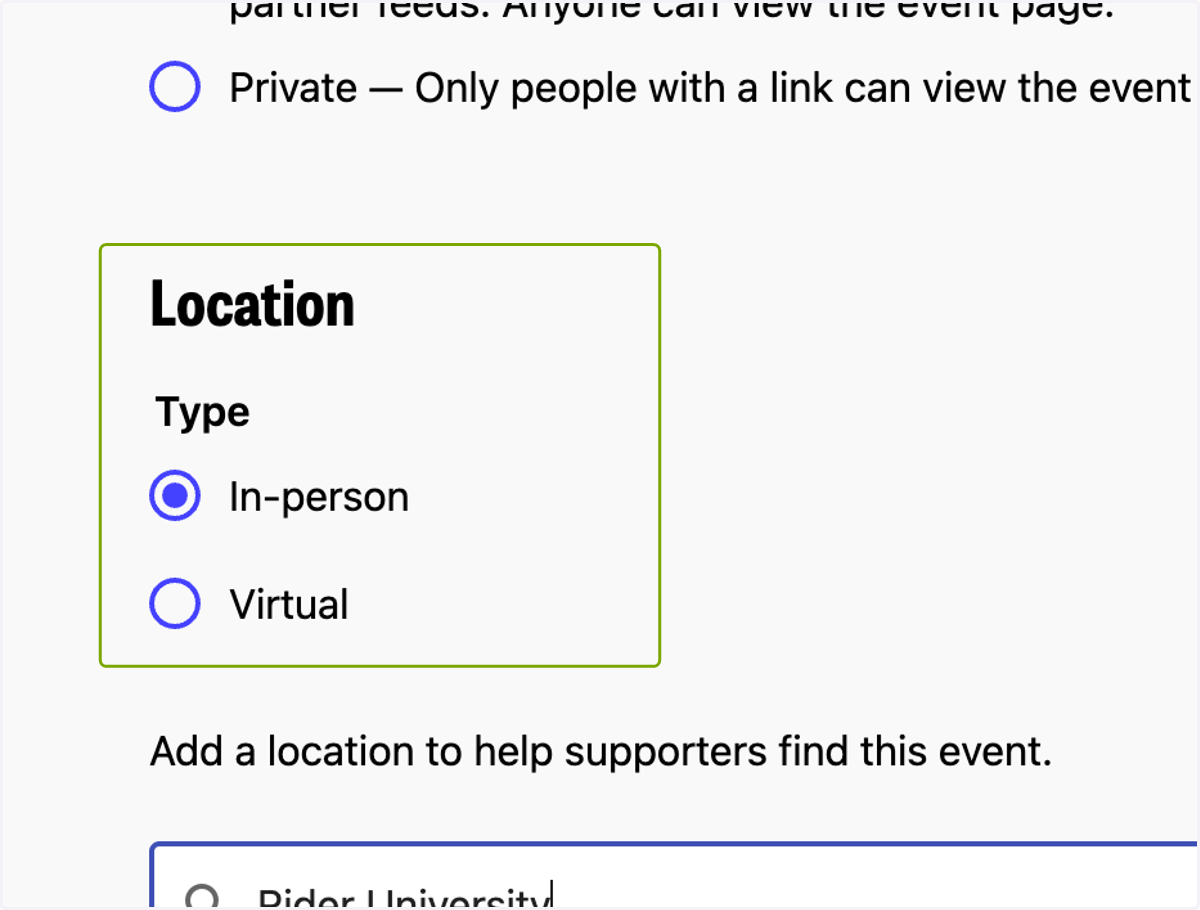
5. Select the Location Type
Note: if this is a hybrid event, select "In-person"
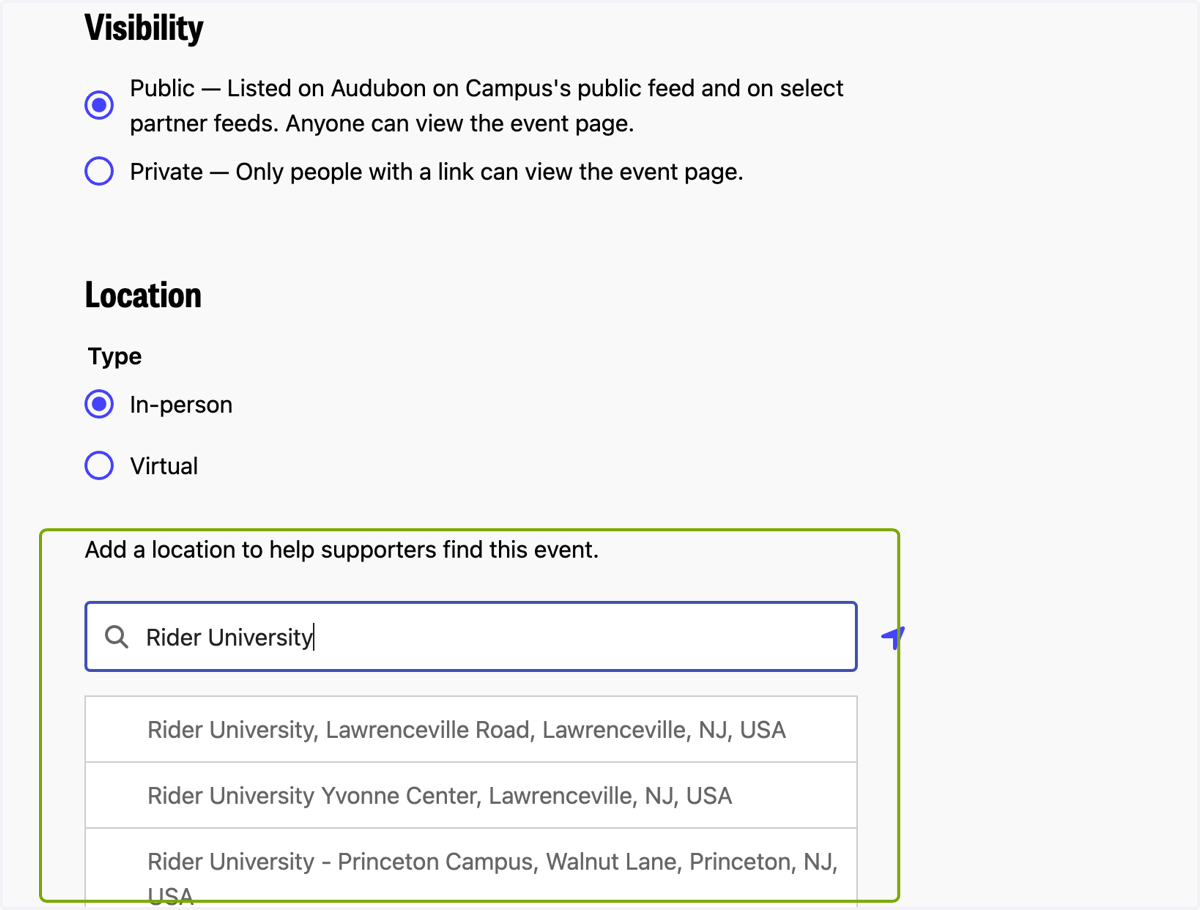
6. Add a Location
Every location needs at least a zip code as a location, even virtual events.
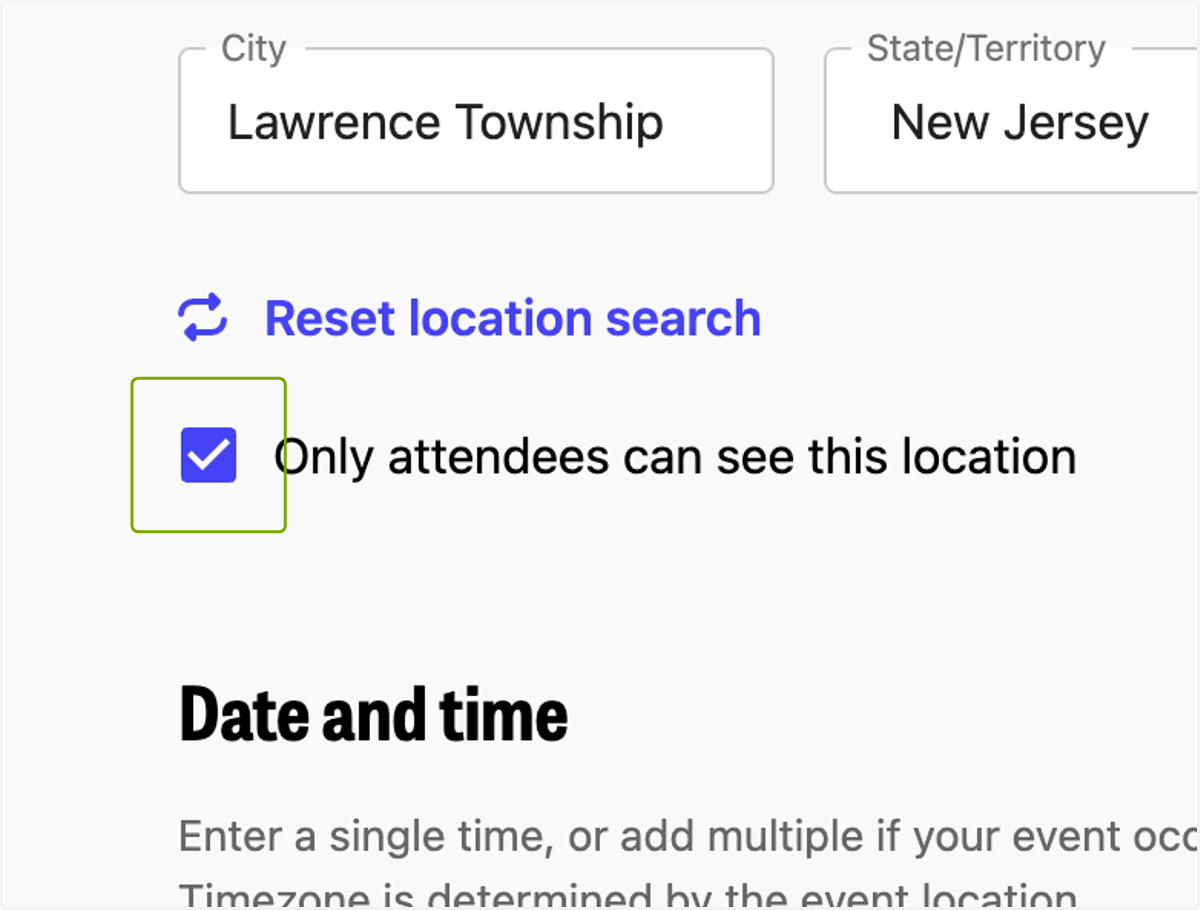
7. Check this for added privacy
If you select this button, only those who register will be able to see the exact location/Address if you register for the event.
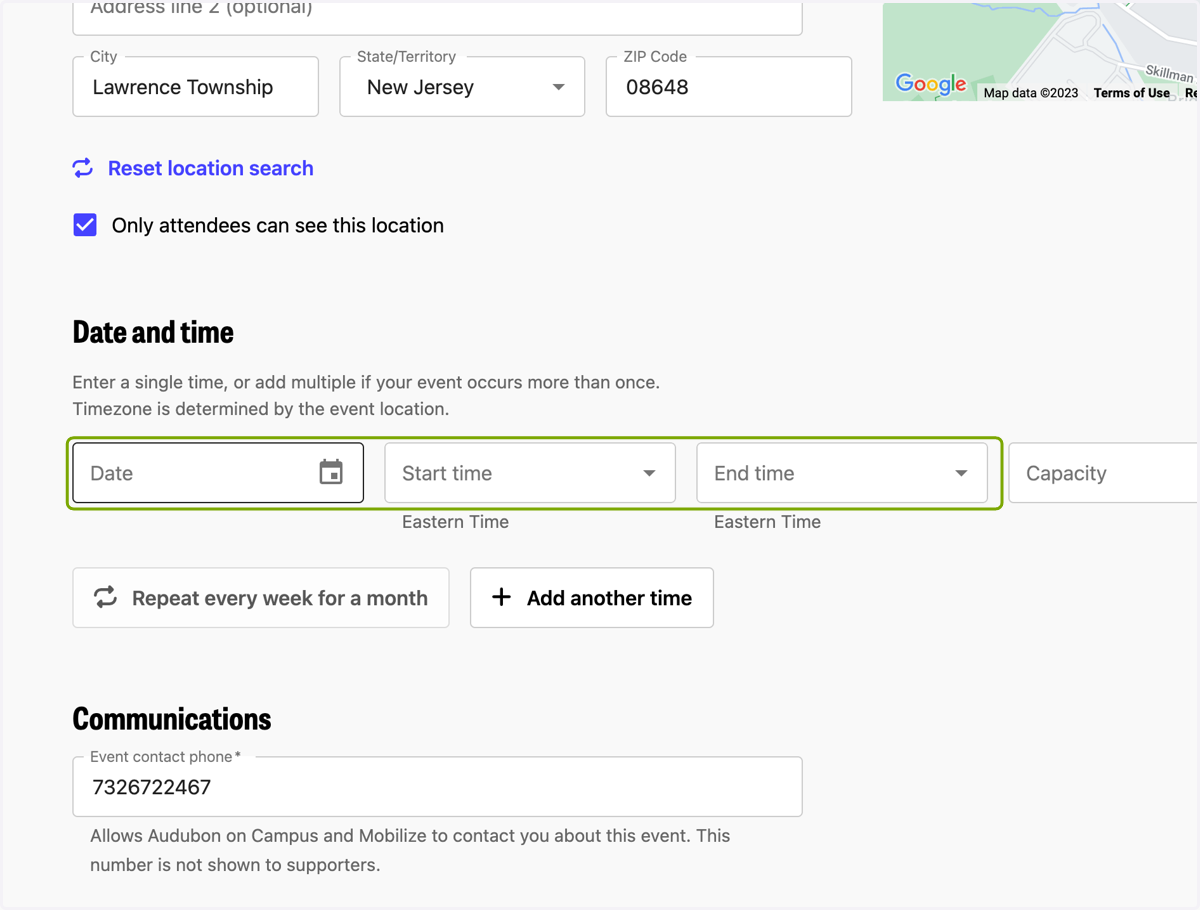
8. Add a date and time
You can create an event with only one day/time or you can add shifts or regularly repeating days to an event.
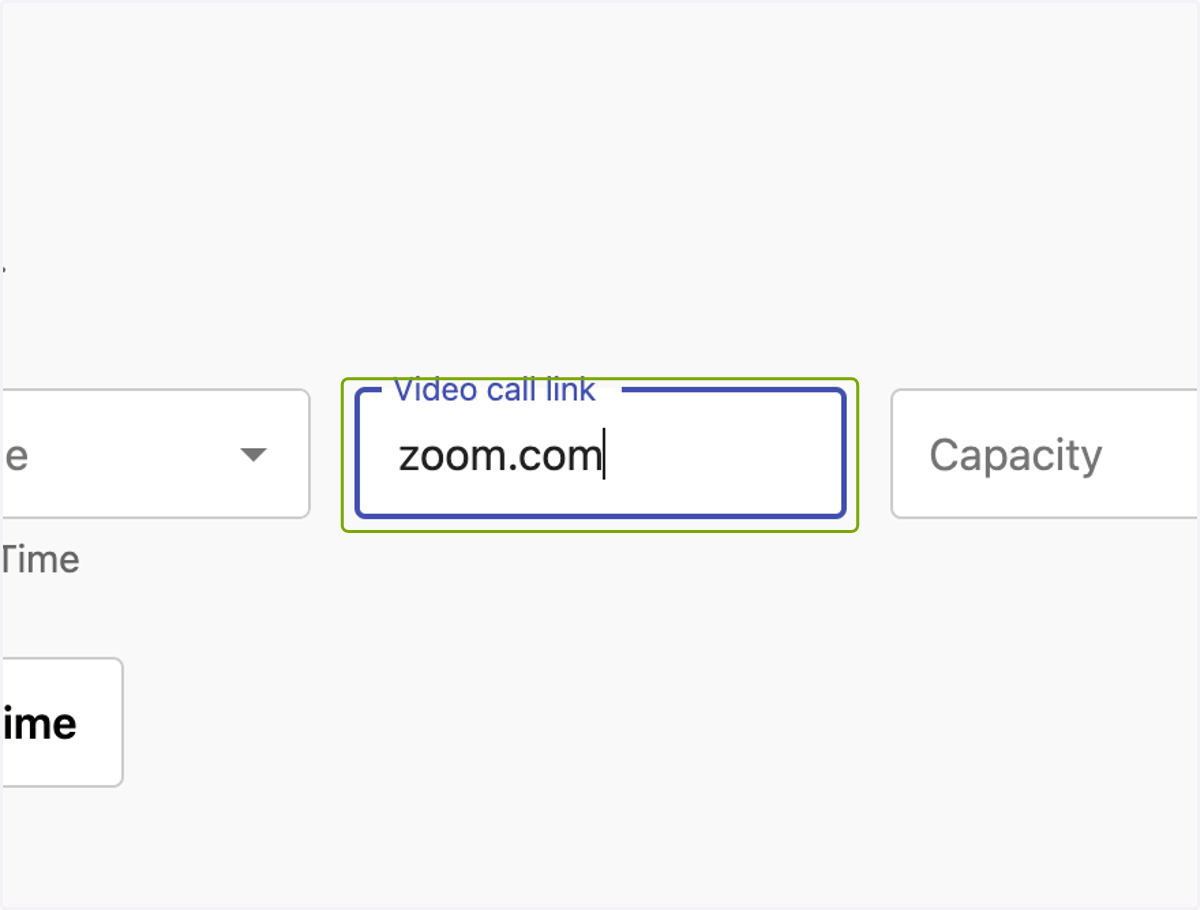
9. If a virtual or hybrid event
Put the URL of the zoom or whatever link you have here.
Note: We ask that people do NOT share the video link they are assigned, but rather have others register using the Mobilize event registration link. Mobilize will send emails out to registrants with a unique link for attendees to use. When the attendee clicks that unique link within 30 minutes of the event start time, they'll be marked as having attended the event.
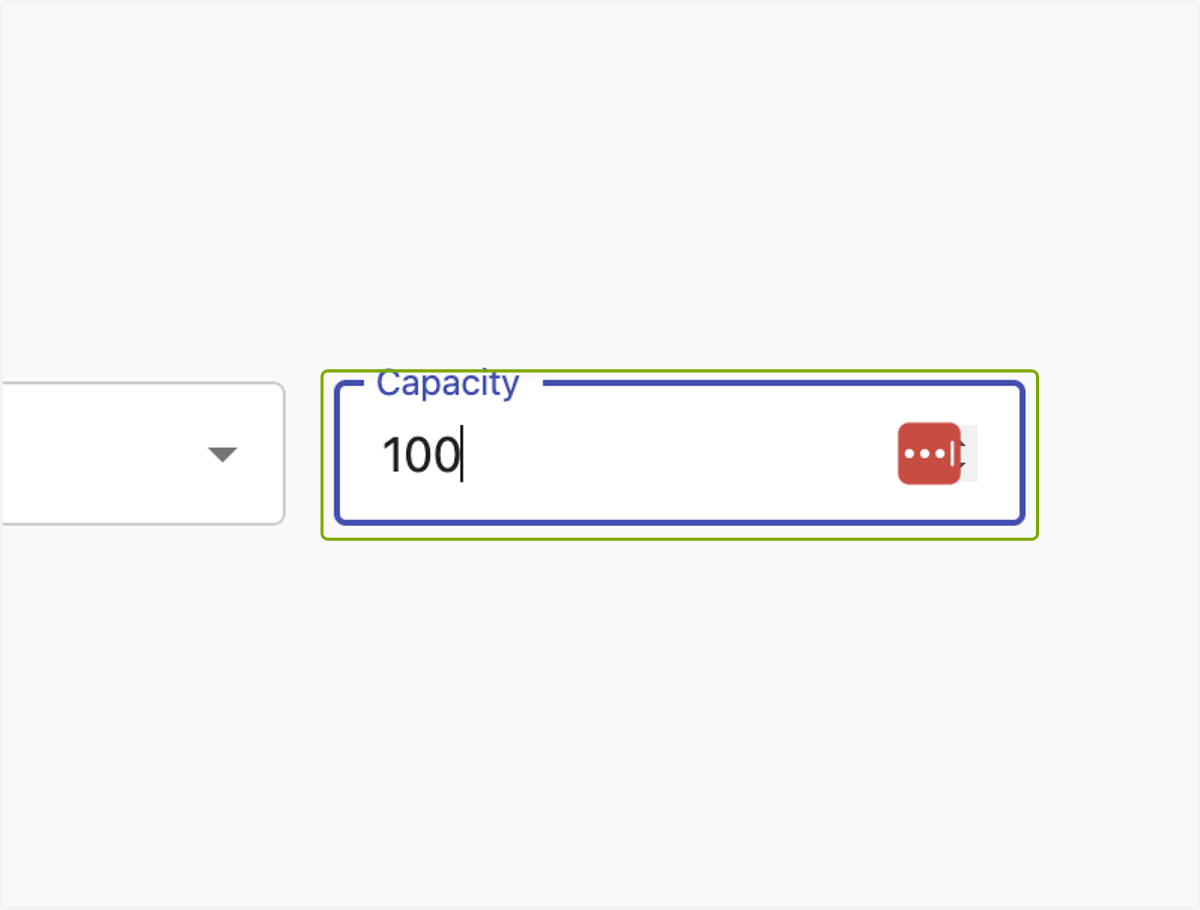
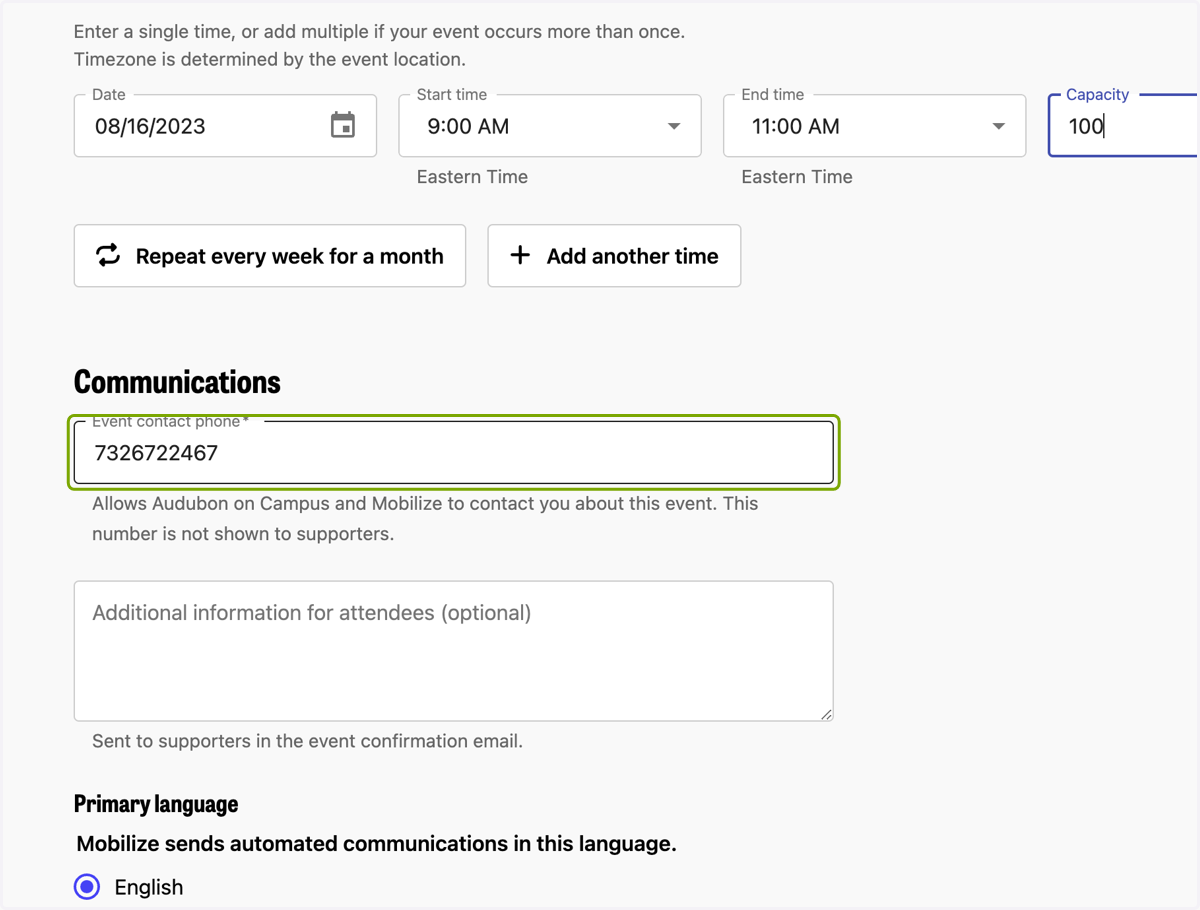
10. Add the capacity
If there is a capacity, add it here. Once Mobilize registers this many people, it will close out registration and not let more people register.
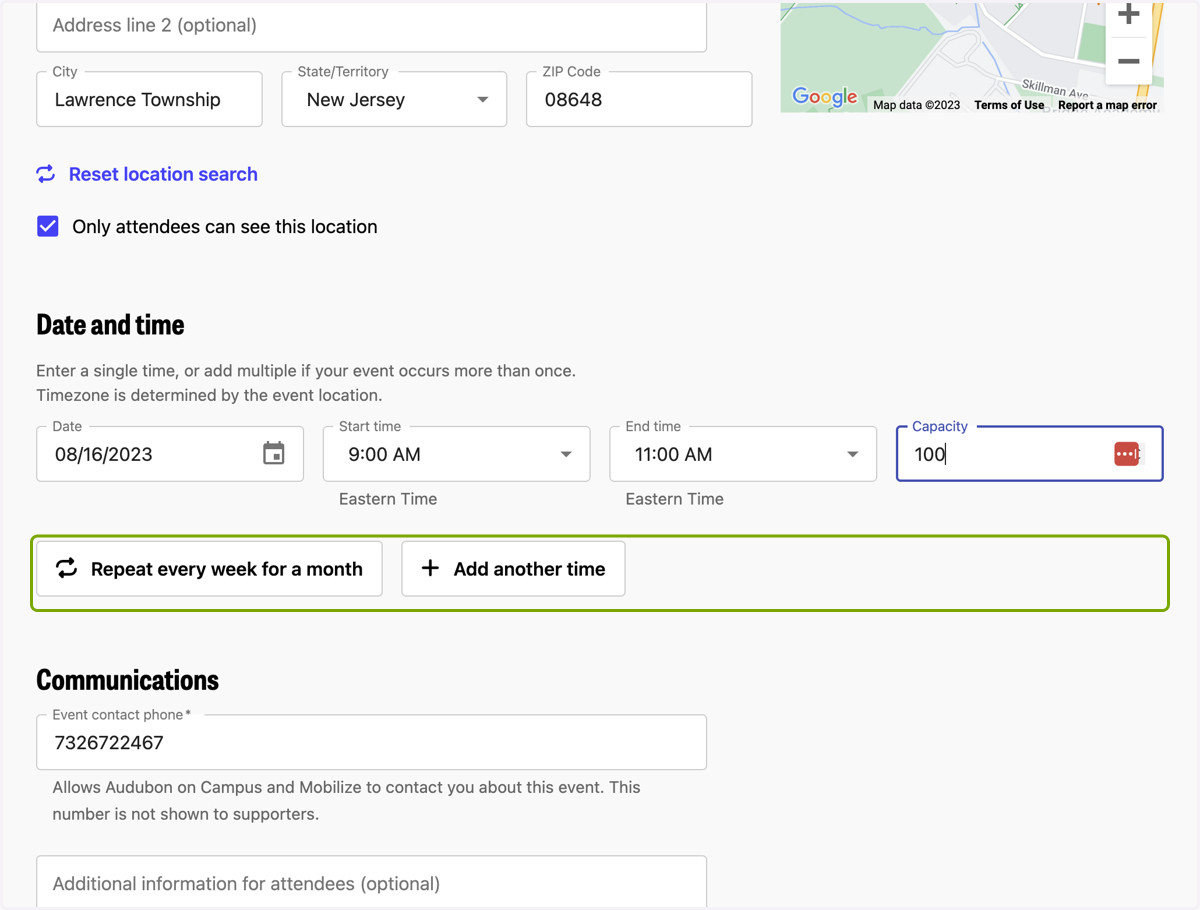
11. Add multiple shifts
You can use these buttons to add multiple shifts/days/times. You can either have it repeat weekly for a month, or manually add custom days and times.
12. Add a phone number for attendees to reach out with questions
This will not be publicly listed, but rather emailed to registrants in case they have questions.
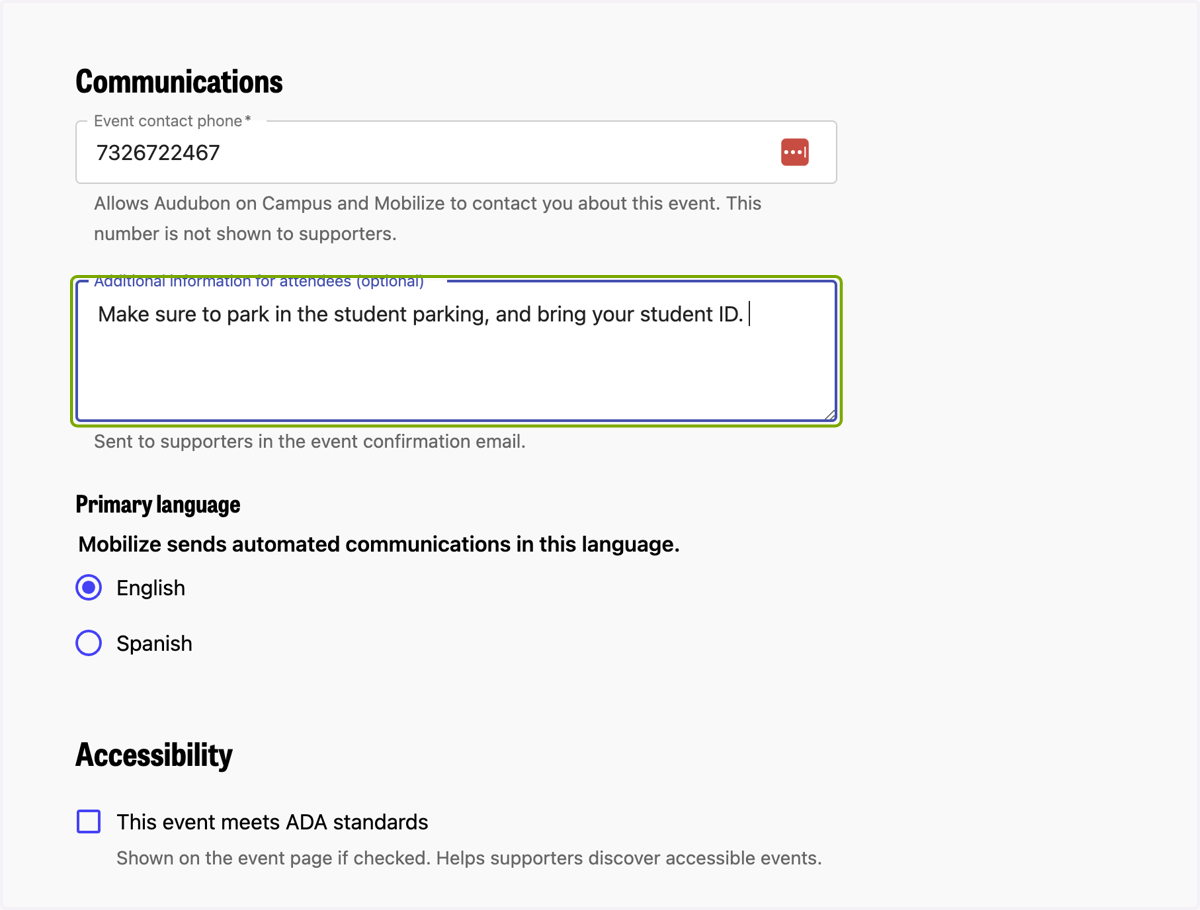
13. Add additional, private information here
Here you'll want to add private information that is only visible in the confirmation email. Add private information like a gate code, or just put things like parking instructions or reminders of things to bring.
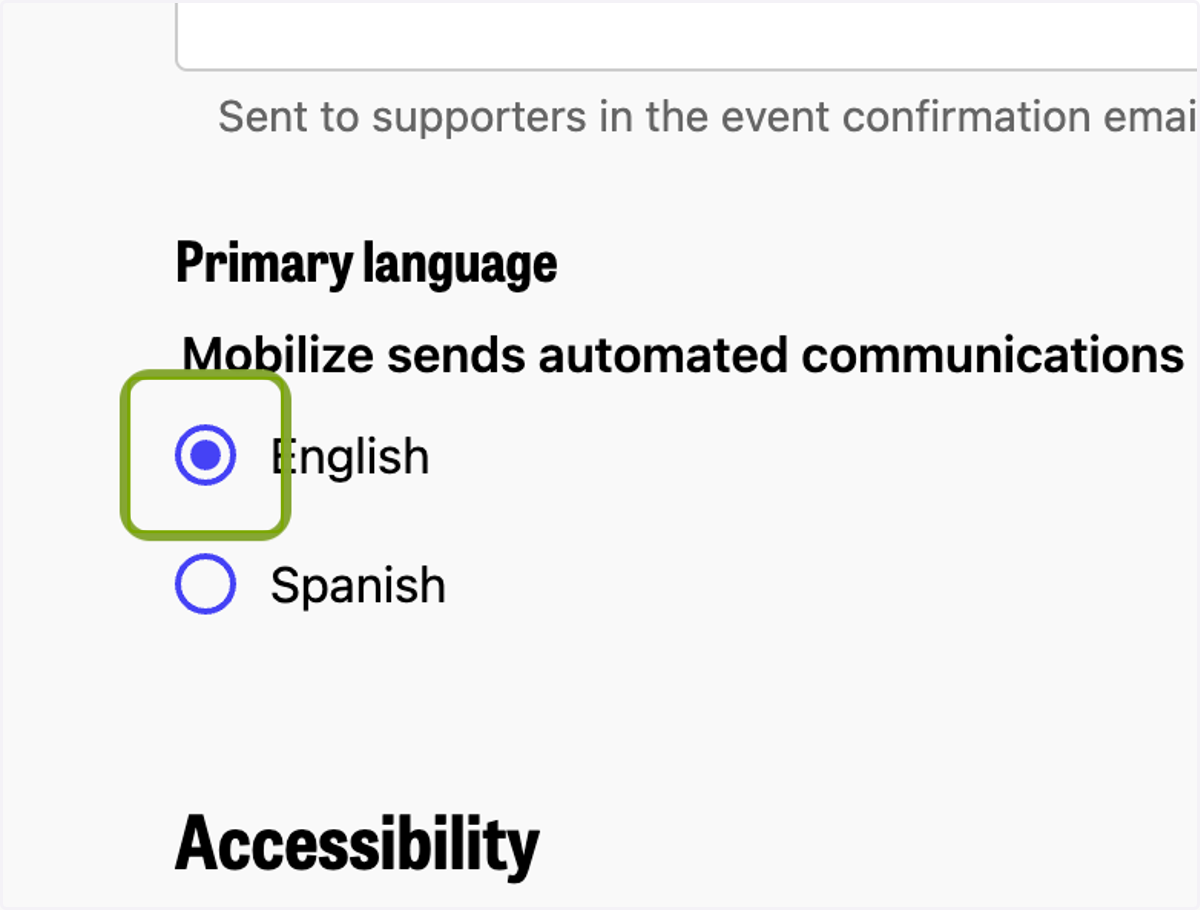
14. Select your language
By default, the system will send out correspondences in English, but you can create Spanish registration forms with Spanish communications as well. Only select Spanish if the entire webpage should be in Spanish (buttons and everything). If you are doing an event with multiple languages, you can put the translations below the English text in the description boxes.
15. Check this ONLY if the event meets ADA standards
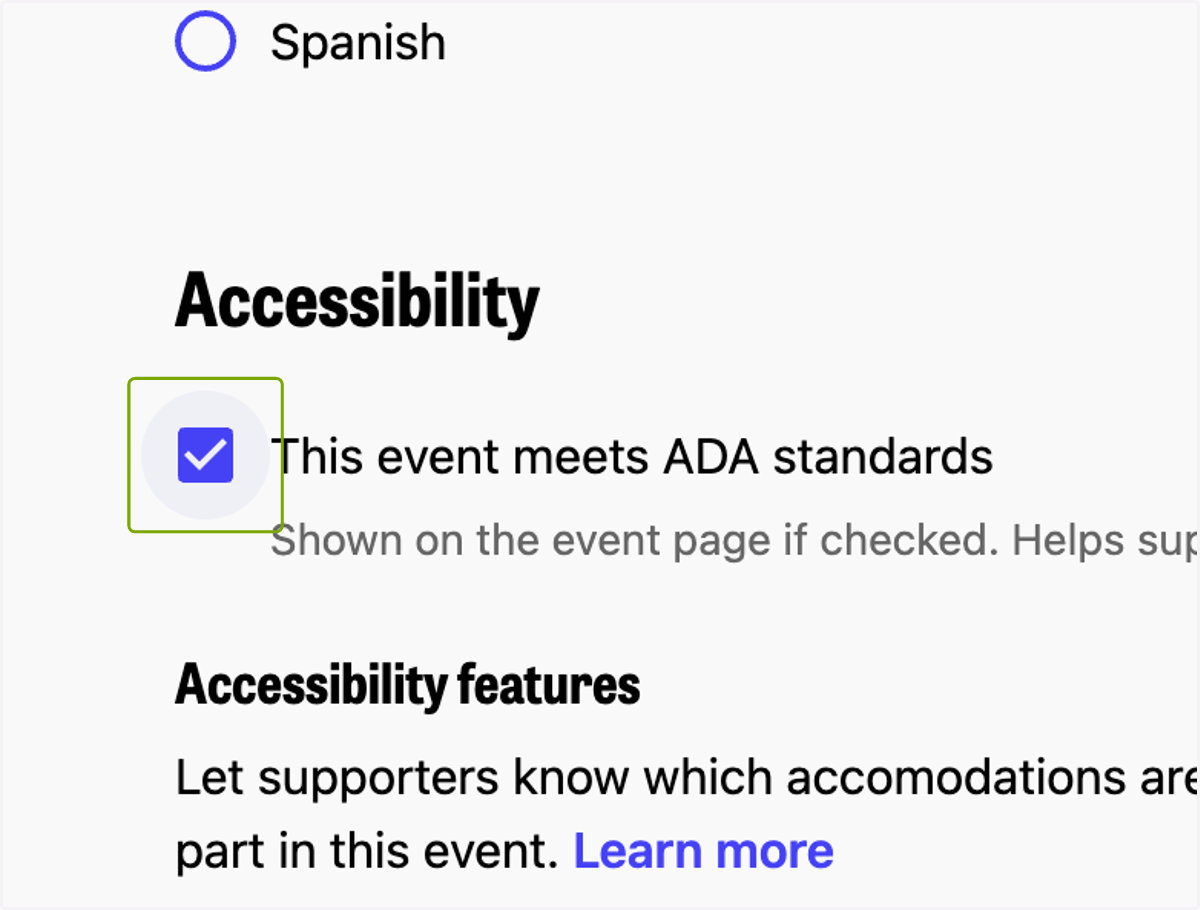
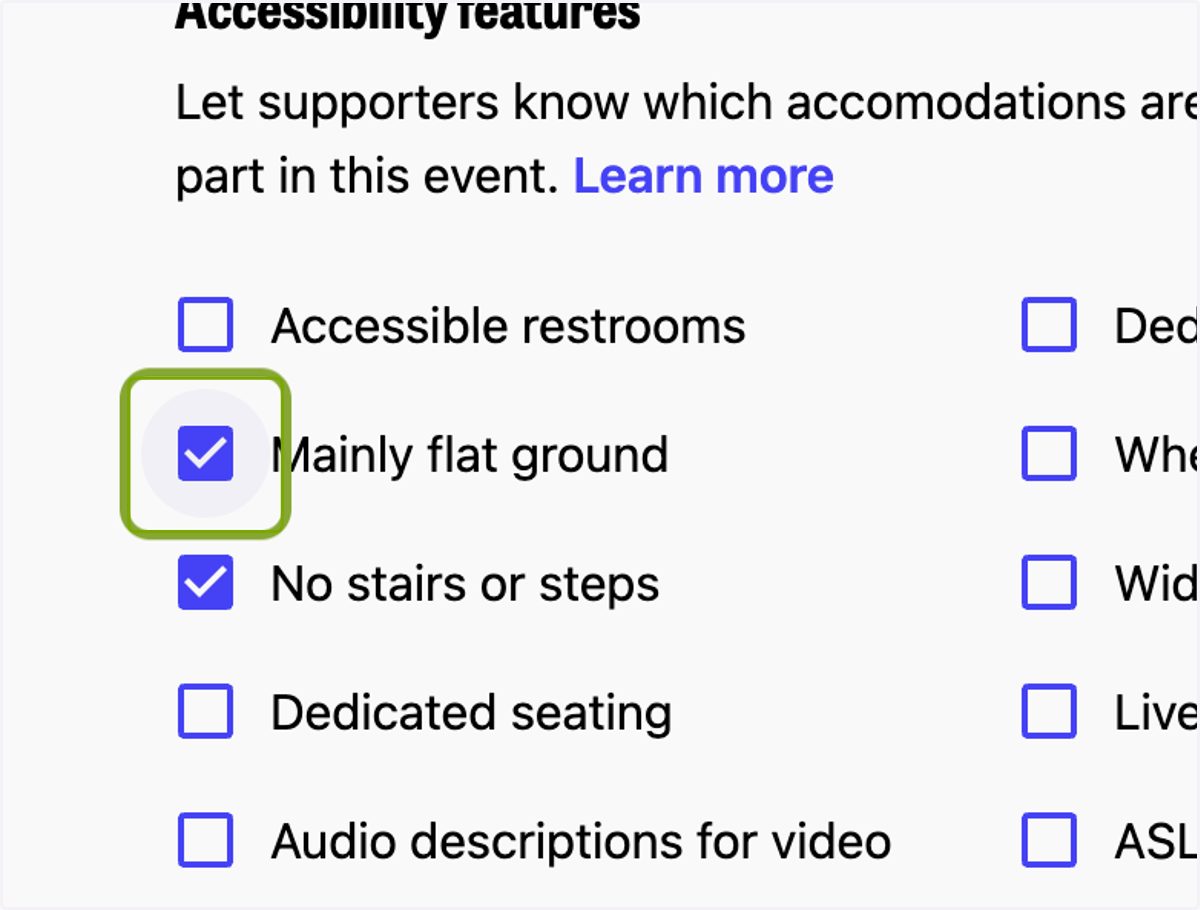
16. Add accessibility features
check all that may apply so your guests can have a better understanding of the accessibility of the event
17. Add additional accessibility details as needed
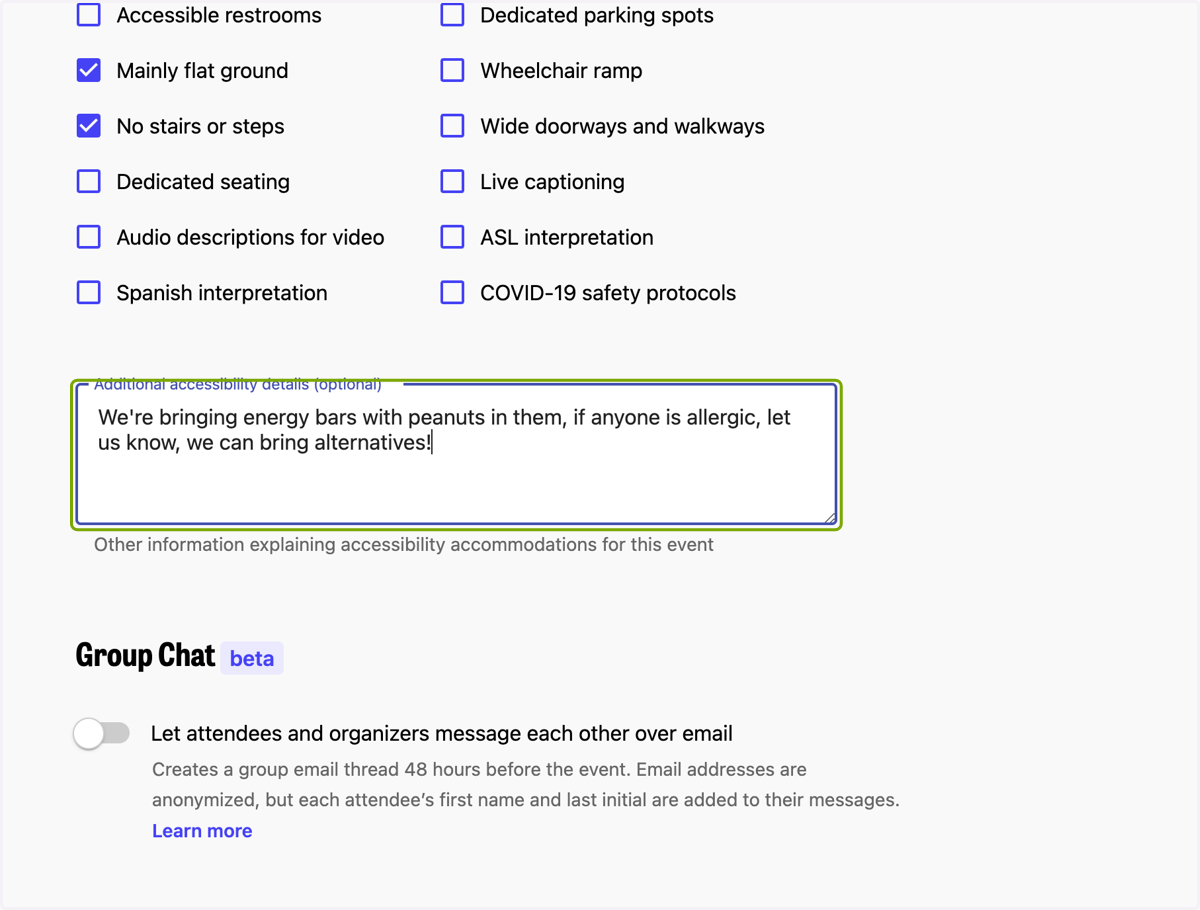
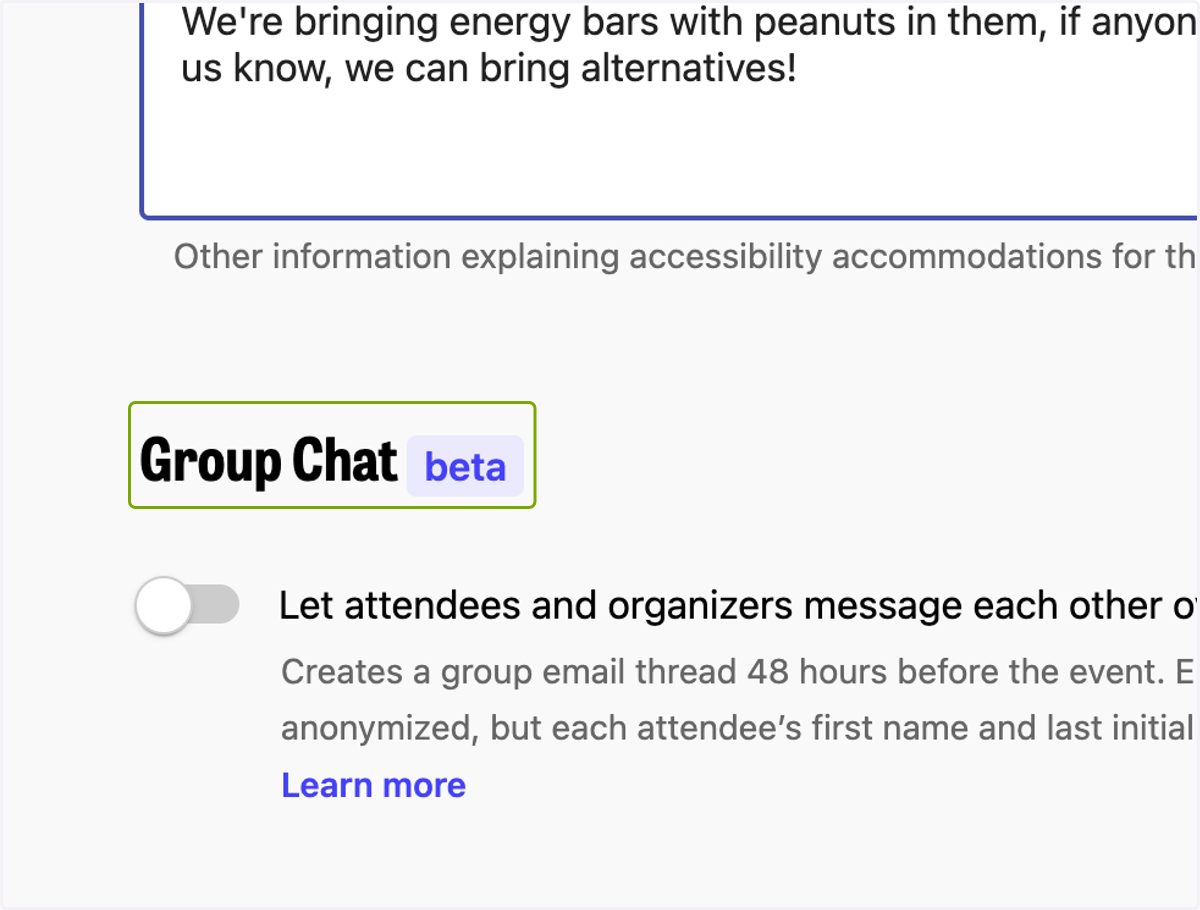
18. Group Chat (beta)
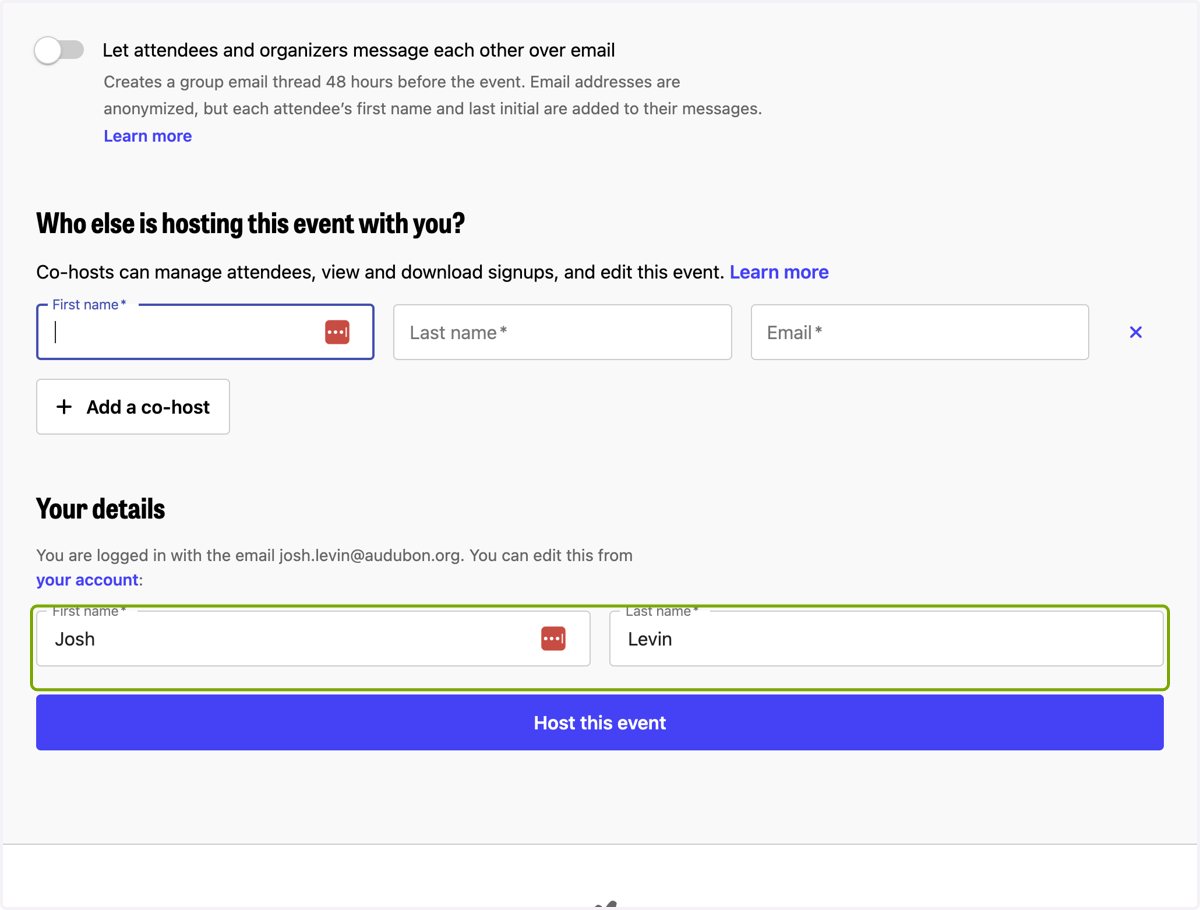
Keep this off (as pictured)
19. Add a cohost
Add the name and email of anyone else you may want to cohost this event. All cohosts will be able to see and manage the attendees, including accessing their emails, sending out private correspondences, and editing the event. Only include co-hosts that are vetted and you trust.
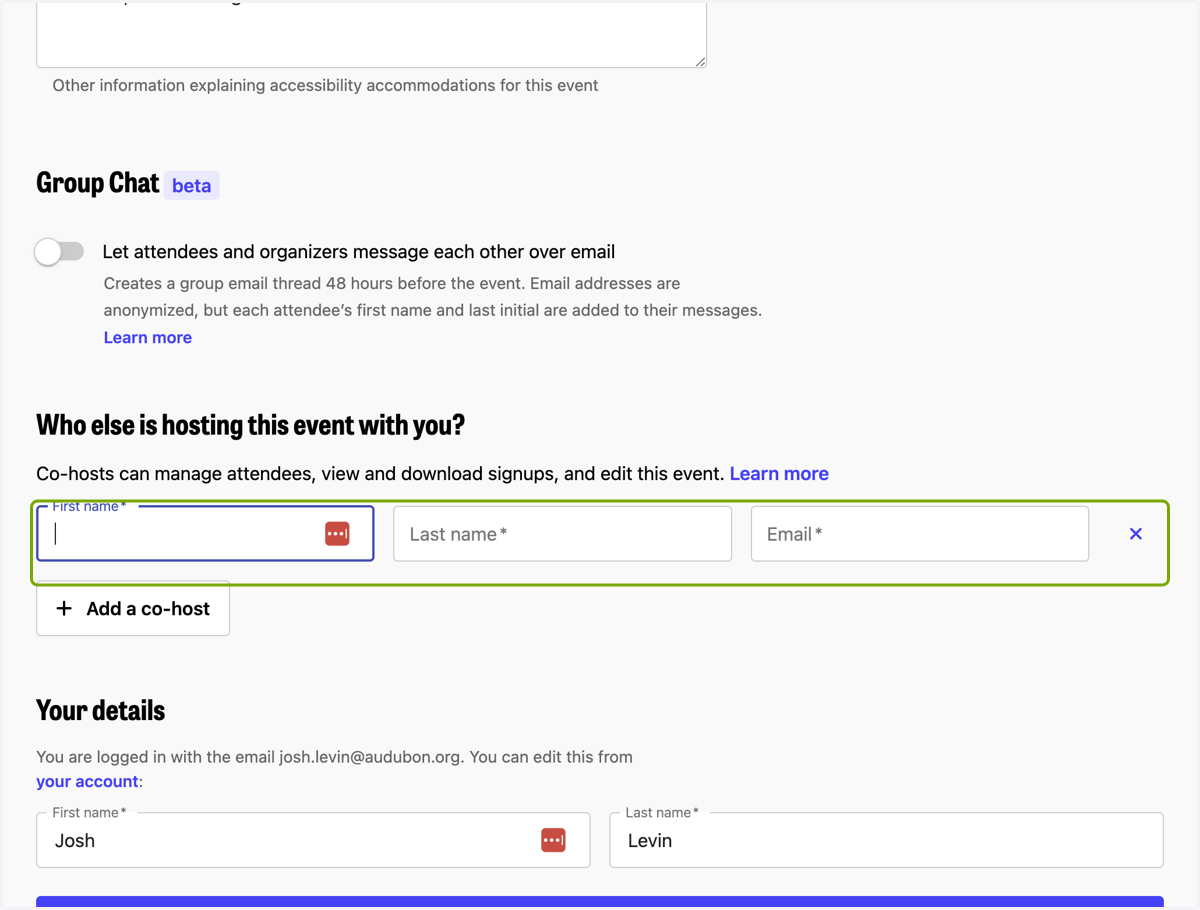
20. Add your personal information
Add your name and email as the last step of this form, before hitting "Host this event"
21. Almost done!
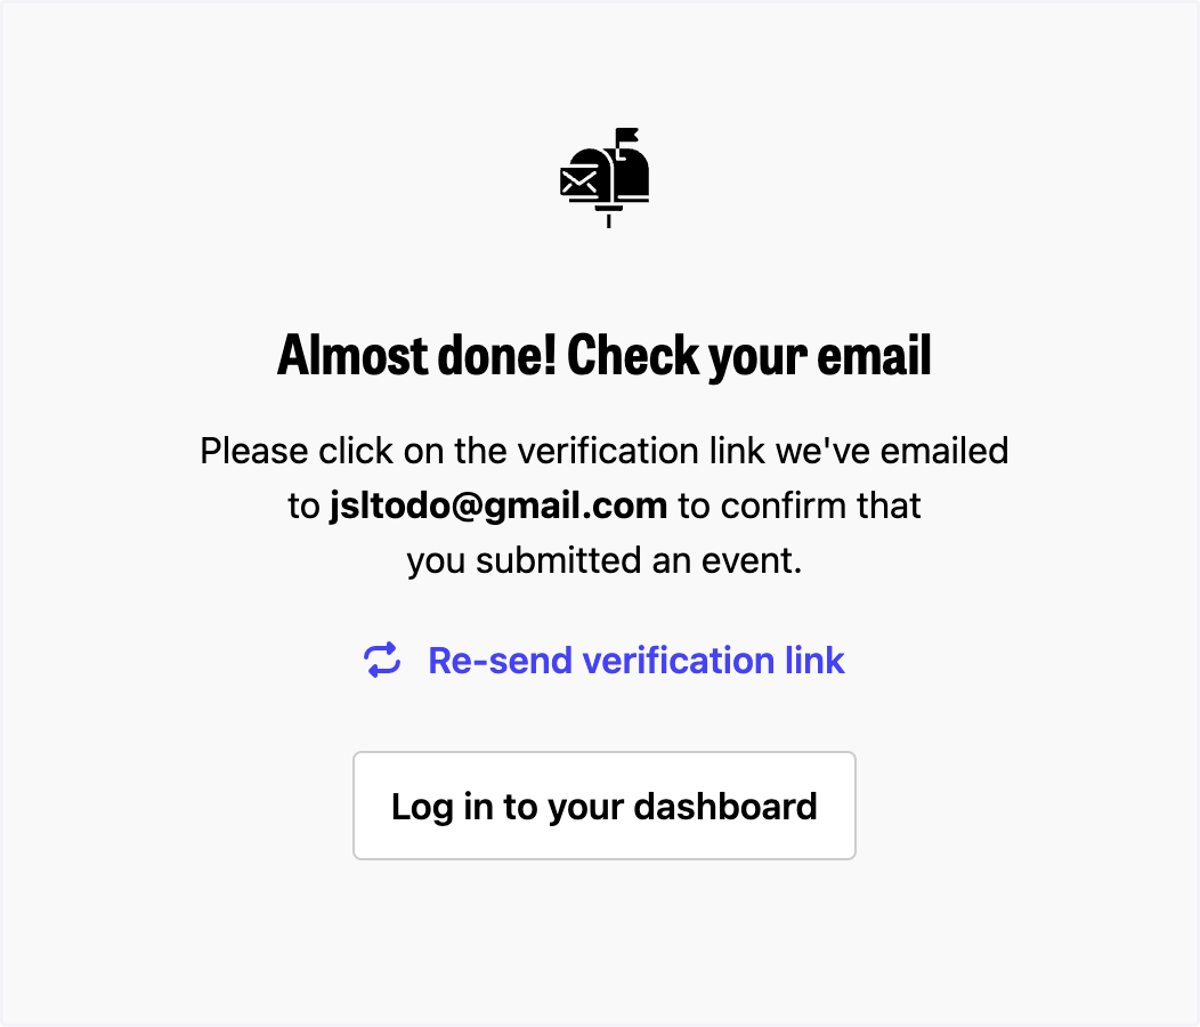
Once you submit this form, you'll receive an email asking you to confirm your email (note: you might have to do this every event).
Then someone at Audubon will review your request to host an event and either reach out with questions or approve the event.
Once approved, you'll receive an email with the link to start registering people.
Hope you have a great event!