Creating an Engage Campaign in PhoneRaise
Creating a Campaign
1. Once you are logged in at app.phoneraise.com click on New Campaign
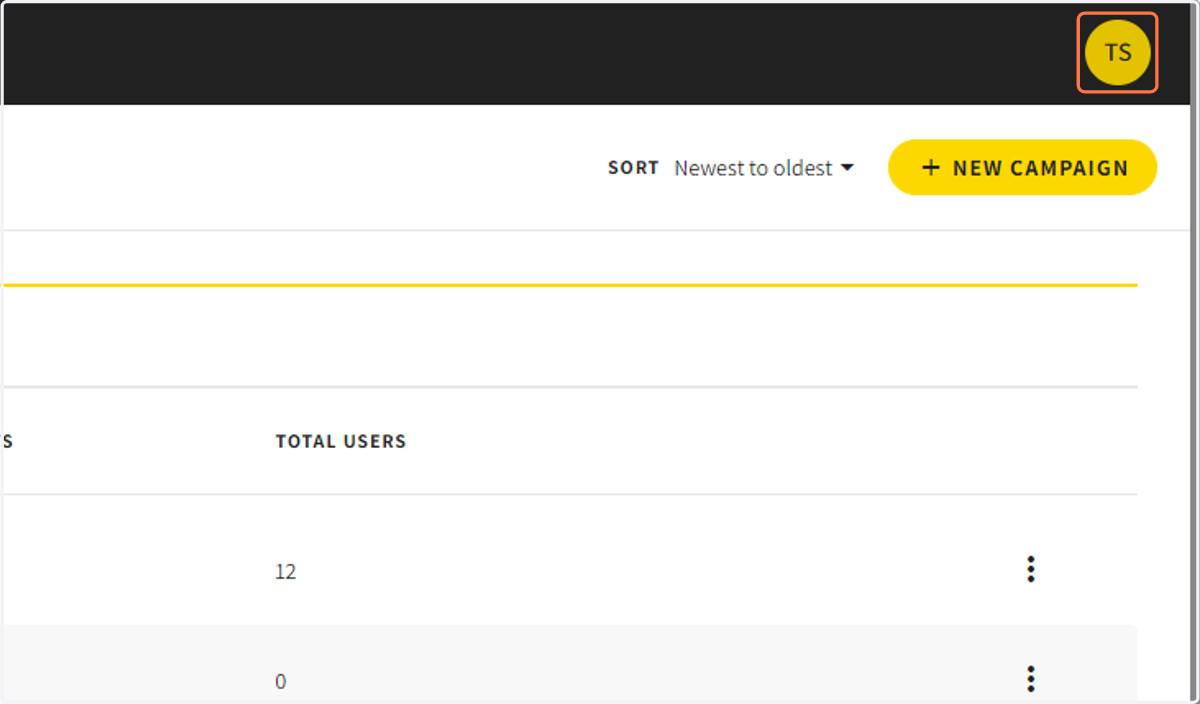
If you do not see the new campaign button, click on your initials in the top right corner, click on campaigns, and then click on new campaign.
Adding Contacts
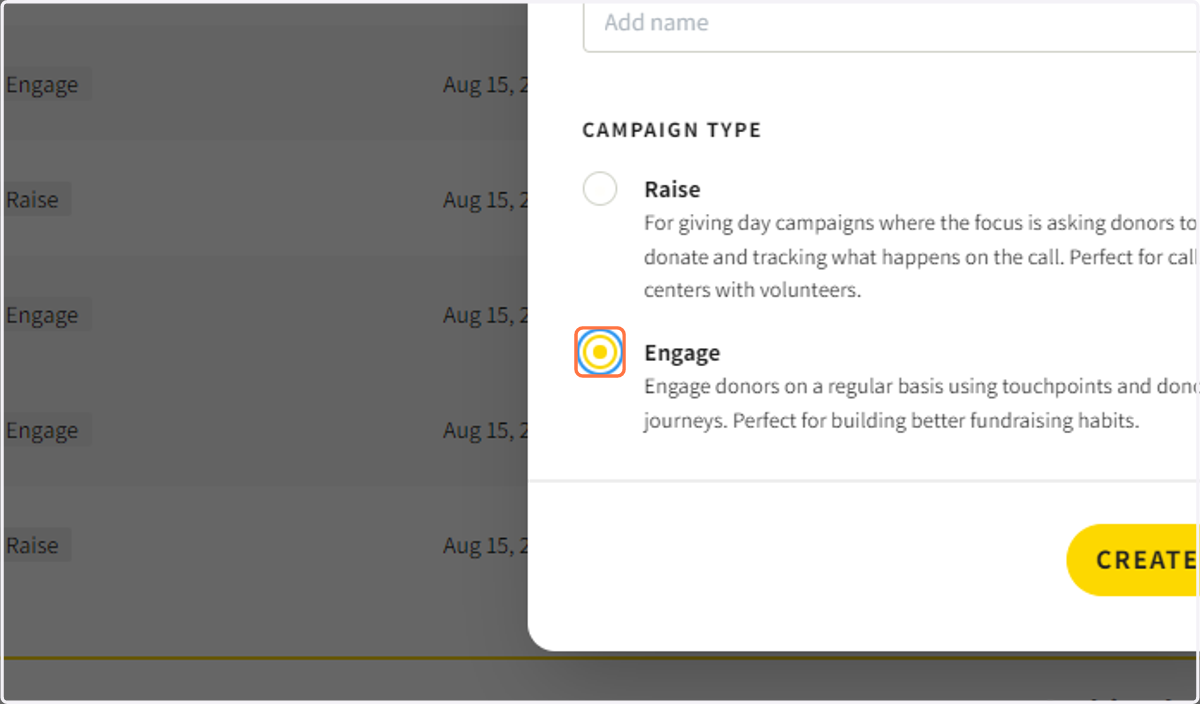
2. Select the Engage Campaign Type, Name your Campaign and click Create
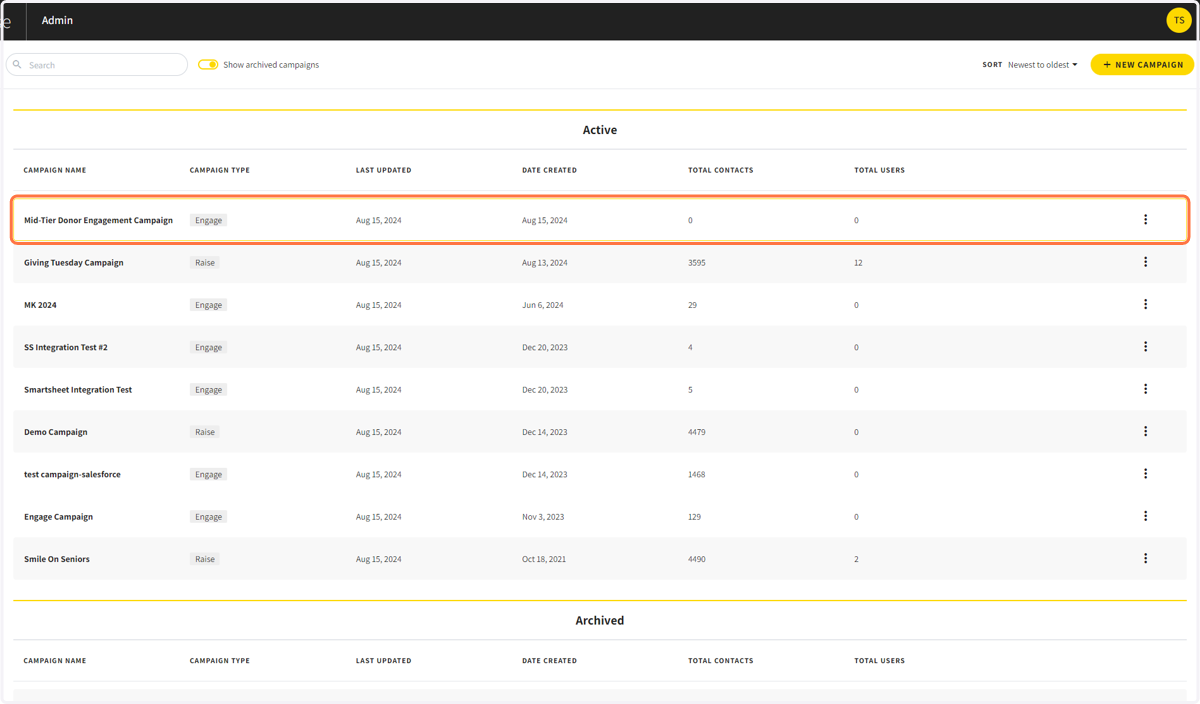
3. Select Your Newly Created Campaign
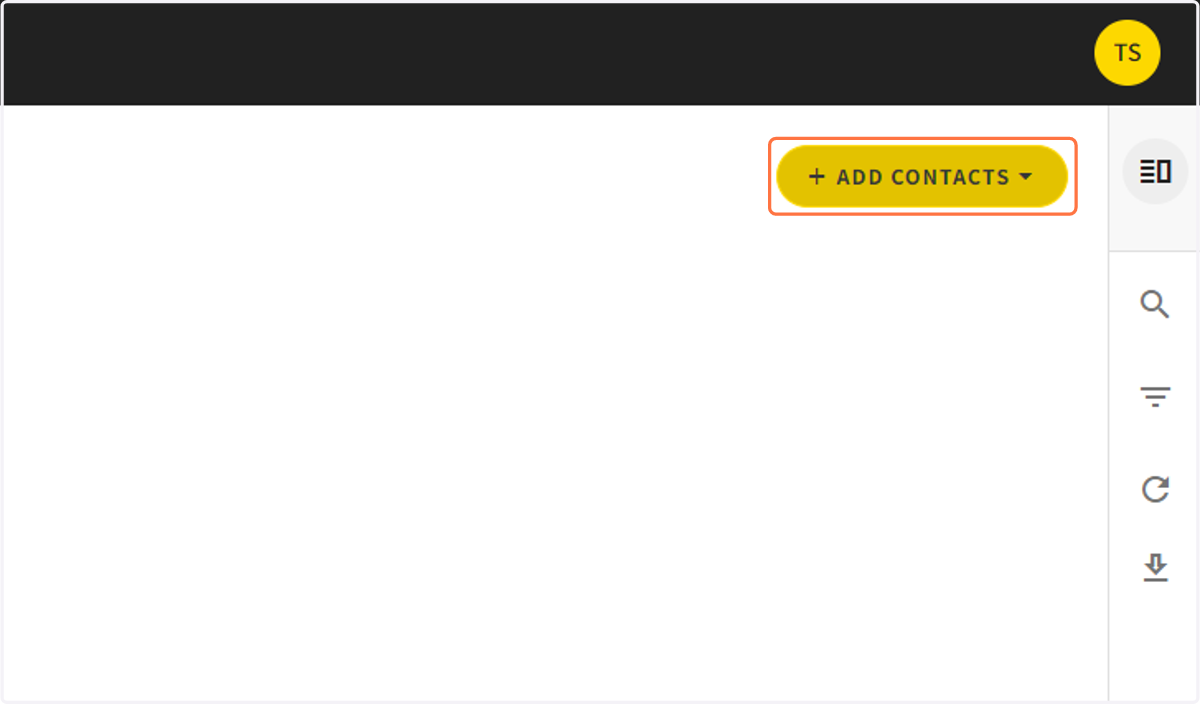
4. From the contacts section click on Add Contacts
5. Click on Import Contacts
This allows you to import a list of contacts from a CSV file.
You can also connect PhoneRaise to Salesforce or Bloomergang to sync data from your CRM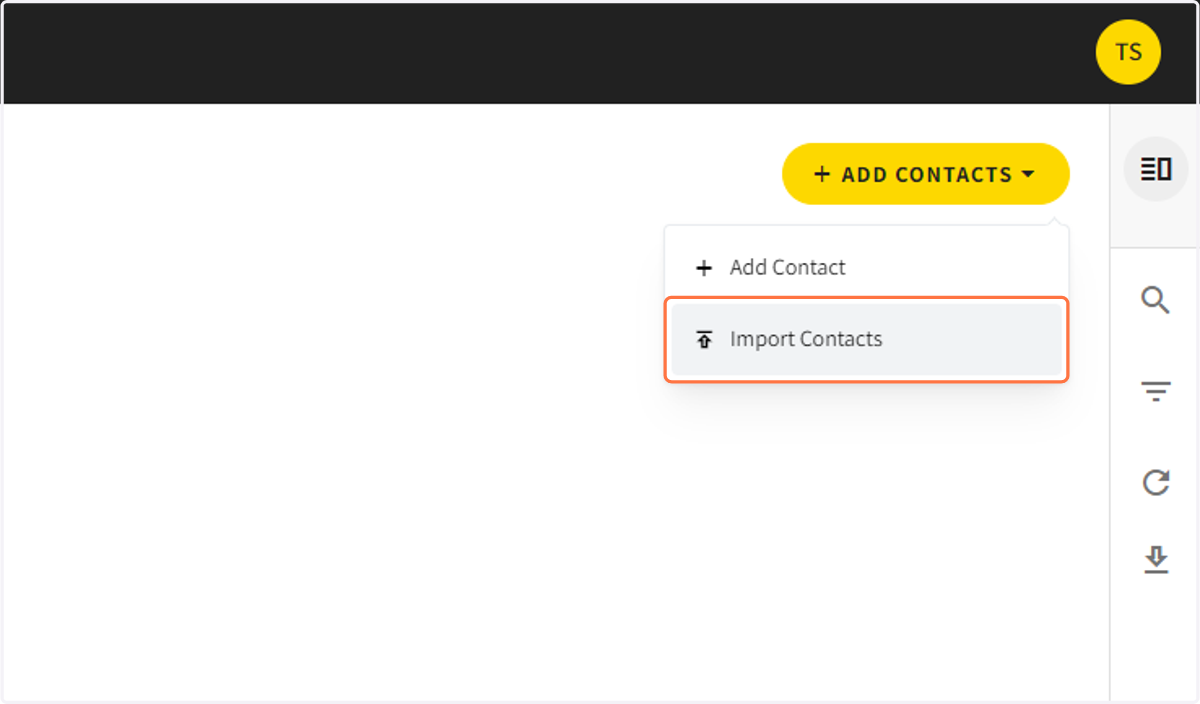
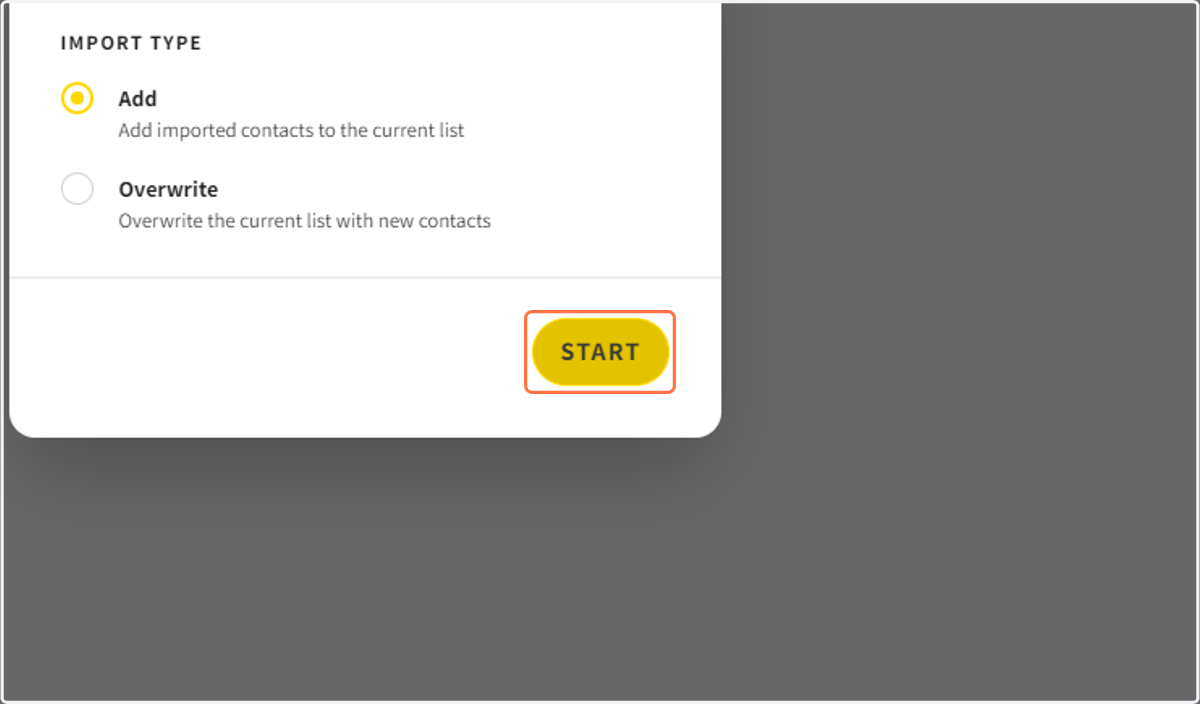
6. Select Add Contacts
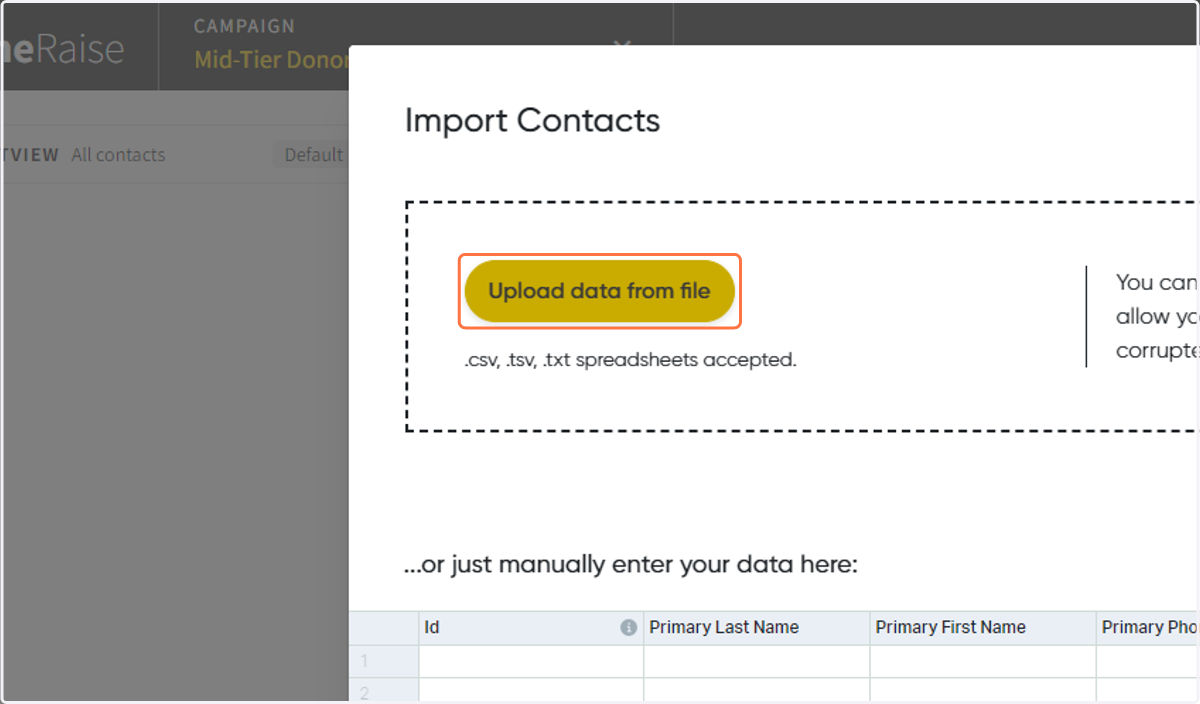
7. Click on Upload data from file and select your file
Assigning Users To A Campaign
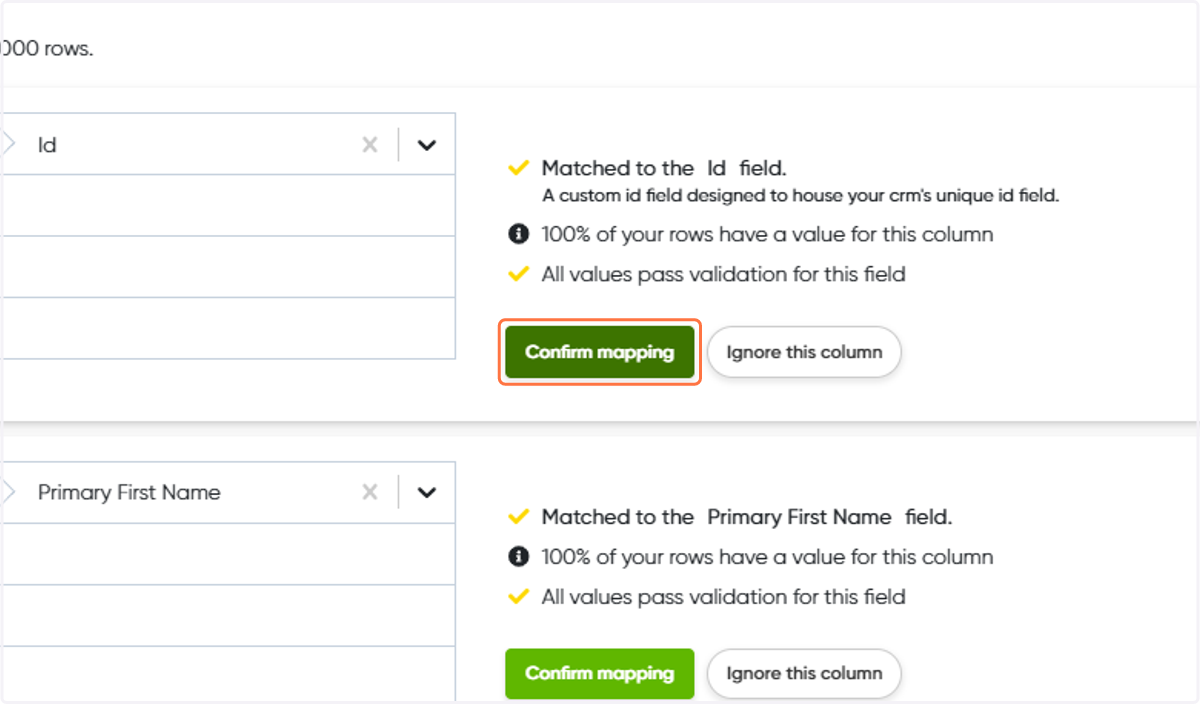
8. Confirm the field mapping
PhoneRaise automatically tries to Match the imported field with the PhoneRaise field. If the match is correct, you can confirm mapping. If you do not want to bring a field into PhoneRaise you can ignore the column
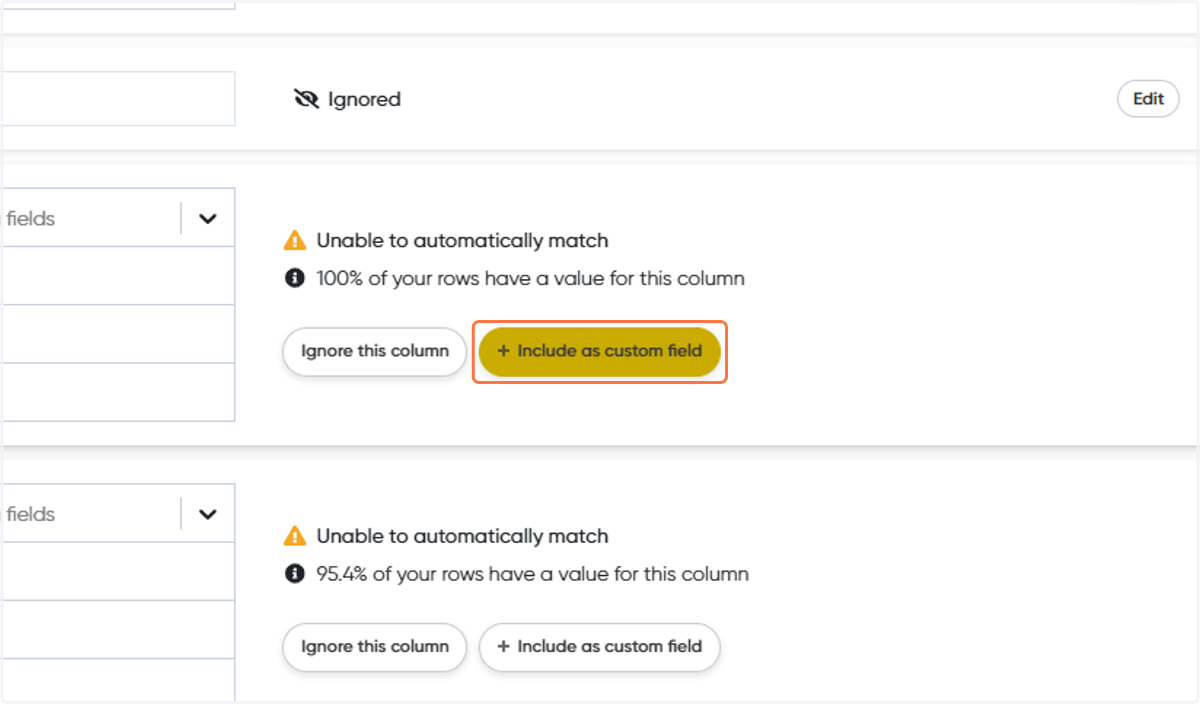
9. Create Custom Field Mappings
If PhoneRaise does not recognize the field you can create a custom field to bring the data into PhoneRaise.
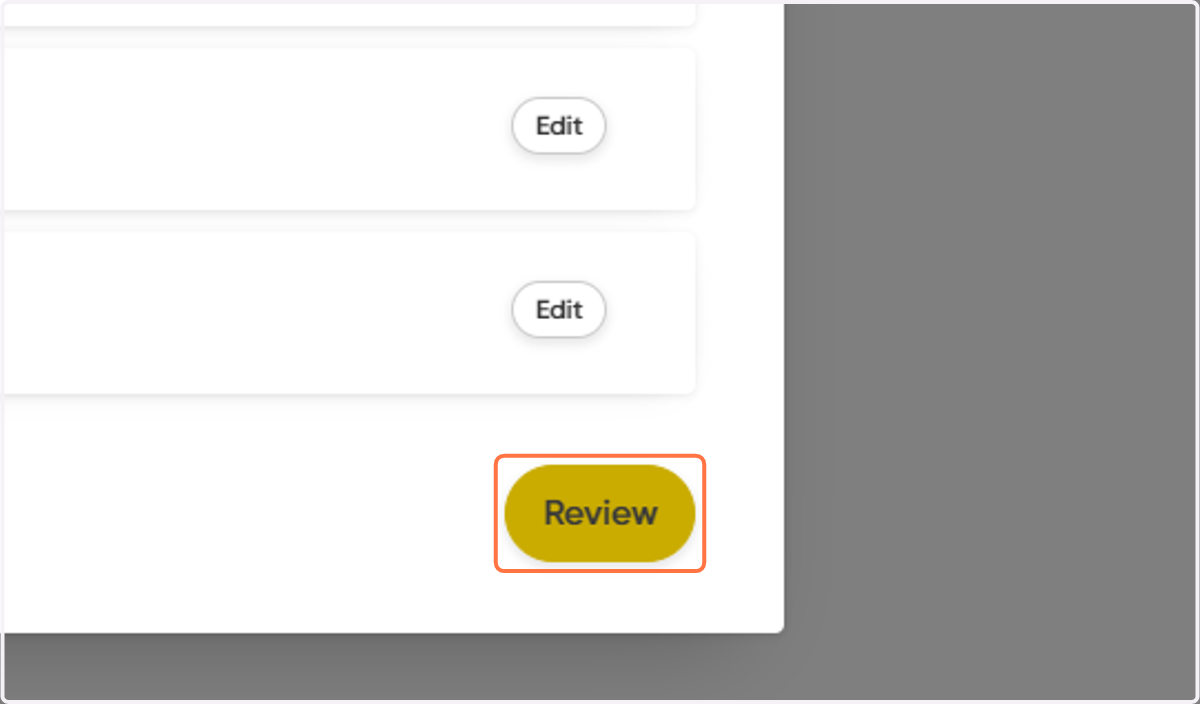
10. When all Fields are mapped or ignored click on review
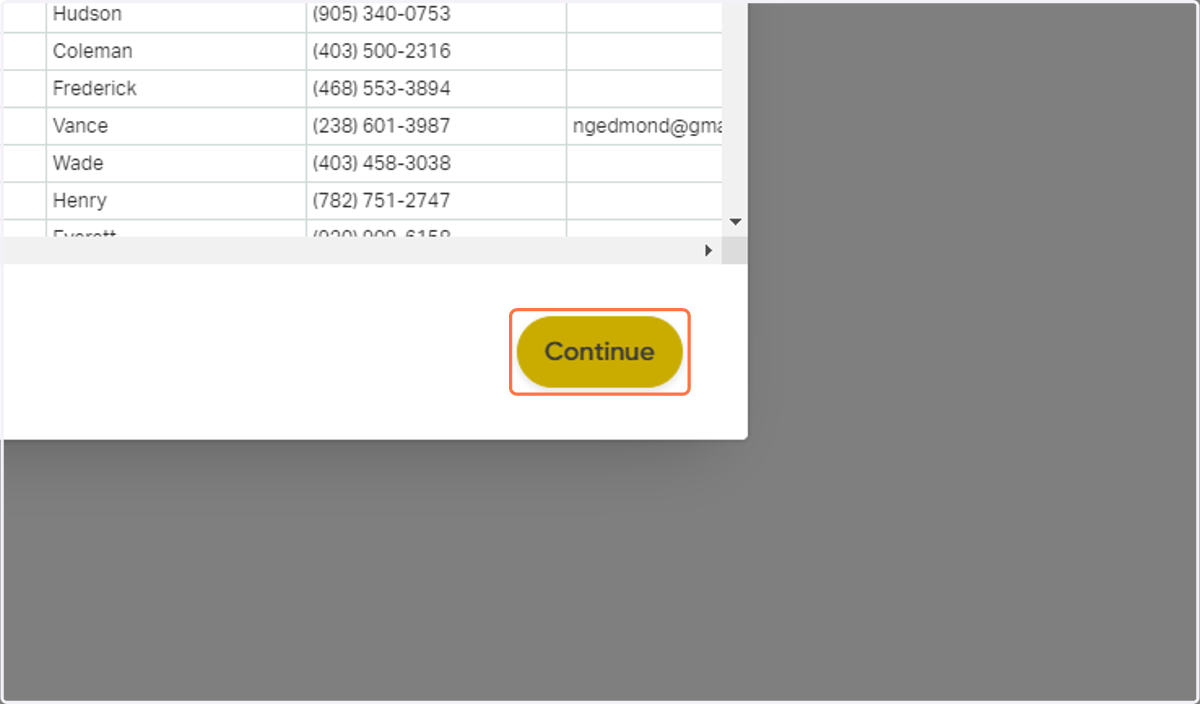
11. Click on Continue
Assigning Users to Contacts
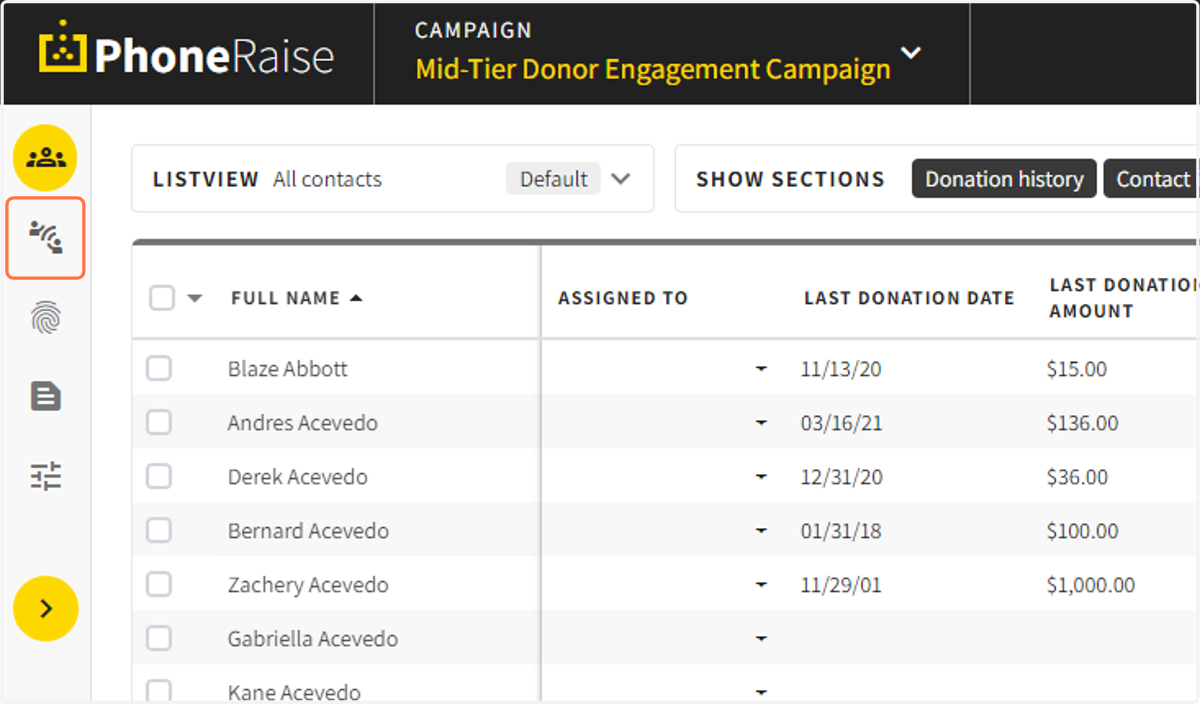
12. Click on the Users Icon
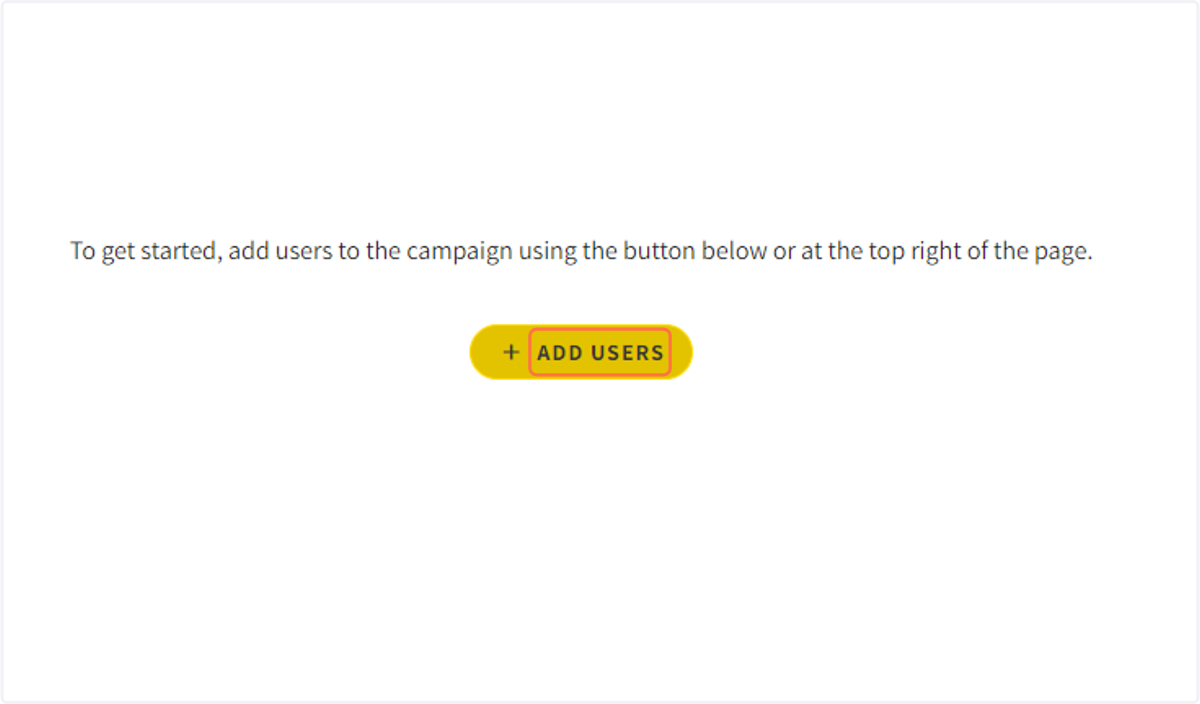
13. Click on ADD USERS
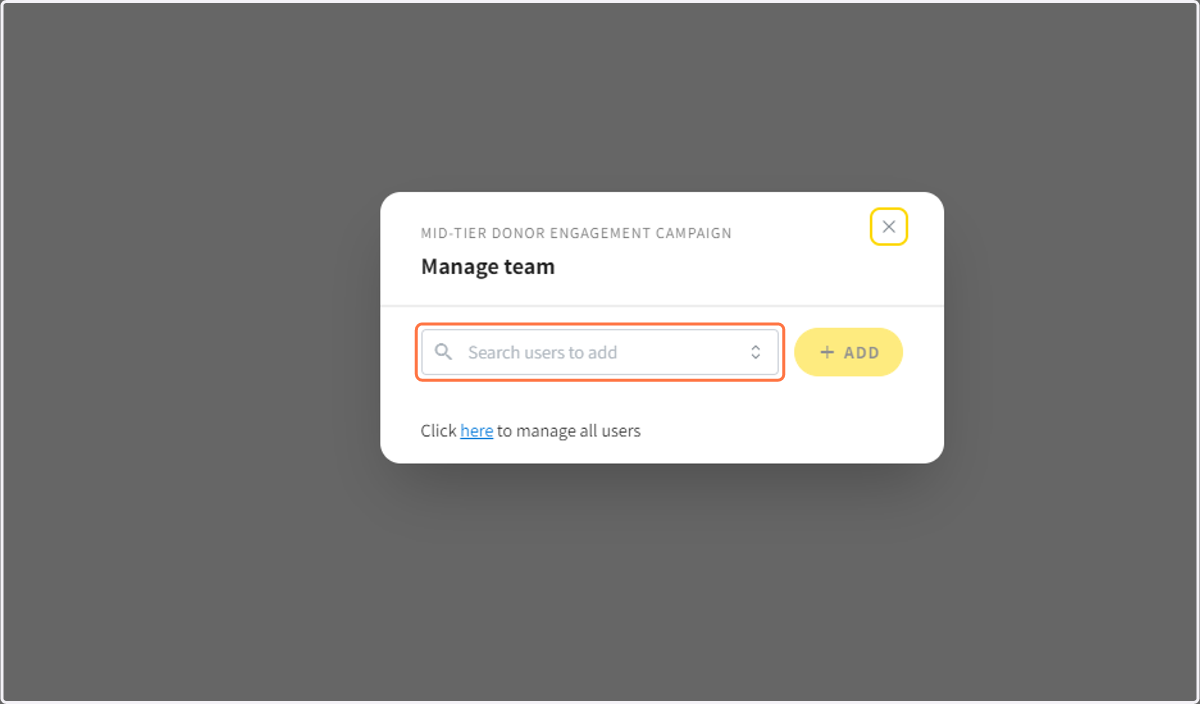
14. Click on Search users to add
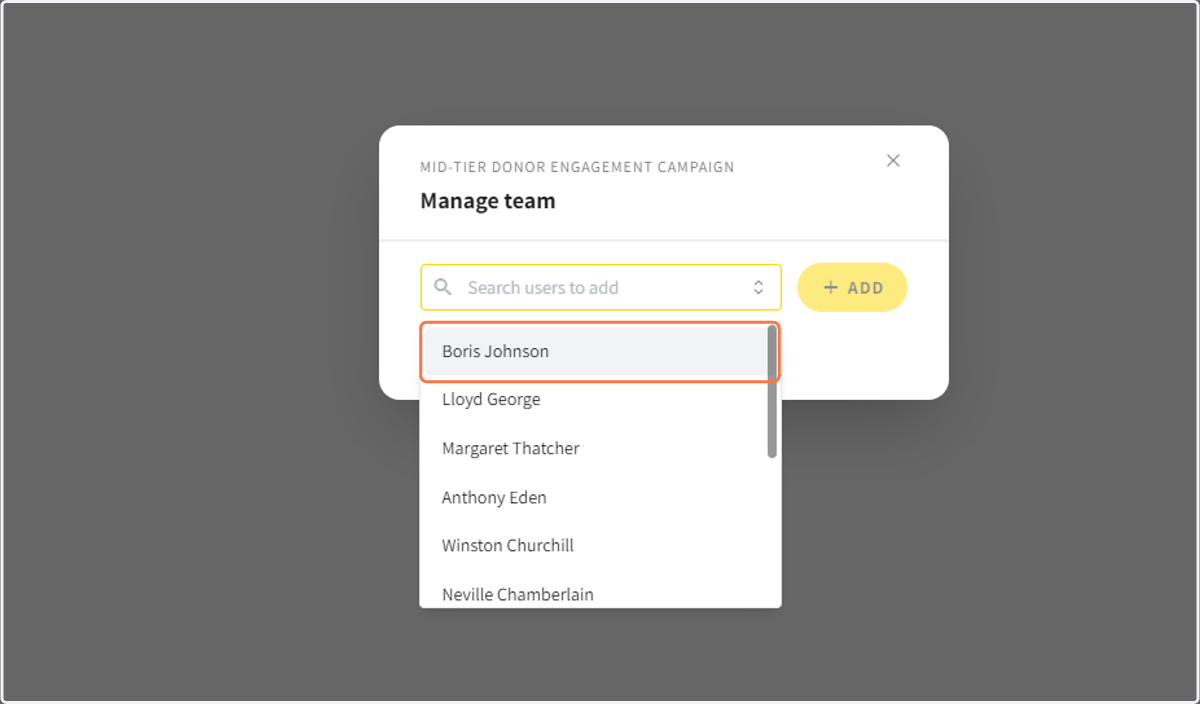
15. Click on the User you would like to add to a campaign and then click add
Adding Touchpoints
16. Click on Contacts
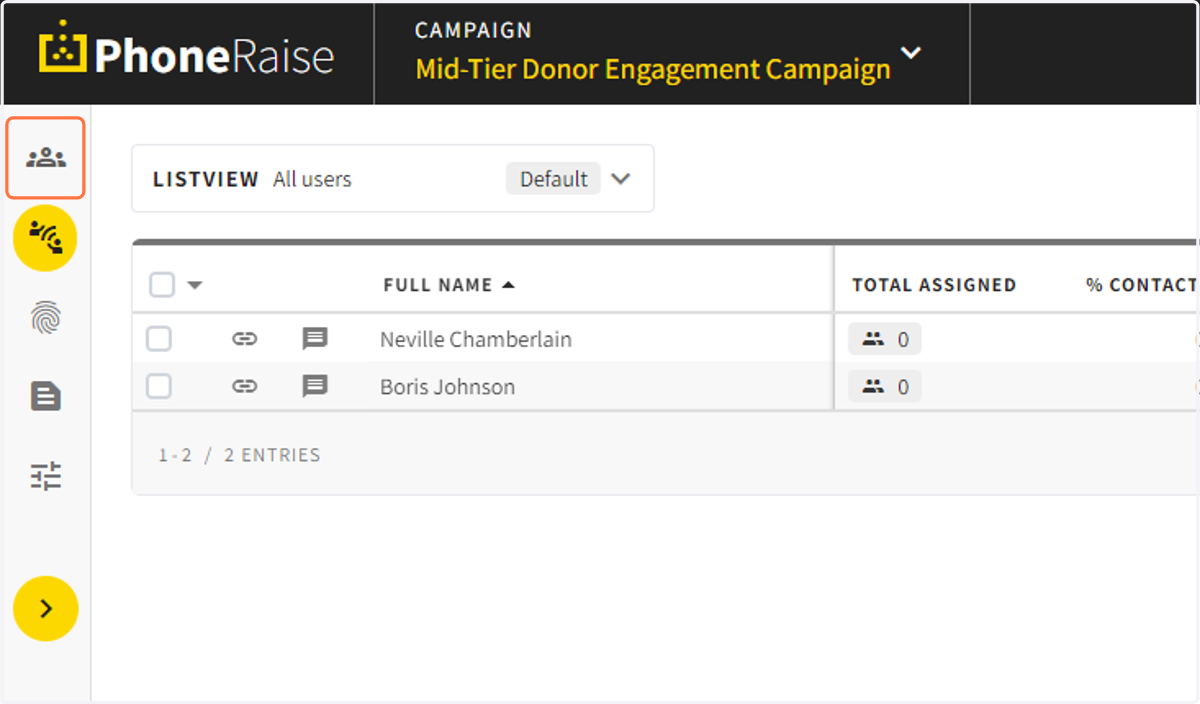
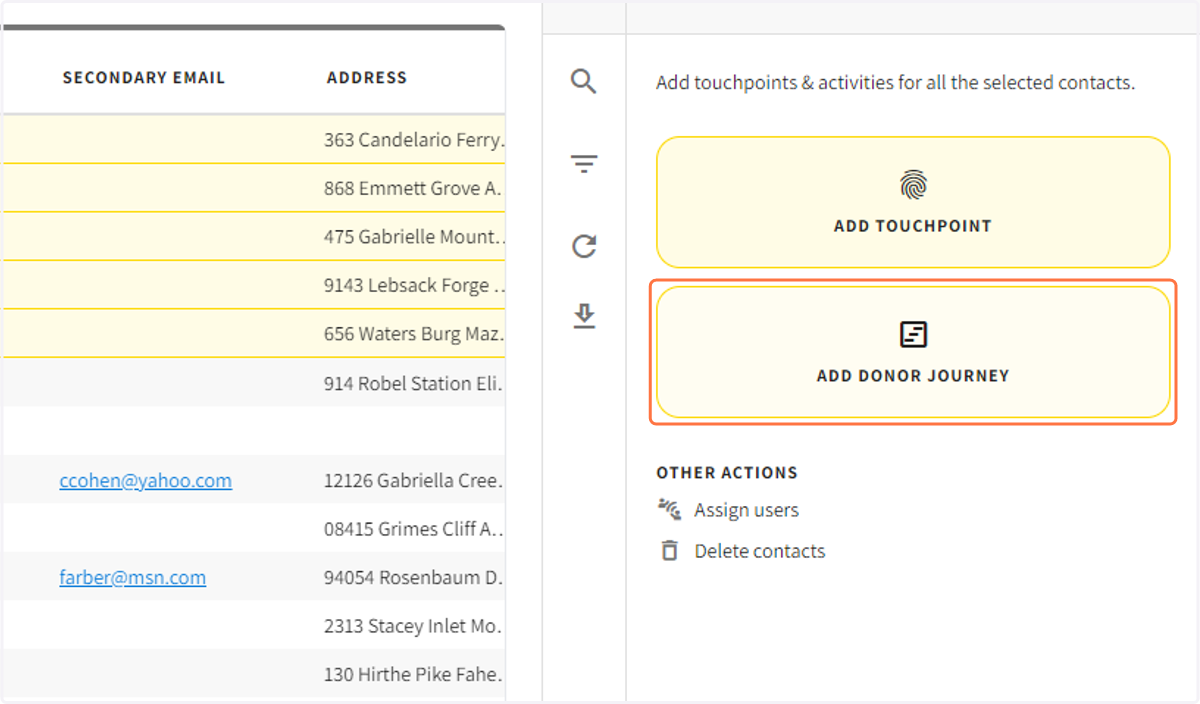
17. To add contacts to a donor journey, select the desired contacts and click on Add Donor Journey on the side.
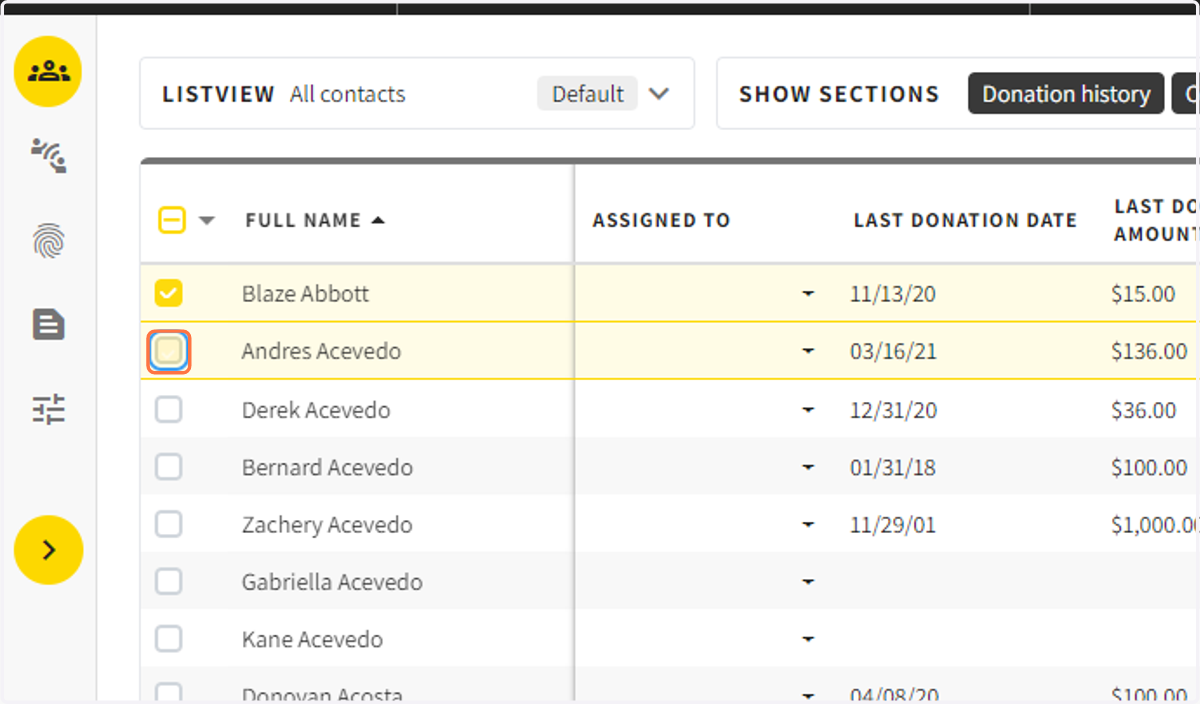
18. Select the Contacts to assign
Accessing the Mobile App
19. Download the PhoneRaise App
20. Click on Assign users
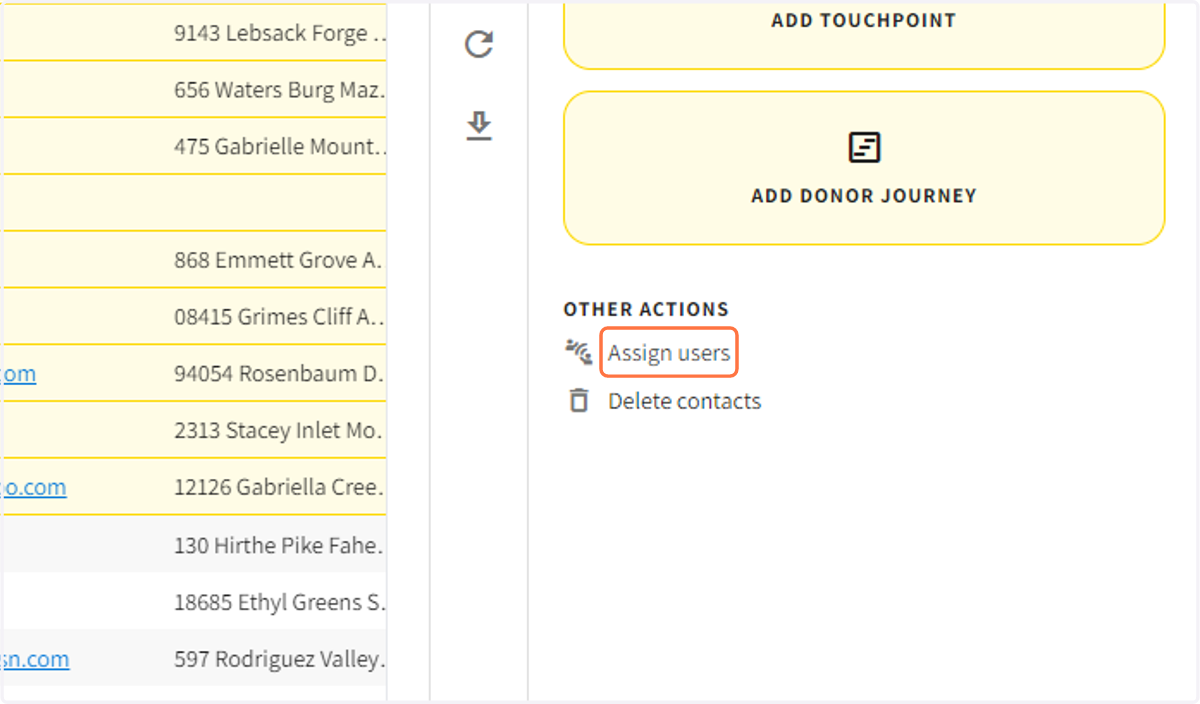
21. Select the User to assign to the contacts and click submit
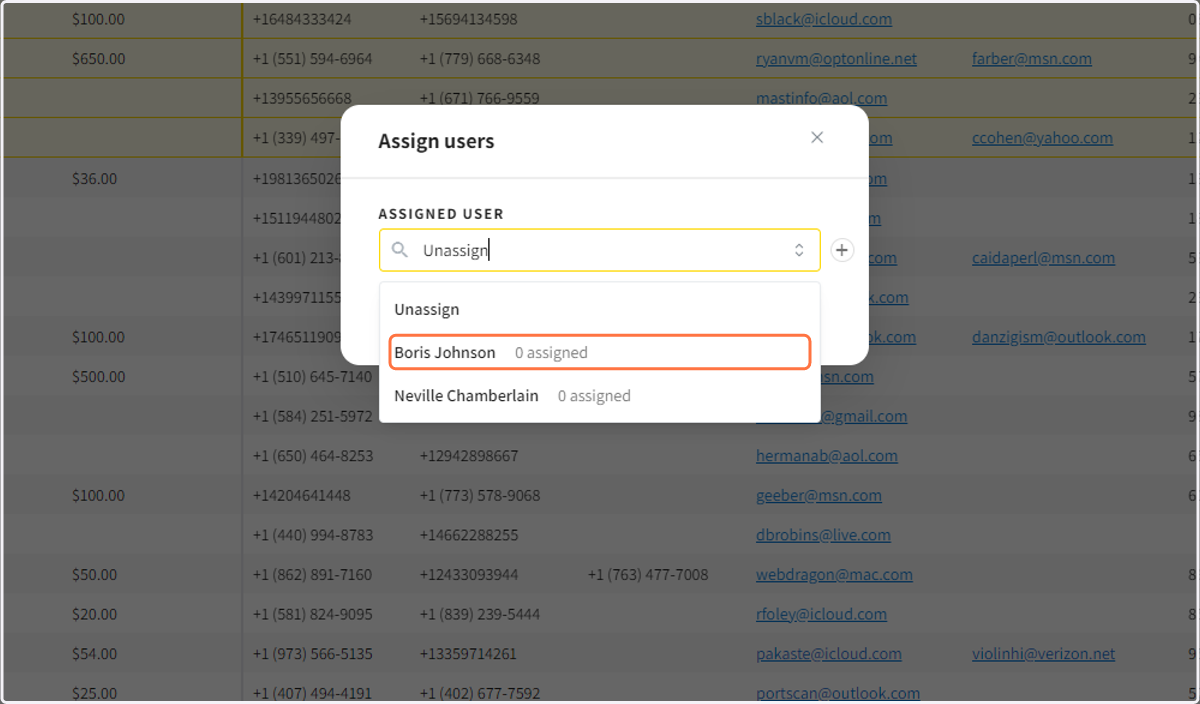
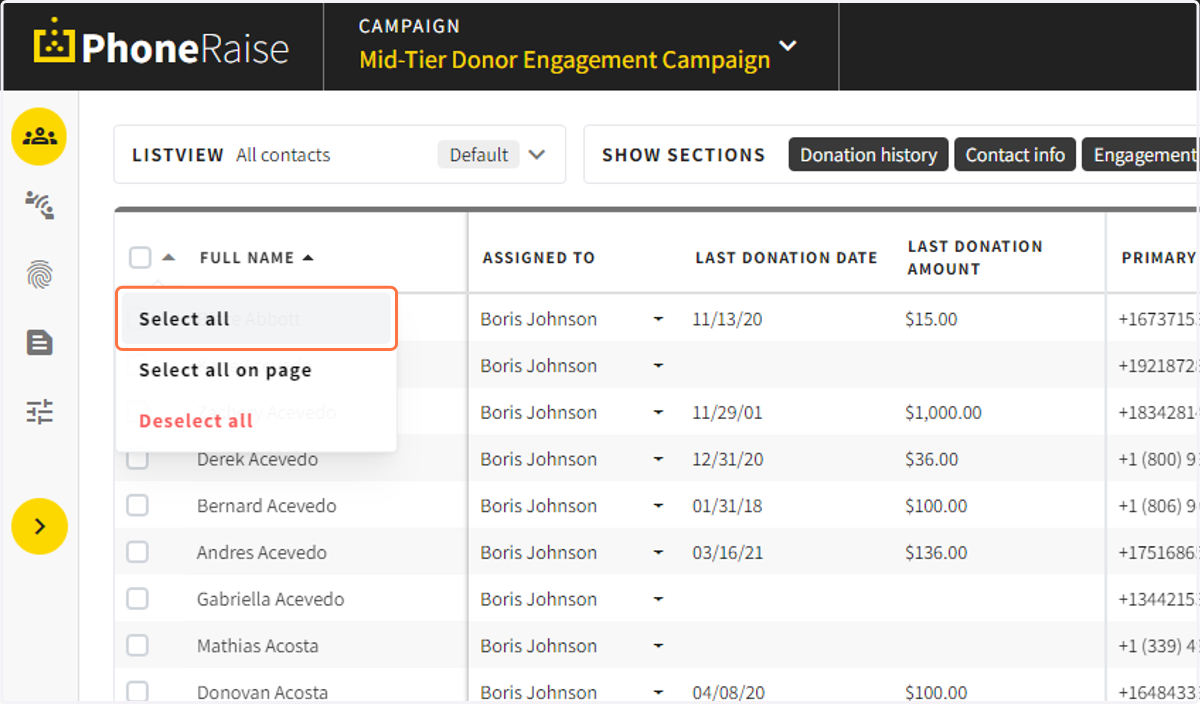
22. Select the contacts that you want to assign touchpoints to
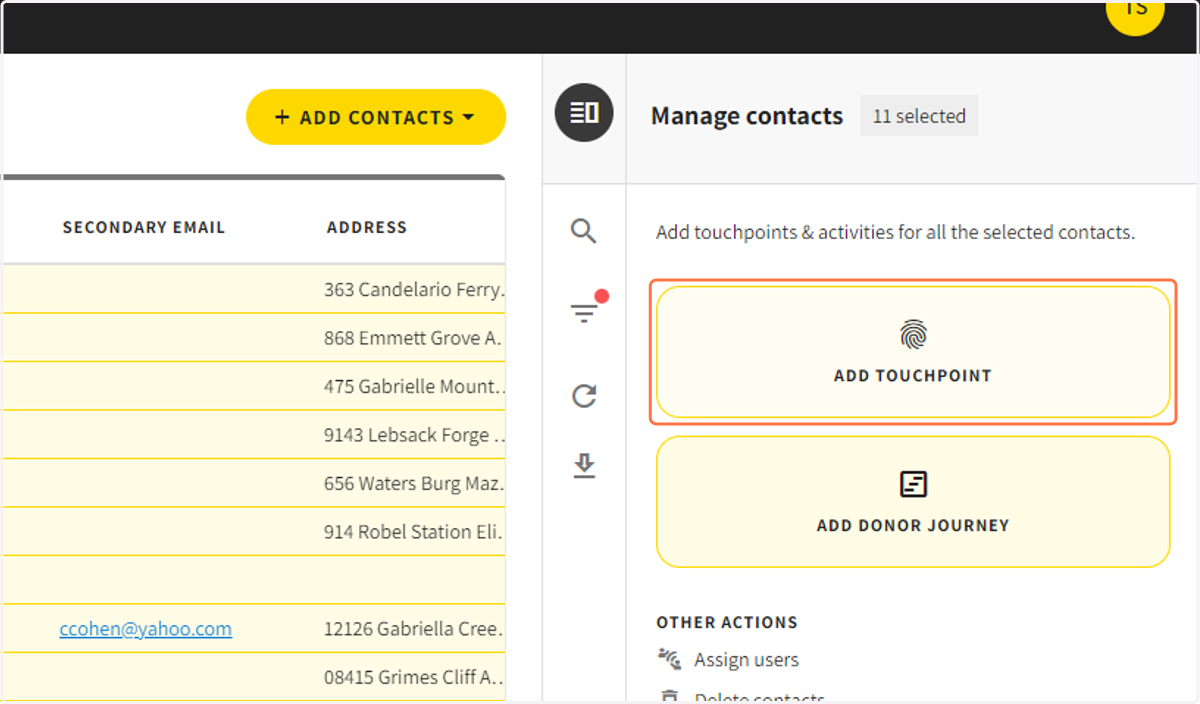
23. Click add touchpoint
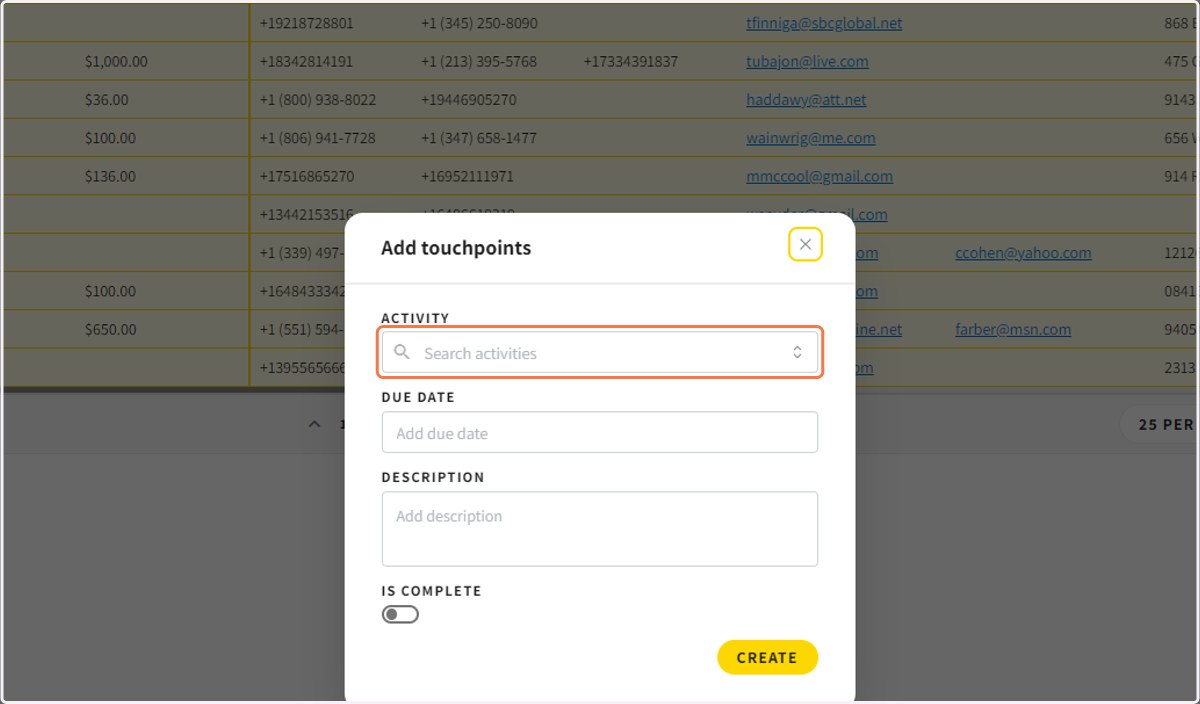
24. Select the activity type, due date, and enter the description
25. To create a donor Journey go to campaign settings and select Donor Journeys
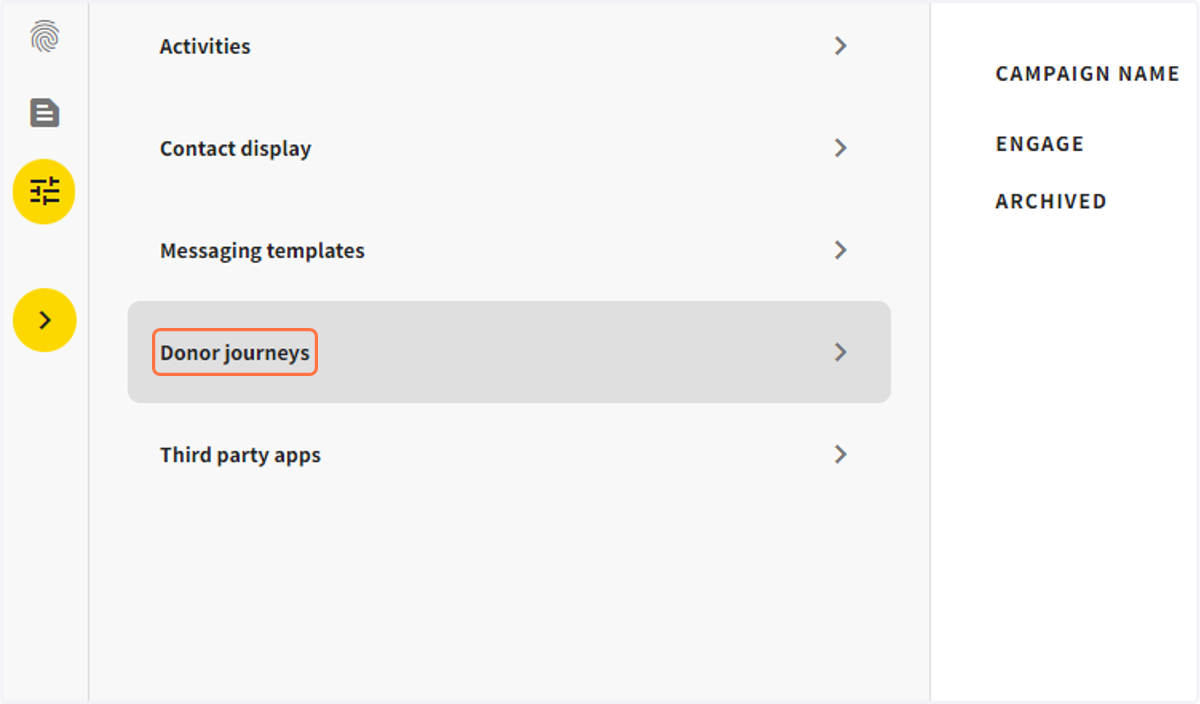
26. Create a series of touchpoints and how many days, weeks, or months should be in between touchpoints.
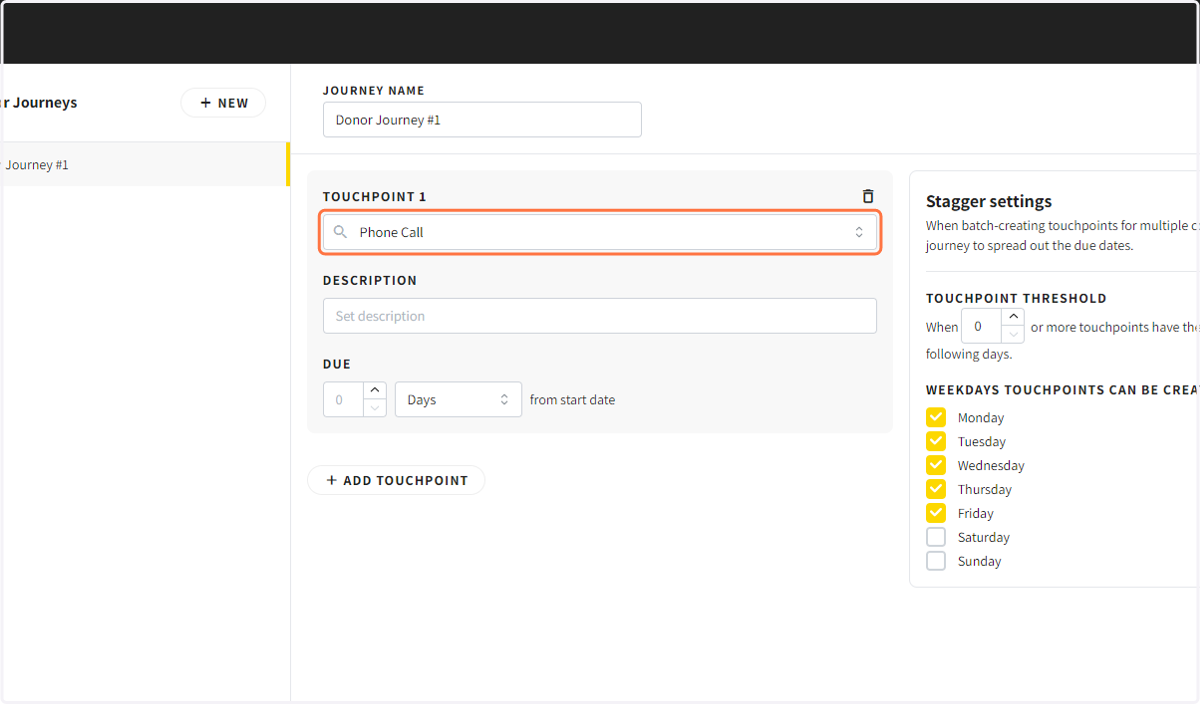
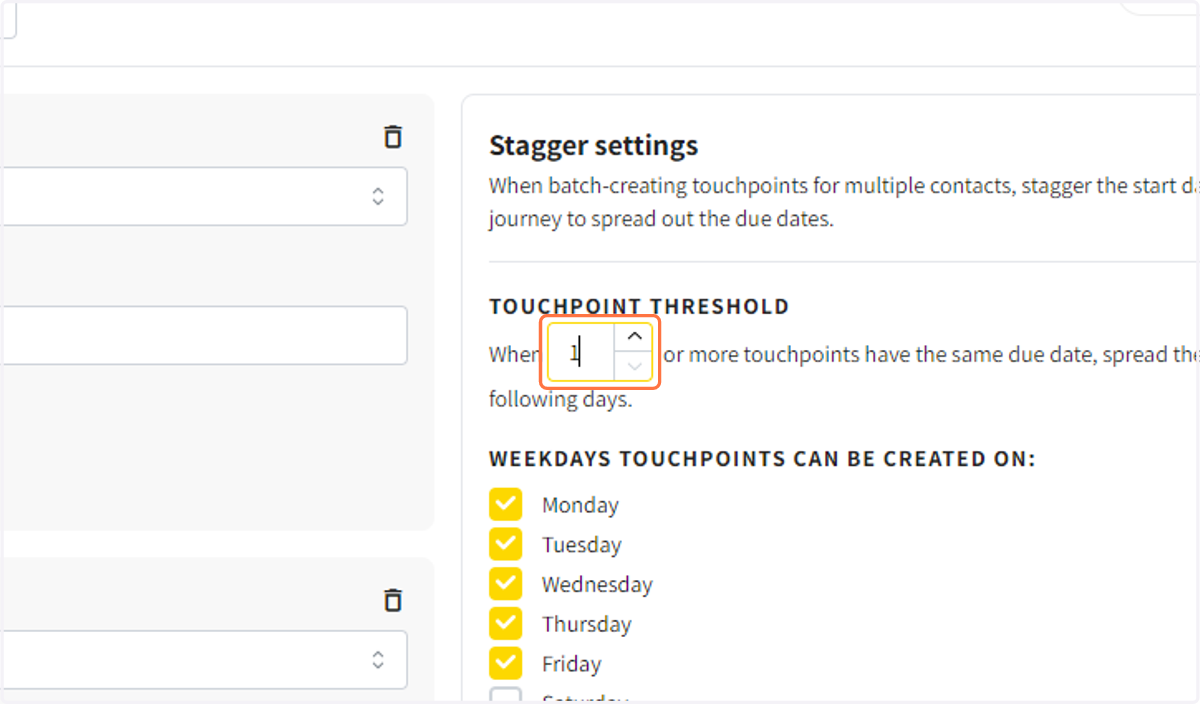
27. Choose how many touchpoints can be assigned per day and what days to assign touchpoints to.
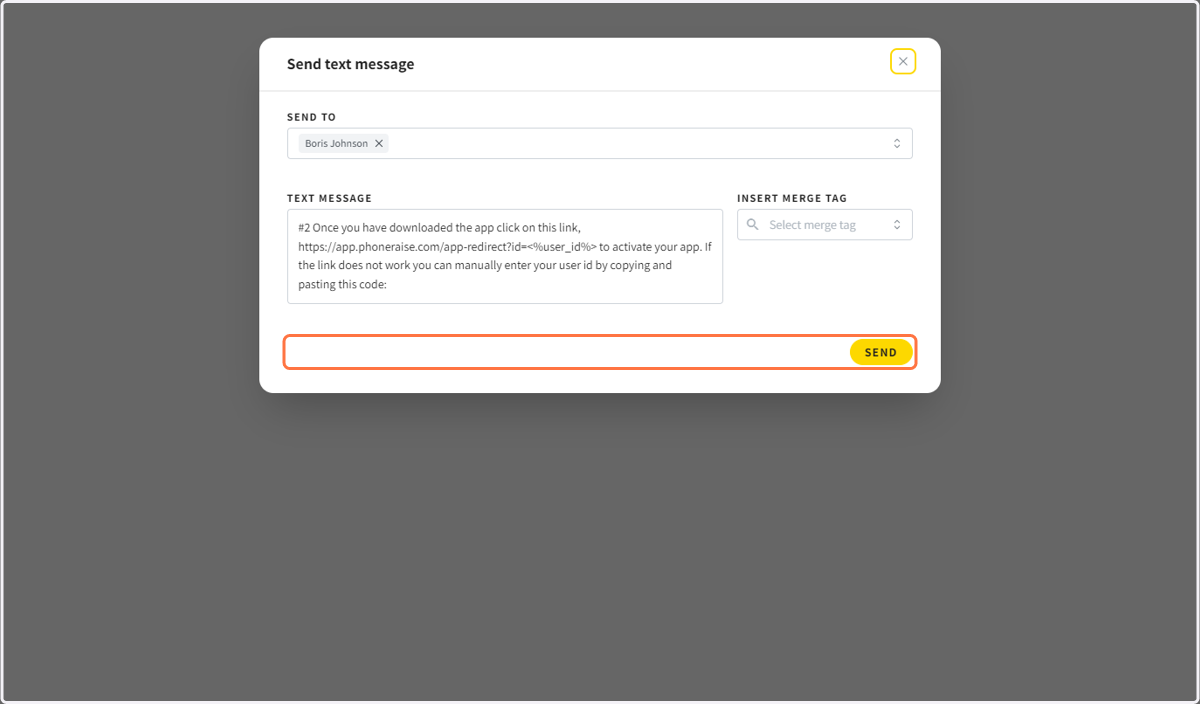
28. Access the User ID by clicking on the message icon next to the user
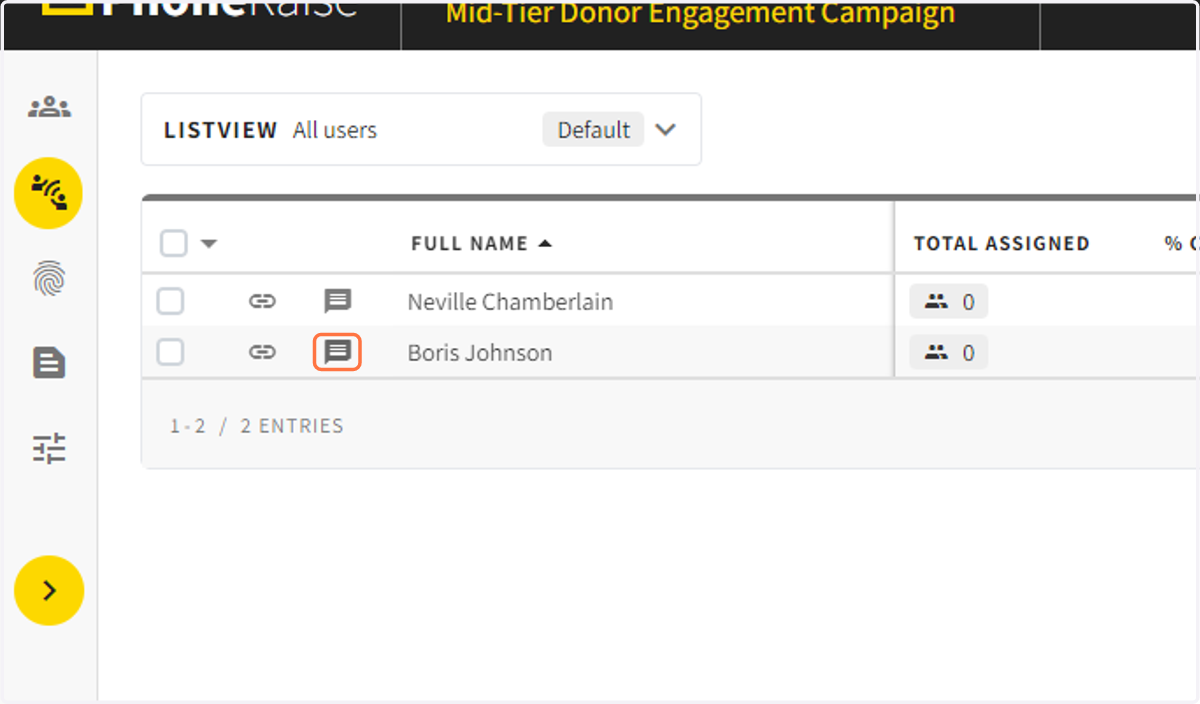
29. Send the user ID via SMS to the User's phone number